¶ Video guide
¶ Printing Preparation
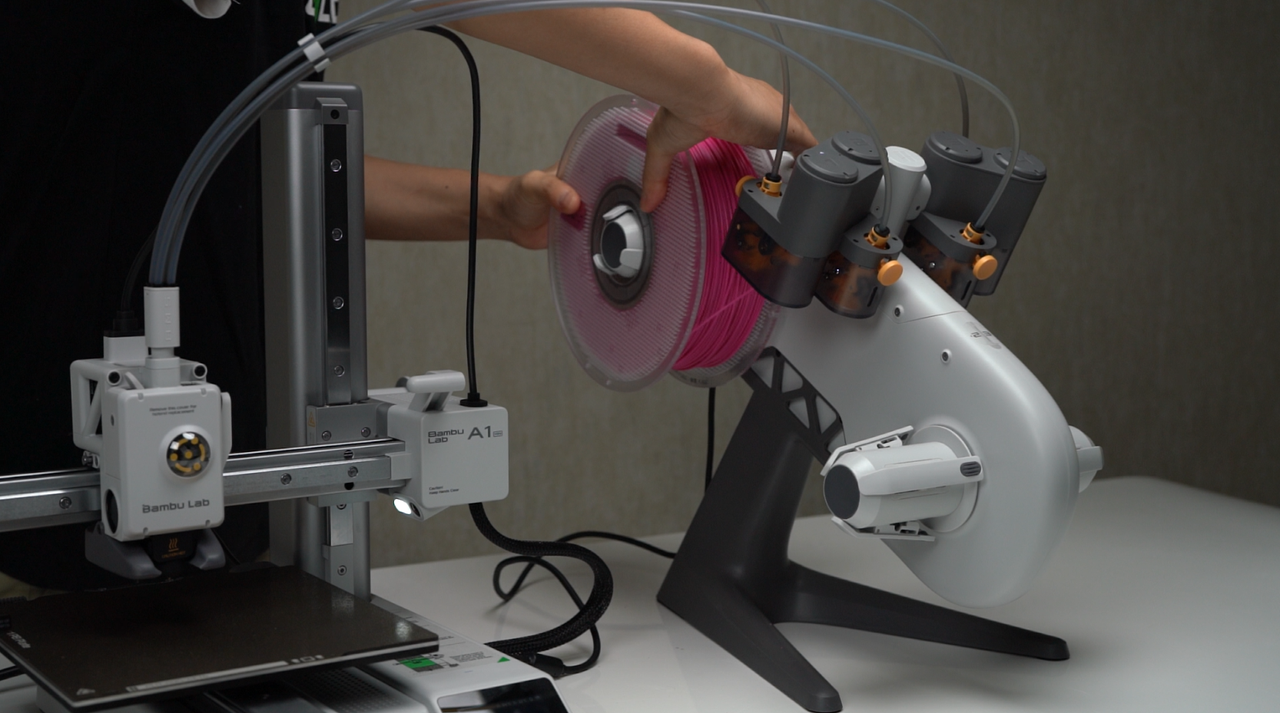
¶ 1. Spool loading
 |
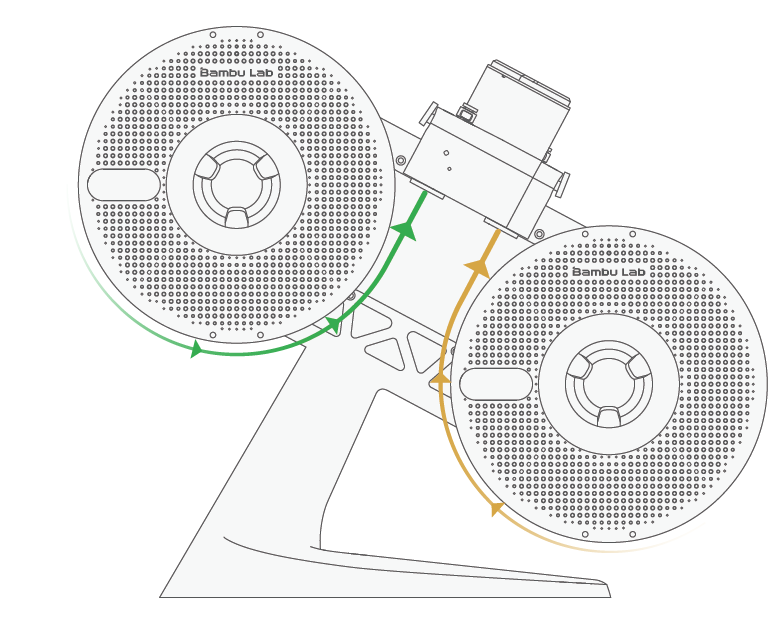 |
Orient spool installation according to the filament winding direction. (as shown in the diagram)。
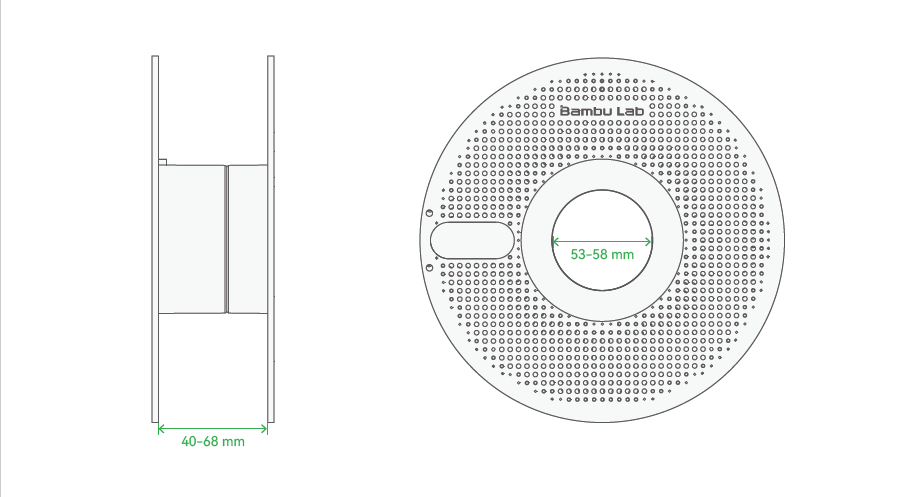
The AMS lite supports spools with a 40-68 mm width and an inner diameter of 53-58 mm.
Avoid using AMS lite to print flexible materials, including TPU, TPE, or absorbent PVA. Avoid using materials that are too hard (too high modulus) or too brittle (not enough toughness), including third-party fiber reinforcement materials(PA-CF/GF, PET-CF/GFPLA-CF/GF, etc.). Please use external spool placement to print these filaments.
¶ 2. Insert the filament into the feeder inlet of the AMS lite
 |
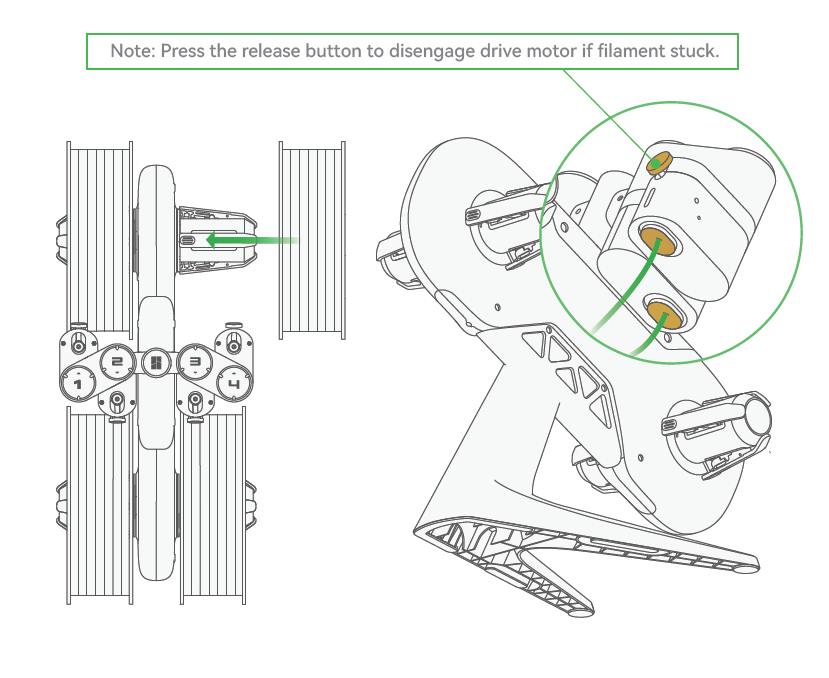 |
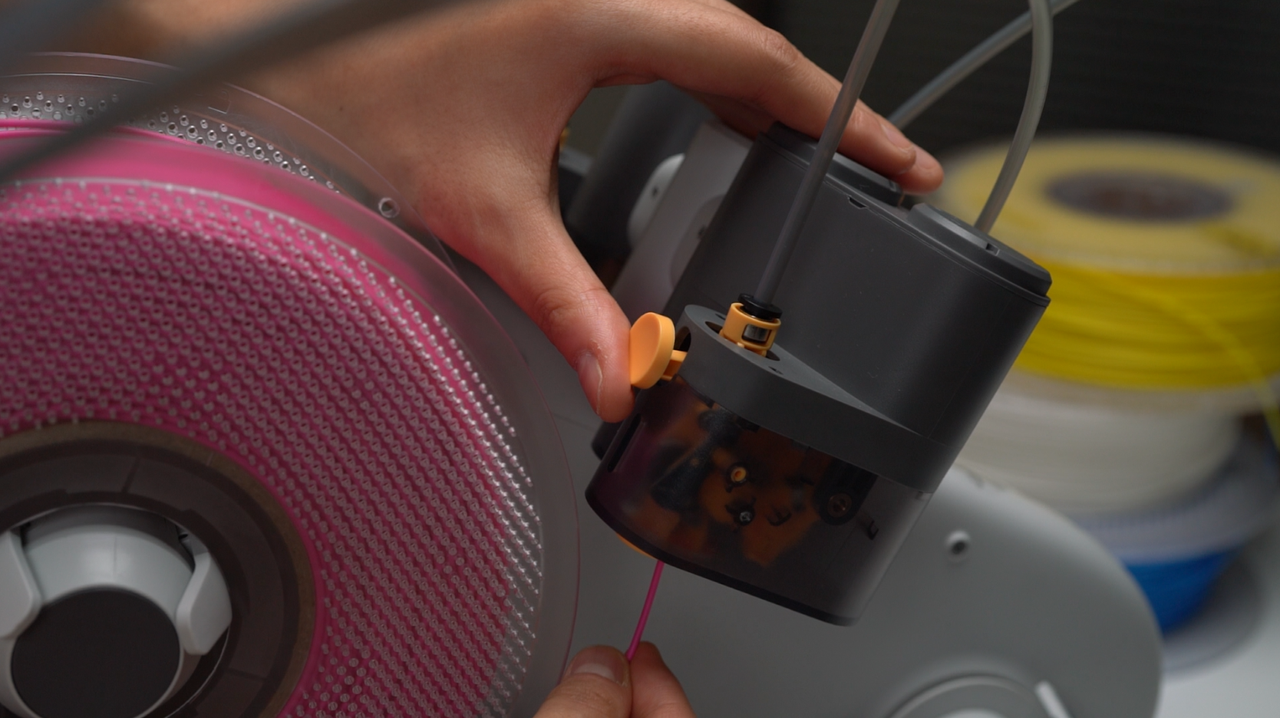
After ensuring that the filament spool axle is securely fastened, you can begin inserting the filament through the feeder inlet. Please align it accurately with the insertion port to avoid improper insertion. You can press the release button to disengage the drive motor if the filament gets jammed. After inserting the filament, the feeder will automatically feed the filament into the PTFE tube, about 40 cm。
¶ Start printing
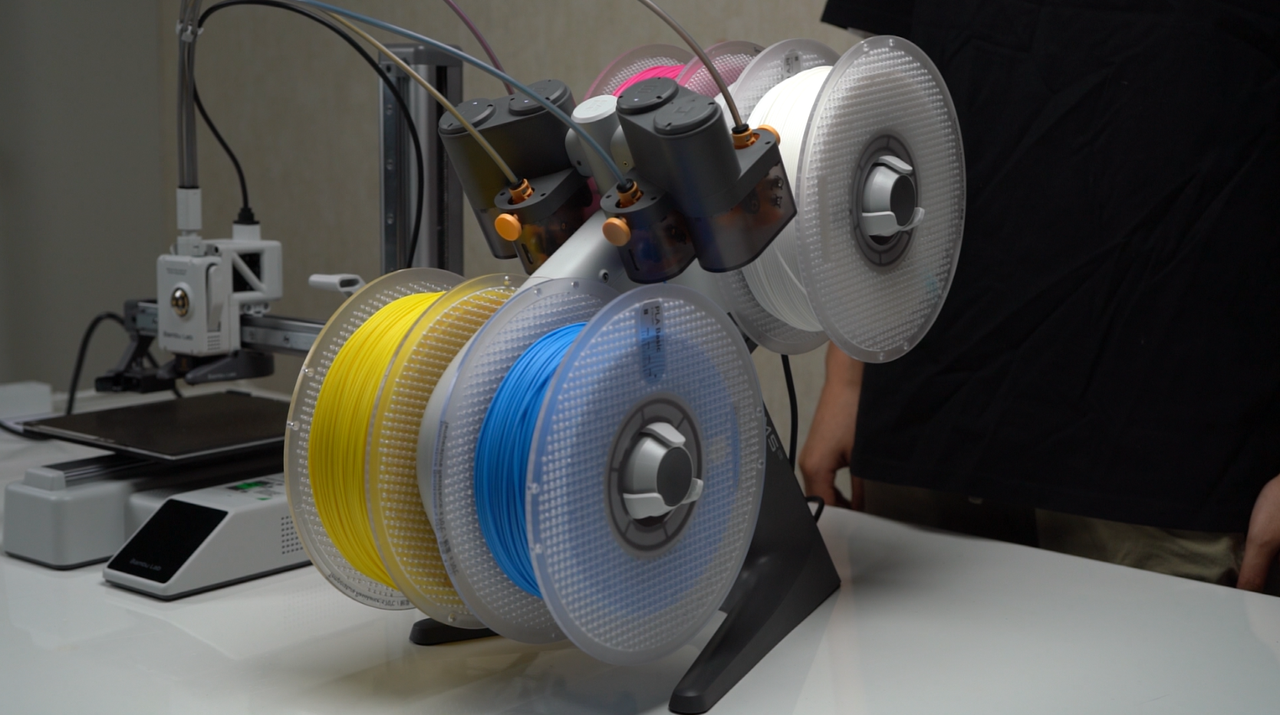
After ensuring the filament is loaded, and the build plate is in place, you can proceed with printing.
¶ 1. Initiate a print job using Bambu Studio
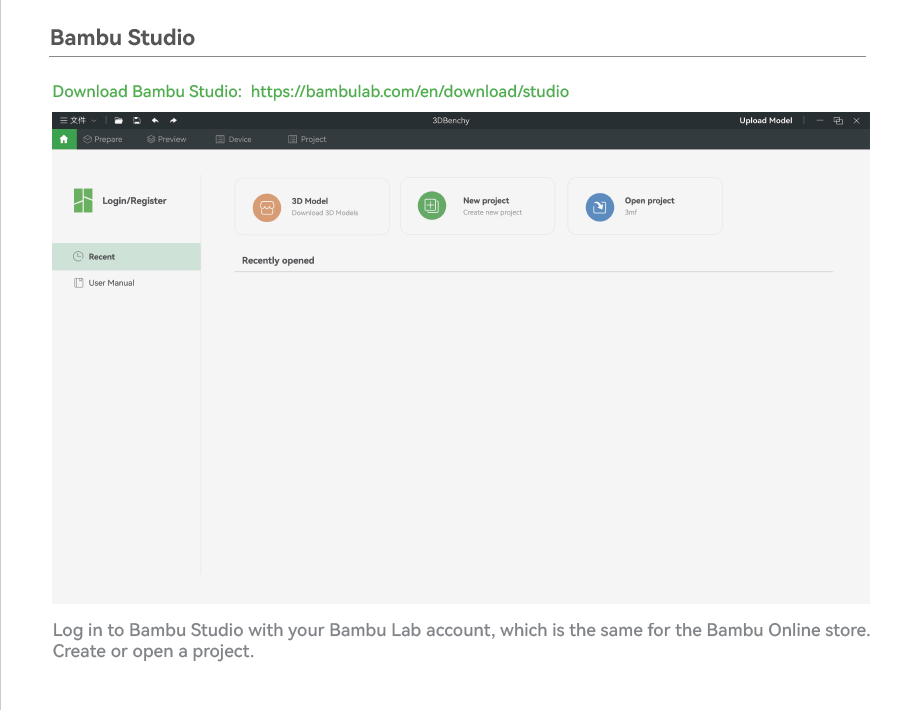
Install Bambu Studio
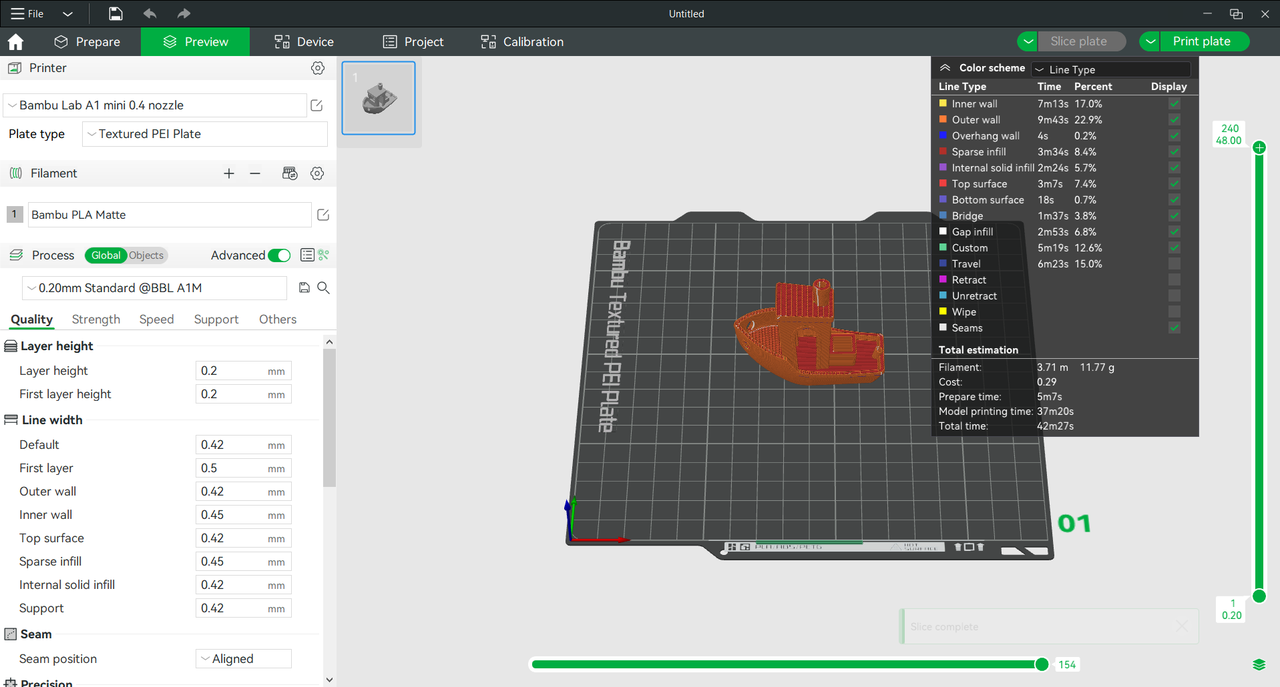
Slice and send the print
 |
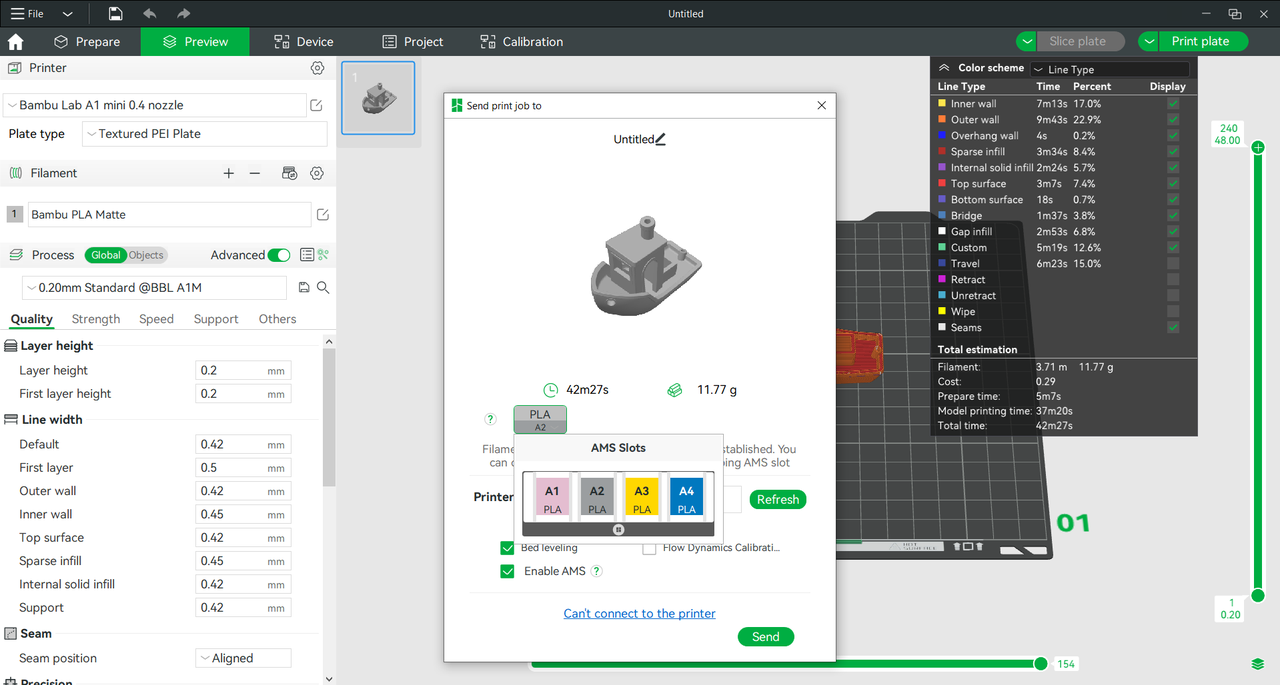 |
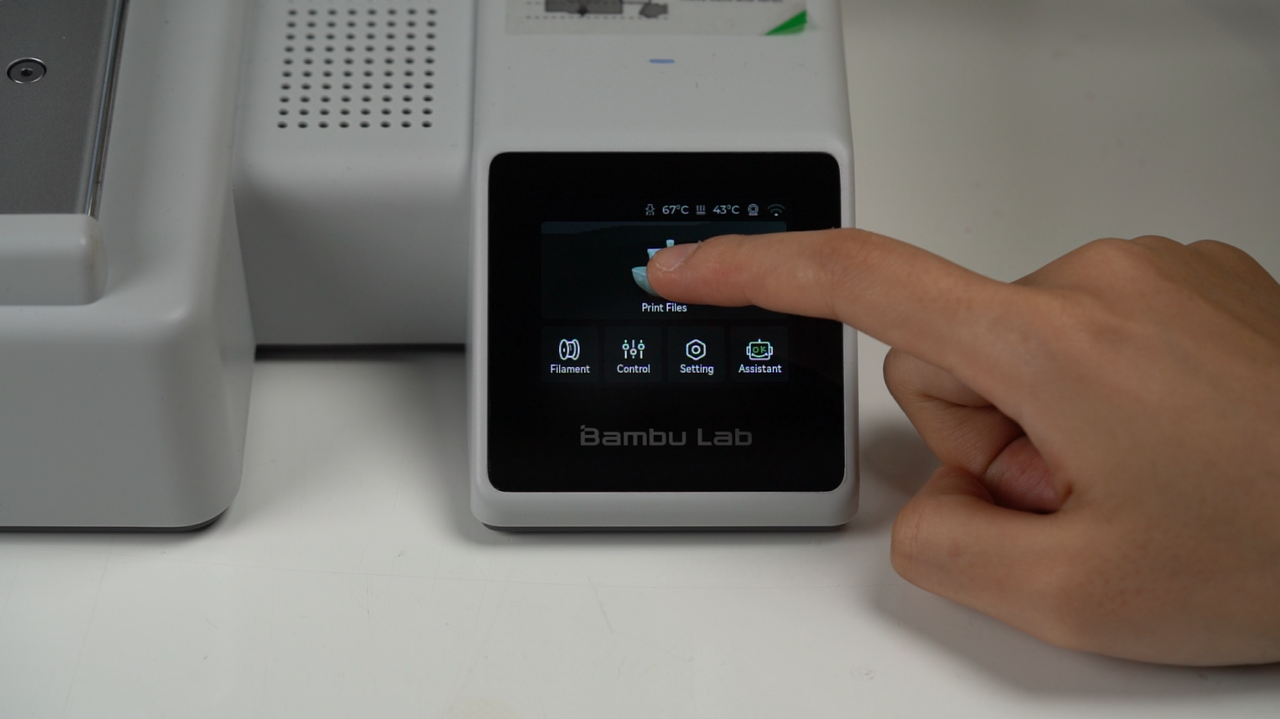
¶ 2. Initiate a print using the built-in file.
Click "Print files" on the home page to access the built-in files on the SD card.
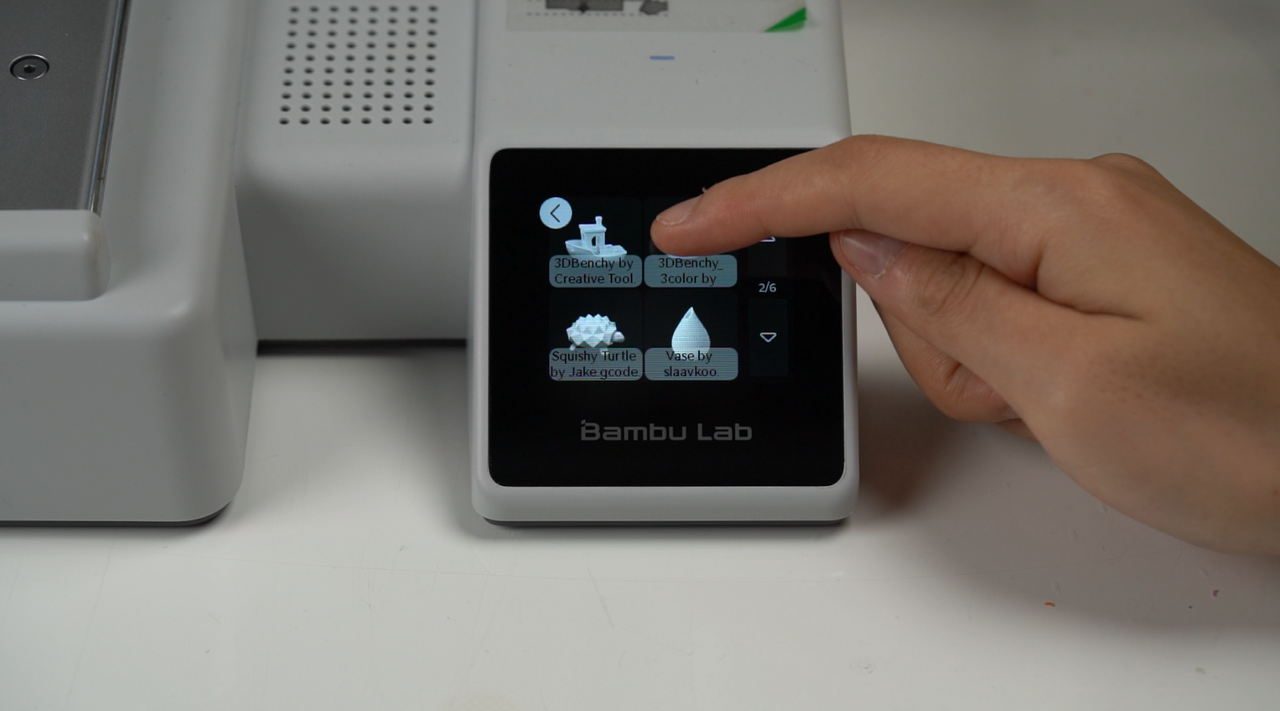
Select the model you would like to print.
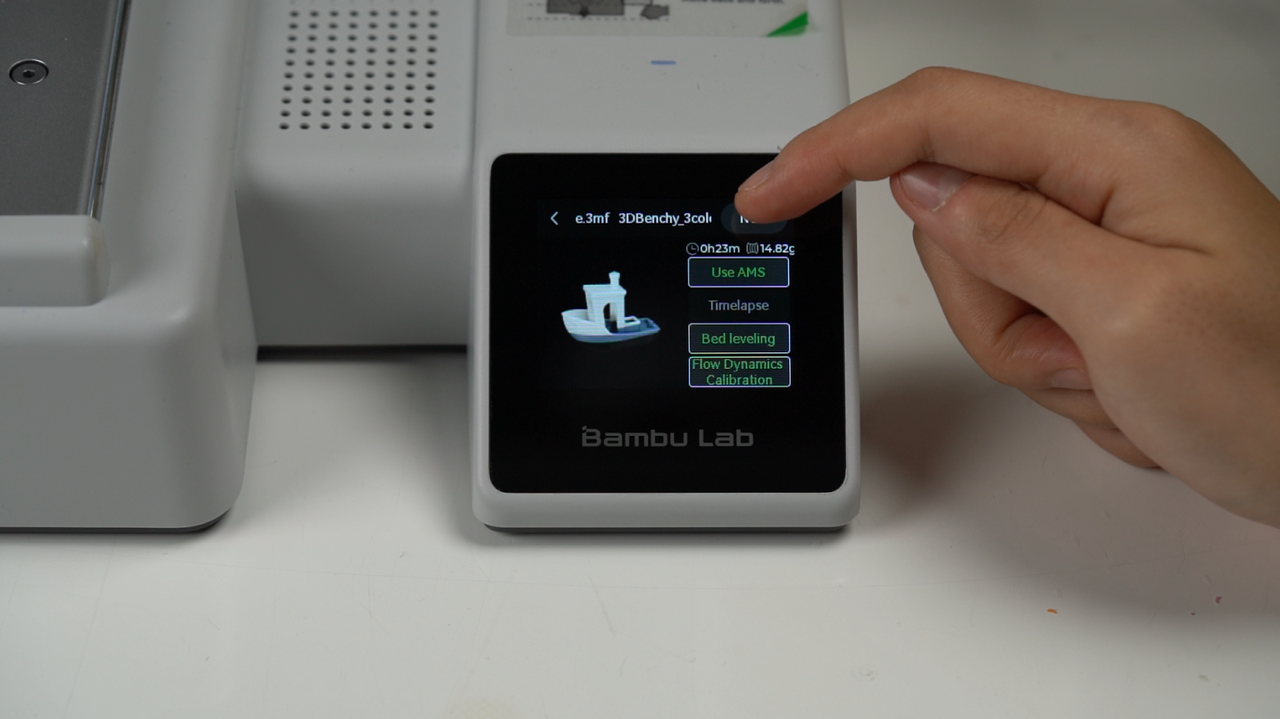
Enable "Use AMS," and enabling the bed leveling and flow dynamics calibration functions is recommended.
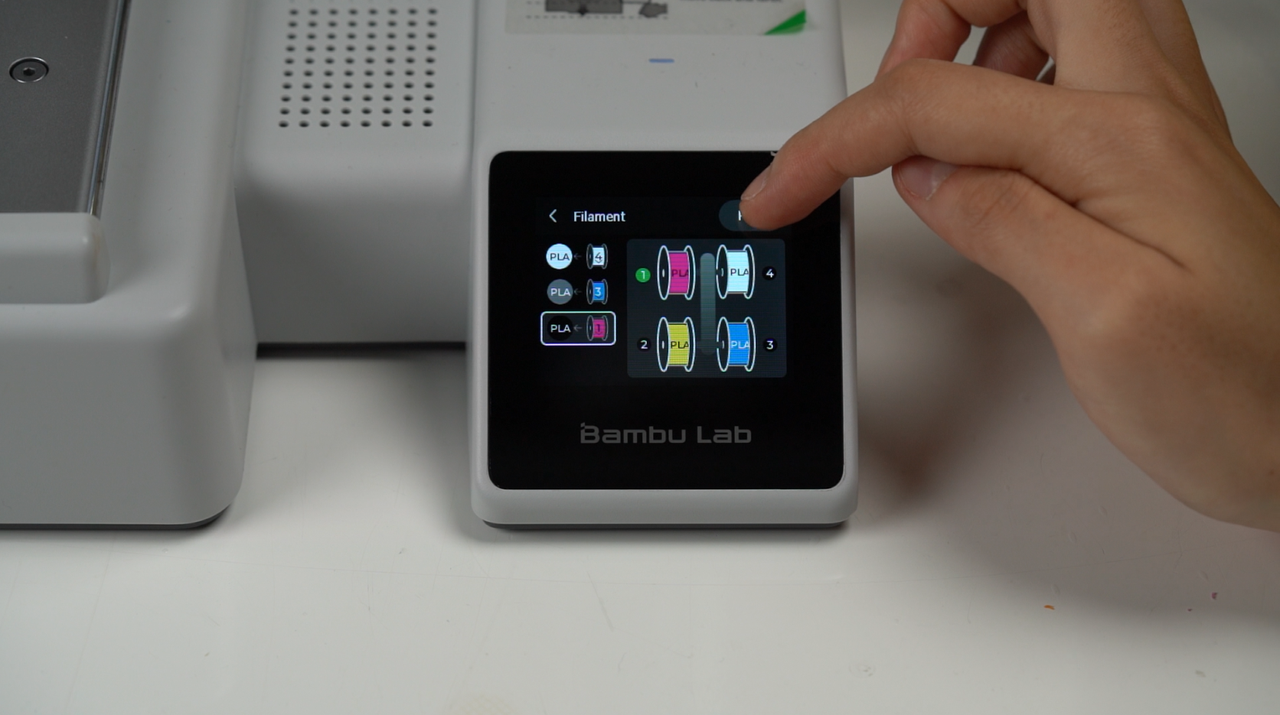
AMS filament Mapping:
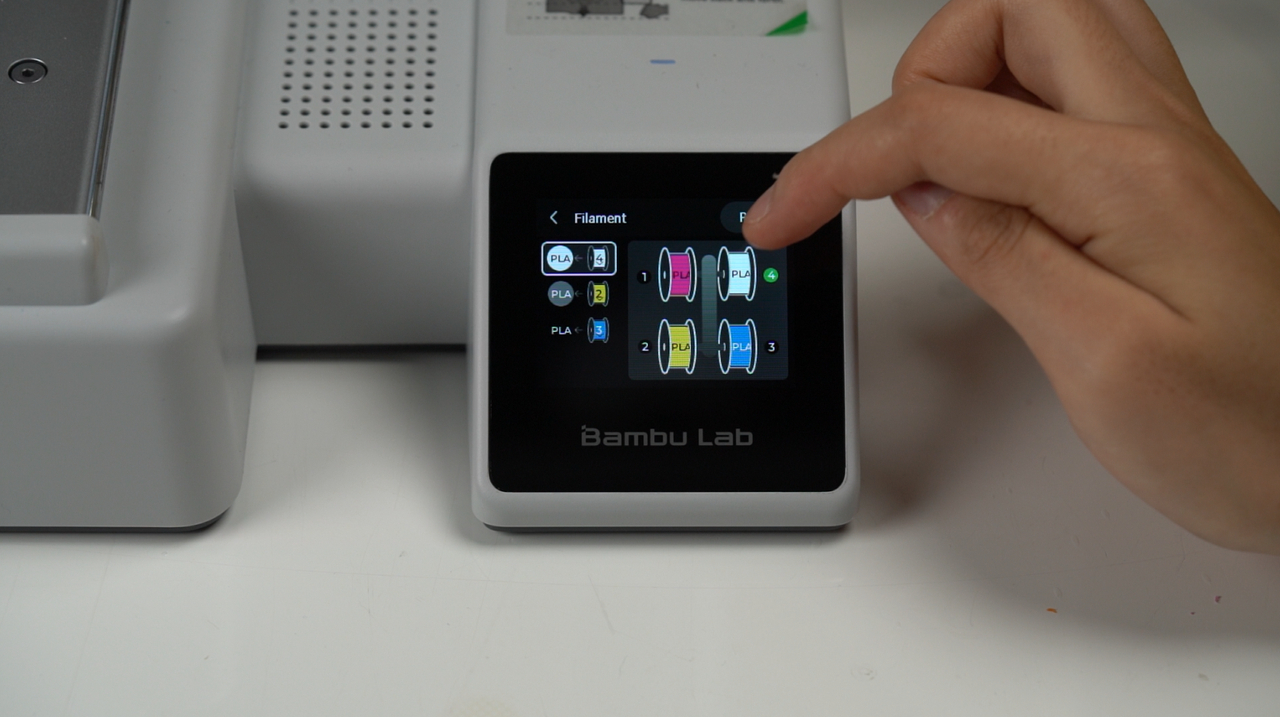
Press the color on the left, then select the filament spool from the right. Repeat for each color if needed. If no filament matches the color specified in the file, you can either place the specified filament in the AMS lite or choose another filament with the same properties and a close color match.
Click "Print."
¶ Appendix: Remove the Filament Spool
¶ 1. Unload the filament
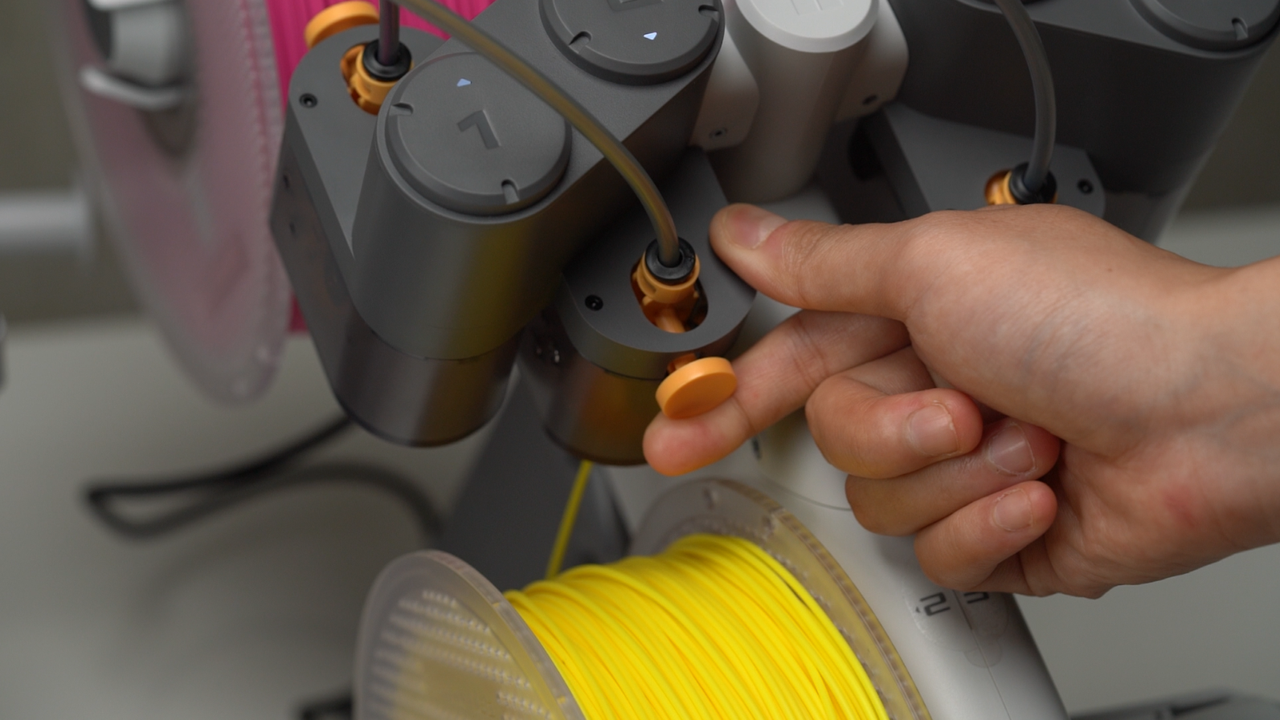
After the filament is retracted from the tool head, rotate the filament spool while pulling back the filament. Press the release button to disconnect the drive motor if the filament gets stuck. When the filament is close to the coupler connector, remove the filament, hold the filament by hand, and insert the filament end into the hole in the filament spool.
 |
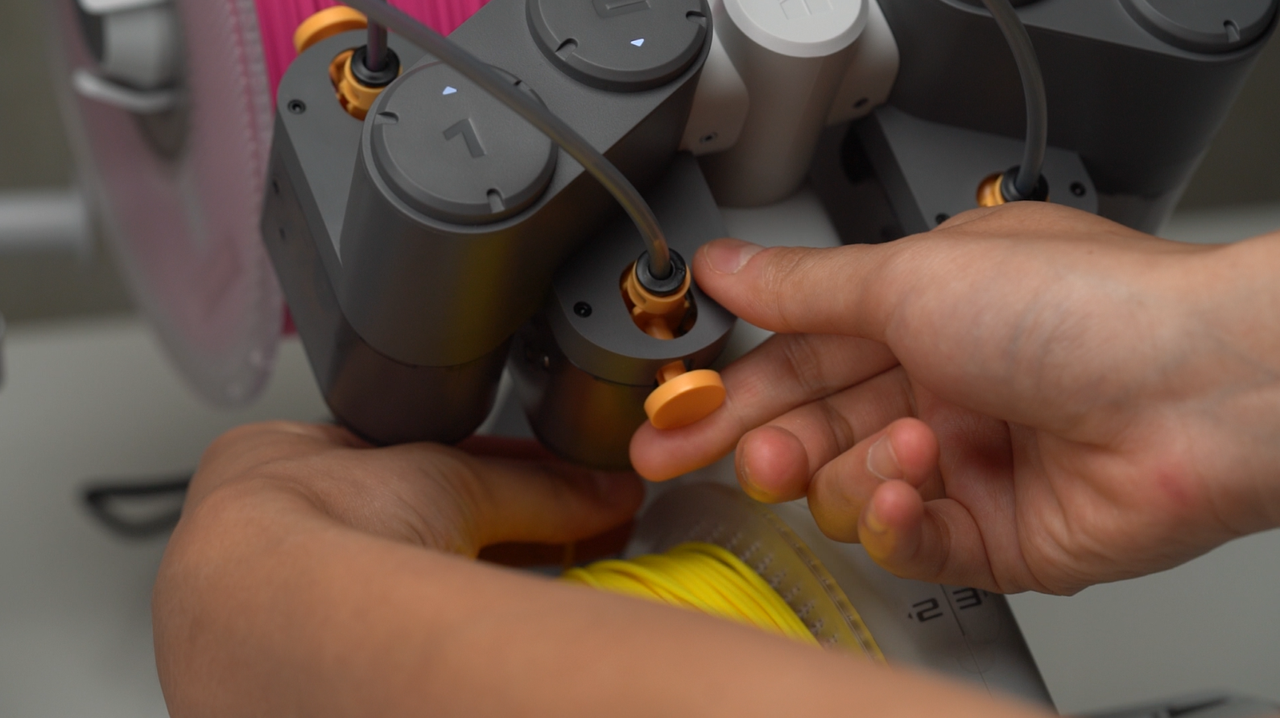 |
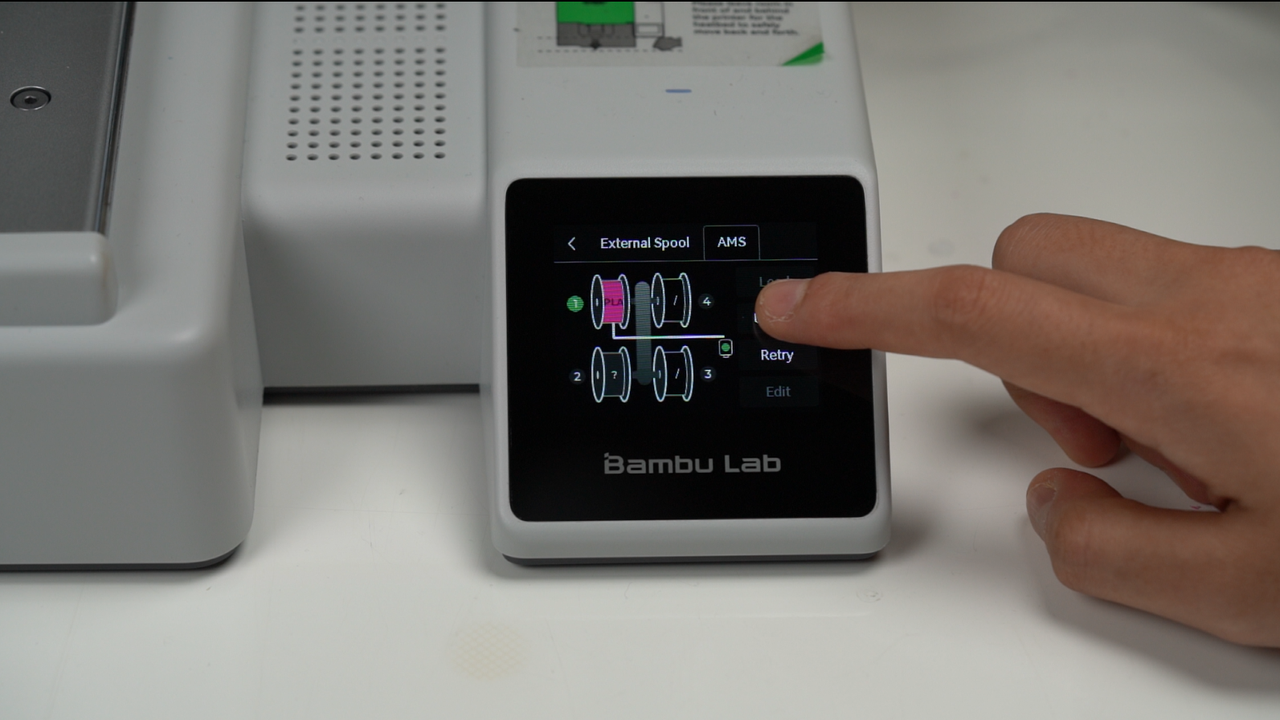
If the tool head currently grips the filament you would like to unload, you first need to "Unload" the corresponding filament slot on the screen to retract the filament from the tool head and then proceed with the filament spool unloading steps mentioned above.
¶ 2. Remove the spool
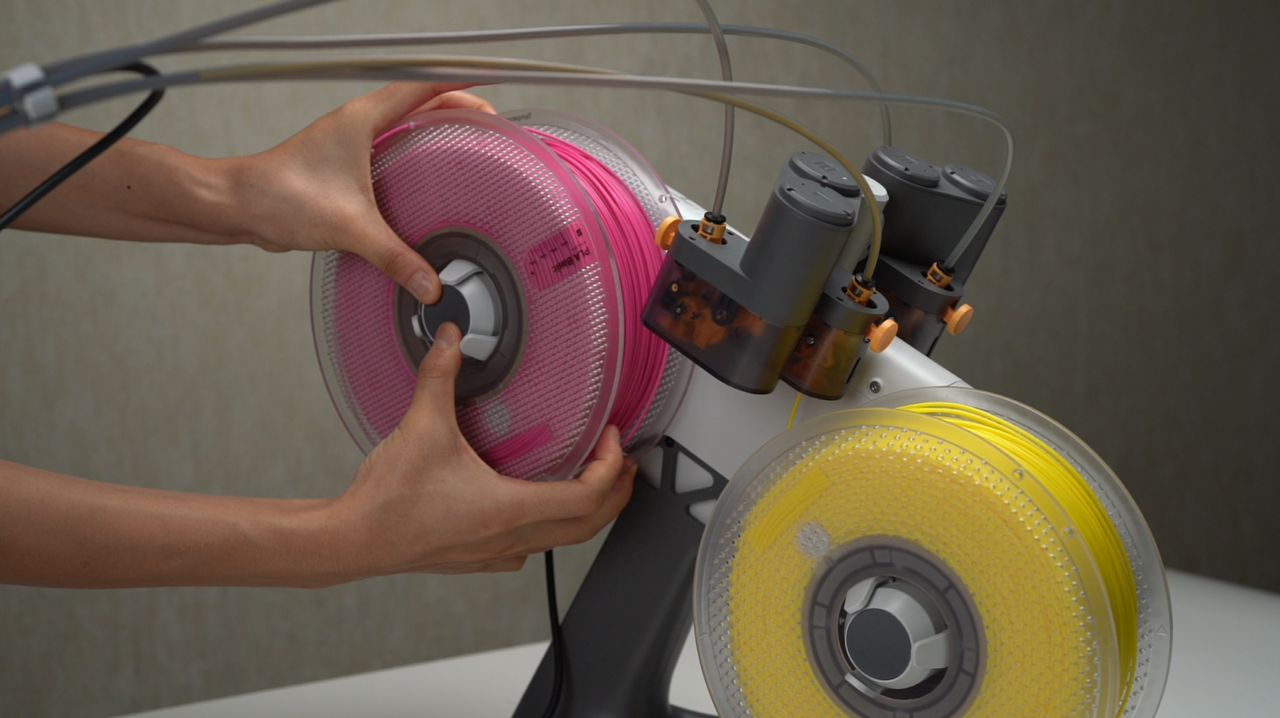
When removing the filament spool, please use both hands to grasp the entire spool instead of just one side. Also, place your thumb near the center of the rotating axis and pull the spool outward.
¶ End Notes
We hope that the detailed guide we shared with you was helpful and informative.
We want to ensure that you can perform it safely and effectively. If you have any concerns or questions regarding the process described in this article, we encourage you to reach out to our friendly customer service team before starting the operation. Our team is always ready to help you and answer any questions you may have.
Click here to open a new ticket in our Support Page.
We will do our best to respond promptly and provide you with the assistance you need.