¶ Applicable models of printers
A1
¶ Live View Camera
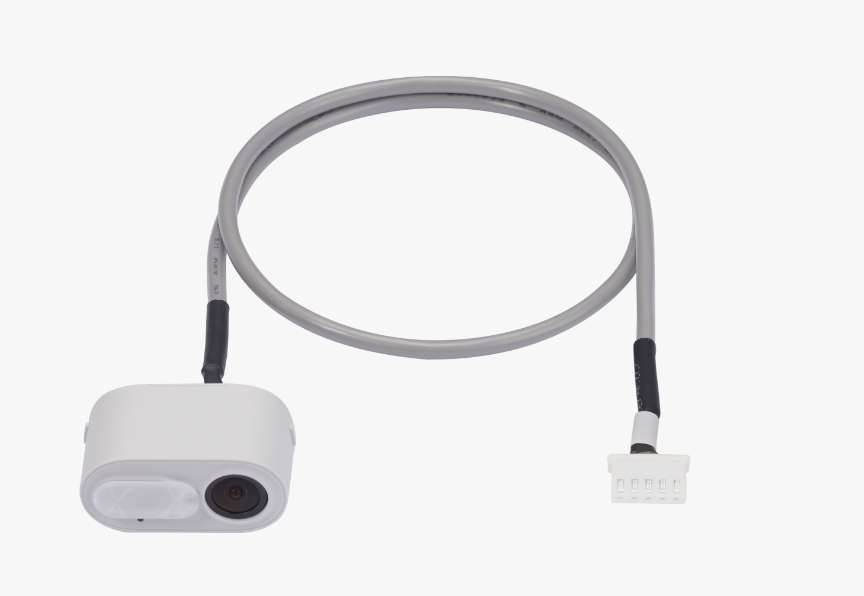
A1 Live View Camera has three functions, which are video recording, remote live streams and timelapse.
¶ When to use?
This guide is intended for use if there is a problem with the Live View Camera.
Common issues that may indicate the need for a camera replacement of the A1:
- Physical damage to the camera or cable
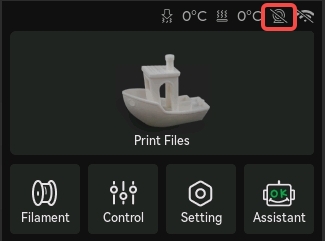
- LED light of the camera is not working anymore
- Recommended by Bambu Lab Technical Support
¶ Safety Warning
IMPORTANT!
It's crucial to power off the printer before conducting any maintenance work, including work on the printer's electronics and tool head wires. Performing tasks with the printer on can result in a short circuit, leading to electronic damage and safety hazards.
During maintenance or troubleshooting, you may need to disassemble parts, including the hotend. This exposes wires and electrical components that could short circuit if they contact each other, other metal, or electronic components while the printer is still on. This can result in damage to the printer's electronics and additional issues.
Therefore, it's crucial to turn off the printer and disconnect it from the power source before conducting any maintenance. This prevents short circuits or damage to the printer's electronics, ensuring safe and effective maintenance. For any concerns or questions about following this guide, open a new ticket in our Support Page and we will do our best to respond promptly and provide the assistance you need.
¶ Tools and materials needed
-
5 minutes
¶ Remove the A1 Live View Camera
¶ Step 1:Remove the motor cover
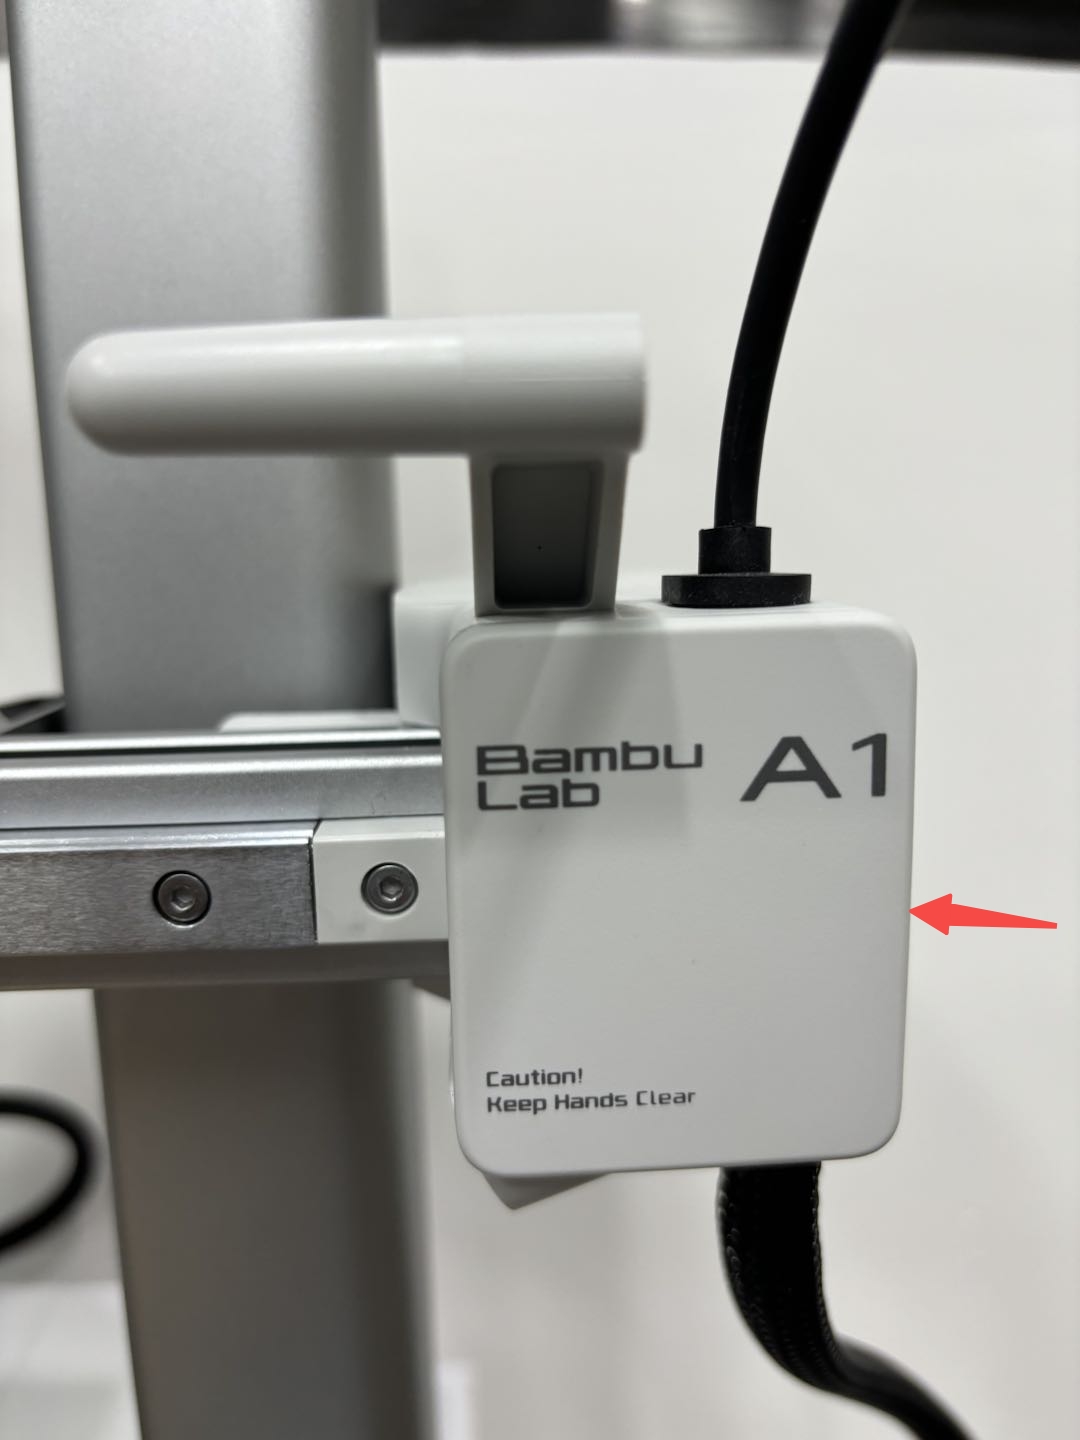
Simply pull from the right side of the front cover towards you to remove the motor cover.
¶ Step 2:Remove the live view camera
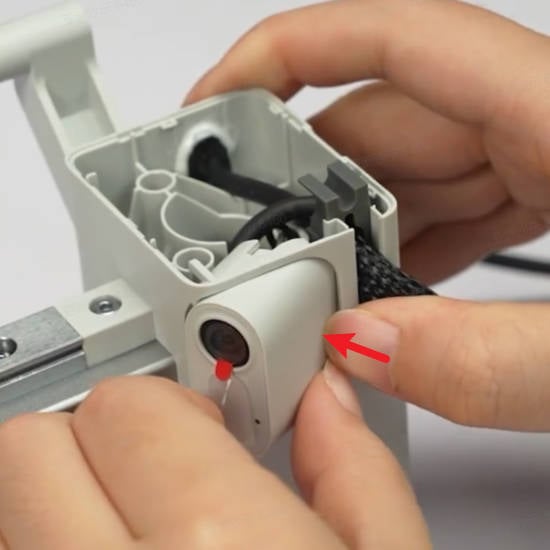
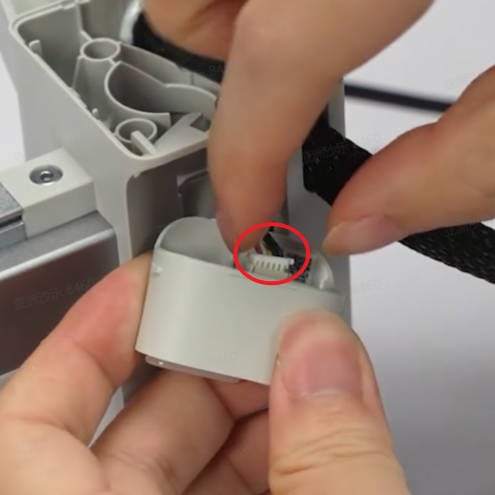
Refer to the picture below and push the camera hard from the bottom to rotate it to a certain angle, then disconnect the camera cable and remove the camera;
 |
 |
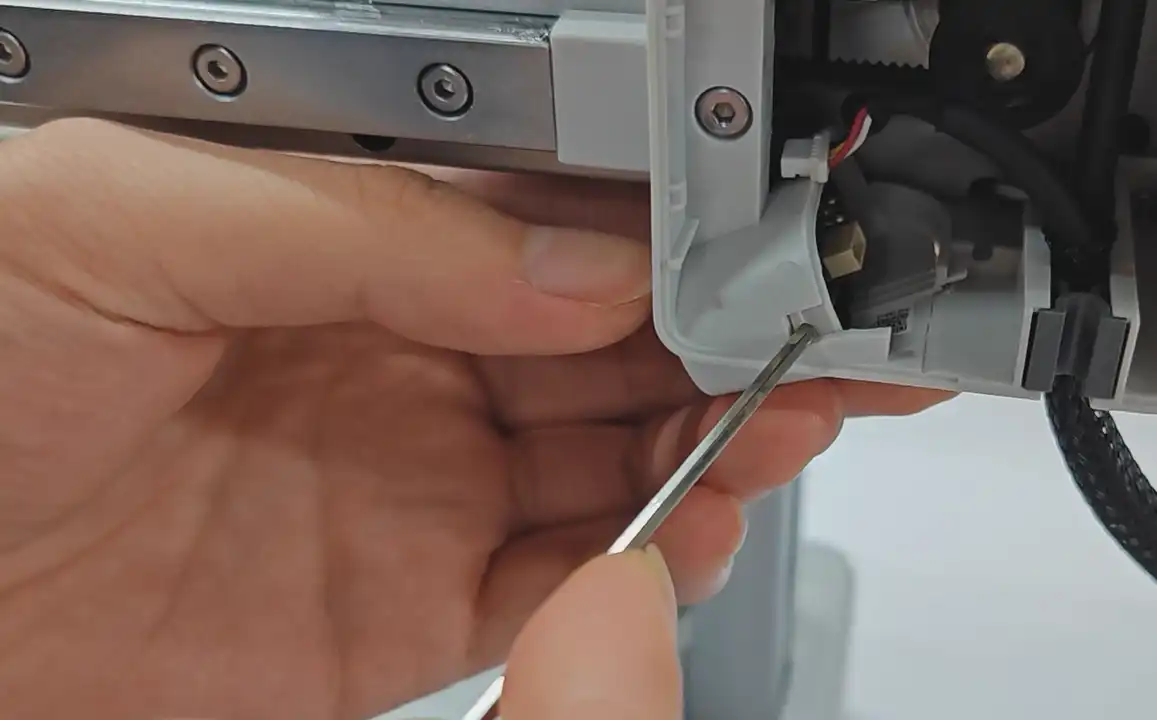
If it cannot be easily removed by hand, you can try using the key to help as shown in the image below.
¶ Install the A1 Live View Camera
¶ Step 1: Install the new live view camera
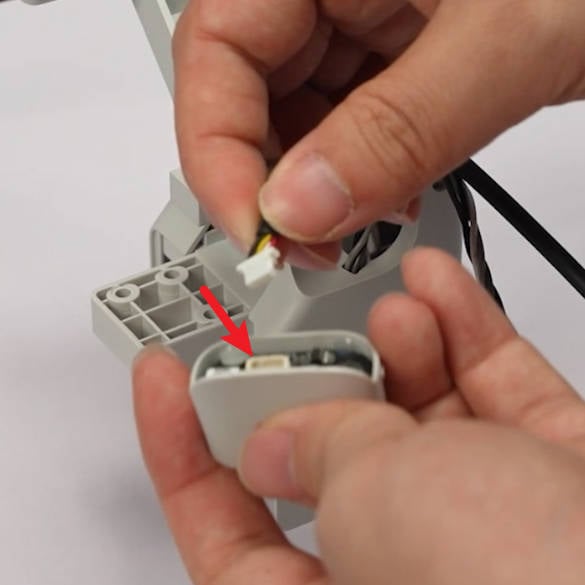
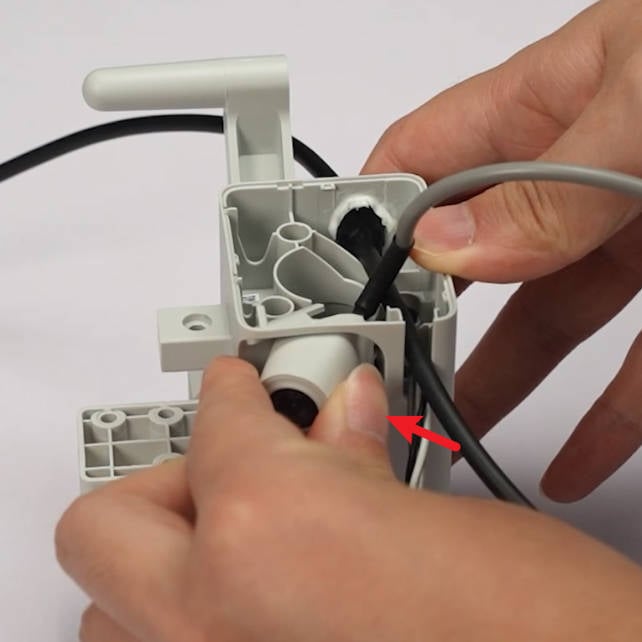
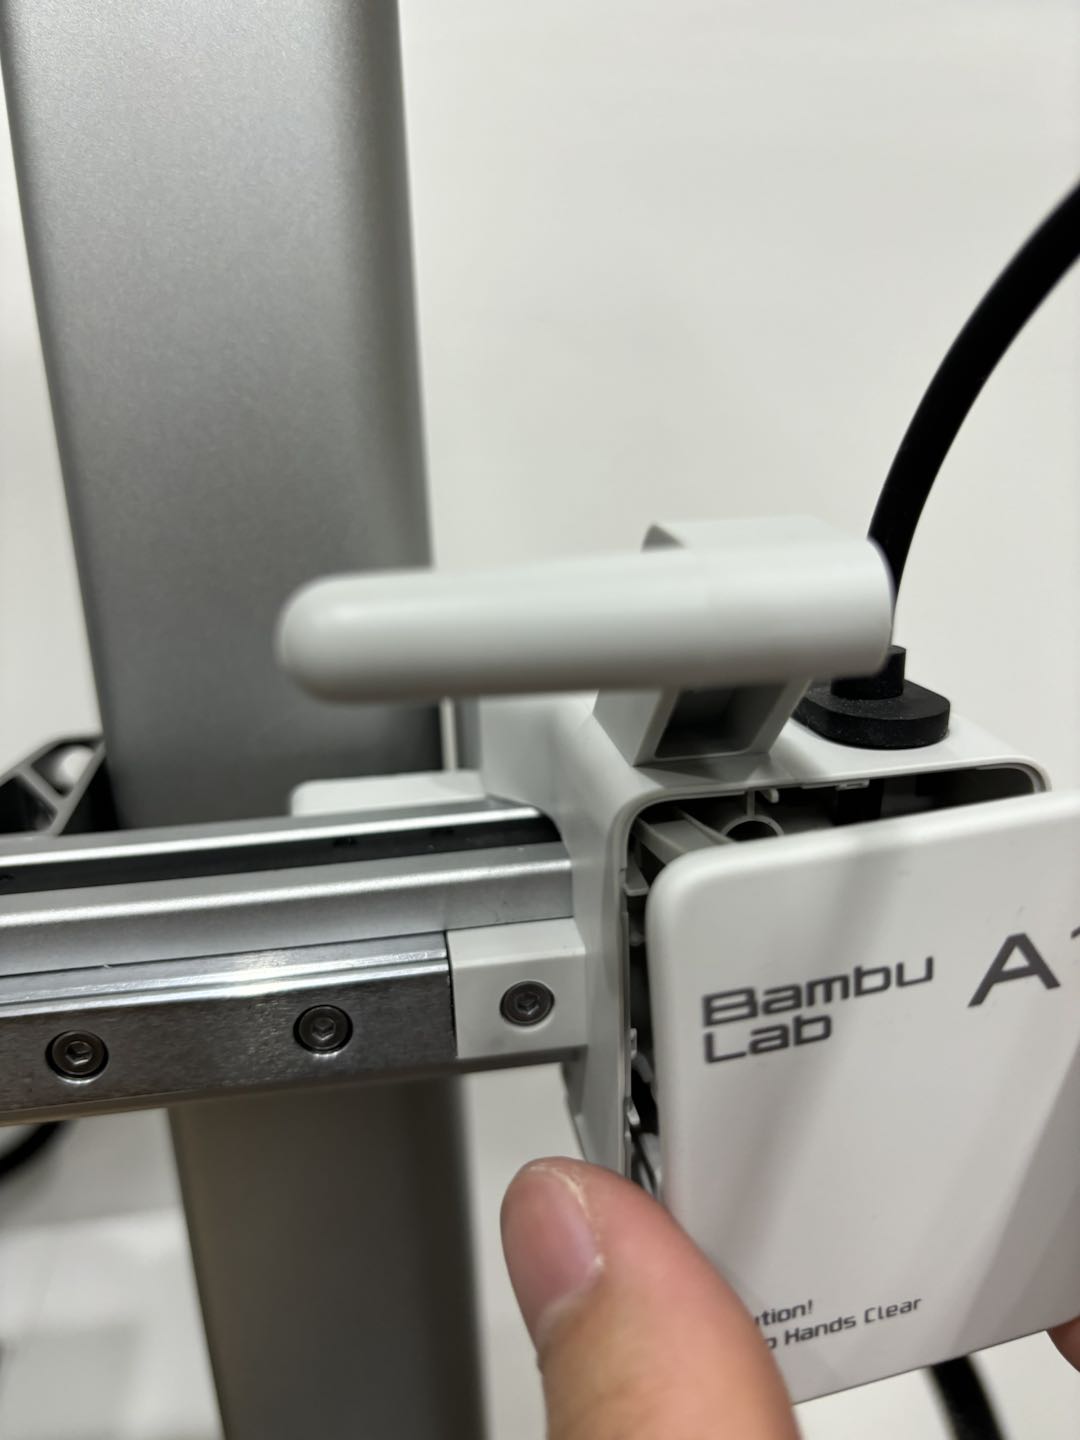
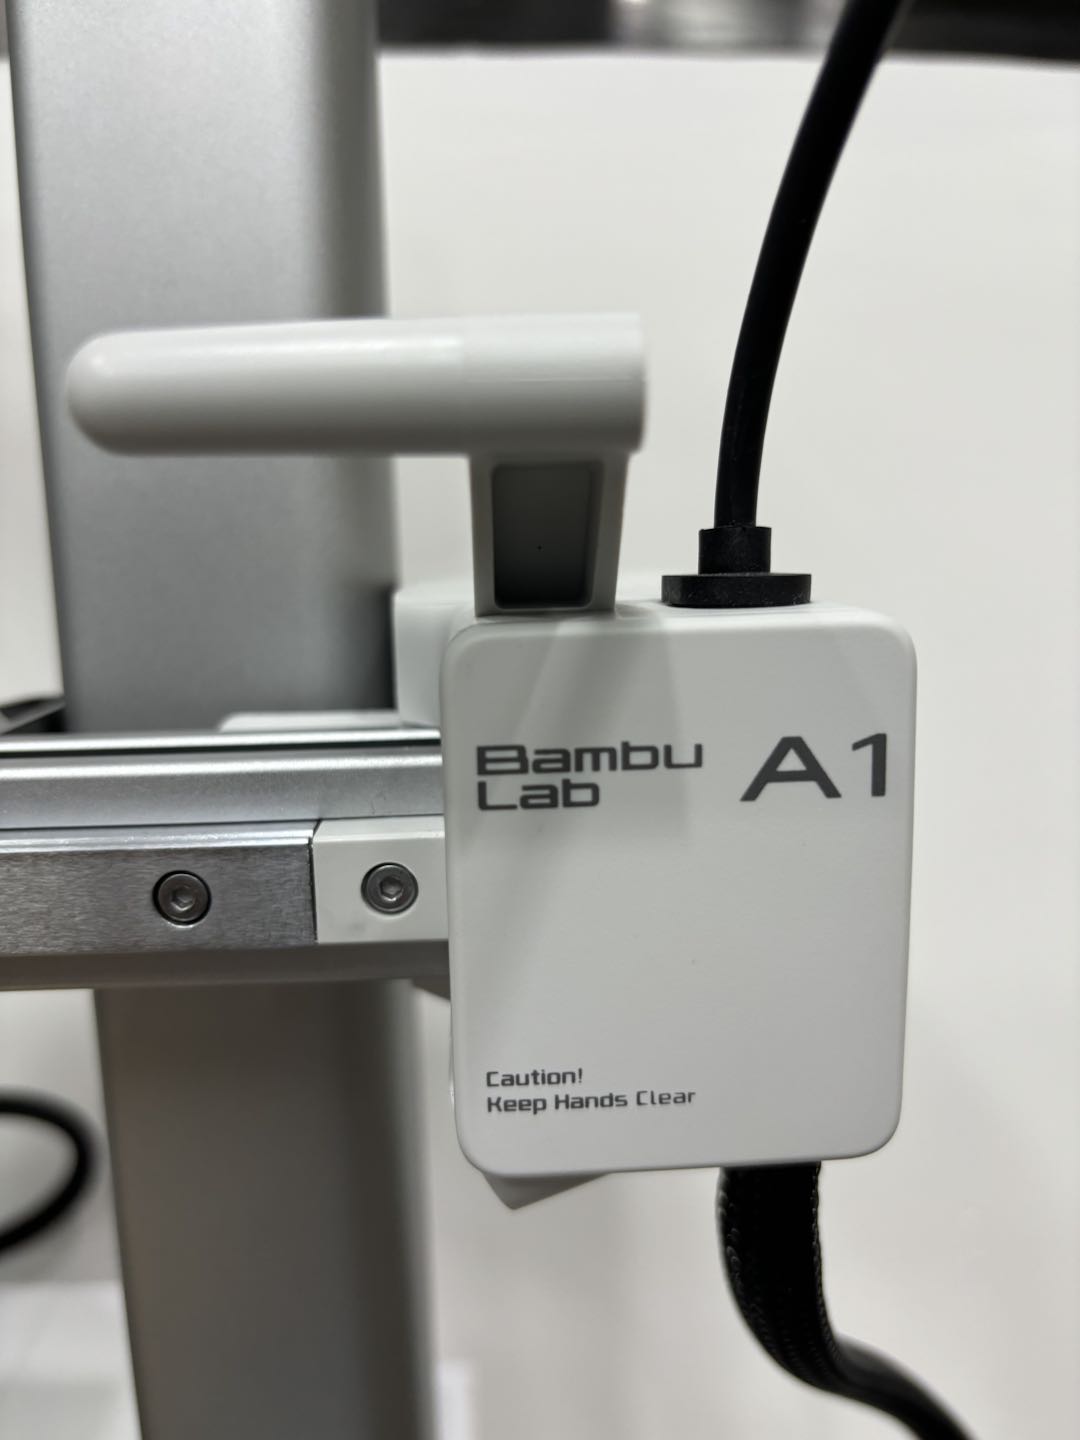
Connect the new camera with the camera cable and mount the camera to the motor cover.
 |
 |
¶ Step 2:Reinstall the motor cover
To reinstall the motor cover, you can simply push it back in place until you hear the clips “clicking” in place.
 |
 |
¶ How to replace the camera including the cable (optional)
If the problem was not resolved by simply replacing the Live View Camera, you might need to also replace the cable.
To do so, carefully read the A1 USB-C cable replacement guide and follow the same procedure to remove the camera cable from the wire loom.
¶ Calibration Step After the Operation
There is no need to perform a calibration procedure after this operation. Simply open Bambu Handy or Bambu Studio and check if the new camera works as expected.
¶ End Notes
We hope the detailed guide provided has been helpful and informative.
To ensure a safe and effective execution, if you have any concerns or questions about the process described in this article, we recommend submitting a Technical ticket regarding your issue. Please include a picture or video illustrating the problem, as well as any additional information related to your inquiry.