¶ Hotend
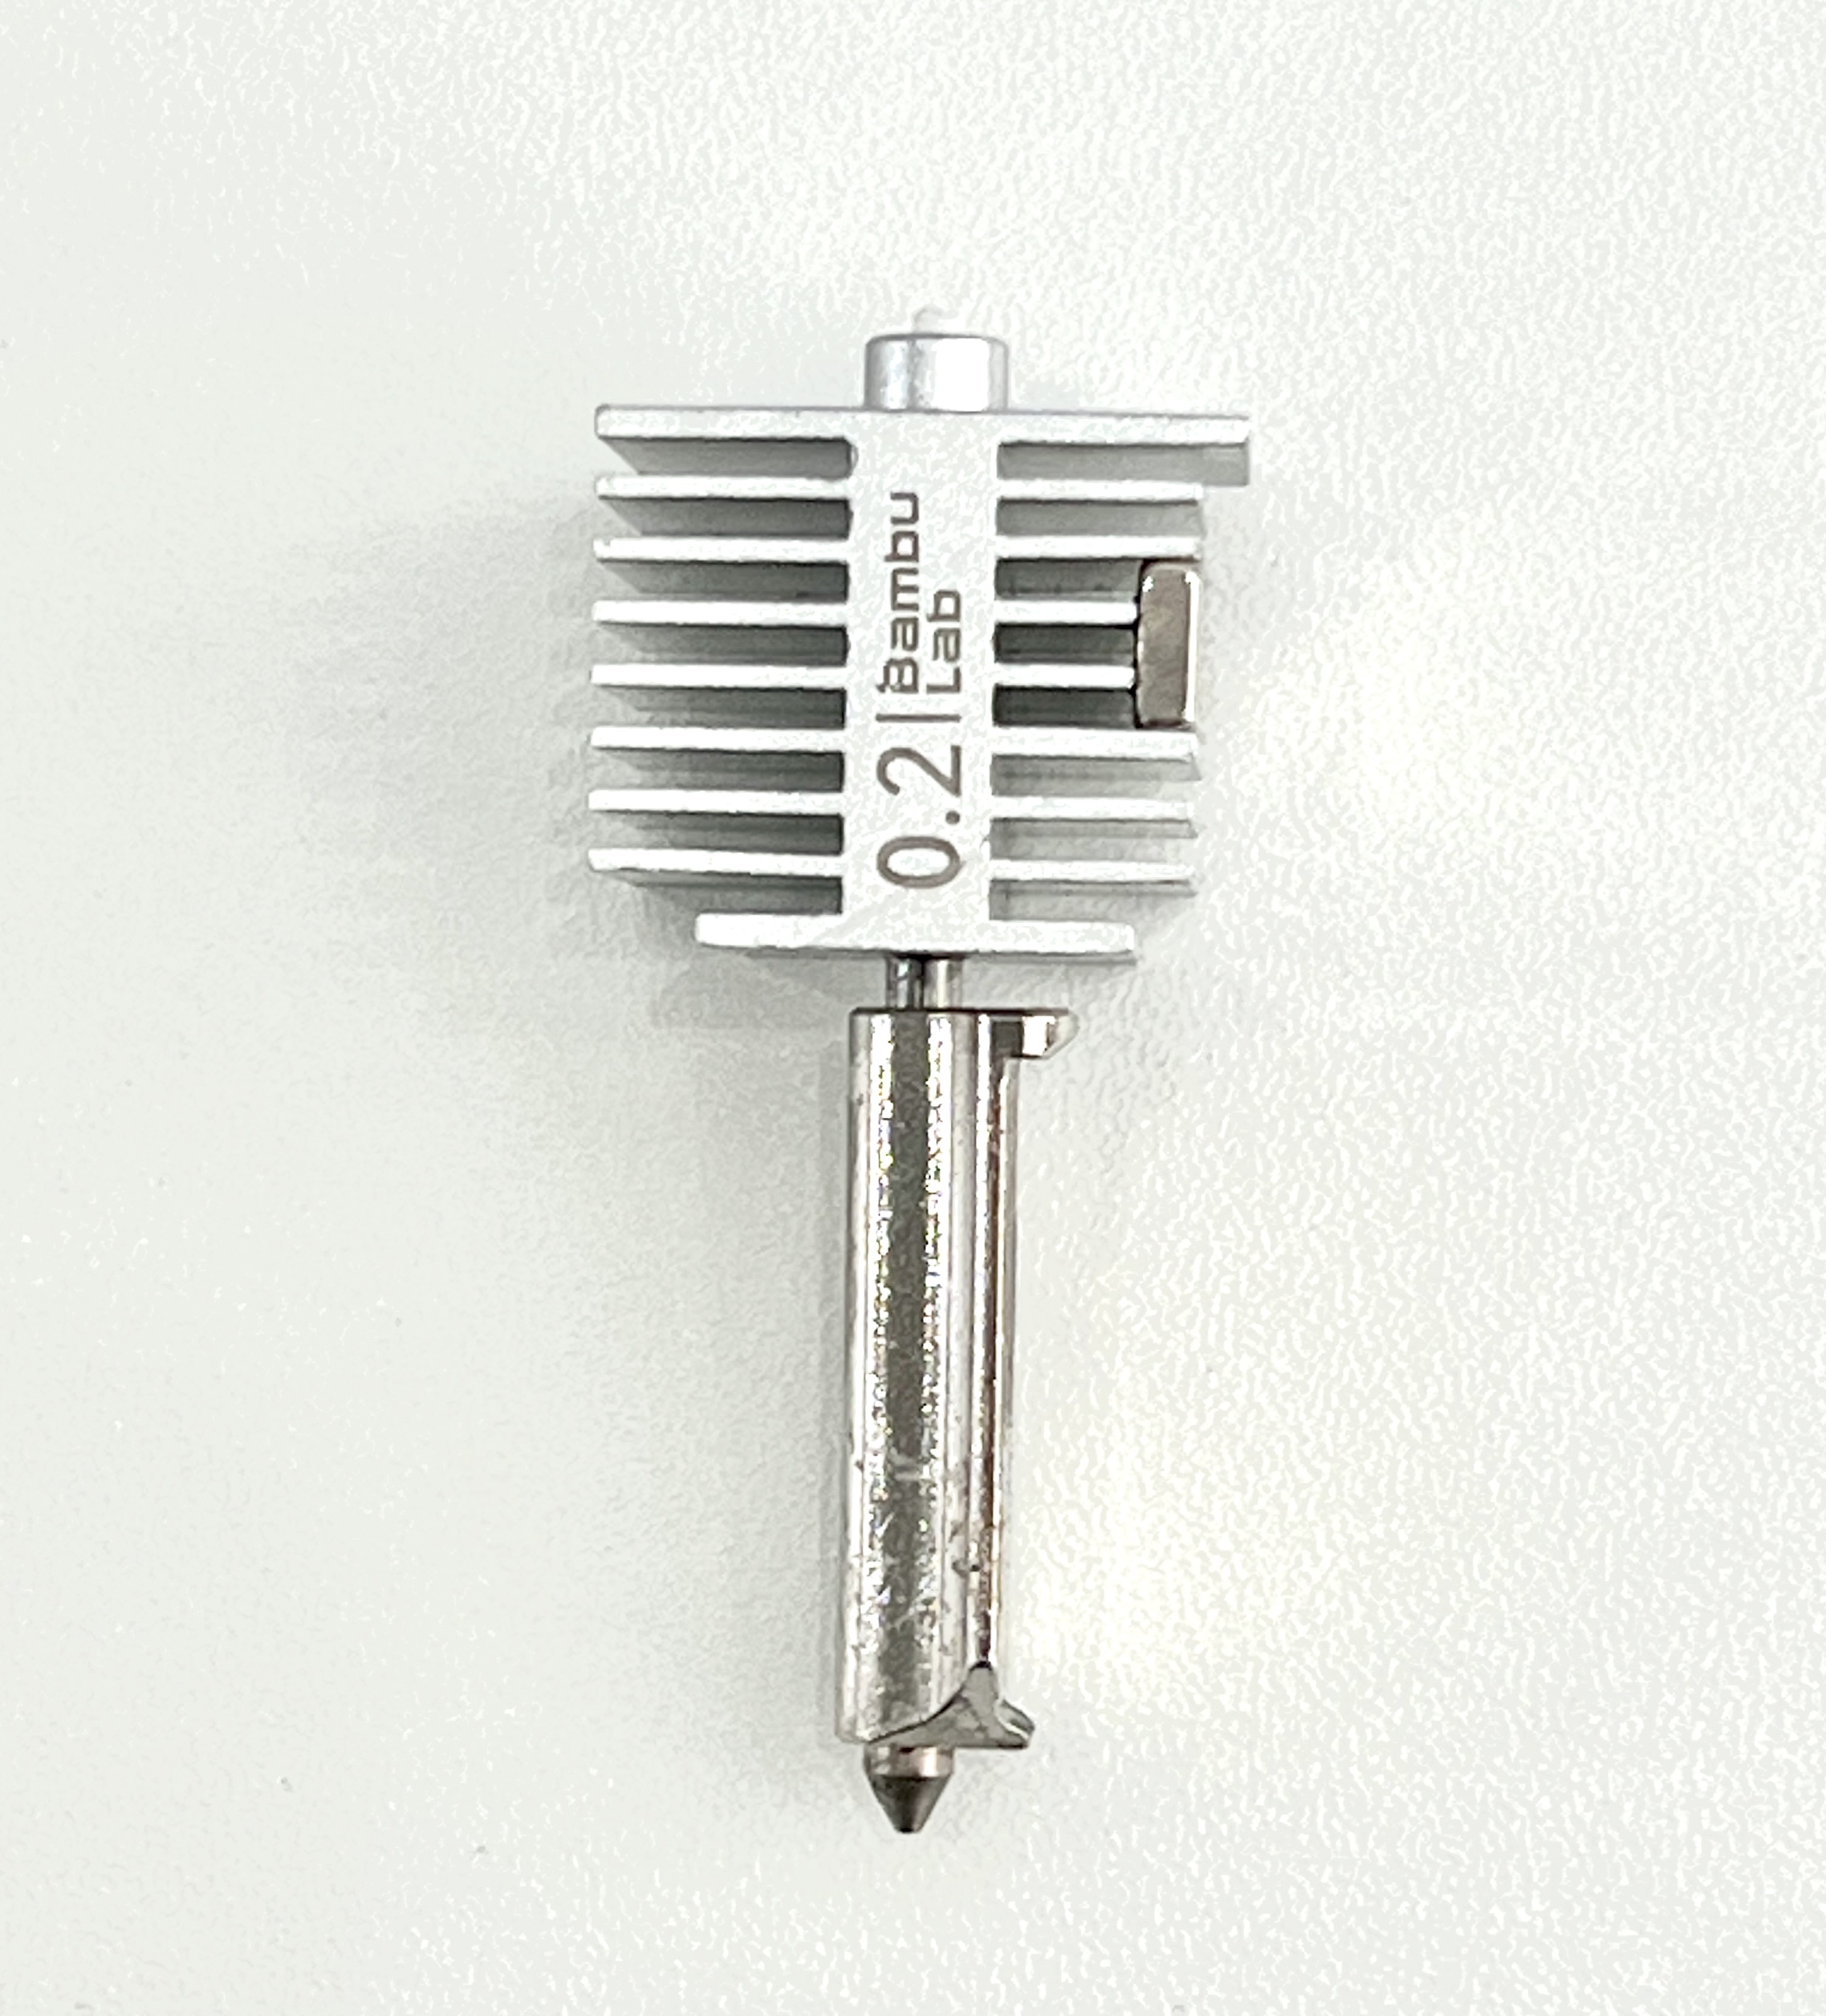
The hotend is installed on the toolhead and is used for extruding filament. For the A1 printer, we provide hotend with diameters of 0.2, 0.4, 0.6, and 0.8mm, allowing you to choose according to your needs. Additionally, we offer a high flow hotend for your selection.
Thanks to its toolless design, the A1's nozzle can be replaced in just a few minutes with ease.
Note: If you have replaced the nozzle with one of a different specification, please remember to sync the nozzle information on the device.
¶ When to Replace
- Hotend clogging
- Hotend damage
¶ Tools and Materials Needed
- New hotend
- H1.5 / H2.0 hex key
¶ Safety Precautions
Important Reminder!
It's crucial to power off the printer before conducting any maintenance work, including work on the printer's electronics and tool head wires. Performing tasks with the printer on can result in a short circuit, leading to electronic damage and safety hazards.
During maintenance or troubleshooting, you may need to disassemble parts, including the hotend. This exposes wires and electrical components that could short circuit if they contact each other, other metal, or electronic components while the printer is still on. This can result in damage to the printer's electronics and additional issues.
Therefore, it's crucial to turn off the printer and disconnect it from the power source before conducting any maintenance. This prevents short circuits or damage to the printer's electronics, ensuring safe and effective maintenance. For any concerns or questions about following this guide, we recommend submitting a technical ticket regarding your issue and we will do our best to respond promptly and provide the assistance you need.
¶ Removing the Hotend
- To start, turn off the printer and ensure that the nozzle is not hot. Then, press the filament lever on the right side to release and cut the filament.
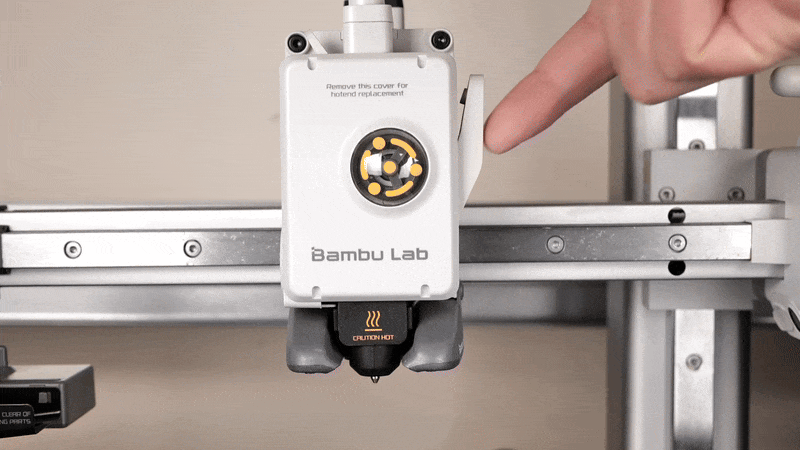
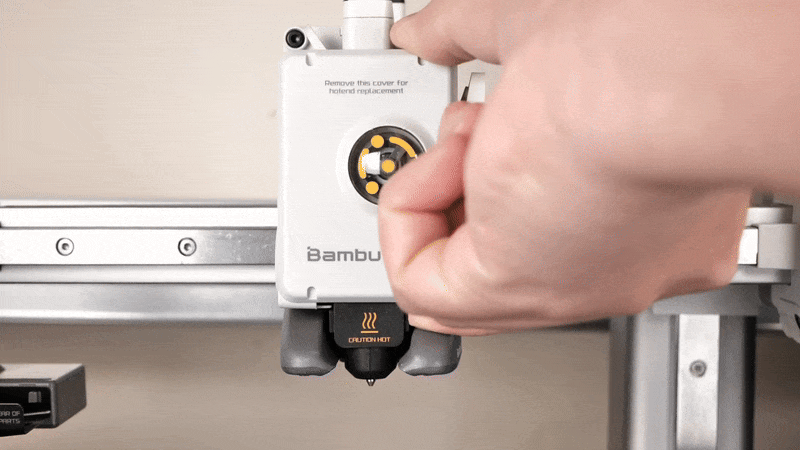
- Next, gently pull from the bottom front right corner to remove the front cover.
- After that, remove the silicone sock that covers the nozzle.
- Push the nozzle buckle to the right to unlock it, then move the left side of the buckle outward. For easier access, you can use a small piece of filament to assist.
- Hold the heatsink section of the nozzle and gently pull it out.
¶ Installing the Hotend
- With the nozzle removed, you can now install the new one by following the steps in reverse. However, there are a few important details to keep in mind. Let’s go through the process step by step.
Carefully insert the nozzle at a slight angle, tilting it slightly toward the back of the printer. The built-in magnet will attach to the screws, helping with proper alignment. Once in place, press on the heatsink to ensure it sits flush against the hotend heating assembly.
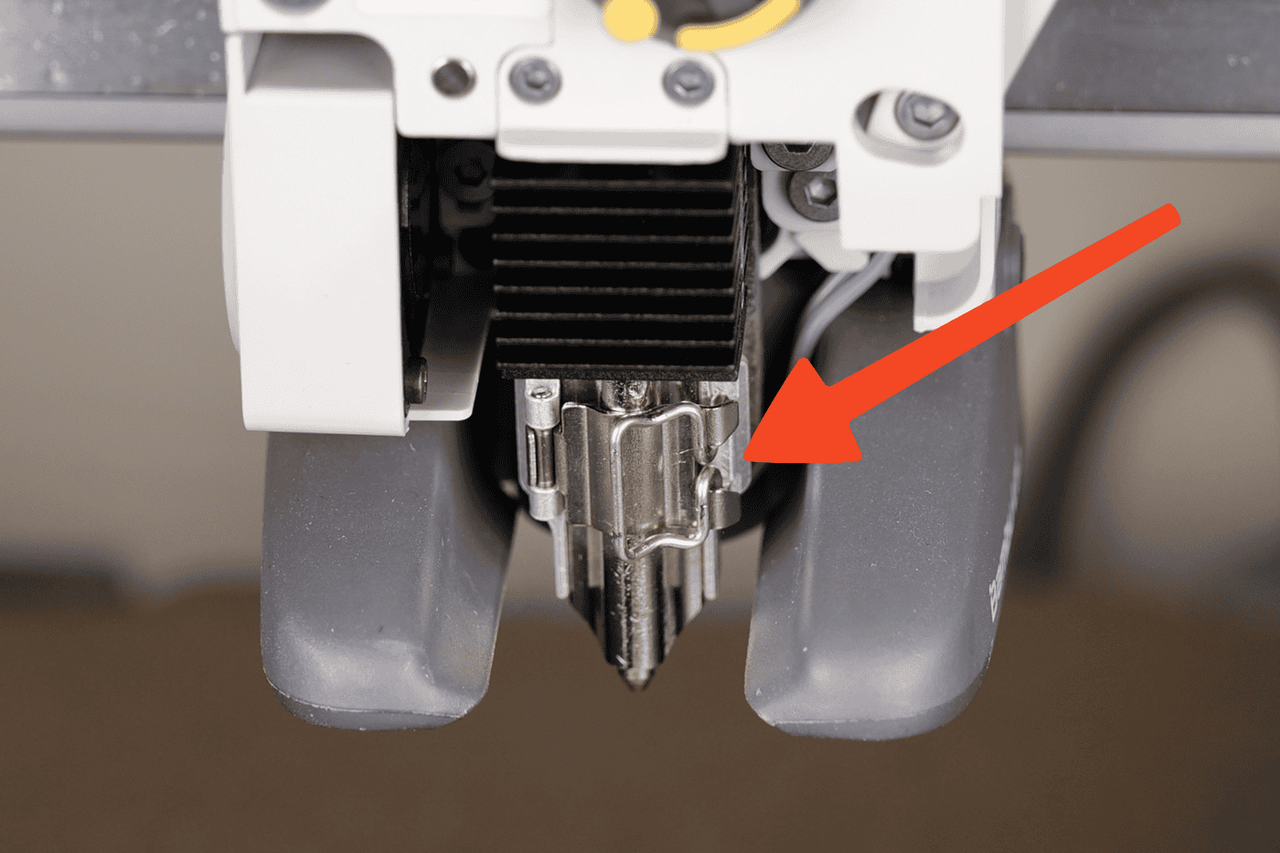
- The next crucial step is closing the hotend buckle. First, gently flip the left side of the buckle into place, then lock the right side securely, as shown in the images below.
If the buckle doesn’t lock into place easily, double-check that the nozzle is properly seated flat against the hotend heating assembly and that the heatsink is also aligned correctly. Below is a close-up of the nozzle to illustrate the correct buckle installation.
- Next, install the silicone sock over the nozzle, ensuring it is fully secured and properly fitted on the sides, as shown.
- Finally, attach the front cover to complete the installation. Press on the bottom corners until you hear it click into place.

¶ Sync Nozzle Information on the Device
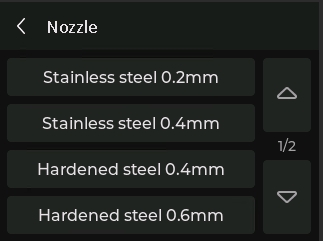
If you have replaced the hotend with one of a different diameter or material, please refer to the animation below to update the nozzle information on the screen:
Tap Settings → Maintenance → Nozzle on the control panel to modify the settings.
¶ Bambu Studio Software Settings Notice
In the latest version of Bambu Studio (V02.01.01.52 or later), the option to modify nozzle information under the "Printer Parts" section has been disabled (as shown in the screenshot below) and is now for display purposes only.
Some users may mistakenly consider this a software or hardware issue due to changes from previous versions. However, this adjustment is intended to enhance operational consistency and user safety. Nozzle changes must be performed directly on the printer. Allowing modifications via the software interface could mislead new users into thinking that a physical nozzle replacement is unnecessary before printing.

¶ How to Confirm a Successful Installation
- The hotend is securely installed with no wobble
- The printer is able to extrude filament properly
¶ End Notes
We hope the detailed guide provided has been helpful and informative.
If this guide does not solve your problem, please submit a technical ticket, we will answer your questions and provide assistance.
If you have any suggestions or feedback on this Wiki, please leave a message in the comment area. Thank you for your support and attention!