¶ April 2024 Update:
There are two versions of columns available in the current market, and they are randomly shipped as part of normal production changes. Please refer to the actual packaging of the machine you received for accurate information.
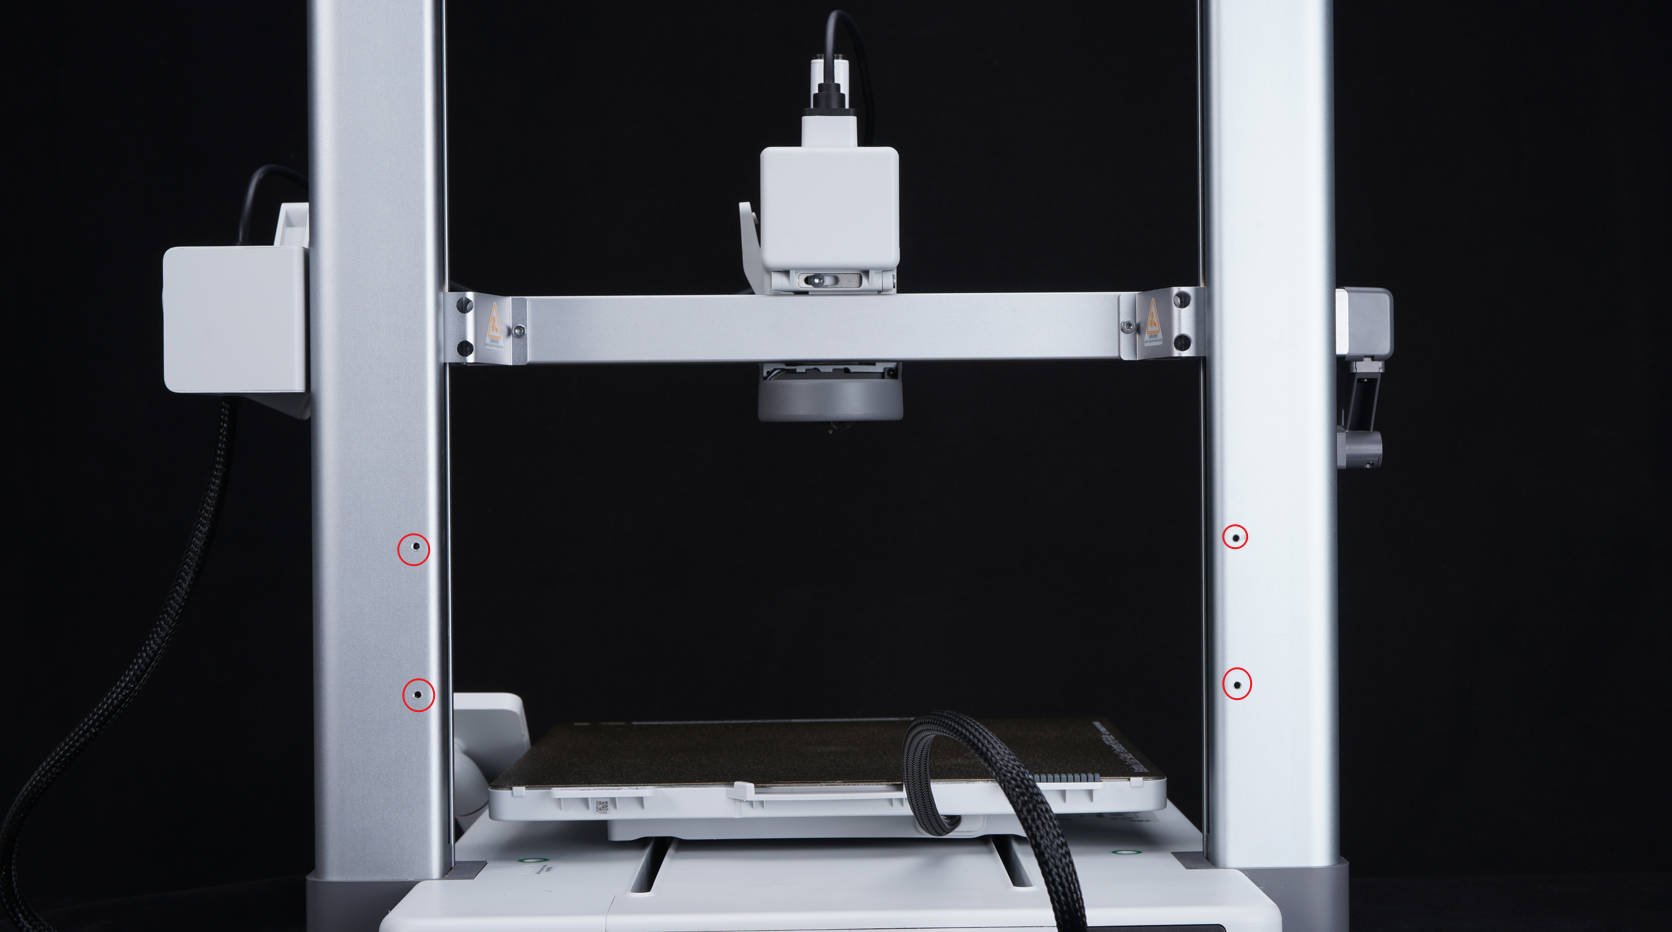
Version details: One version of the frame with screw holes(see Figure 1 below), while the other version of the frame without screw holes.
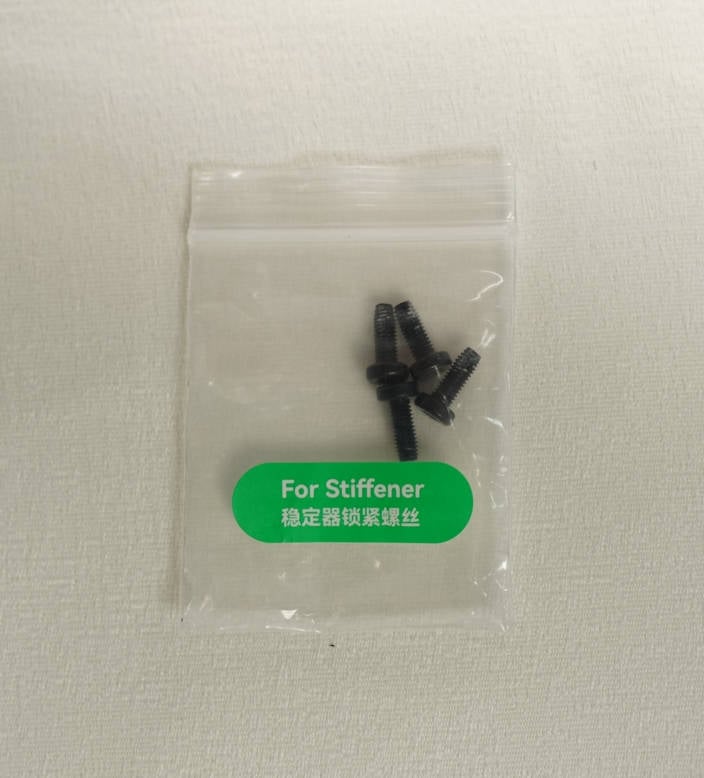
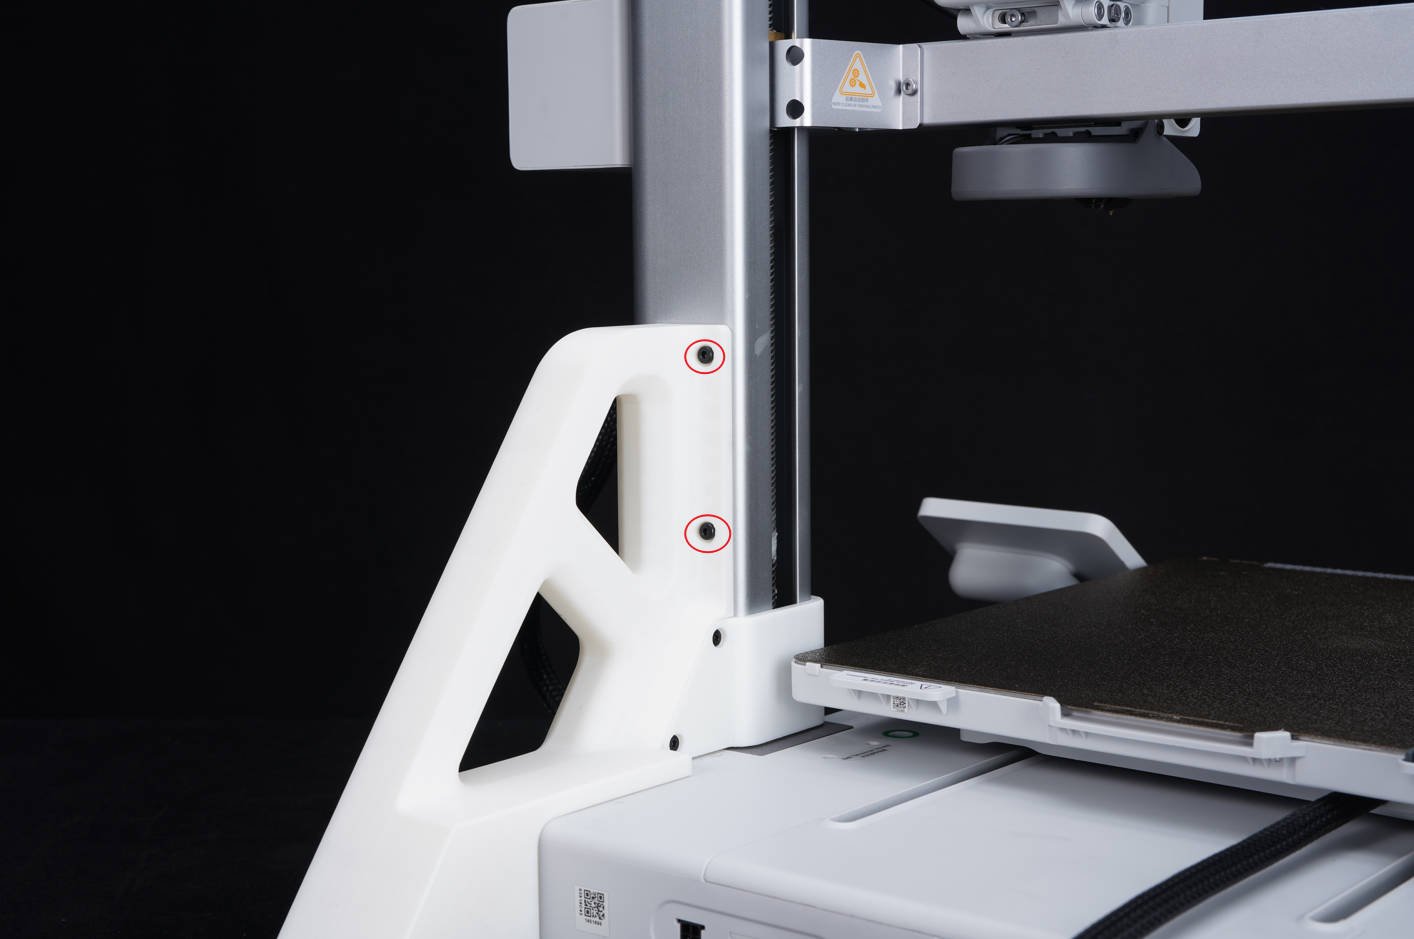
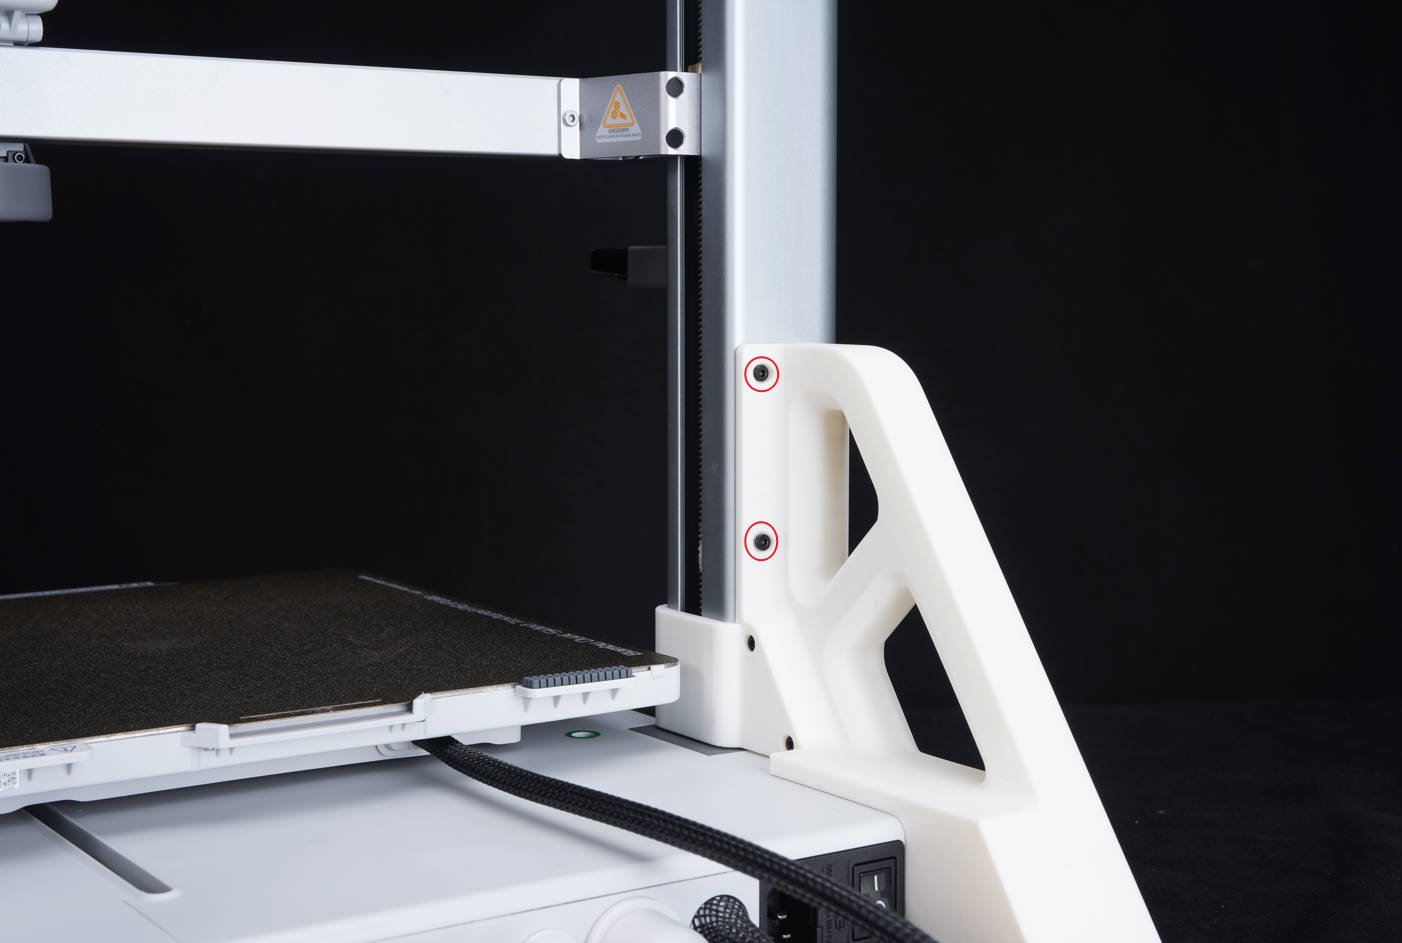
If your printer does not have screw holes in the columns, please follow the instructions below for installation without the need for additional screws. However, if your printer has screw holes in the columns, you can use the four ST3-8 stabilizer screws provided in the accessory box for additional tightening after completing the installation steps outlined below.
The Z-axis Stiffener model on Maker World is now the latest version. Regardless of which version of the printer frame you have, the new model on Maker World will be compatible.
 |
 |
 |
 |
¶ Video guide
¶ When to Use This Guide
We offer the top mount bracket set for those who want to install their AMS lite unit on top of their A1 printer. This set of printable components allows you to mount your AMS lite on top of the A1 safely.
¶ Required Material
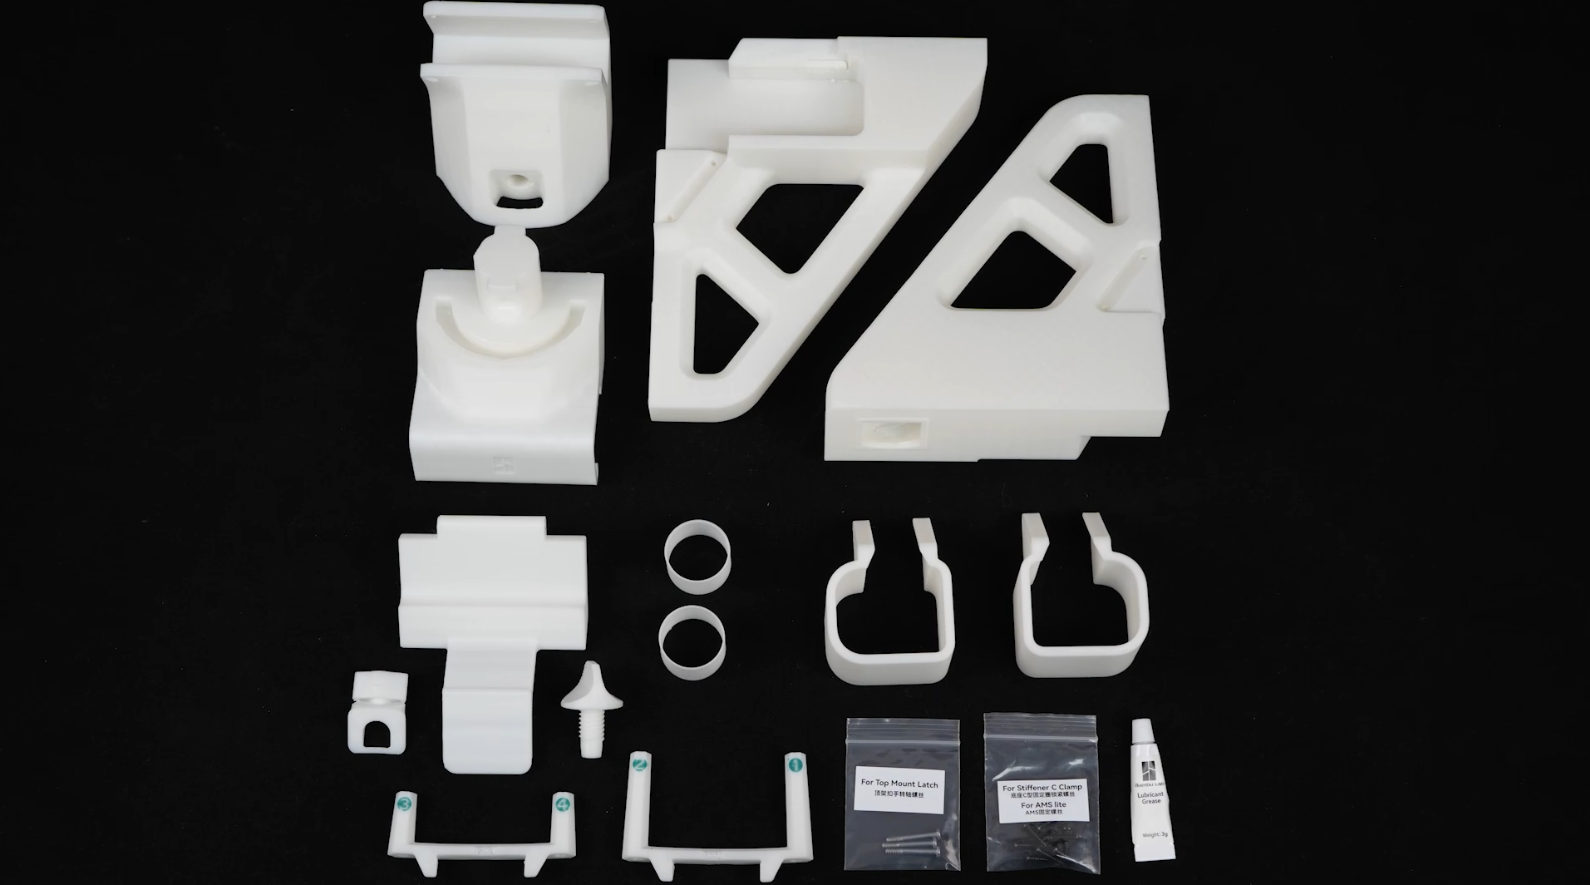
¶ 1. Printed Top Model
Click here to download the model from Makerworld.
¶ 2. 2 * BT3-23 Screws
You can use your own 2 * M3-23 screws or purchase the AMS lite Top Mount Screws Kit from our store (click here for the purchase link).
¶ 3. 12 * BT3-12 Screws
You can use your own 12 * M3-10 screws or purchase the AMS lite Top Mount Screws Kit from our store (click here for the purchase link).
¶ 4. Lubricant Grease
The accessory box includes lubricant grease, but you can also use other compatible lubricants.
¶ 5. H2 Hex Key
The AMS lite Top Mount Screws Kit is officially sold, and it contains five screws that are not needed in this guide. However, you can keep them for future use.
¶ Operation Guide
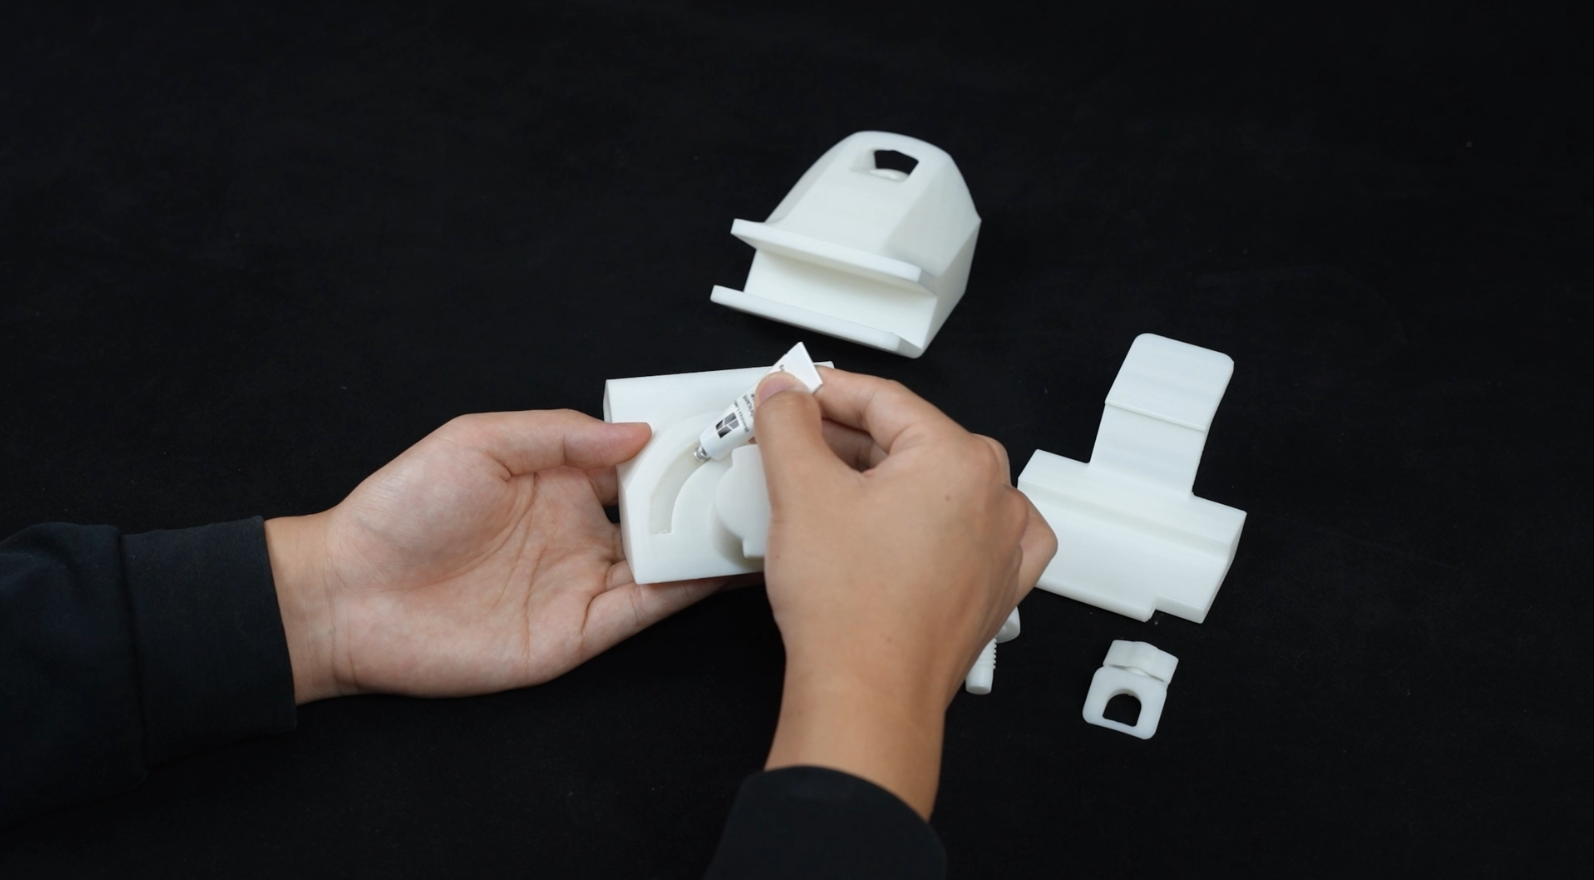
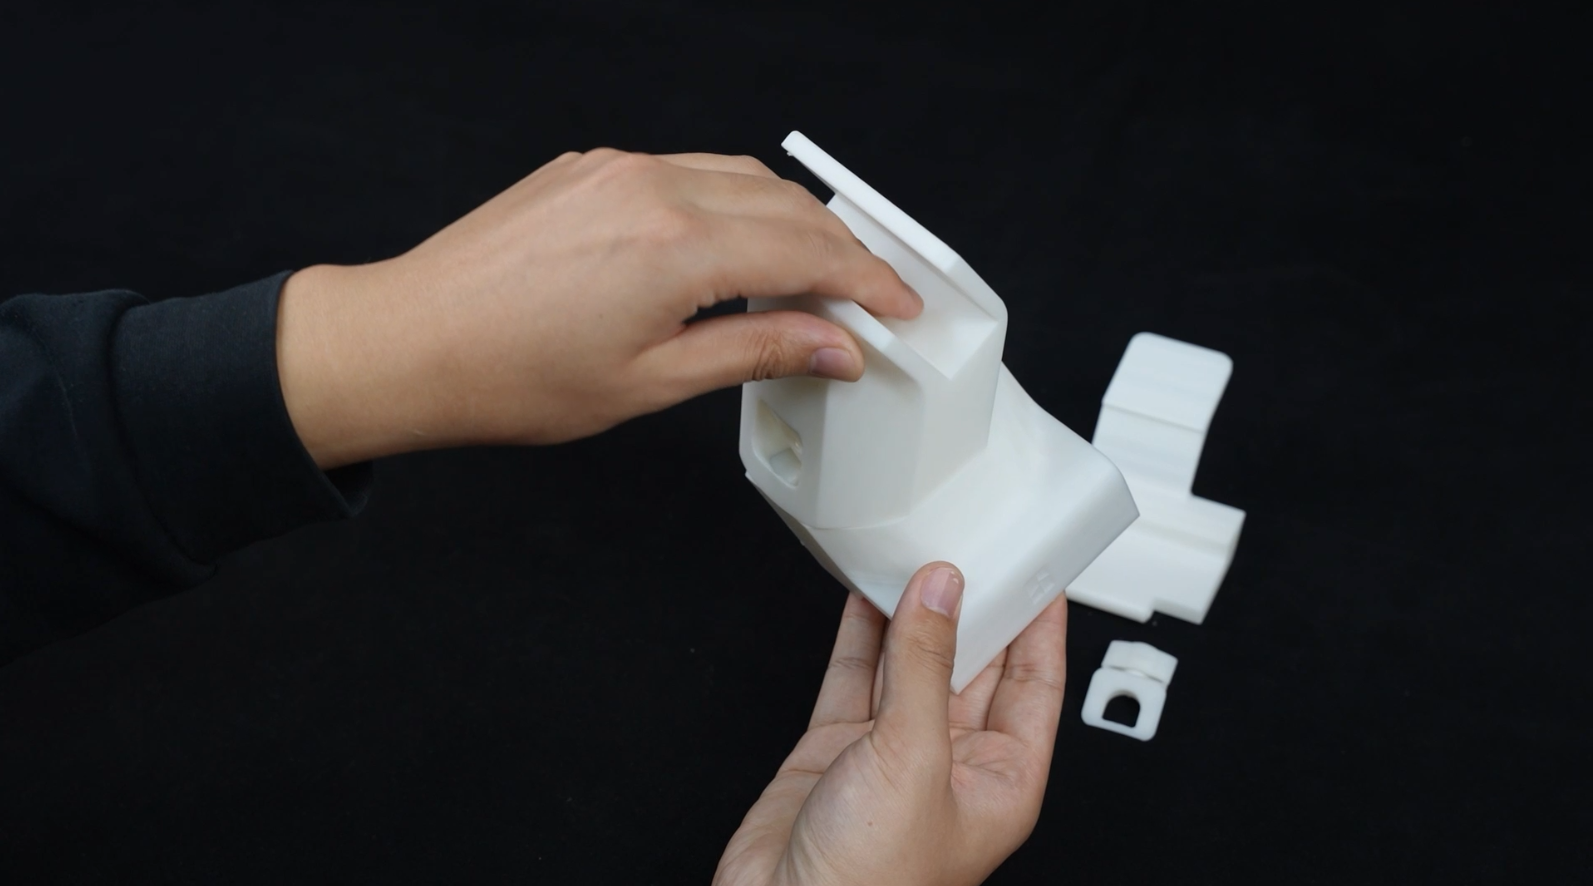
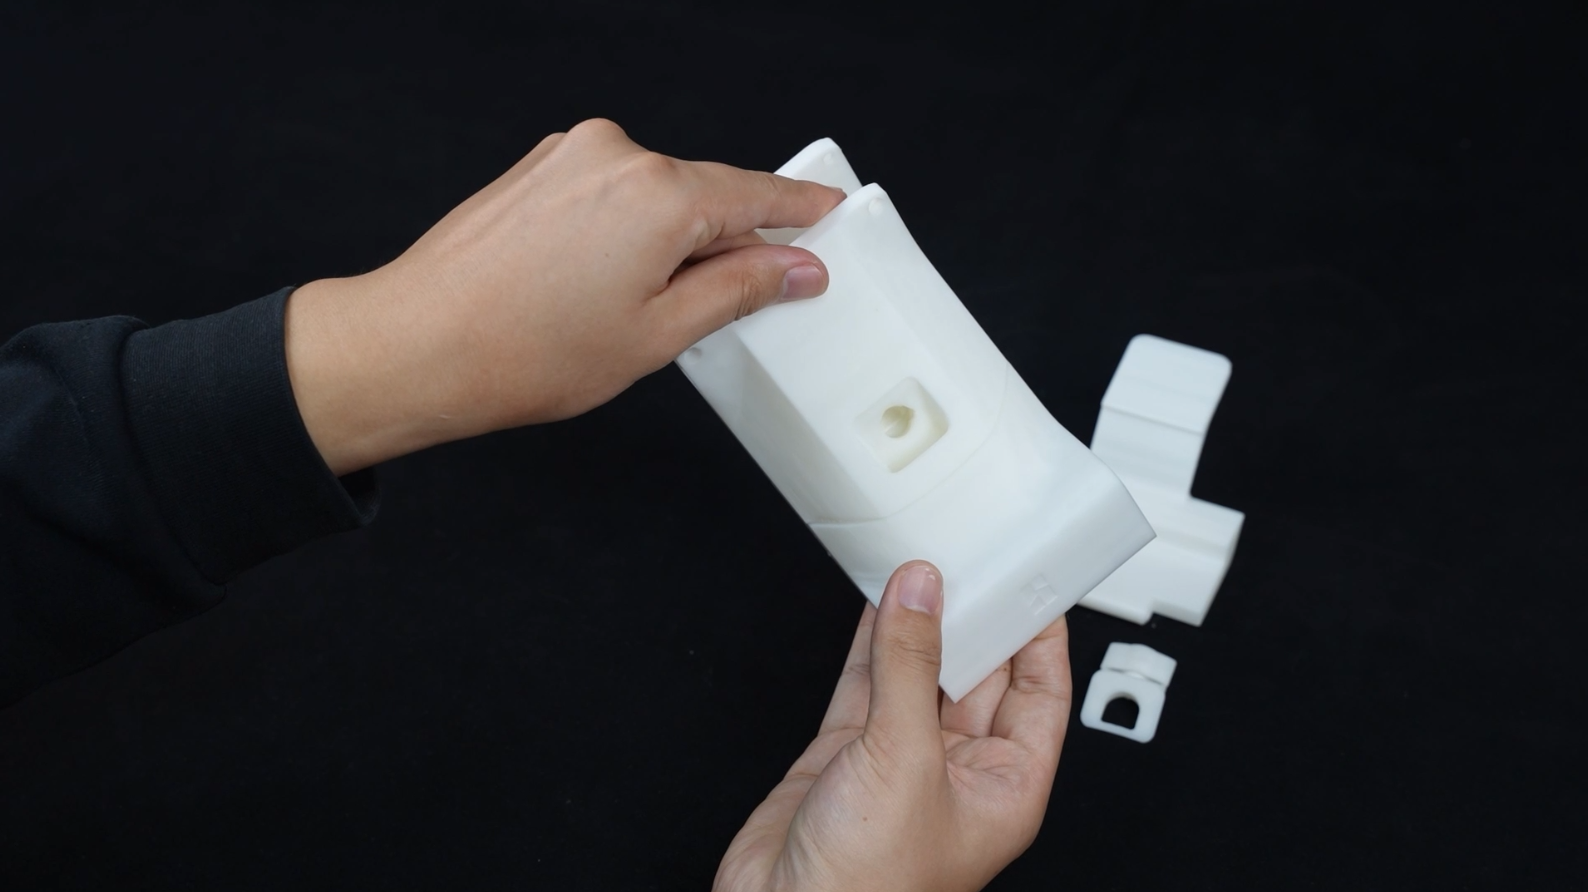
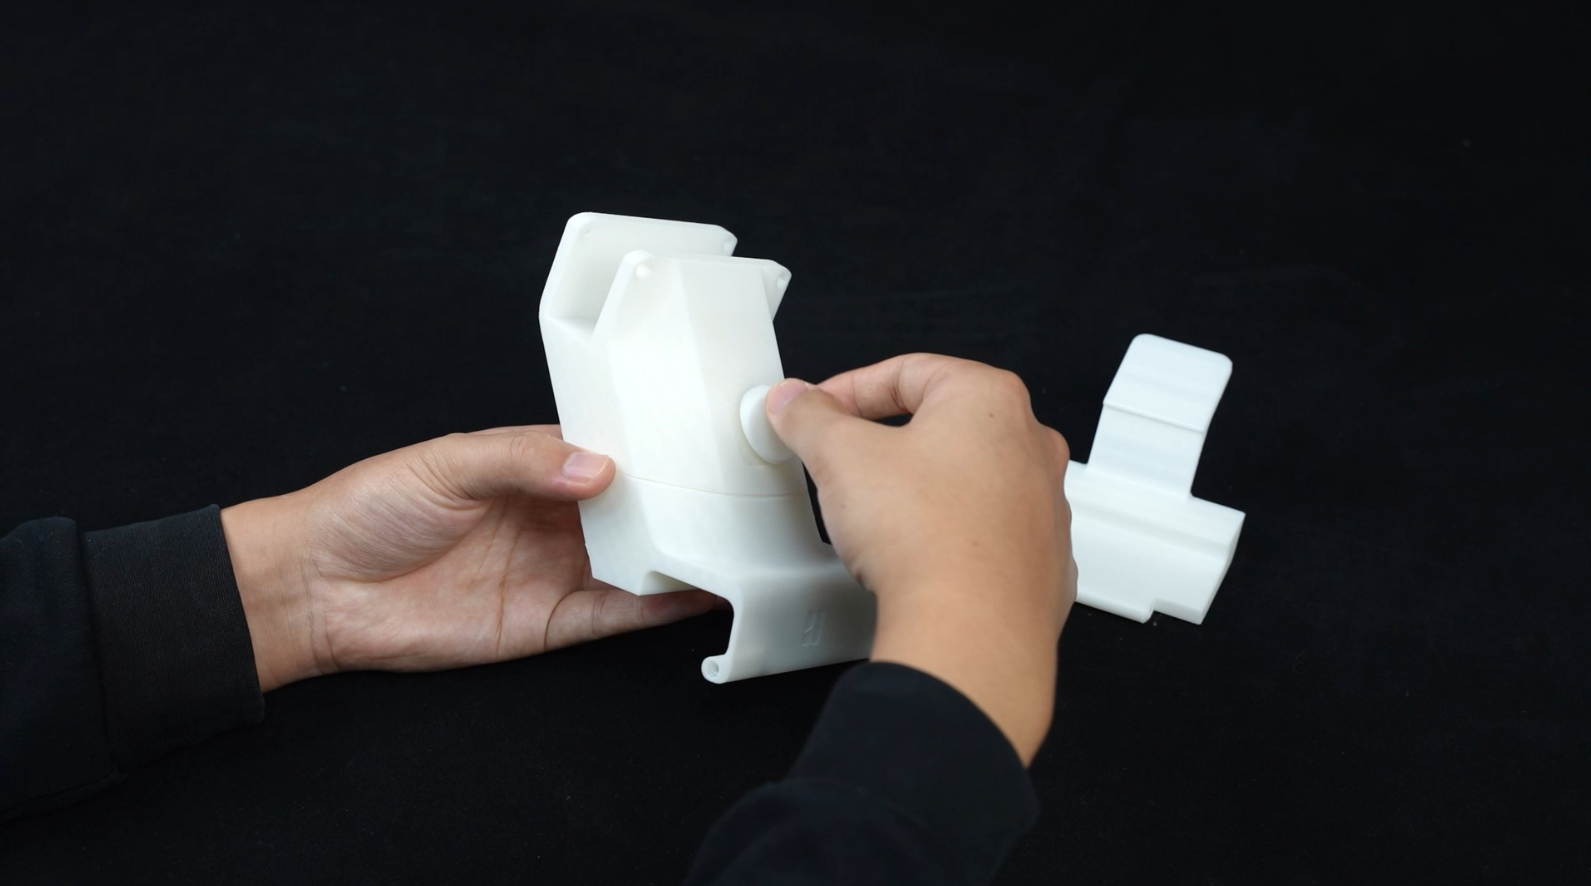
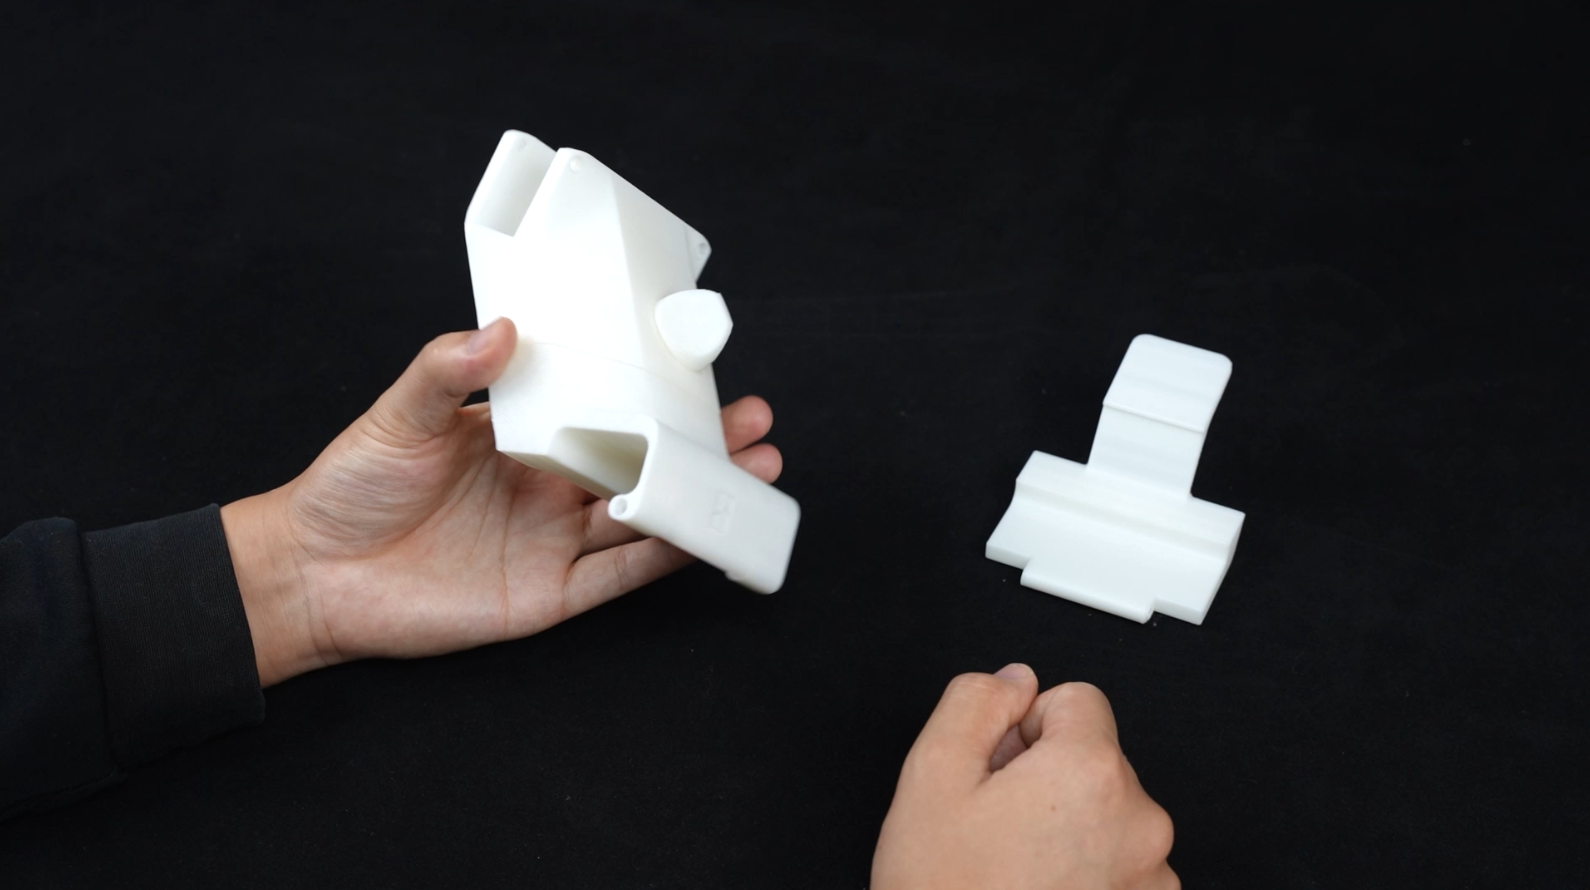
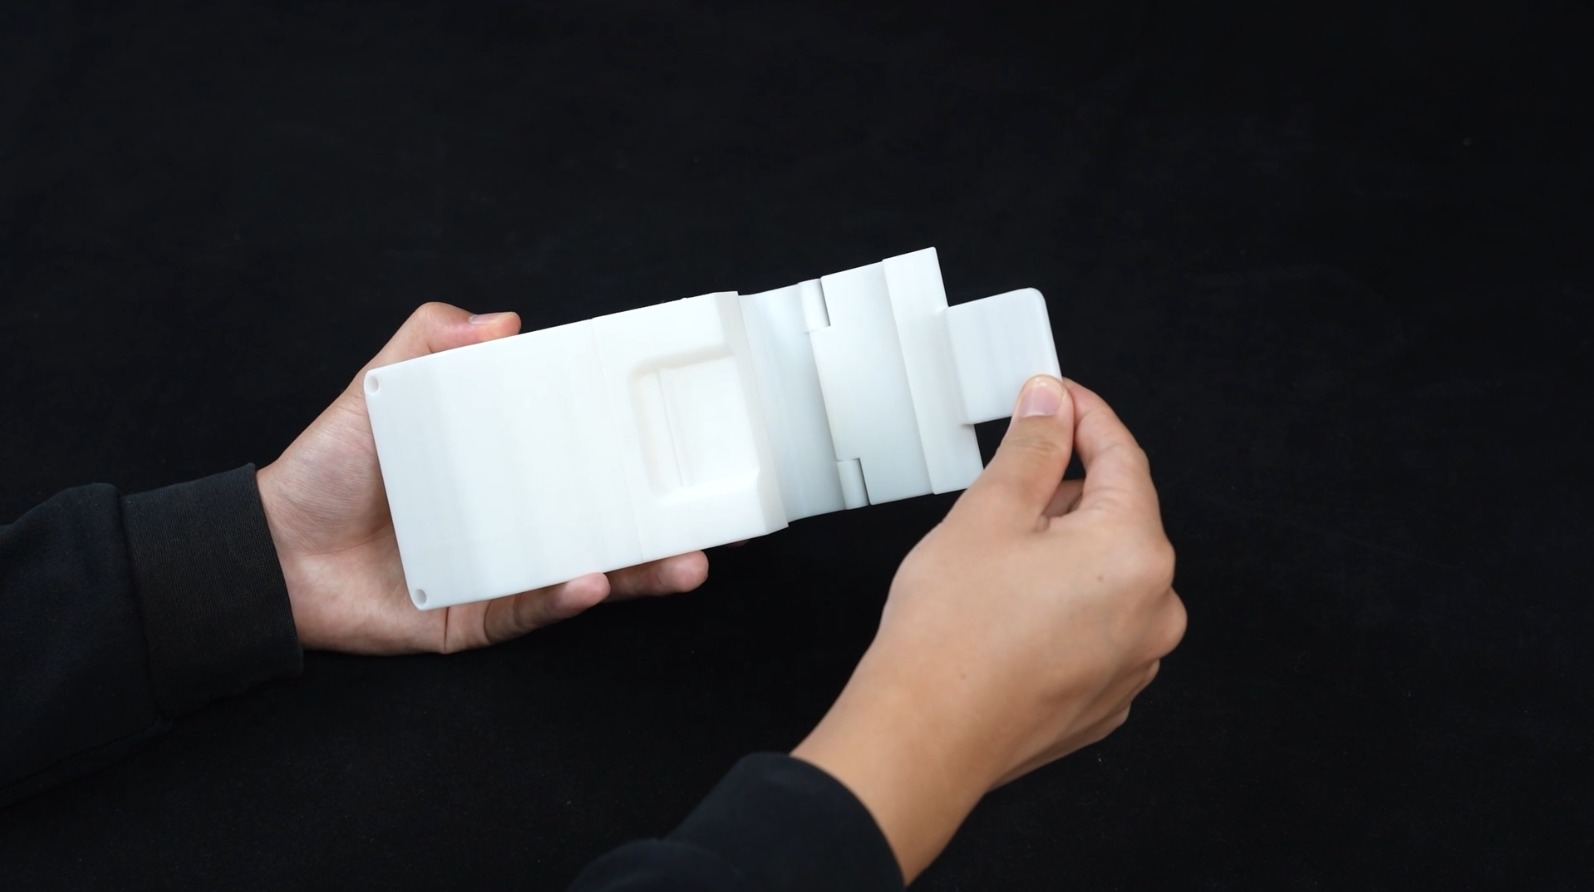
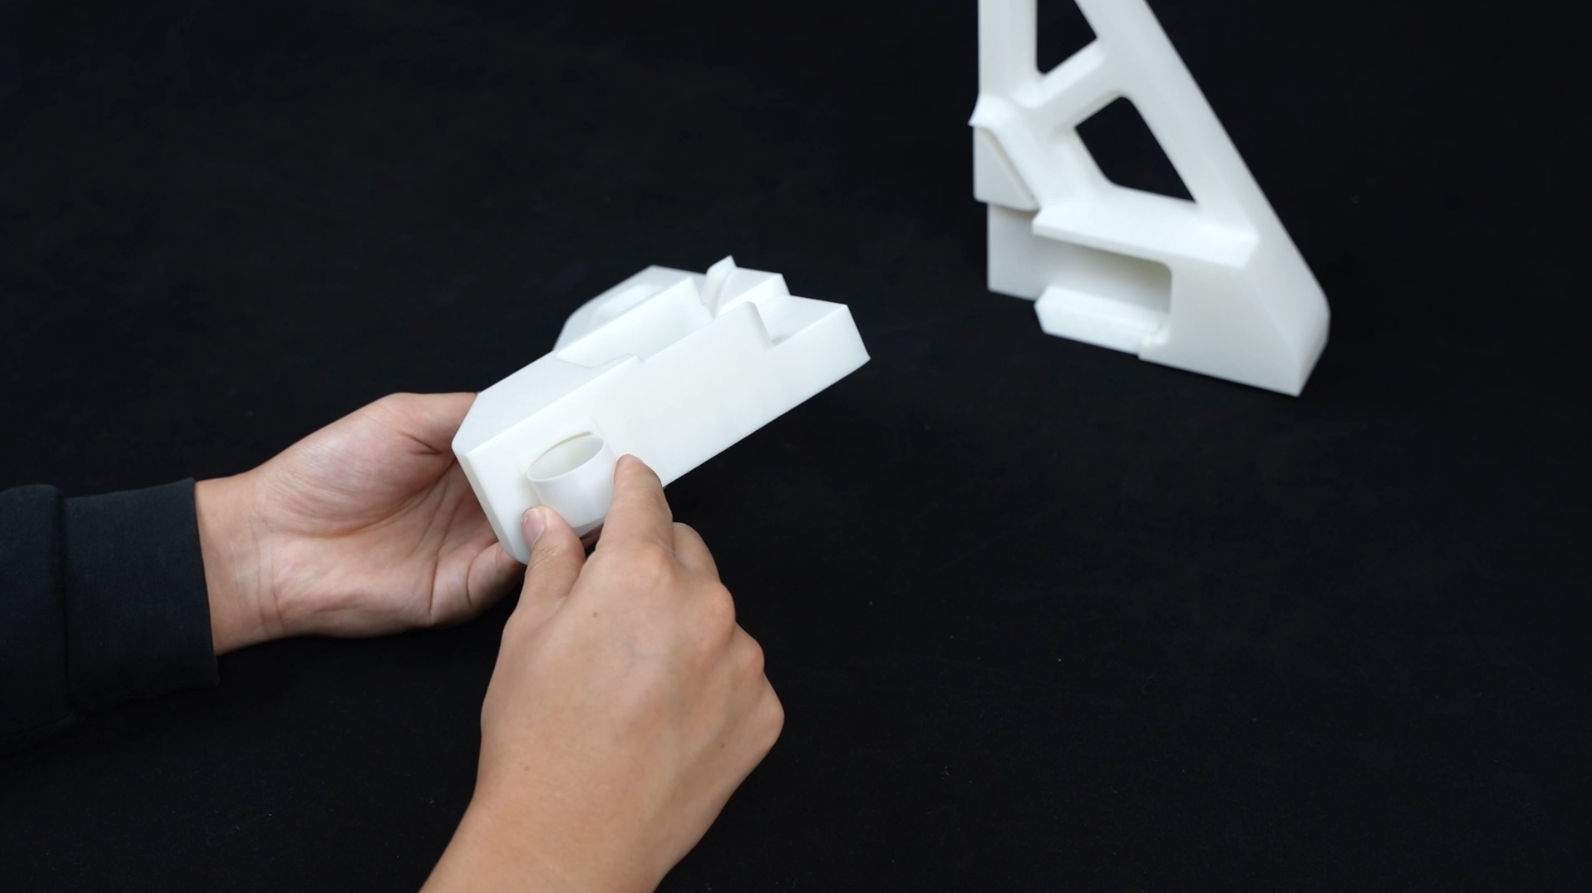
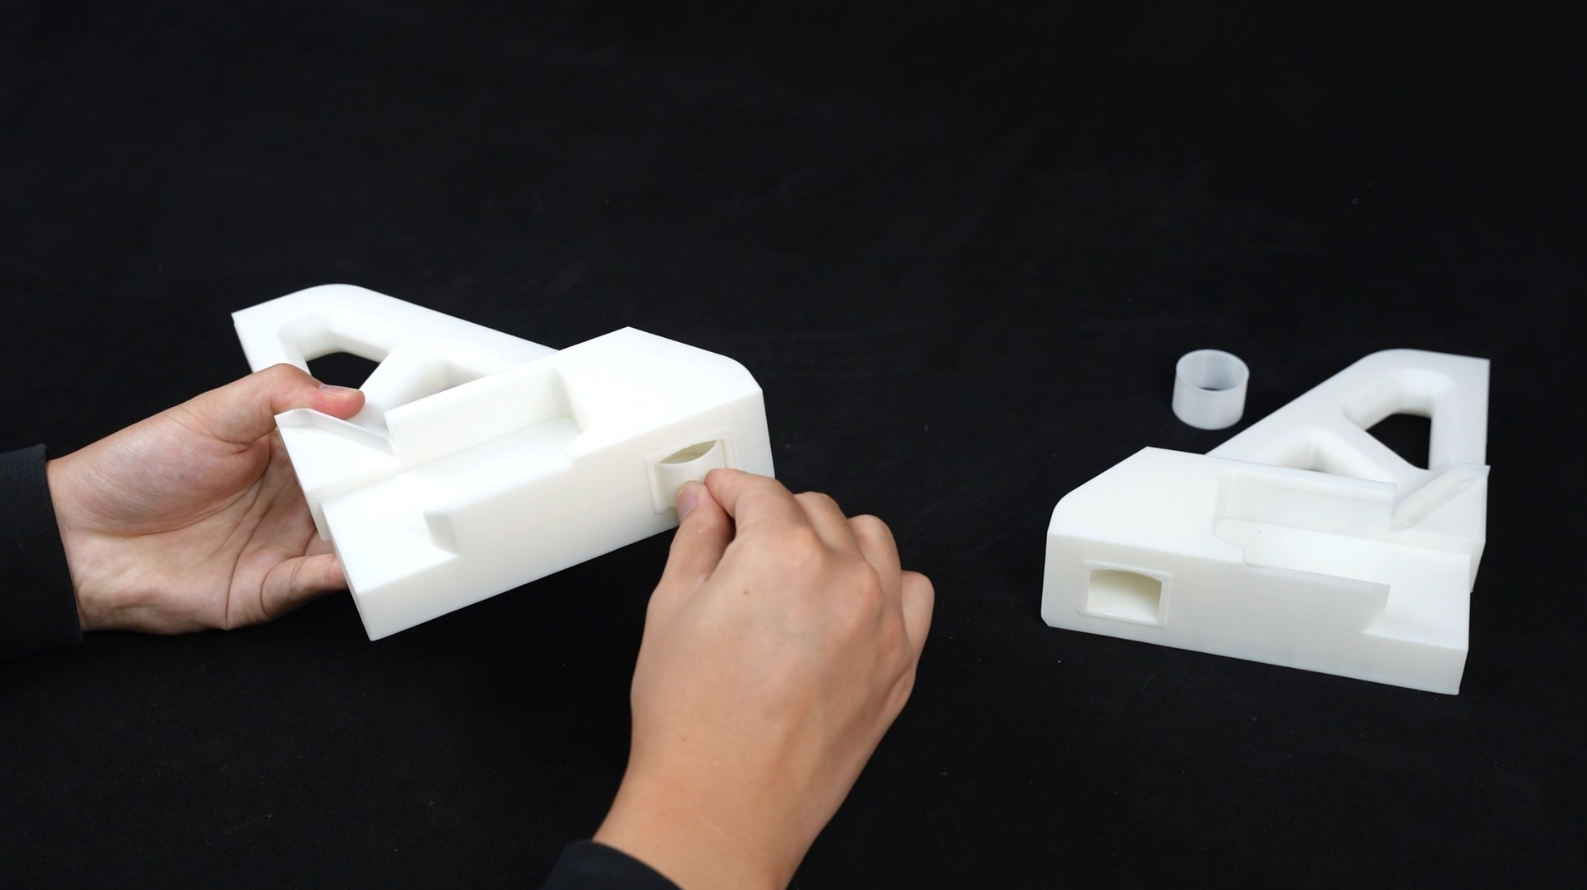
¶ Step 1: Apply Grease in the Mount's Guide Slot and Combine the Mount's Upper and Lower Parts.
 |
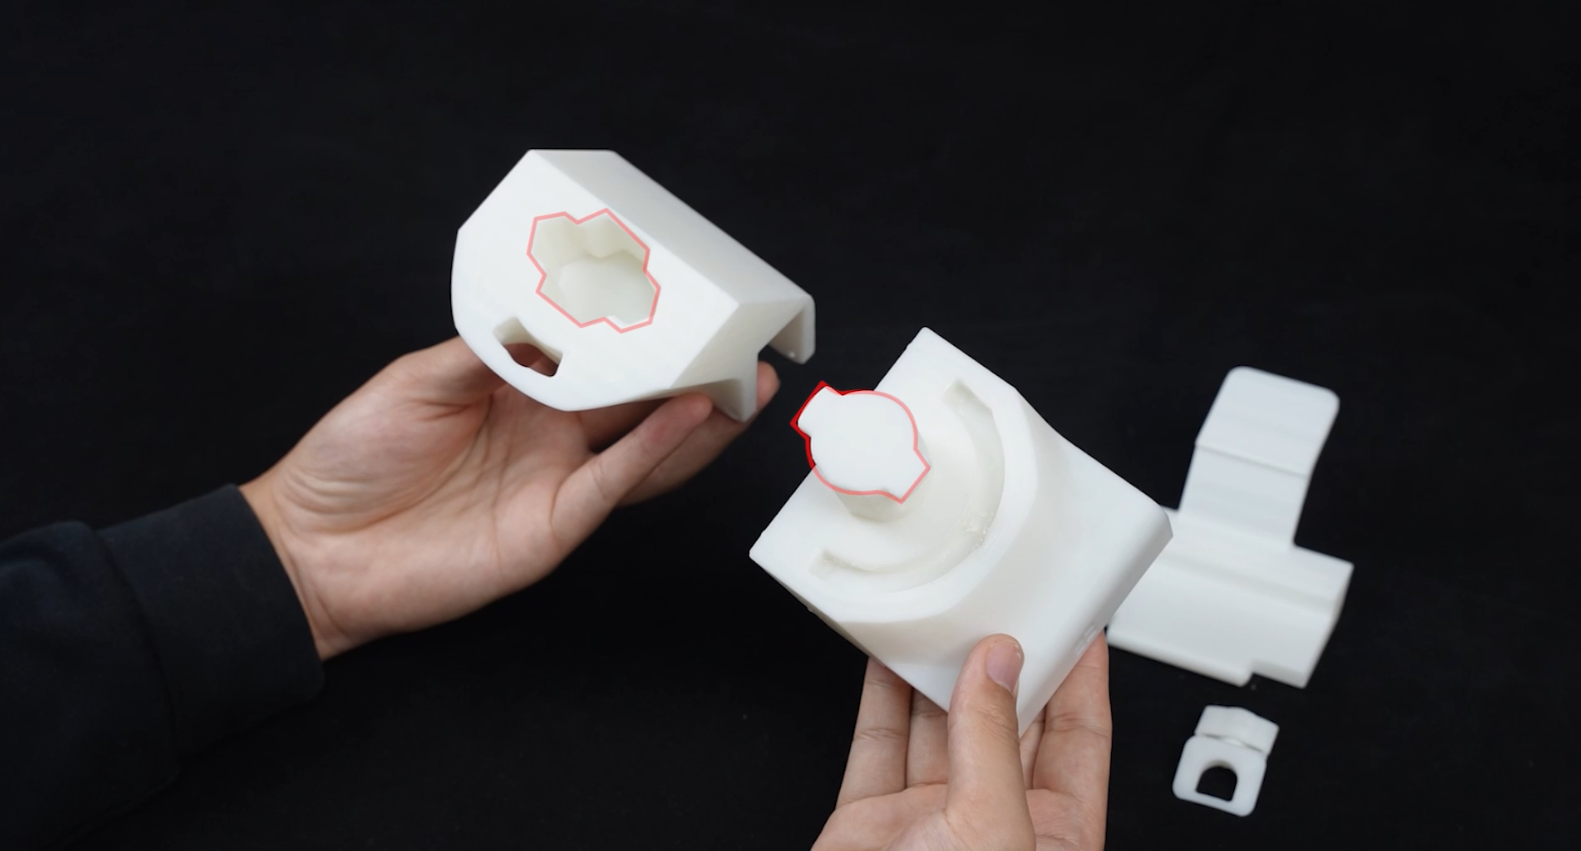 |
Align the snap-on fasteners and rotate them to lock tightly.
 |
 |
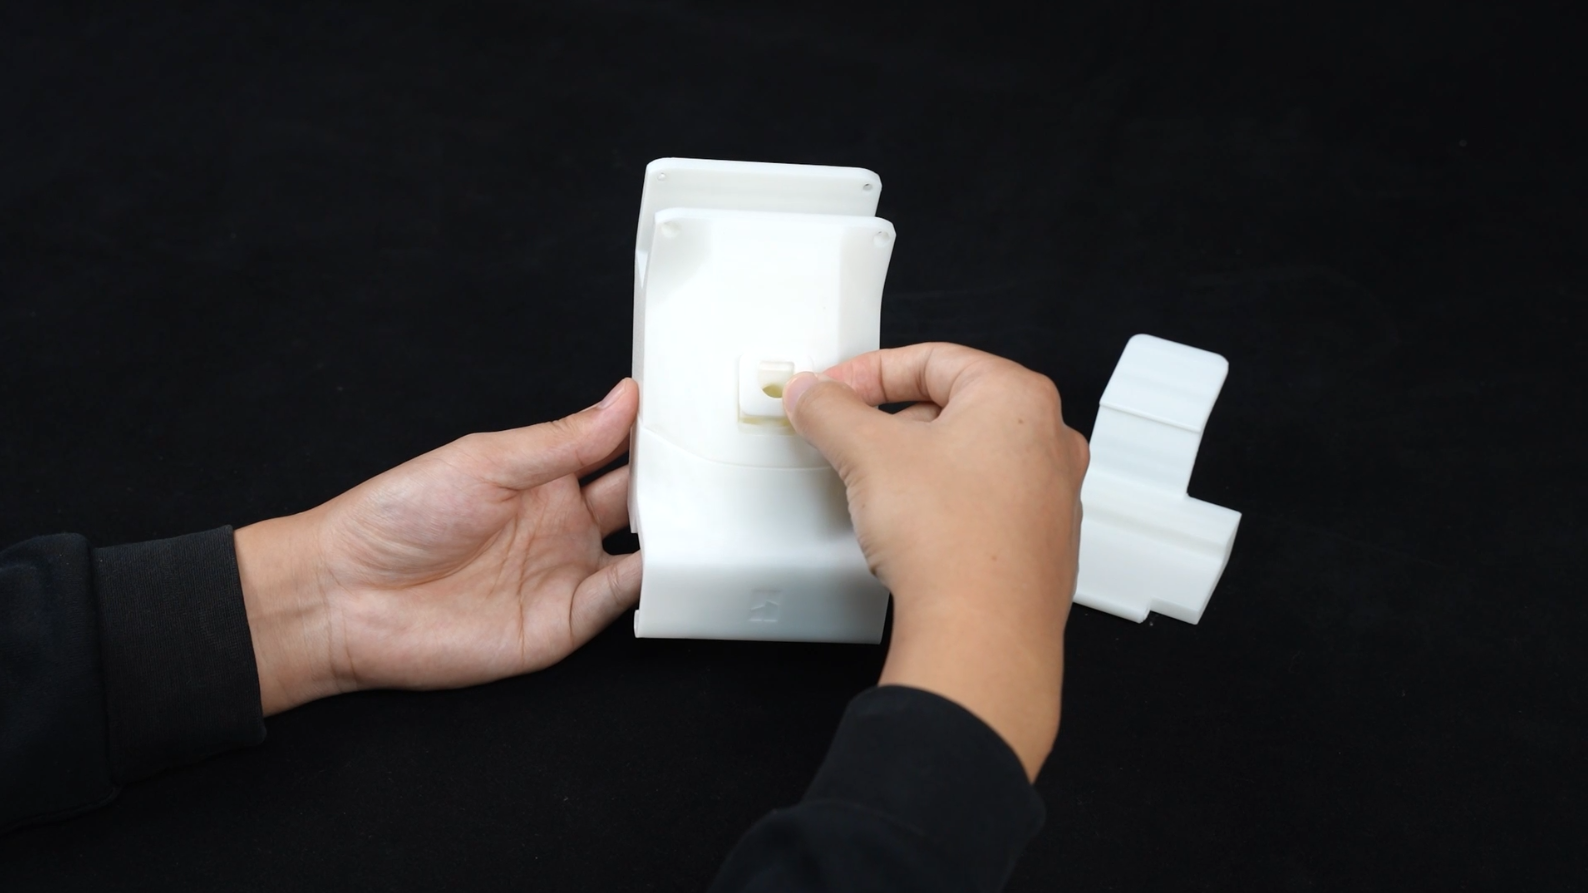
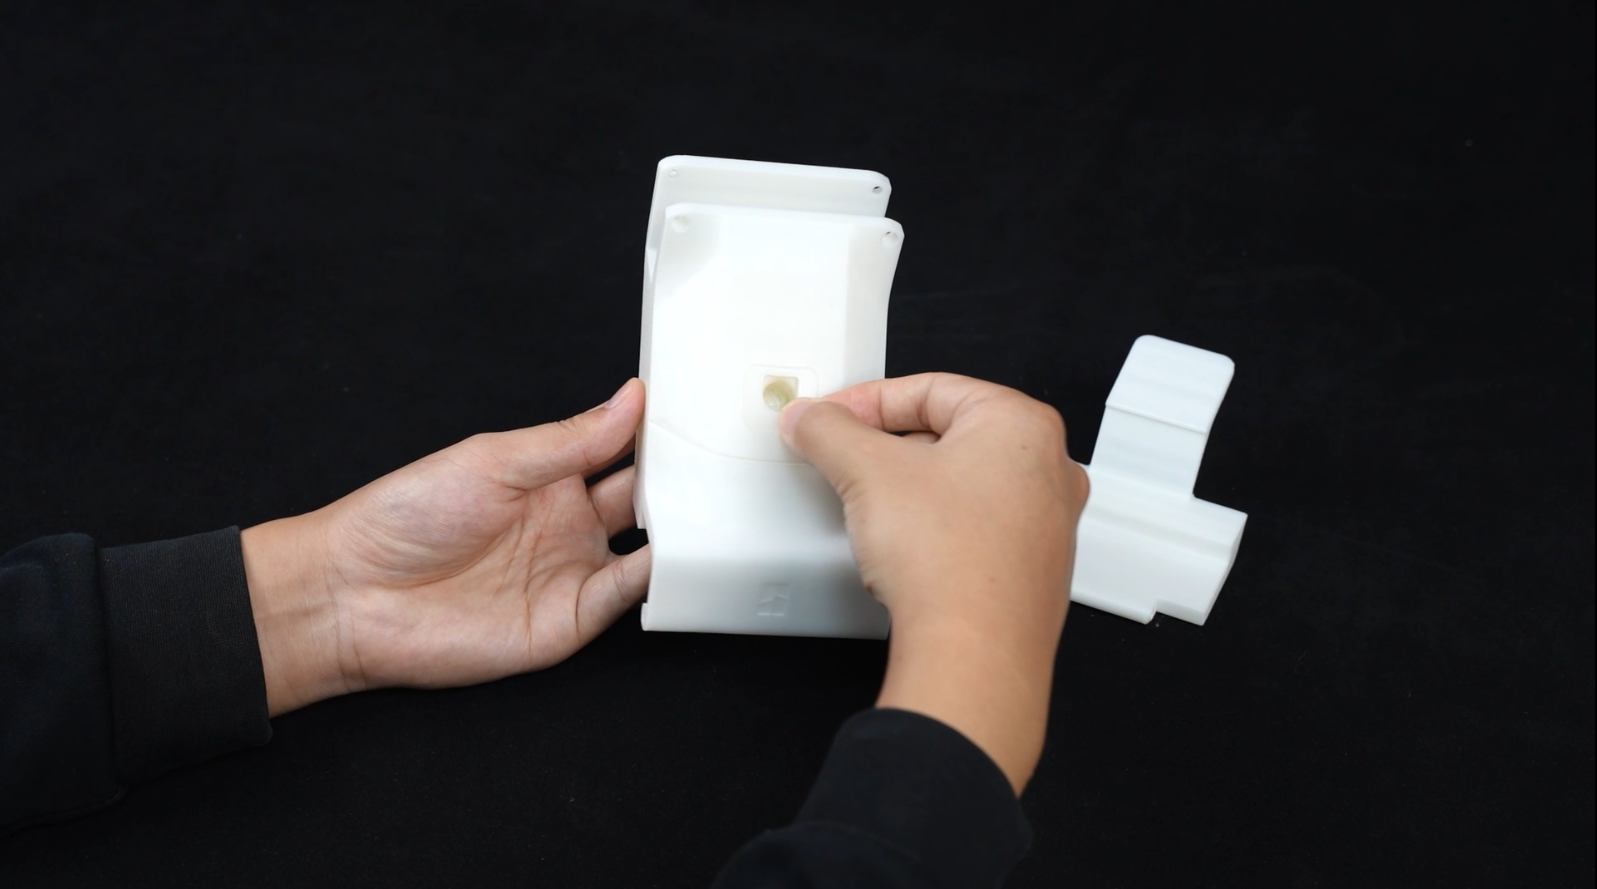
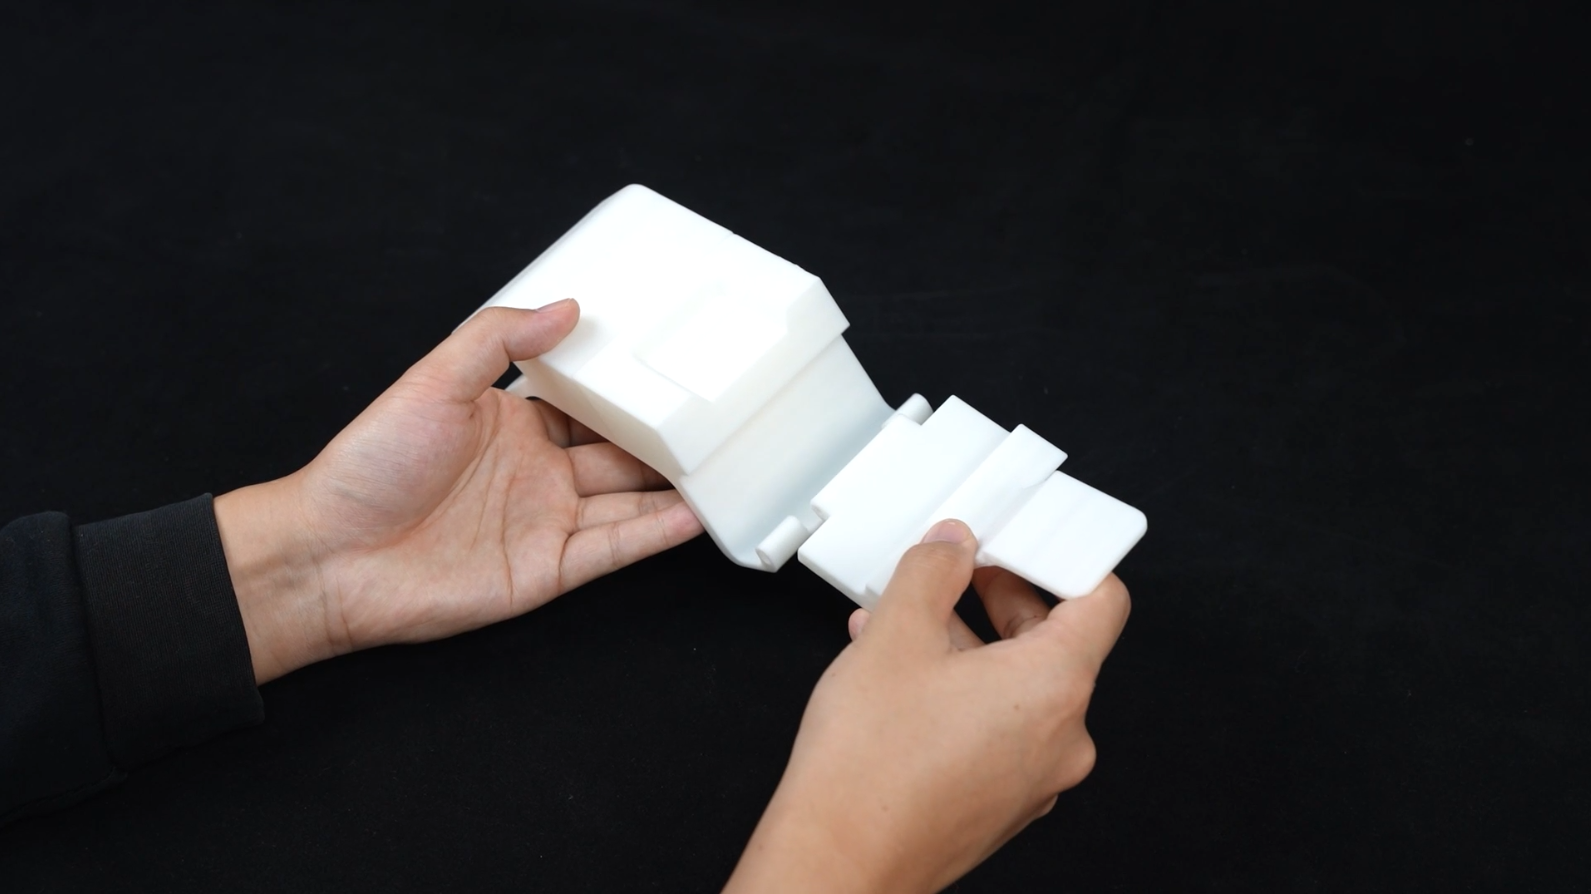
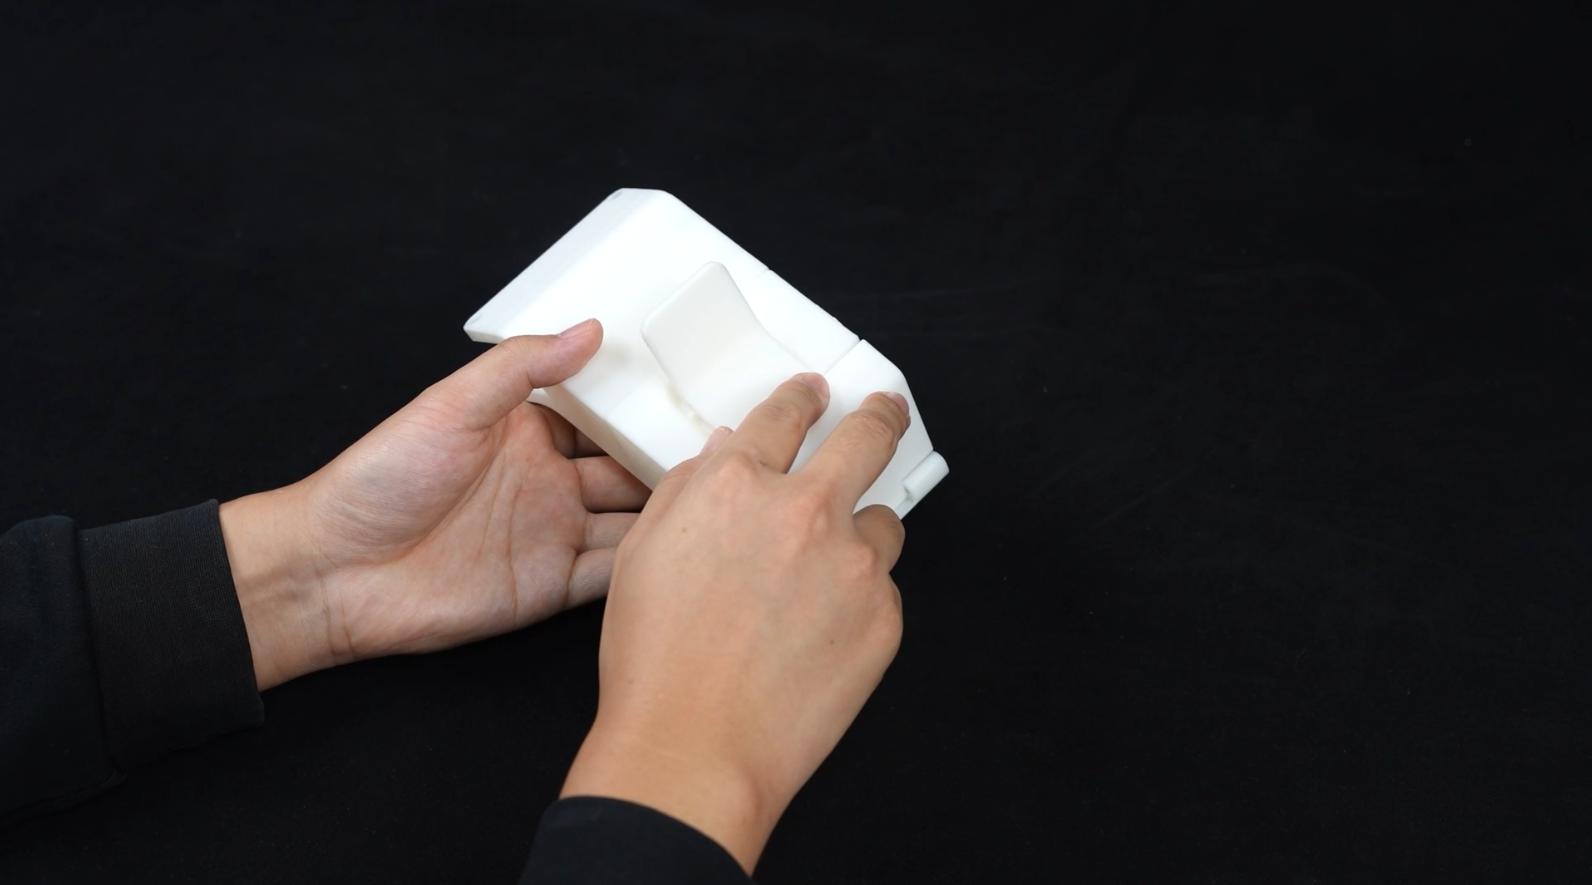
¶ Step 2: Put the Lock Insert Into Place.
 |
 |
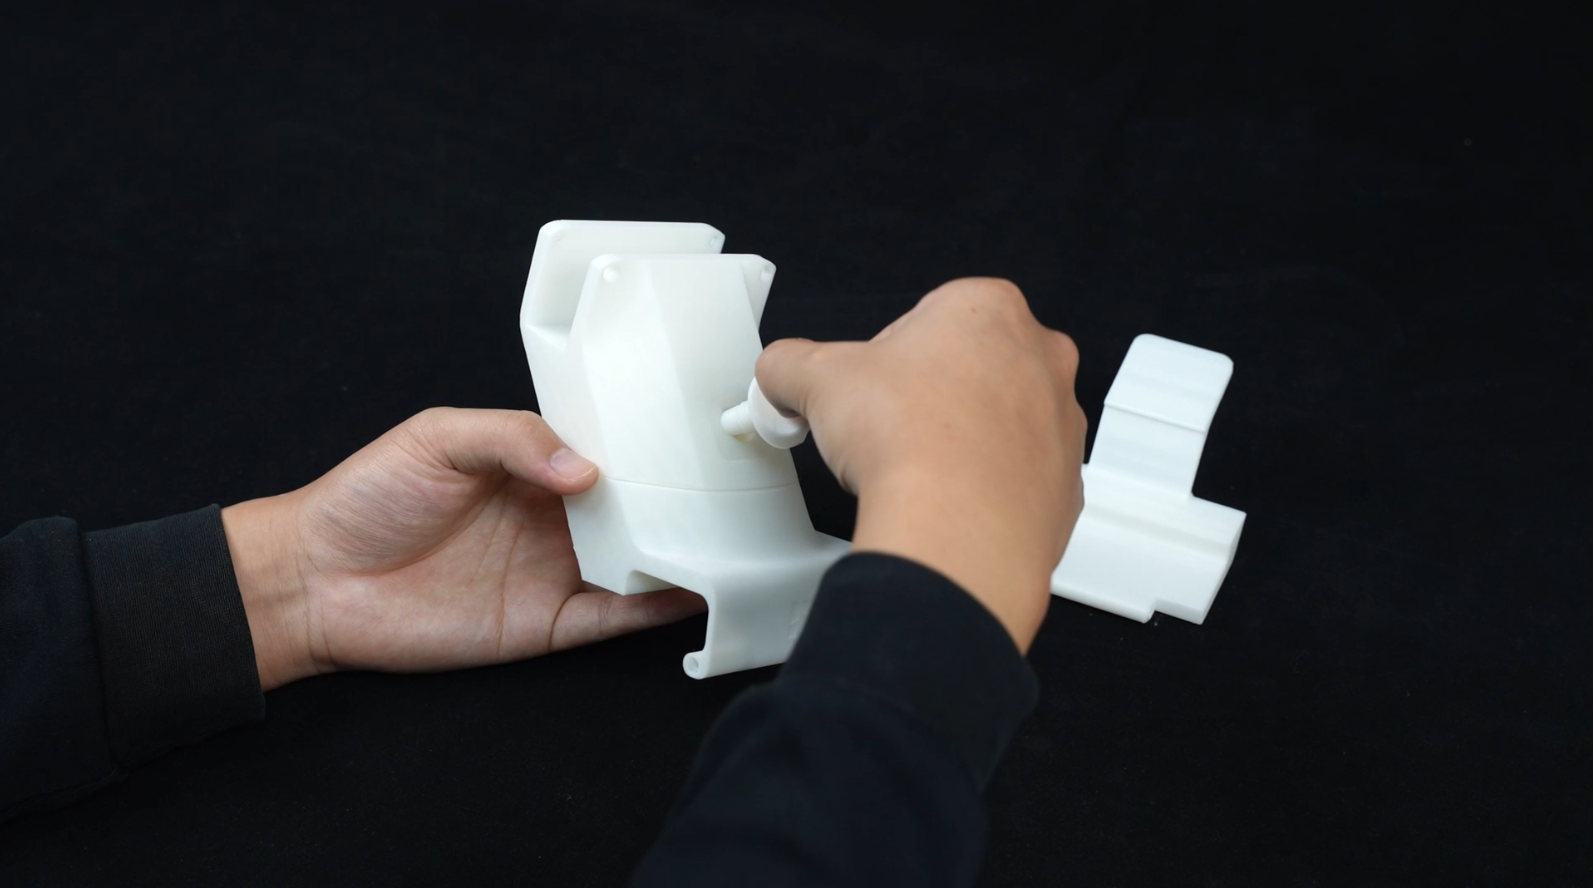
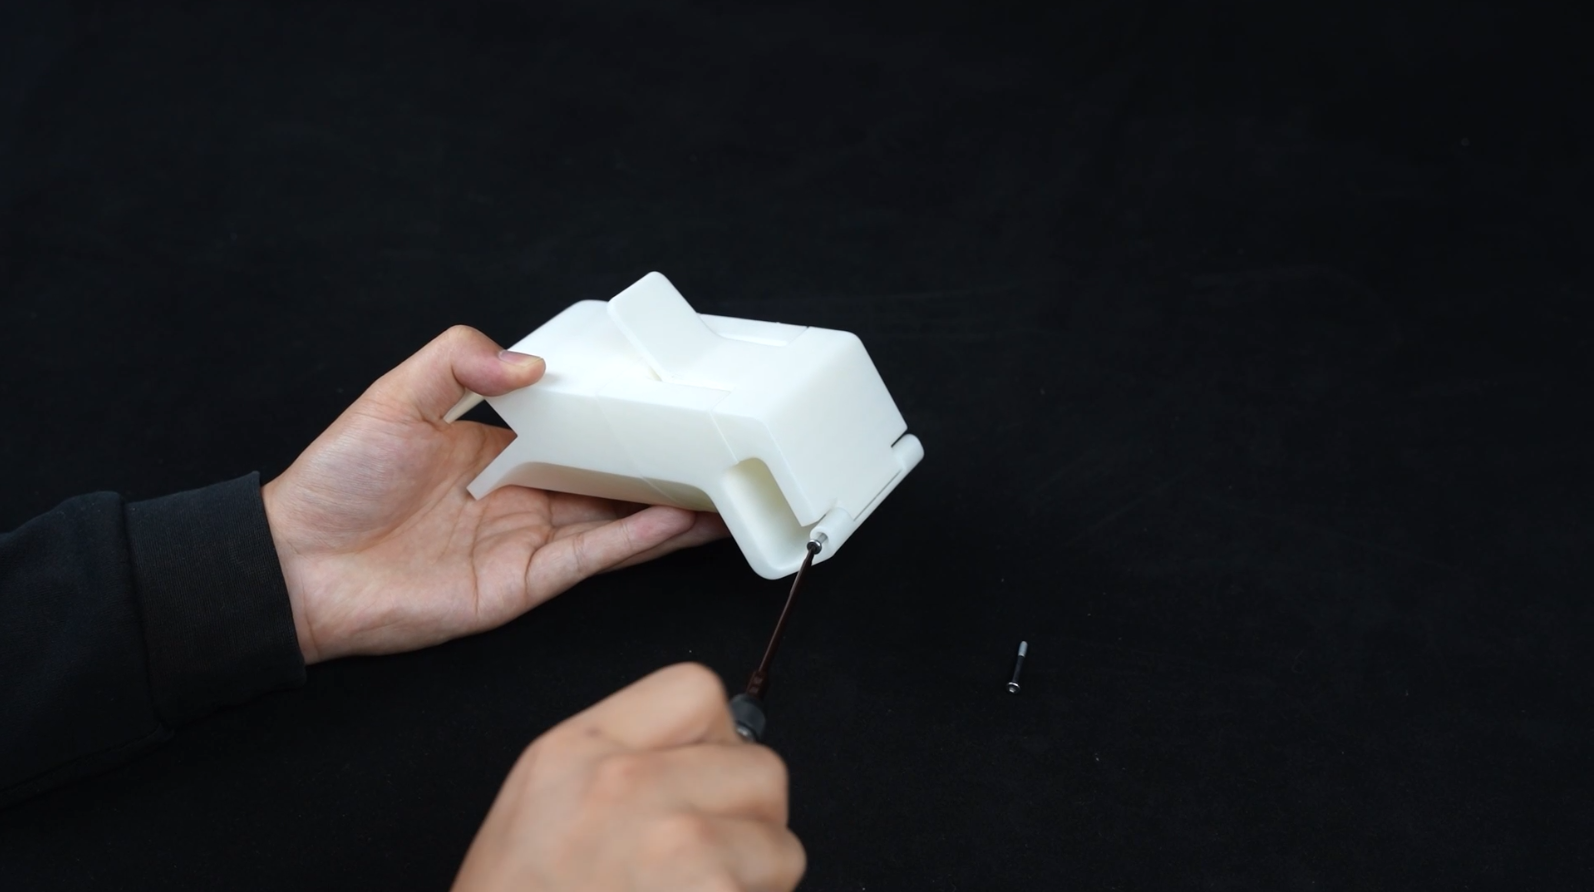
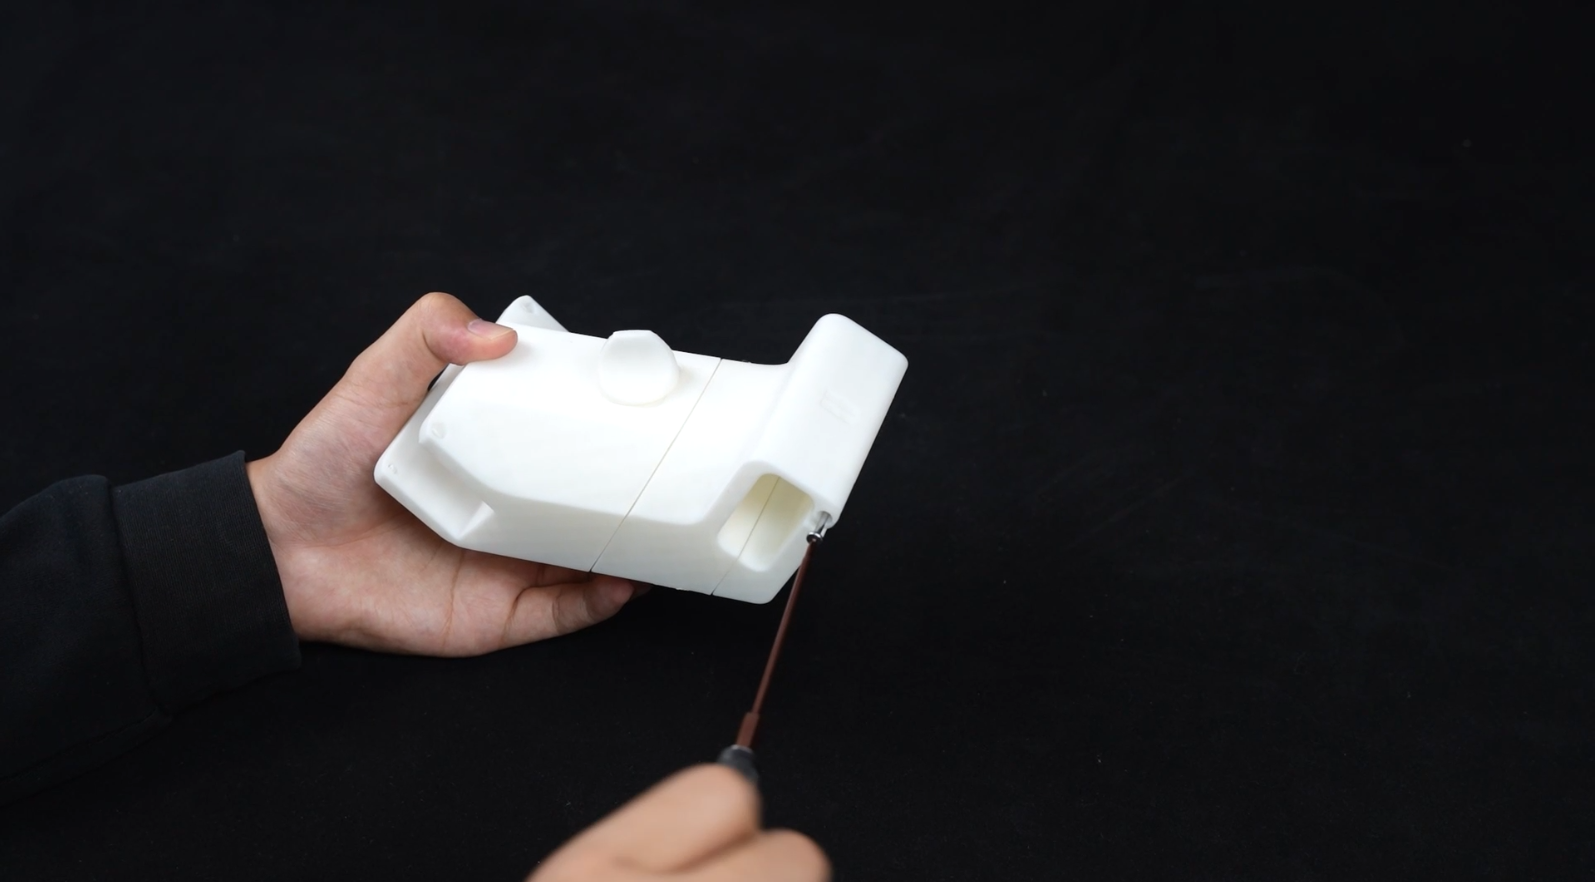
¶ Step 3: Screw in The Lock Screw.
 |
 |
¶ Step 4: Assemble and Click the Latch in Place, and Use 2 * M3 - 23 Screws to Shaft the Latch
 |
 |
 |
 |
 |
 |
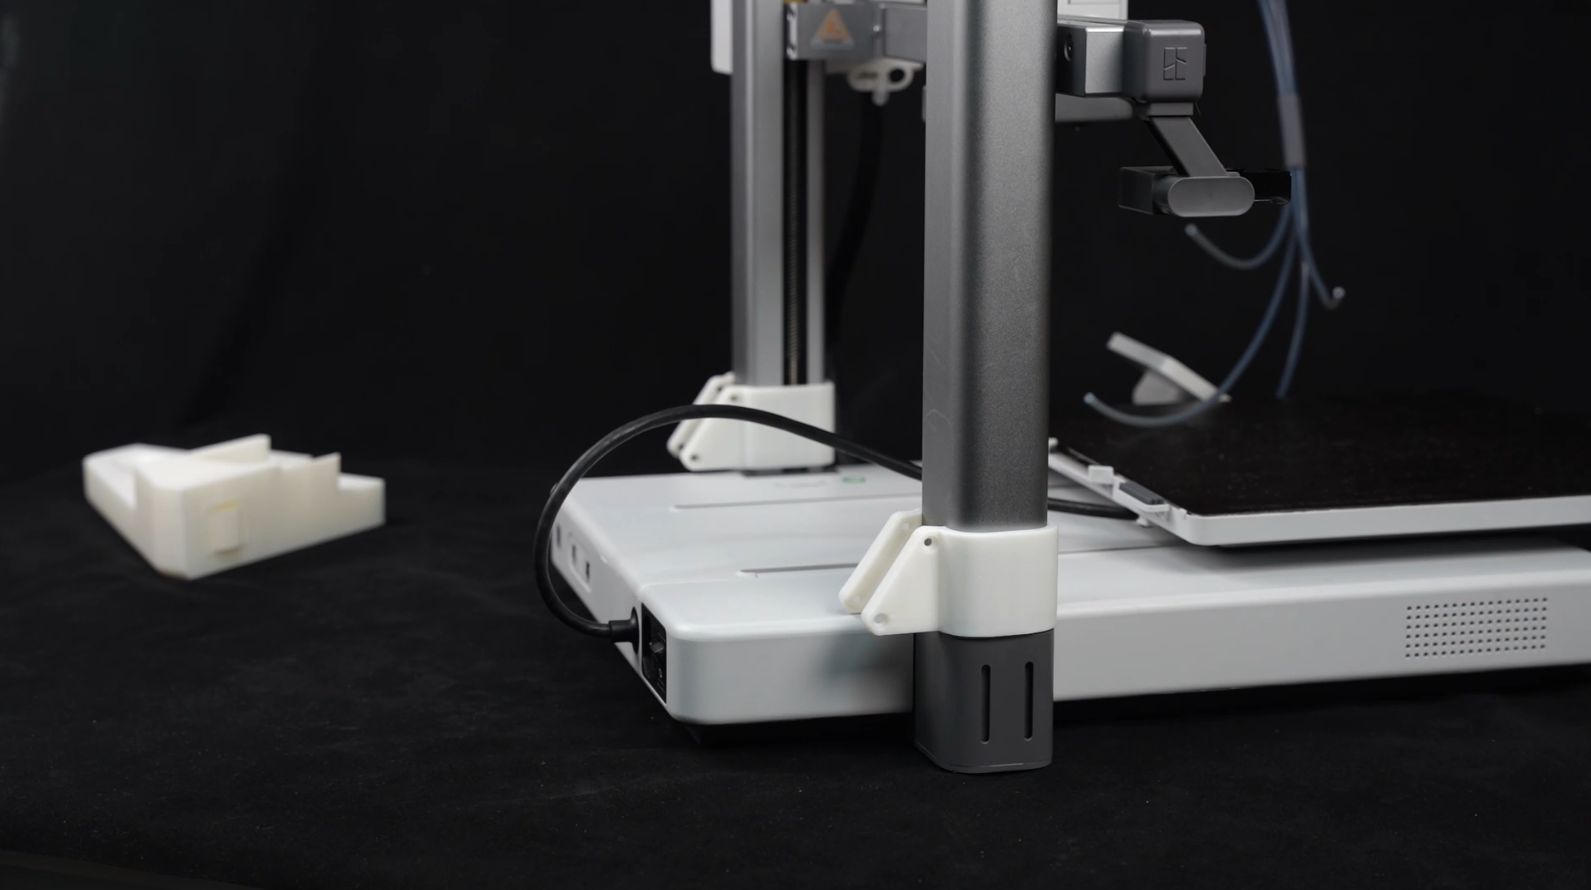
¶ Step 5: Snag the Damper Into the Bottom Slot of Both Z-Axis Stiffeners
 |
 |
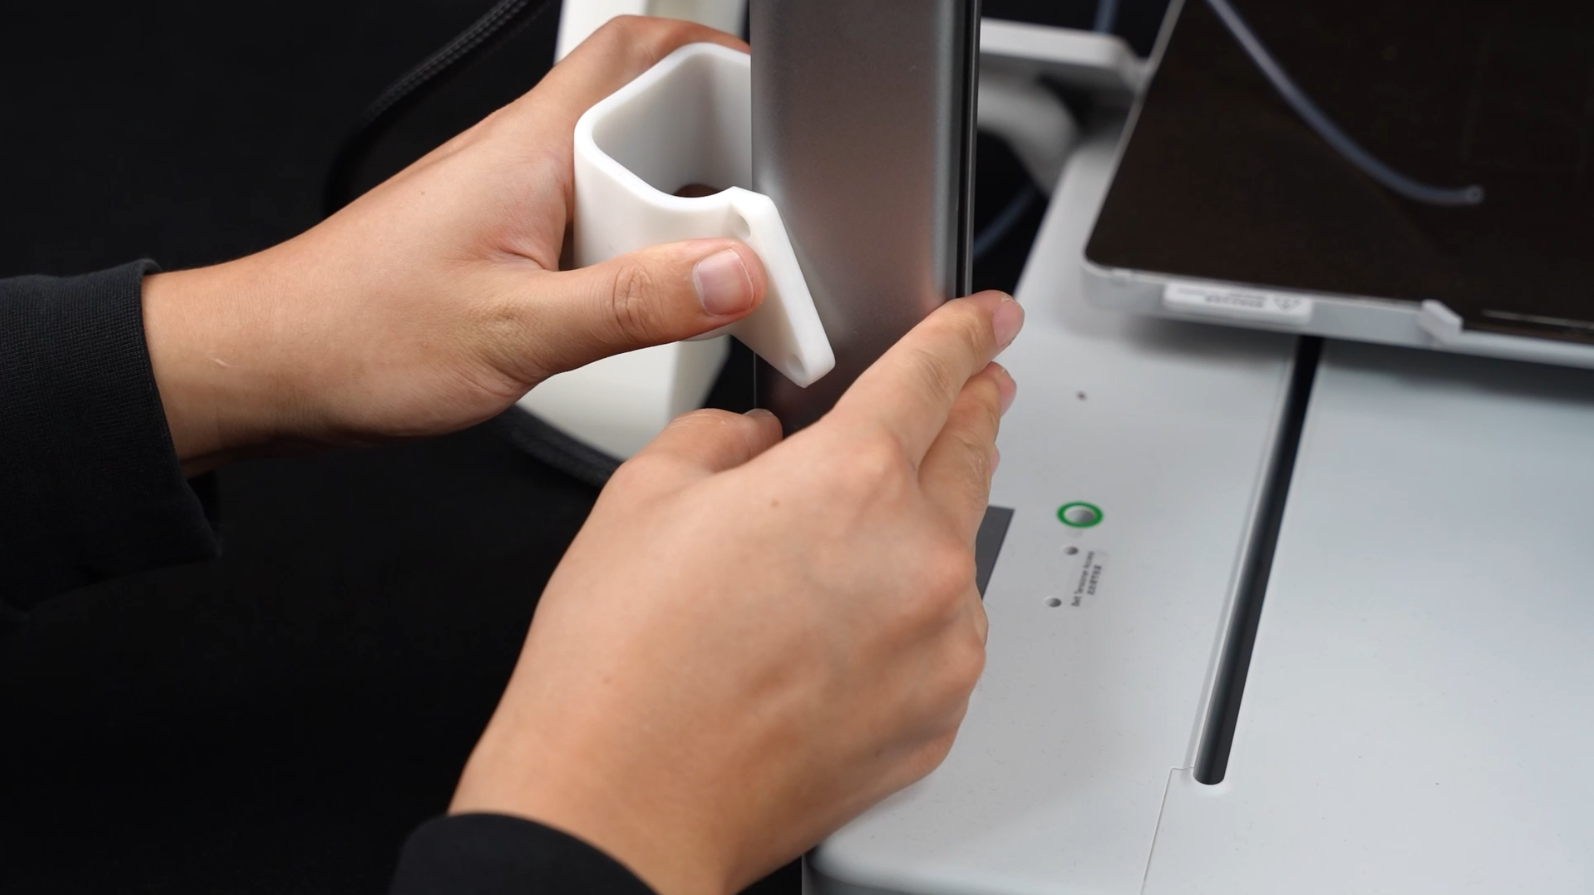
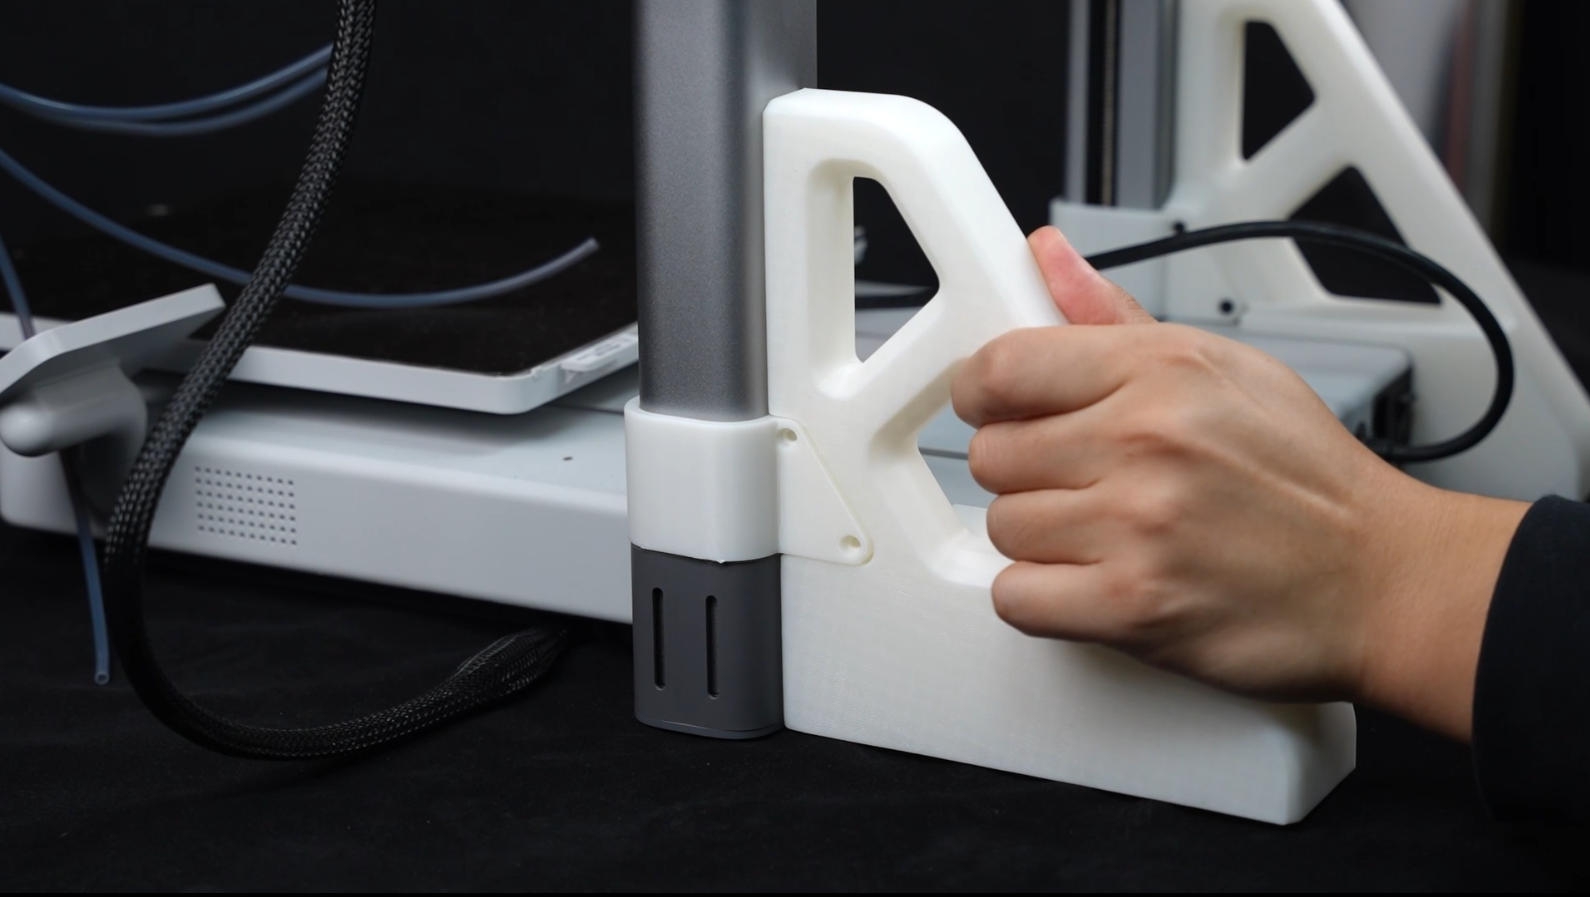
¶ Step 6:Wiggle the C-Clamp in Place from the Side of the Column.
 |
 |
 |
 |
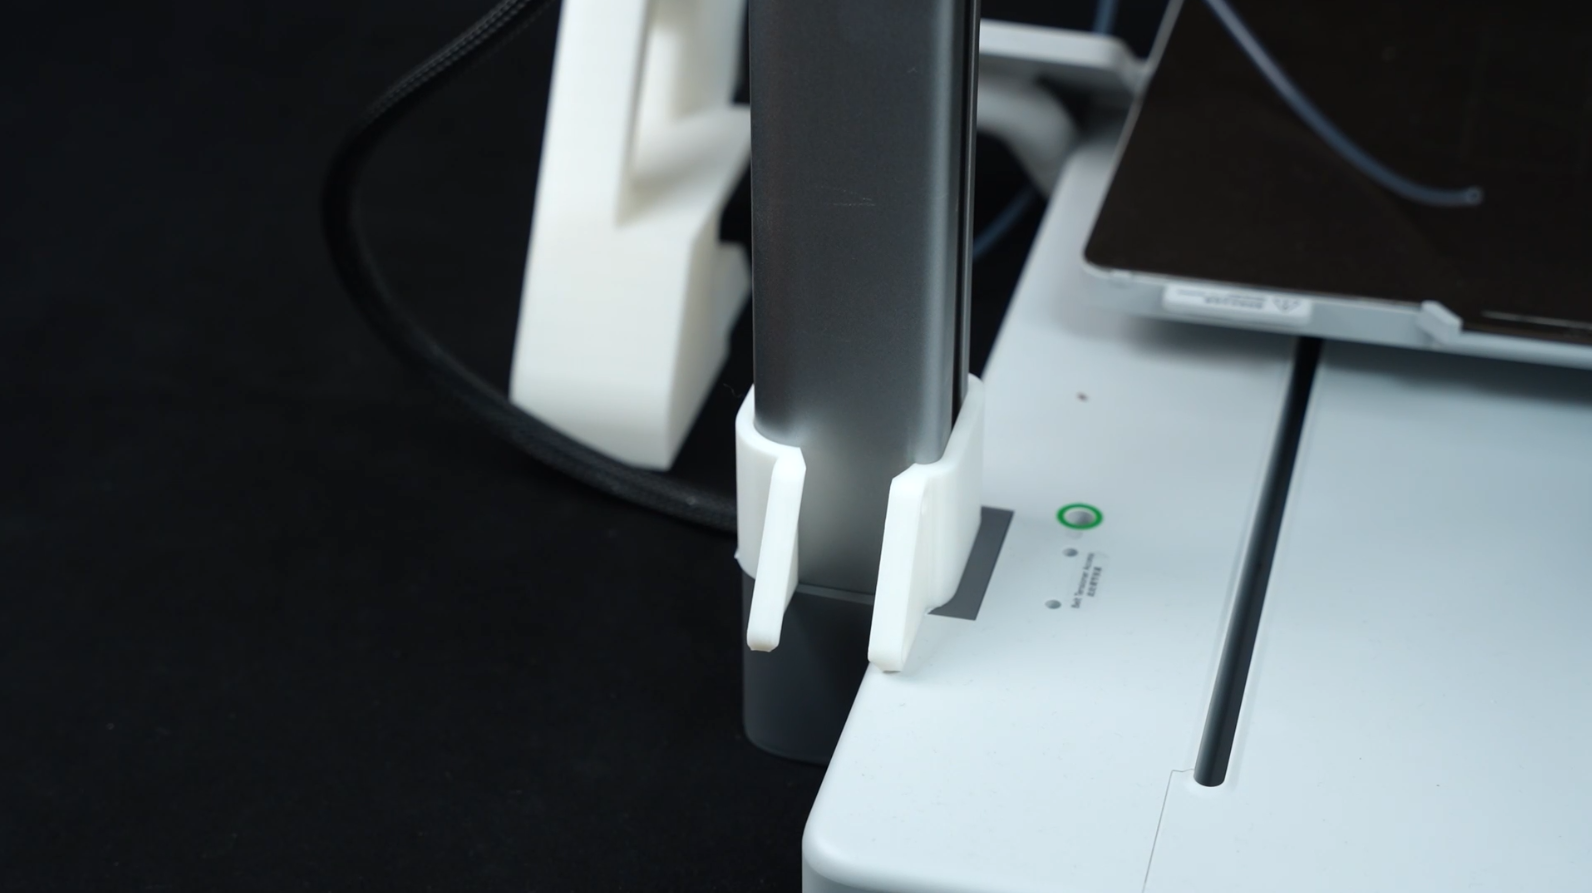
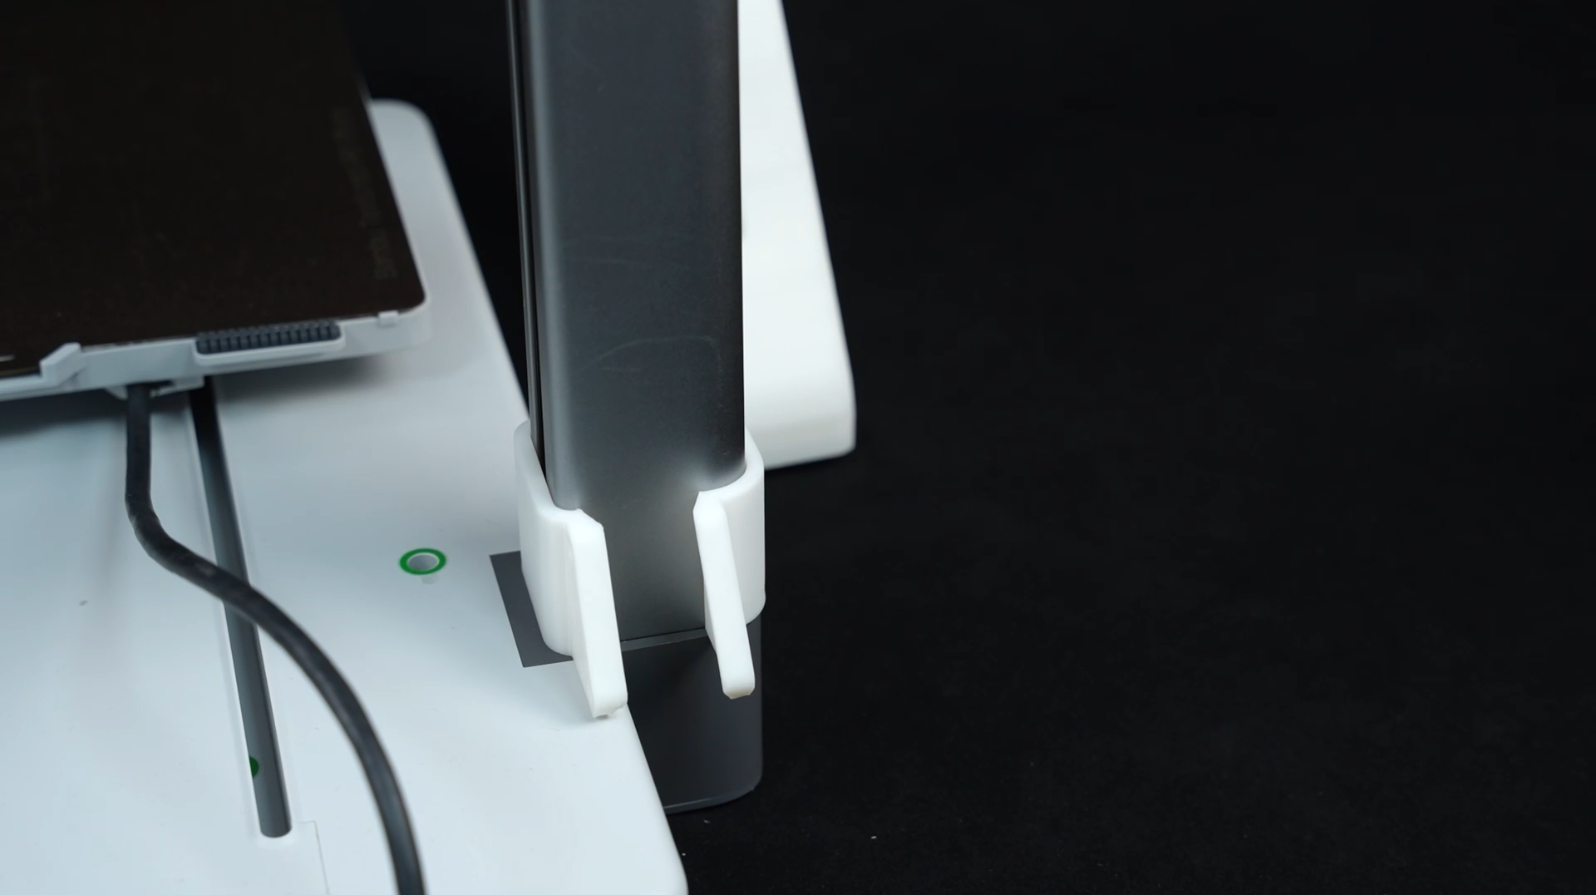
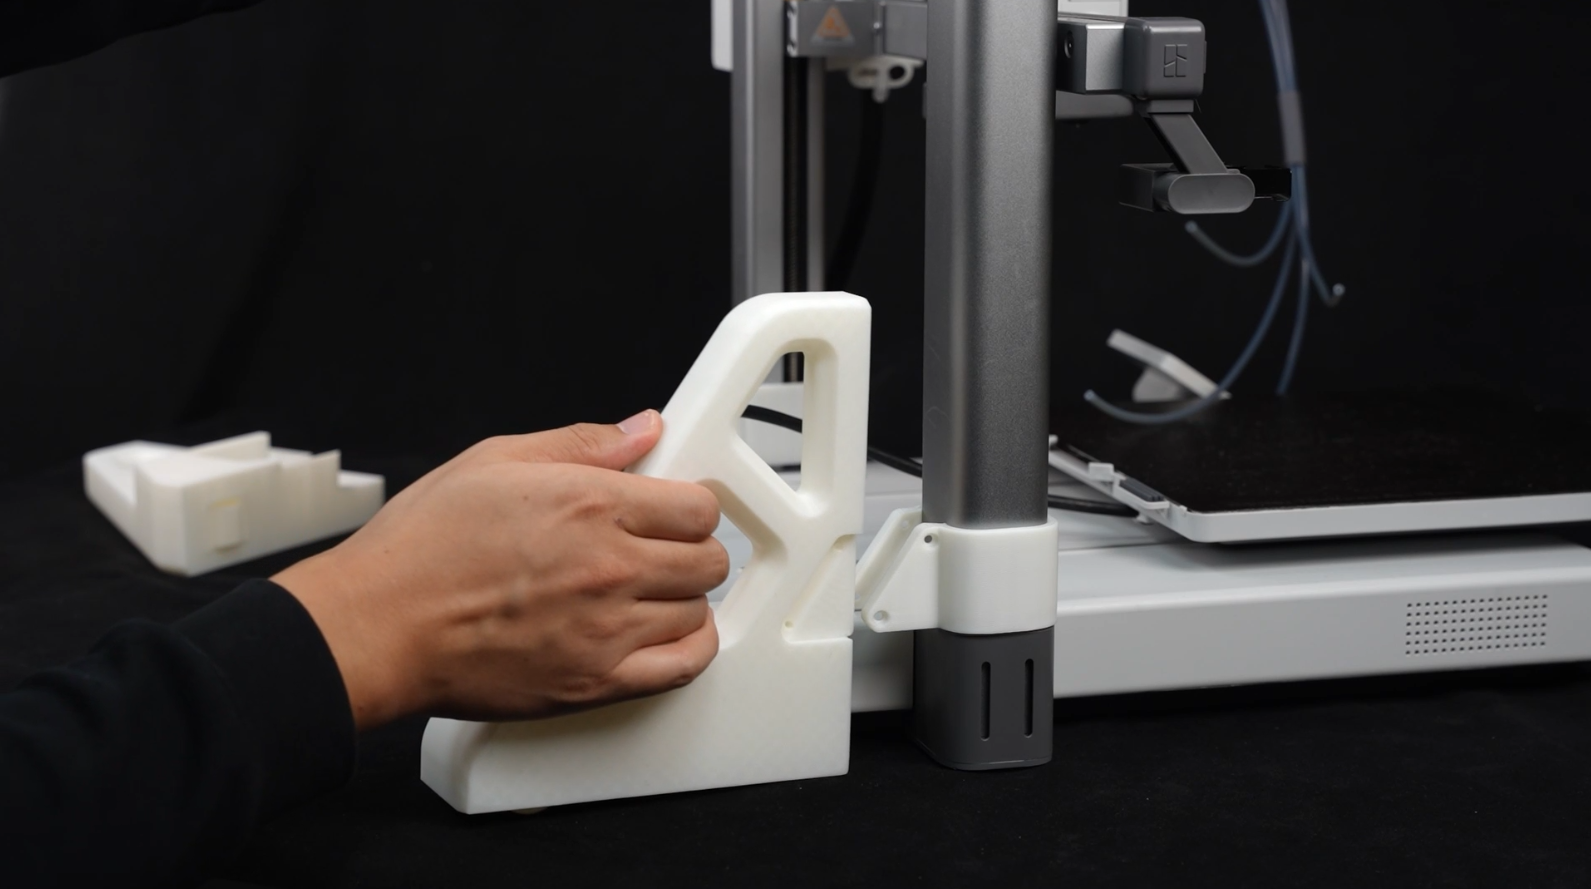
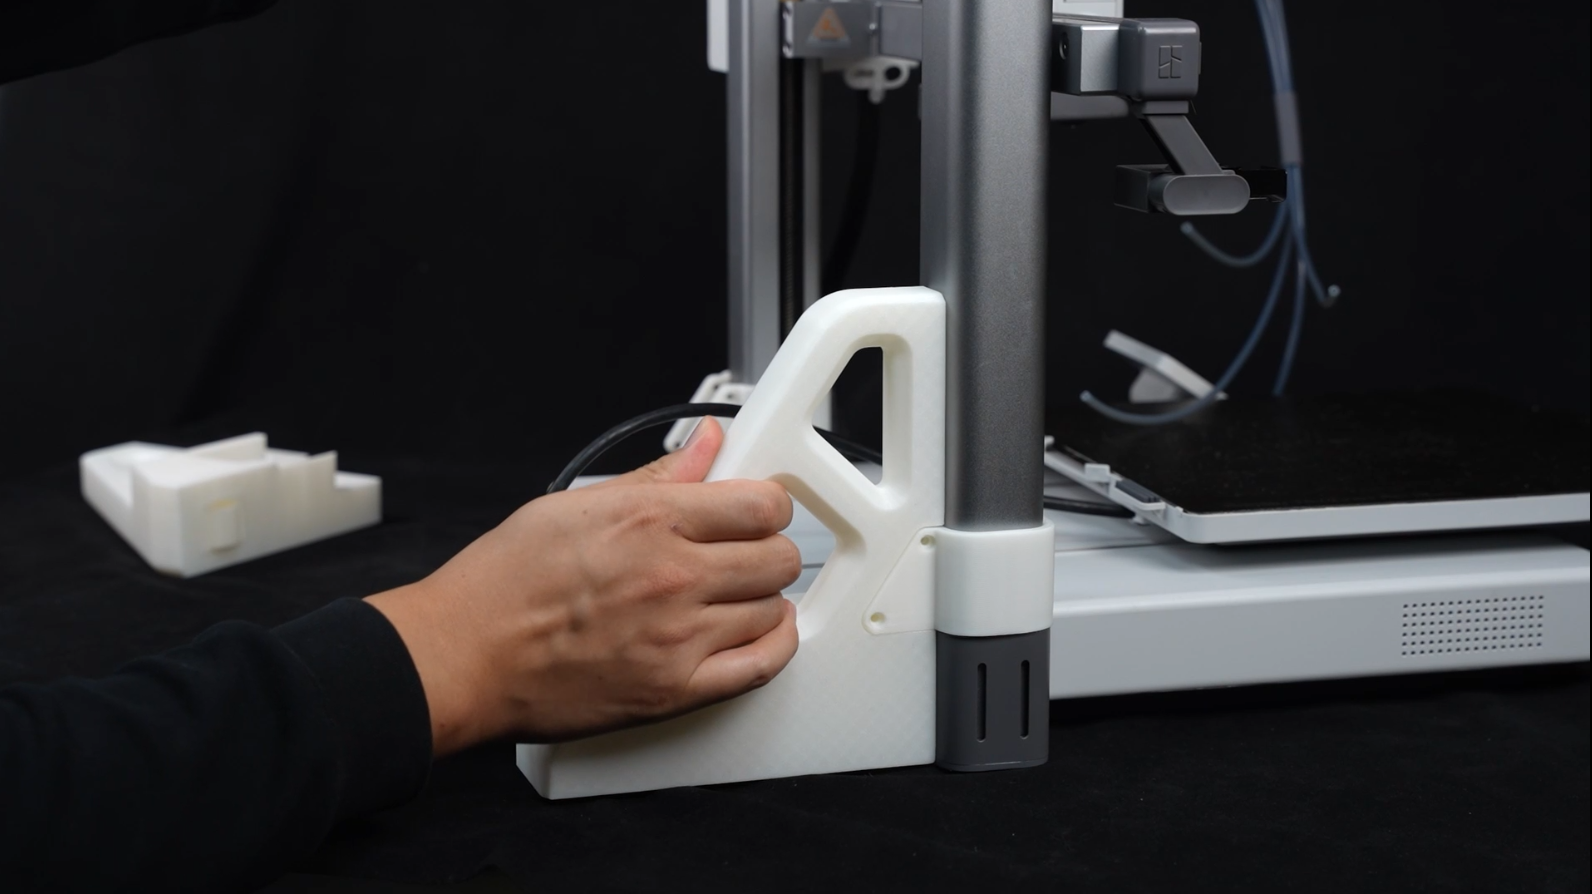
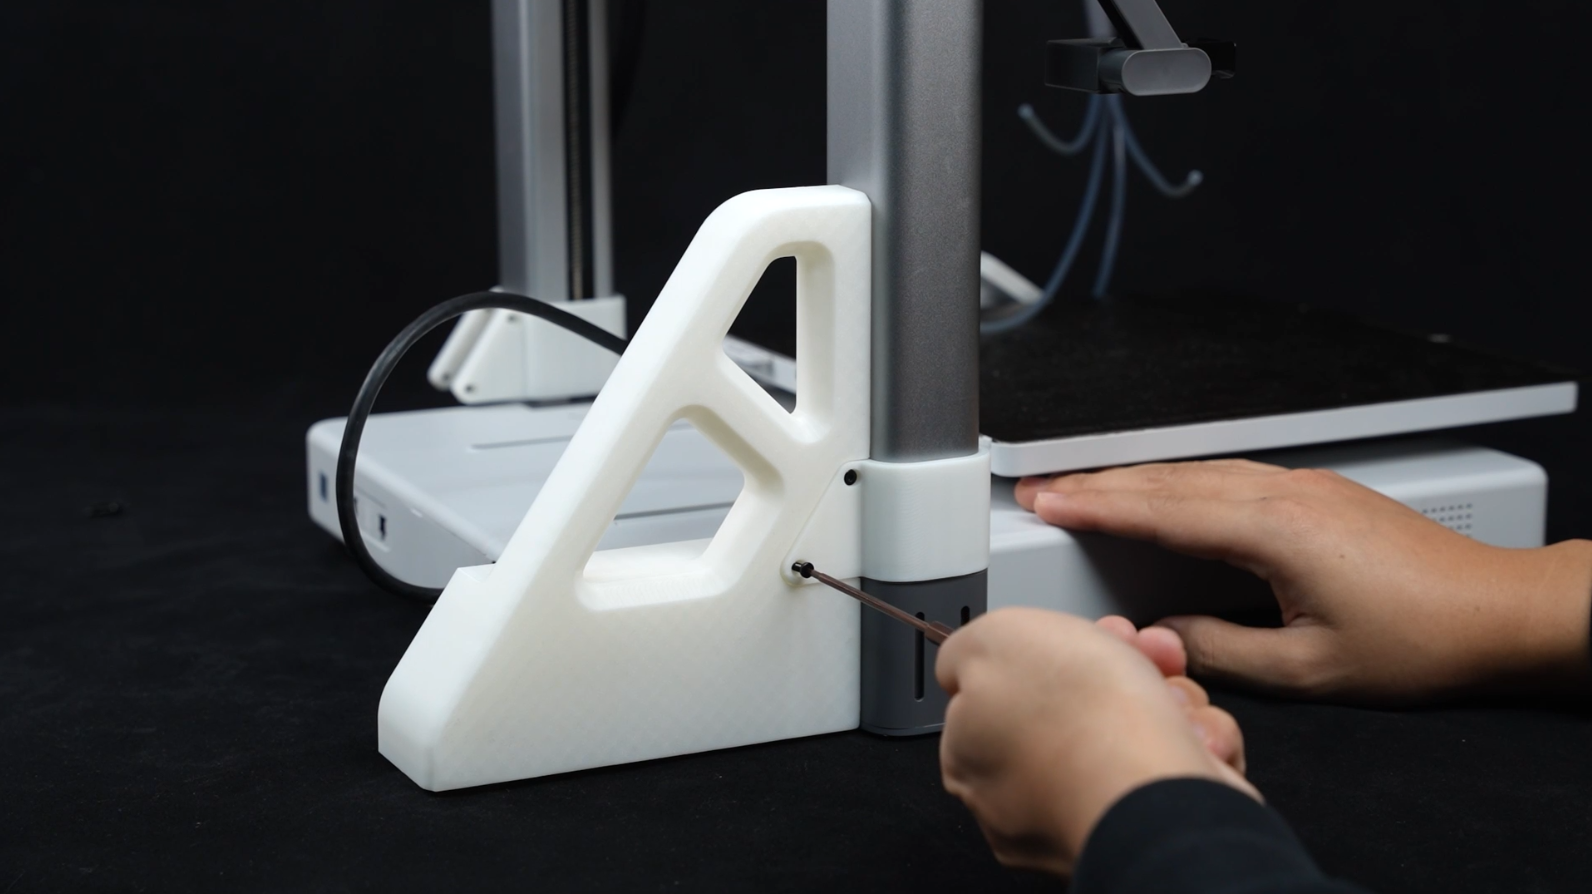
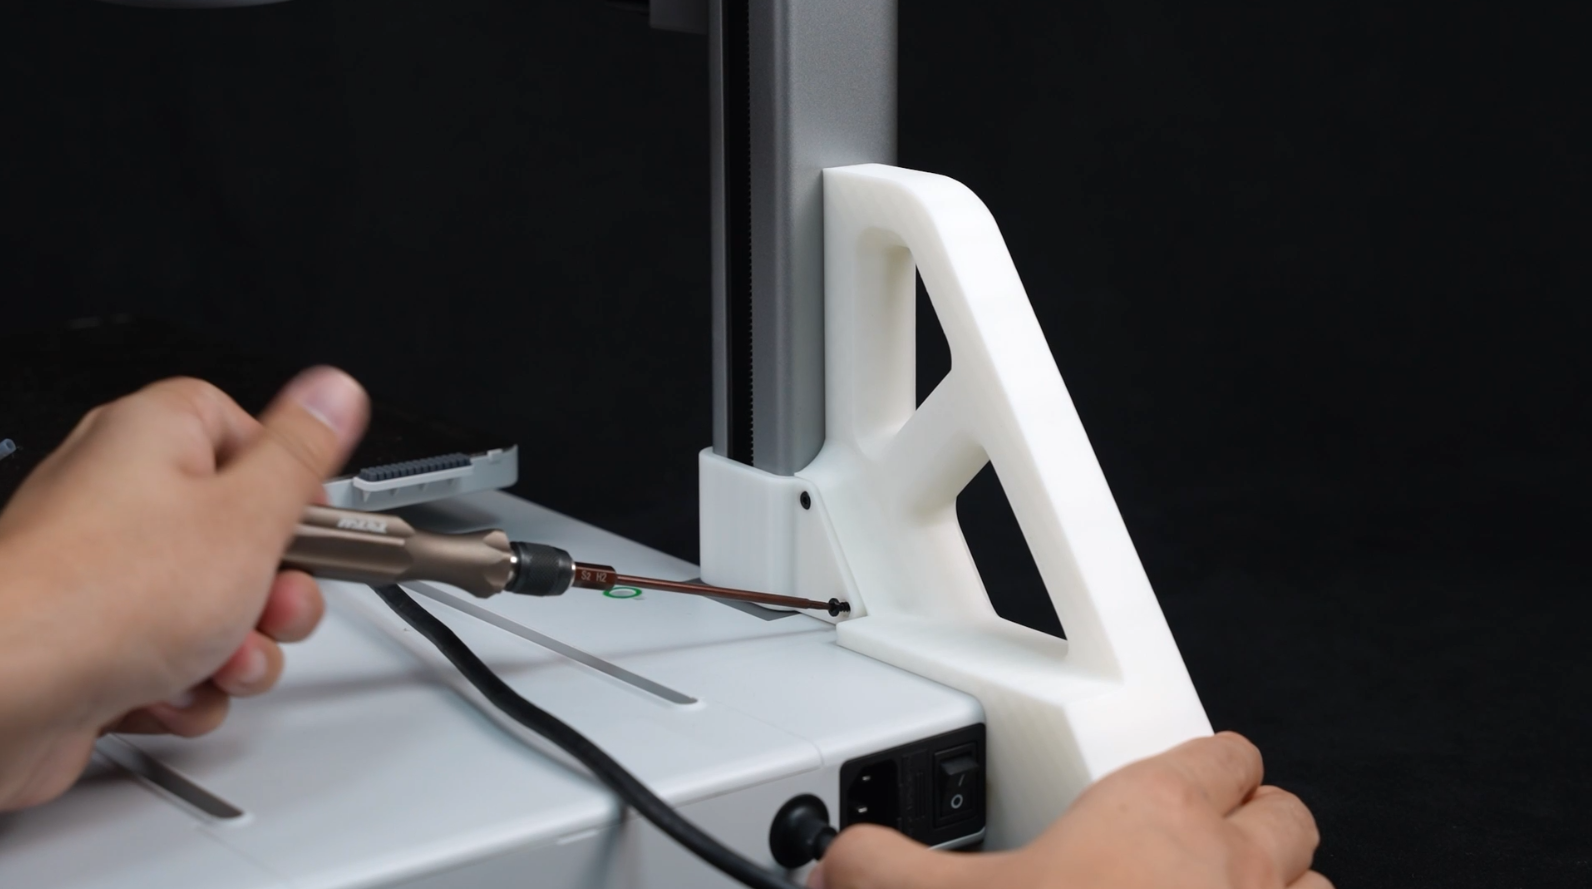
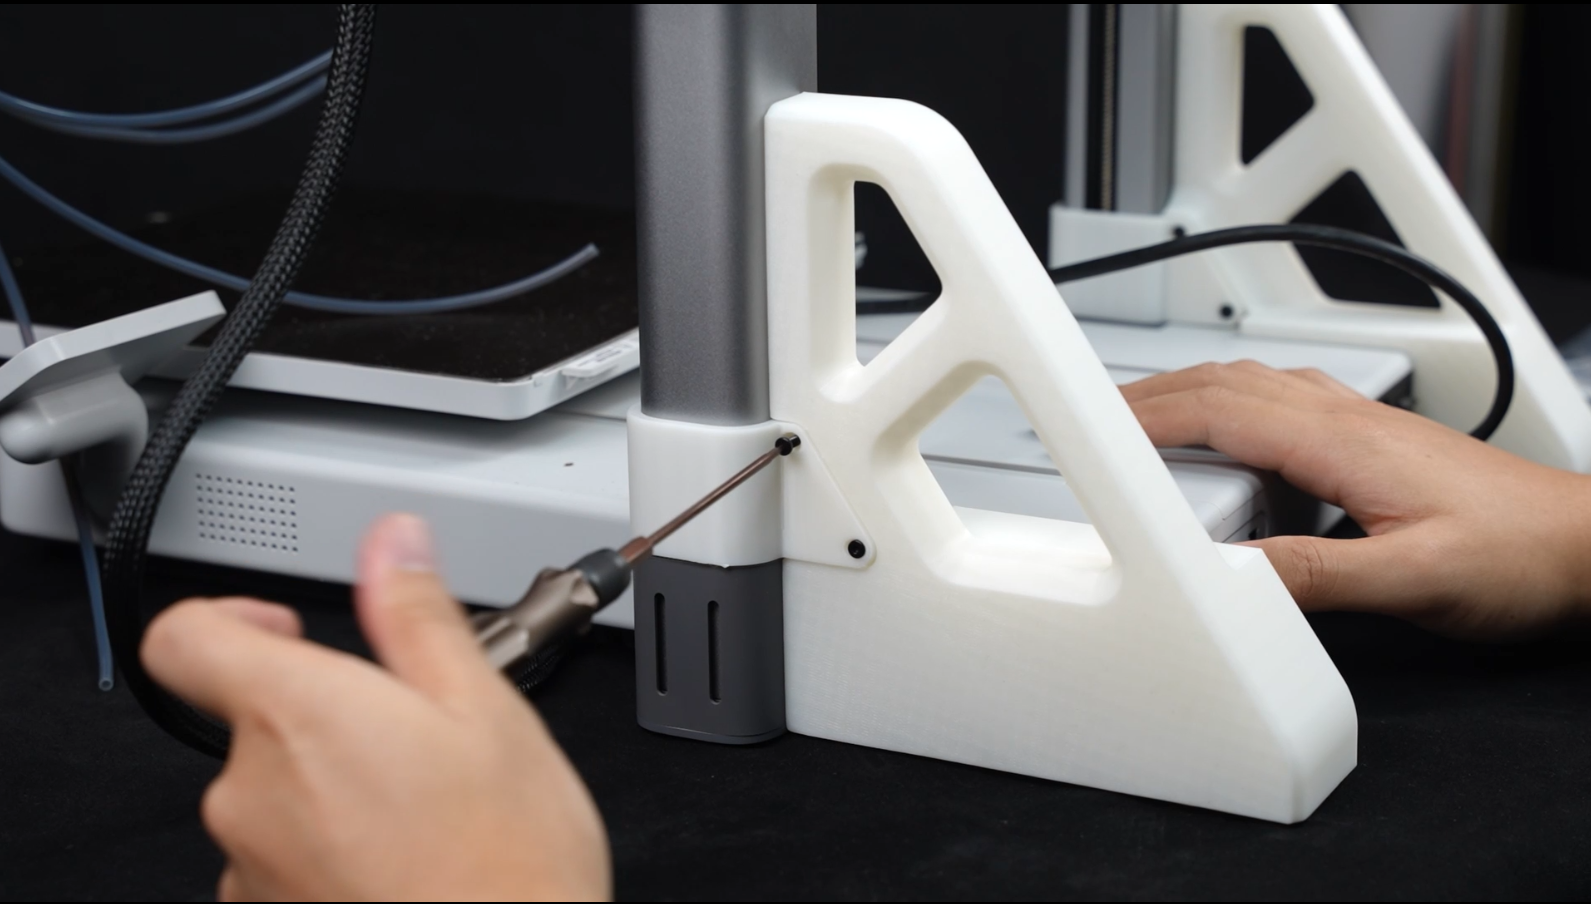
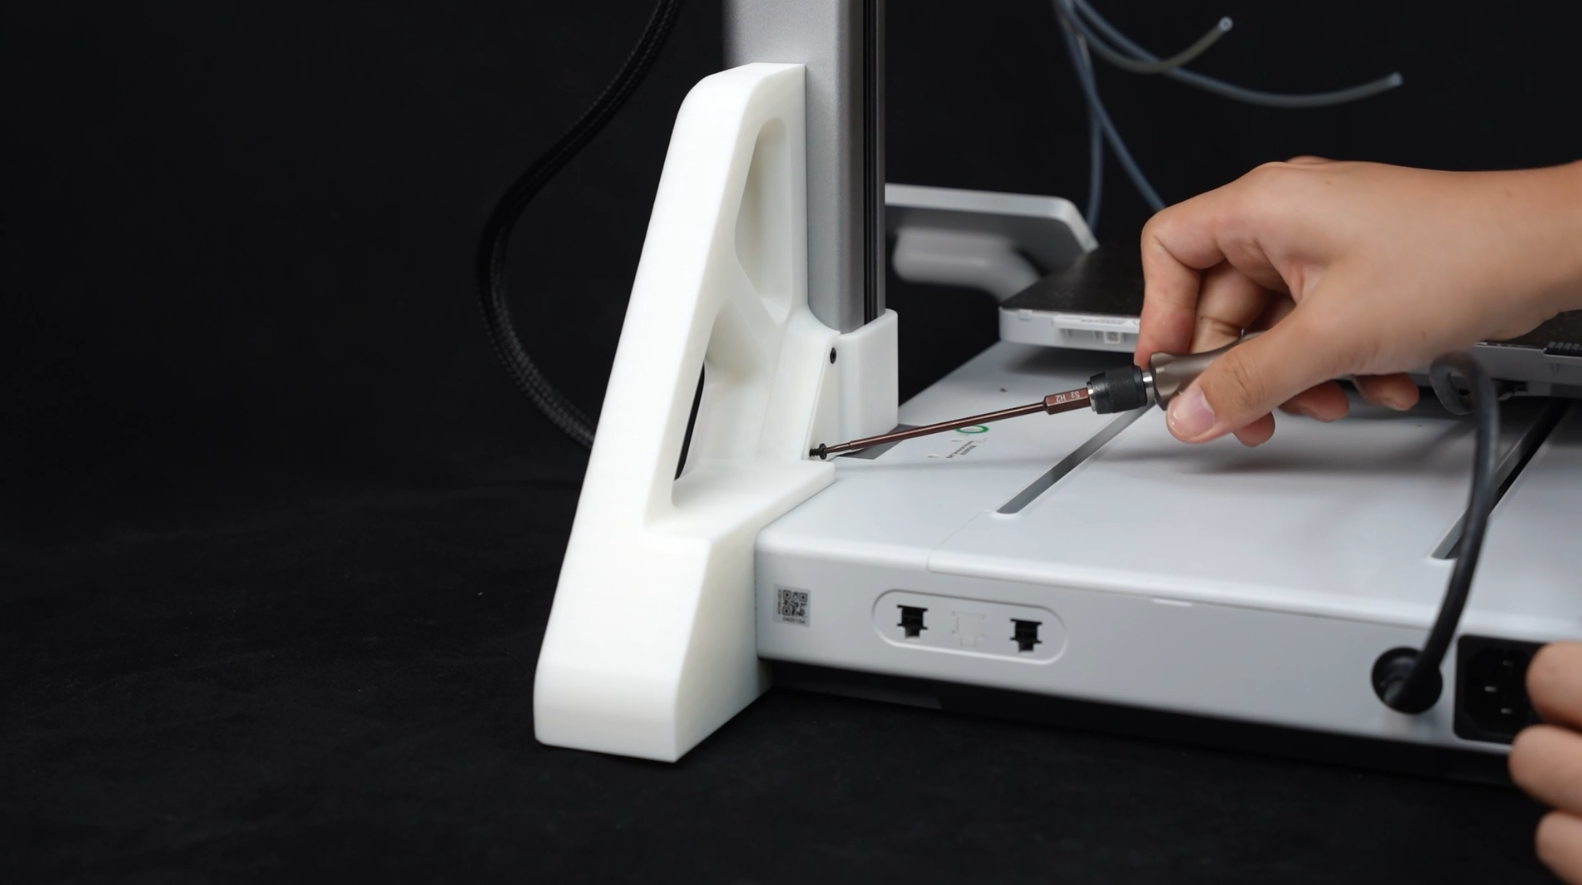
¶ Step7:Insert the Z - axis Stiffener into the respective side C-clamps, and use 8 * BT3-12 screws (4 screws on each side) to tighten the side clamps and secure the Stiffener.
Left side
 |
 |
 |
 |
Right side
 |
 |
 |
 |
¶ Step 8:Clamp the AMS Top Mount on the top gantry.
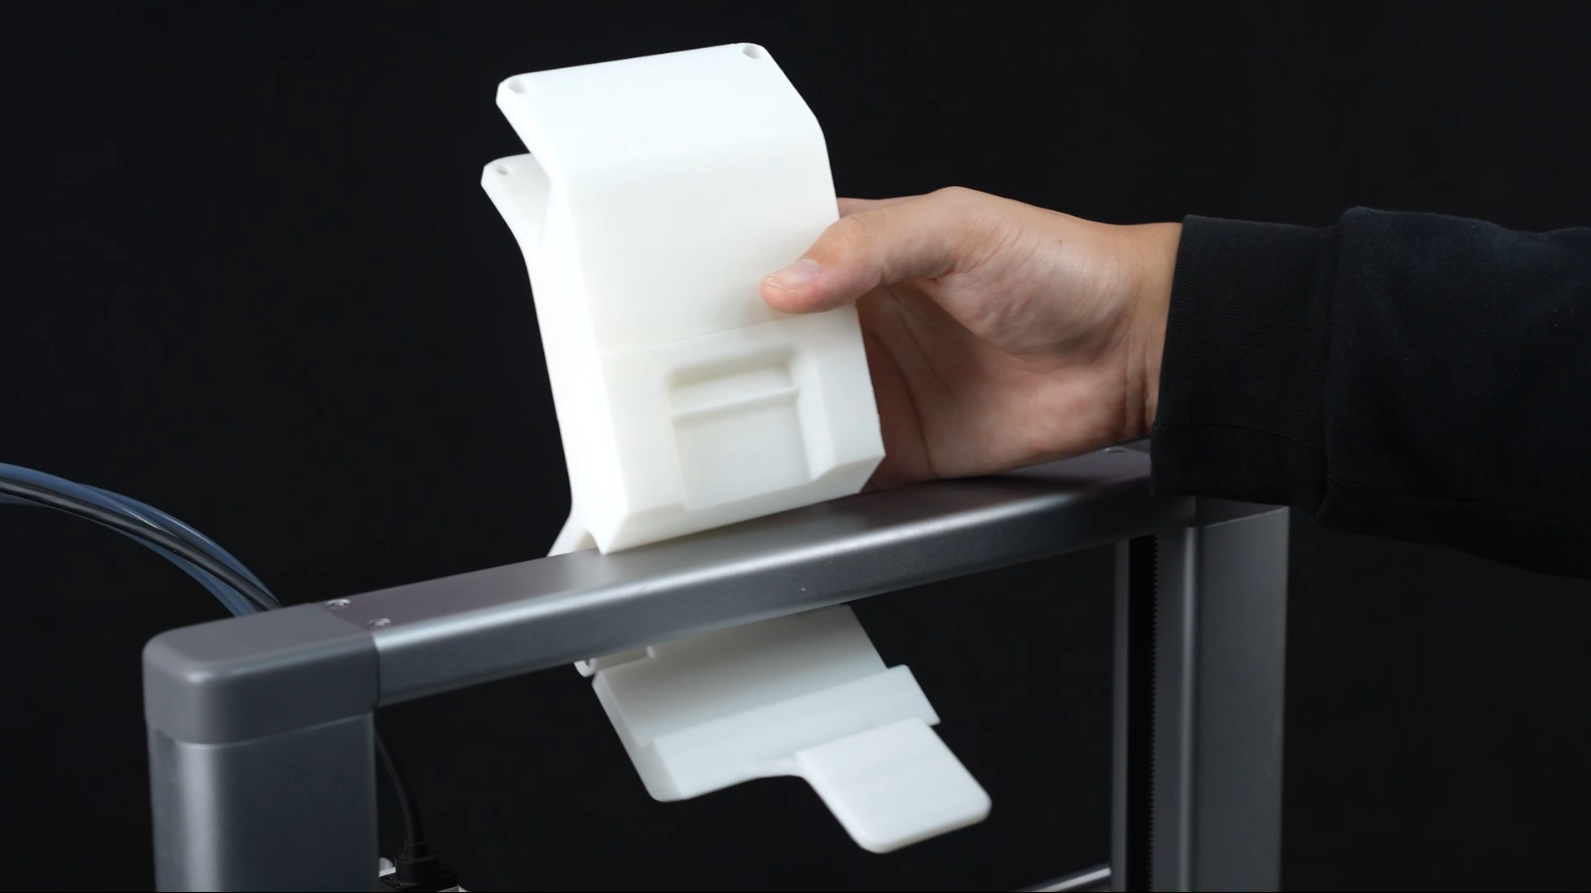 |
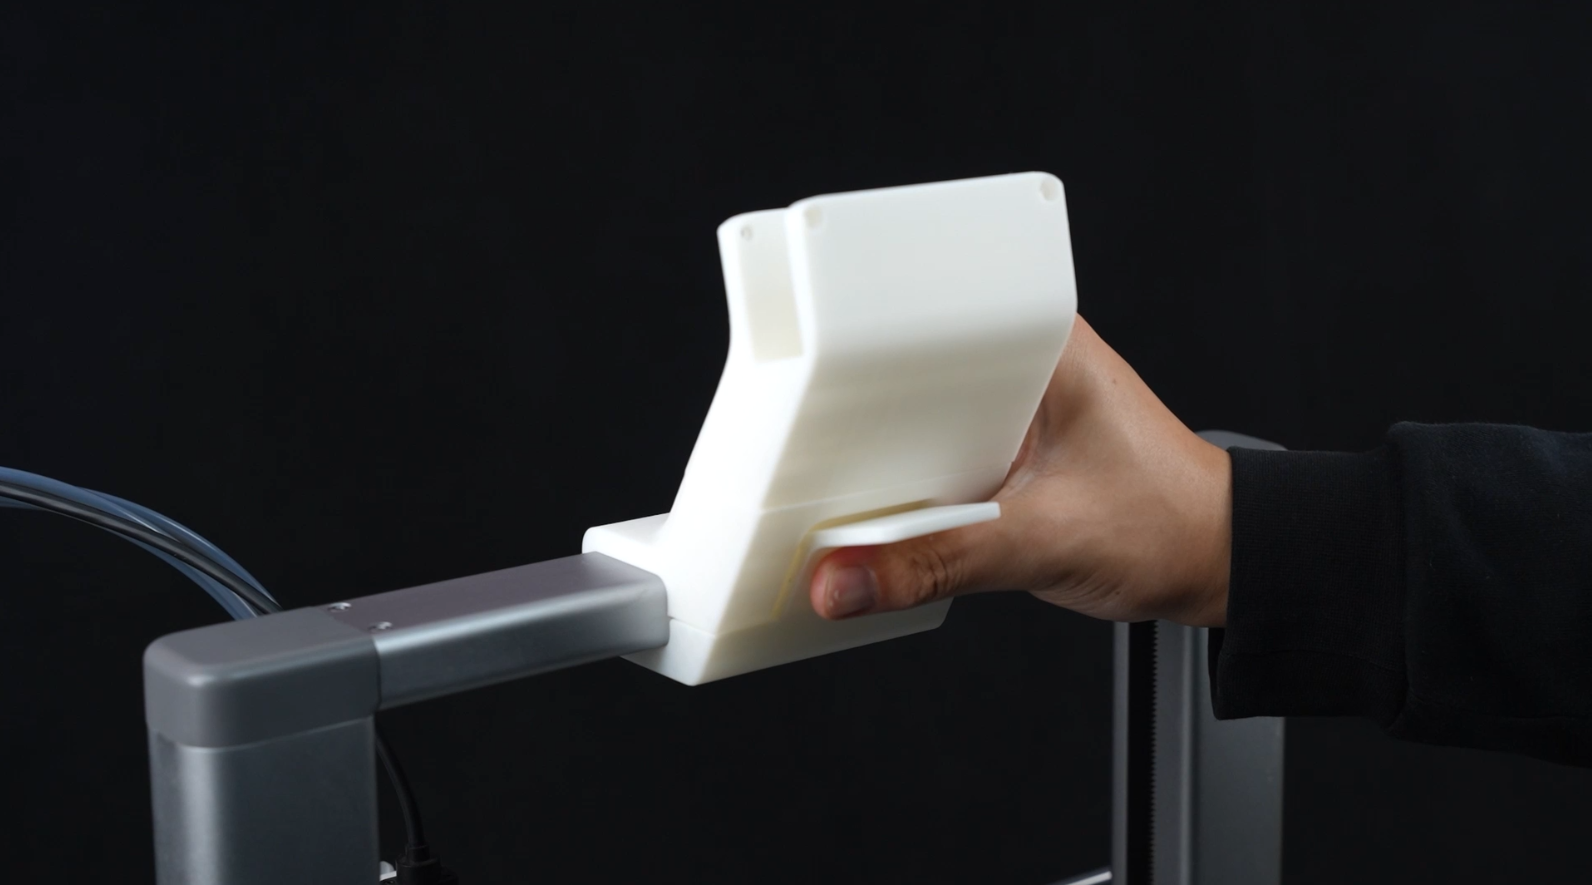 |
¶ Step 9: Orient the AMS lite body, No. 3&4 side is facing the front (screen).
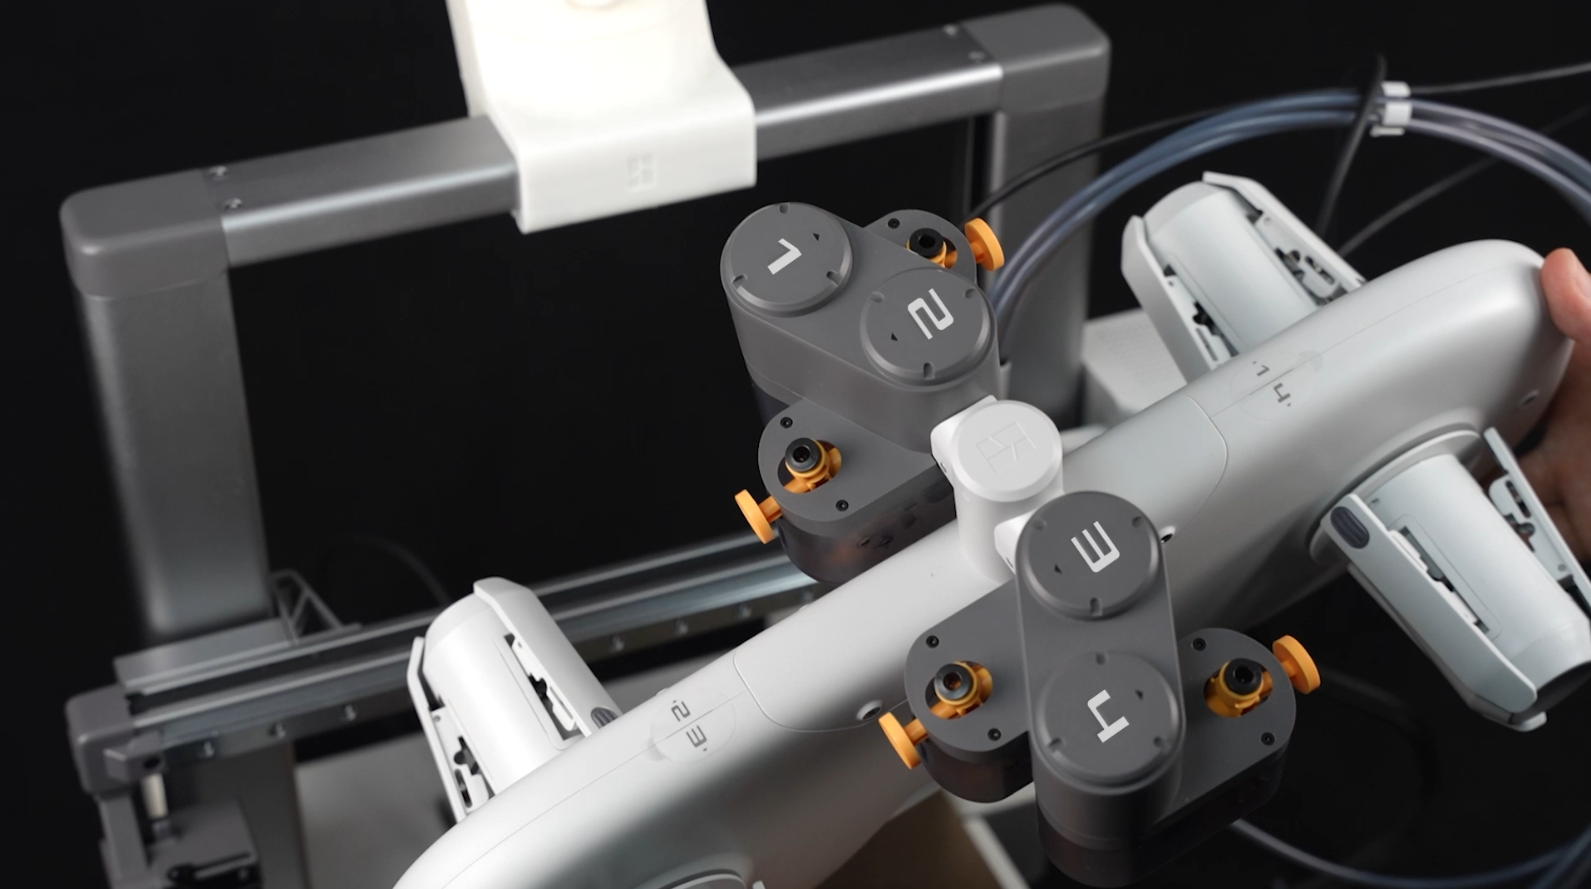 |
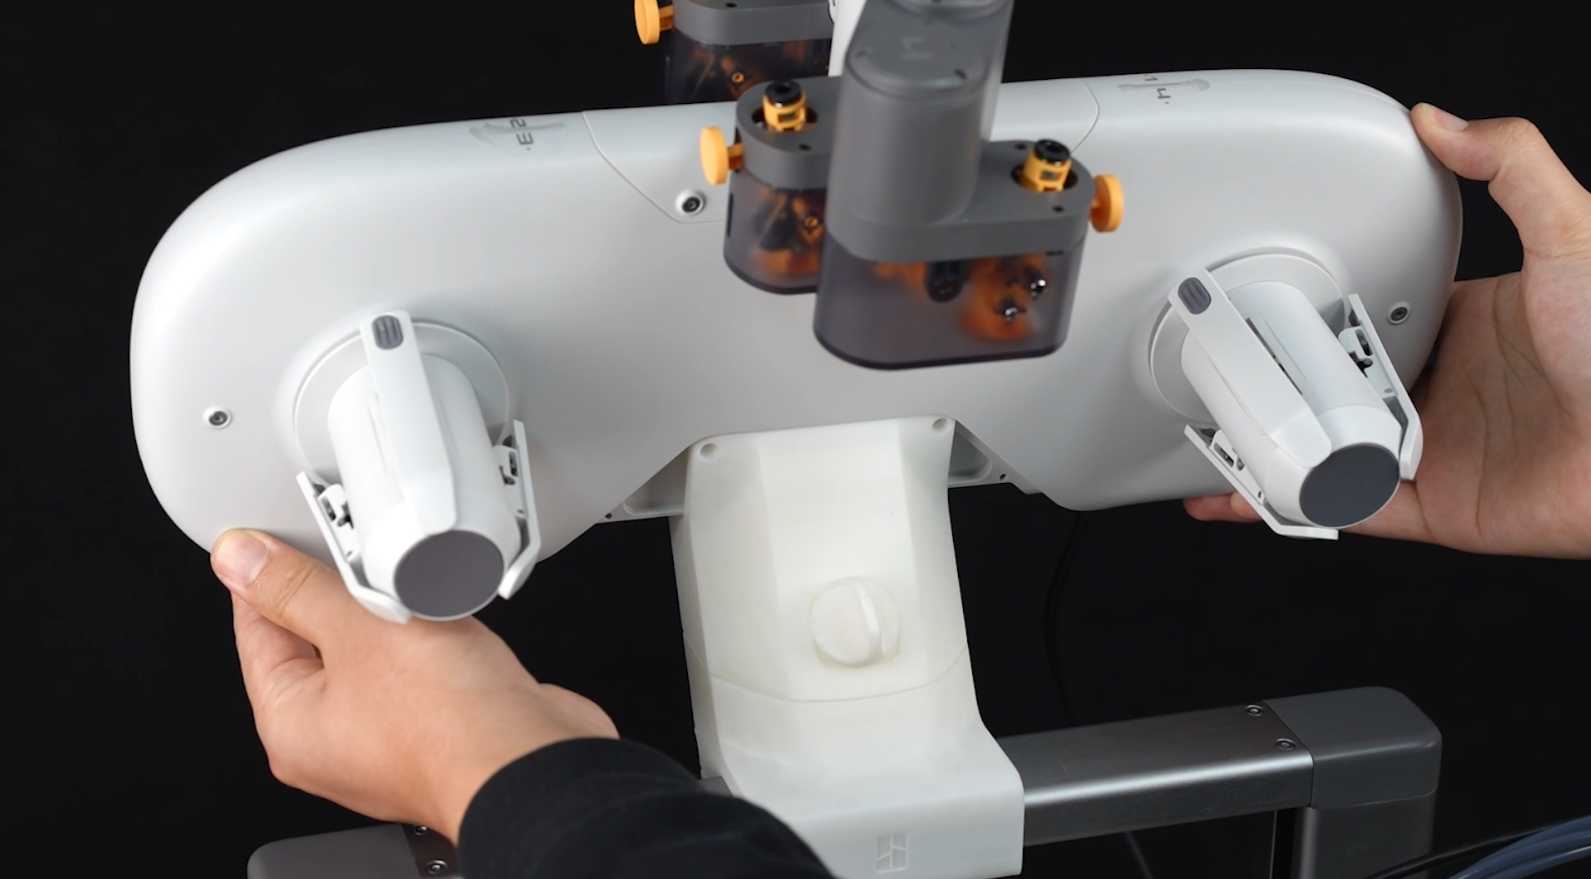 |
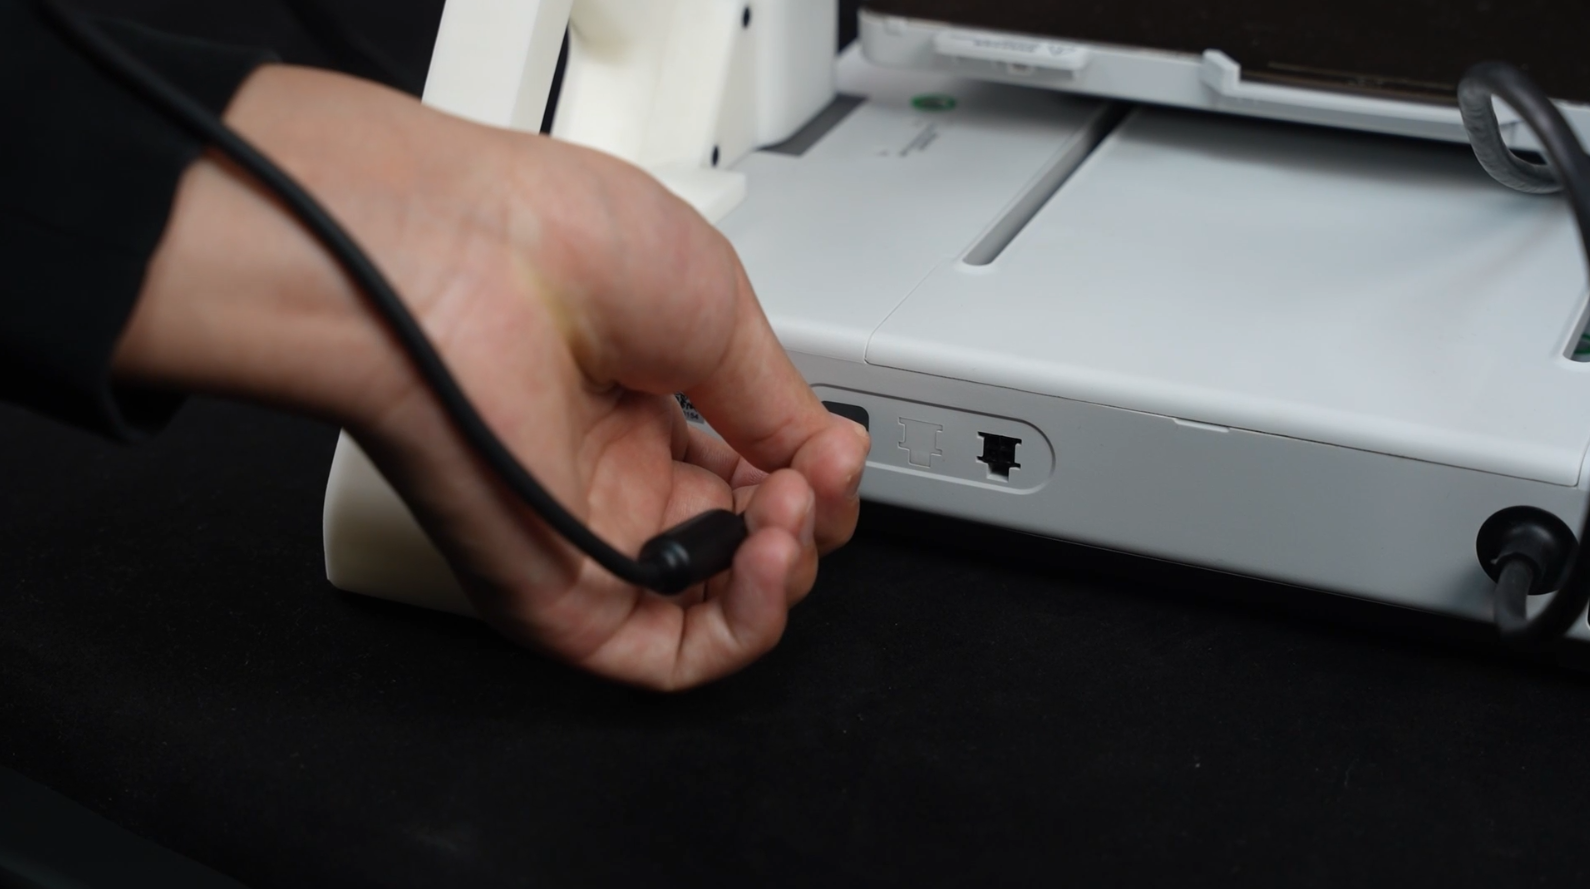
¶ Step 10:Use 4 * BT3-12 screws to tighten the AMS body on the mount, and don't forget to plug your 4 - pin connector back
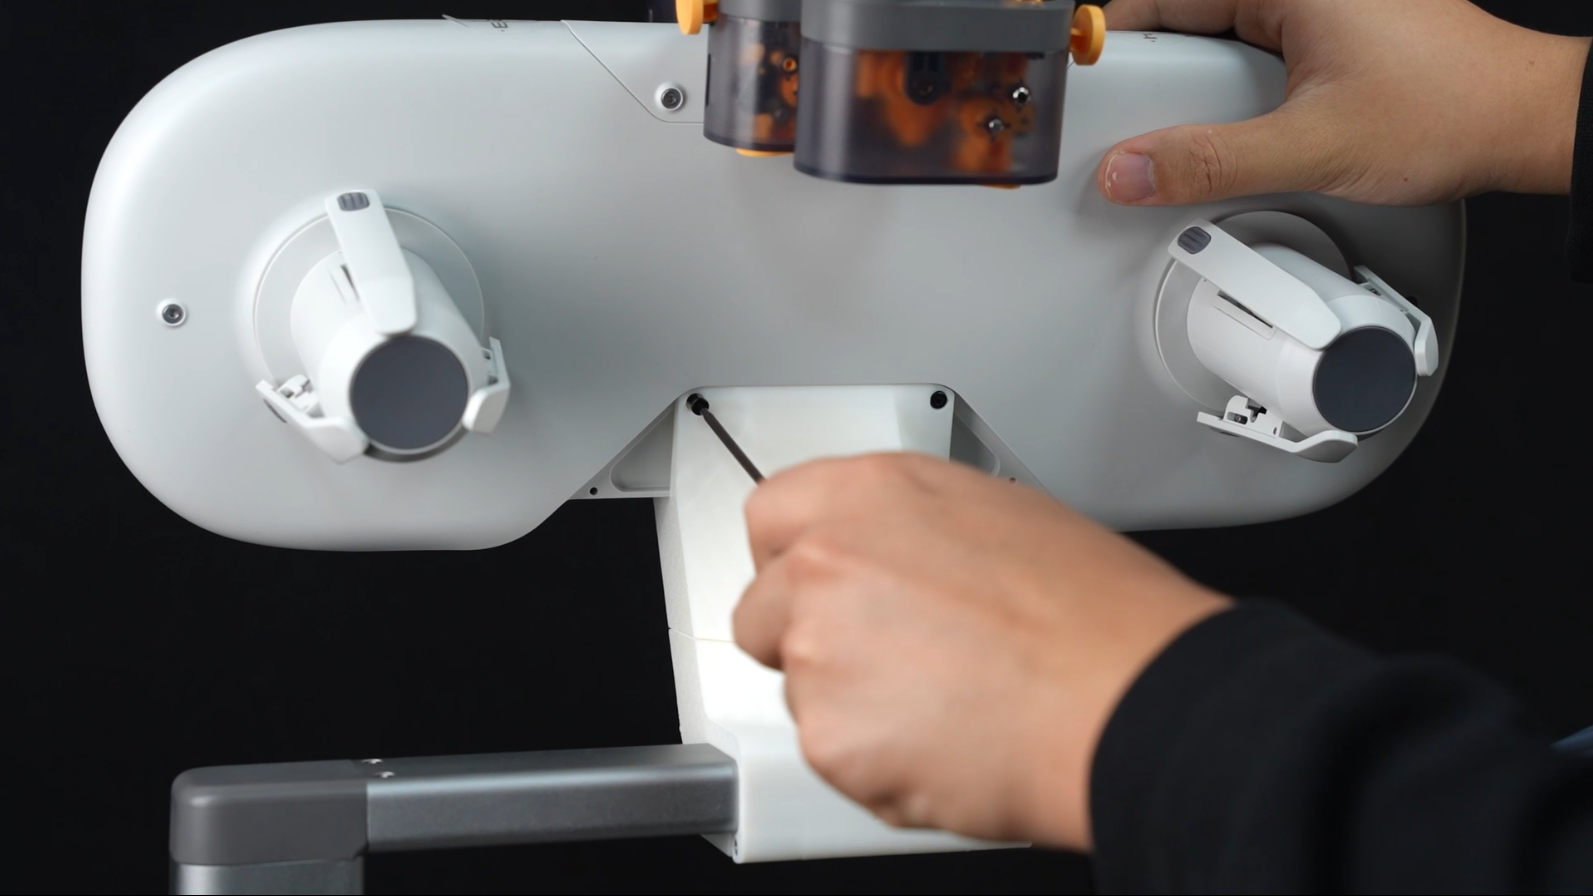 |
 |
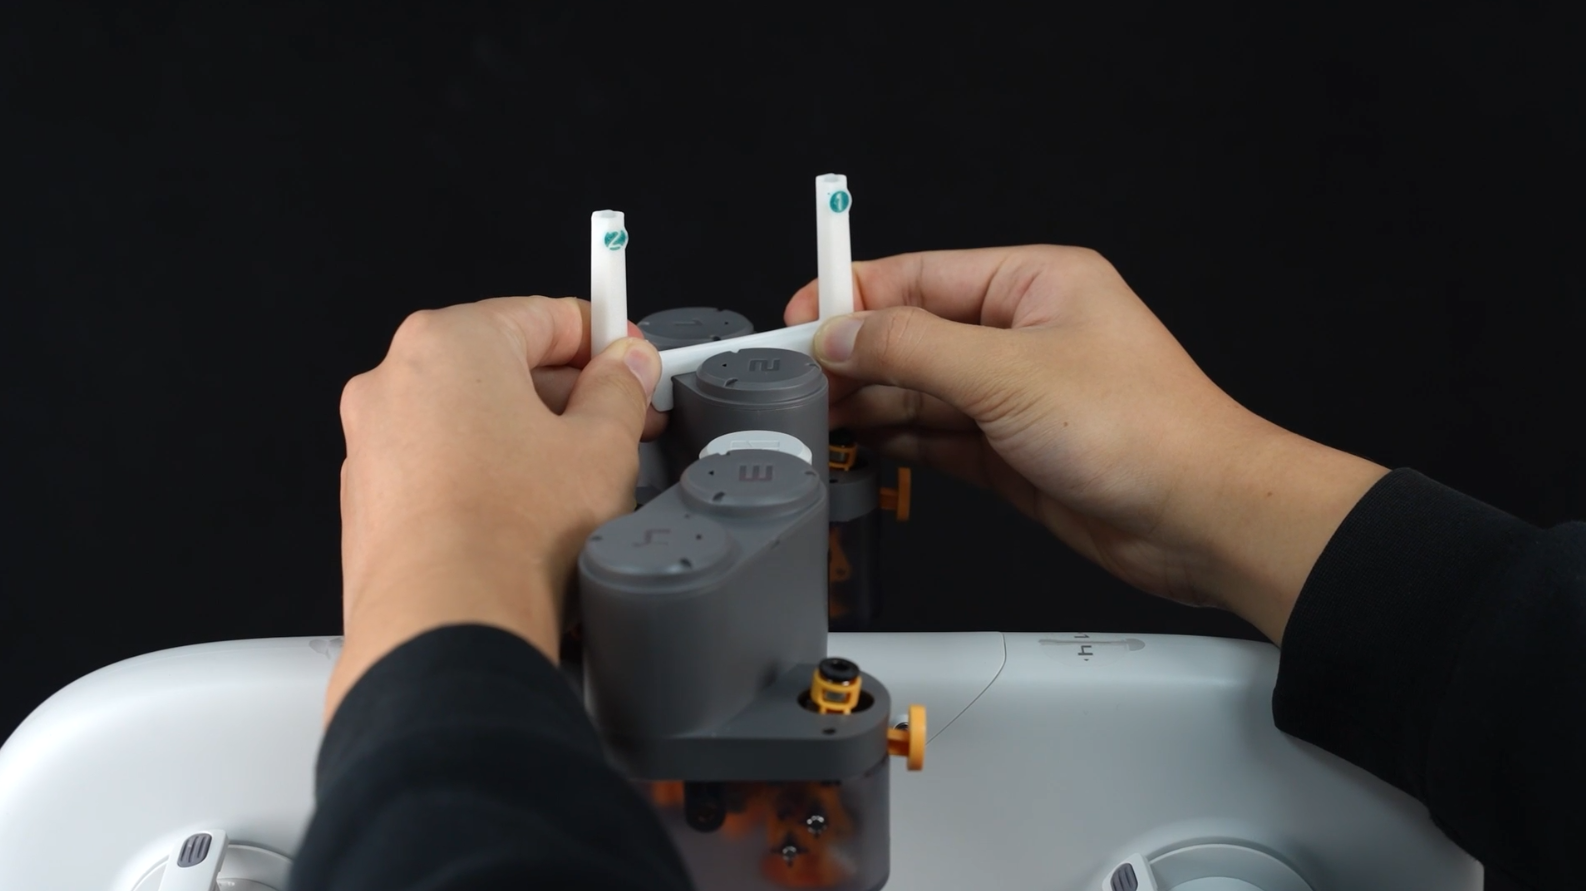
¶ (Optional) Step 11 Clip in the PTFE tube guide (Match the number to the corresponding port)
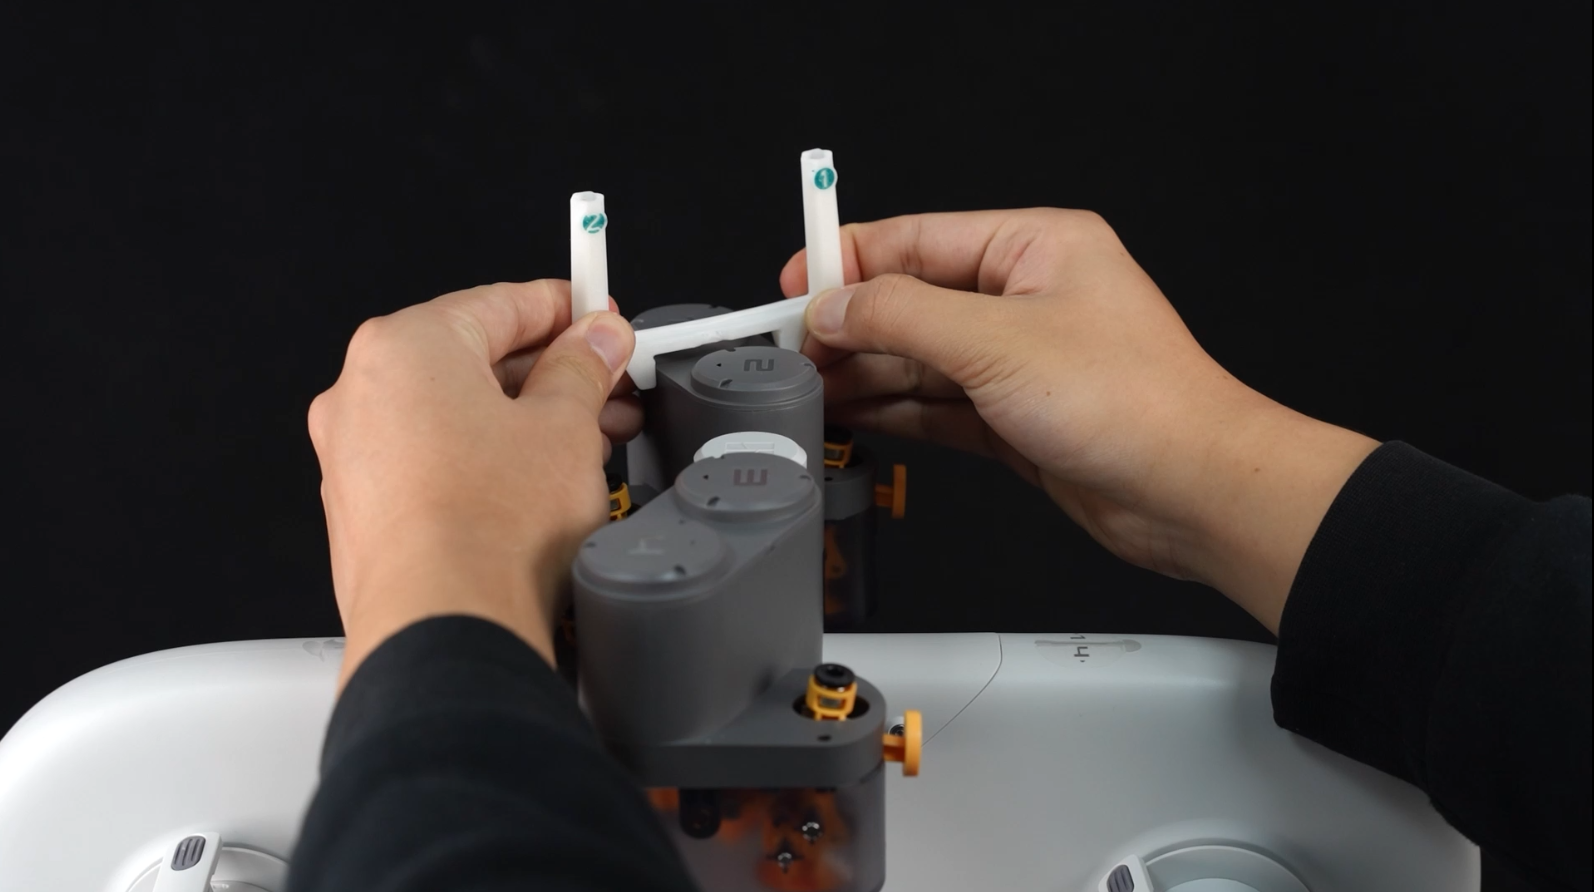 |
 |
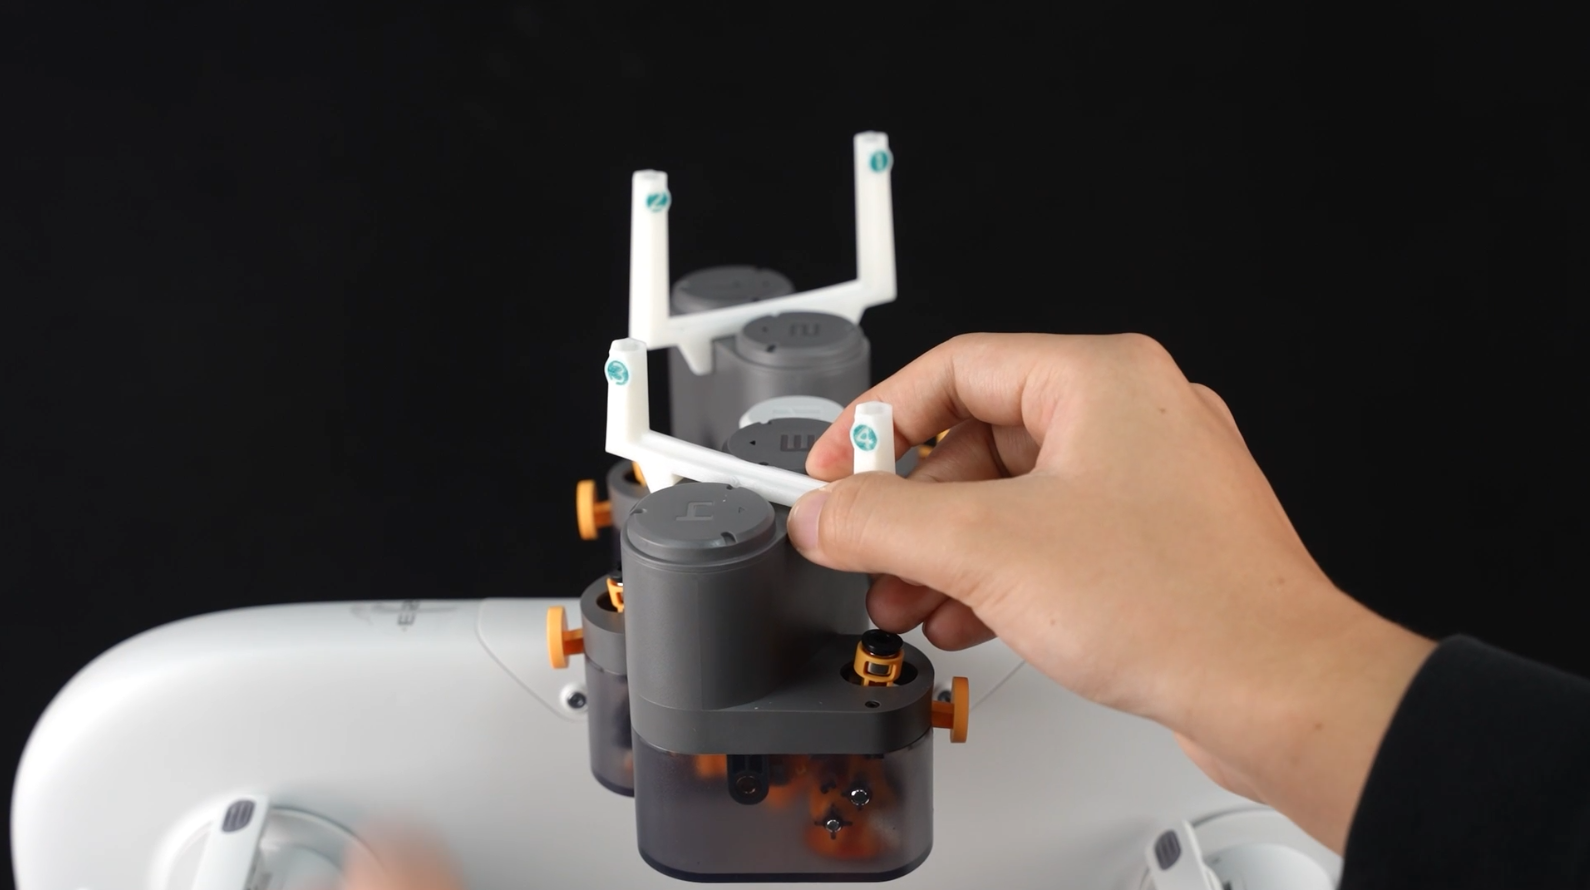 |
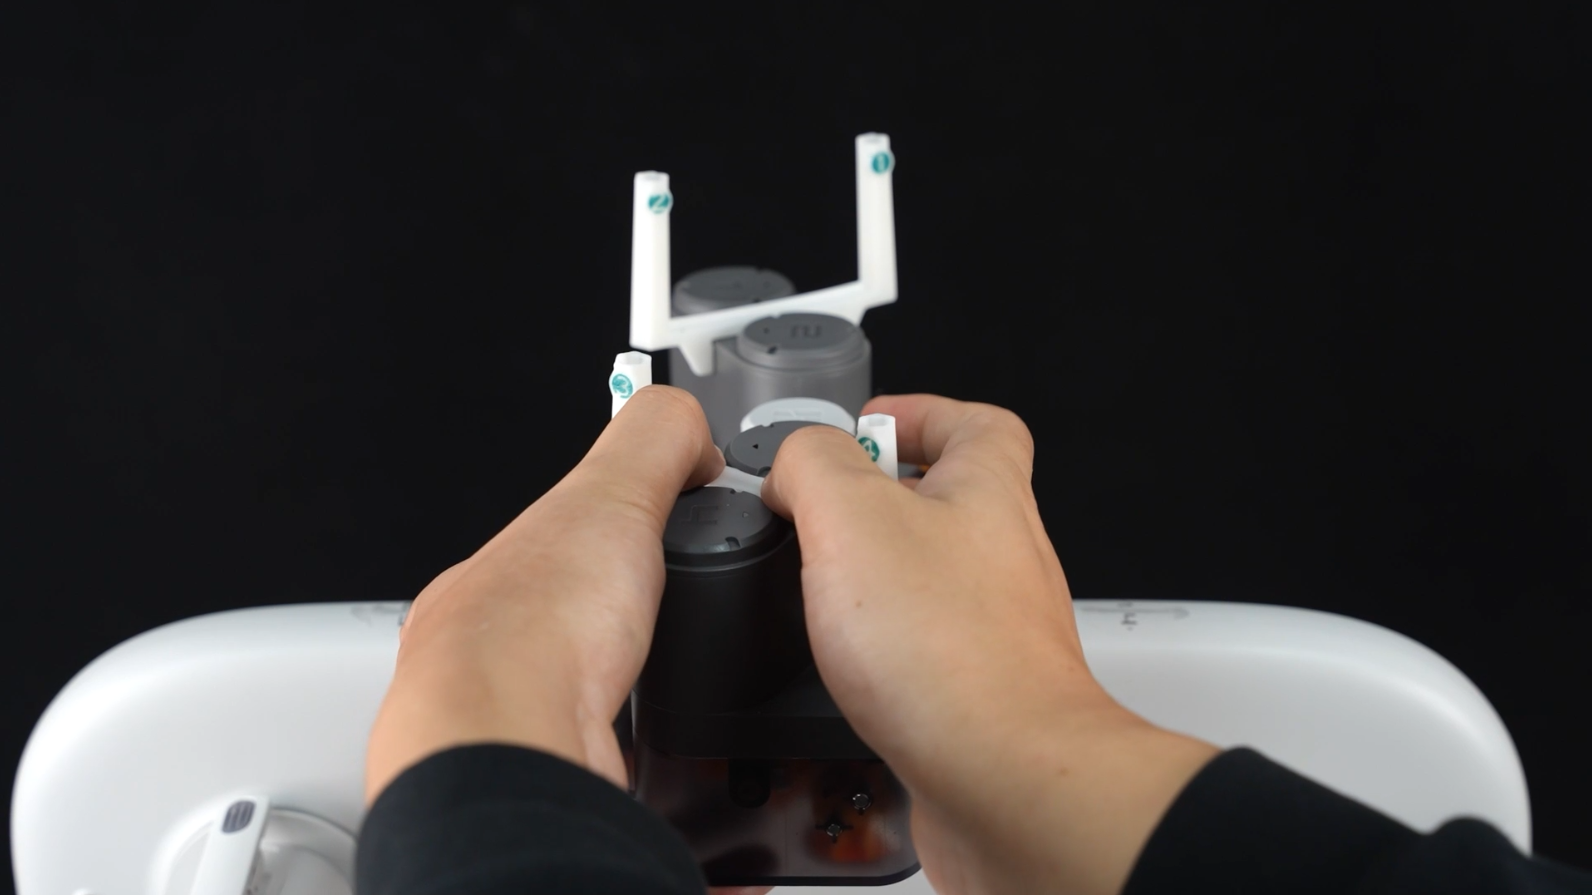 |
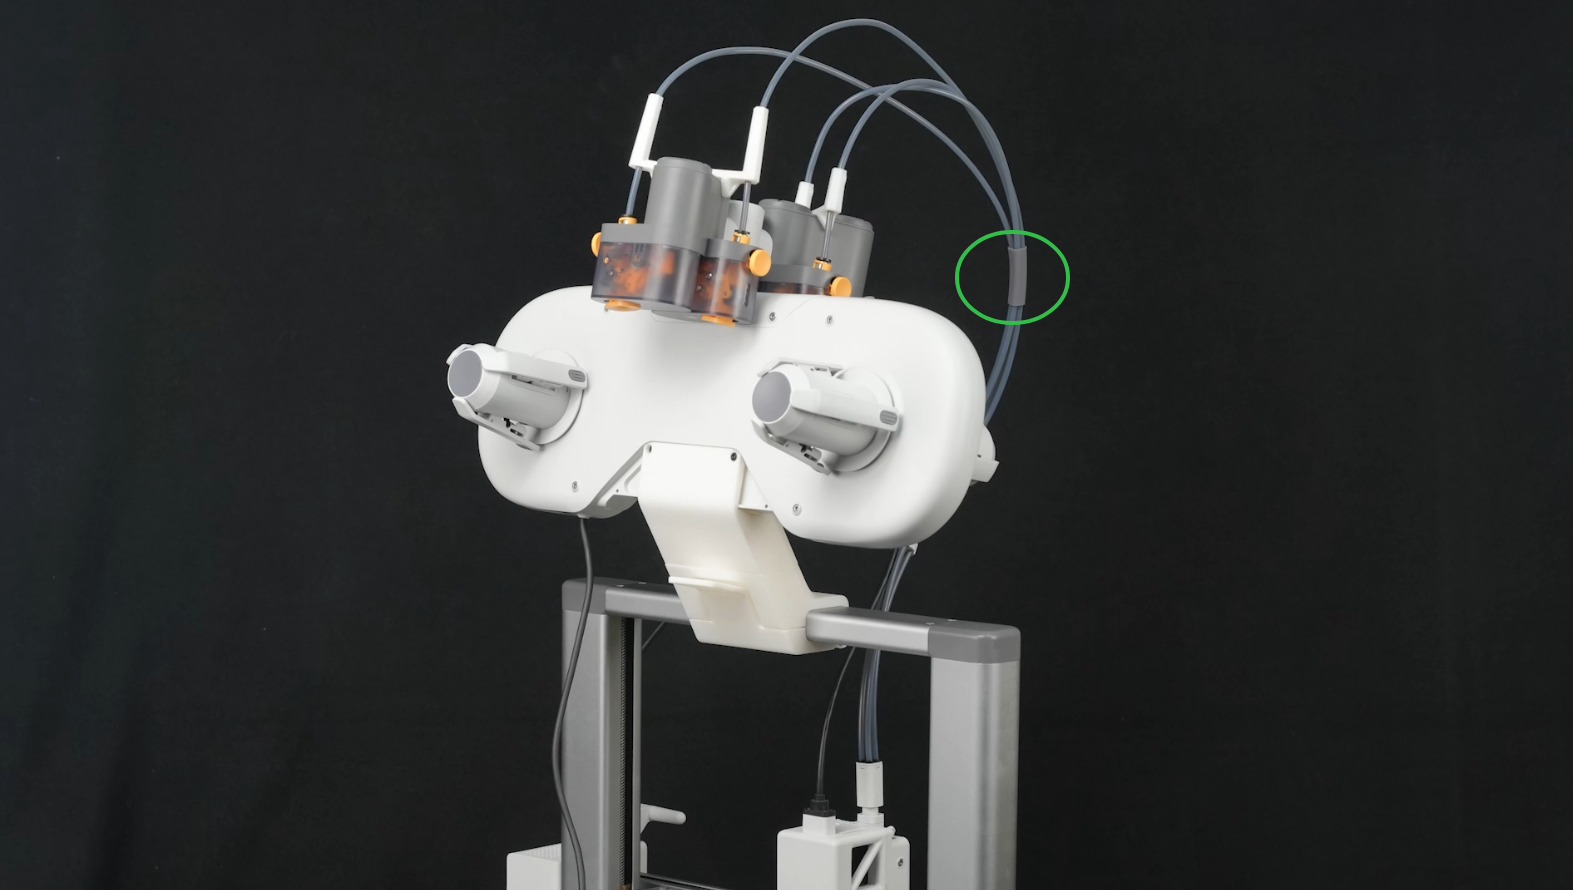
¶ Step 12: Insert longer PTFE tubes into No.1&2 ports, and insert shorter PTFE tubes into No, 3&4 ports.
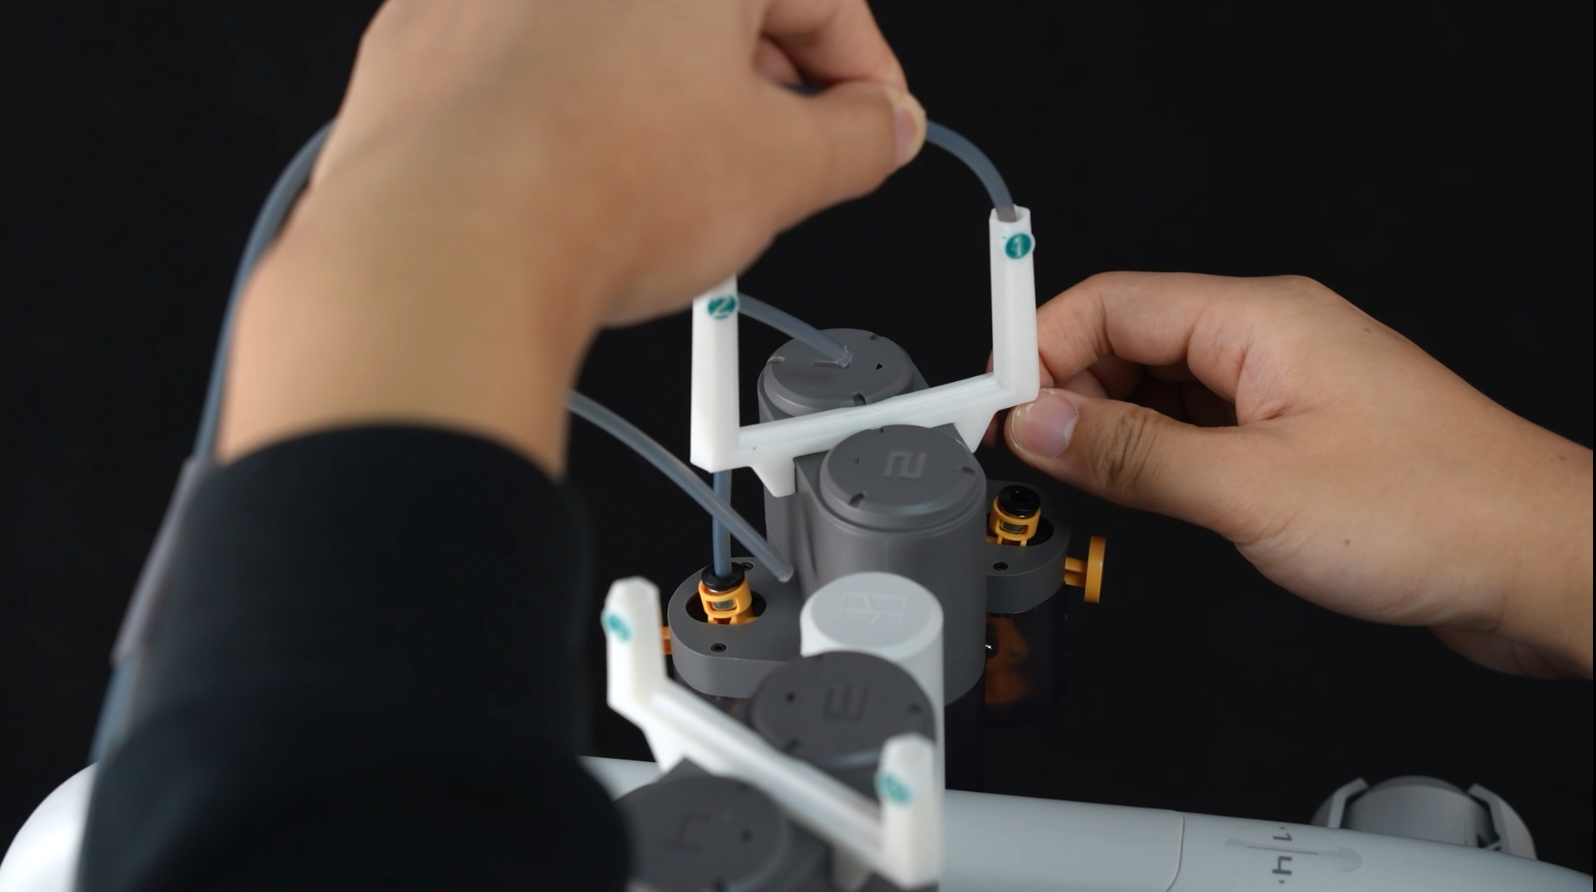 |
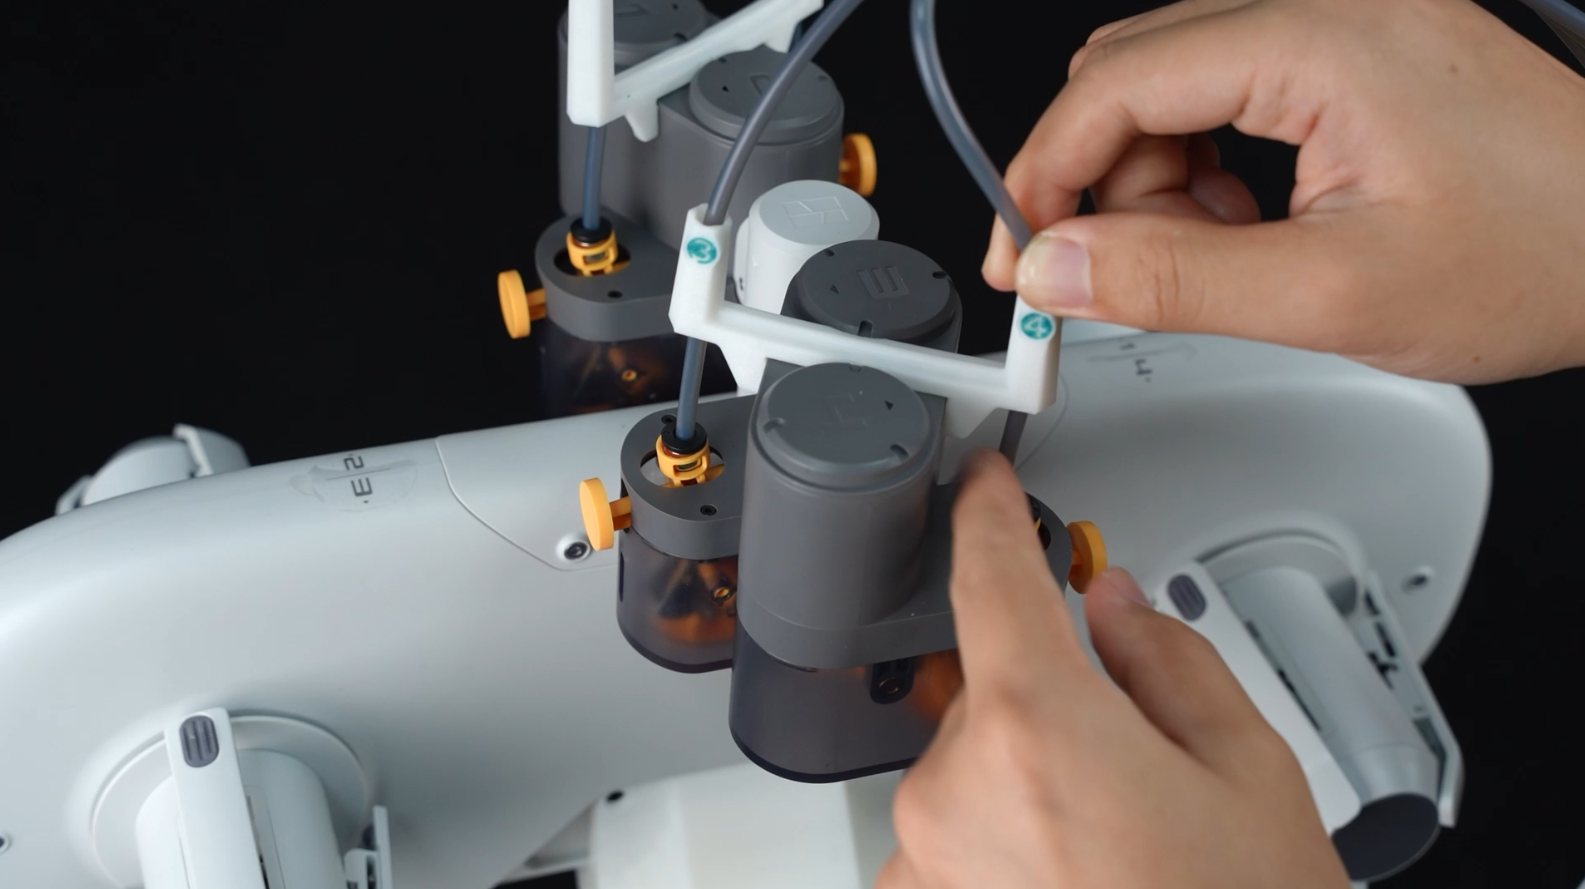 |
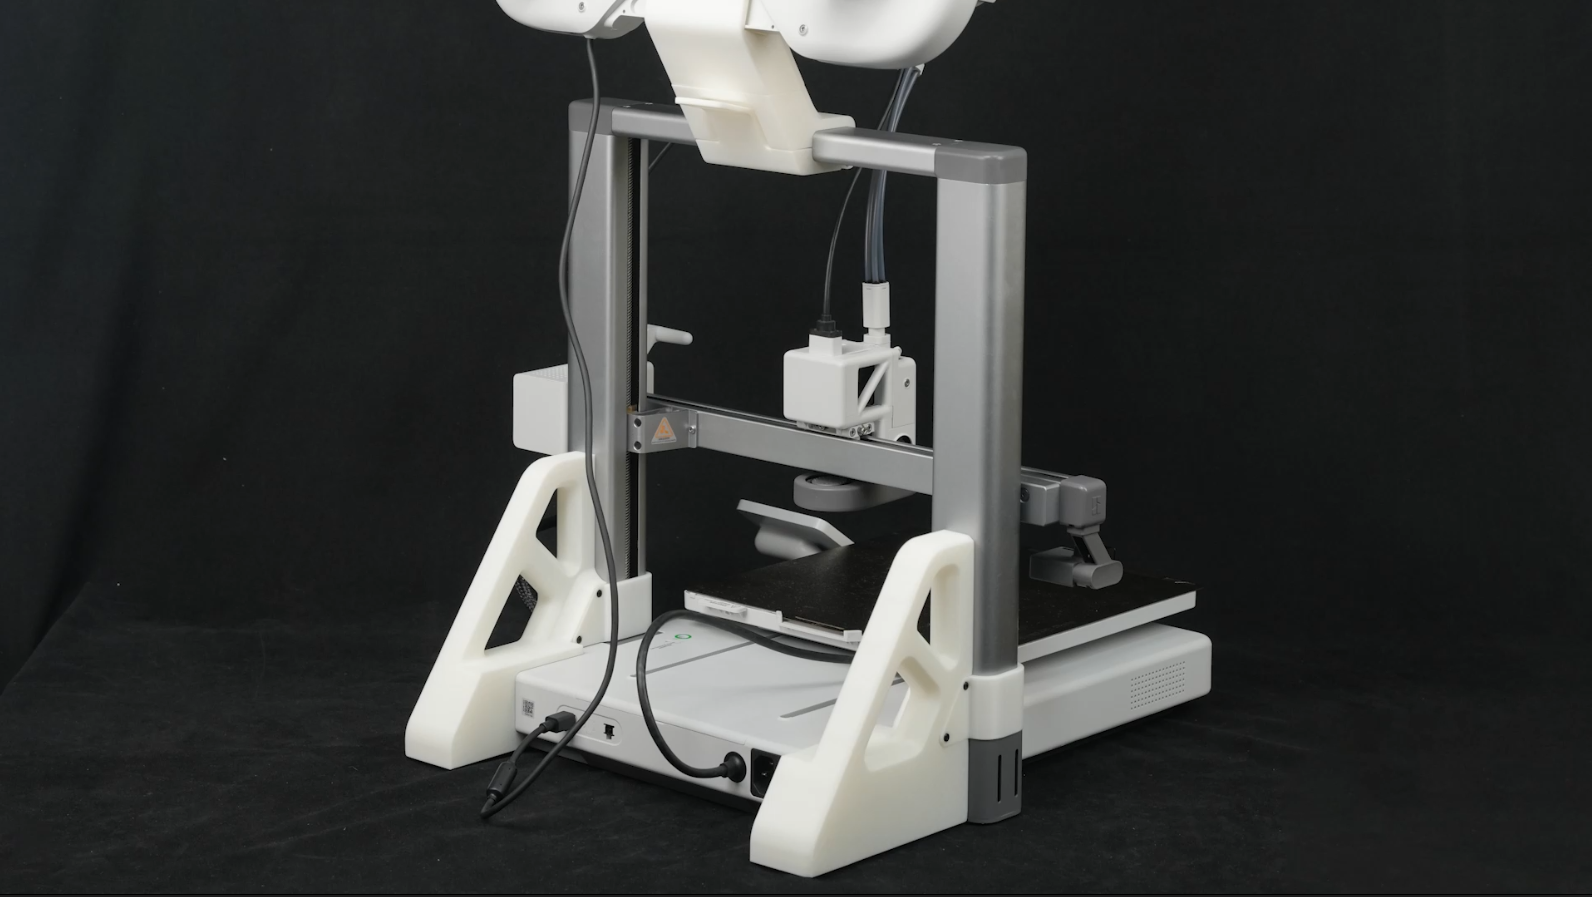
¶ Final picture
The optimal position, after the hot end and heatbed come into contact, is to align the edge of the silicone tube organizer with the lower edge of the beam. This helps reduce filament resistance.
 |
 |
¶ End Notes
We hope our guide was helpful. If you have any questions or concerns about the process, please contact our customer service team. We're here to assist you.
Click here to open a new ticket in our Support Page.
We will do our best to respond promptly and provide you with the assistance you need.