Wiki in additional languages can be found below:
¶ Video guide
¶ Printing Preparation
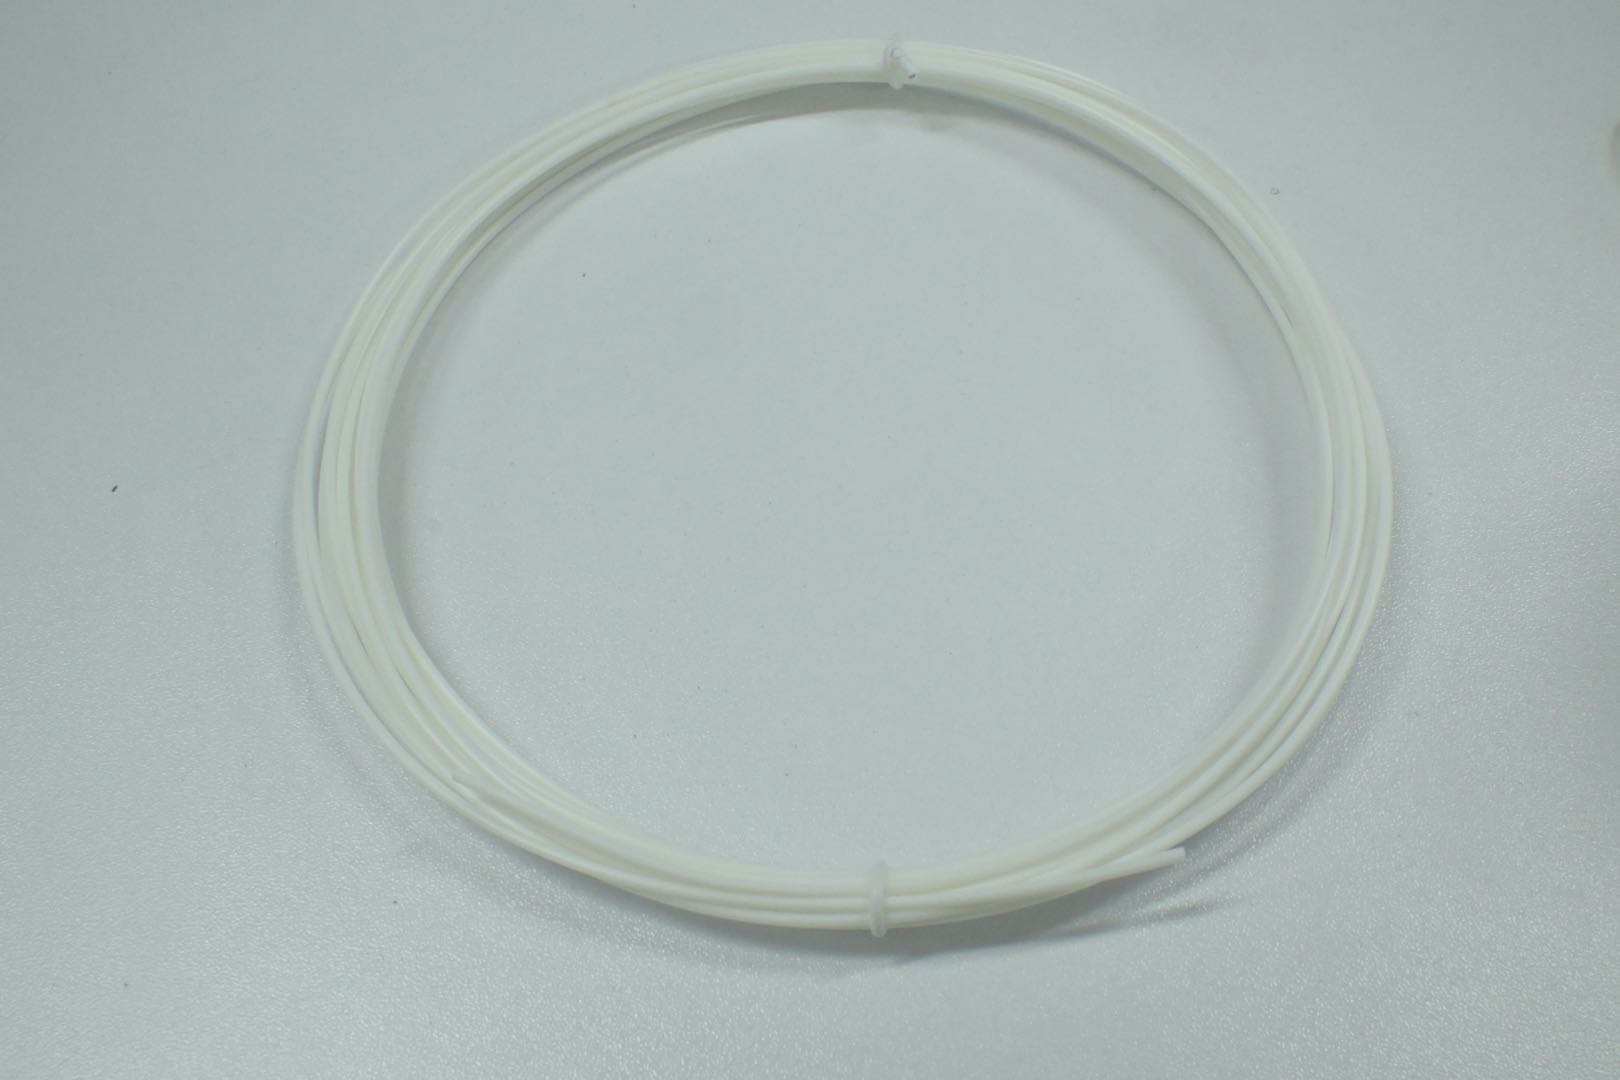
¶ Using the included filaments
¶ 1. Insert the filament
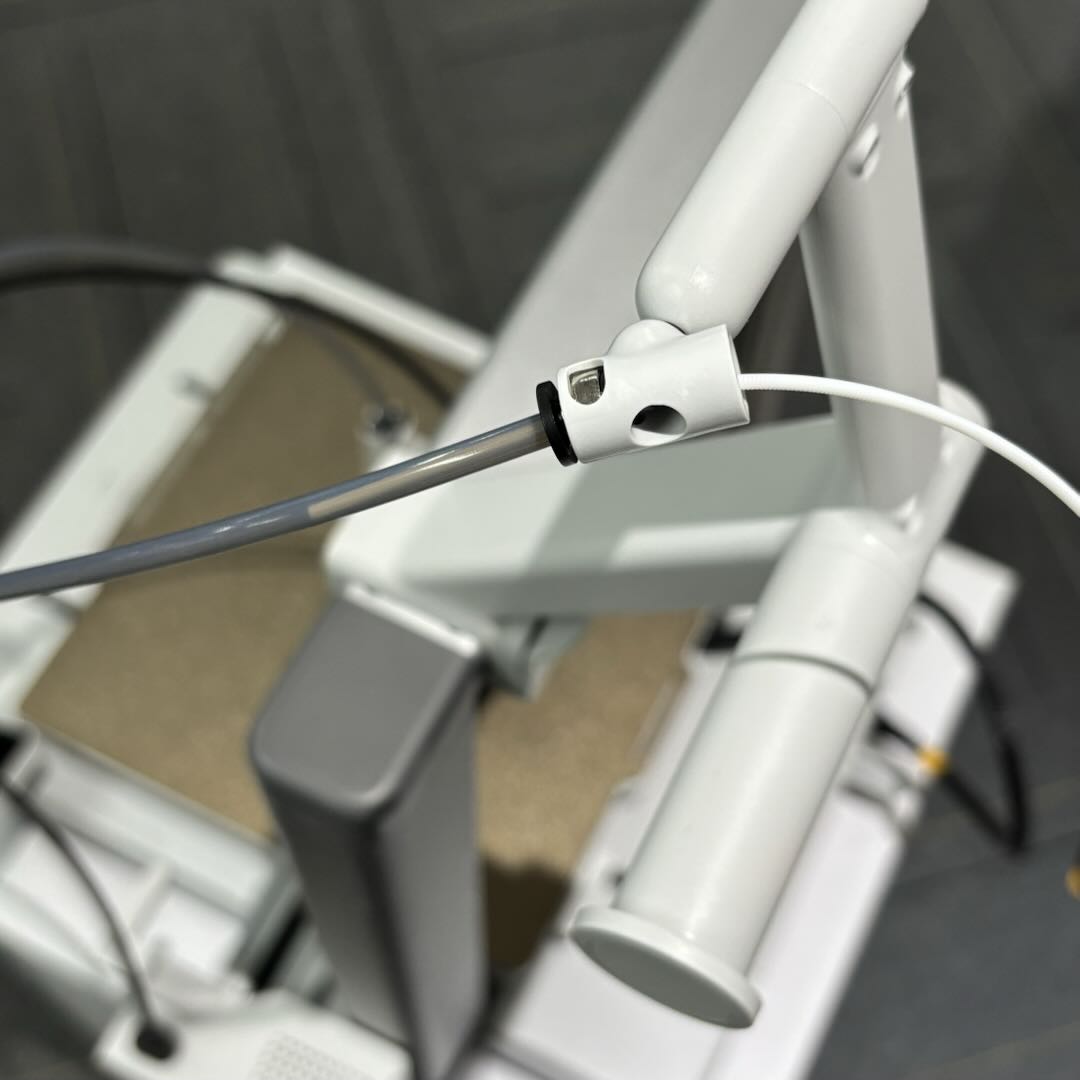
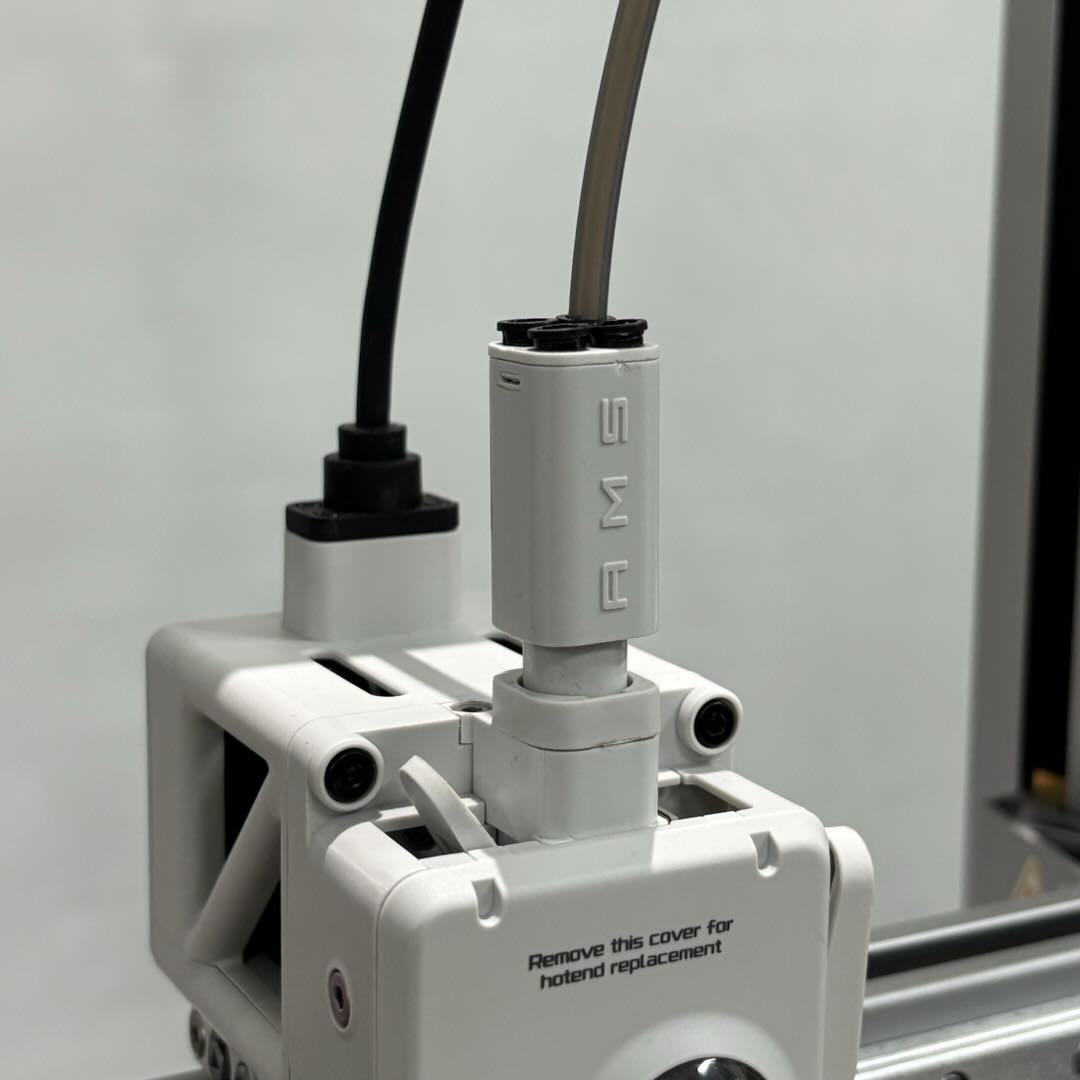
Insert the filament into the PTFE tube and push it into the toolhead until it can no longer move forward.
 |
 |
¶ 2. Load the filament
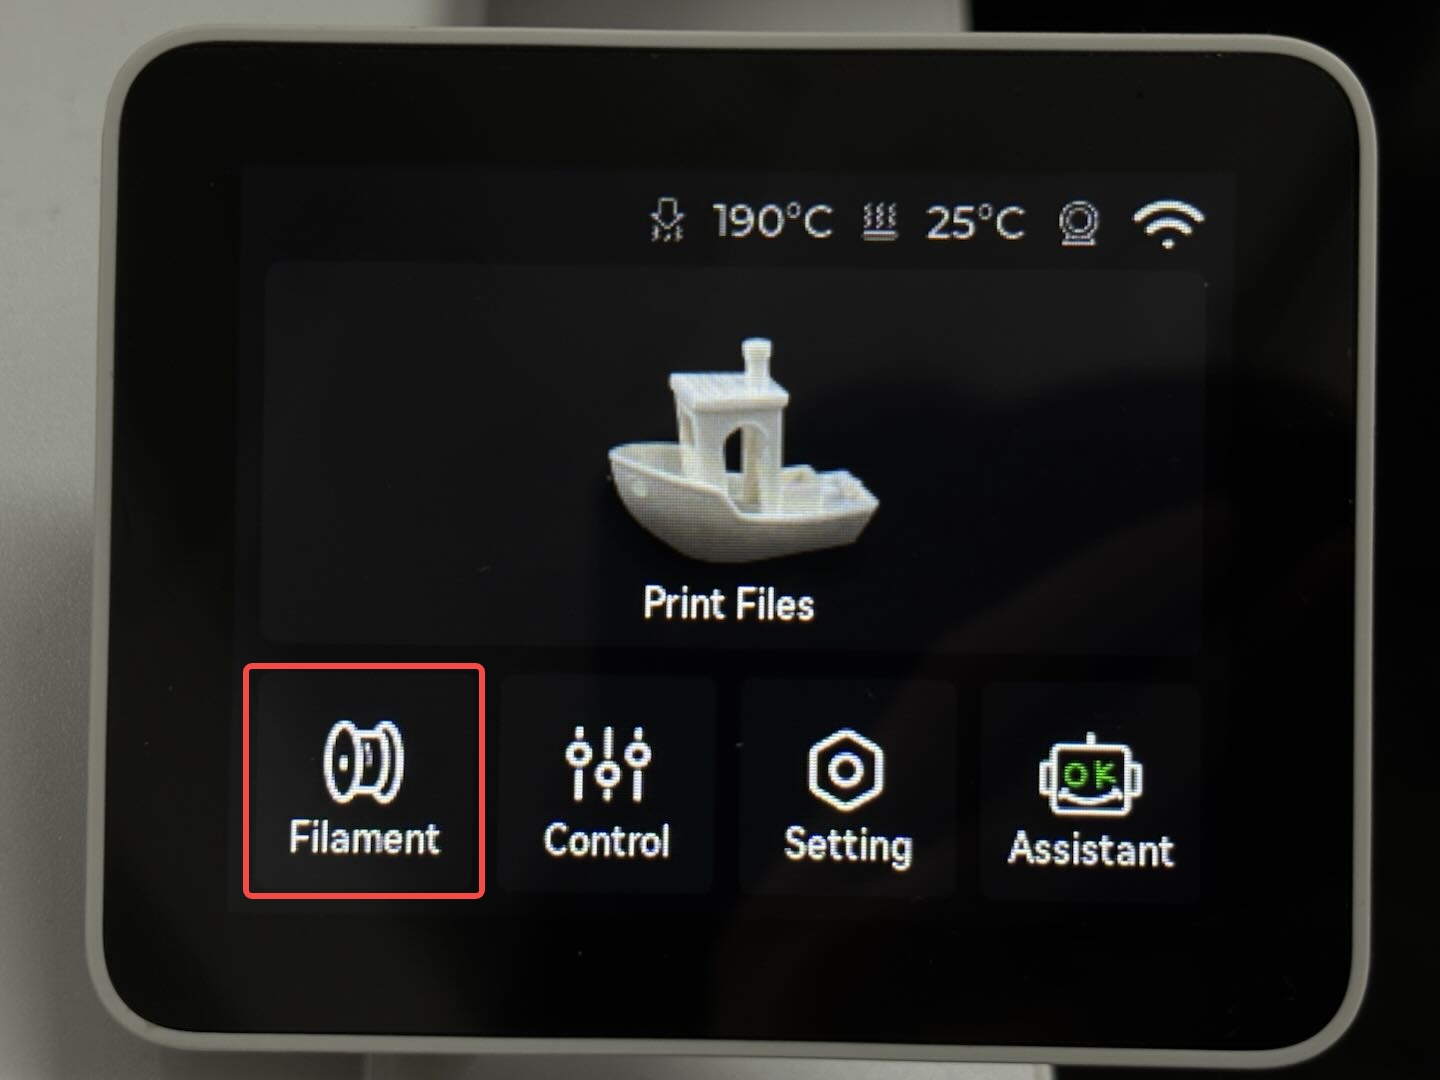
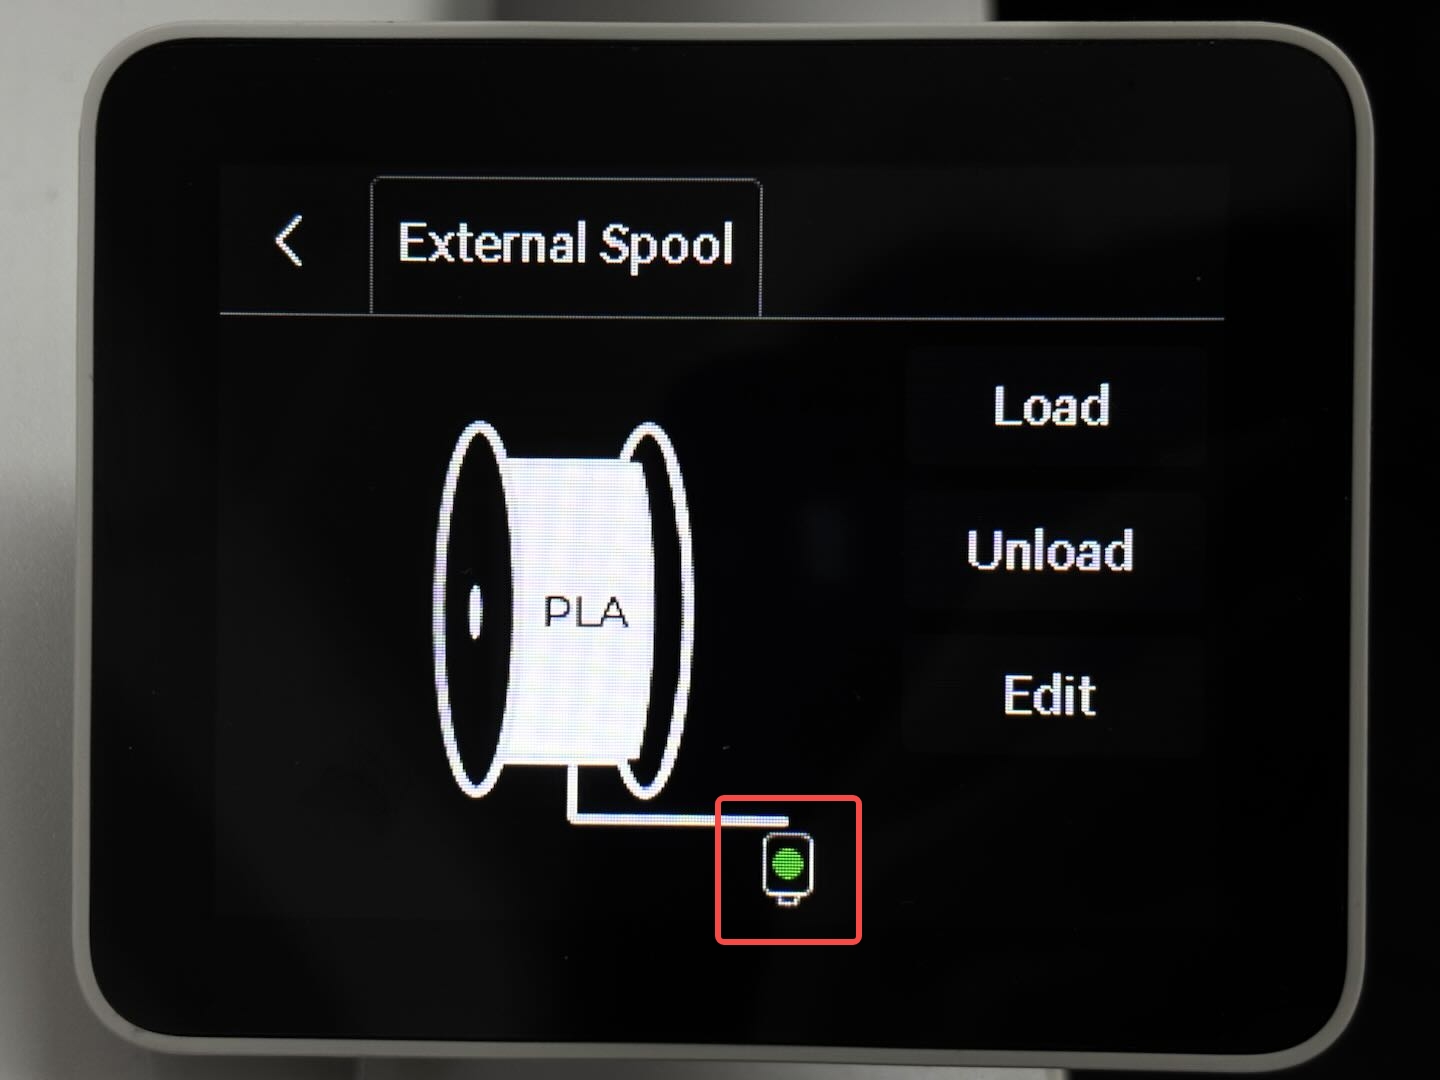
1. Click Filament on the printer screen. At this point, the green indicator on the toolhead will be illuminated on the printer's screen.
 |
 |
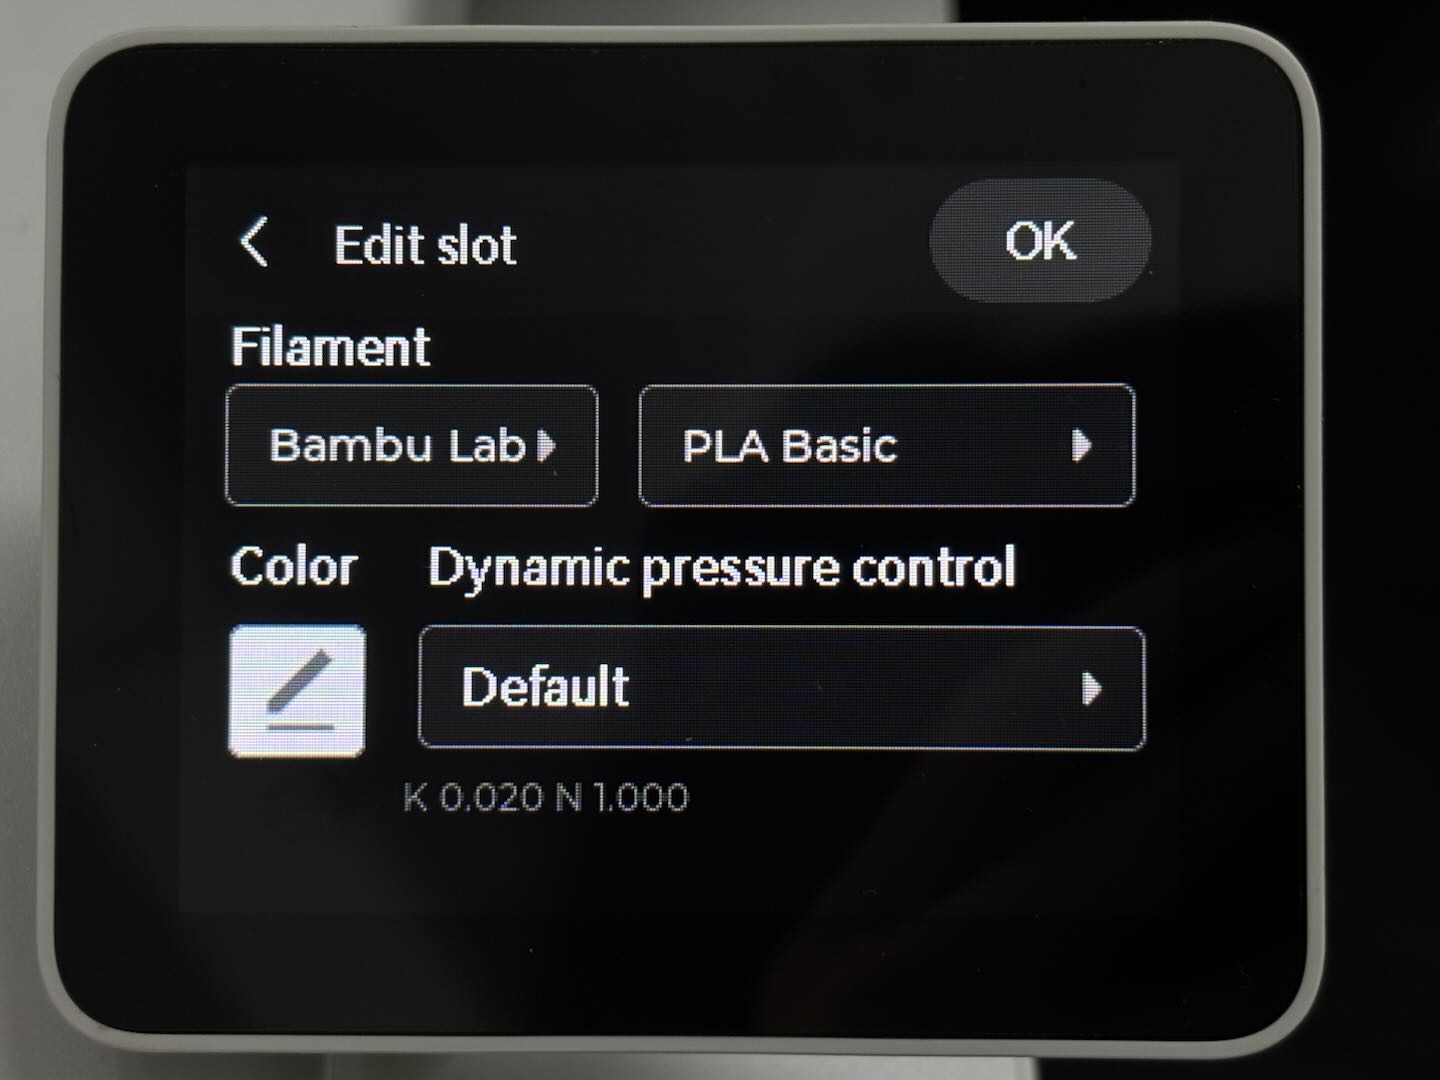
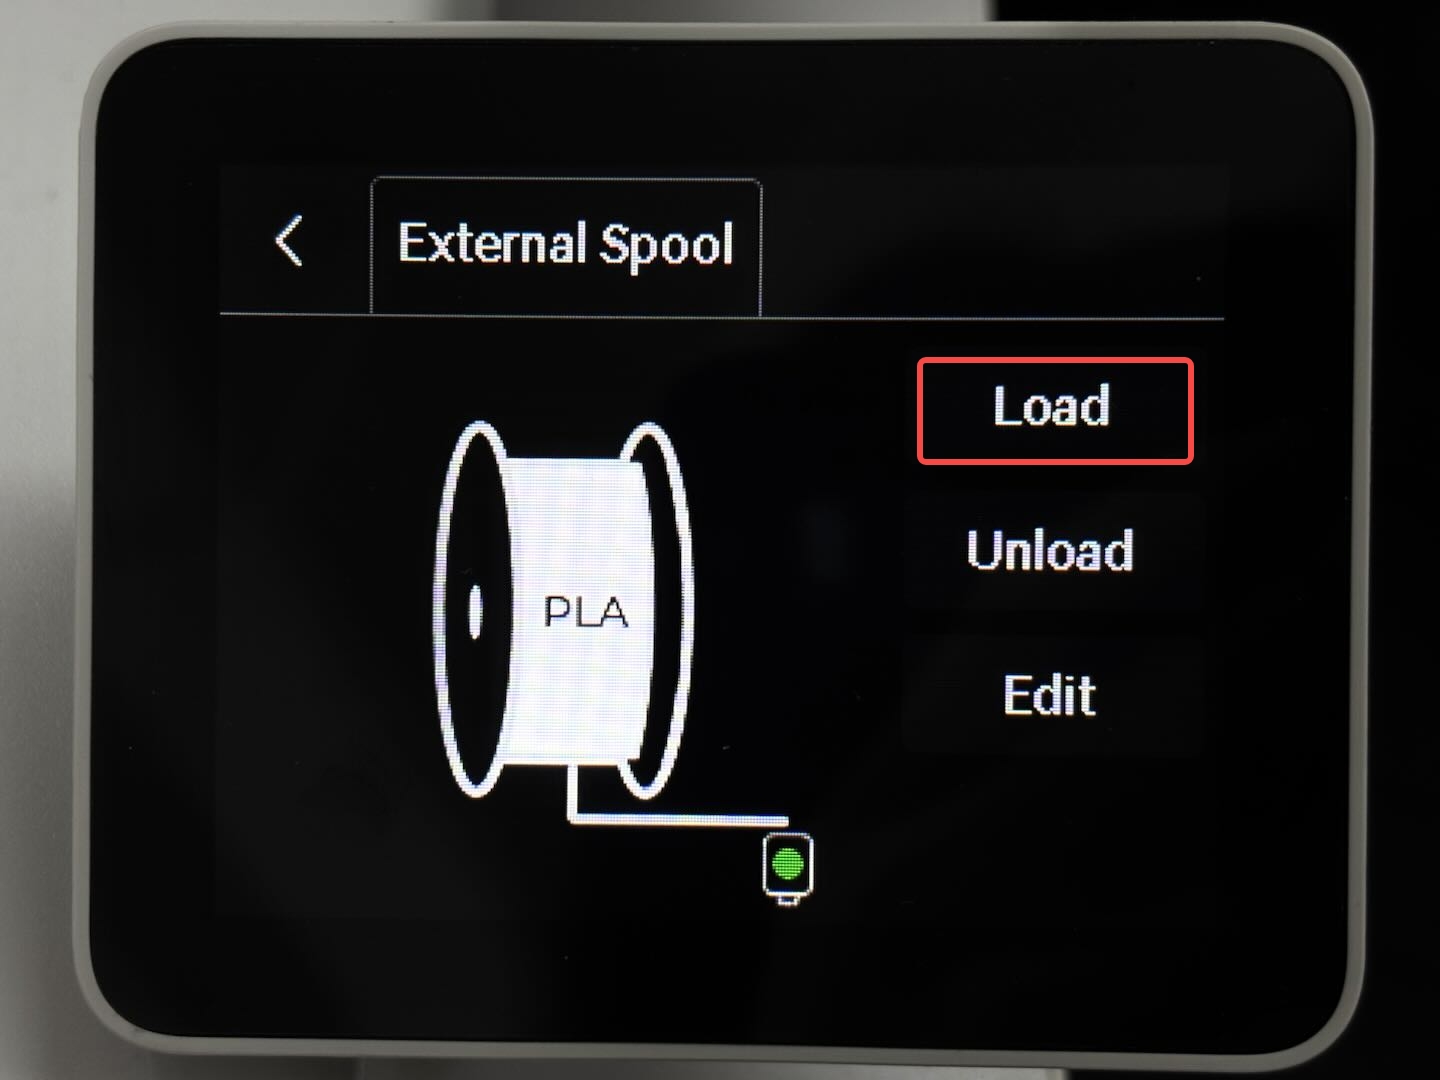
2. Edit the filament and click Load on the screen.
 |
 |
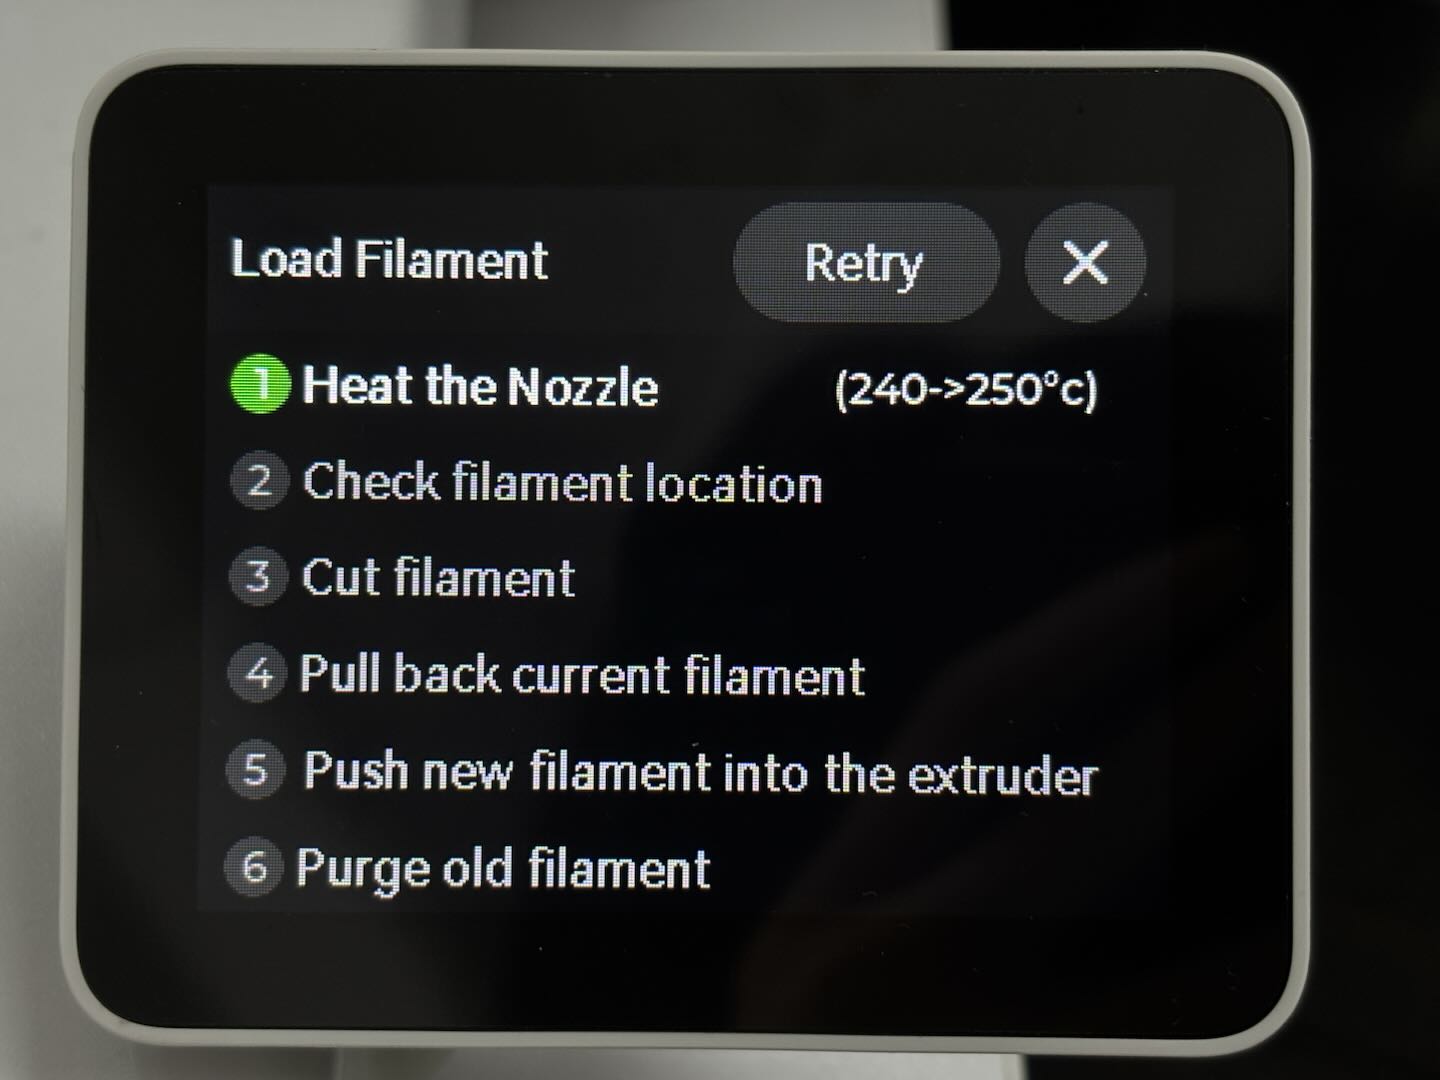
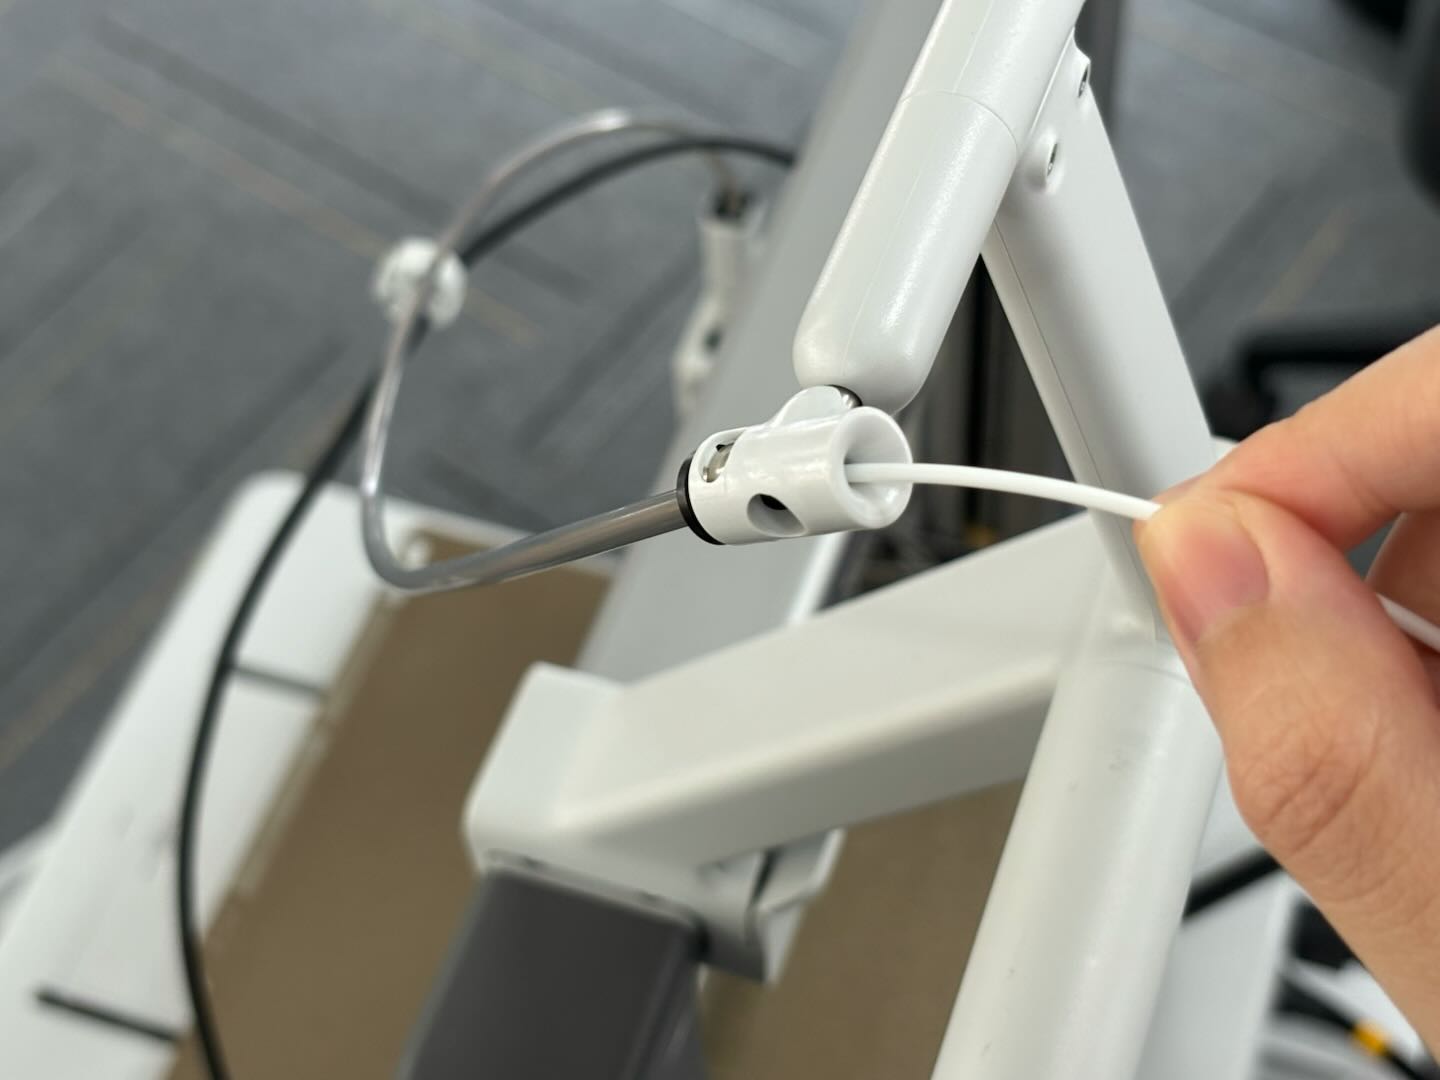
3. Once the nozzle starts heating up to 250 ℃, manually push the filament into the toolhead again.
 |
 |
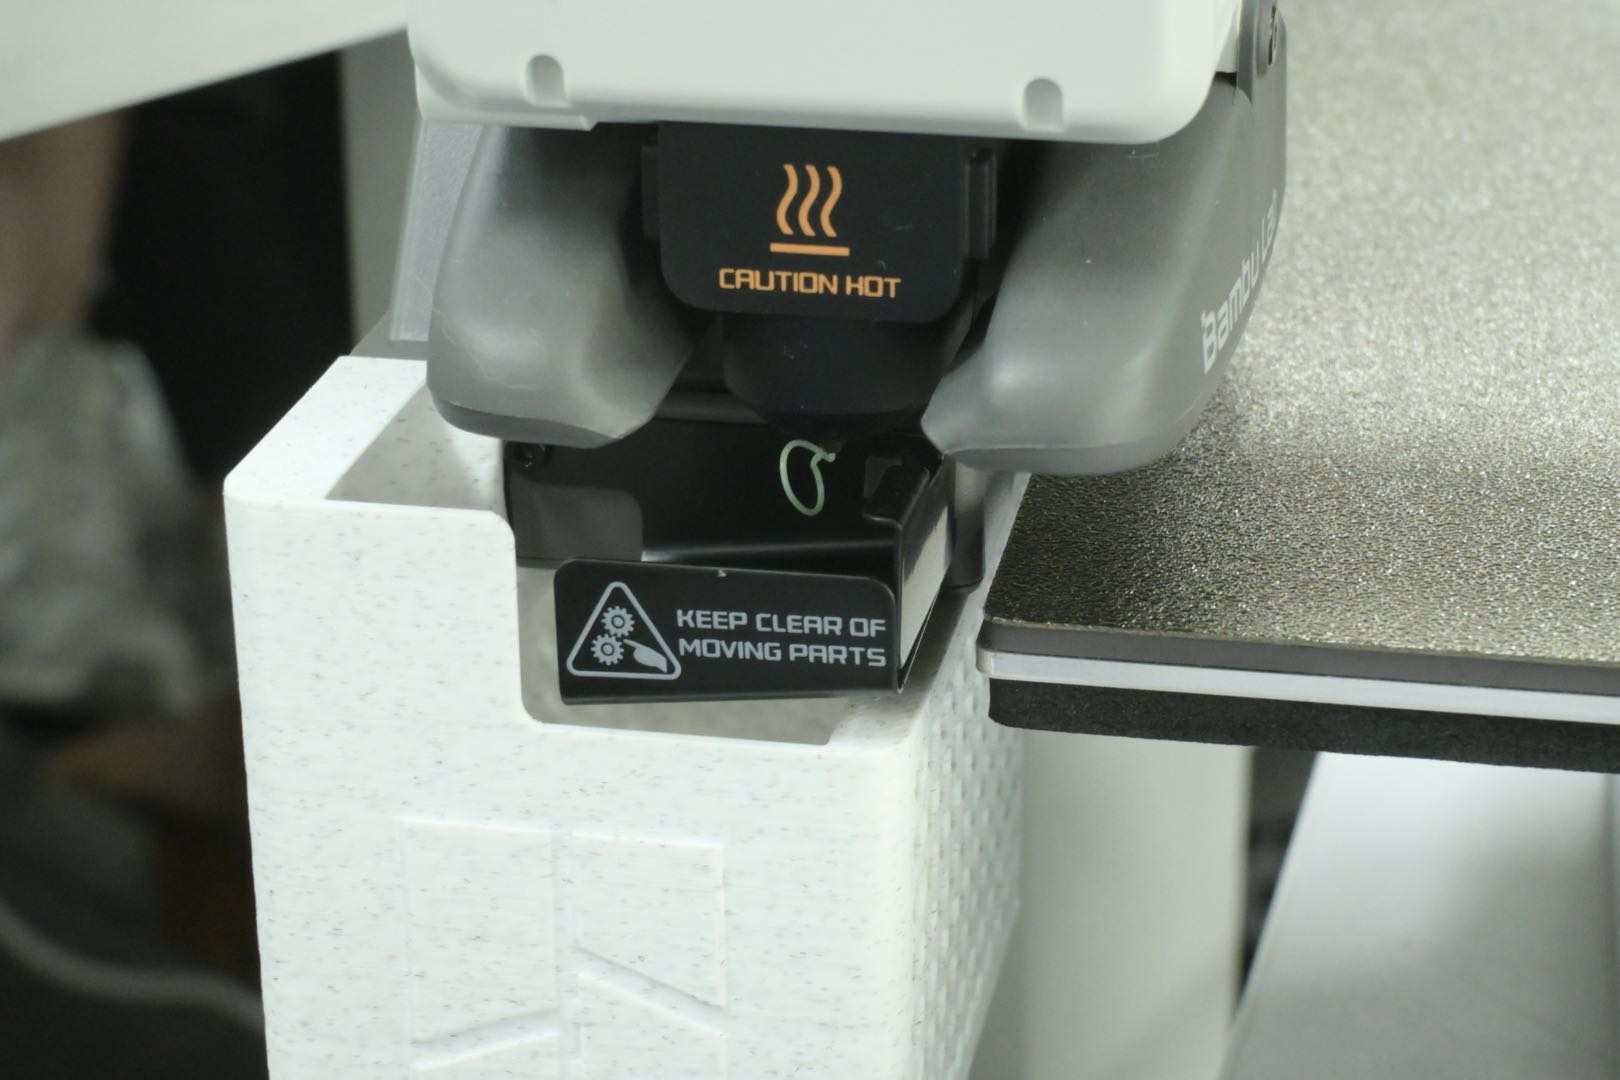
4. Observe the nozzle to ensure that the extruder is properly extruding the filament. After visually confirming that the nozzle smoothly extruded the filament, select Continue on the screen to complete the loading process.
 |
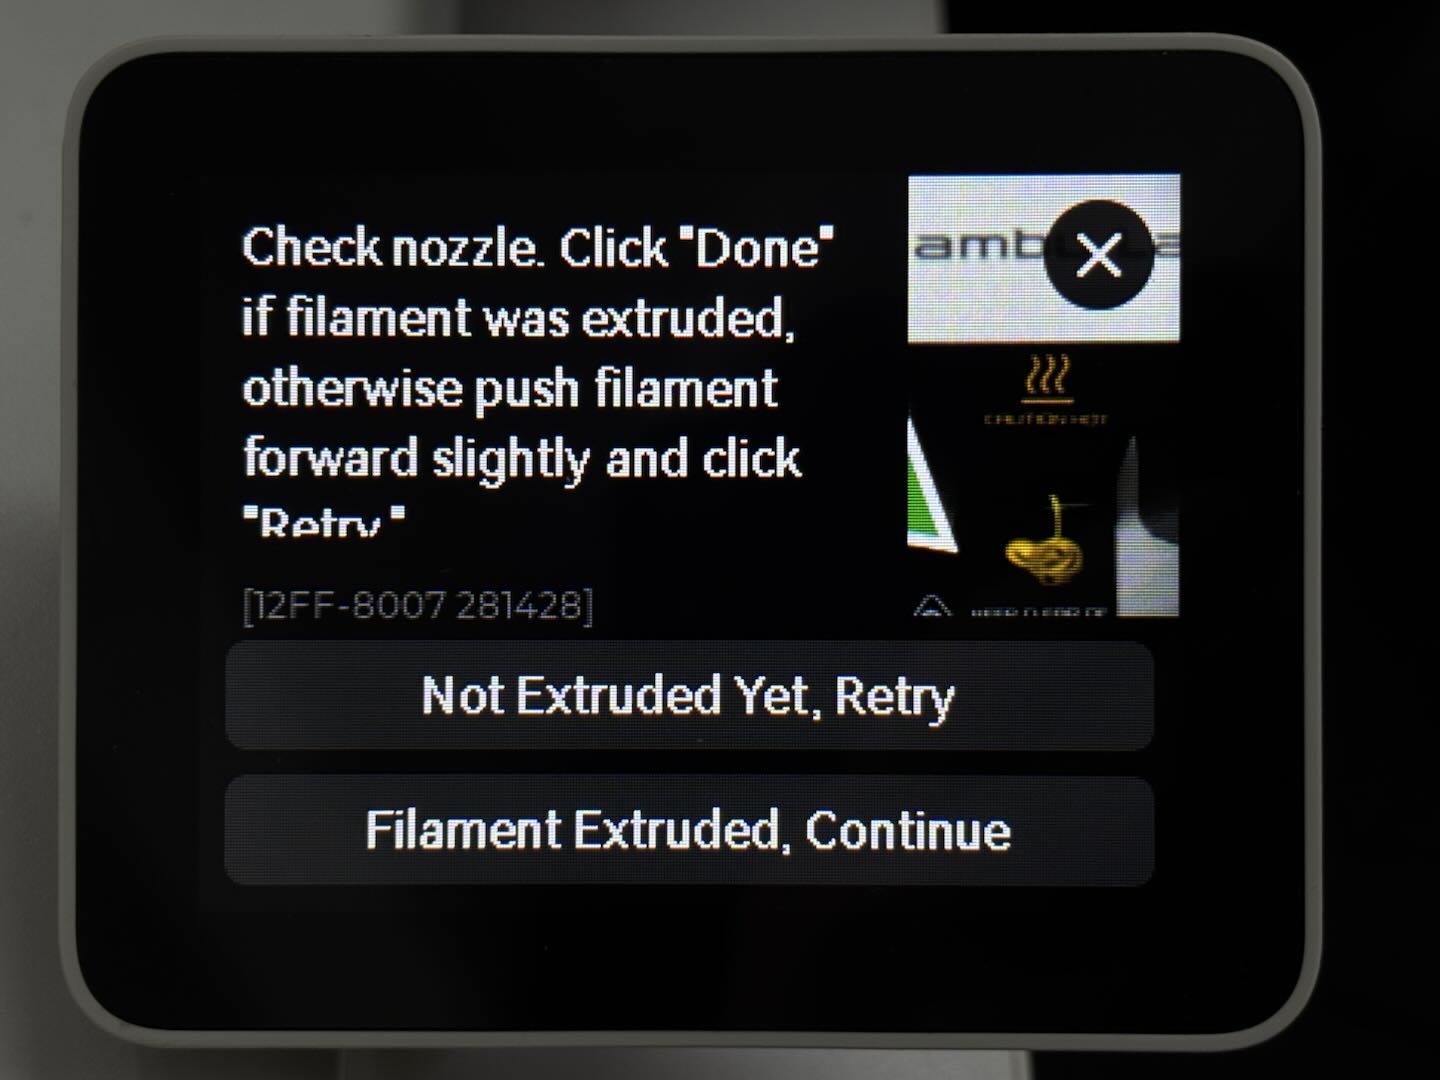 |
Select Retry and repeat pushing the filament again in case you are unsure whether the filament was successfully extruded.
¶ Using the spool
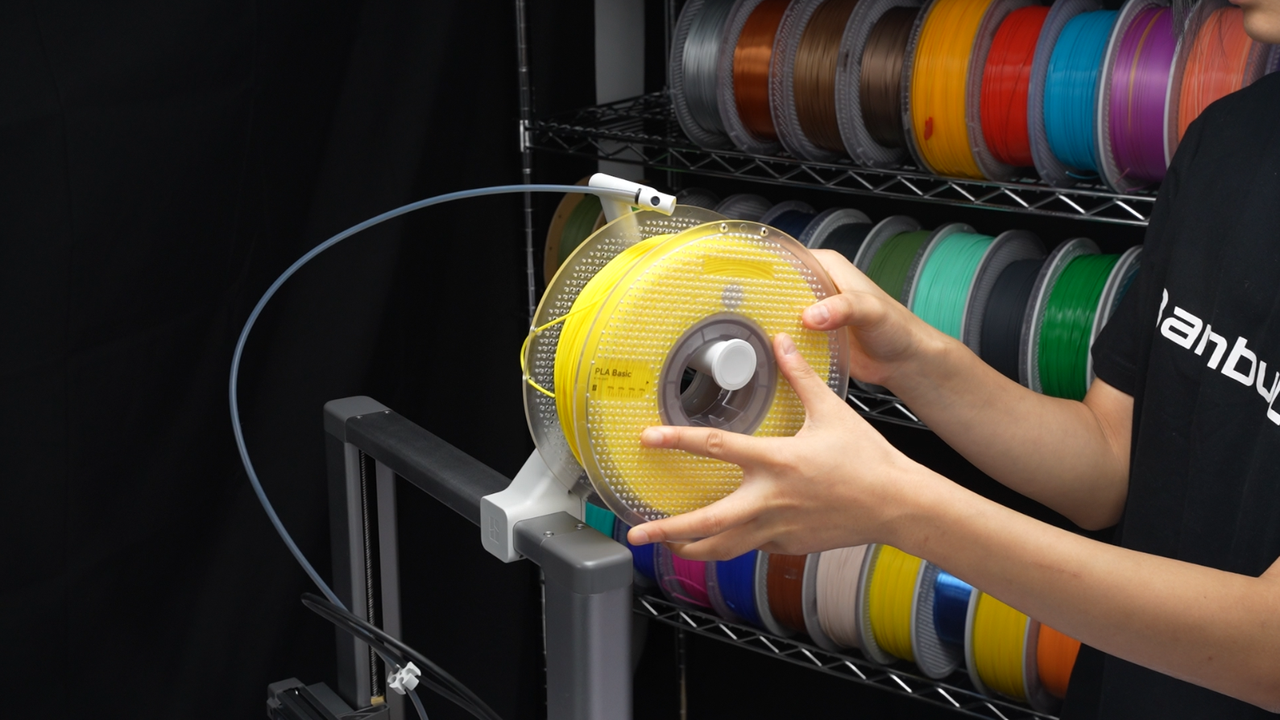
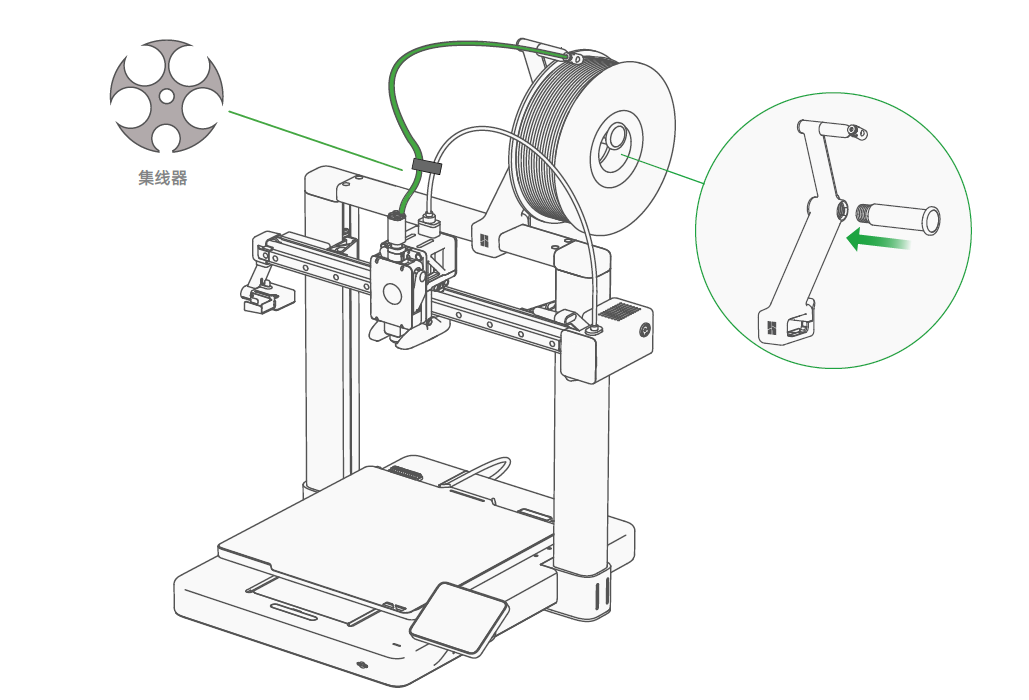
¶ 1. Install the pool
Orient spool installation according to the filament winding direction (as shown in the diagram).
 |
 |
¶ 2. Load the filament
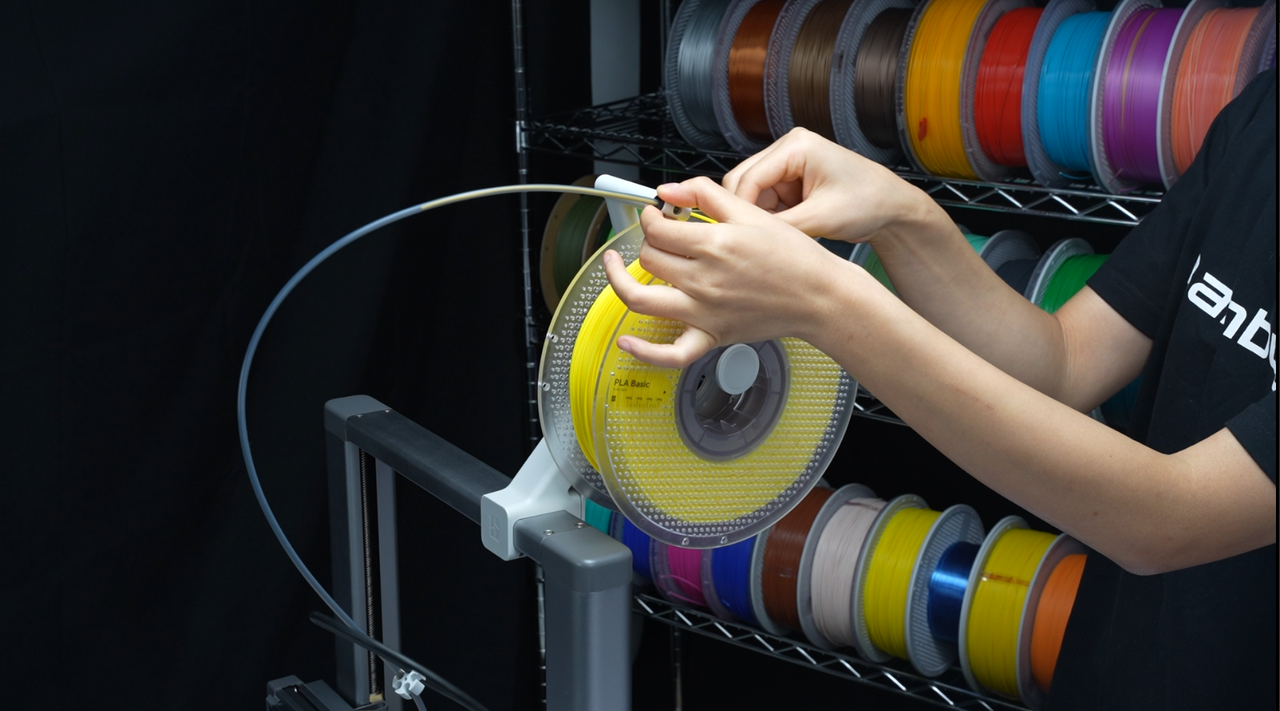
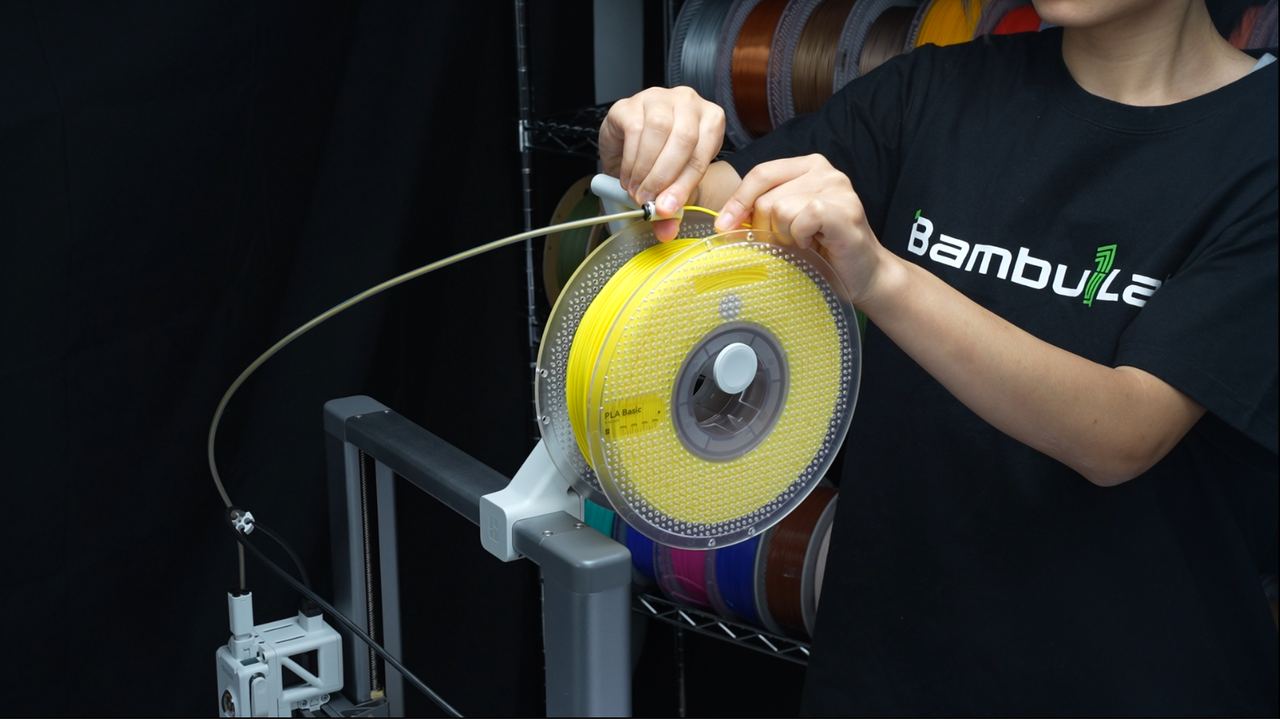
After installing the filament spool, insert one end of the filament into the PTFE tube and push it into the toolhead until it can no longer move forward.
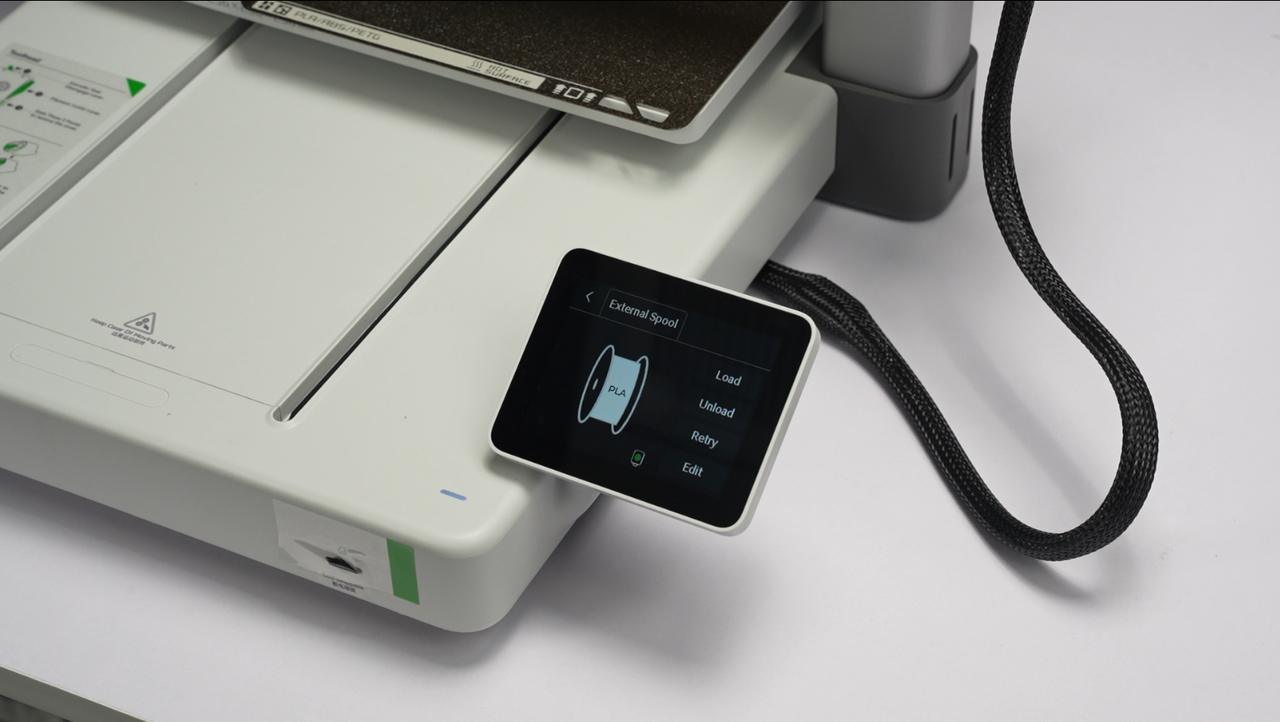
At this point, the green indicator on the toolhead will be illuminated on the printer's screen.
 |
 |
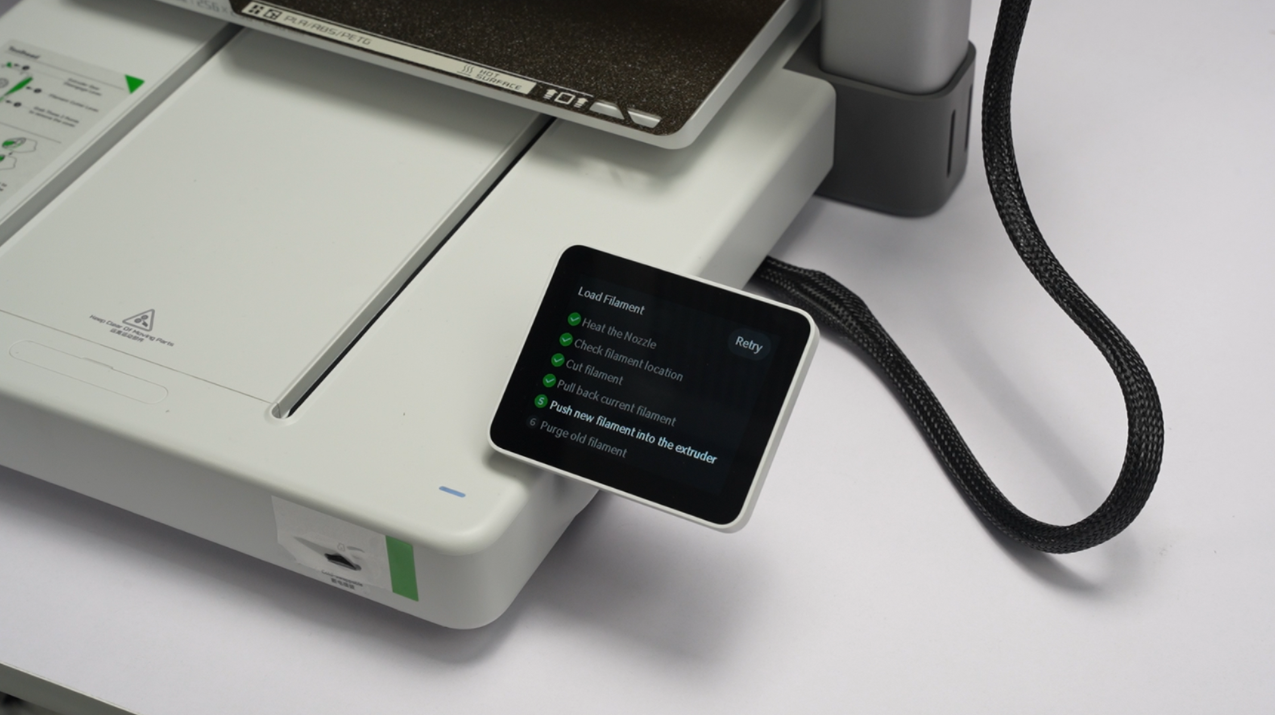
Click "Load" on the screen.
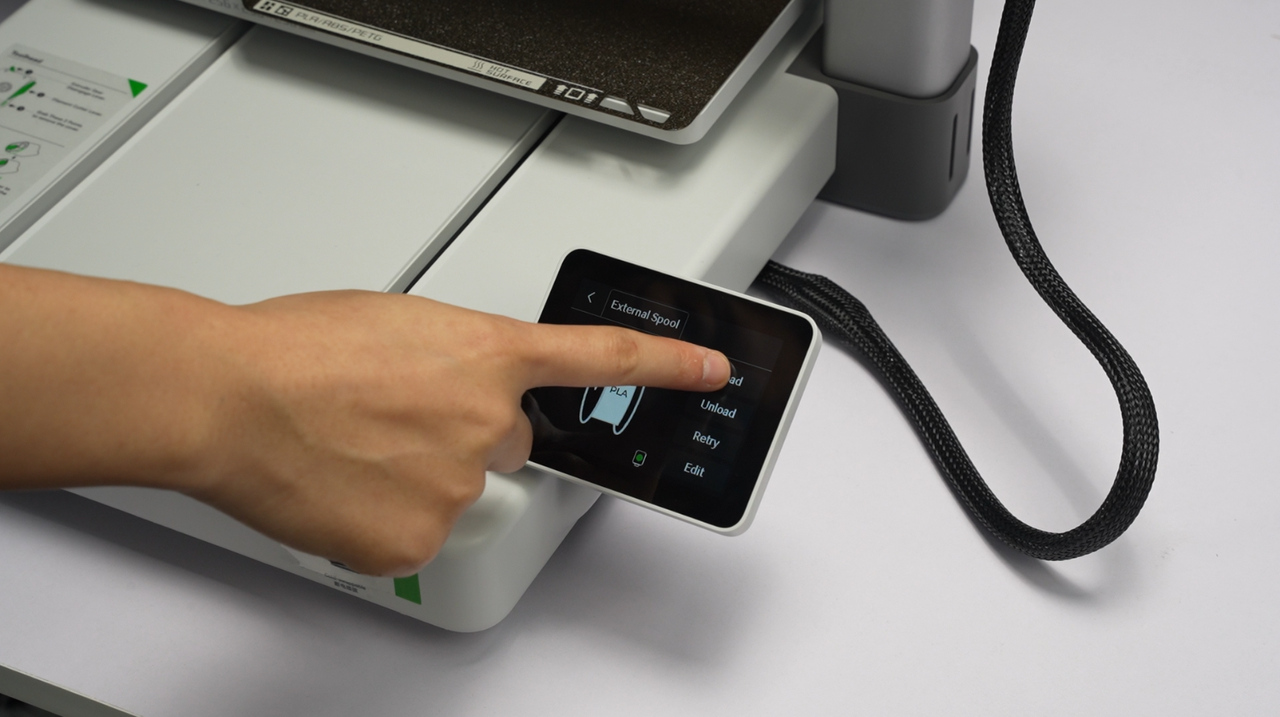
Once the nozzle starts heating up to 250 ℃, manually push the filament into the toolhead again.
 |
 |
Observe the nozzle to ensure the extruder properly extrudes the filament.
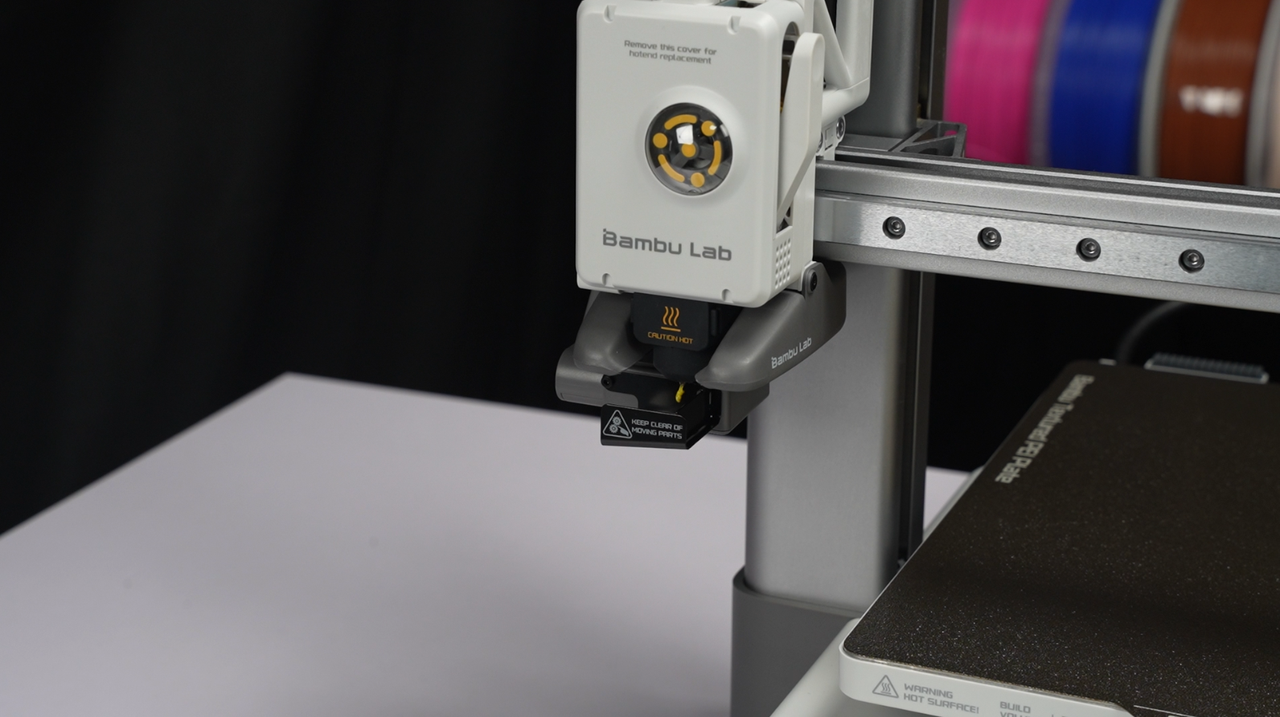
After observing the nozzle smoothly extrude the filament, select "Done" on the screen to complete the loading process.
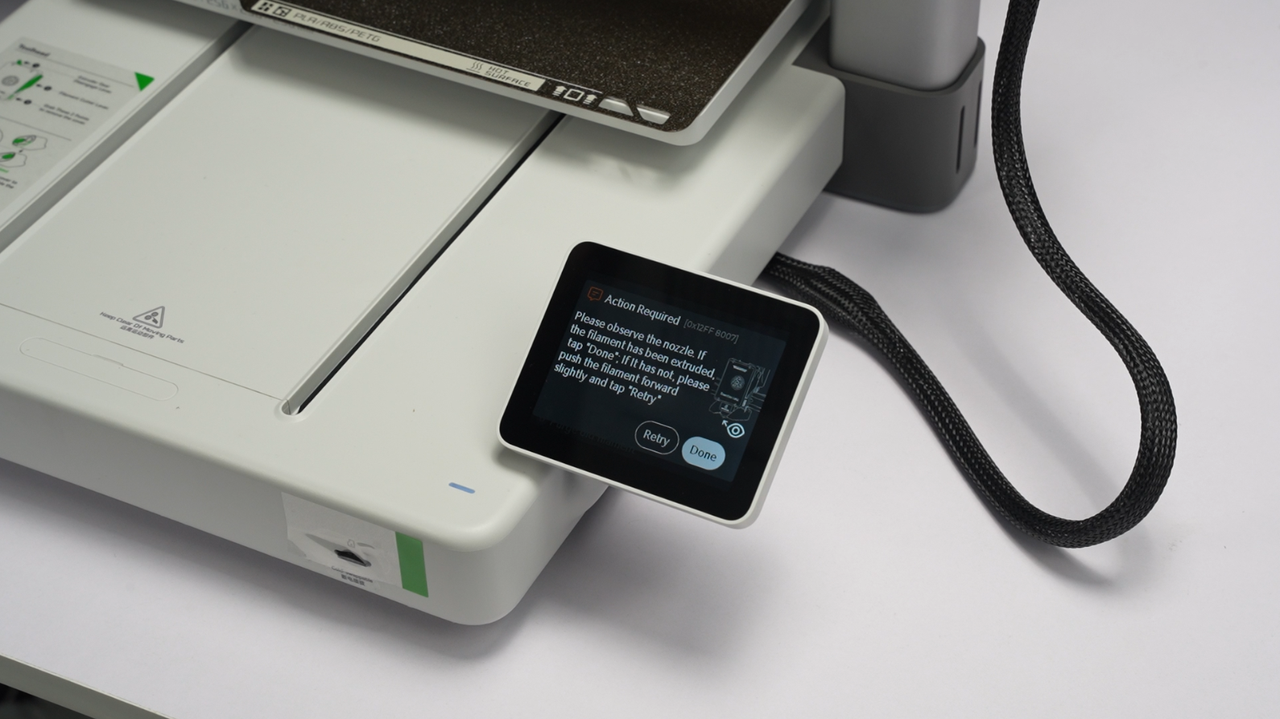
Select "Retry" and repeat pushing the filament again if the filament is not observed.
¶ Start printing
After ensuring that the filament is loaded and the build plate is in place, you can proceed with printing.
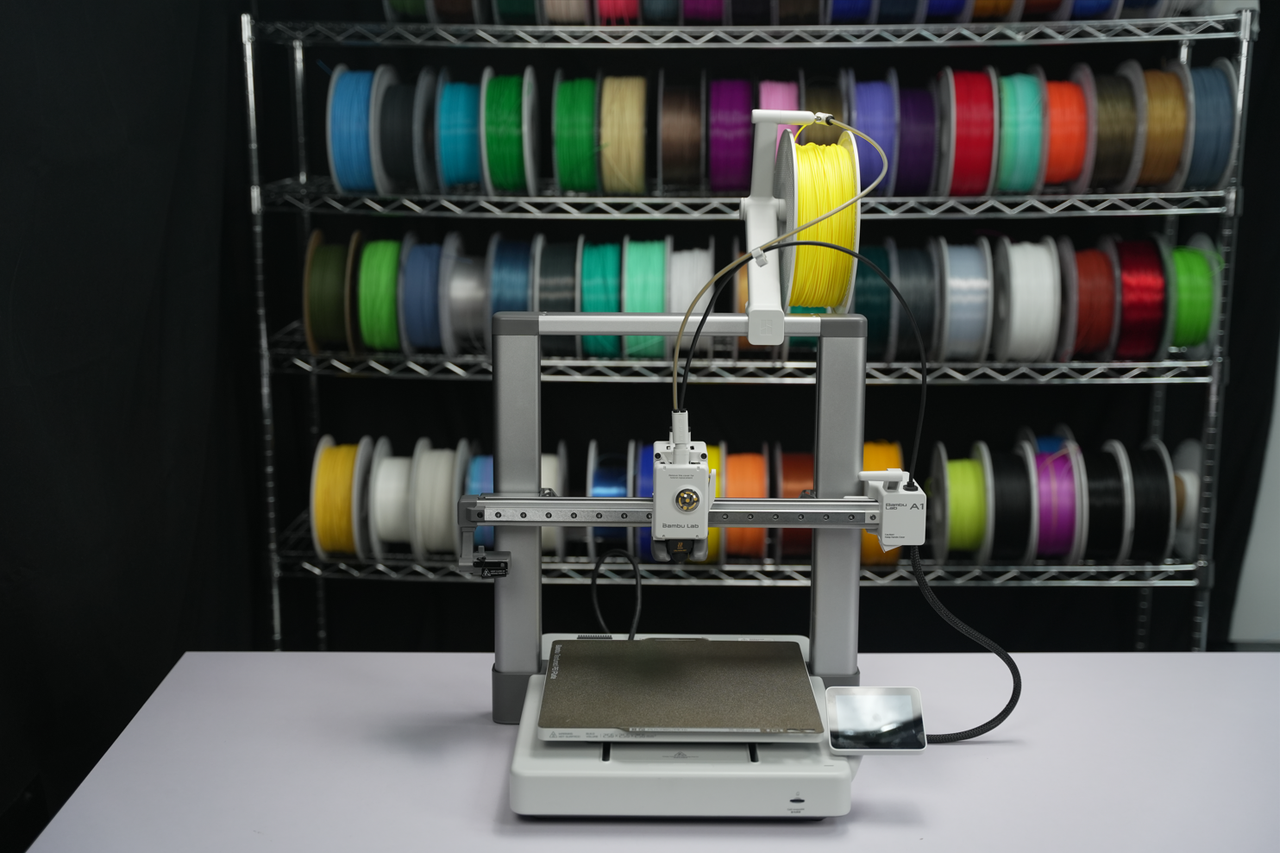
Note: When unpacking the printer, the heatbed may have been stationary for a long time, which can increase friction during the first layer of printing. This may lead to misalignment and potential damage to the build plate if printing is started directly. To prevent this, it is recommended to manually move the heatbed to its maximum position to ensure smooth printing.
¶ 1. Initiate a print job using Bambu Studio
Click here to download Bambu Studio.
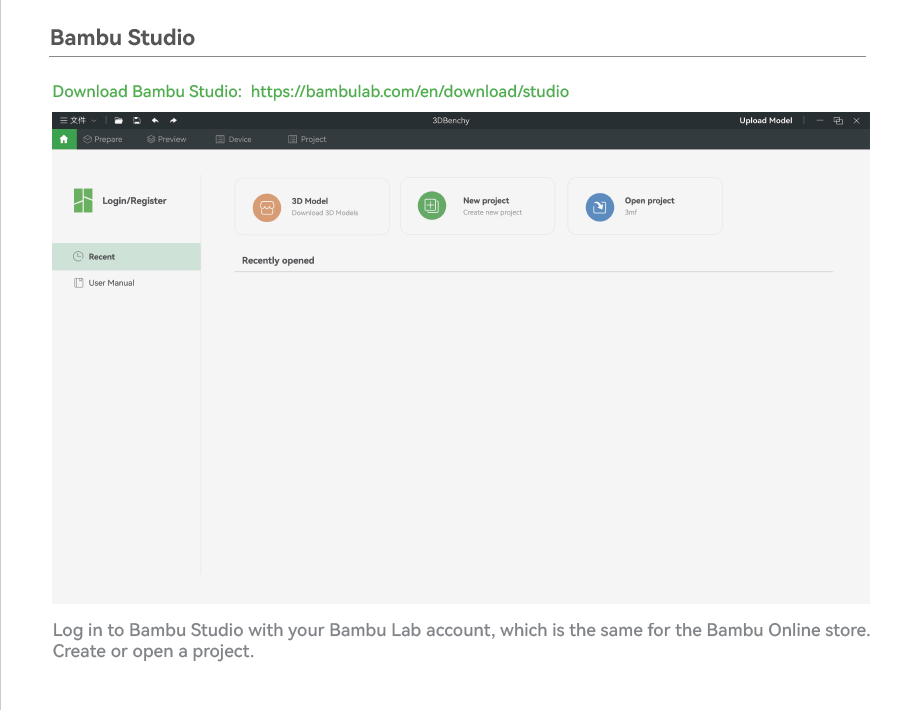
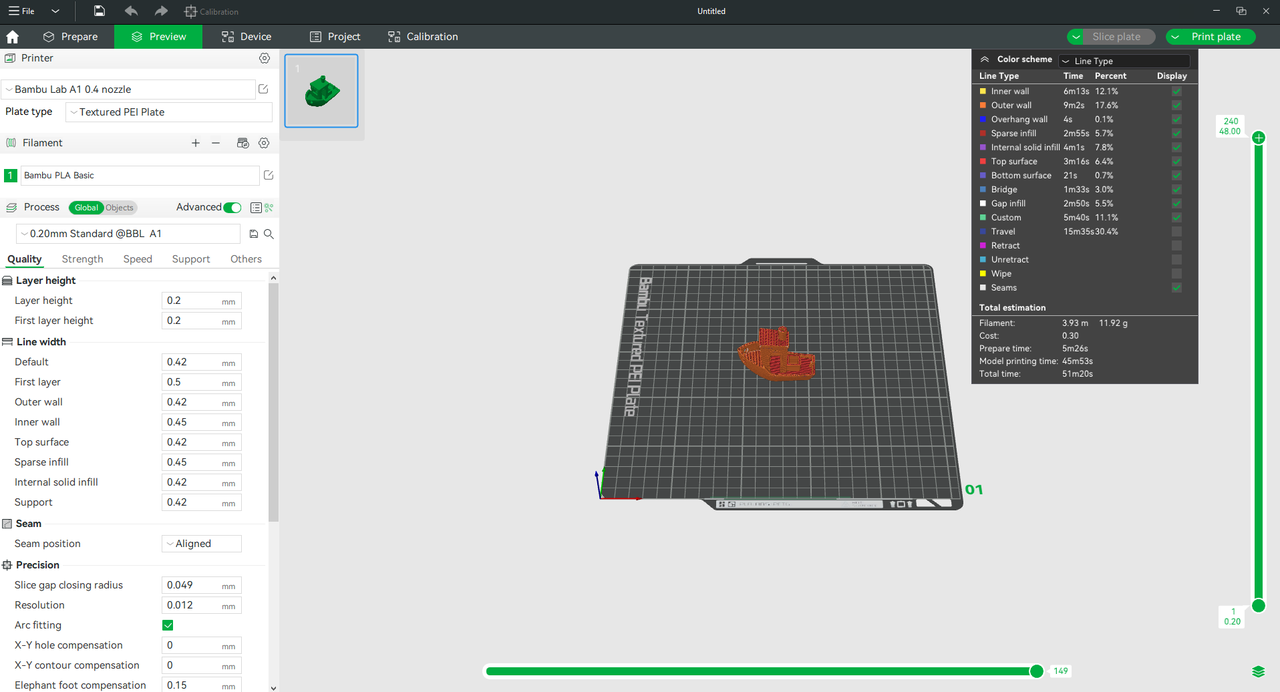
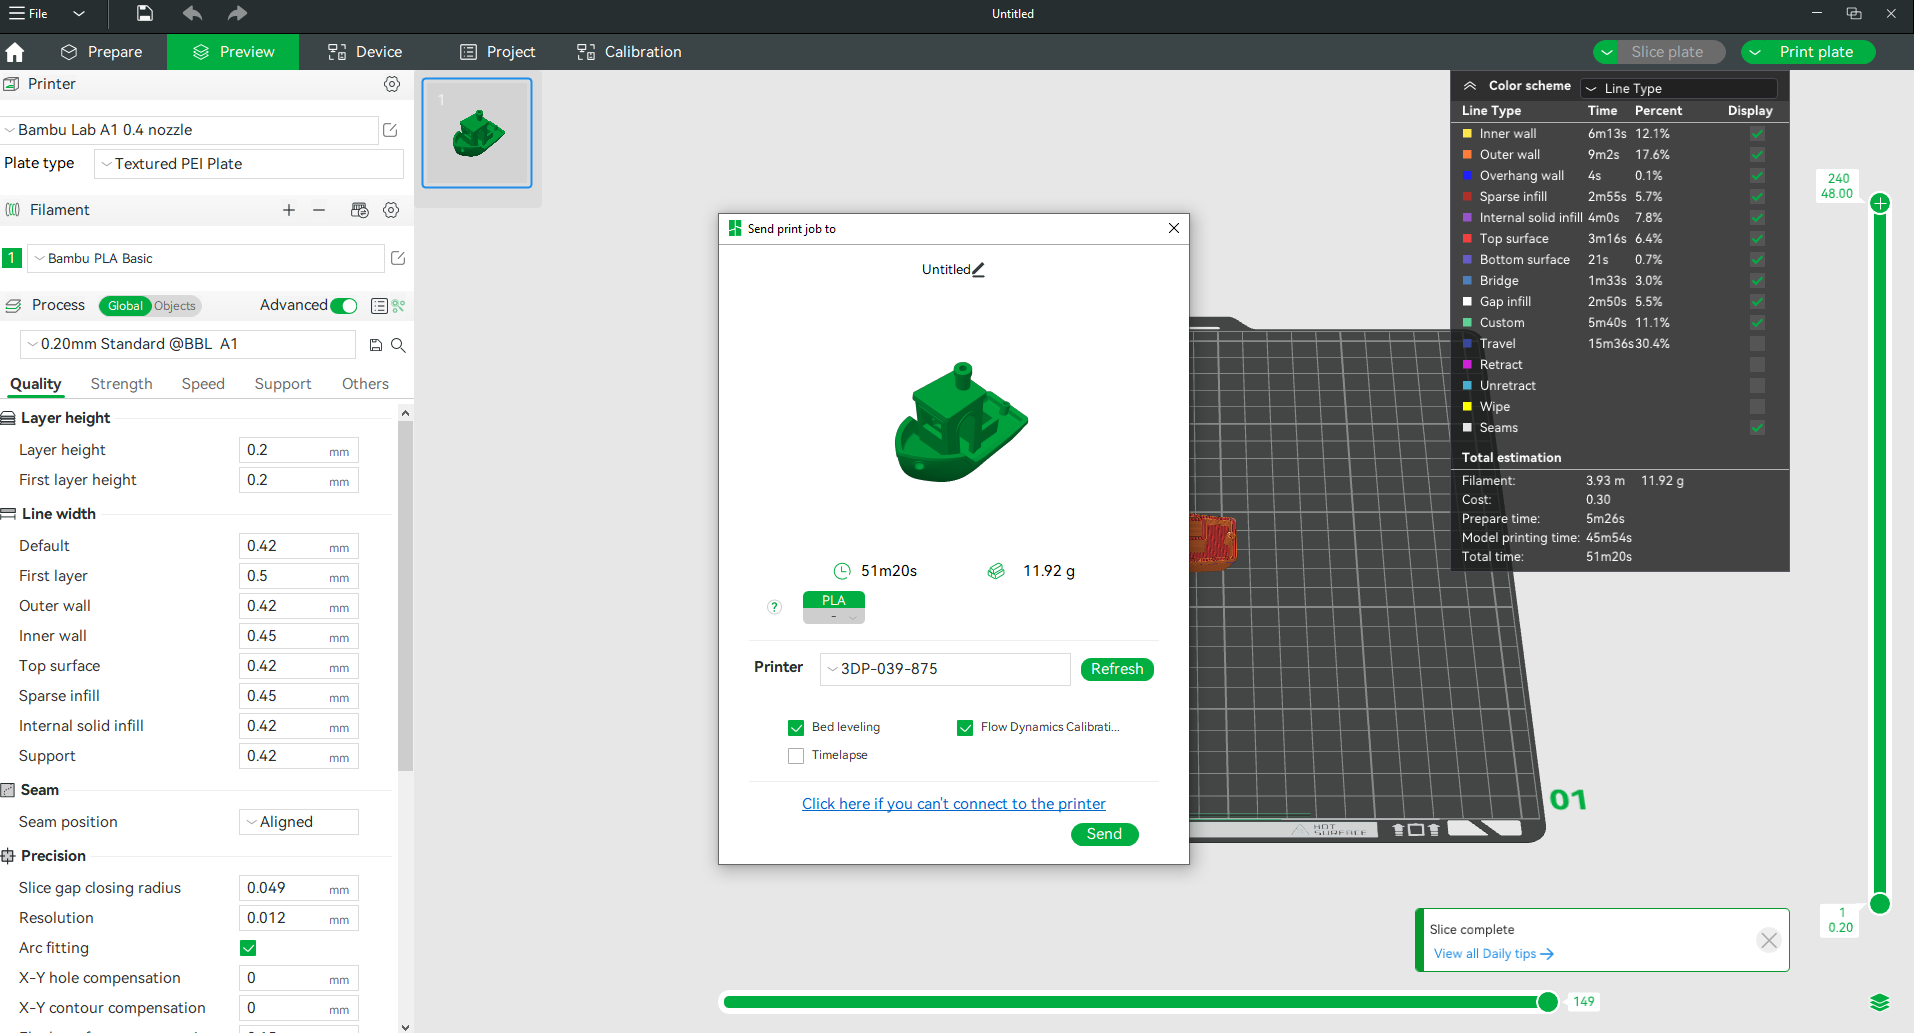
Slice and send the print.
 |
 |
¶ 2. Initiate the print using the built-in file
Click on "Print files" on the home page to access the built-in files on the microSD card.
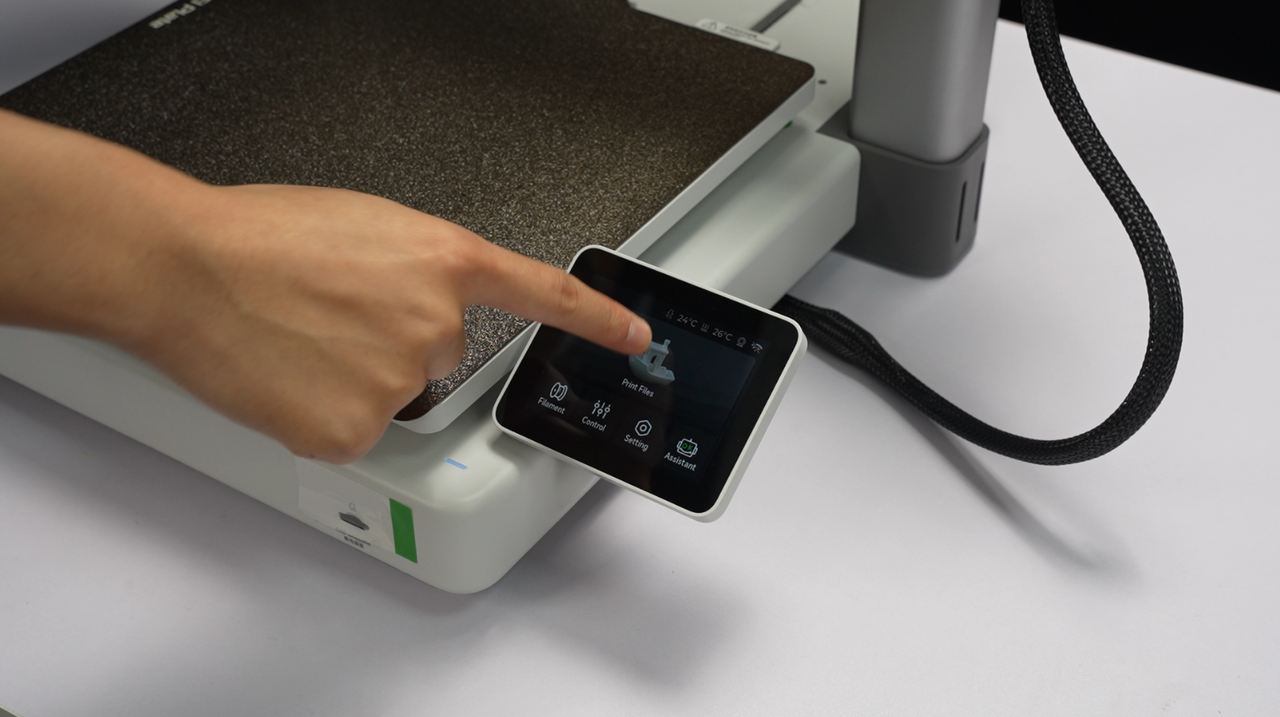
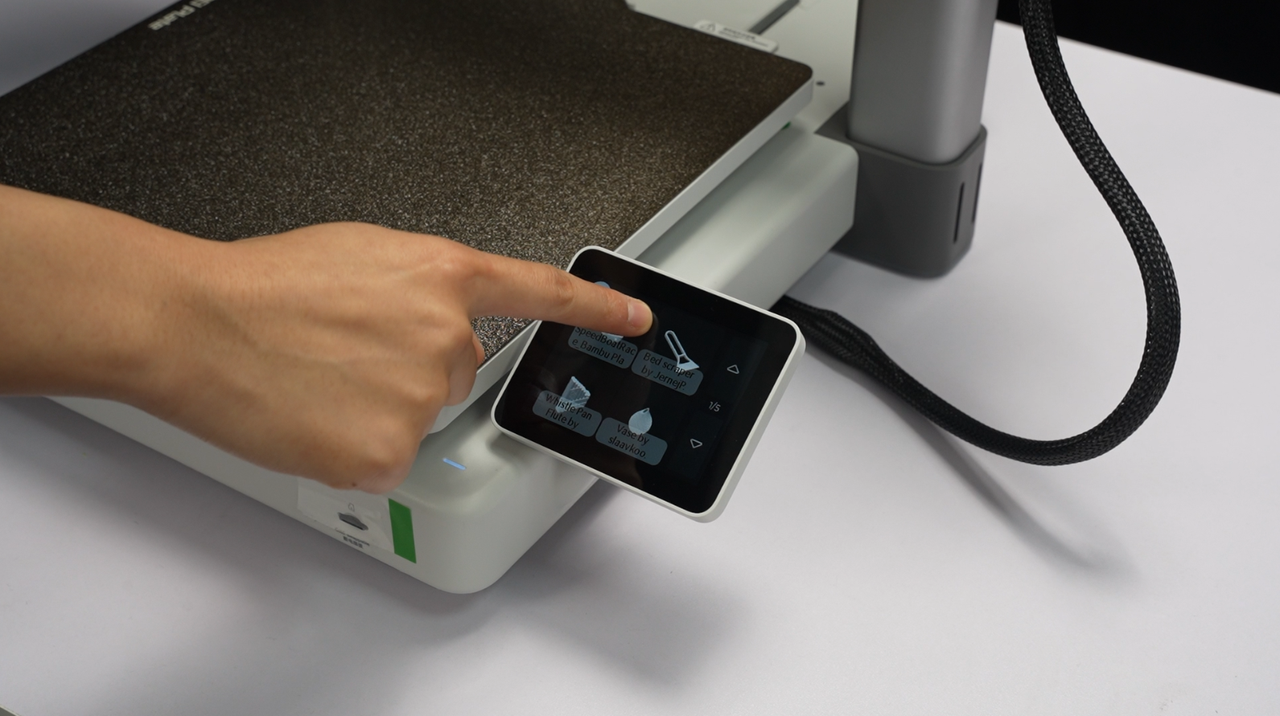
Select the model you would like to print.
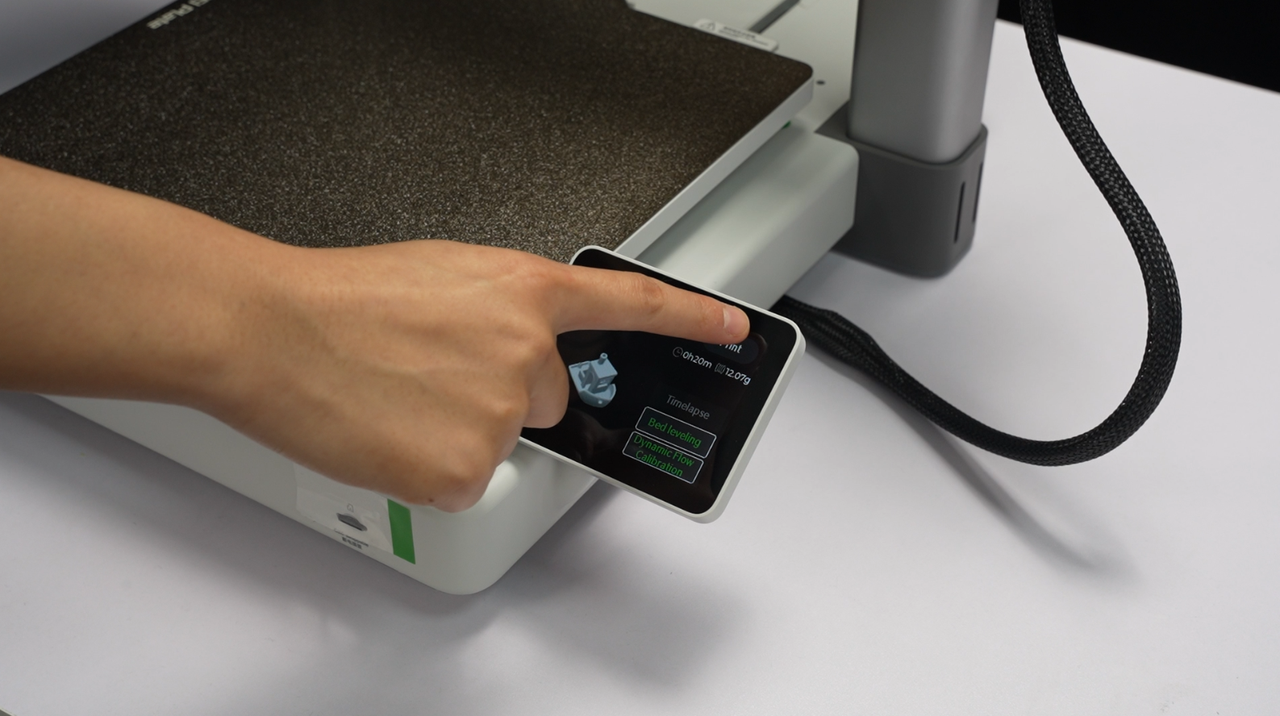
It is recommended to enable the bed leveling and flow dynamics calibration function.
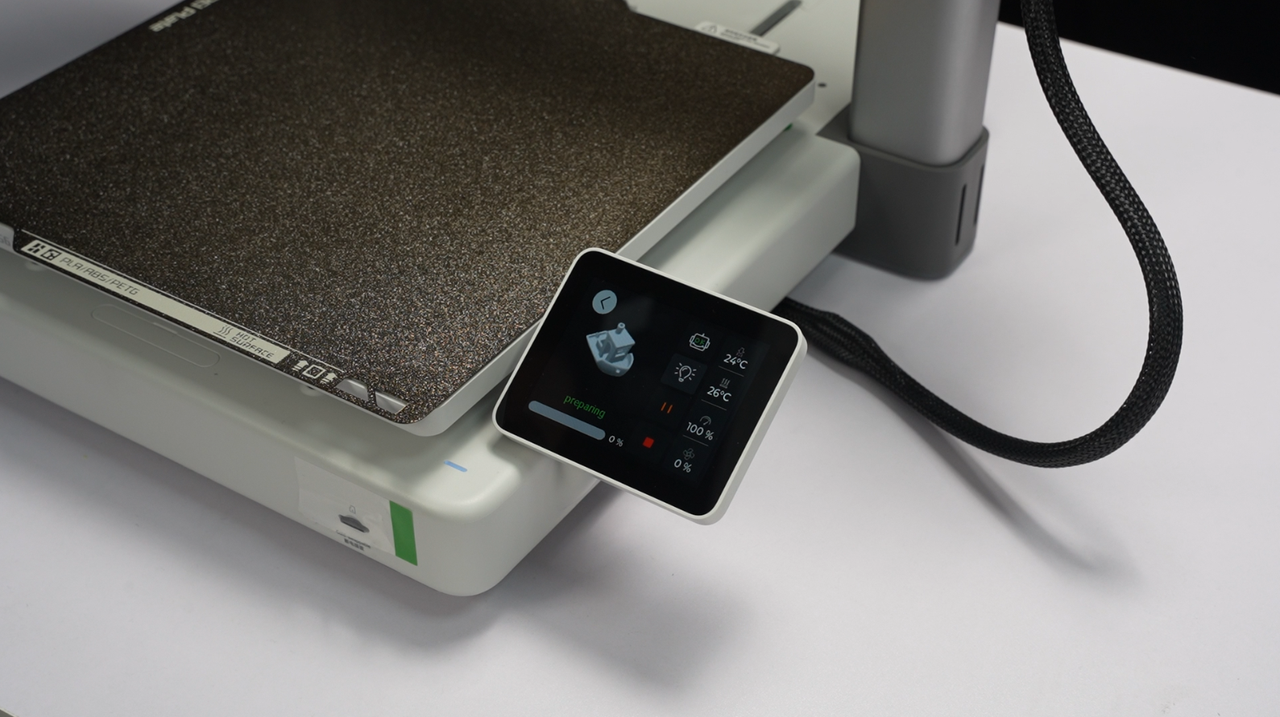
Click "Print".
¶ How to refill?
If the filament is used up during printing, you can remove the empty filament spool from the external bracket and install a new one. Refer to the above "Printing Preparation" operation to refill the filament.
¶ How to replace the filament?
If you would like to replace the filament, you need to pause the current printing task, first remove the filament in the toolhead, and then load the new filament.
¶ 1. Unload the filament
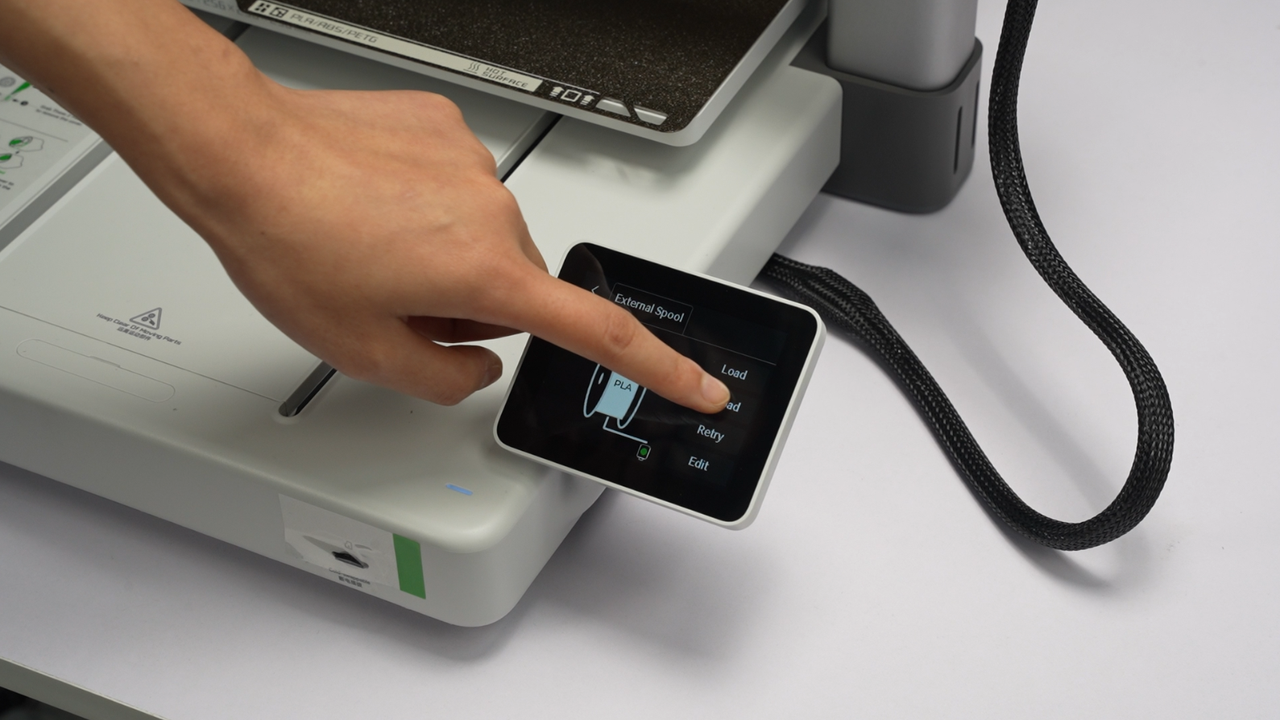
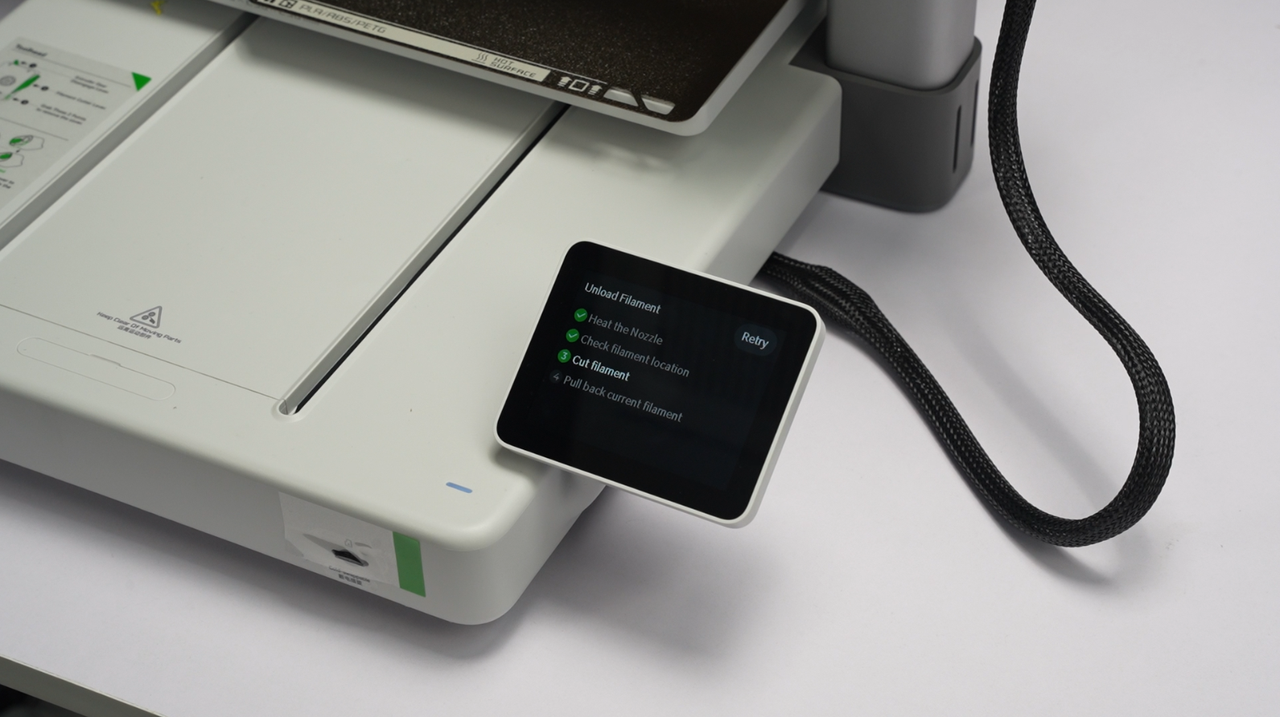
Click "Unload" on the screen, and the printer automatically heat the hotend and cut off the filament.
 |
 |
¶ 2. Manually remove the filament from the extruder
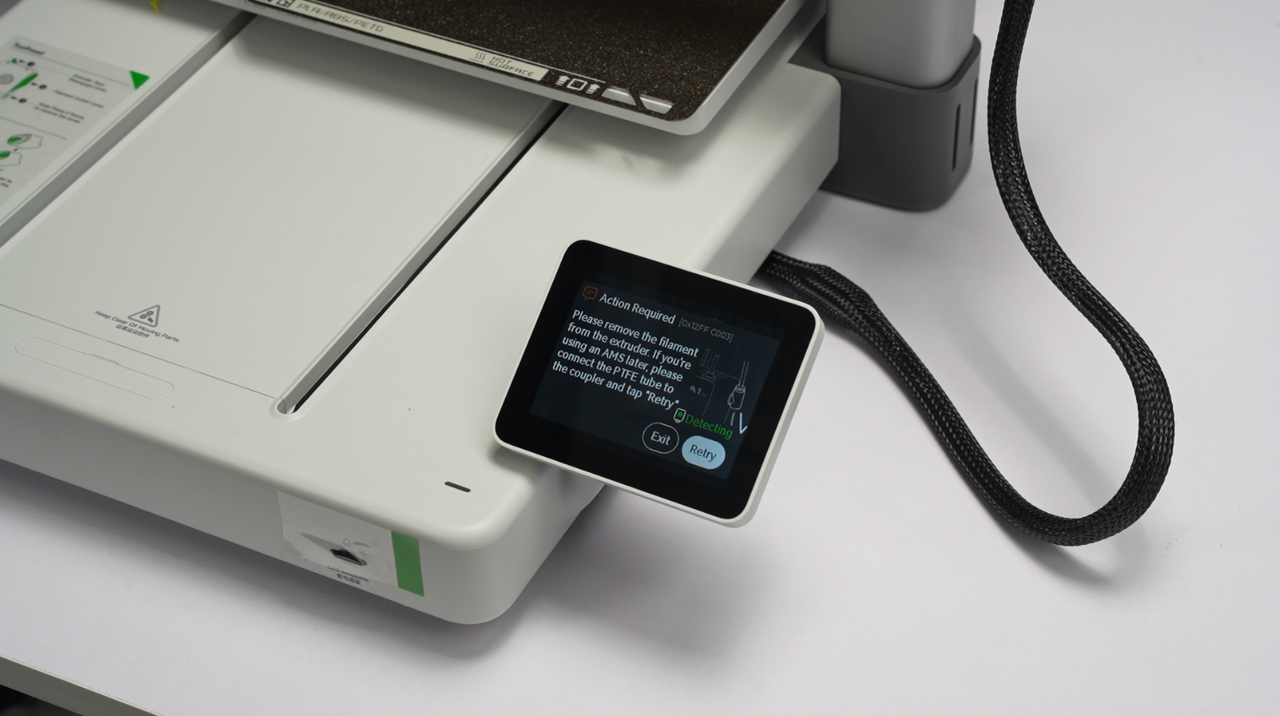
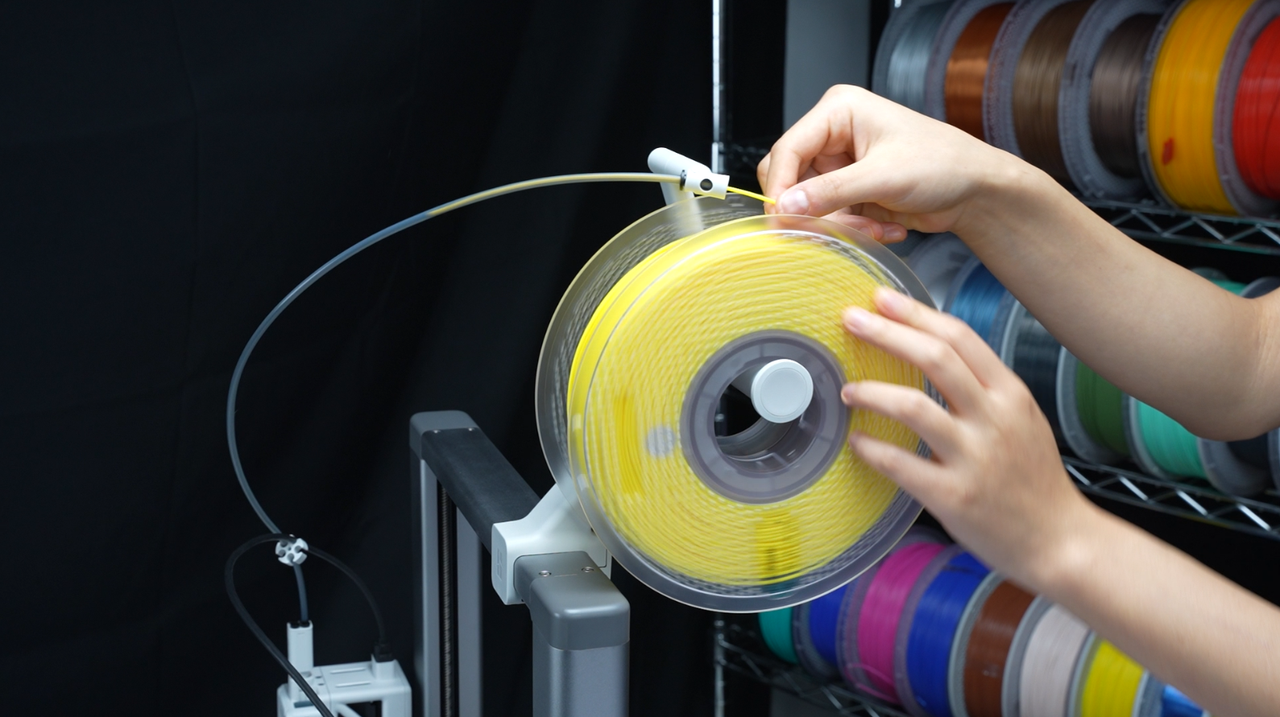
After completing the previous step, it is necessary to remove the filament to complete the unloading process manually.
Please follow the APP/Studio prompts and promptly manually remove the filament. If the nozzle temperature remains above 142°C without dropping, it indicates that there is remaining filament in the extruder, which means the unloading process is not completed.
 |
 |
If you didn't remove the filament in a timely manner, please click "Retry" on the screen and try to remove them again.
¶ 3. Load the filament
Please follow the "Printing Preparation" operation mentioned above after completing the "Unload" procedure.
¶ End Notes
We hope the detailed guide provided has been helpful and informative.
If this guide does not solve your problem, please submit a technical ticket, we will answer your questions and provide assistance.
If you have any suggestions or feedback on this Wiki, please leave a message in the comment area. Thank you for your support and attention!