When a filament tangle occurs inside the AMS, it can lead to feeding issues and potentially interrupt the print. However, there's a way to fix the tangle without stopping or canceling the ongoing print. This guide walks you through the process of manually cutting and reloading the filament after the tangle, allowing the printer to continue working until it detects that the material has run out, then inserting the filament after untangling.
¶ When to Use this guide?
- When you notice a filament tangle in the AMS as the 3D printing process continues.
¶ Tools and Materials Needed
- Scalpel blade or sharp scissors: To cut the filament cleanly.
- Filament clips: To prevent future tangles.
¶ Steps to Fix a Filament Tangle Without Stopping a 3D Print
¶ Step 1: Identify the Tangle
Carefully open the AMS cover, inspect the AMS to locate the filament tangle on the spool. Avoid disturbing the printing process or the filament path to the printer in the process.
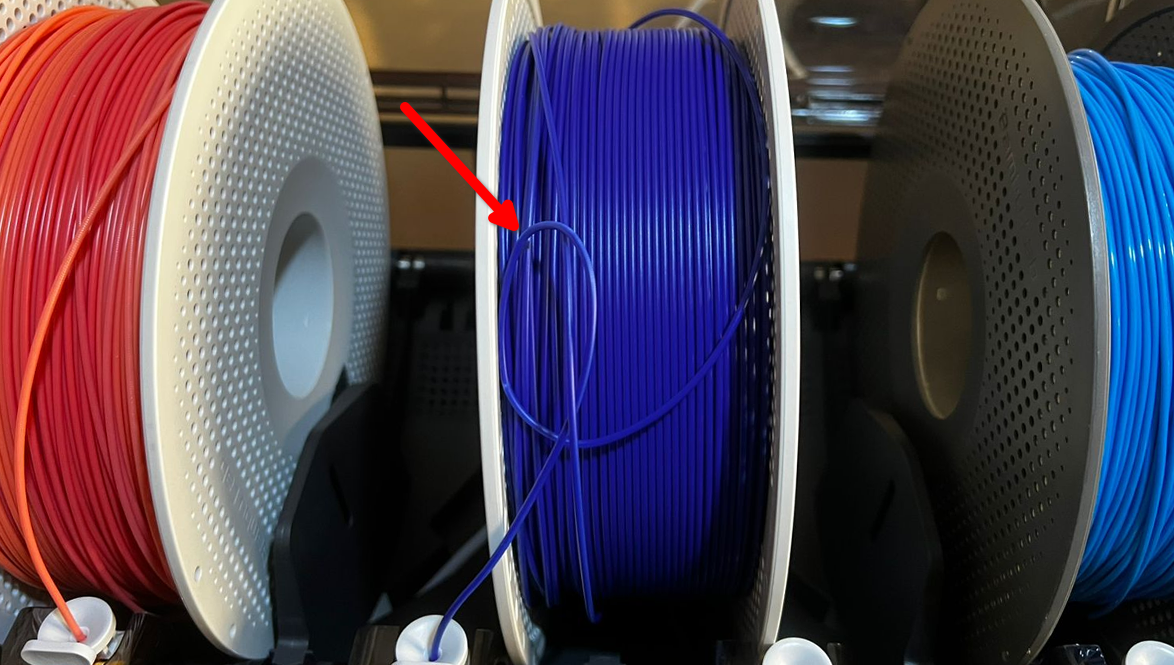
As you inspect, avoid pulling or tugging on the filament, as this could dislodge it from the feed path or cause the printer to detect a filament jam.
¶ Step 2: Try to Isolate the Tangled Filament
Once you have identified the tangled filament, try to isolate it without stopping the filament feed. If possible, use your fingers to trace the tangled filament loops, identifying where the filament is caught. If the tangle is minor (e.g., a single loop), try to gently tease it apart with your fingers or a pair of non-sharp tweezers, ensuring you don’t pull the filament out.
If the tangle is too complex to untangle manually, proceed to the next step (cutting the filament).
¶ Step 3: Cut the Tangled Filament (If necessary)
If the tangle is complex and cannot be resolved by manual untangling, cutting the filament becomes necessary. To do this, use sharp scissors or a scalpel blade to carefully cut the tangled section of filament as close to the tangle as possible, without disrupting the filament feeding into the printer.
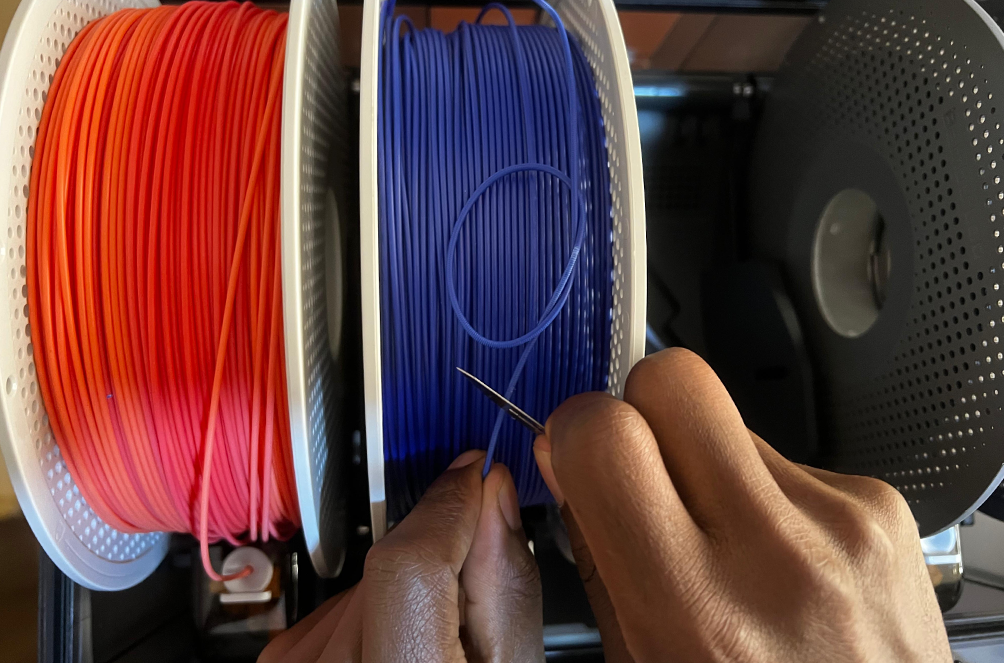
Ensure the cut is clean to avoid frayed ends that could cause further issues. This lets the toolhead continue printing using the remaining filament already loaded into the system.
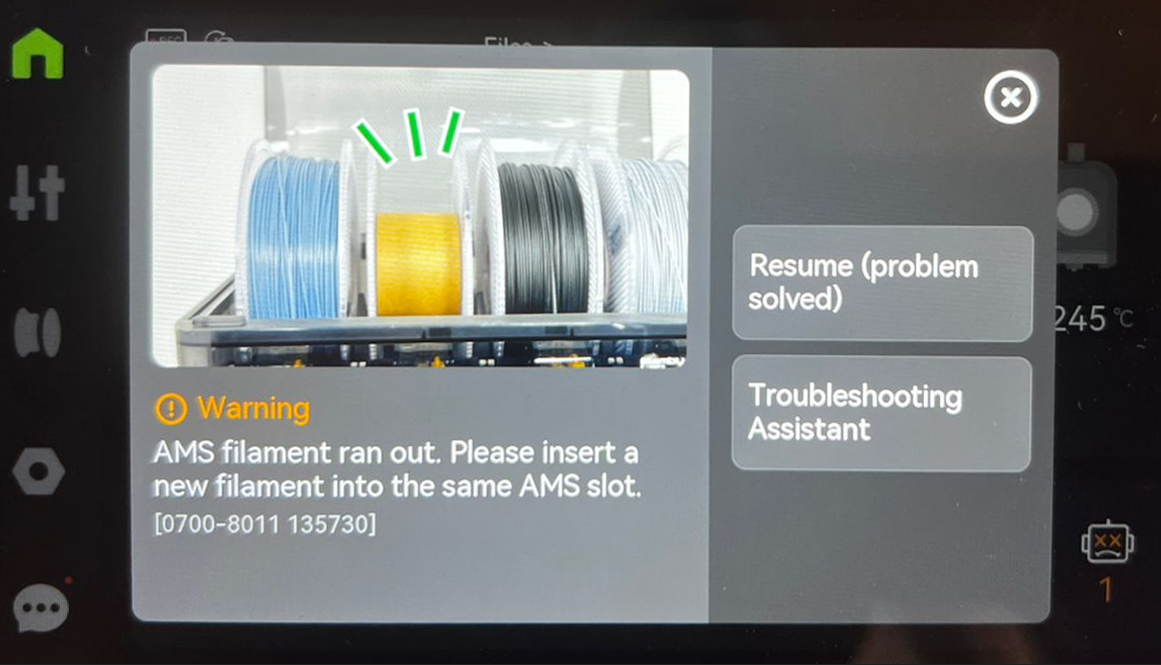
¶ Step 4: Continue 3D Printing
Allow the printer to continue running. The AMS will feed the remaining filament until it is depleted, and the printer will detect this, typically triggering an "AMS filament ran out" warning.
¶ Step 5: Reload the Filament
Once the printer detects the filament runout, it’s time to reload the filament into the AMS after untangling. Feed the filament end into the AMS’s feeder. The AMS system features an automated loading process that pulls the filament through the system after it is inserted.
Once you insert, click Resume (problem solved), and the 3D printer will start pulling the new filament and resume 3D printing.
Note: Ensure the filament type and color you insert matches the print job’s requirements, especially for multi-material prints.
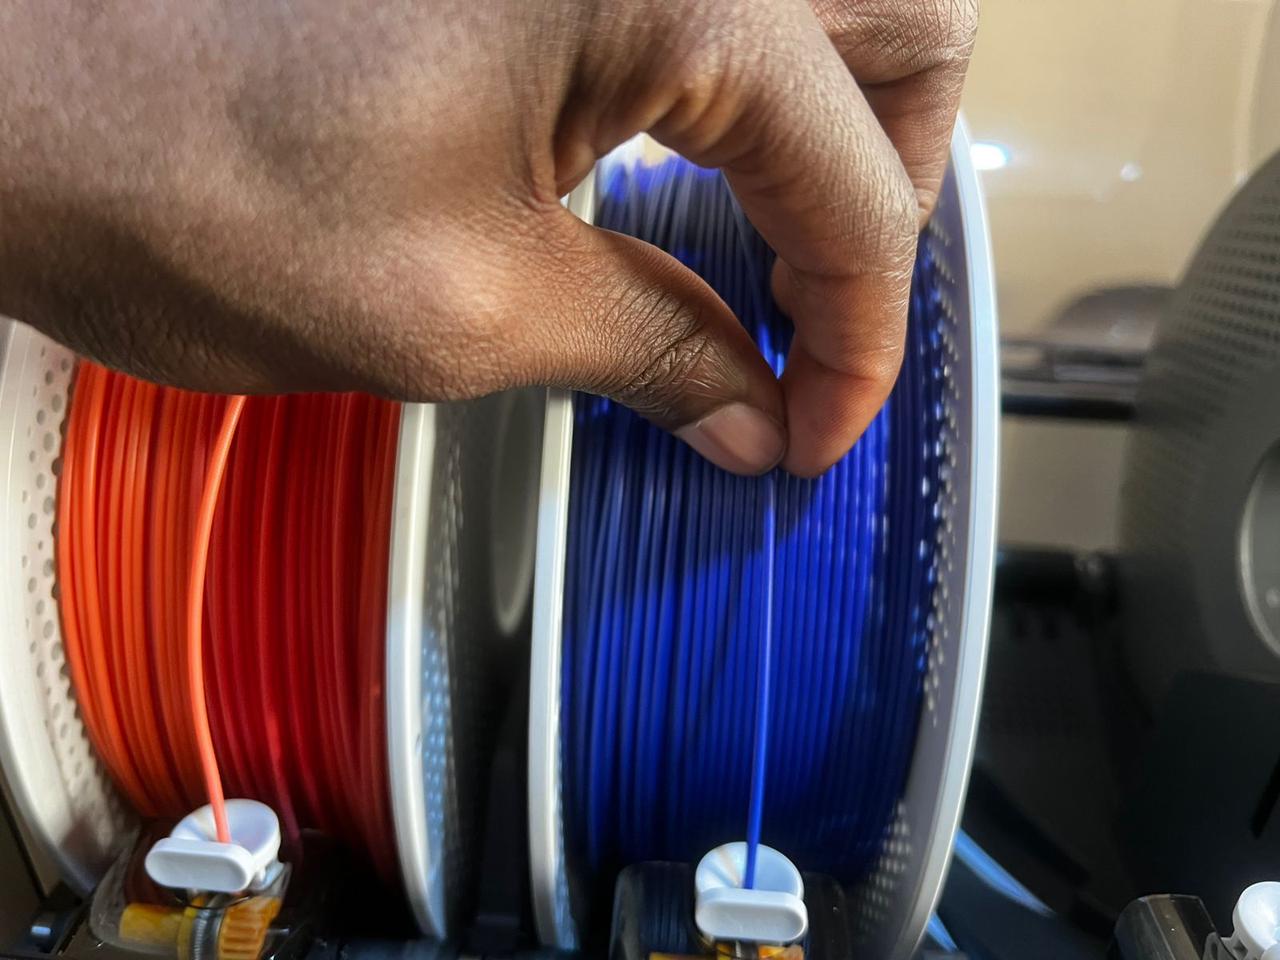
¶ How to Prevent Future Filament Tangles
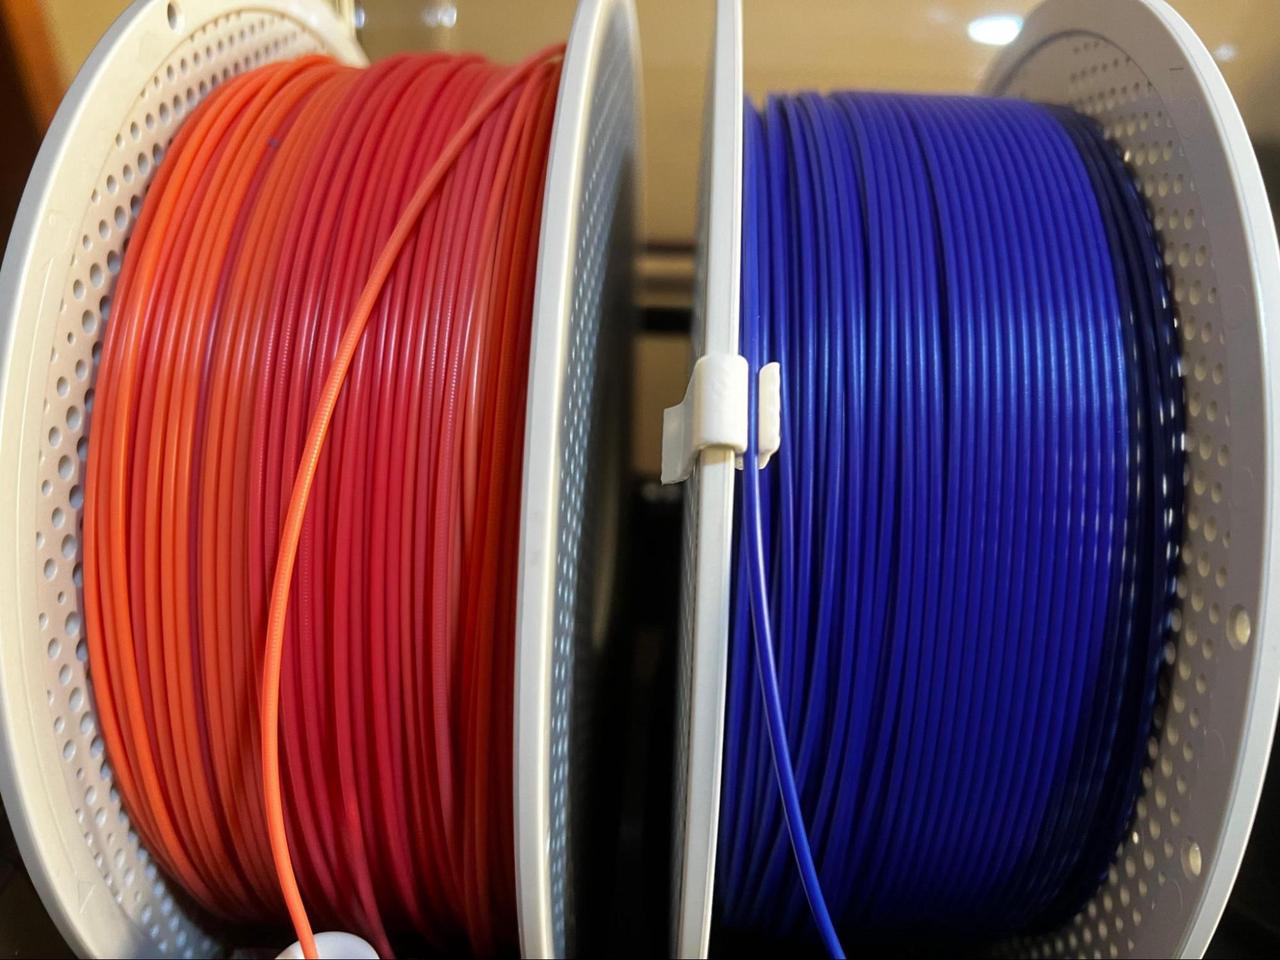
To prevent future filament tangles, take advantage of the holes on the sides of the filament spool by inserting the end of the filament into one of them when not in use. This helps secure the loose end and prevents it from unwinding or getting caught.
You can also use a filament clip or guide to keep the filament taut and organized. Clippy-filament clip by iLab 3D, which you can find on Makerworld is a good option.
Note: A clip is not really necessary all the time.
¶ Important Considerations to Prevent Tangles
Consider the following to prevent future tangles.
- Regularly check the AMS during long prints to ensure all spools are feeding smoothly.
- Verify that the spool is seated correctly in the AMS to allow free spinning.
- Use compatible spools- Always use the reusable plastic spool holder, and ensure the filament is correctly loaded. Check out swaping new filament with Bambu reusable spool wiki to learn how to do so.
- Avoid oversized spools that may not fit well in the AMS.
¶ End Notes
We hope our guide was helpful. If you have any questions or concerns about the process, please contact our customer service team. We're here to assist you.
Click here to open a new ticket in our Support Page.
We will do our best to respond promptly and provide you with the assistance you need.