This guide outlines the process for installing and using the CyberBrick Flashing Tool to update firmware or reset settings on CyberBrick devices. The CyberBrick is a microcontroller-based platform for applications like remote control (RC) kits and time-lapse photography kits. The guide covers installation on Windows and MacOS, verifying installation, navigating the software interface, and executing firmware updates or resets.
¶ Installation Package
¶ Windows Version
cyberbrick_flashing_tool-v1.0.1.zip
¶ MacOS Version
- MacOS Version - M1/M4 Version:
cyberbrick_flashing_tool-mac.zip
- MacOS Version - Intel Version:
cyberbrick_flashing_tool-mac-intel.zip
Mac users, if you encounter errors while running the software, please execute the following command in the terminal:
sudo xattr -dr com.apple.quarantine CyberBrick_Flashing_Tool.app
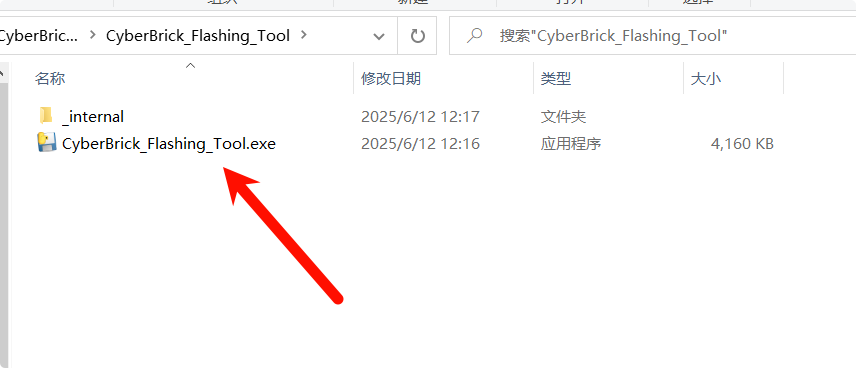
¶ How to Install
Unzip the zip file and open CyberBrick_Flashing_Tool.
¶ How to Verify Successful Installation
If the device COM port can be detected, the installation is complete.
¶ Software Interface
-
Refresh: Click to refresh the list of serial port devices. -
Reset to Factory Defaults - RC framework: Restore factory settings; clicking this will reset to the RC application (remote control kit). -
Reset to Factory Defaults - Time-lapse framework: Restore factory settings; clicking this will reset to the time-lapse application (time-lapse photography kit). -
Reset User Settings: Reset user settings information; clicking this will clear user settings, including PIN code, device naming, master-slave binding information, etc.
.png)
¶ How to Flash Firmware
- Connect the core board to the computer using a Type-C data cable.
- Click Refresh, and a new COM port will appear on the left.
- Select the newly appeared COM port, then click the corresponding firmware flash button below (select "RC framework" for the remote control kit, "Time-lapse framework" for the time-lapse photography kit, or "Reset user setting" to clear the PIN code). Wait for the firmware flashing to complete.
If you encounter persistent failures, you need to manually enter the chip’s download mode by holding down the BOOT button, then after about 3 seconds pressing the RESET button at the same time, and releasing both together about 1 second later.
_compressed.png)
¶ End Notes
We hope the detailed guide provided has been helpful and informative.
If this guide does not solve your problem, please submit a technical ticket, we will answer your questions and provide assistance.
If you have any suggestions or feedback on this Wiki, please leave a message in the comment area. Thank you for your support and attention!