¶ Z-axis Lead Screws and linear rods
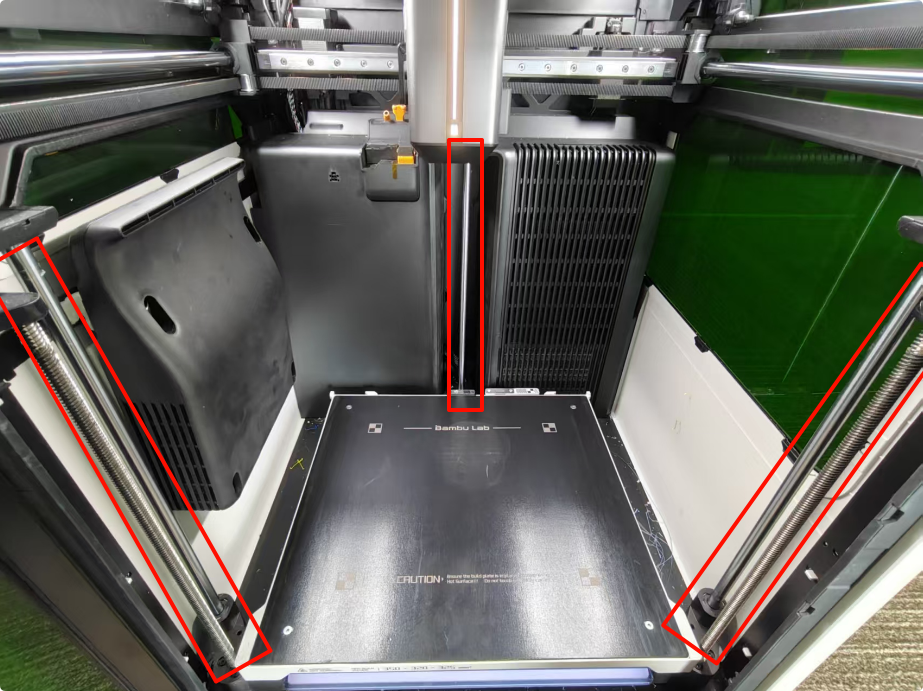
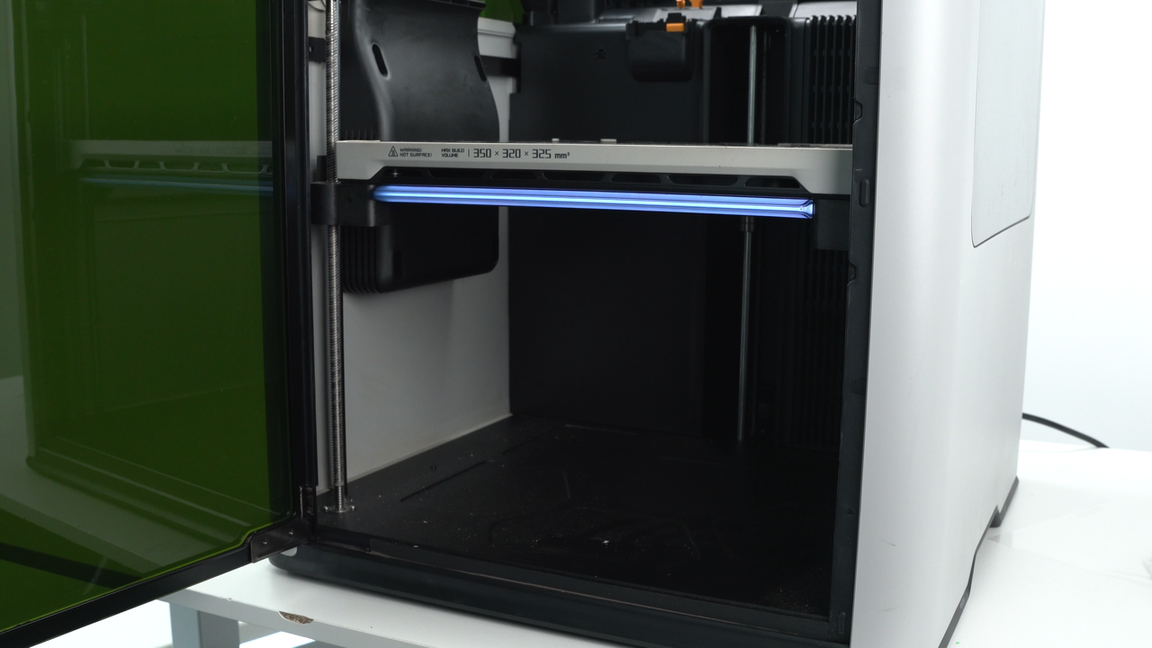
Z-axis lead screws and linear rods are used to drive the heatbed up and down. The three Z-axis lead screws and linear rods require regular greasing to ensure smooth operation.
¶ When to lubricate
It is recommended to check and lubricate the lead screws every three months.
- Lubricant grease recommendation: You can use the BX-300/F series grease in the link, but other lubricants can also be used. A popular lubricant is Super Lube 92003 Silicone Lubricating Grease with PTFE or Lucas Oil 10533 White Lithium Grease which should work similarly.
- Lubricant oil recommendation:
- You can use the lubricant oil provided in the accessory kit, or buy it on our official website.
- You can also alternatively use "WD-40 Multi-Use Product" (both large and small bottles are acceptable). Please make sure to purchase genuine WD-40 Multi-Use Product.
Important Notice:
Do not use any other WD-40 branded products (such as WD-40 Specialist sprays or greases). Only the WD-40 Multi-Use Product is safe and approved for use.
¶ Safety Warning
IMPORTANT!
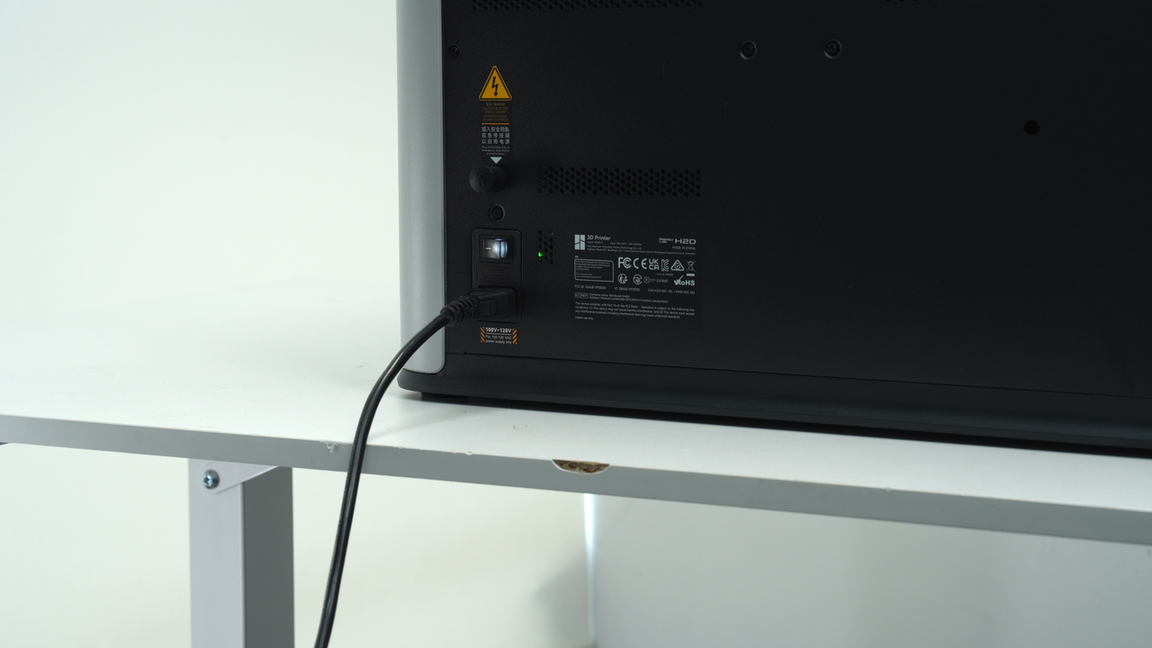
It's crucial to power off the printer before performing any maintenance work on the printer and its electronics, including tool head wires, because leaving the printer on while conducting such tasks can cause a short circuit, which can lead to additional electrical damage and safety hazards.
When you perform maintenance or troubleshooting on the printer, you may be required to disassemble some parts, including the hotend. This process can expose wires and electrical components that could potentially short circuit if they come into contact with each other or with other metal or electrical components while the printer is still on. This can damage the electronics of the printer and cause further damage.
Therefore, it's essential to switch off the printer and disconnect it from the power source before doing any maintenance work. This will prevent any short circuits or damage to the printer's electronics. By doing so, you can avoid potential damage to the printer's electronic components and ensure that the maintenance work is performed safely and effectively.
If you have any concerns or questions about following this guide, open a new ticket in our Support Page and we will do our best to respond promptly and provide you with the assistance you need.
¶ Video Guide
If you are using other models of equipment, you can still refer to this video for maintenance work. There is no difference in the maintenance methods for lead screws and linear rods, and this video is only for illustrative reference.
https://public-cdn.bblmw.com/wiki/H2D/maintenance/h2d-Z-maintenance-en.mp4
¶ Operating steps
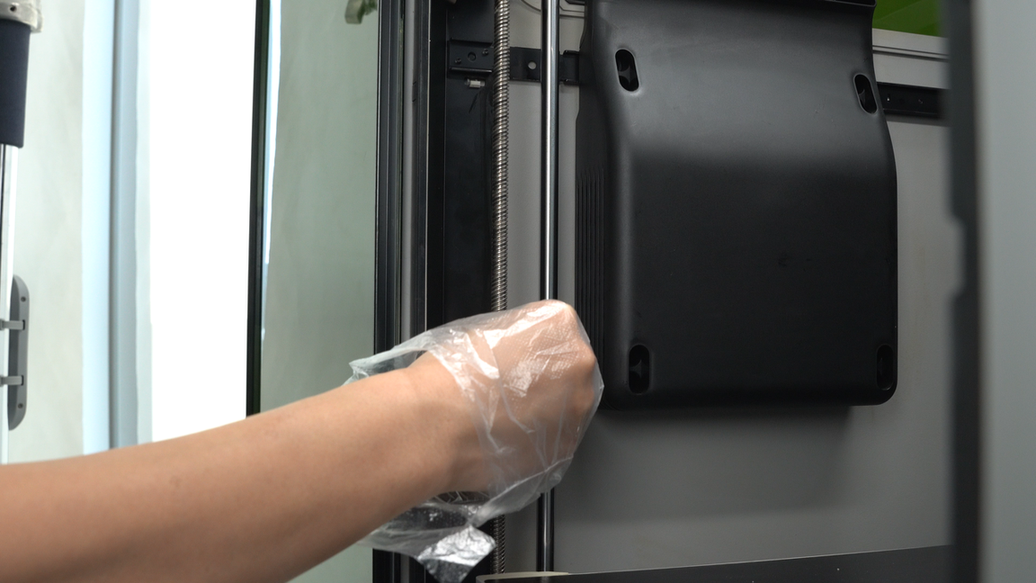
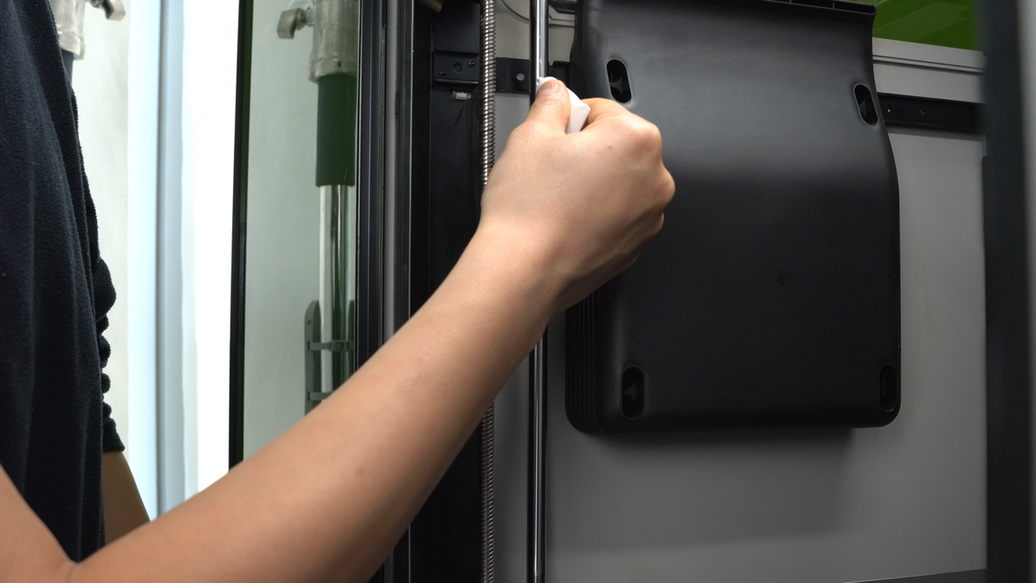
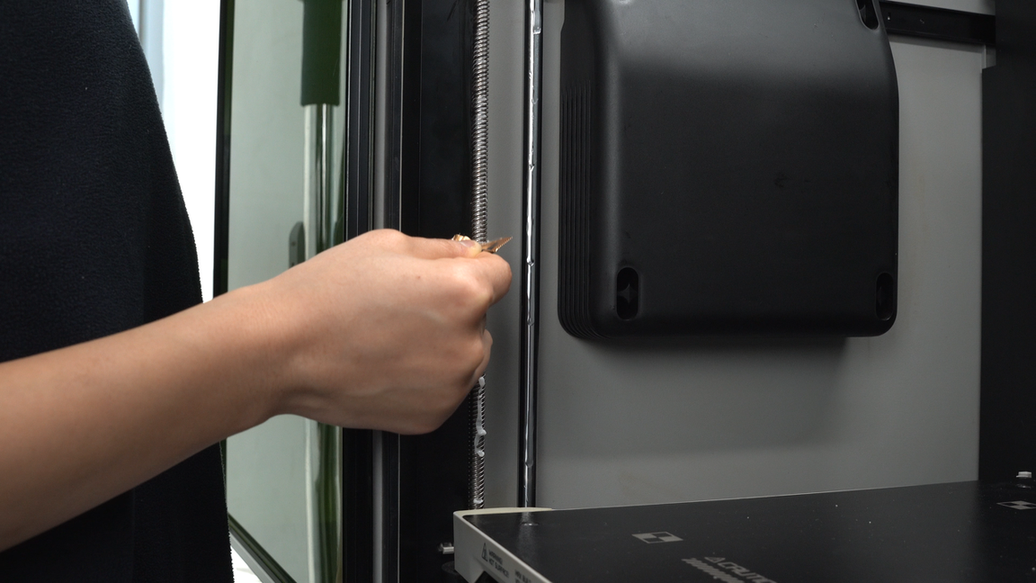
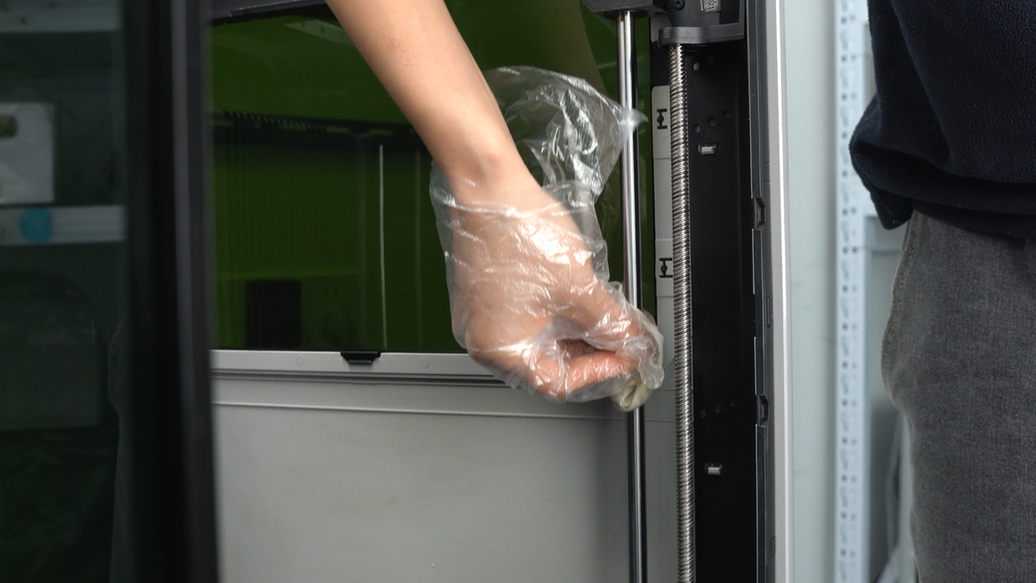
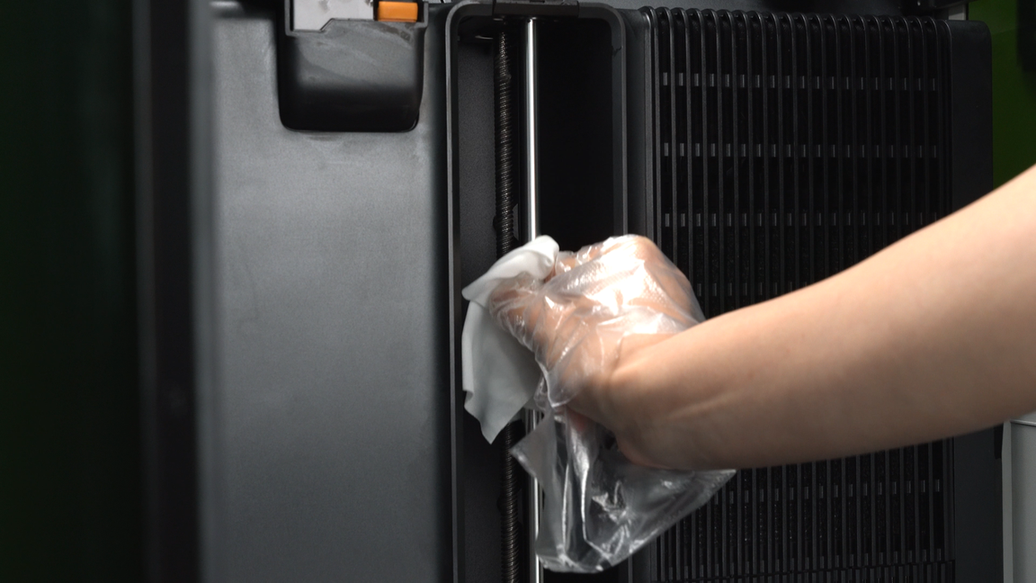
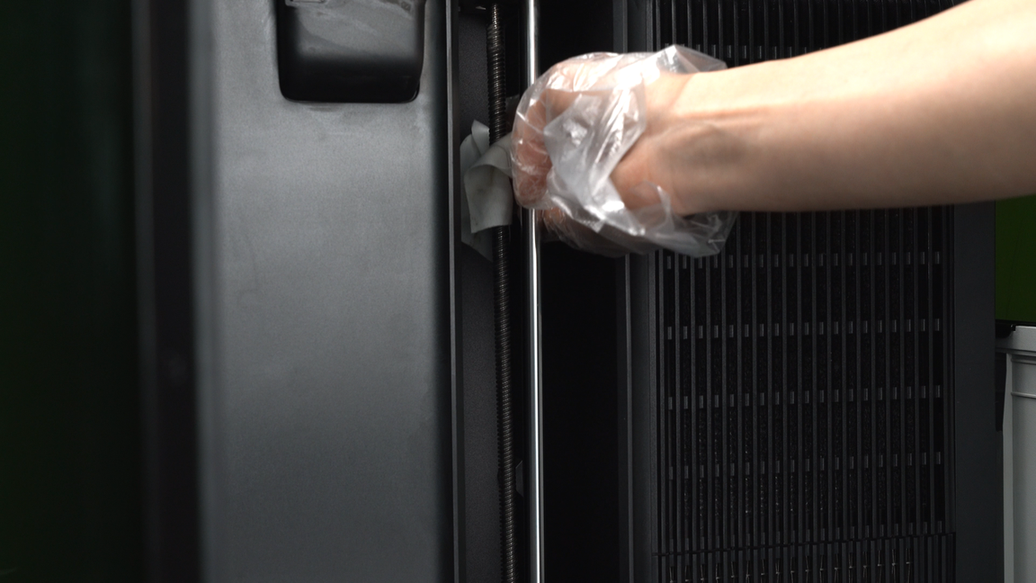
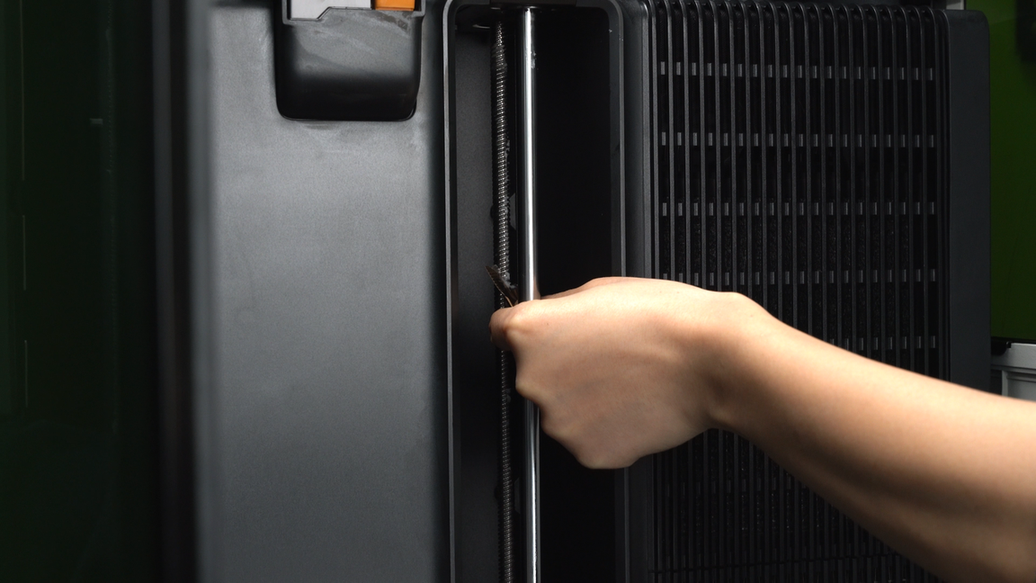
Wrap a non-woven cloth around the Z-axis linear rod, move it up and down to wipe. Make sure the linear rod is cleaned thoroughly. Then, use the same motion to wipe the lead screw.
 |
 |
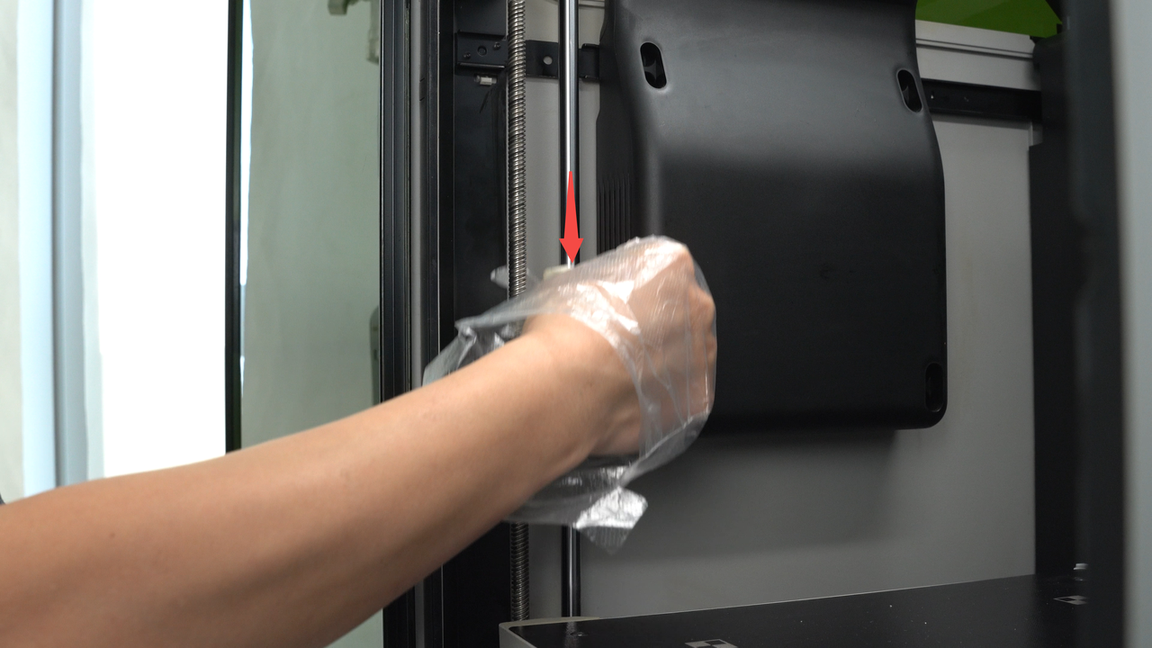
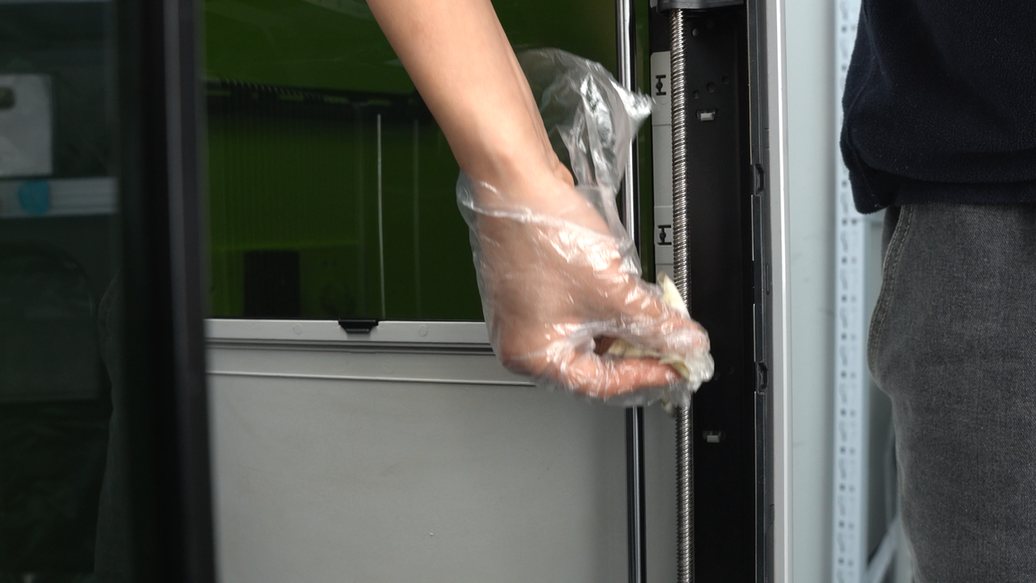
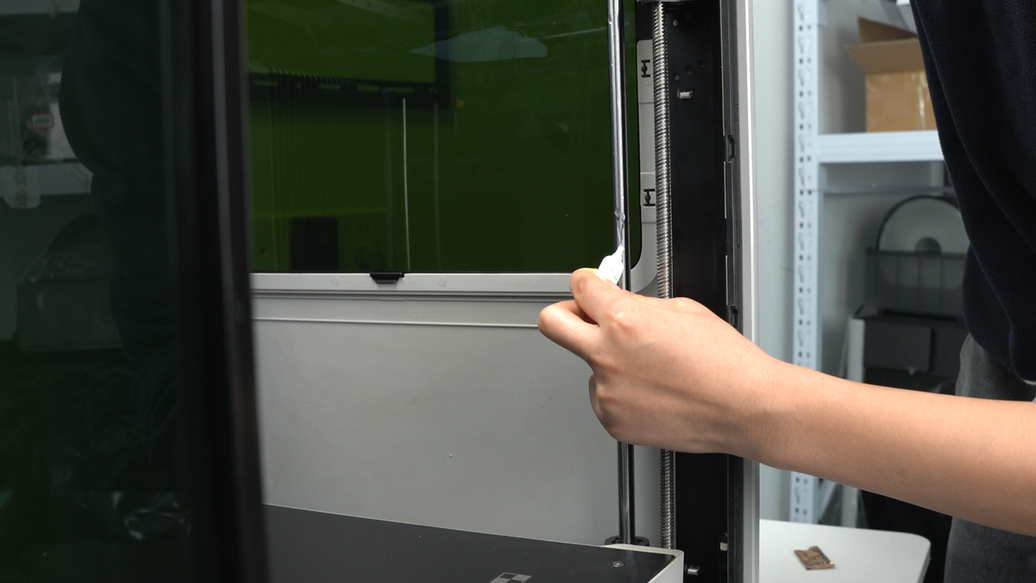
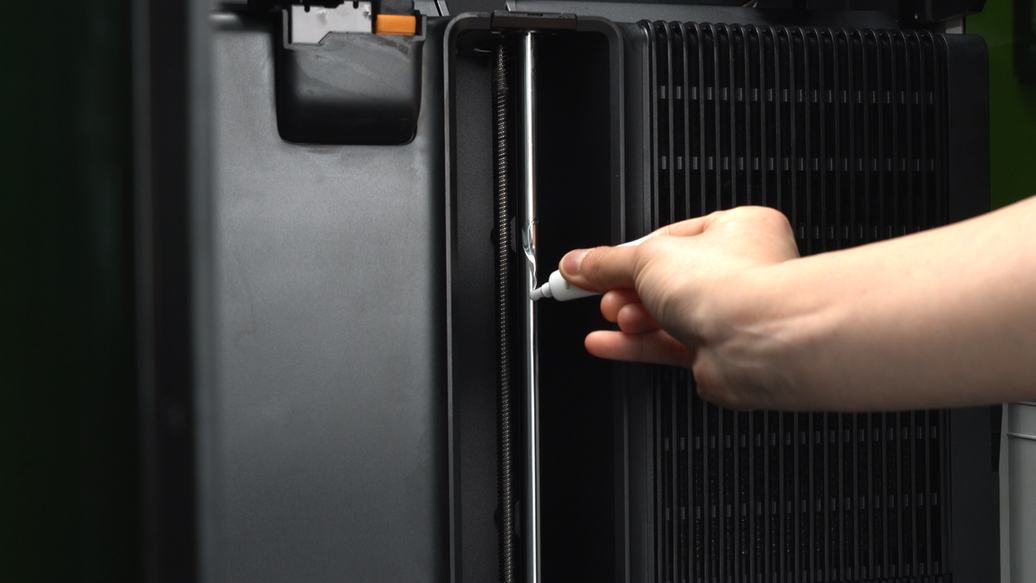
Next, apply lubricant oil to the linear rod and lubricant grease to the lead screw. Please ensure not to mix up the lubricant oil and grease.
 |
 |
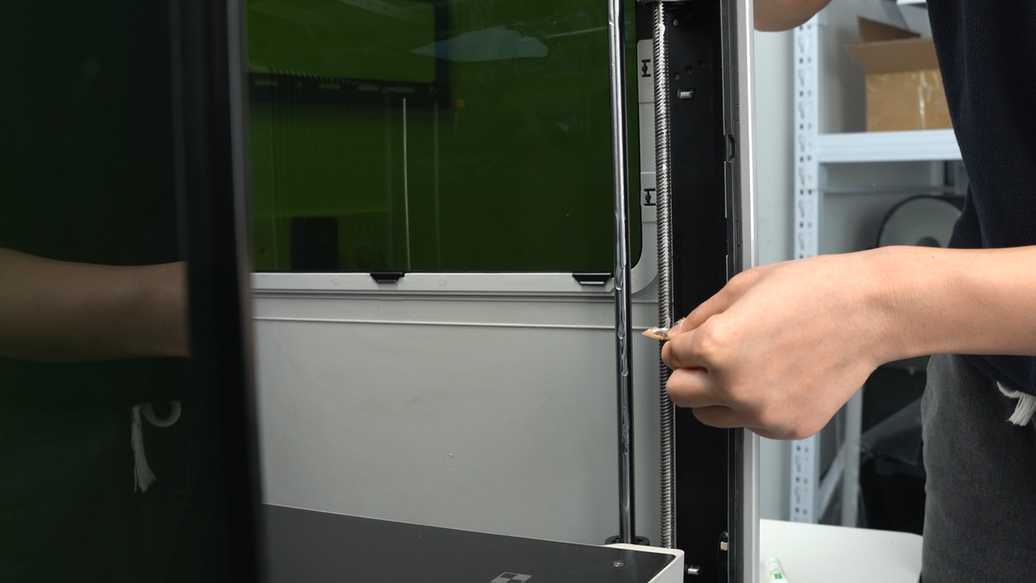
In addition to the linear rod and leadscrew on the left side, there are also linear rods and lead screws on the right side and the inner side inside the H2D, totaling 3 sets. The same cleaning and lubrication procedures need to be carried out for the other 2 sets of linear rods and leadscrews as well.
The following images show the cleaning and lubrication process for the linear rods and leadscrews on the right side.
 |
 |
 |
 |
The following images show the cleaning and lubrication process for the linear rods and lead screws on the inner side.
 |
 |
 |
 |
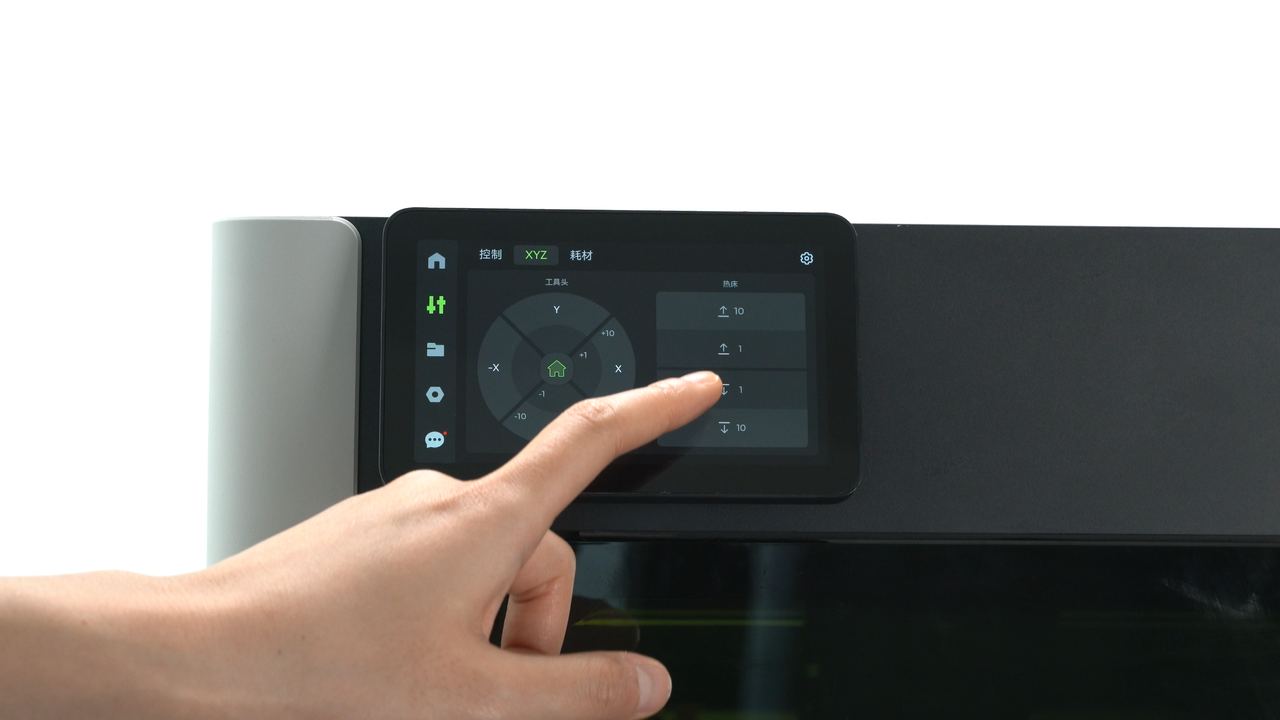
Once lubrication is done, power up the printer again and control the movement of the heatbed up and down on the printer screen. This is to ensure that the lubricant oil and grease fully penetrate the Z-axis leadscrews and linear rods, guaranteeing adequate lubrication.
 |
 |
¶ End Notes
We hope the detailed guide provided has been helpful and informative.
If this guide does not solve your problem, please submit a technical ticket, we will answer your questions and provide assistance.
If you have any suggestions or feedback on this Wiki, please leave a message in the comment area. Thank you for your support and attention!