¶ Normal coating wear
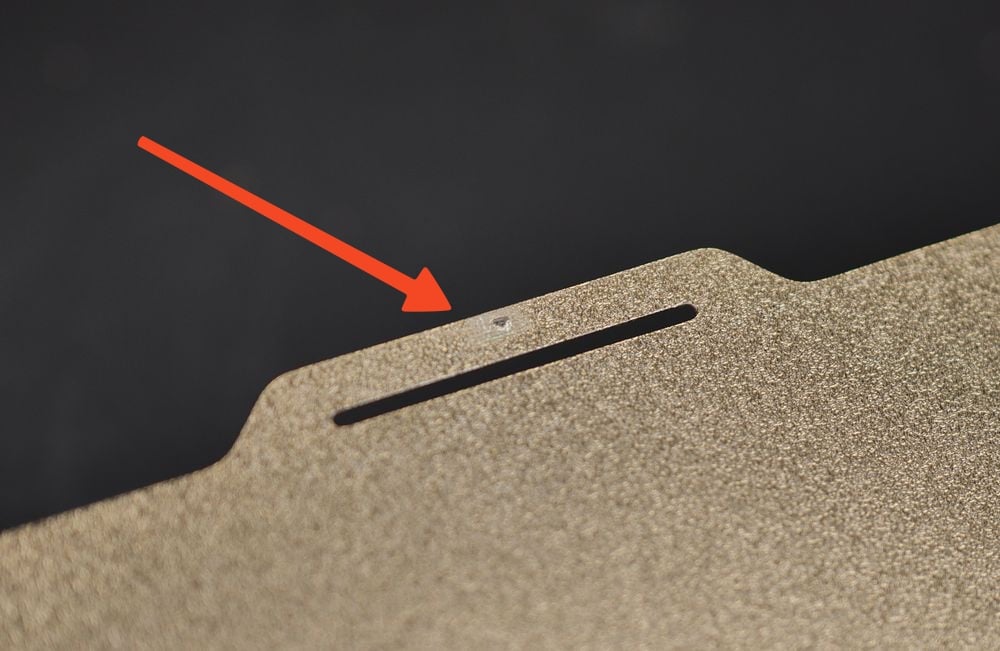
If you notice some wear on the coating in that area of the build plate, there's no need to worry, as it is normal and expected.
Over time, the wipe section will be scratched by the nozzle while the nozzle is cleaned, but this will not affect the tip of the nozzle, or the plate, as it was designed for this operation.
¶ Troubleshooting Bed Adhesion Issues
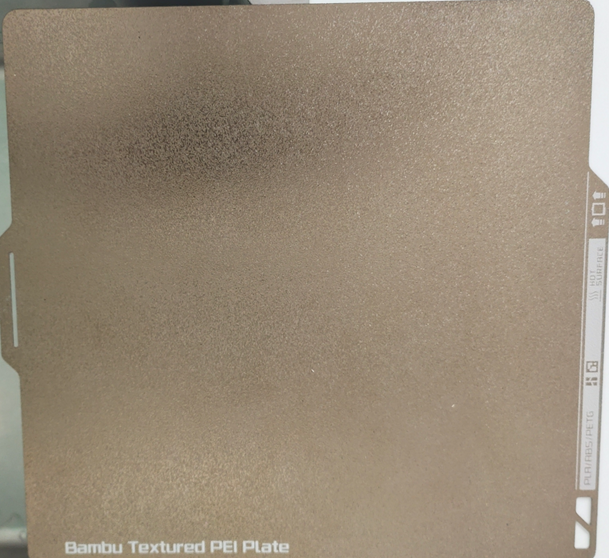
The Bambu Lab Textured PEI Plate is made by powder coating PEI material onto a steel plate, preserving a unique surface texture on the print's bottom during printing. This plate is compatible and stable with a variety of printing materials. Over time, users might face issues with inadequate adhesion of the build plate. Here are a few recommended steps for troubleshooting adhesion issues with the Bambu Lab Textured Plate.
IMPORTANT
The reason why we recommend detergent for cleaning the textured plate is due to its textured surface. Alcohol might just spread the oils on the print surface instead of removing it.
Detergent acts as a degreaser and using a sponge or scrubber to wash the plate will ensure the detergent reaches inside the textured surface to clean it and improve adhesion
Periodically, we recommend cleaning the Textured Plate to ensure that the printing surface is clean of debris or fingerprints.
The natural oils from your hands can transfer to the printing surface, impacting the sheet's adhesion properties.
In the image below, you can see an example of different fingerprints on the plate which are not easily seen normally, but it is easily seen during the first layer
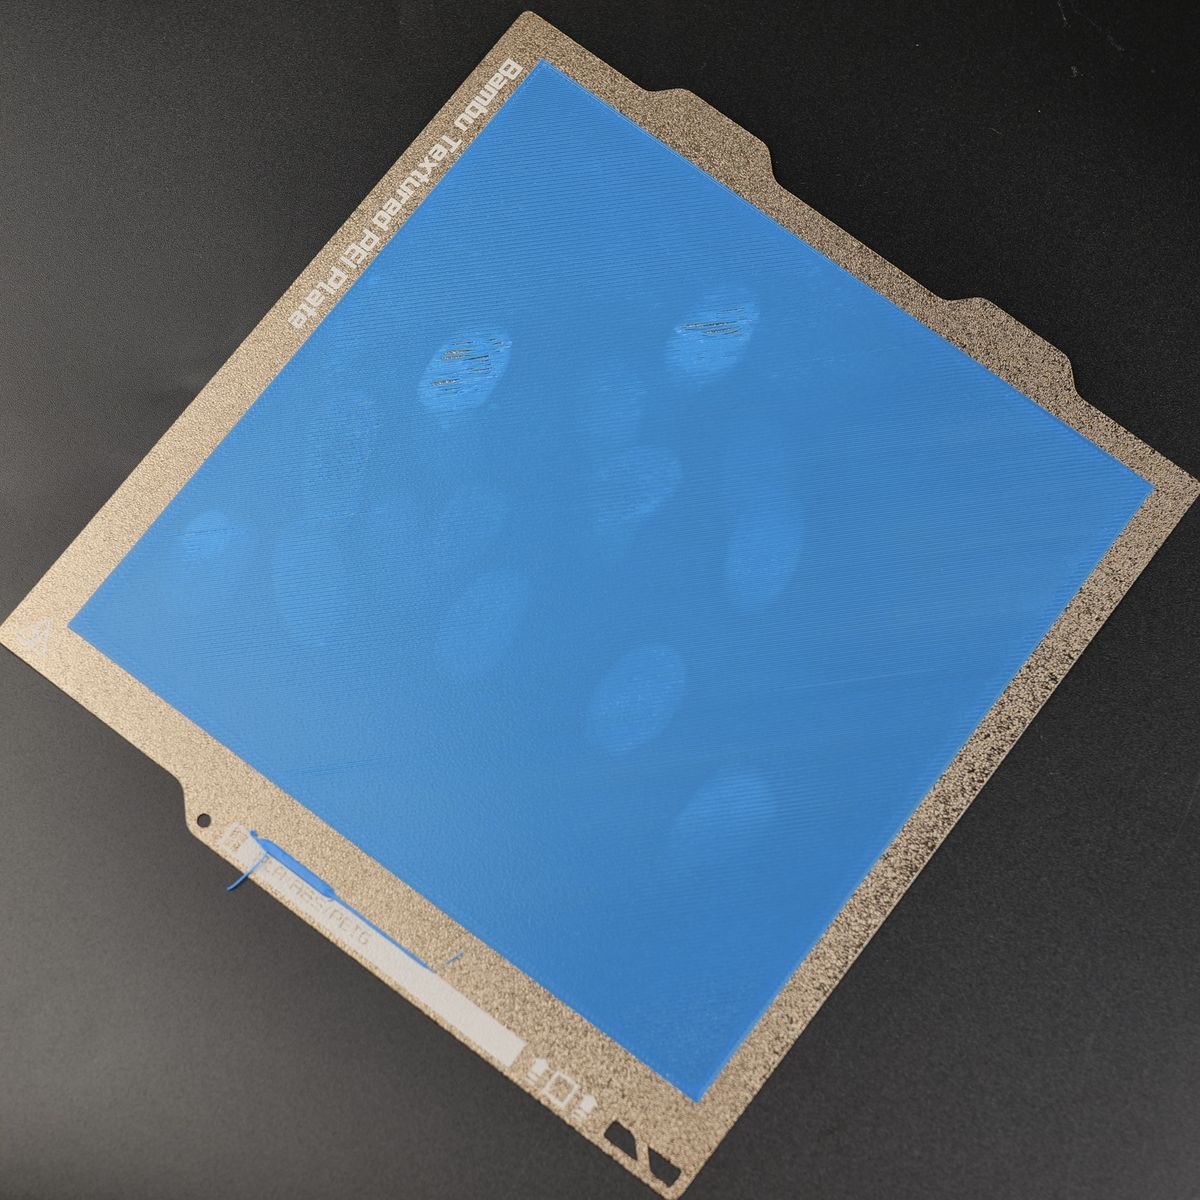
Washing the plate carefully with warm water and detergent will eliminate these contaminants, allowing for a perfect first layer and good adhesion.
¶ Clean the printing surface
We recommend cleaning the printing surface with warm water and regular soap. You can use a basic sponge and dishwashing detergent, wash it with water, and dry it with a regular paper towel. Here are the specific steps:
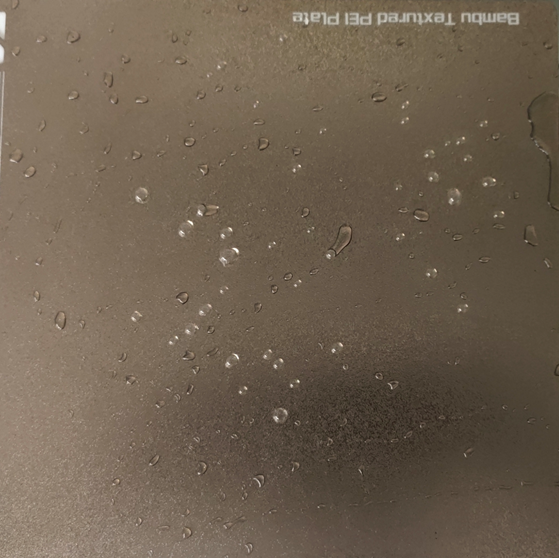
¶ 1. Wet the Textured PEI plate with water.
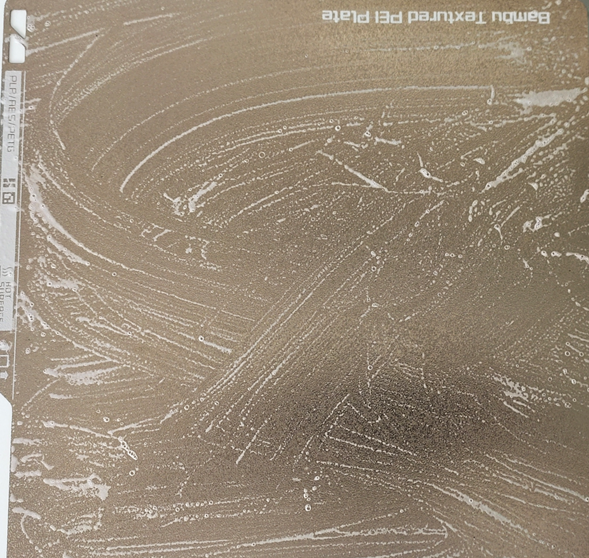
¶ 2. Apply dishwashing detergent evenly to the Textured PEI plate.
¶ 3. Use a basic sponge to scrub the Textured PEI plate, creating foam with the detergent.
This will effectively remove any leftover models and grease on the Textured PEI plate.
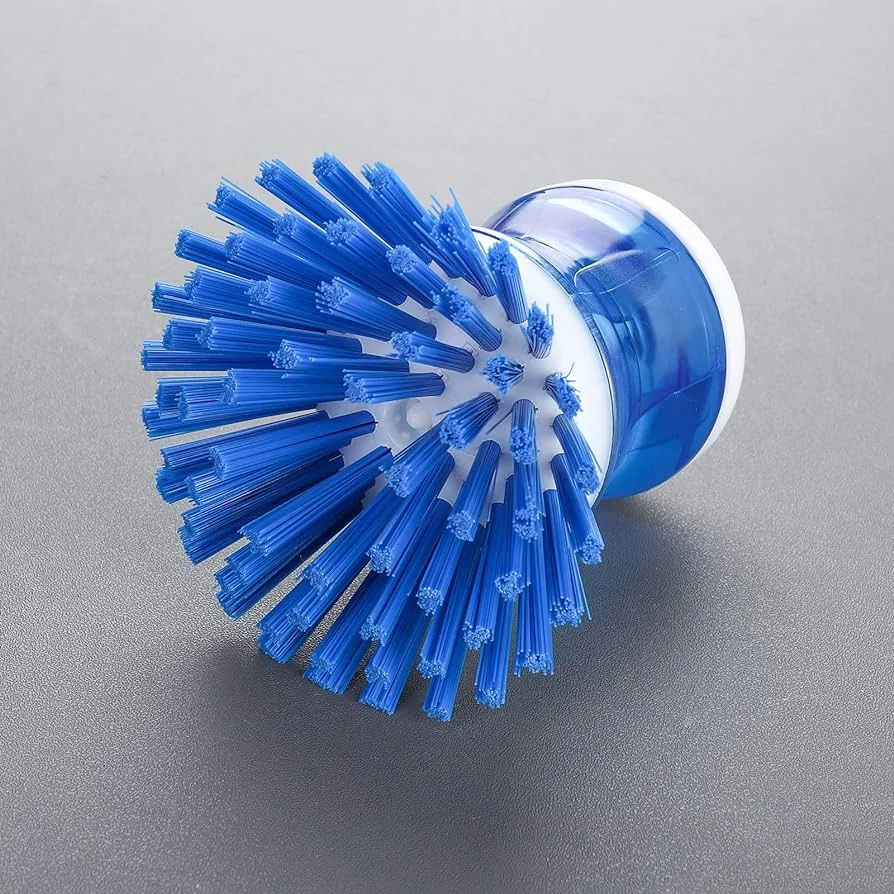
We also recommend using a brush like this if you have it available. It will reach into the grooves of the texture better and clean any impurity
4. Rinse off the detergent with clean water and then dry the Textured PEI plate.
Note:
After applying the dishwashing detergent to the Textured PEI plate, it's important to scrub it with a sponge or a brush to completely remove any leftover models and grease.
Also make sure that you avoid touching the print surface with your fingers and try to handle the plate from the sides.
Grinding the surface of the Textured PEI plate with fine sandpaper will create a new, clean surface and enhance the build plate's adhesion. It's essential to ensure the surface must be properly cleaned of any sanding debris.
¶ Other solutions to solve adhesion issues, after washing the plate
¶ Slightly raise the heatbed temperature
The adhesion between the filament and the build plate is significantly influenced by the heatbed temperature; higher heatbed temperatures result in stronger adhesion. If you feel the adhesion force is inadequate, you can slightly increase the bed temperature to enhance adhesion.
Note: For PLA and PETG materials, excessively high temperatures may lead to clogging and elephant foot problems.
¶ Add brim and support structure
The force between the print and the build plate is roughly proportional to their contact area. When printing small objects, adding a brim enhances the pressure between the print and the build plate, preventing warping or detachment. Thin and tall items are more prone to nozzle scraping at high speeds. It's advisable to use proper support when printing such objects to optimize the force structure and minimize the risk of warping or detachment.
¶ Check the heatbed temperature and the filament used
Most filament types come with a default preset in Bambu Studio. If you customize your profile, we recommend double-checking the temperatures set for the heatbed. Sometimes, you might need to adjust the temperature based on the type of filament used and its properties.
¶ Adjust the first layer settings in the Bambu Studio
You can adjust slicer settings for the first layer to enhance adhesion. The slicer profiles in Bambu Studio come pre-configured with values that were performed best during testing. However, if issues arise, we recommend starting the print with a 0.5mm line width and a 0.25mm layer height for optimal results. These settings establish a solid foundation for the rest of the model and increase the chances of success.
¶ Ask for help
If you still encounter adhesion issues after following the steps described in this article, feel free to create a ticket, and our support team will assist you.