¶ Air filter cover/Air filter
The air filter is installed on the inside of the right liner of the printer (the side close to the printer chamber) to filter the air in the printer chamber and effectively remove VOCs.
The outer shell of the air filter is equipped with a detachable air filter cover. When replacing the air filter, you need to remove the air filter cover first. A filter is installed on the inside of the air filter cover to prevent debris in the printer chamber from passing through the air filter cover and avoid damage to the chamber exhaust fan.
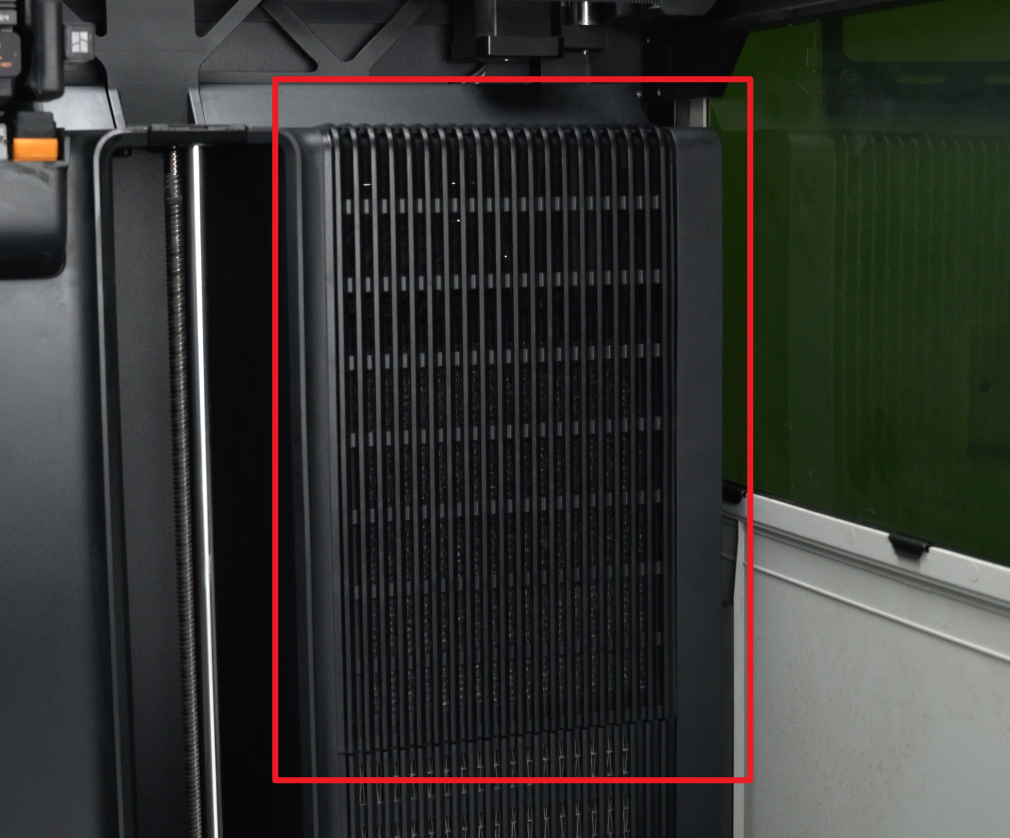 Air filter cover |
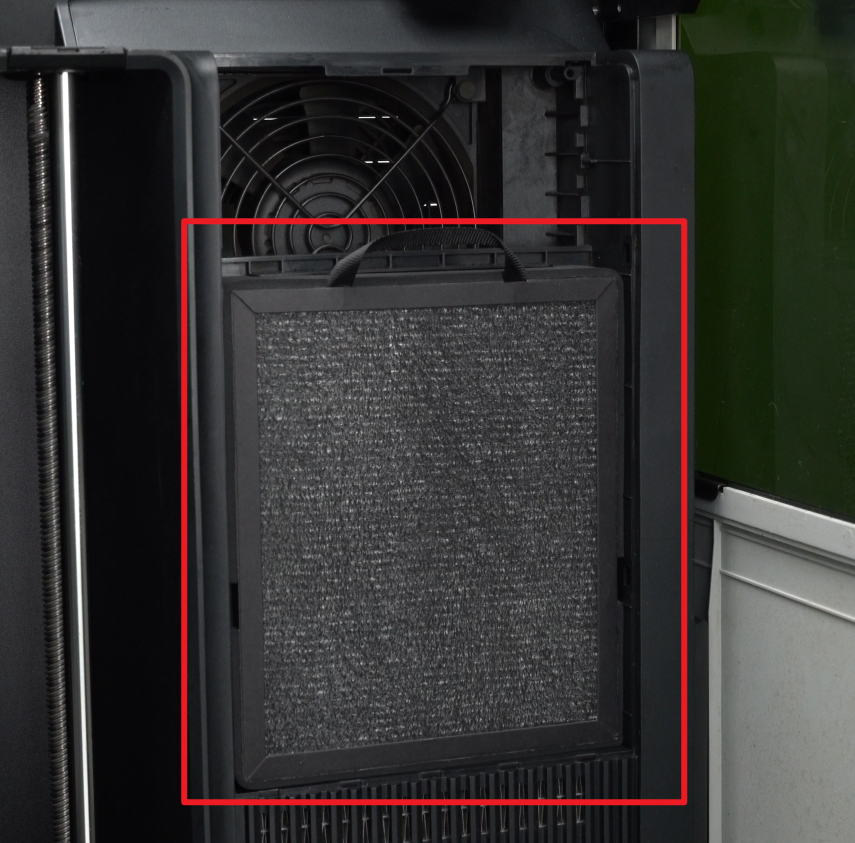 Air filter |
¶ When to use
Air filter:
If you are using only the printing function, it is advisable to replace the air filter after a total printing time of 1440 hours (or 60 days).
If you need to use the laser engraving or cutting function, the filter replacement interval is still being tested and will be updated later.
Air filter cover:
-
Air filter cover is damaged
-
Air filter cover is deformed
¶ Tools and materials needed
-
Air filter cover (No need to replace if no damage)
-
Air filter
-
Gloves(Optional)
¶ Safety Warning
IMPORTANT!
It's crucial to power off the printer before conducting any maintenance work, including work on the printer's electronics and tool head wires. Performing tasks with the printer on can result in a short circuit, leading to electronic damage and safety hazards.
During maintenance or troubleshooting, you may need to disassemble parts, including the hotend. This exposes wires and electrical components that could short circuit if they contact each other, other metal, or electronic components while the printer is still on. This can result in damage to the printer's electronics and additional issues.
Therefore, it's crucial to turn off the printer and disconnect it from the power source before conducting any maintenance. This prevents short circuits or damage to the printer's electronics, ensuring safe and effective maintenance. For any concerns or questions about following this guide, we recommend submitting a technical ticket regarding your issue and we will do our best to respond promptly and provide the assistance you need.
¶ Remove the Air filter cover/Air filter
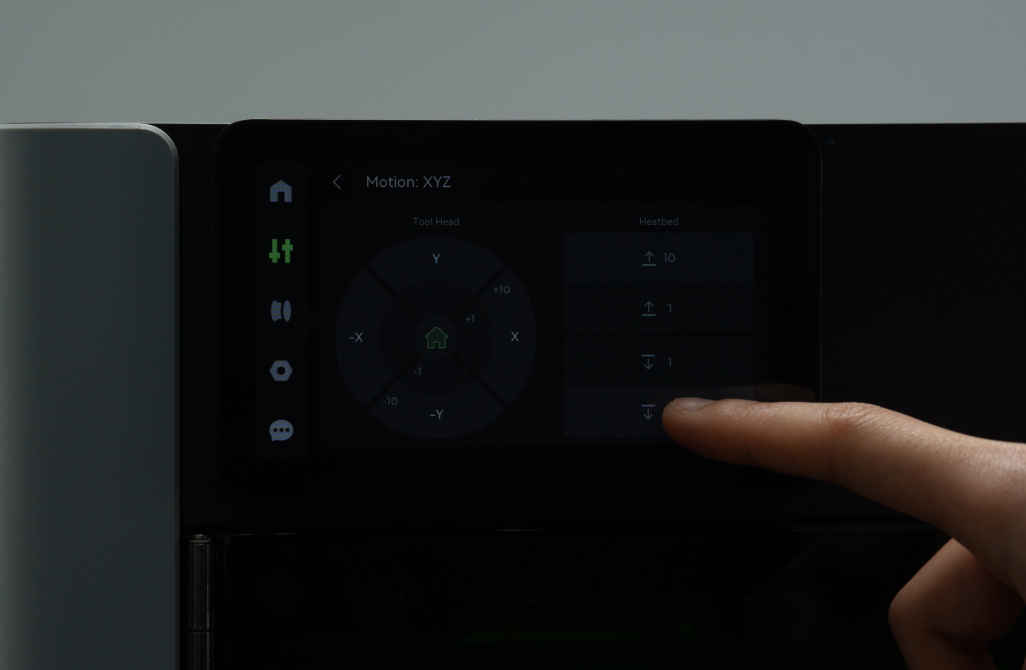
¶ Step 1:Lower the heatbed
Control the heatbed through the screen and lower it to the bottom of the printer to facilitate the replacement of the air filter cover/air filter.

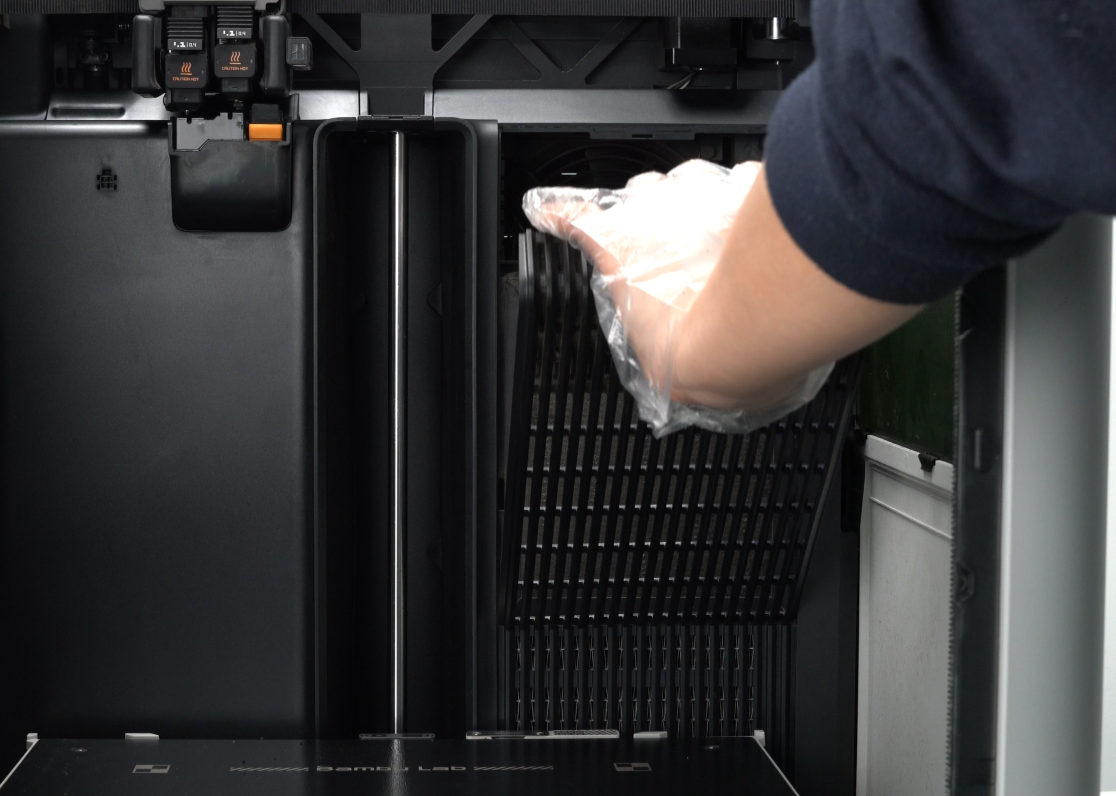
¶ Step 2:Remove the air filter cover
Note: If the air filter is dirty, it is recommended to wear gloves during operation.
- The air filter cover is fixed to the right liner of the printer by a buckle. You can hold the top of the air filter cover with your hand and pull the air filter cover outward to unlock the buckle at the top;
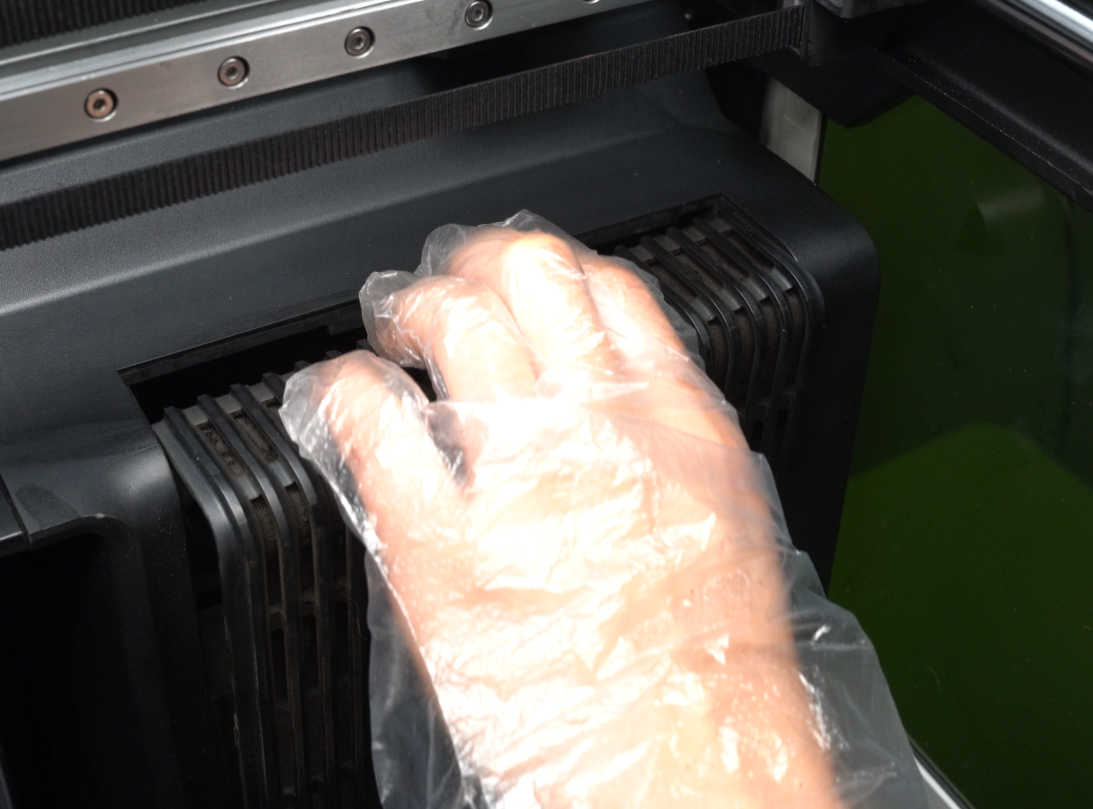
- Then tilt the air filter cover and lift it up to remove it.
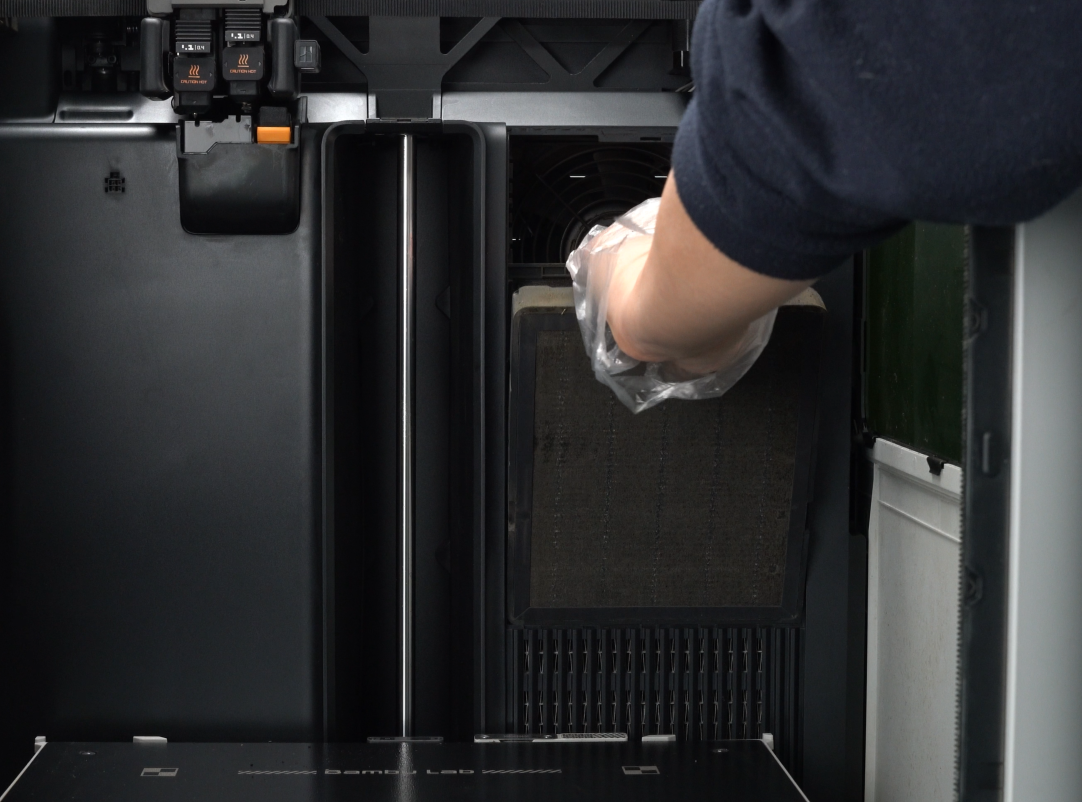
¶ Step 3:Remove the air filter
Pull out the air filter.
Note: If you only need to replace the air filter cover, please ignore this step.
¶ Install the Air filter cover/Air filter
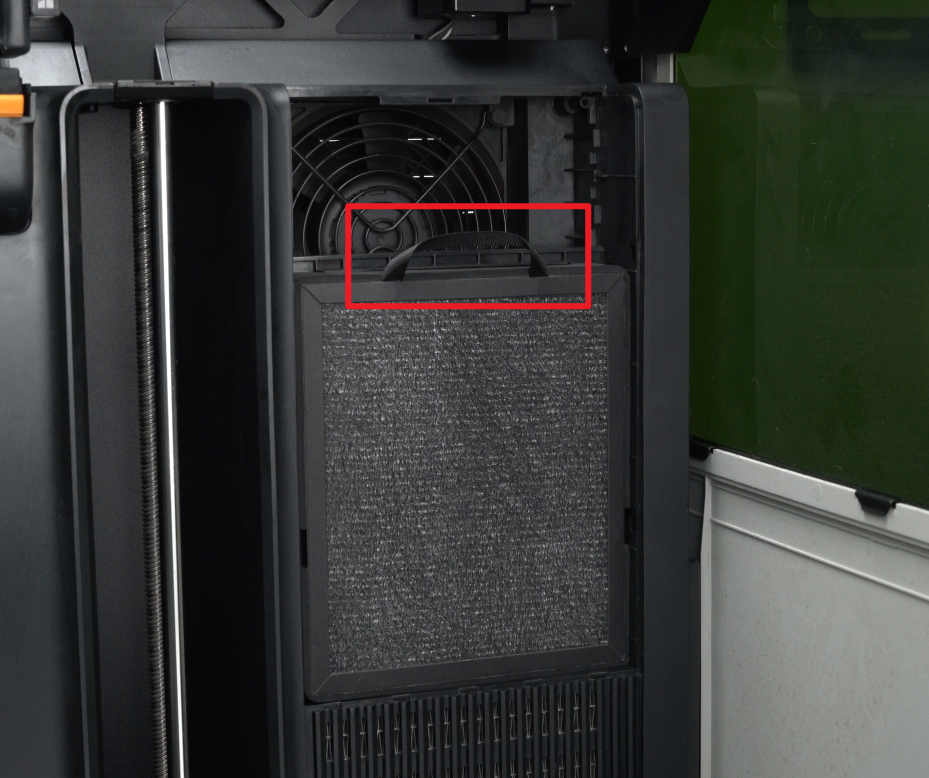
¶ Step 1:Install the air filter
Install the new air filter into the right liner of the printer.
Note: The side with the drawstring on the air filter faces you and the drawstring side faces up.
¶ Step 2:Install the air filter cover
- The air filter cover is inserted diagonally into the liner, and the 5 latches at the bottom are inserted into the liner;
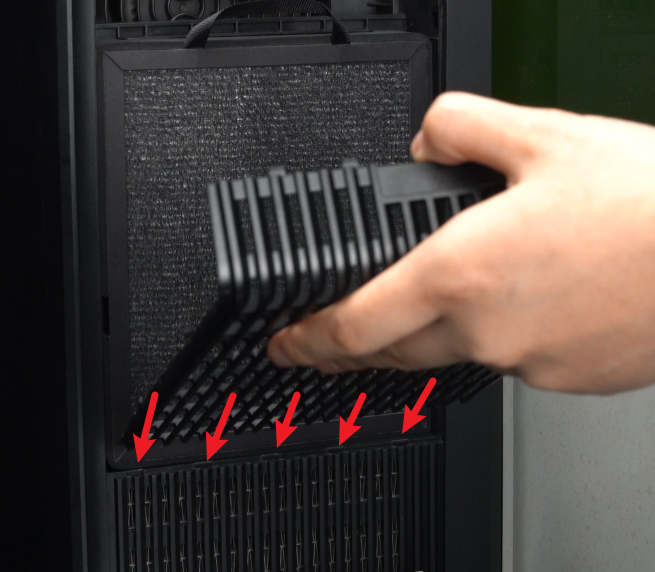

- Then push the air filter cover inwards and snap the 5 clips on the top into the liner.

¶ Verify the functionality
The air filter cover is fastened tightly without any looseness.
¶ End Notes
We hope the detailed guide provided has been helpful and informative.
If this guide does not solve your problem, please submit a technical ticket, we will answer your questions and provide assistance.
If you have any suggestions or feedback on this Wiki, please leave a message in the comment area. Thank you for your support and attention!