¶ When to use
-
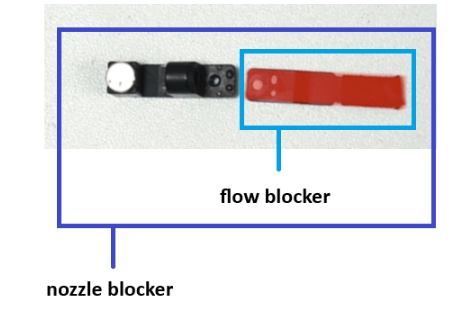
The function of the flow blocker is to seal the nozzles during non-working periods to prevent filament leakage. If there is a slight left or right deviation, as long as it does not affect the flow blocking function, it can be used normally. If the flow blocker is significantly misaligned vertically and cannot press against the nozzle, we recommend following the steps in this guide to correct the position of the flow blocker.
-
The flow blocker is located below the nozzle and is relatively fragile. In cases of printing abnormalities or extended usage, the flow blocker may experience wear or damage. In such situations, we recommend referring to this guide to replace the flow blocker.
¶ Tools and materials needed
- H1.5 & H2.0 Allen key
¶ Safety Warning
IMPORTANT!
It's crucial to power off the printer before performing any maintenance work on the printer and its electronics, including toolhead wires, because leaving the printer on while conducting such tasks can cause a short circuit, which can lead to additional electrical damage and safety hazards.
When you perform maintenance or troubleshooting on the printer, you may be required to disassemble some parts, including the hotend. This process can expose wires and electrical components that could potentially short circuit if they come into contact with each other or with other metal or electrical components while the printer is still on. This can damage the electronics of the printer and cause further damage.
Therefore, it's essential to power off the printer and disconnect it from the power source before doing any maintenance work. This will prevent any short circuits or damage to the printer's electronics. By doing so, you can avoid potential damage to the printer's electronic components and ensure that the maintenance work is performed safely and effectively.
If you have any concerns or questions about following this guide, open a new ticket in our Support Page and we will do our best to respond promptly and provide you with the assistance you need.
¶ Video Guide
¶ Troubleshooting Steps
Before conducting the following checks, please ensure that the nozzle temperature is at room temperature to prevent burns!
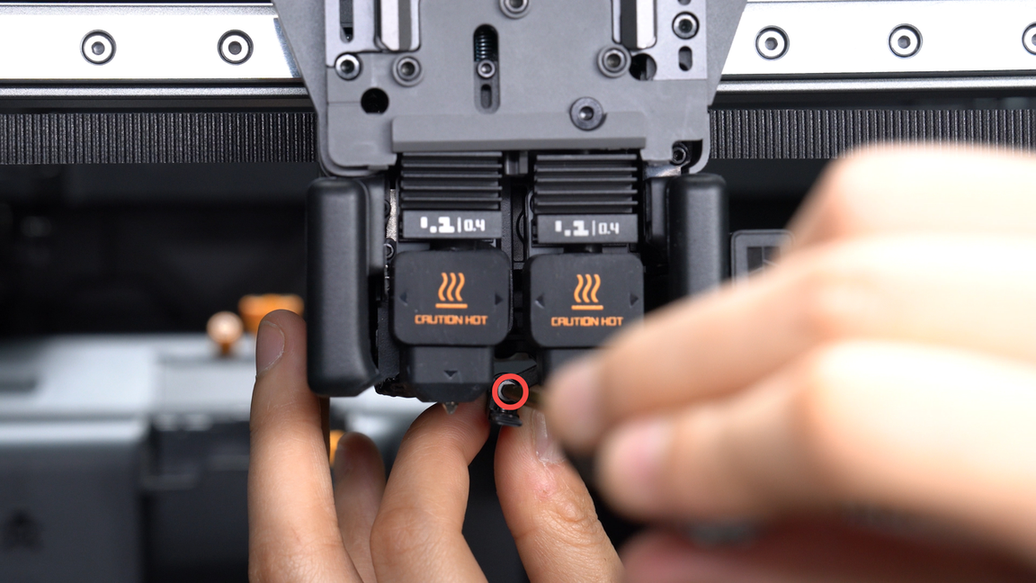
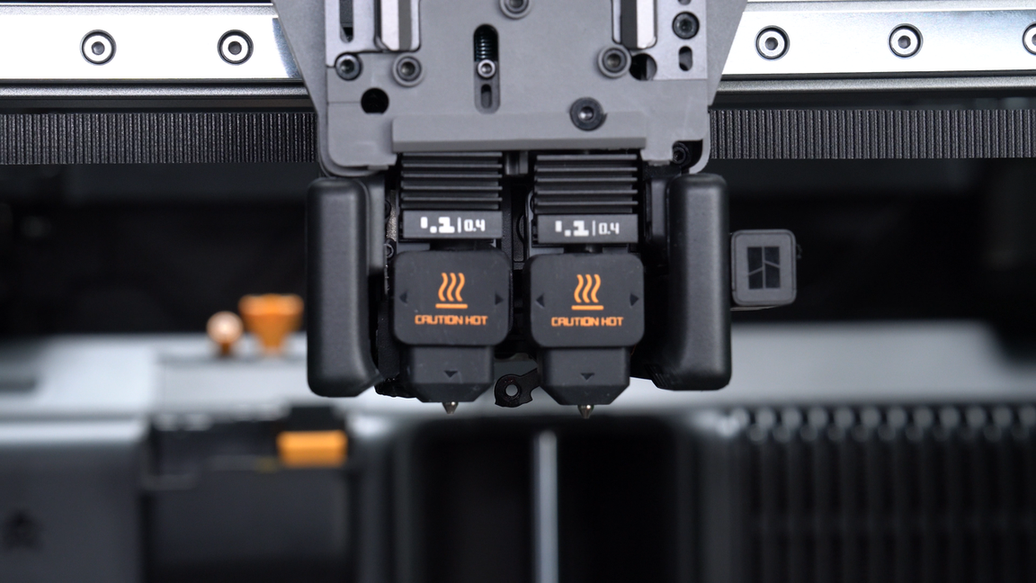
¶ Step 1: Check the status of the flow blocker
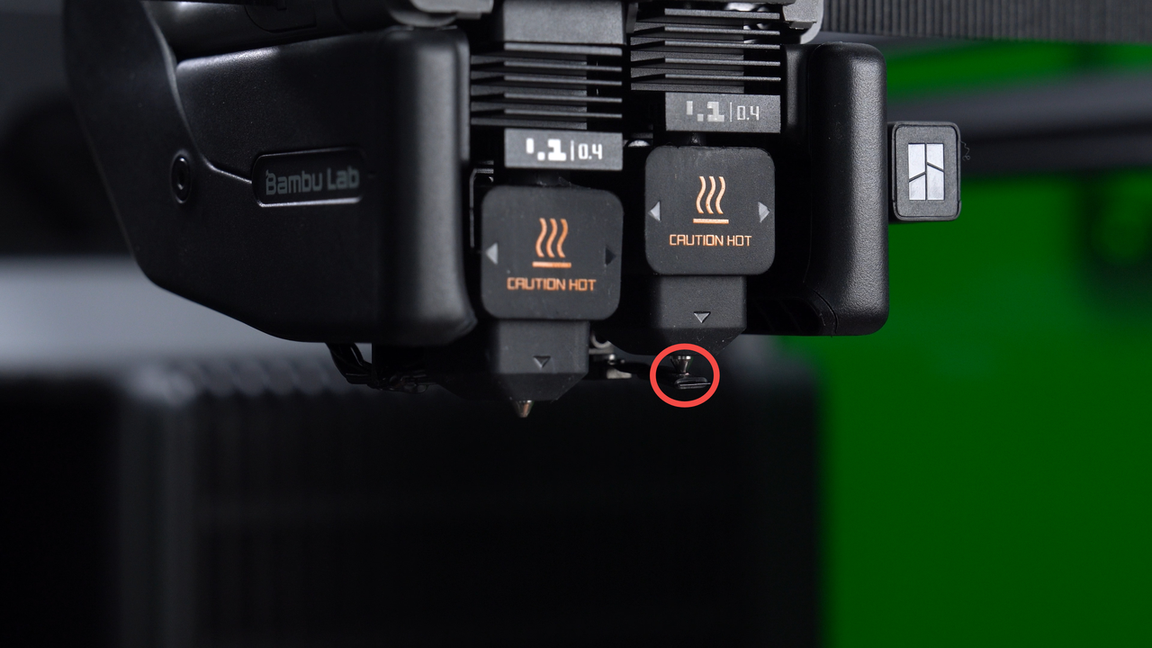
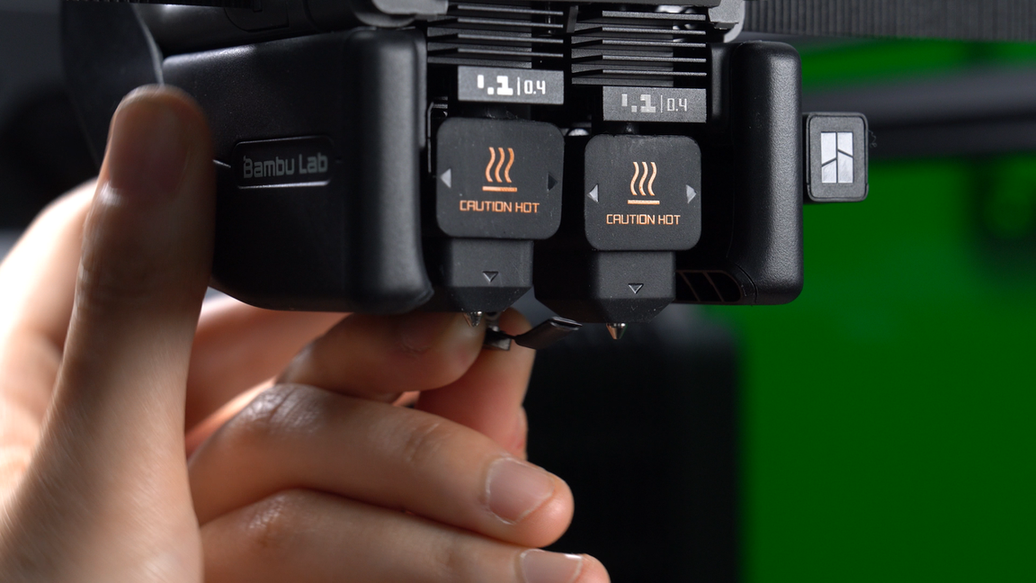
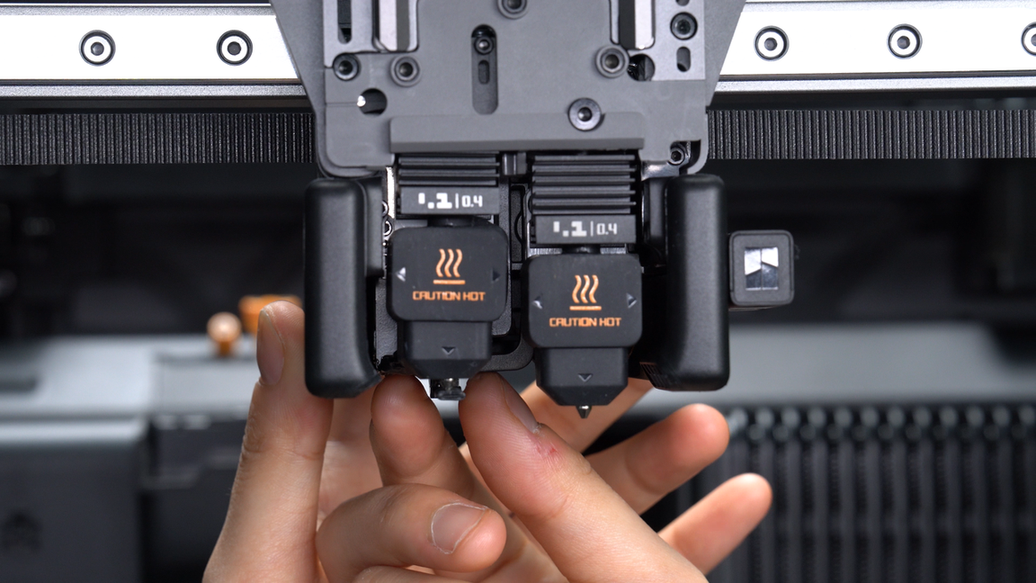
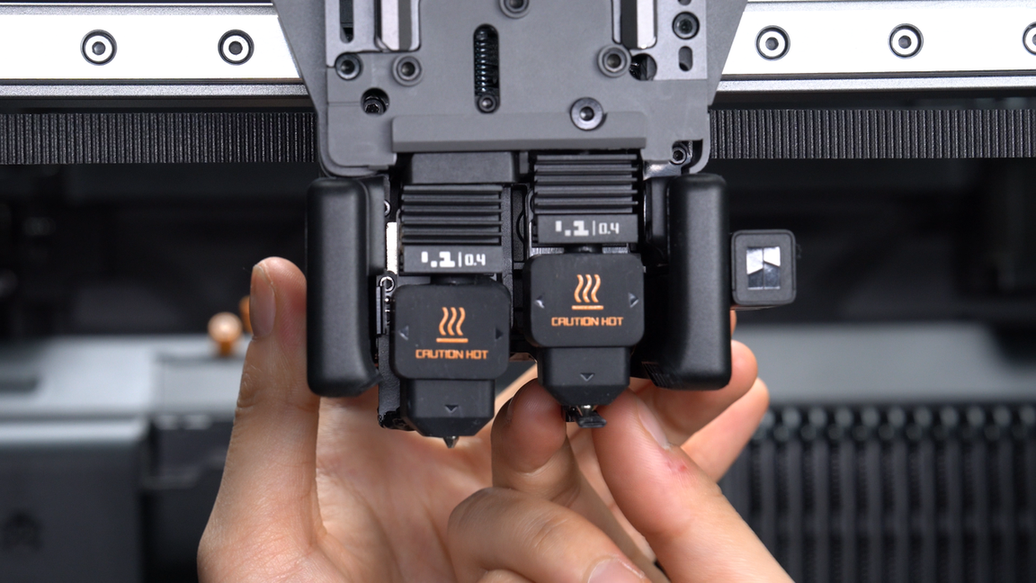
Firstly, it is essential to inspect the condition of the flow blocker and determine whether it is positioned too high or too low.
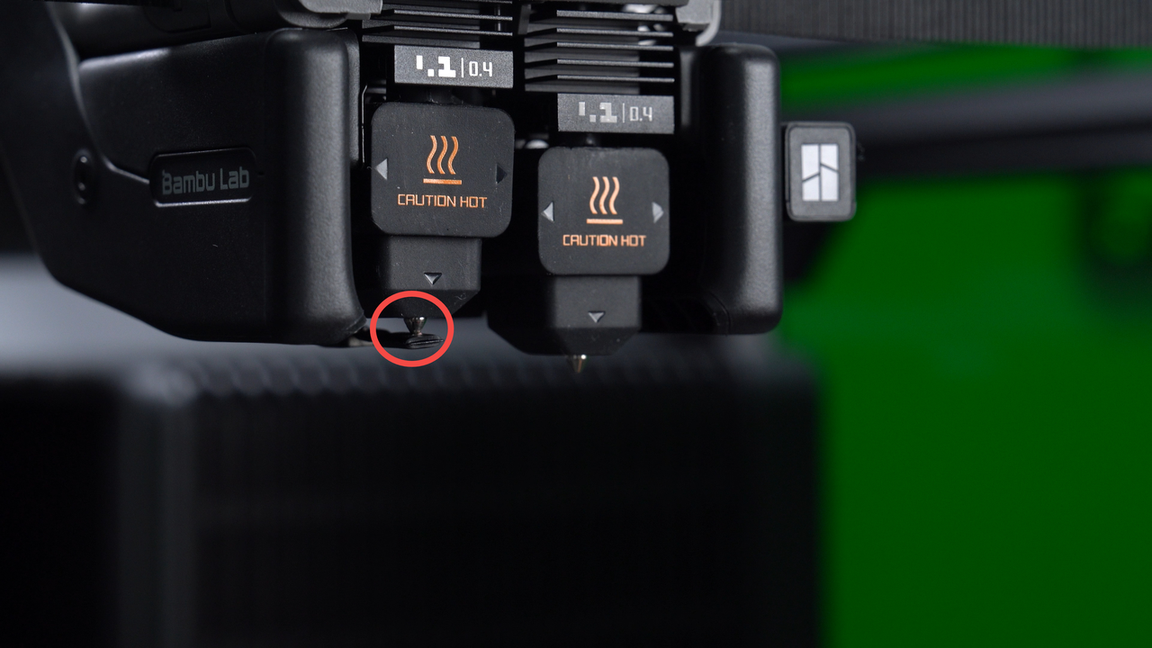
- The flow blocker is too low. When the flow blocker is located below the nozzle, it does not snugly fit against the nozzle, but instead leaves a gap between them.

- The flow blocker is too high. When moving the flow blocker lever to shift the flow blocker left or right, the flow blocker collides with the nozzle midway through the movement, preventing it from aligning correctly directly beneath the nozzle.

¶ Step 2. Adjust the flow blocker
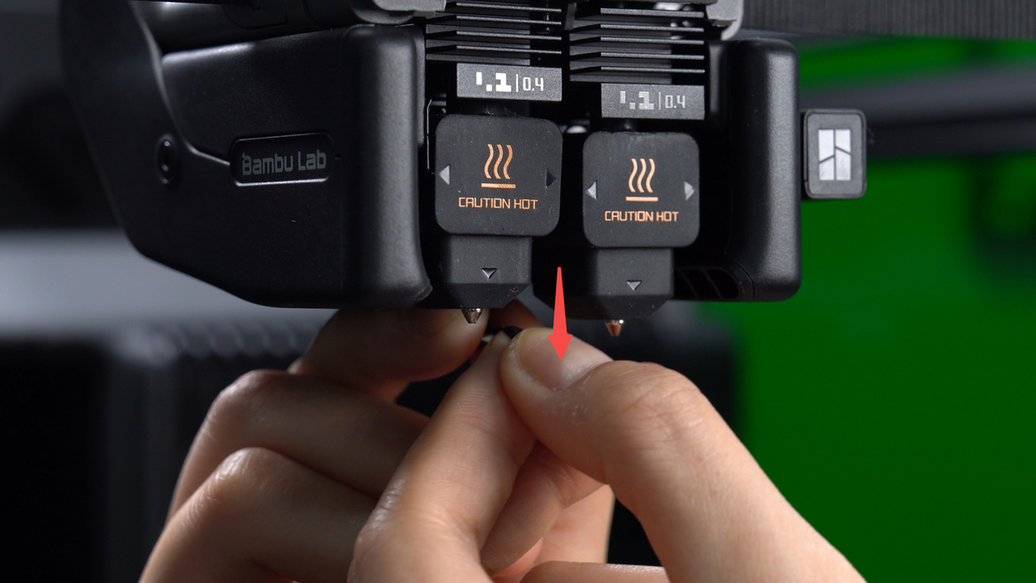
If the flow blocker is too low, please first move the flow blocker lever to the middle position, then gently lift the flow blocker upwards, repeating this action several times if necessary. Once corrected, the flow blocker should snugly fit beneath the nozzle.
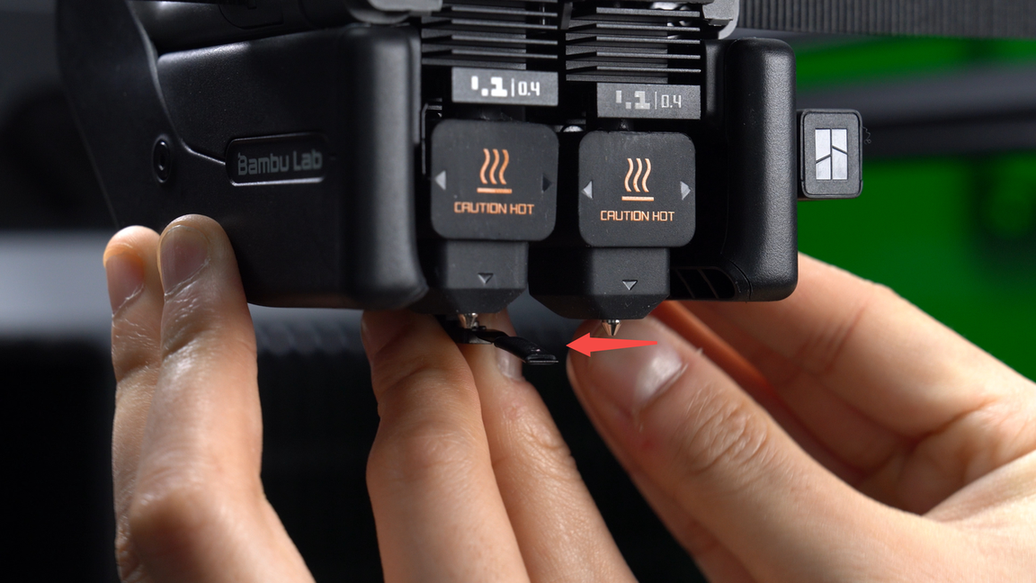
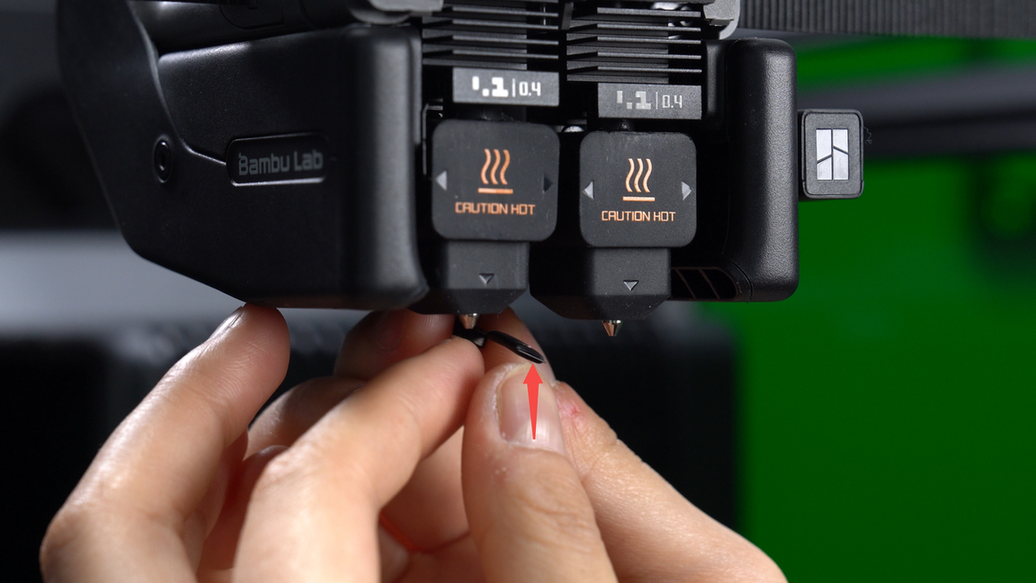
If the flow blocker is too high, move the flow blocker lever to the middle position first, then gently push the flow blocker downwards, repeating this action several times if necessary. Once corrected, the flow blocker should smoothly move below the nozzle without hitting it midway.
With prolonged use, the flow blocker may experience wear or damage. If manual adjustments are insufficient to repair the flow blocker, a replacement is necessary. Please proceed to Step 3 for instructions on replacing the flow blocker.
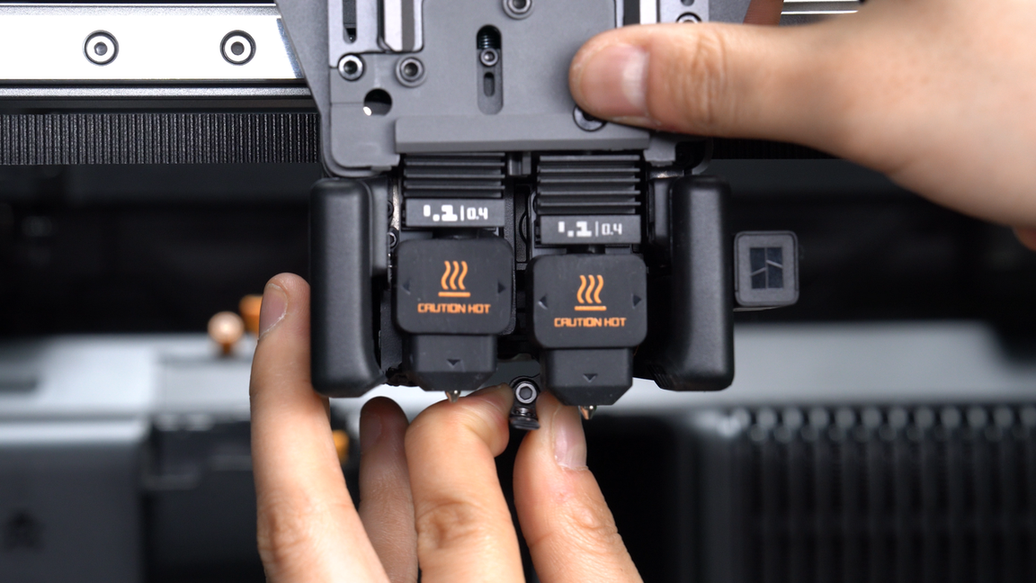
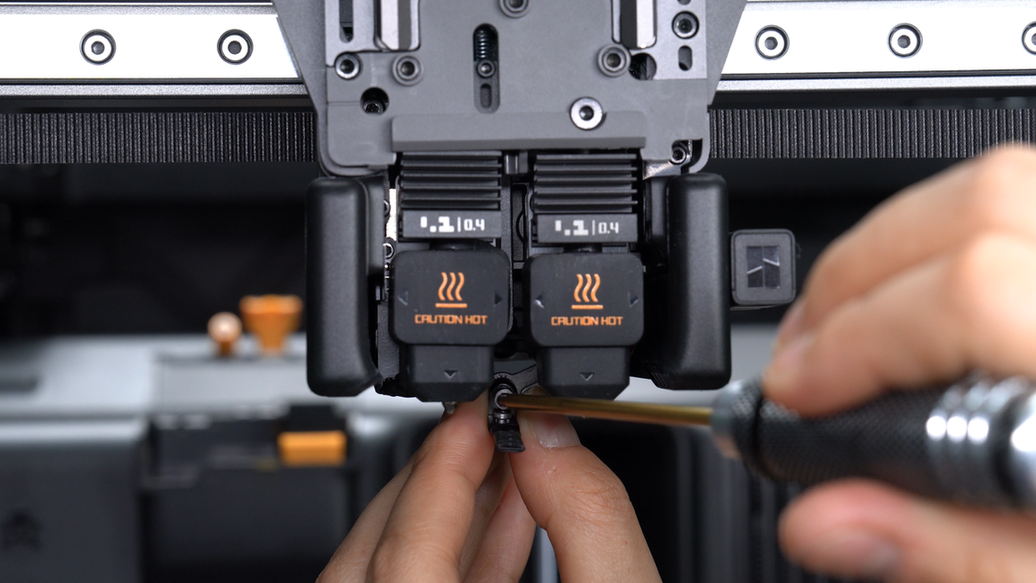
¶ Step 3. Remove the nozzle blocker
Move the flow blocker lever to the middle position, then unscrew screw A(M2.5x8x3) to remove the nozzle blocker.
¶ Step 4. Replace the flow blocker
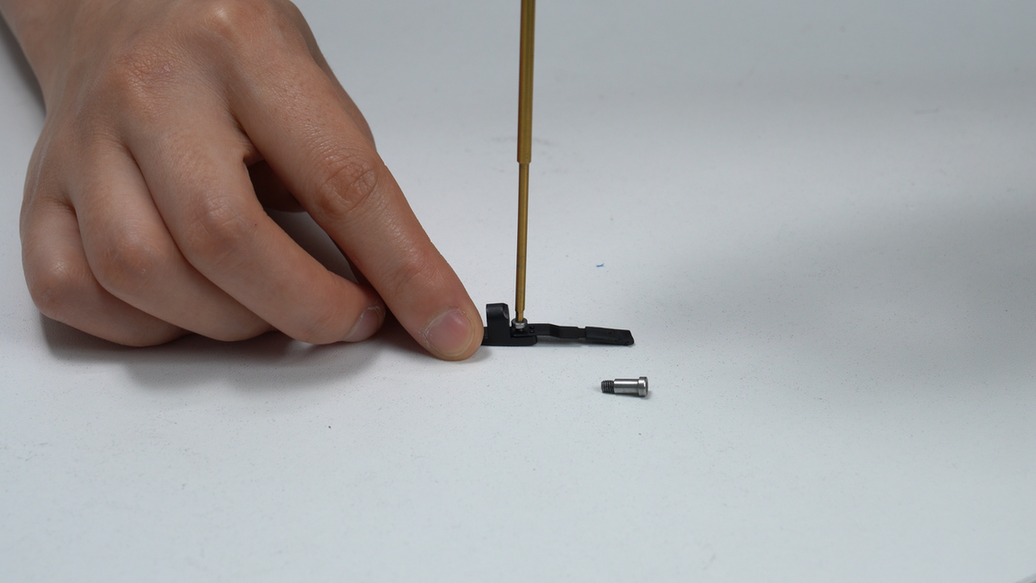
Remove screw A(M2.5x8x3). You can use an Allen key to assist in removal. Then unscrew screw B(M1.6x2) to separately remove the flow blocker.
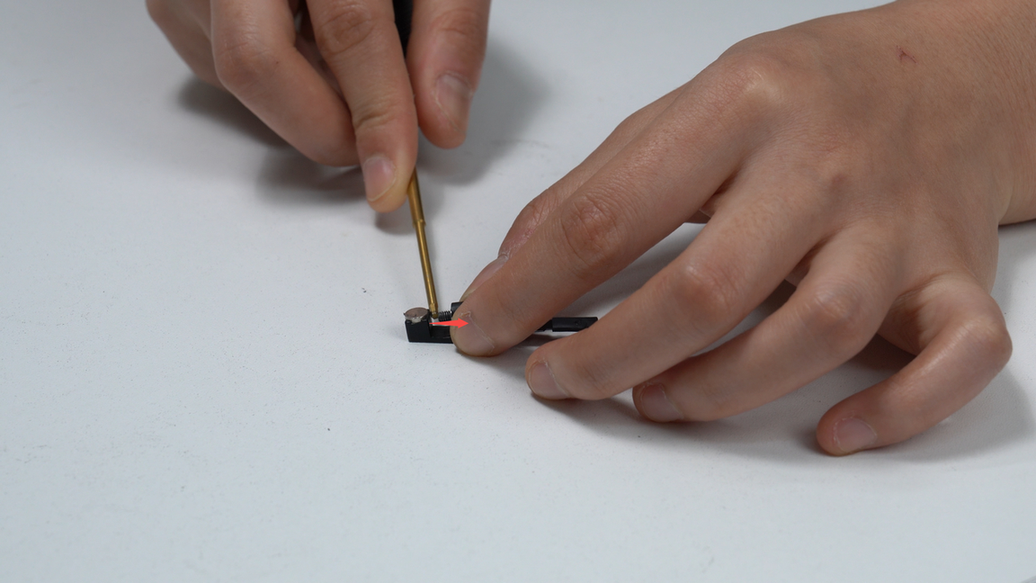
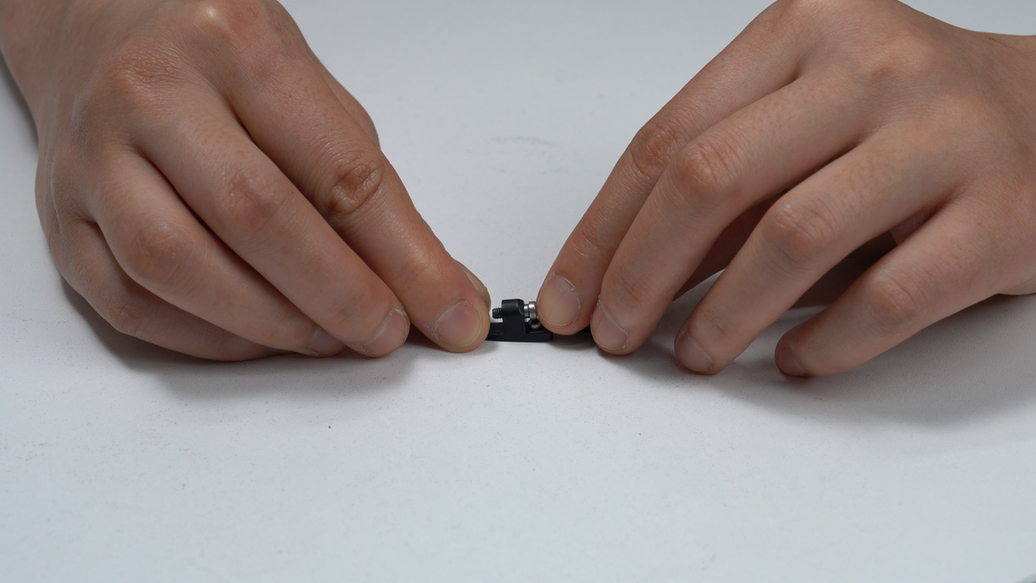
Replace the new flow blocker. Align the screw hole on the flow blocker with the screw hole on the base, then tighten the screw B(M1.6x2) and reinstall screw A(M2.5x8x3).
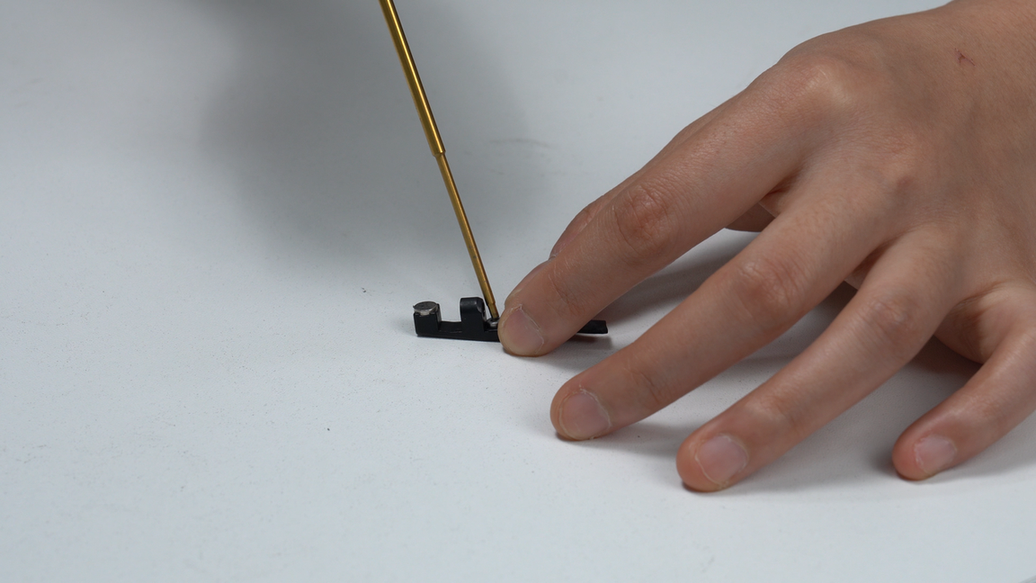
¶ Step 5. Install the nozzle blocker
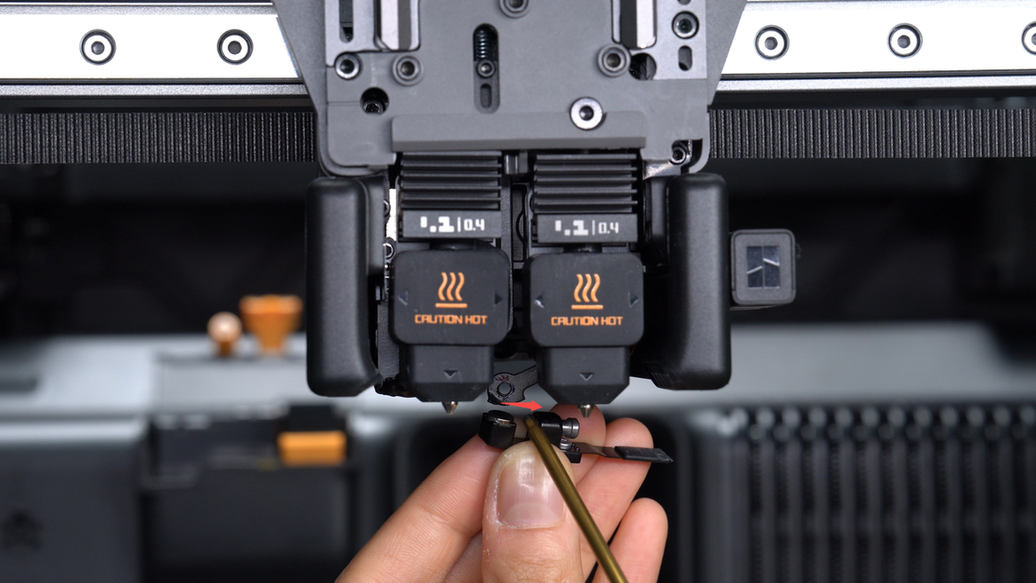
Before installation, push screw A slightly to the right to prevent it from obstructing the path of the nozzle blocker, then tighten the screw.
After replacement, manually move the flow blocker lever to confirm if it can effectively cover the left and right nozzles.
¶ End Notes
We hope the detailed guide provided has been helpful and informative.
If this guide does not solve your problem, please submit a technical ticket, we will answer your questions and provide assistance.
If you have any suggestions or feedback on this Wiki, please leave a message in the comment area. Thank you for your support and attention!