¶ Laser Lens and Air Concentrator

¶ Applicable models of printers
Bambu Lab H2DL
¶ When to use?
Replace the laser lens or air concentrator when contamination or wear is detected.
¶ Tools and materials needed
H2.0 Hex Key
Printed socket-10mm or pliers
¶ Safety Warning
It's crucial to power off the printer before conducting any maintenance work, including work on the printer's electronics and tool head wires. Performing tasks with the printer on can result in a short circuit, leading to electronic damage and safety hazards.
During maintenance or troubleshooting, you may need to disassemble parts, including the hotend. This exposes wires and electrical components that could short circuit if they contact each other, other metal, or electronic components while the printer is still on. This can result in damage to the printer's electronics and additional issues.
Therefore, it's crucial to turn off the printer and disconnect it from the power source before conducting any maintenance. This prevents short circuits or damage to the printer's electronics, ensuring safe and effective maintenance. For any concerns or questions about following this guide, open a new ticket in our Support Page and we will do our best to respond promptly and provide the assistance you need.
¶ Removing the Old Air Concentrator and Laser Lens
¶ 1. Remove the Air Concentrator
You can use the printed socket tool to unscrew the air concentrator by turning it counterclockwise.
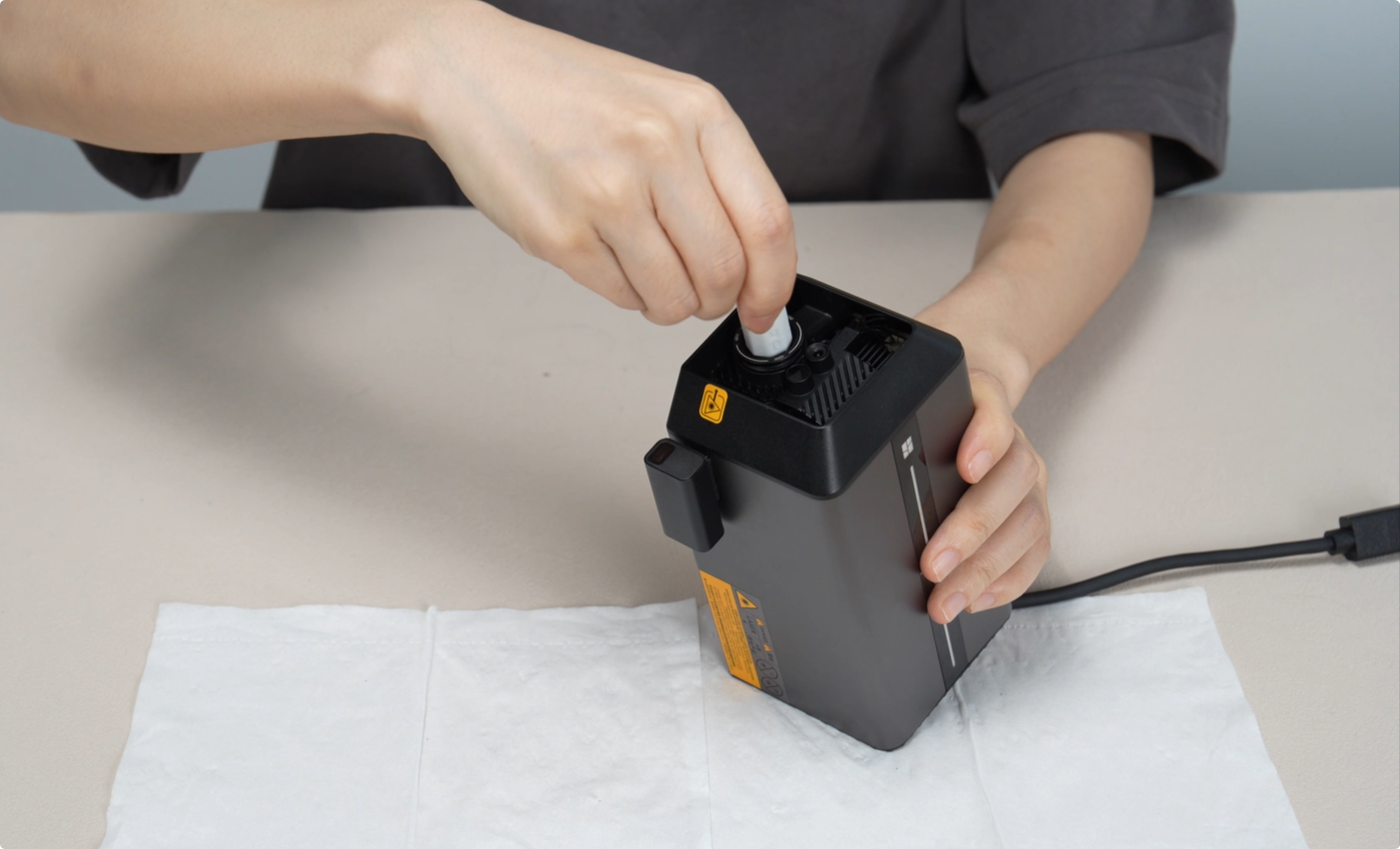
If you haven't printed the corresponding socket tool in advance, you can also use pliers to unscrew it counterclockwise. It is recommended to place a tissue between the pliers and the air concentrator to avoid scratching the surface.

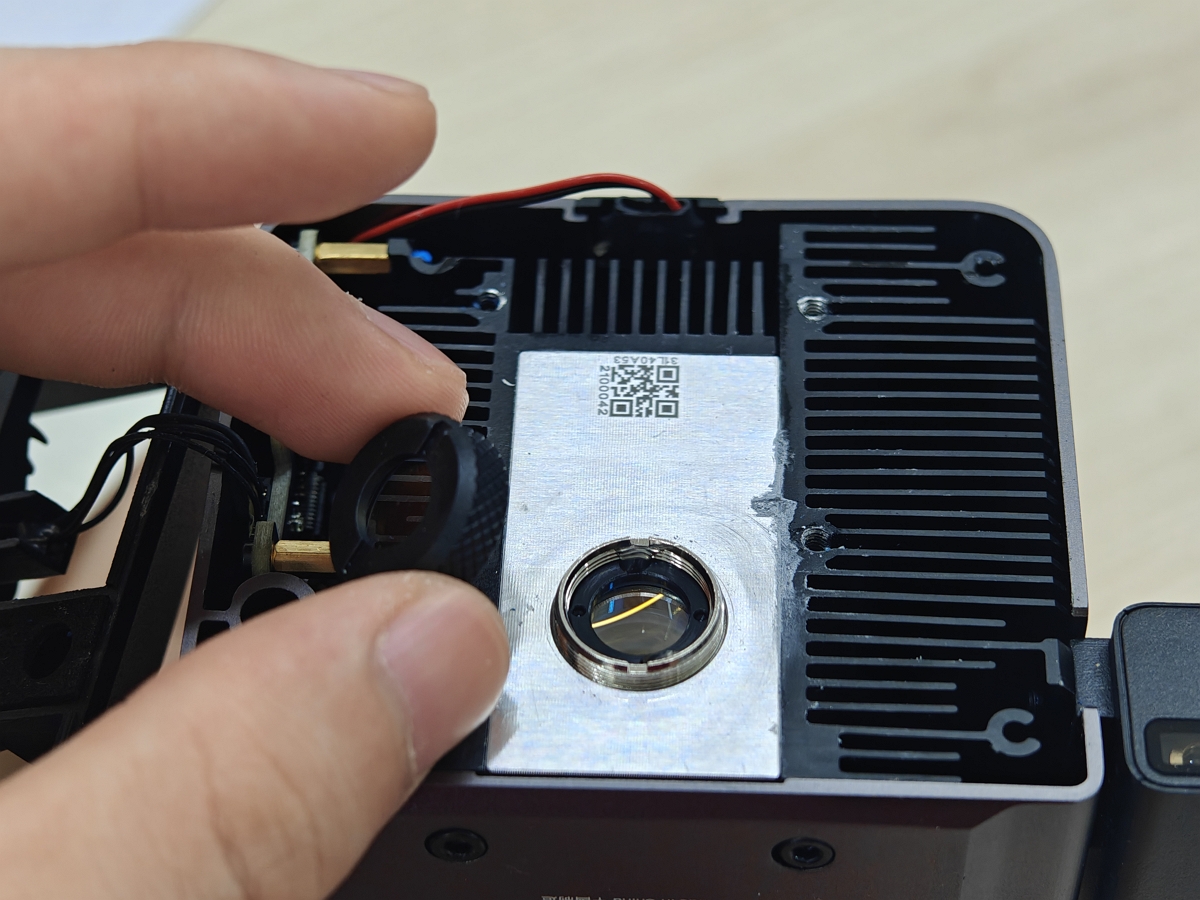
Once loosened, the air concentrator can be removed as shown below.

¶ 2. Remove the Laser Lens
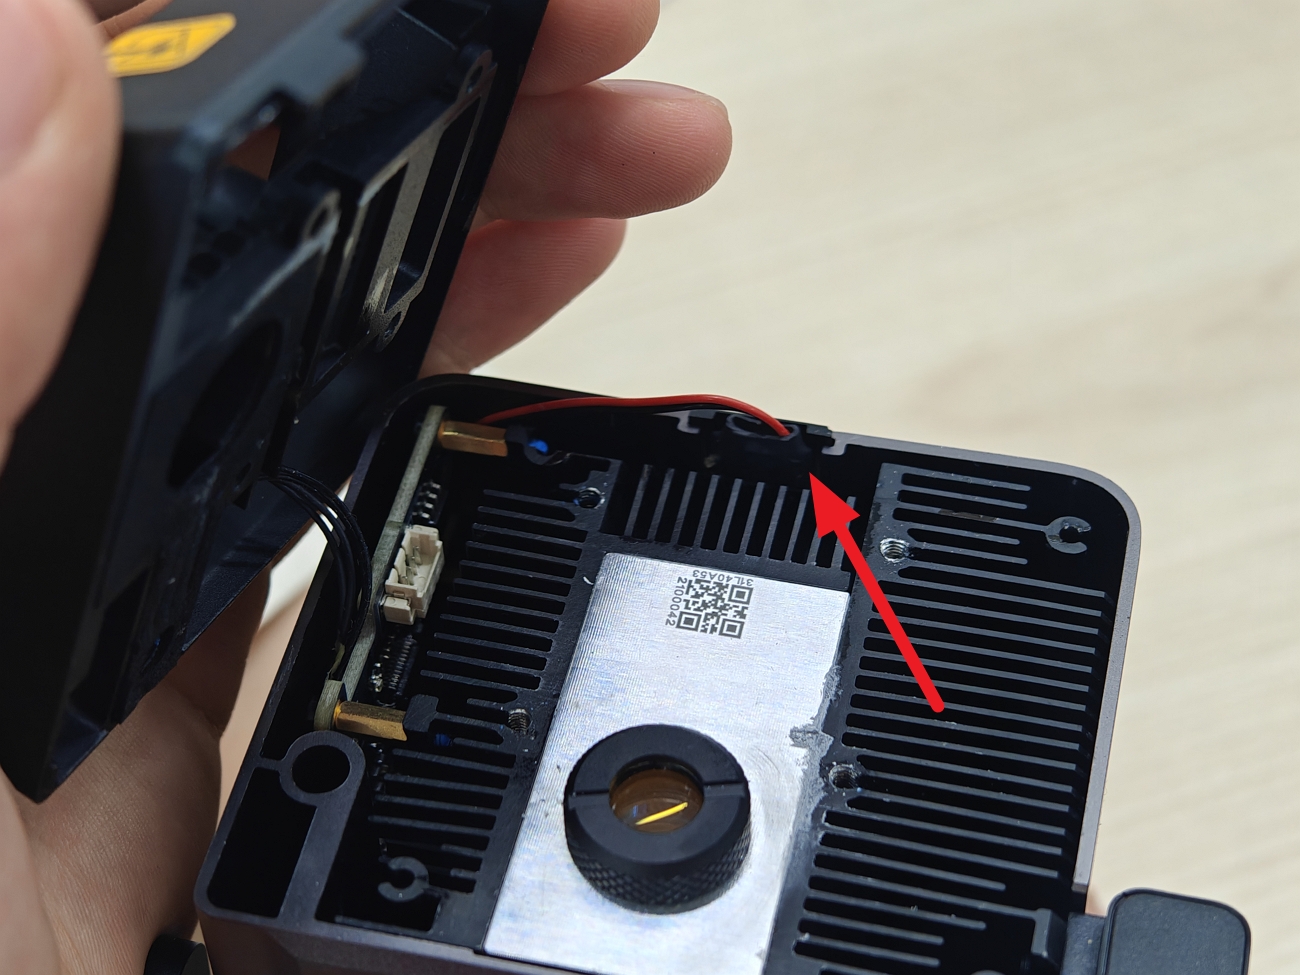
Before removing the laser lens, first take off the wind hood of the laser module. Loosen the four fixing screws (M2.5x5) on the wind hood as shown below.

If you are using the 10W laser module, you will also need to remove the two side fixing screws (M2.5x5).

After opening the wind hood, turn the laser lens counterclockwise to remove it.

Do not touch the laser module lens after removal to avoid contamination.
¶ Installing the New Air Concentrator and Laser Lens
¶ 1. Install the Laser Lens
Turn the new laser lens clockwise until it is securely tightened.
When reinstalling the wind hood, be careful with the cables and ensure nothing is being pinched.
Next, tighten the four screws to complete the laser lens replacement.
If you are using the 10W laser module, please also tighten the two side fixing screws.
¶ 2. Install the Air Concentrator
Similarly, use the socket tool or pliers to turn the air concentrator clockwise until it is securely tightened.
Note: Avoid over-tightening, as it may cause thread stripping.
¶ End Notes
We hope the detailed guide provided has been helpful and informative.
If this guide does not solve your problem, please submit a technical ticket, we will answer your questions and provide assistance.
If you have any suggestions or feedback on this Wiki, please leave a message in the comment area. Thank you for your support and attention!