¶ Video guide
The appearance and firmware version of the H2D in the video are not from the mass production version. Please consider the appearance and UI interface of the H2D you received as the final version.
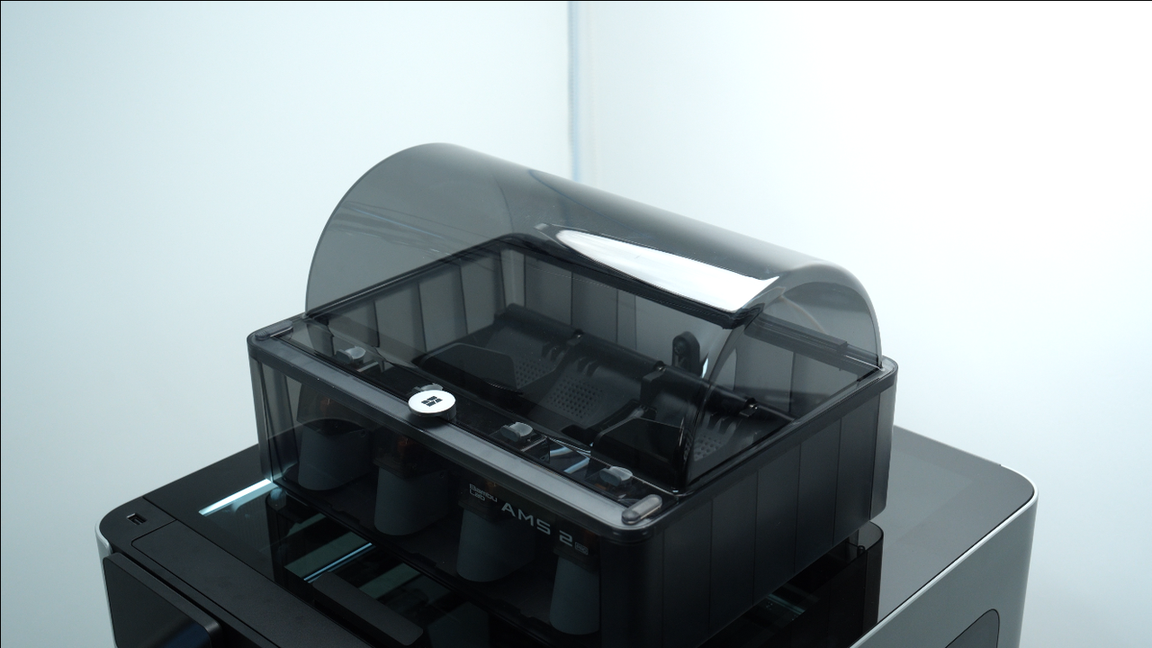
¶ 1. Connect the AMS 2 Pro
Place the AMS 2 Pro on top of the printer, and connect the 6-pin cable and the PTFE tube.
 |
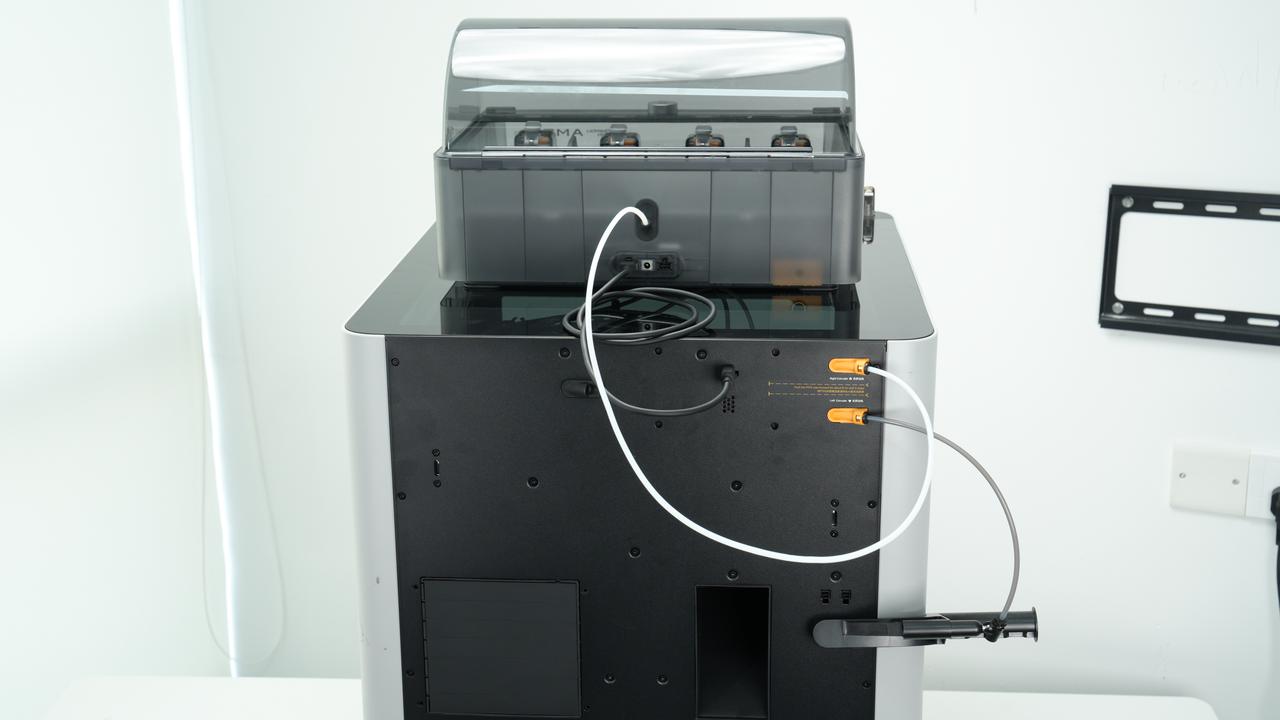 |
Please check if the PTFE tube is threaded through the small hole at the back of the printer. If you can see the PTFE tube passing through, it indicates a proper connection. Otherwise, if the PTFE tube is not threaded through correctly, it may result in loading failure.
¶ Initialize the new AMS 2 Pro
When the printer detects a new AMS 2 Pro being connected, it requires initialization. The purpose of this step is to determine which side of the extruder the AMS 2 Pro is connected to.
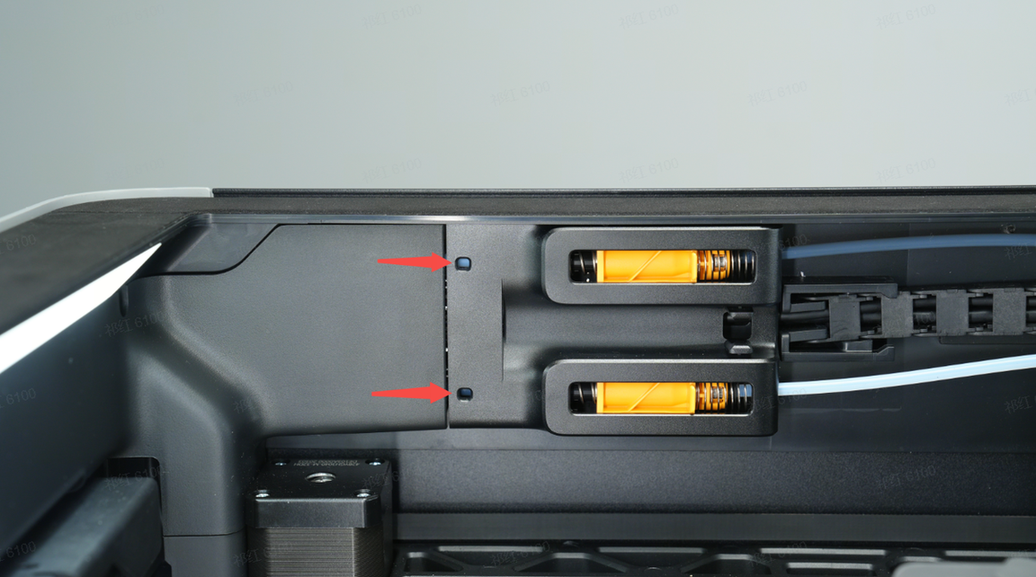
Please note that the upper PTFE tube coupler of the printer corresponds to the right extruder, while the lower PTFE tube coupler corresponds to the left extruder.
This wiki illustrates the scenario where the AMS 2 Pro is connected to the upper coupler and the external filament spool is connected to the lower coupler.
 |
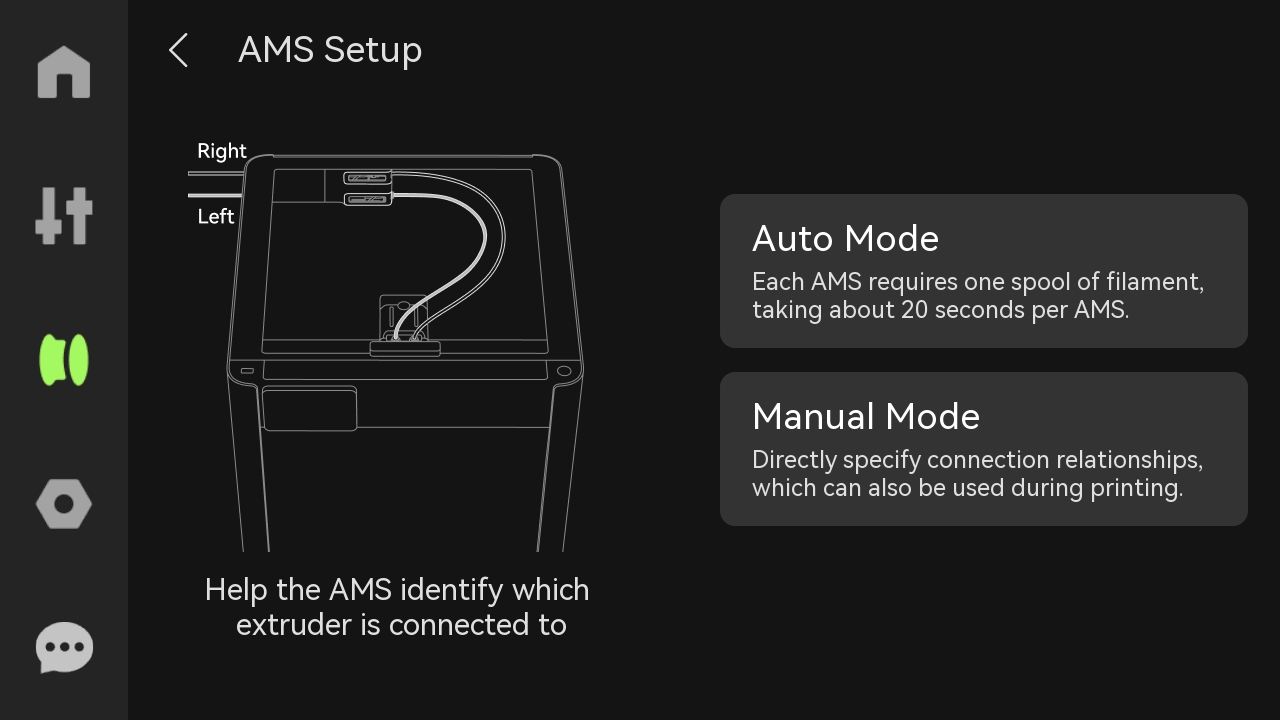 |
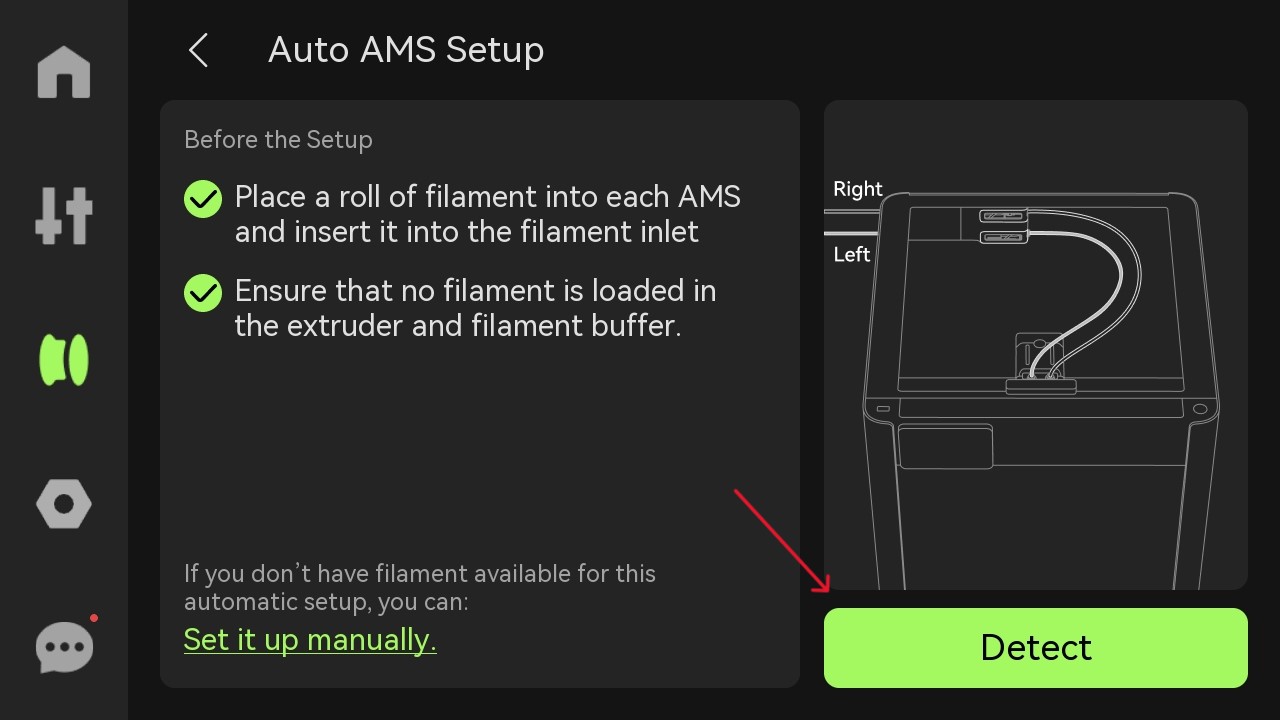
The AMS 2 Pro has two initialization methods:
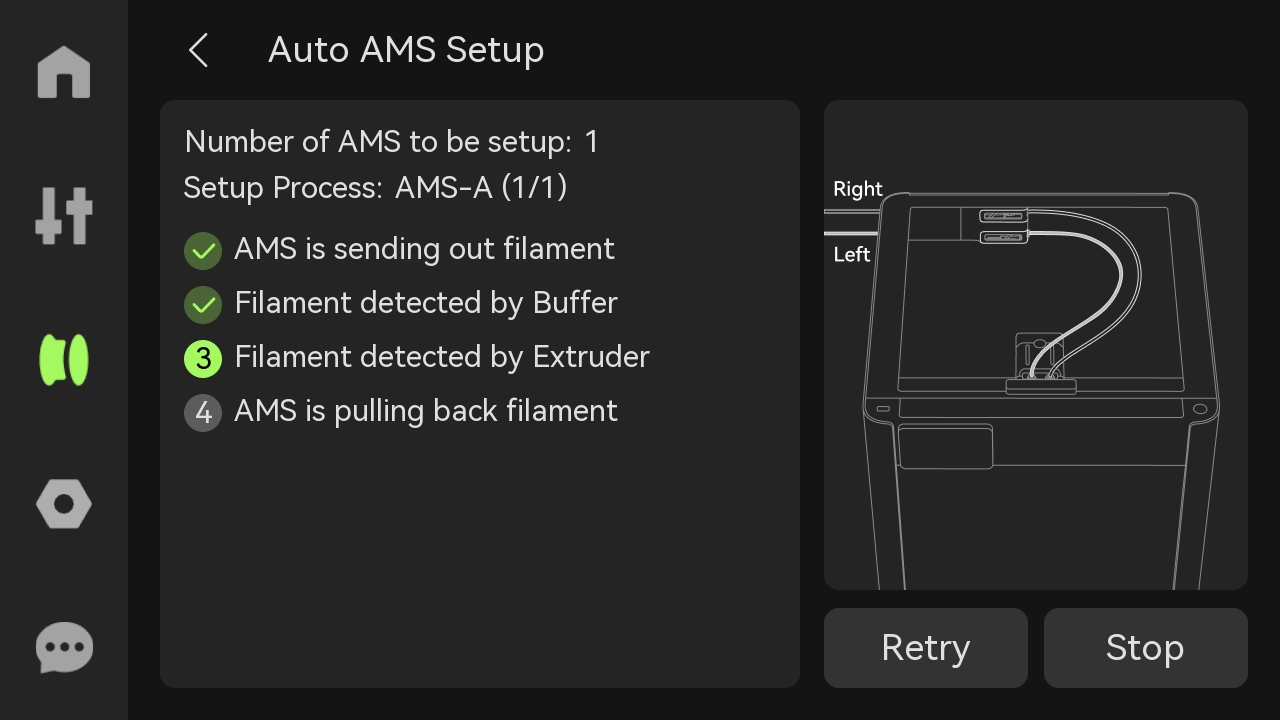
- Automatic initialization
Insert a roll of filament into the AMS 2 Pro, then click "Detect".
 |
 |
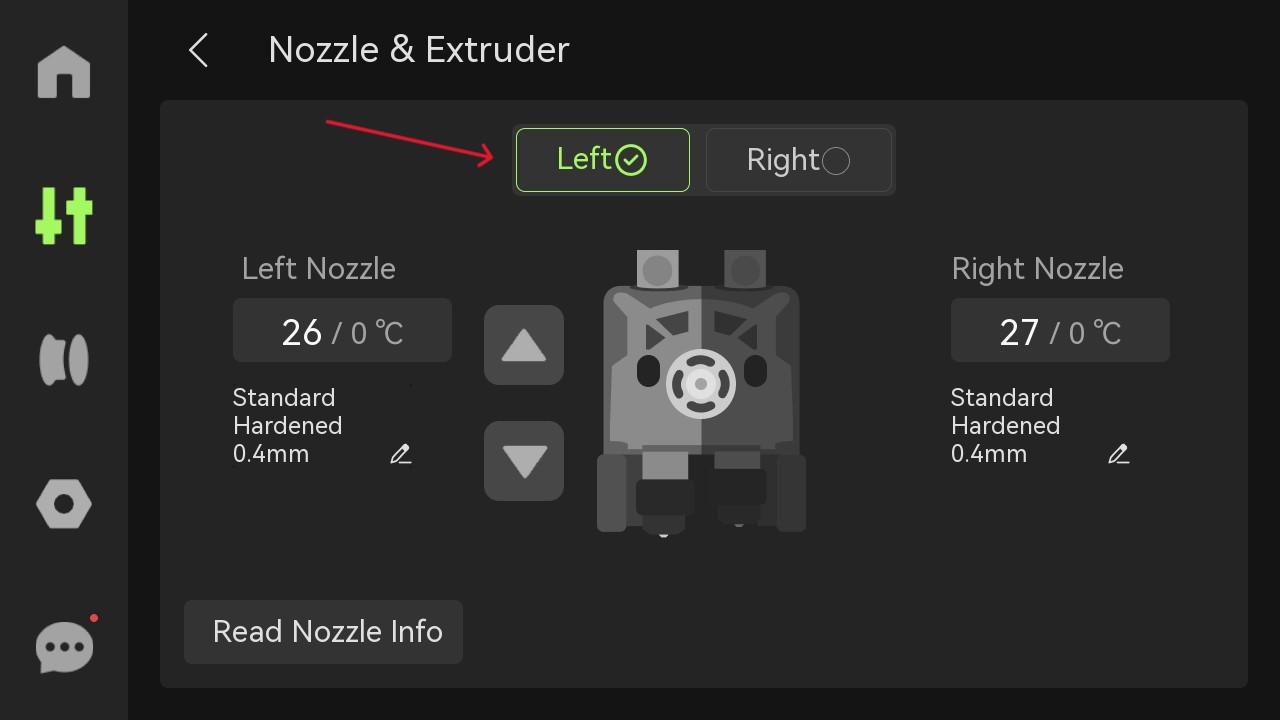
- Manual Initialization
If there is no filament available for automatic initialization of the AMS 2 Pro, you can manually set it by clicking on the screen to configure the connected AMS 2 Pro to the right extruder.

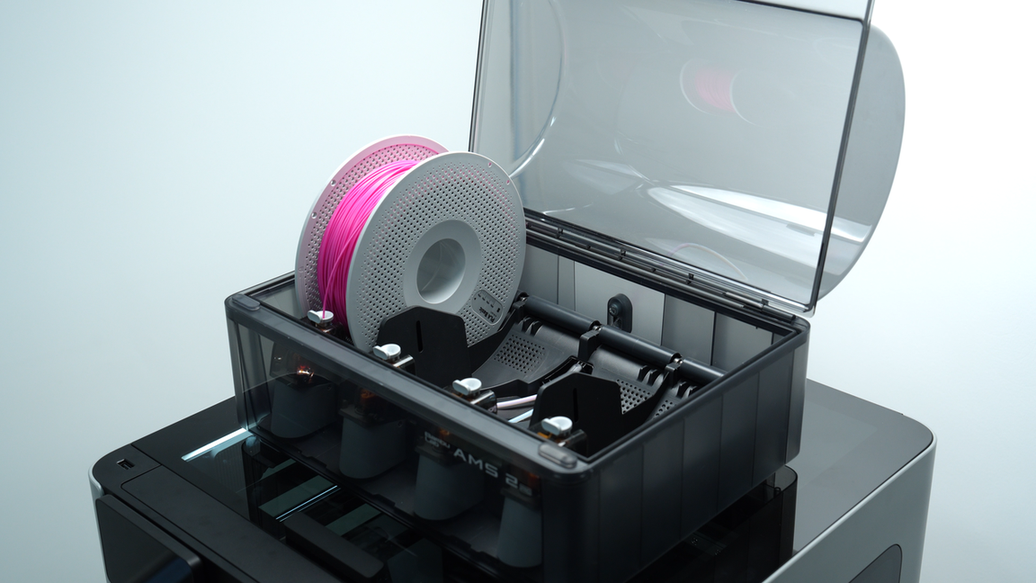
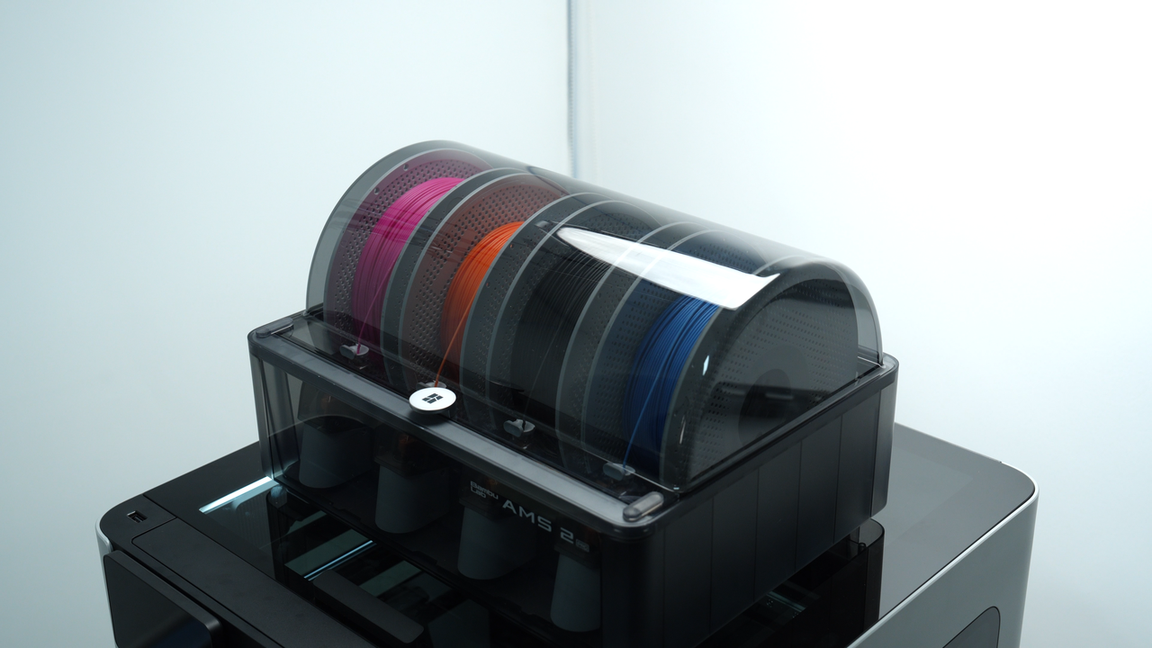
¶ Install Filament Spool
Load the filaments required for printing into the AMS 2 Pro.
 |
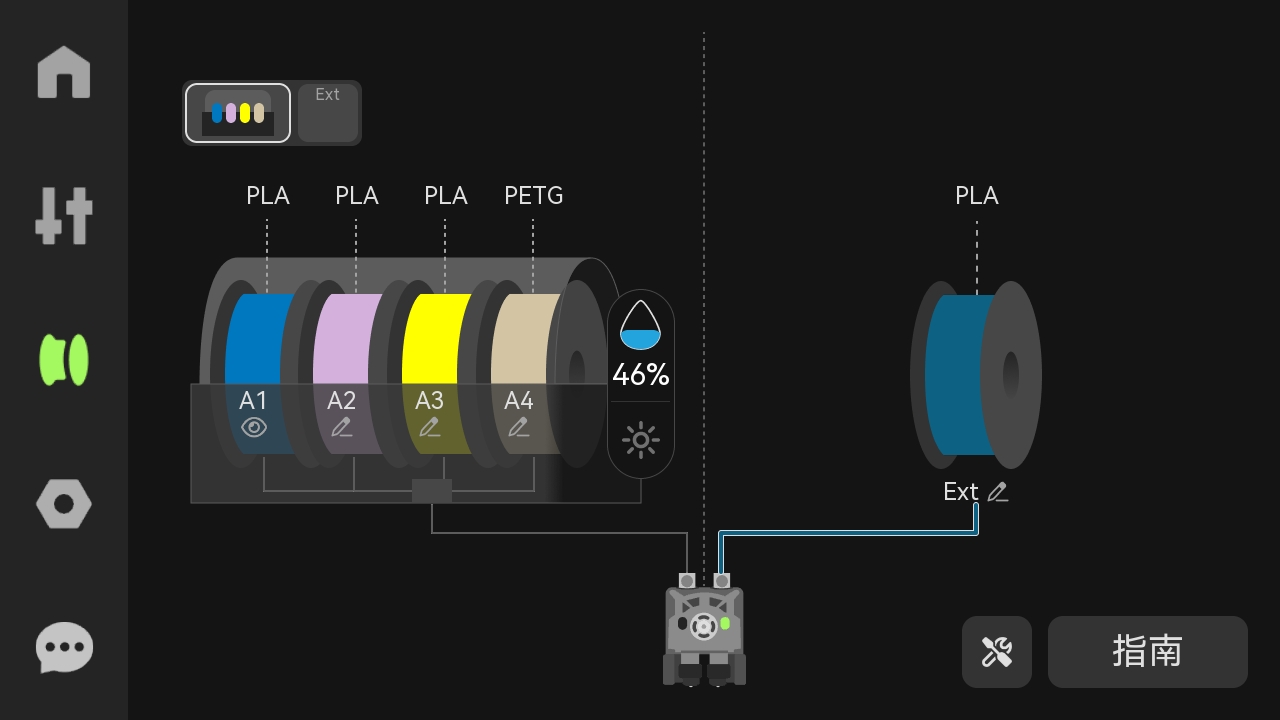 |
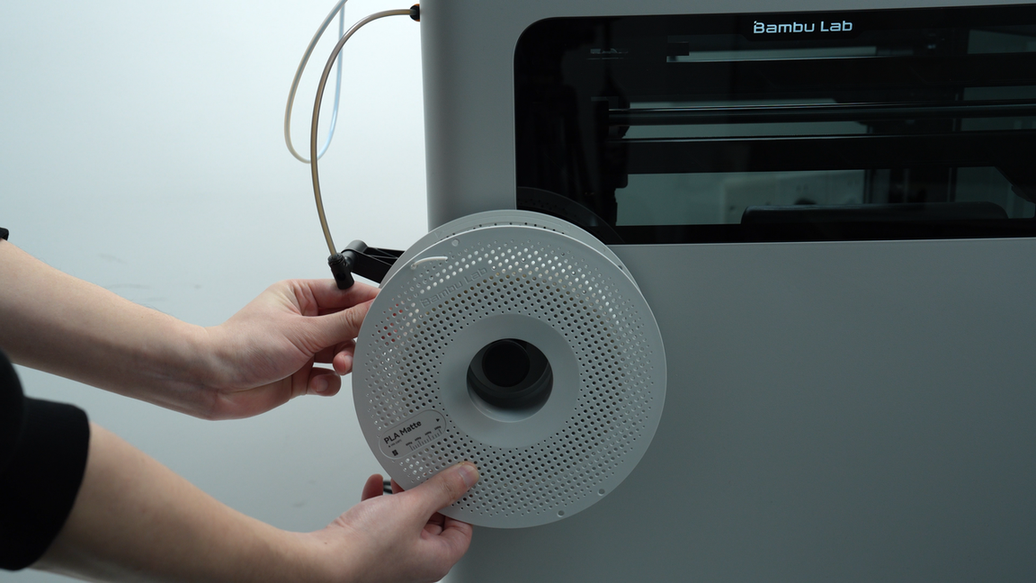
¶ 2. Connect External Filament Spool
¶ Install Filament Spool
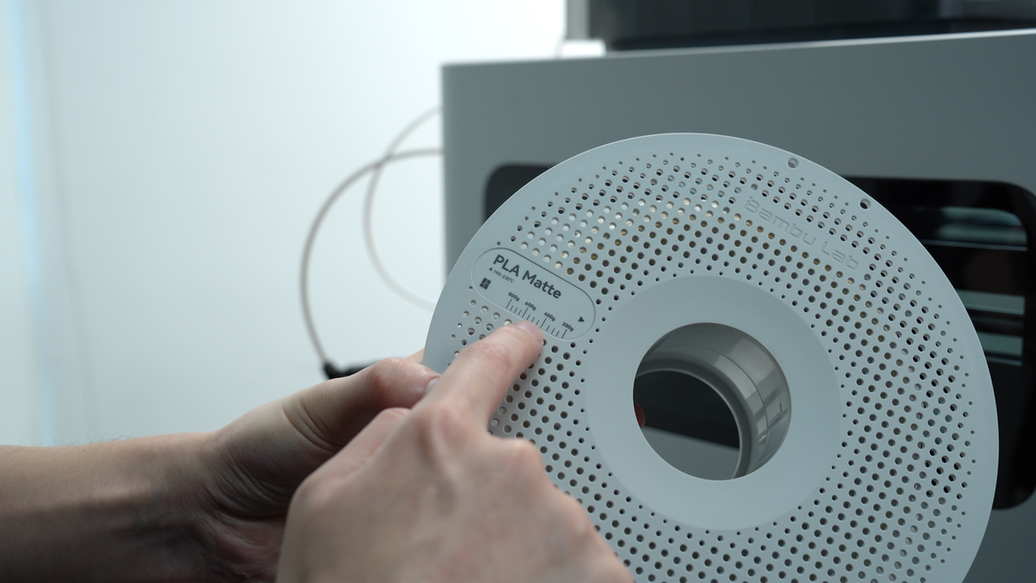
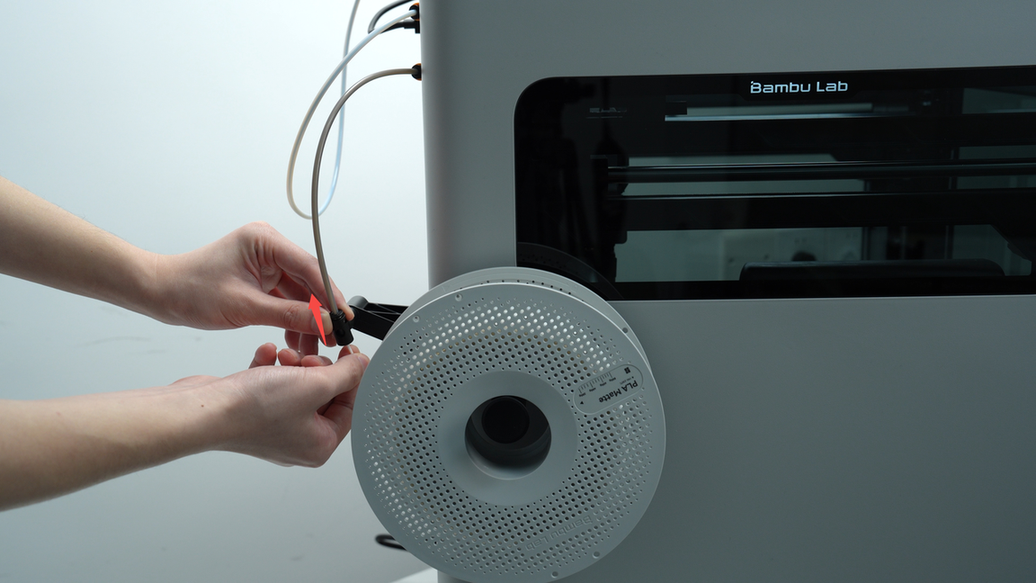
Before installing the external filament spool, please make a note of the type and color of the filament. Then, based on the direction of the filament winding, place the spool on the external spool holder.
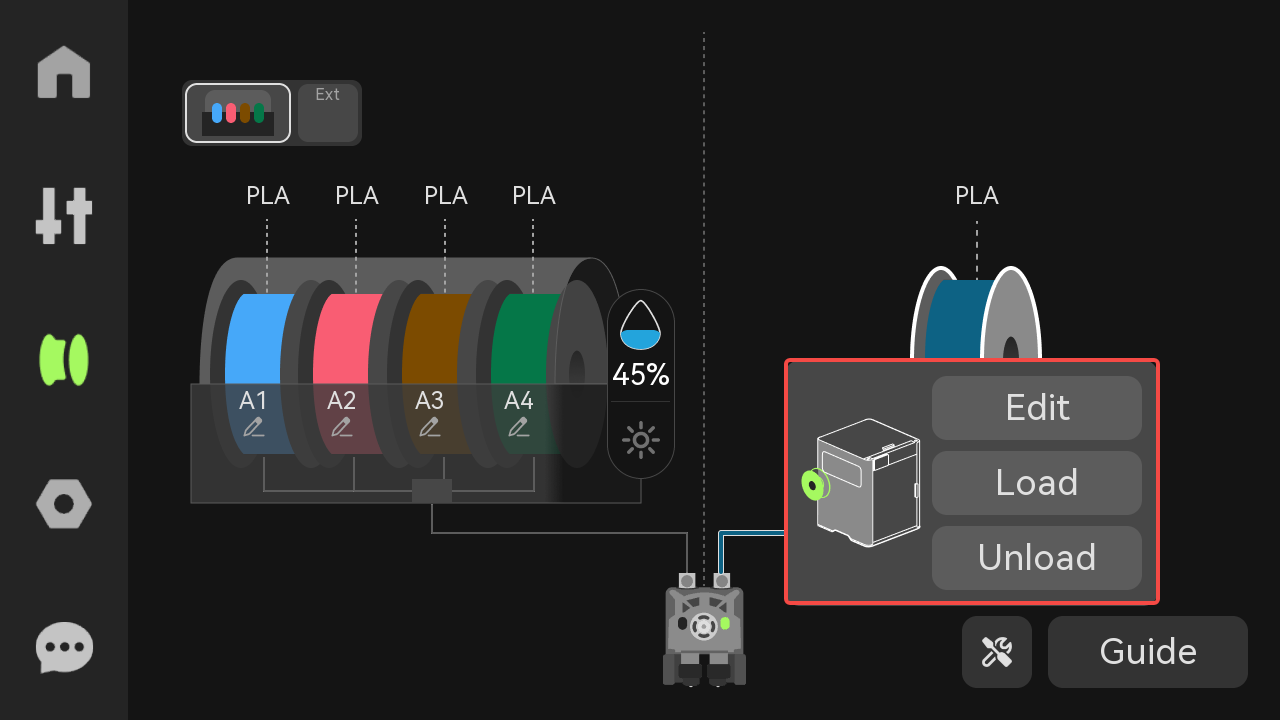
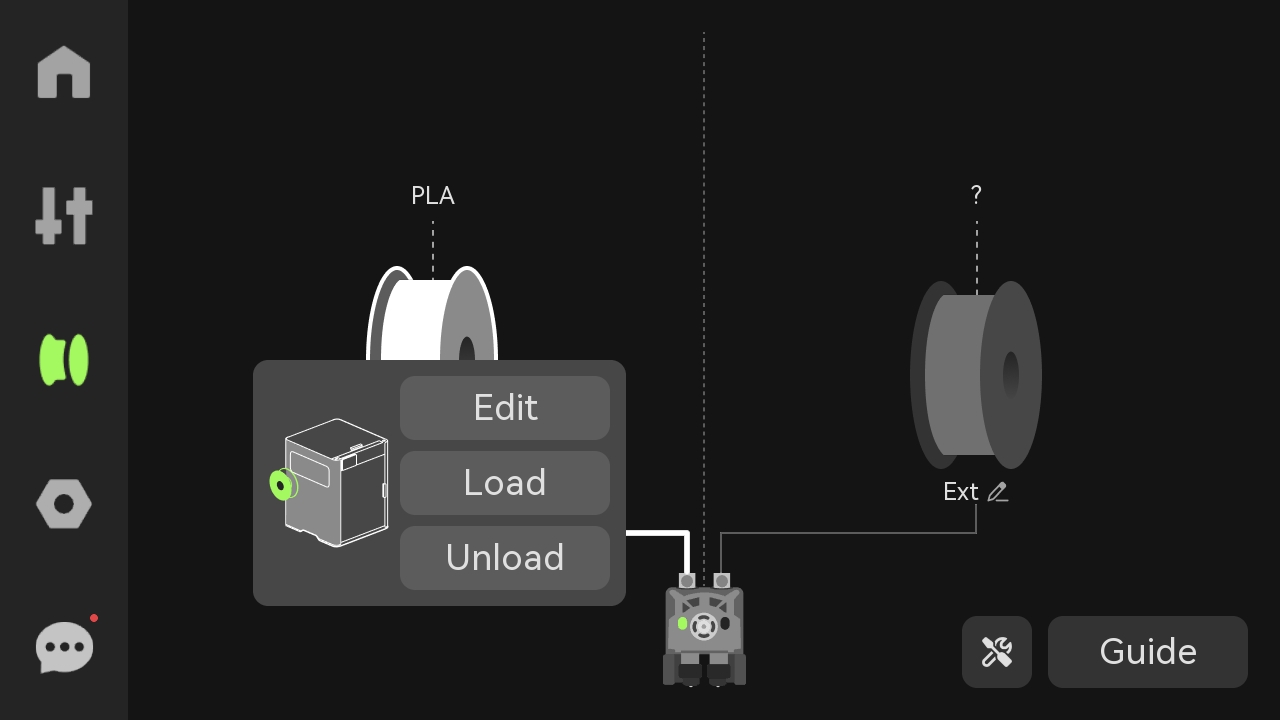
¶ Load
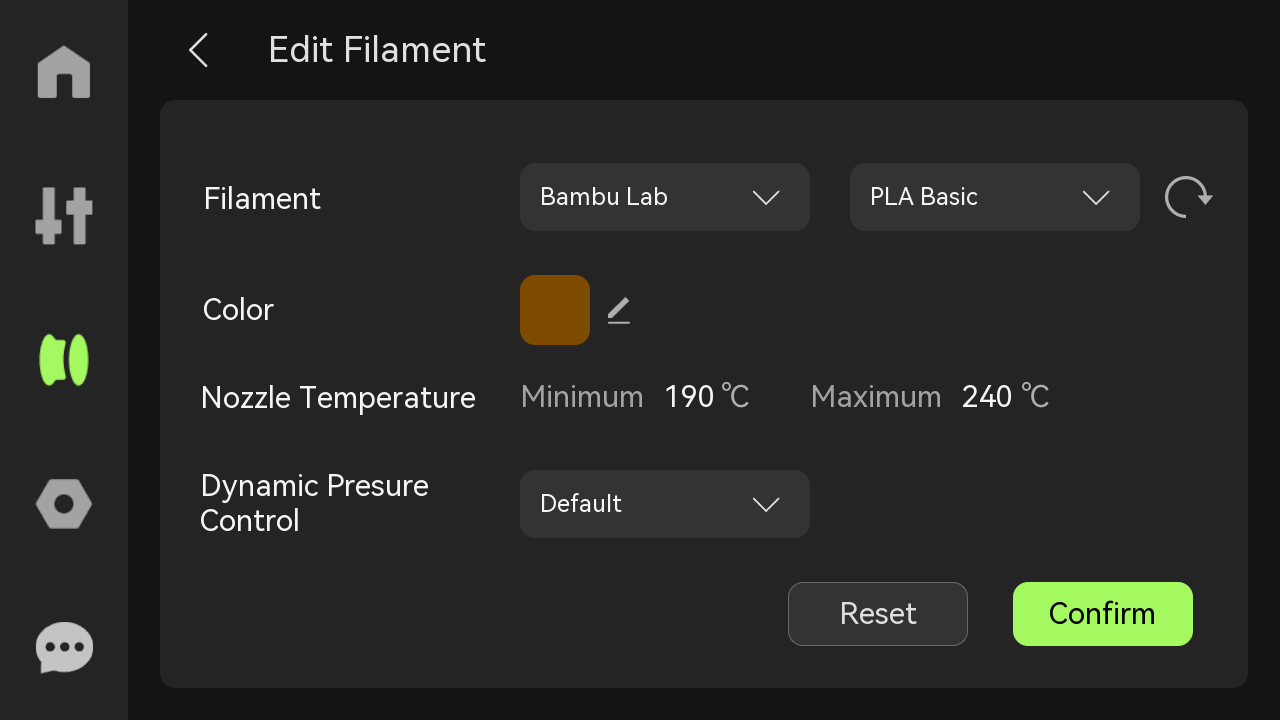
- Edit filaments, select the type and color of the filaments, then click "Confirm".
 |
 |
In this wiki, the external filament spool is connected to the lower coupler of the printer, corresponding to the left extruder. Therefore, before loading from the external filament spool, it is necessary to first switch the nozzle and extruder to the left.
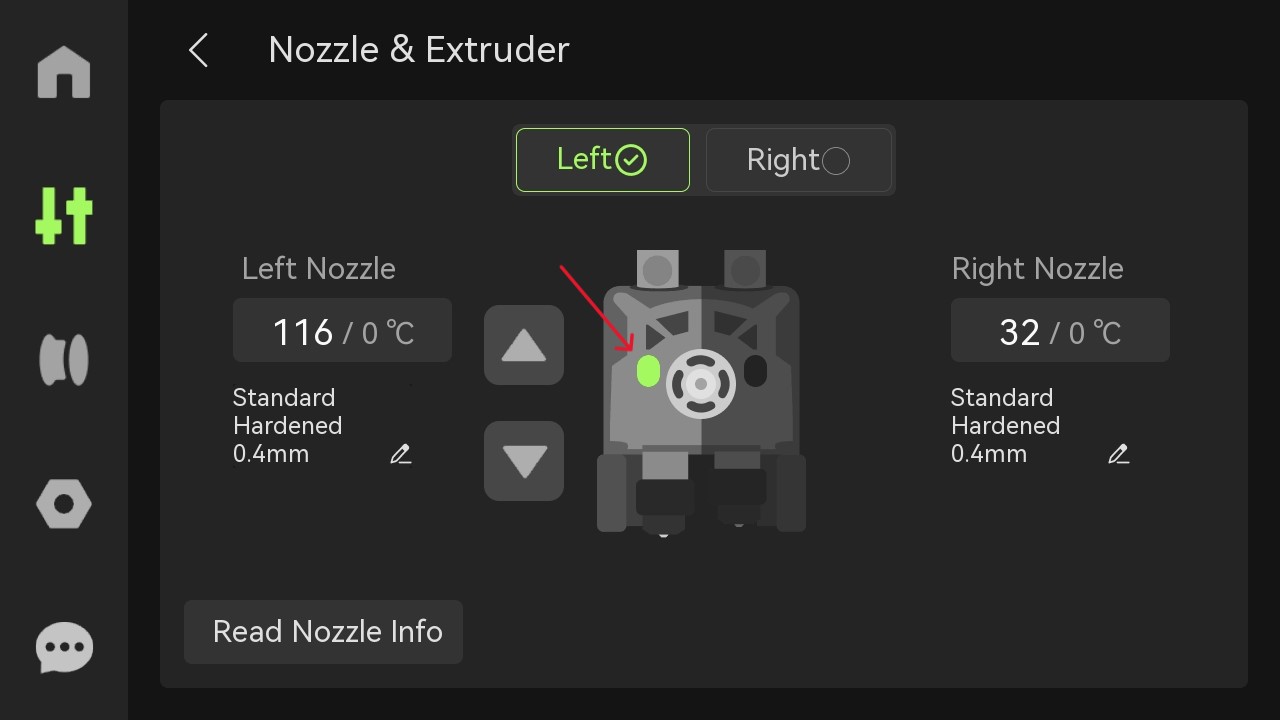
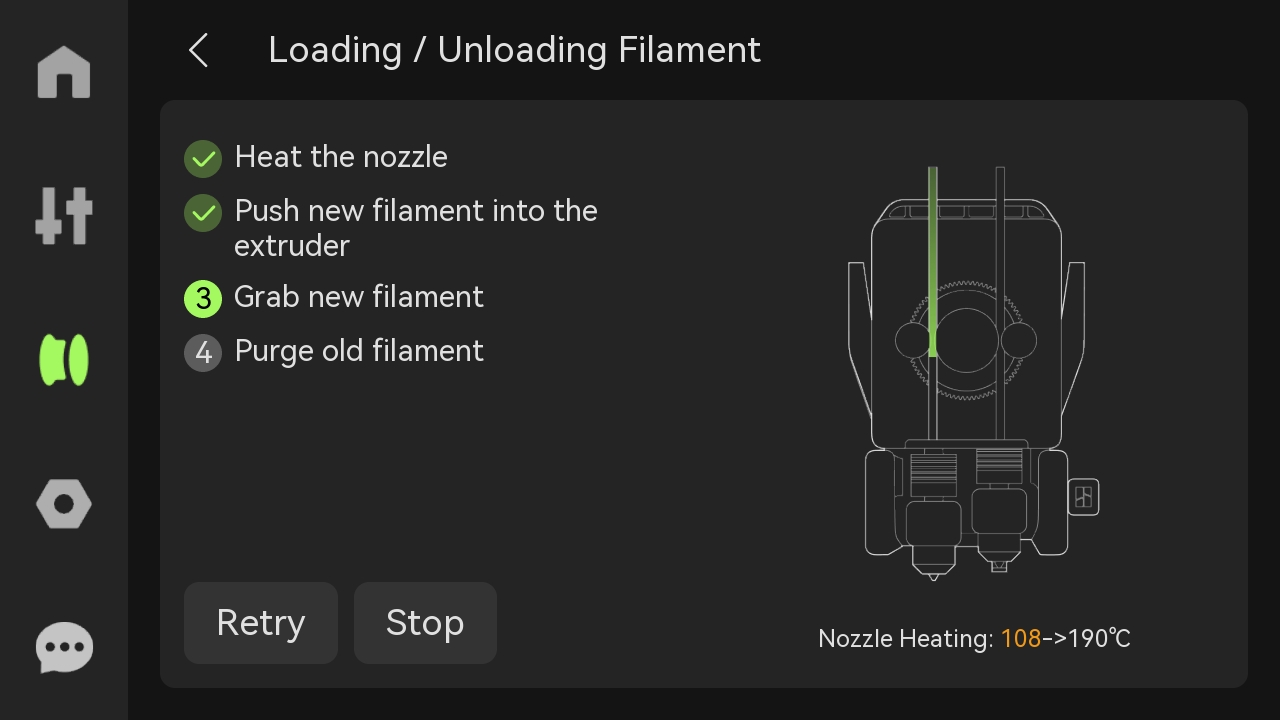
- Next, insert one end of the filament into the filament tube and push the filament into the toolhead until it cannot move forward. Once the green light is on, it indicates that the filaments have been detected by the extruder.
- Click "Load" on the screen. Wait for the nozzle to heat up, and during the loading process, manually push the filament again to ensure that the filament remains inside the extruder.
 |
 |
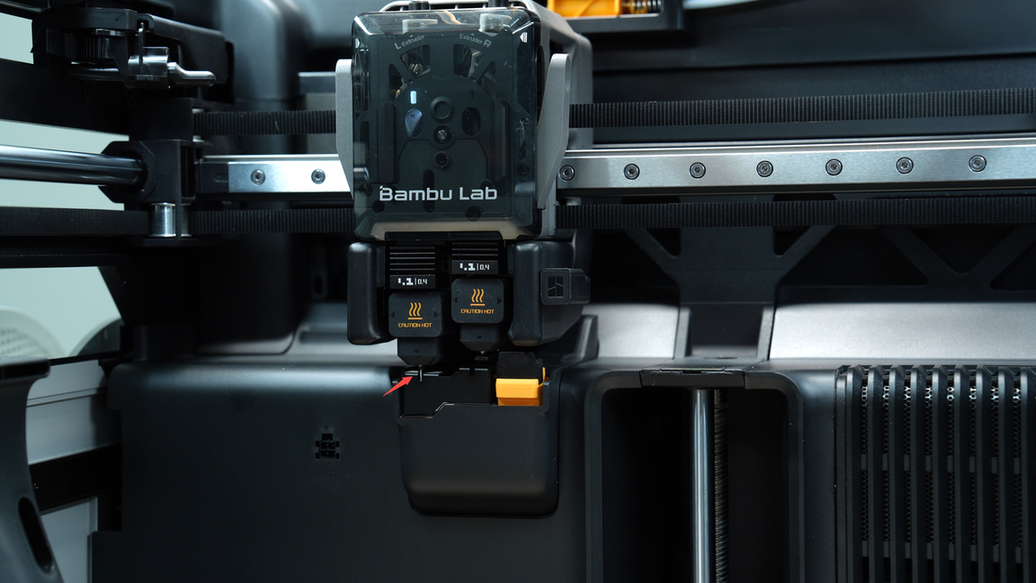
- Observe the nozzle according to the printer's prompts. Once you observe the nozzle smoothly extruding the filament, click "Filament Extruded; Continue". If the filament is not extruded, select "Not Extruded Yet; Retry" and then repeat the action of pushing the filament.

¶ 3. Start Printing
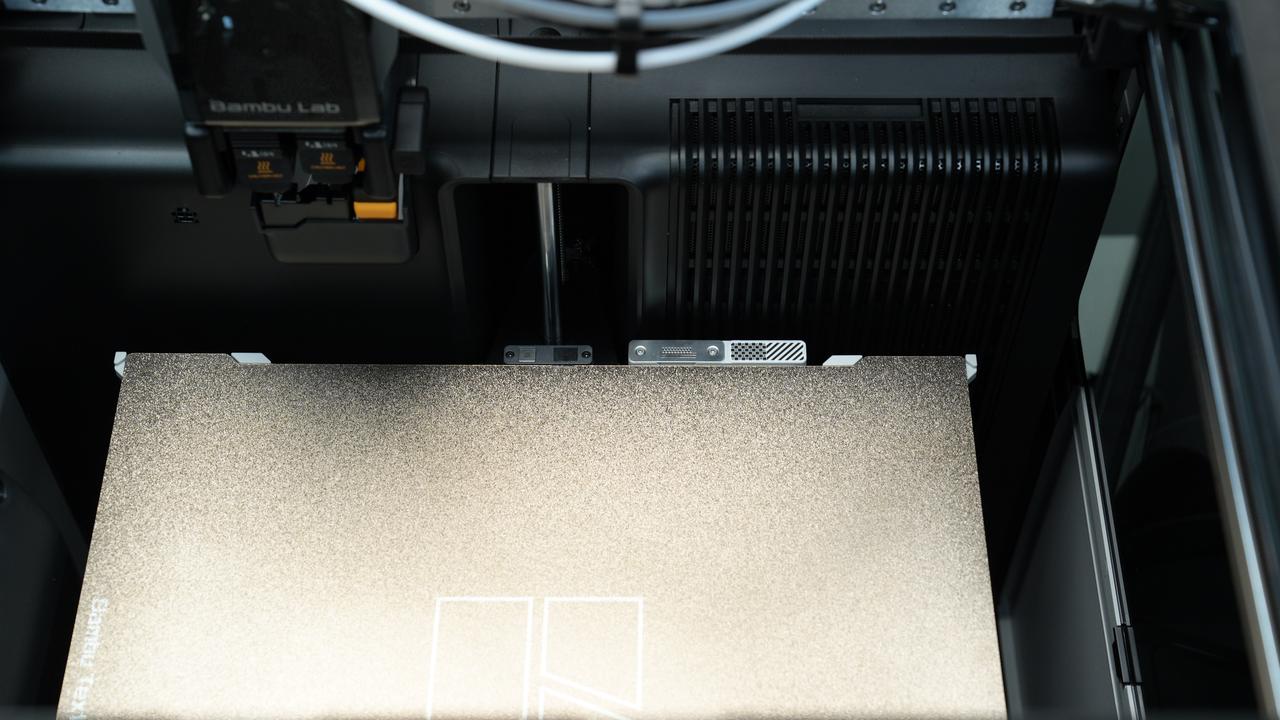
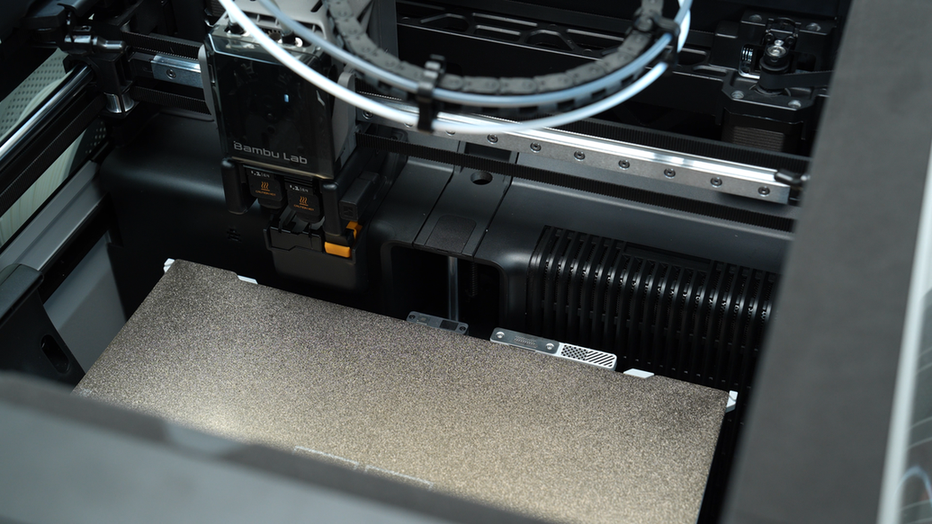
Before starting the print, please ensure the build plate is correctly positioned.
¶ Initiate the print from the printer screen
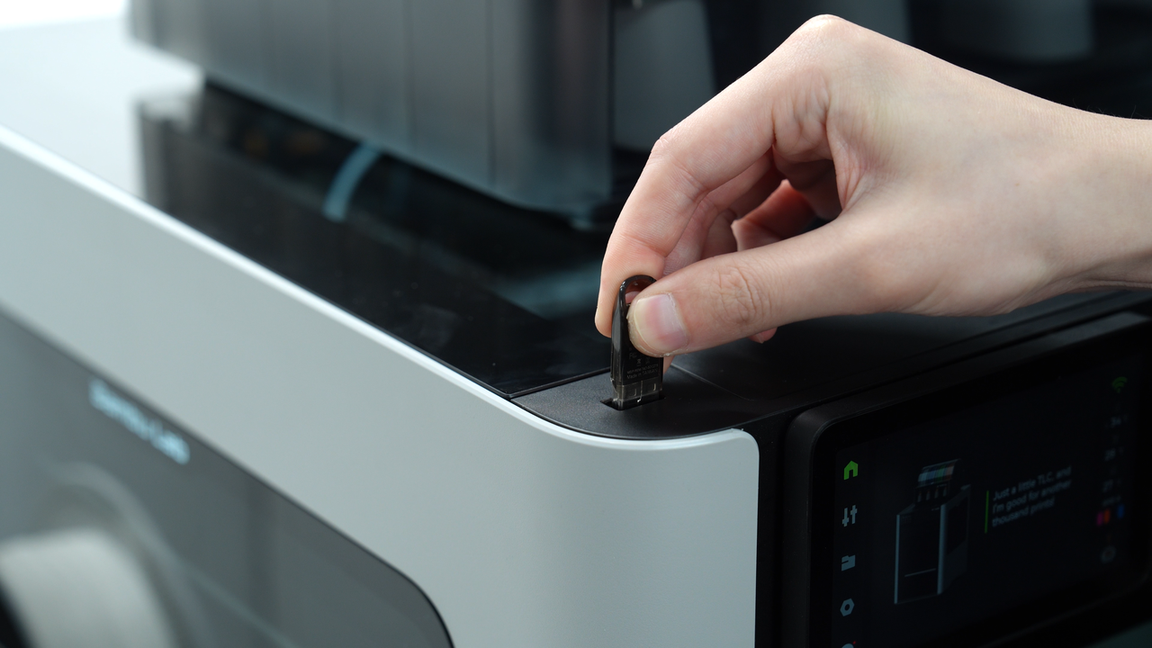
We strongly recommend using a USB drive with your printer for storing printing recordings and historical print caches.
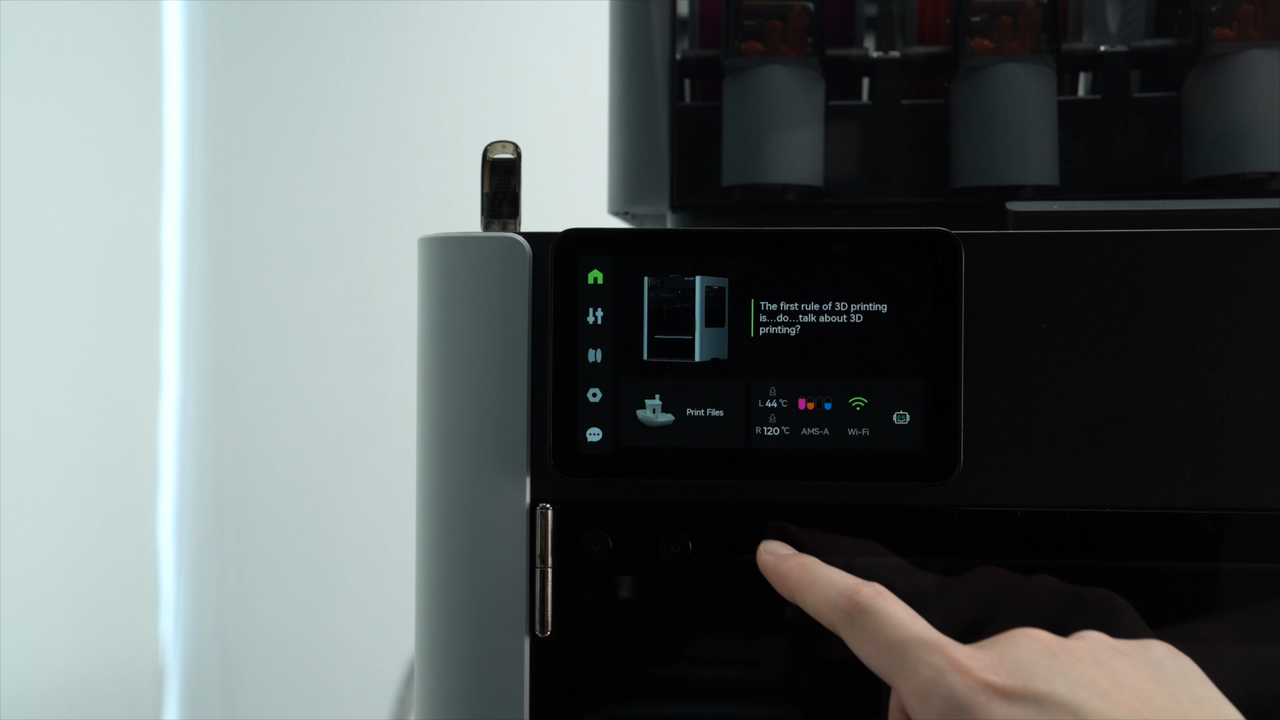
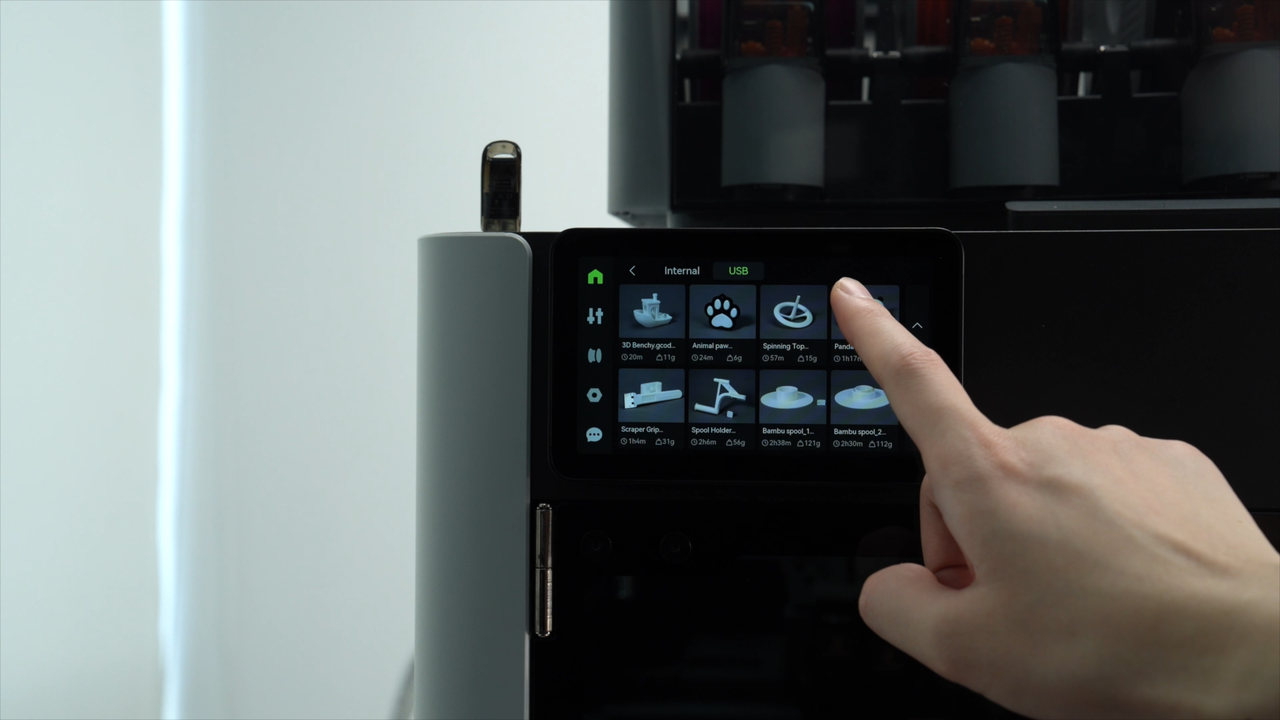
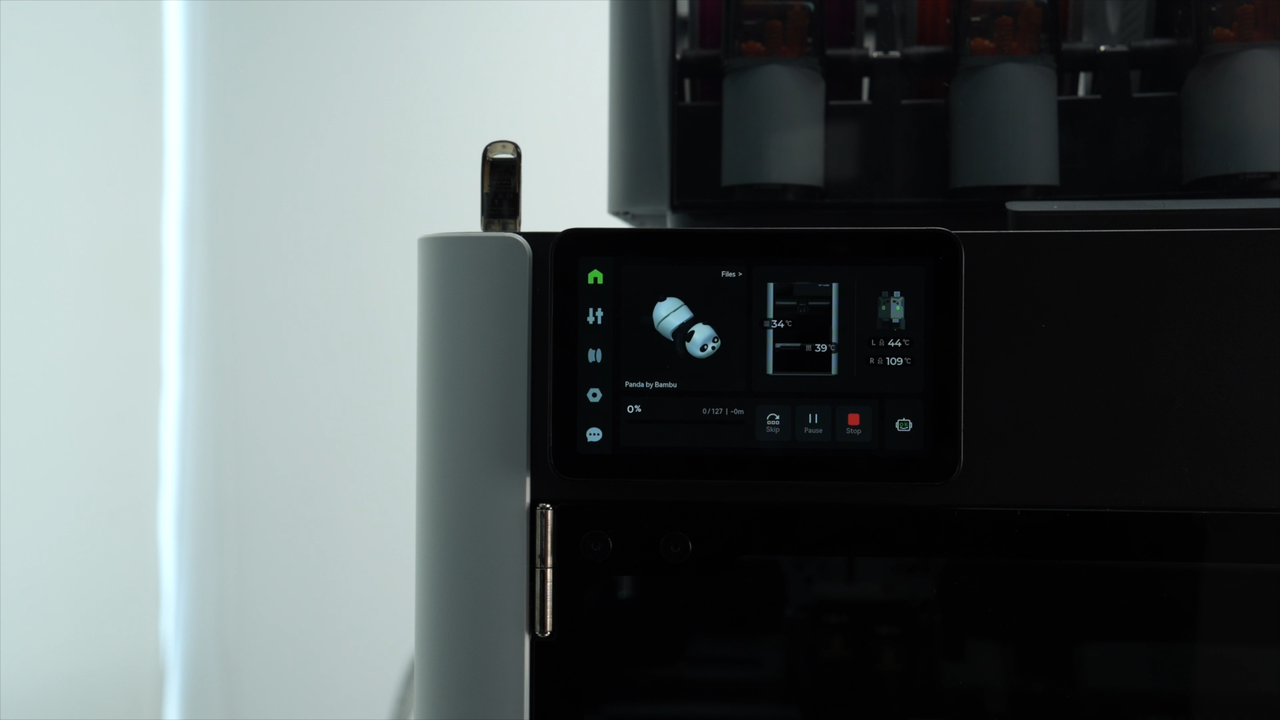
Click on "Print Files", then select the model you want to print.
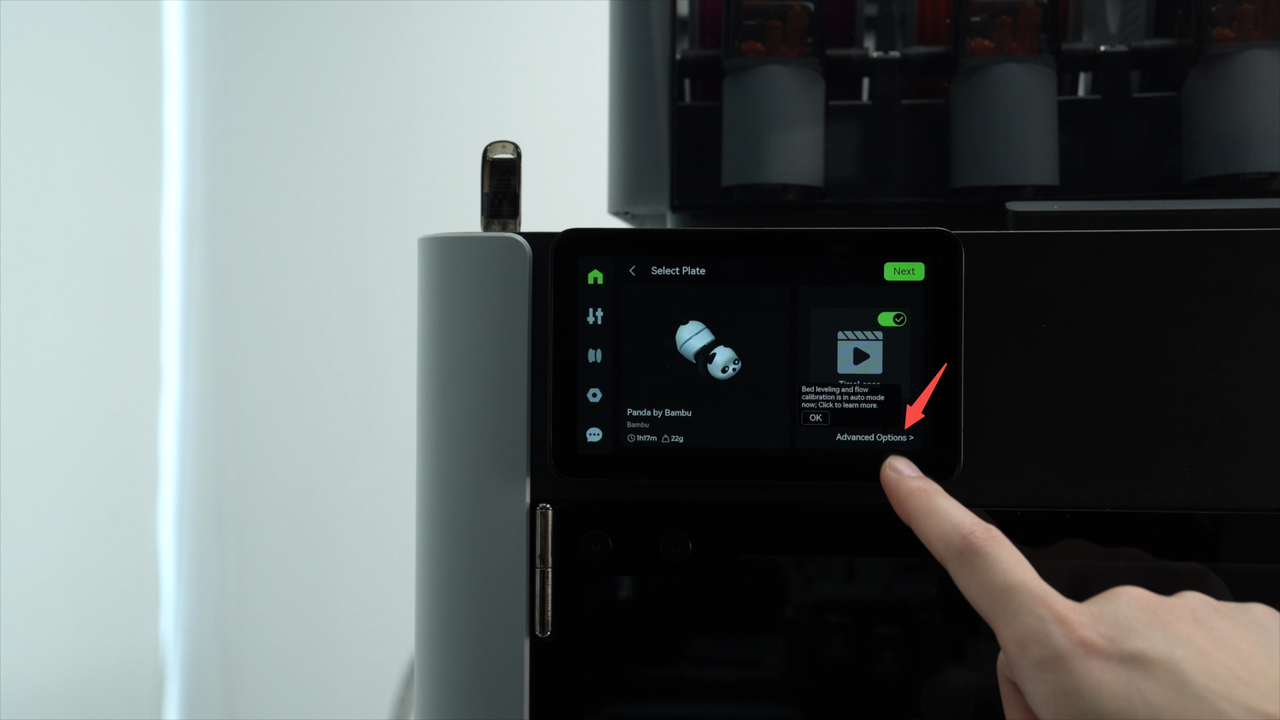
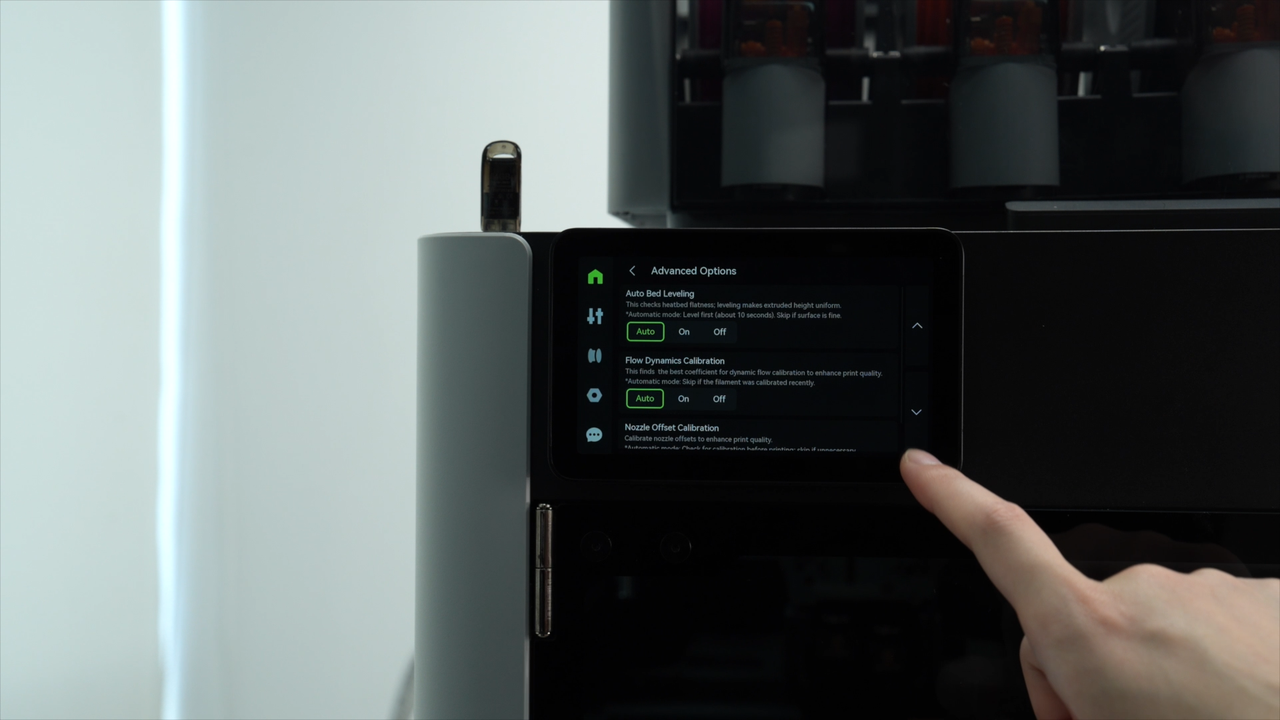
Auto Bed leveling, flow dynamics calibration, and nozzle offset calibration are set to auto mode by default and can be adjusted as needed. Then click "Next".
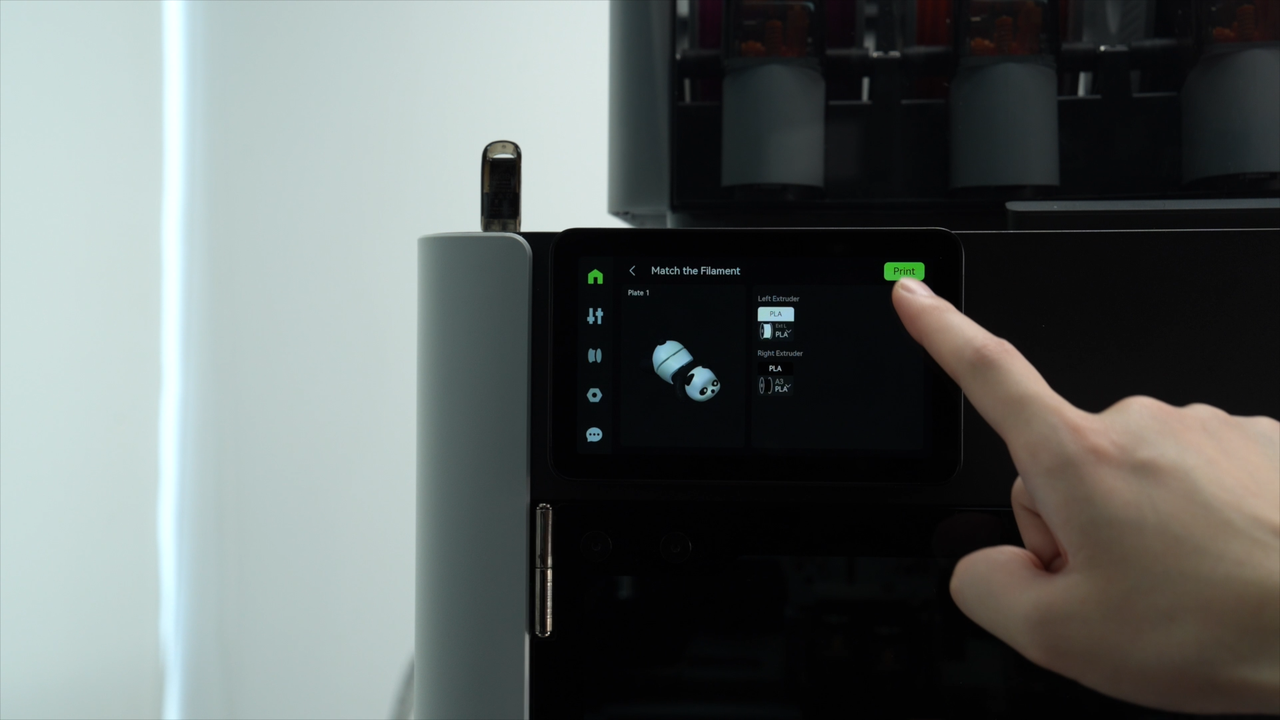
Select the appropriate filaments and start printing. Please note that the models preloaded in the printer or those stored on a USB are already sliced files, where the filament configurations in the sliced files are specifically matched to the extruder/hotend, making it impossible to forcefully switch to another extruder/hotend for printing.
If you are unable to select the filaments you want to print on the filaments matching page, you may need to adjust the filaments position appropriately by placing it into the AMS or external spool connected to another extruder.
¶ Initiate the print from Bambu Studio
Import the model you want to print in Bambu Studio, modify the printing parameters, click "Slice plate", and then click on "Print plate" to send the print job to the printer.
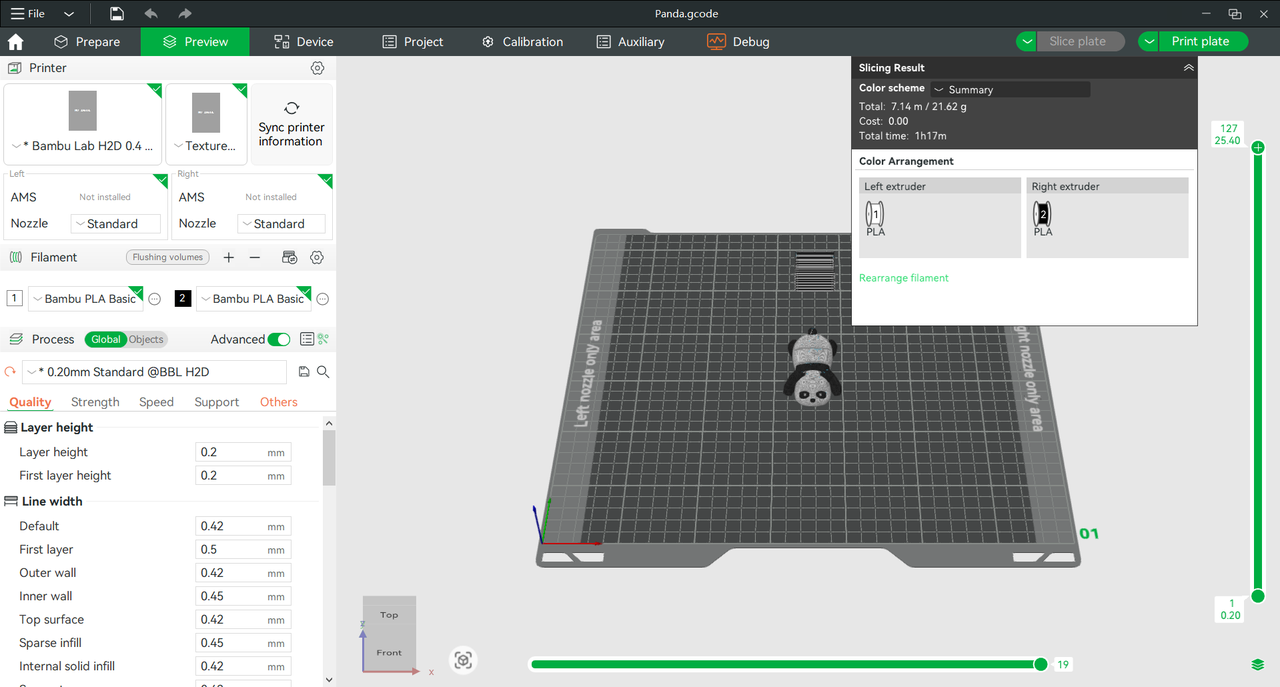
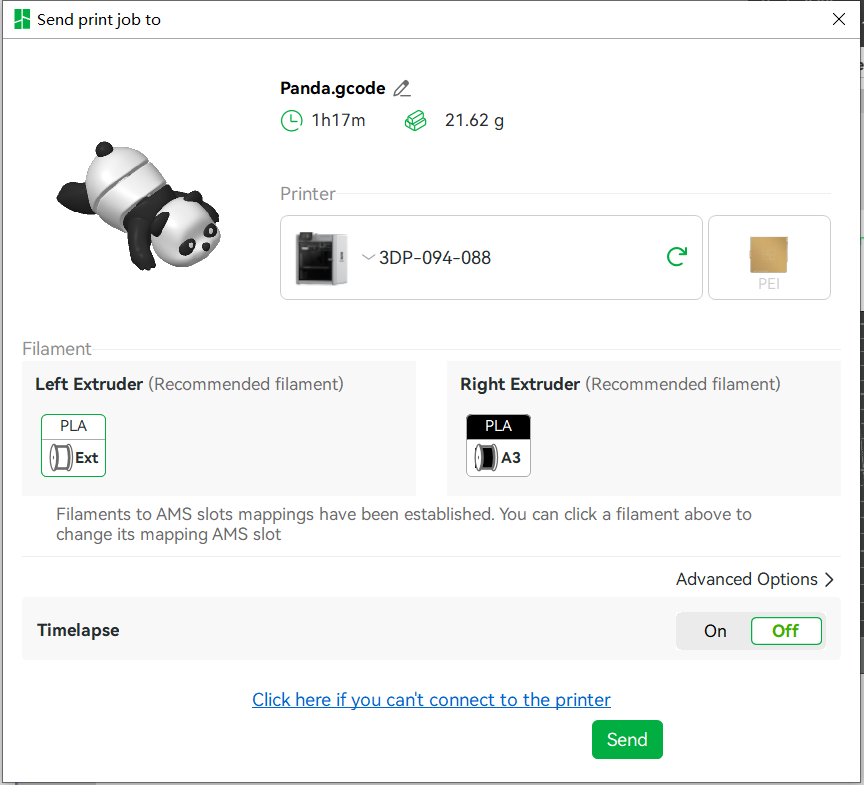
Due to its dual nozzles, when printing multi-color models, Bambu Studio automatically calculates the most filament-efficient arrangement and groups the filaments accordingly.
If you prefer not to print according to the default filament grouping, you can manually adjust the filament grouping. Click the "Rearrange filament", select "Customize", then left-click on the filament icon or click the exchange button in the middle to switch the filament to the other extruder.


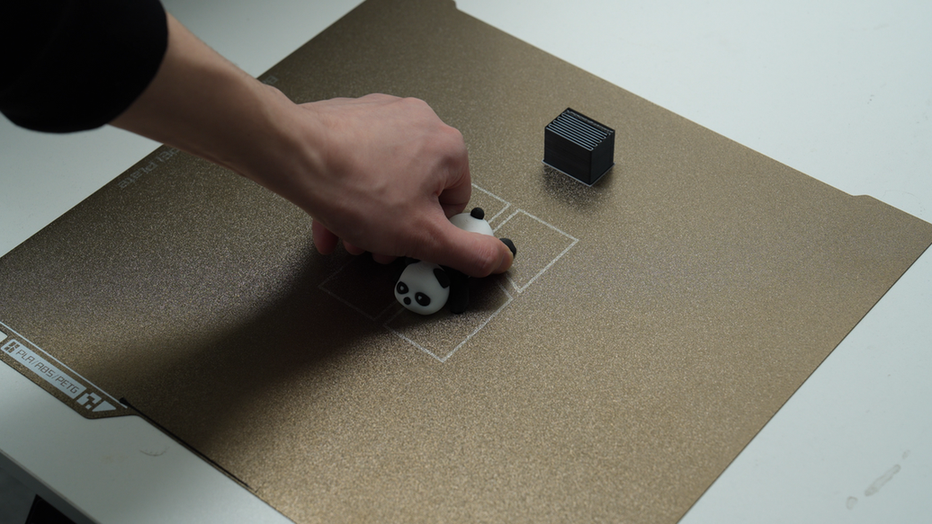
¶ Remove the model
After printing is finished, wait for the heatbed and model to cool to room temperature before gently removing the model from the build plate to prevent deformation, damage to the model, or damage to the build plate.
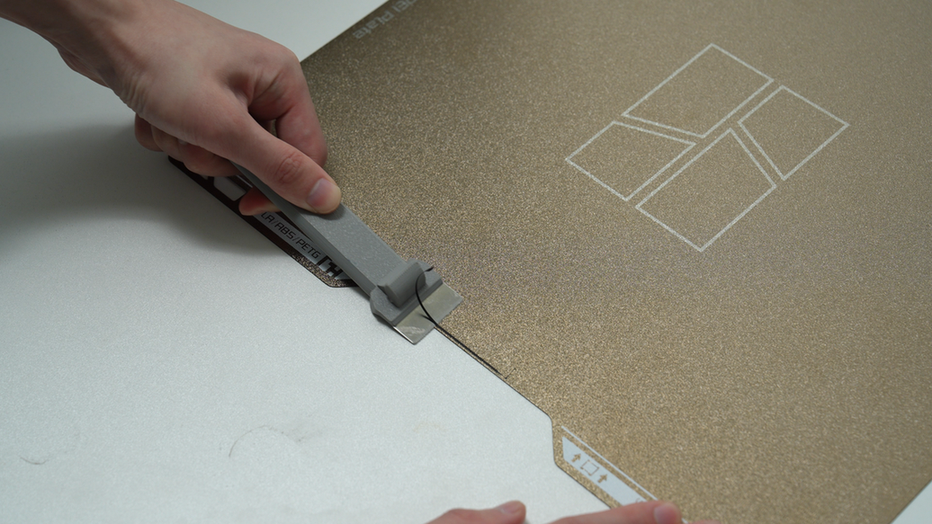
Remove the prime tower and clear the calibration lines with a scraper. Then place the build plate back into the printer.
¶ 4. Unload the filaments
¶ Unload filaments from AMS 2 Pro
After the print job is completed normally, filaments will automatically returned to the AMS 2 pro. However, if the print job is canceled or interrupted midway, you need to click "Unload" on the screen to unload the filament bitten by the extruder to the AMS 2 pro.
¶ Unload filaments from external spool
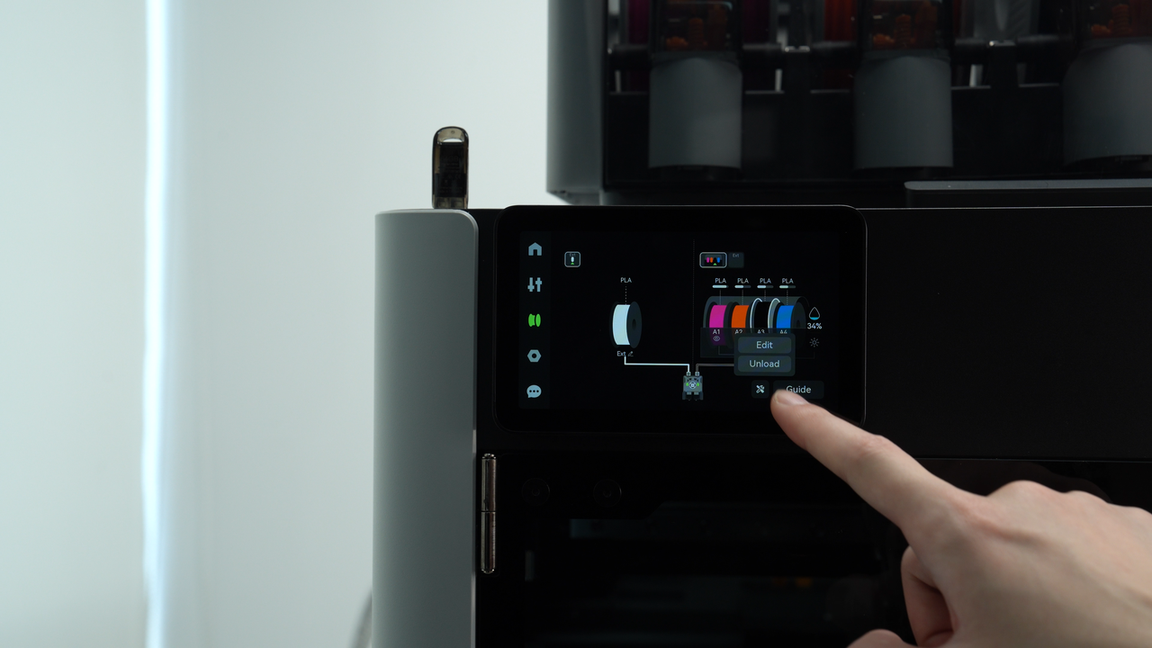
Click "Unload" on the screen.
|
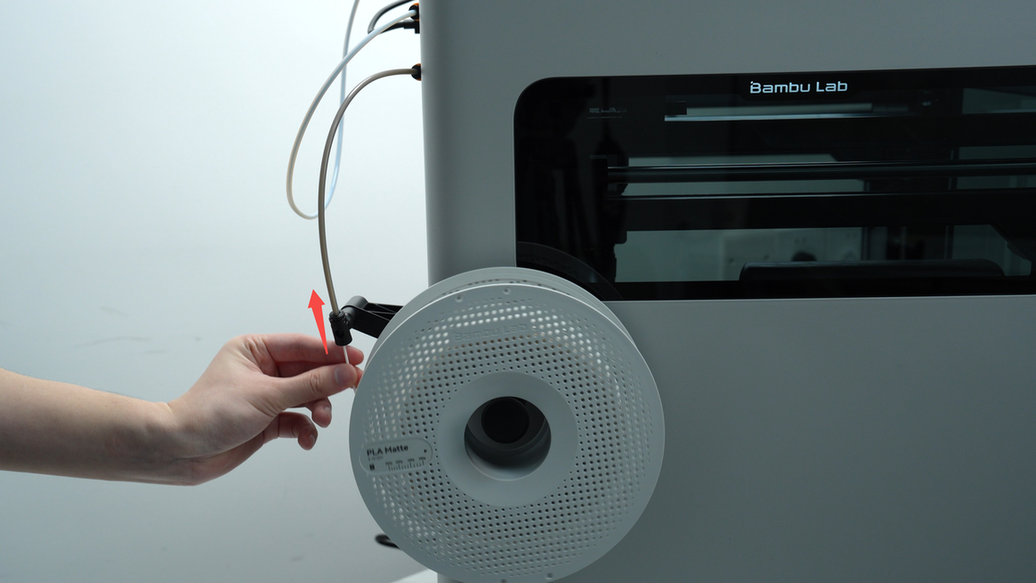
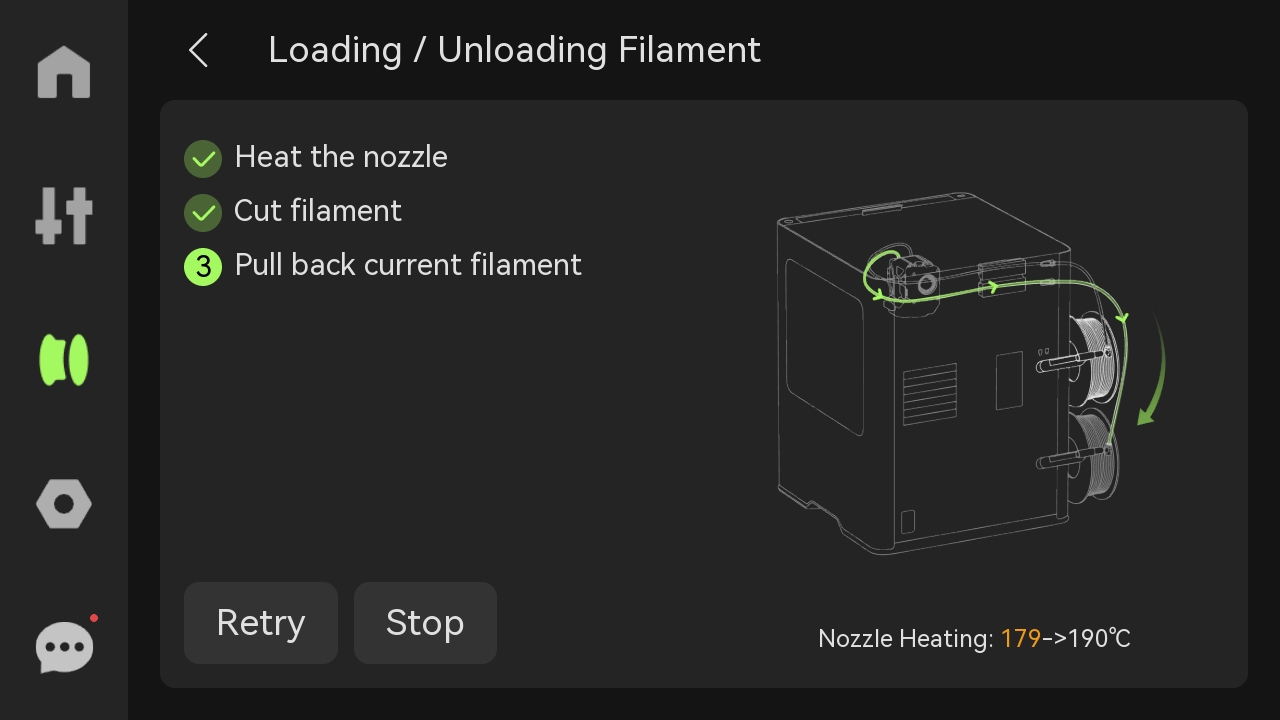 |
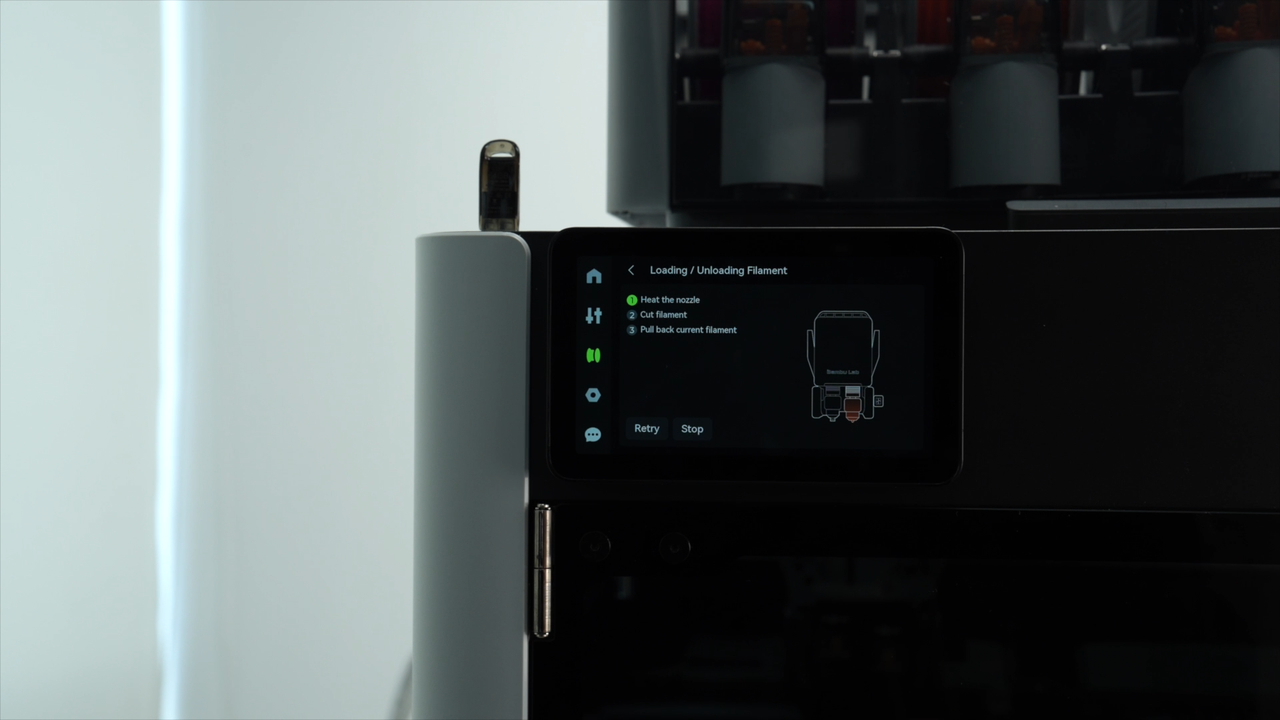
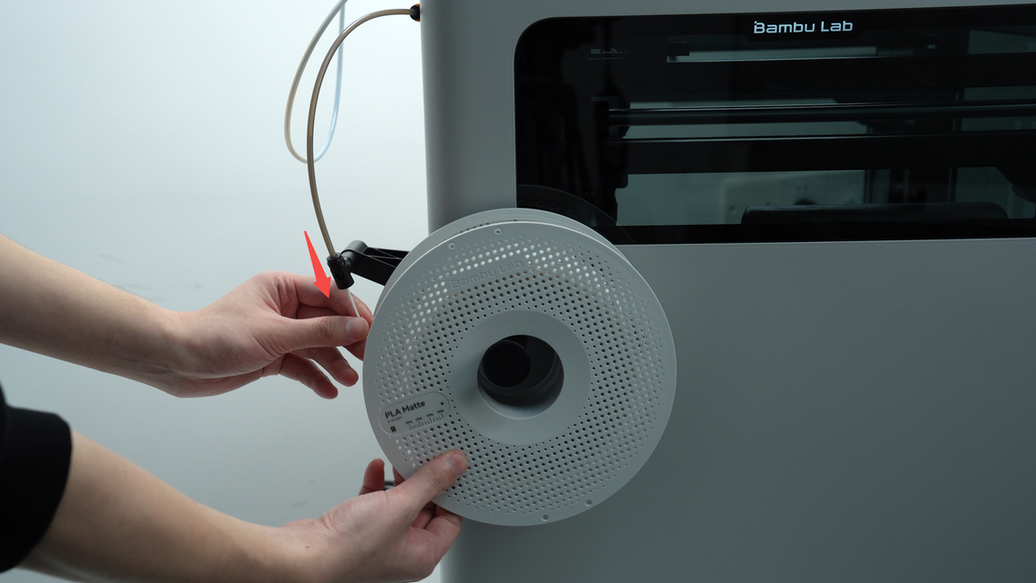
According to the printer prompt, rotate the spool while unloading the filament from the toolhead. As the filament approaches the connector, catch the filament with your hand and insert the filament end into the hole in the spool. Finally, click "OK".

 |
 |
¶ End Notes
We hope the detailed guide provided has been helpful and informative.
If this guide does not solve your problem, please submit a technical ticket, we will answer your questions and provide assistance.
If you have any suggestions or feedback on this Wiki, please leave a message in the comment area. Thank you for your support and attention!