¶ Introduction
H2D pro supports both Wi-Fi and Wired connection. It supports simultaneous connections to both wired and wireless networks, with a prioritized wired network. Additionally, the printer has a separate physical switch that allows you to control the wireless networks individually.

The current firmware of H2D pro supports the following three network connection methods and allows for custom IP and DNS settings:
- Enterprise wireless network certificate authentication connection.
- Direct connection to a wireless network using account credentials (non-authenticated network) (same as X1, X1C, and P1 series).
- Direct connection to a wired network.
To simplify the unboxing process, we do not support using wireless network certificates for network connection during the initial setup. Instead, you can only connect through a direct wireless network using account credentials or via a wired network. If you need to connect to an enterprise wireless network that requires authentication, please skip the network setup during unboxing. Alternatively, you can also skip the network setup for the other two connection methods and perform the network configuration after the initial setup is complete.
This document will guide you through the procedures for the three mentioned network connection methods and provide access to customize IP and DNS settings.
¶ Three network connection methods
¶ Instructions for connecting to an enterprise wireless network using certificate authentication
¶ Exporting/Installing Certificates (Please determine whether or not to do this based on your individual situation)
¶ Step 1: Prepare the certificate and network connection information on your computer
Please keep in mind that the procedure of preparing certificates varies based on the situation, and this article is intended for demonstration reasons. Please contact your IT department if you are unfamiliar with the operational procedures.
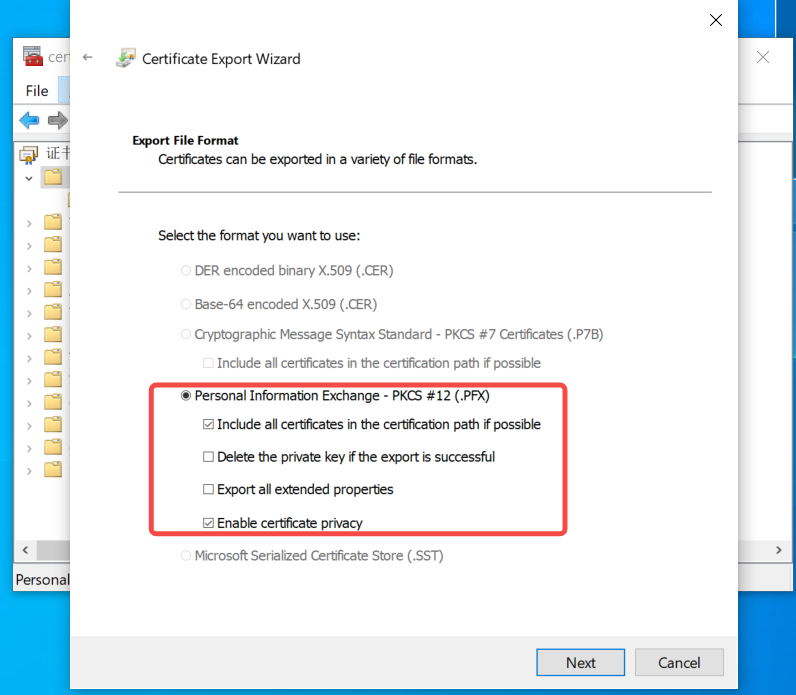
Contact your IT department to obtain the CA root certificate required for connecting to the enterprise/campus network, as well as information regarding compatible connection methods, domain names, and other relevant details. The CA certificate should be in cer format. If using TLS connection, you may also need to apply for an additional client certificate and export it in pfx format. The need for a certificate depends on your network authentication method.
Please refer to the following section on network authentication methods.
Next, I will provide an example to demonstrate how to export a user certificate using a CA certificate. If your authentication method does not require a user certificate or if you already have a user certificate, you can skip the steps for applying and exporting a user certificate.
¶ Apply a client certificate (Please determine whether or not to do this based on your individual situation):
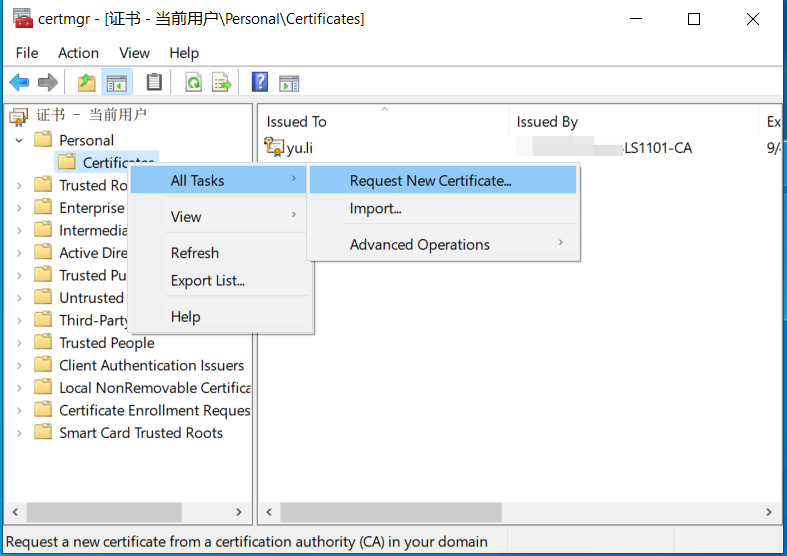
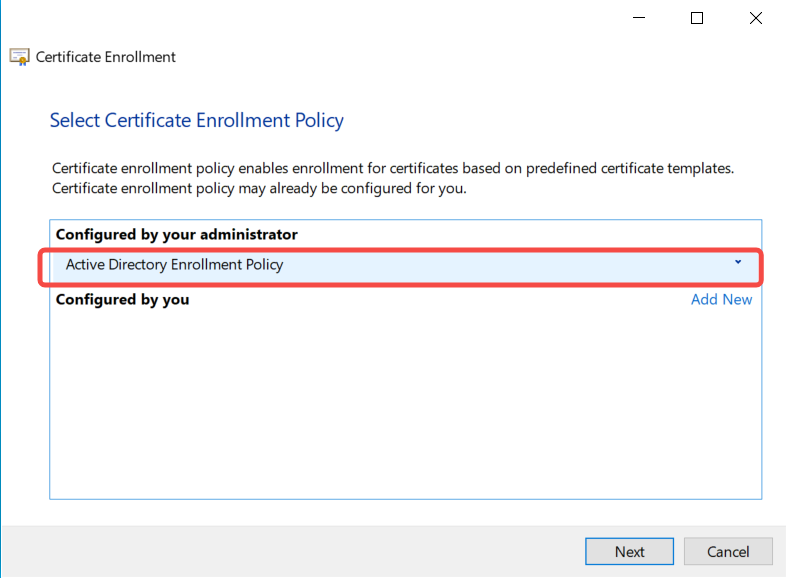
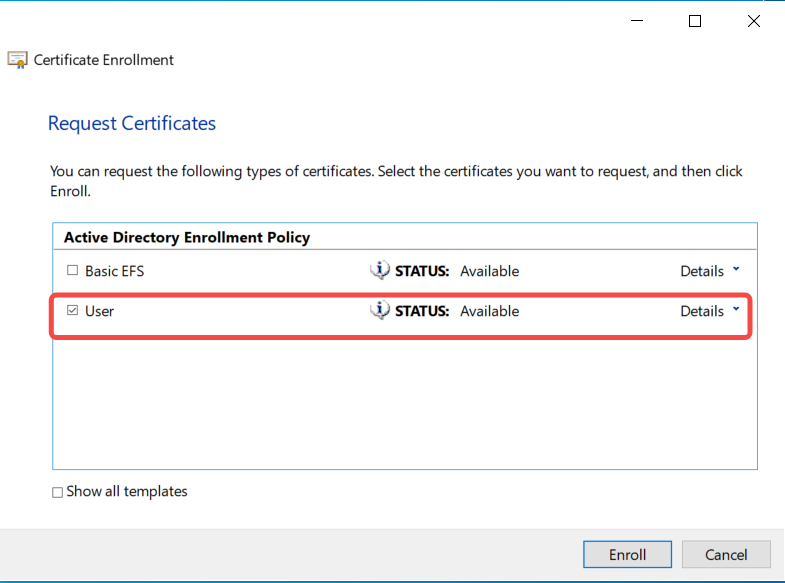
Run certmgr.msc, navigate to Certificates - Current User - Personal - All Tasks - Request New Certificate, and select Active Directory Enrollment Policy - User
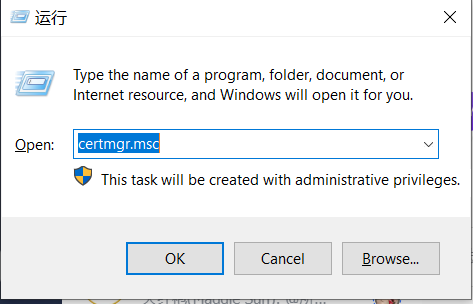
1.Press the "Windows" + "R" to open the "Run" dialog box, type certmgr.msc, and press Enter to open the certmgr.msc interface.
2.Certificate Registration Process:
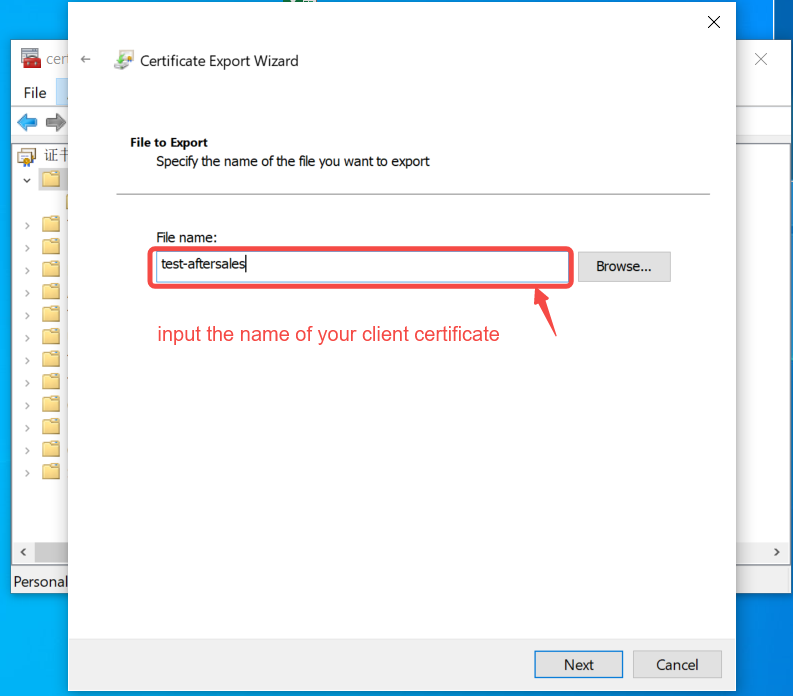
¶ Export the user certificate (Please determine whether or not to do this based on your individual situation)
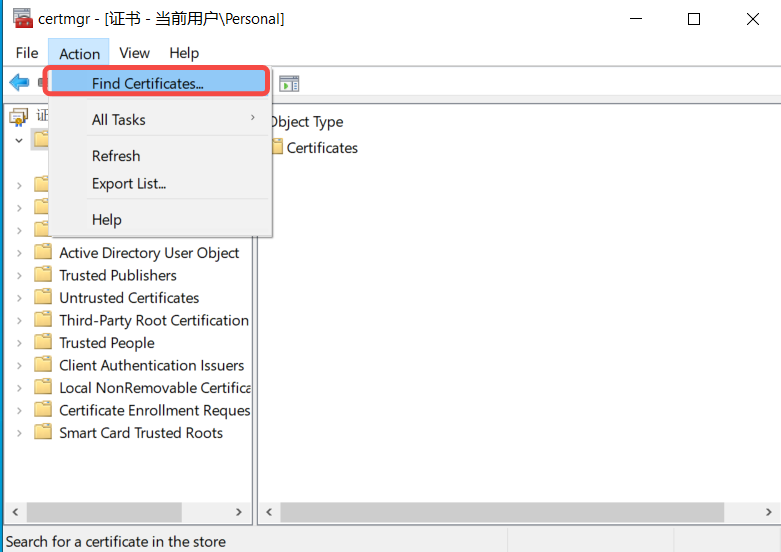
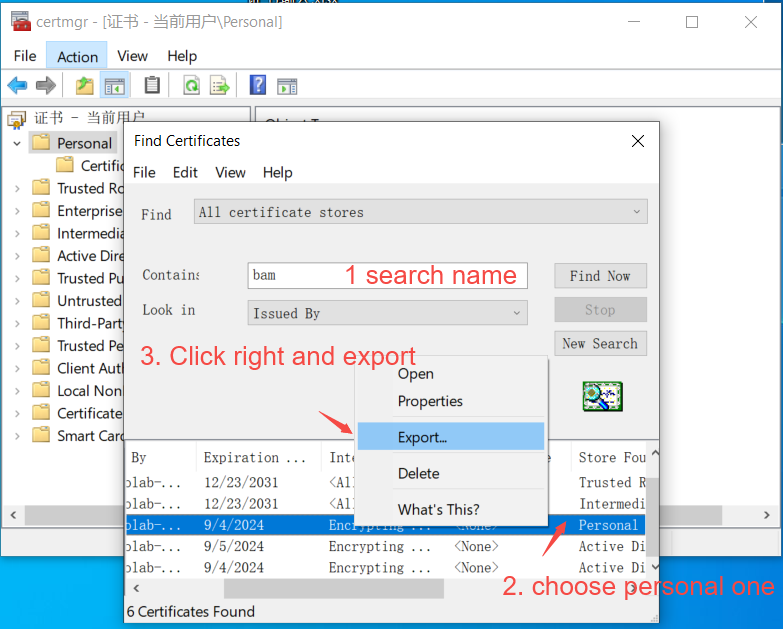
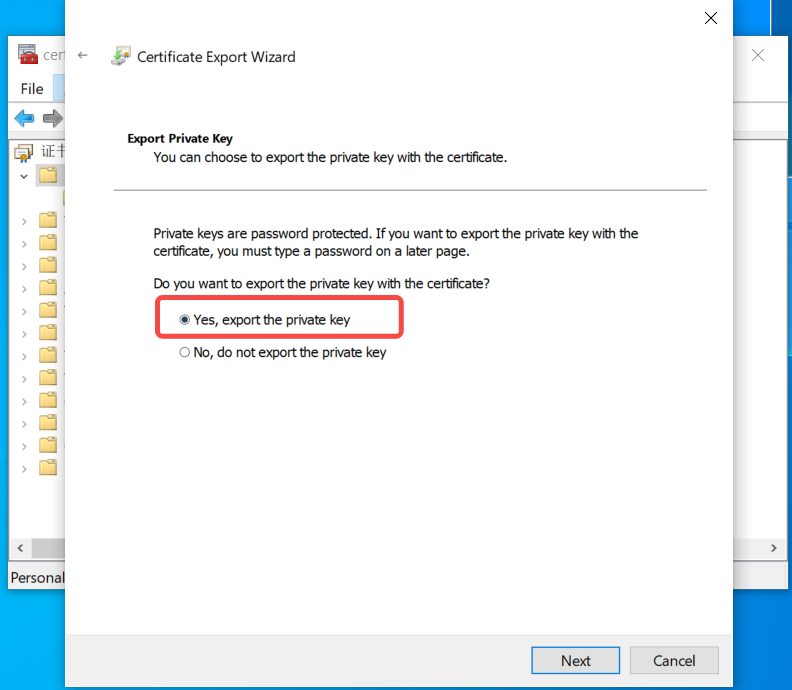
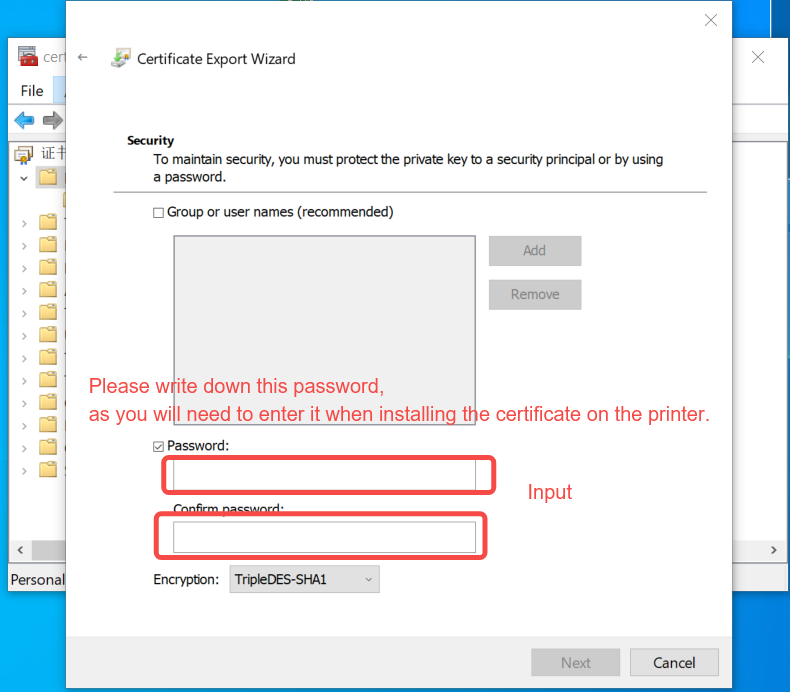
Run certmgr.msc - Operations - Find Certificate - Export Private Key.
Important reminder: Please remember the password for the user certificate, as it will be required when installing the user certificate on the printer later.
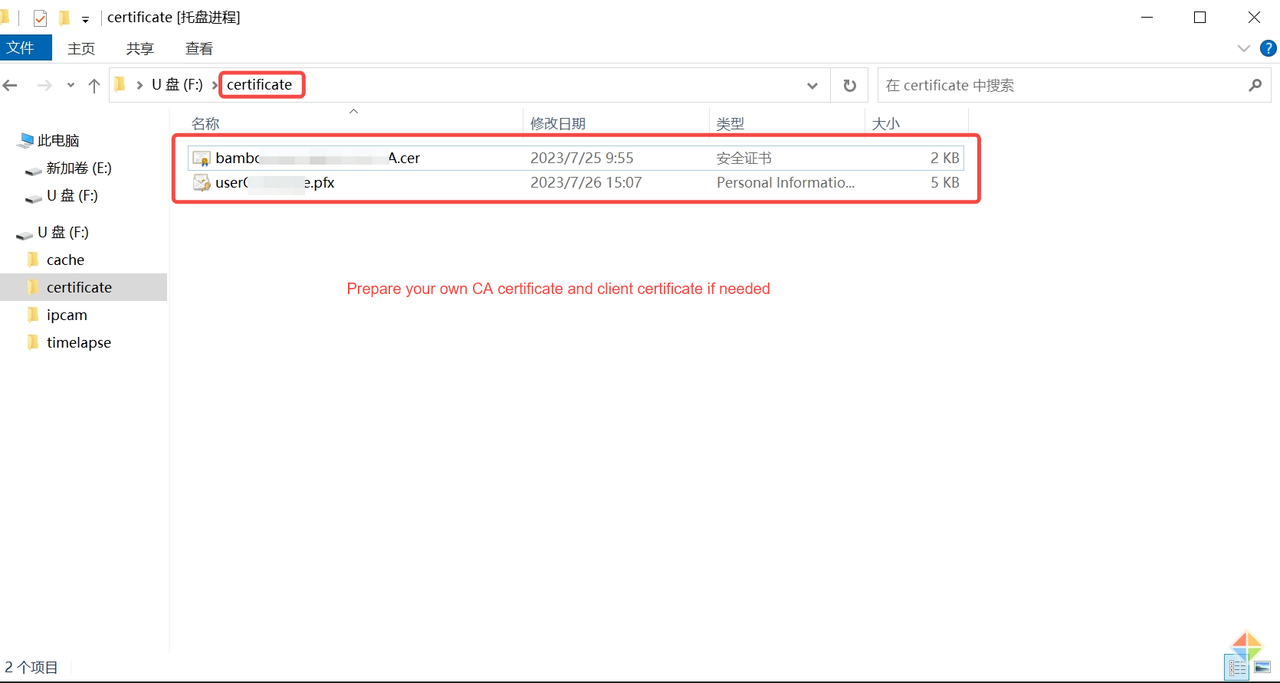
¶ Step 2: Copy the required certificates to the USB flash drive/certificate directory and insert the USB flash drive into the printer
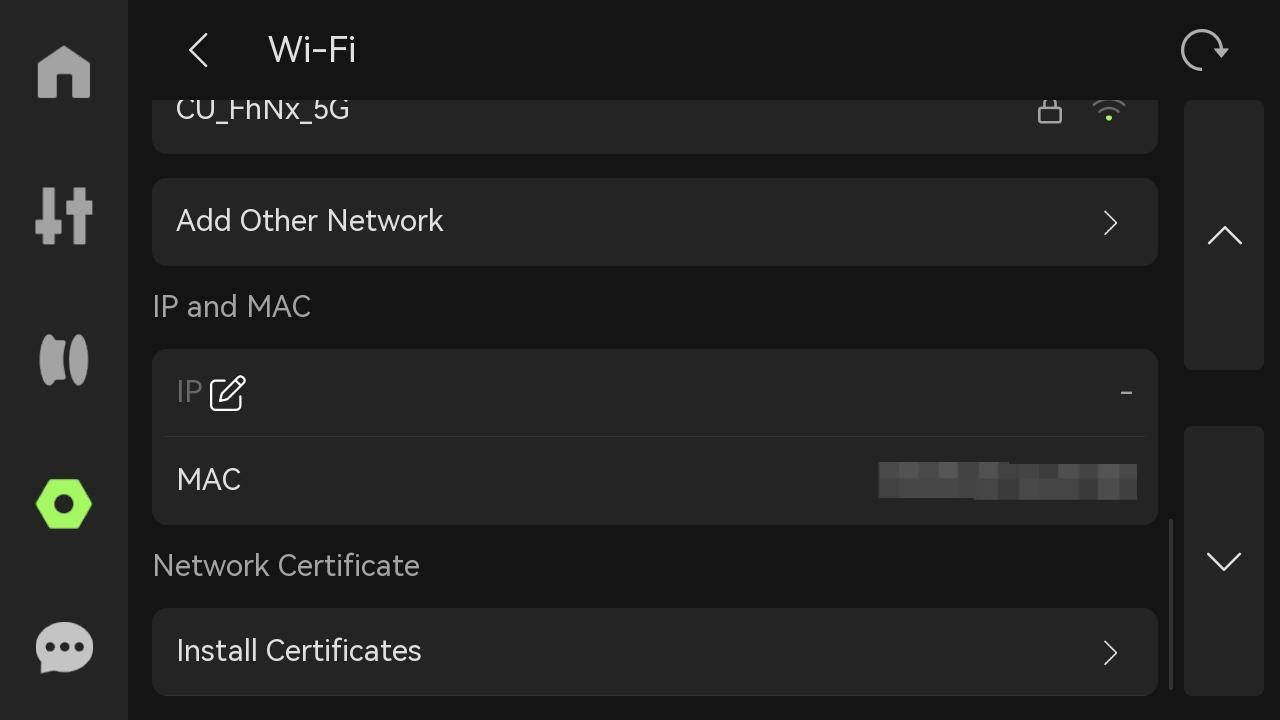
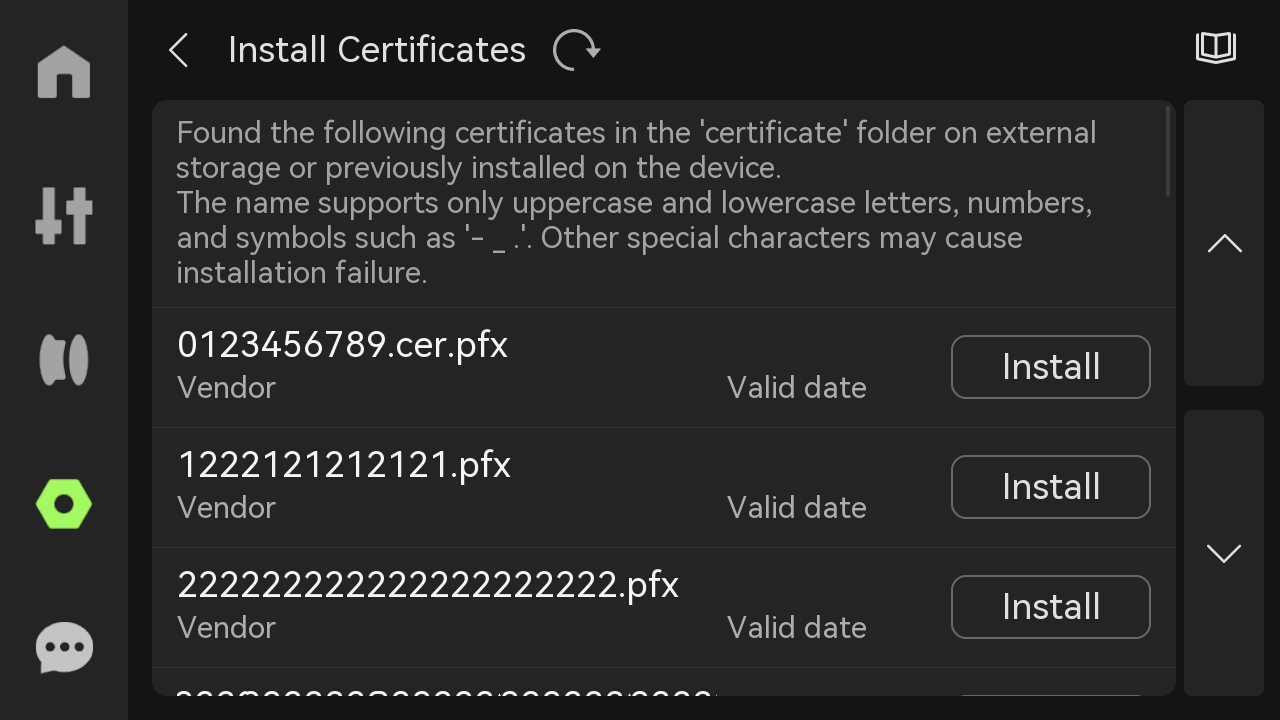
¶ Step 3: Access the network settings interface of the printer and click on the certificate installation option
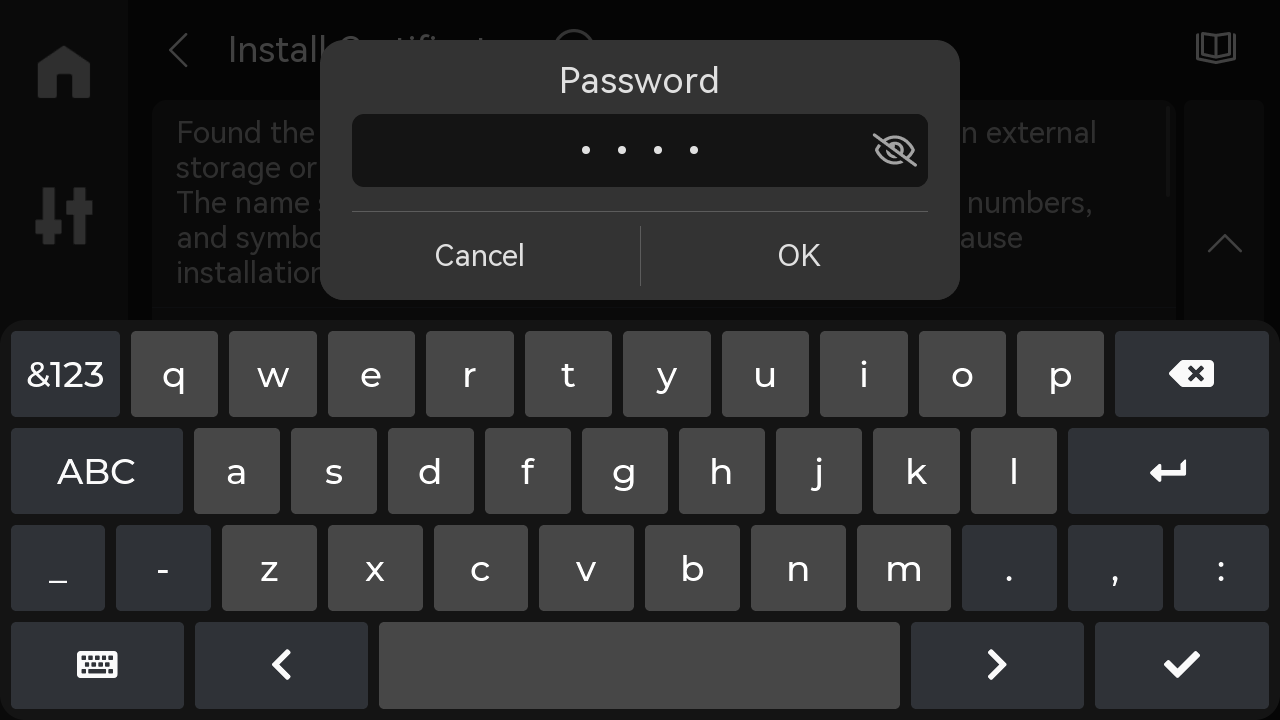
After completing the previous steps, the printer will automatically scan for certificates located in the USB flash drive/certificate directory that meet the required format. In this step, you need to select the prepared certificate and click on the "Install" button to successfully install the certificate into the printer. If there is a client certificate stored in pfx format, you will be prompted to enter the export password set earlier during the installation process.
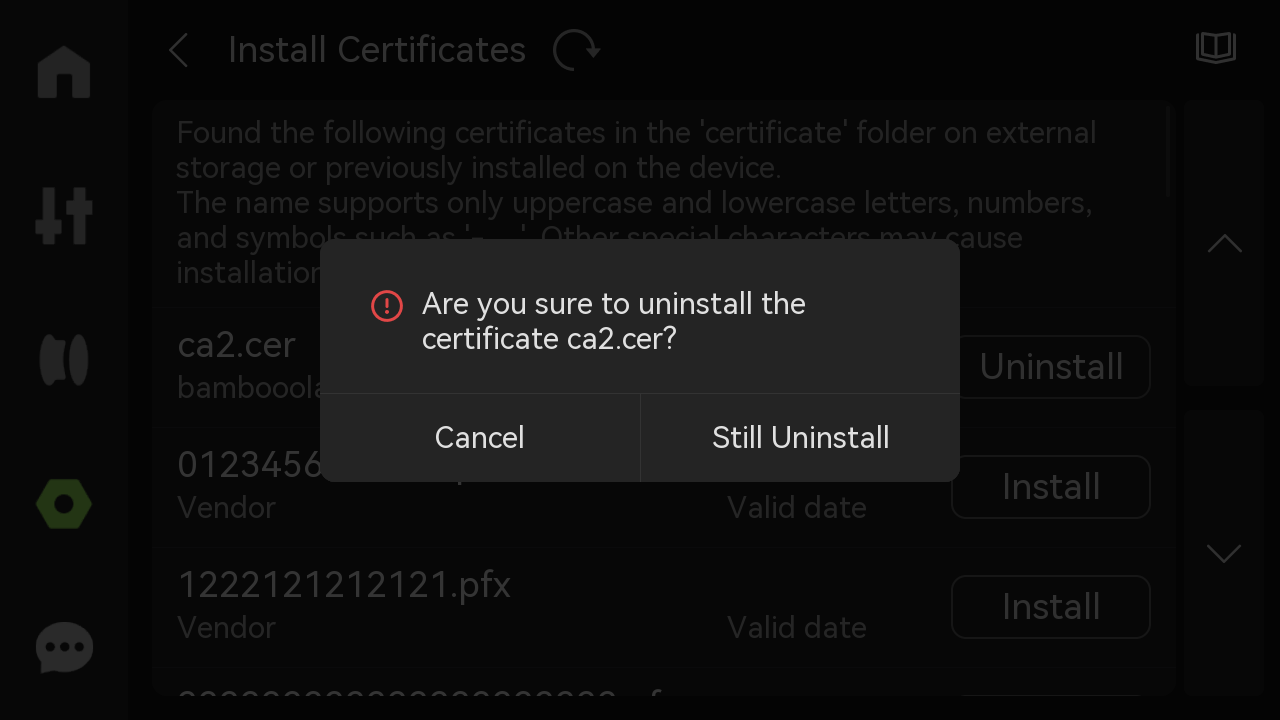
¶ Step 4: If you no longer need a particular certificate, you can uninstall the installed certificate from the same page
¶ Connect to the enterprise network
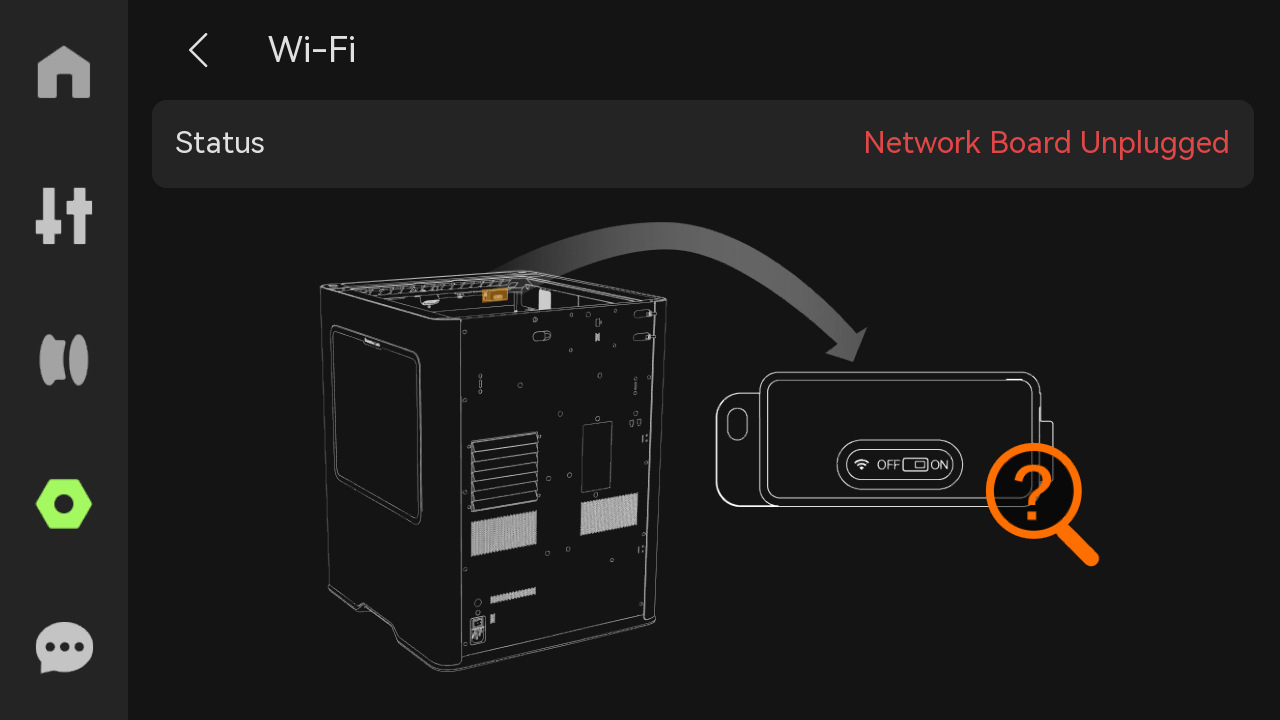
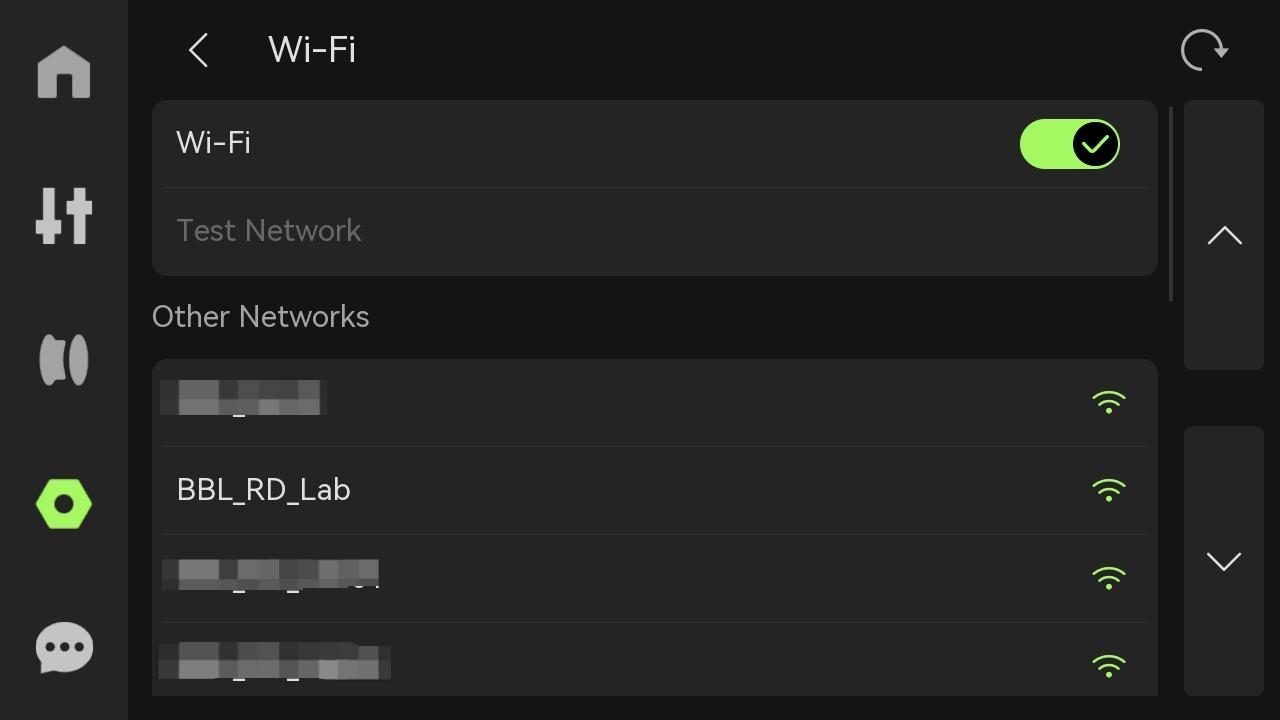
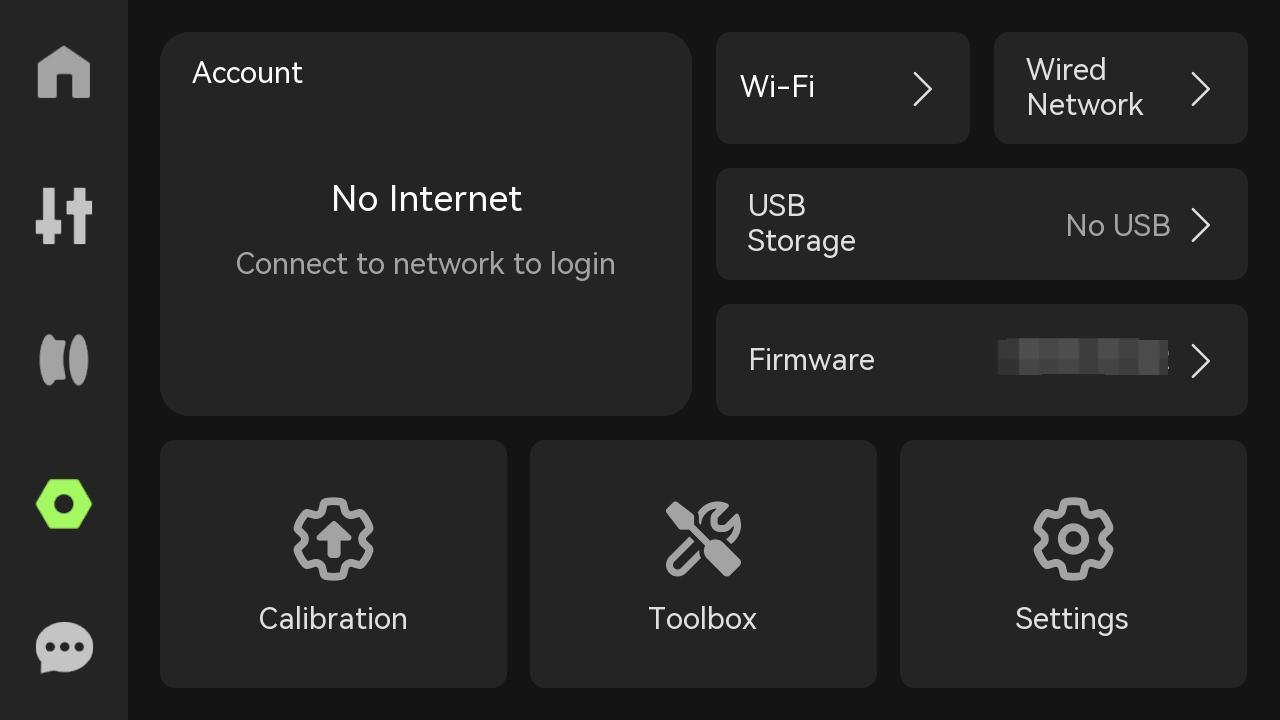
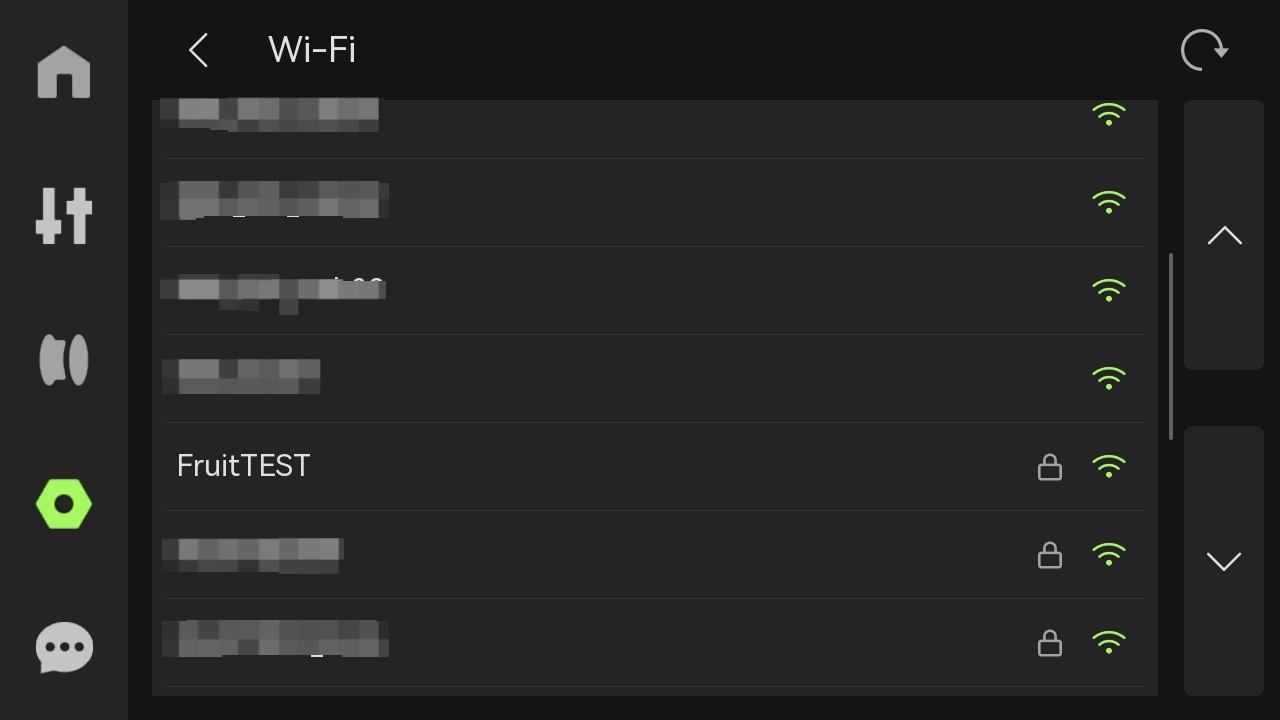
¶ Step 1: On the settings page, click on "Wi-Fi" to access the available Wi-Fi networks
Friendly Reminder: Before connecting to Wi-Fi, please ensure that the wireless physical switch is turned on. If the switch is off, the printer will not be able to detect any Wi-Fi networks.
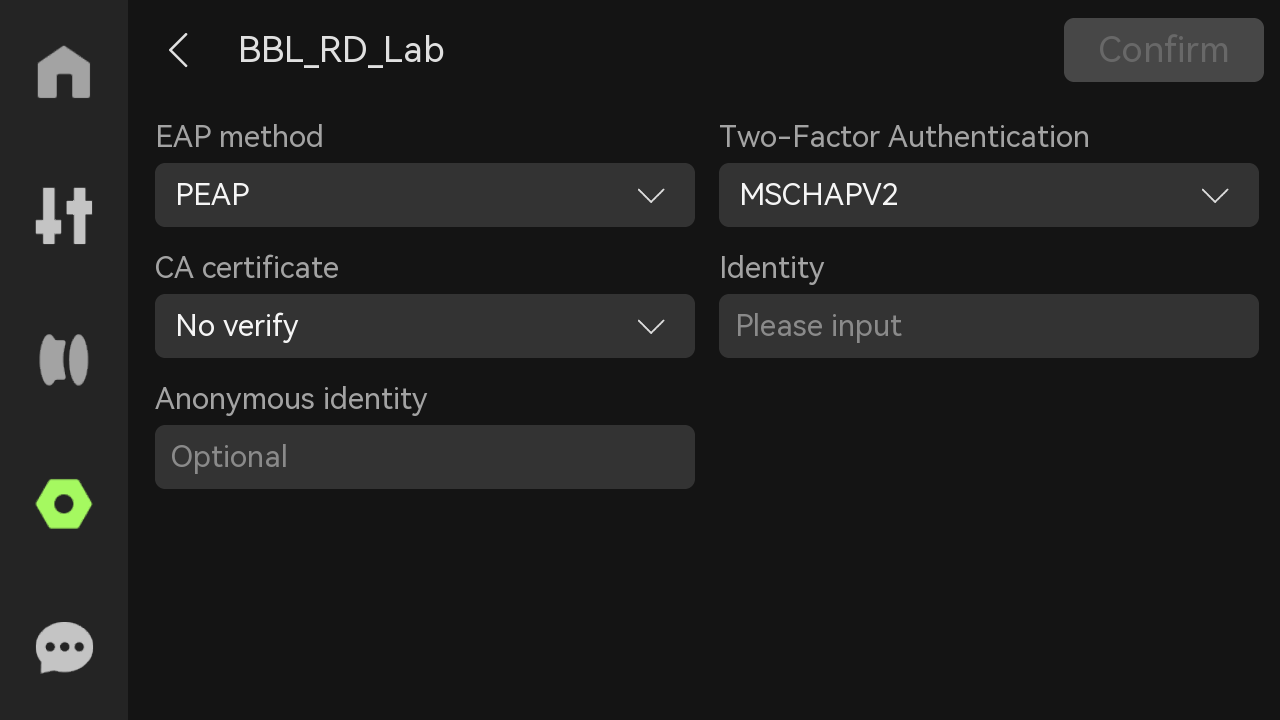
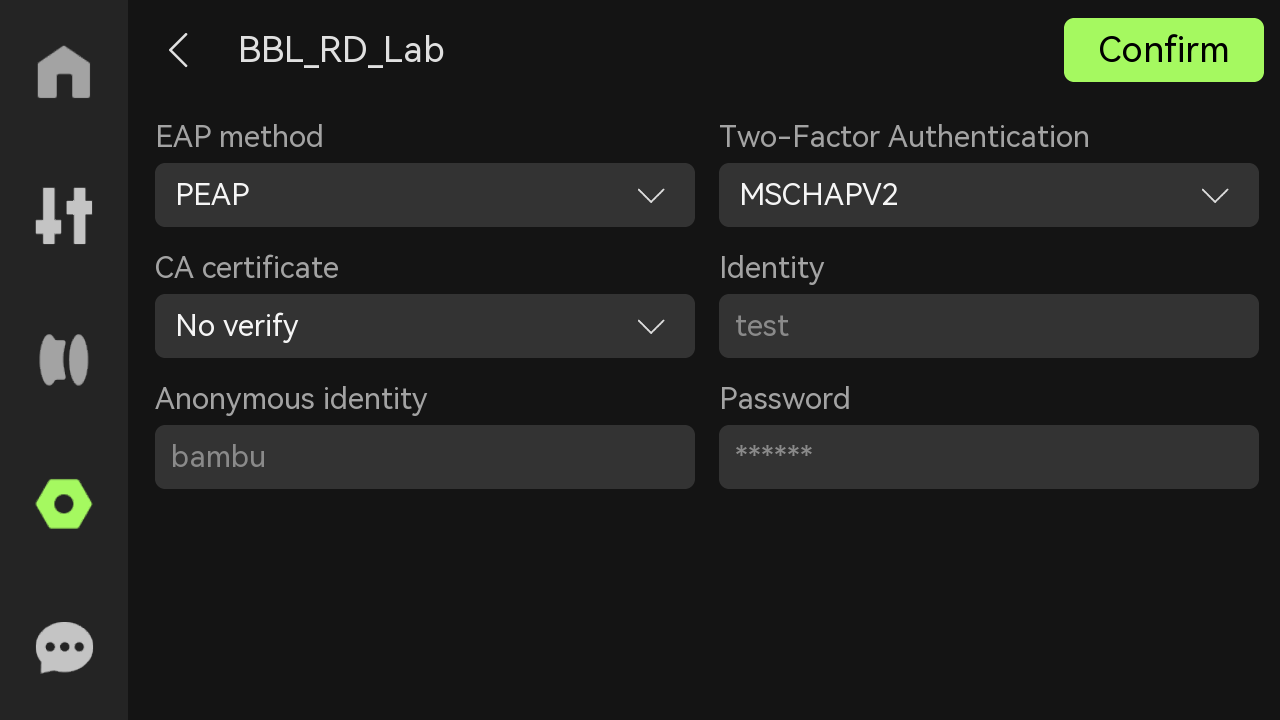
¶ Step 2: Fill in and select the necessary configuration information for authentication based on your specific situation. On the page, click on the "Confirm" button to establish a successful network connection
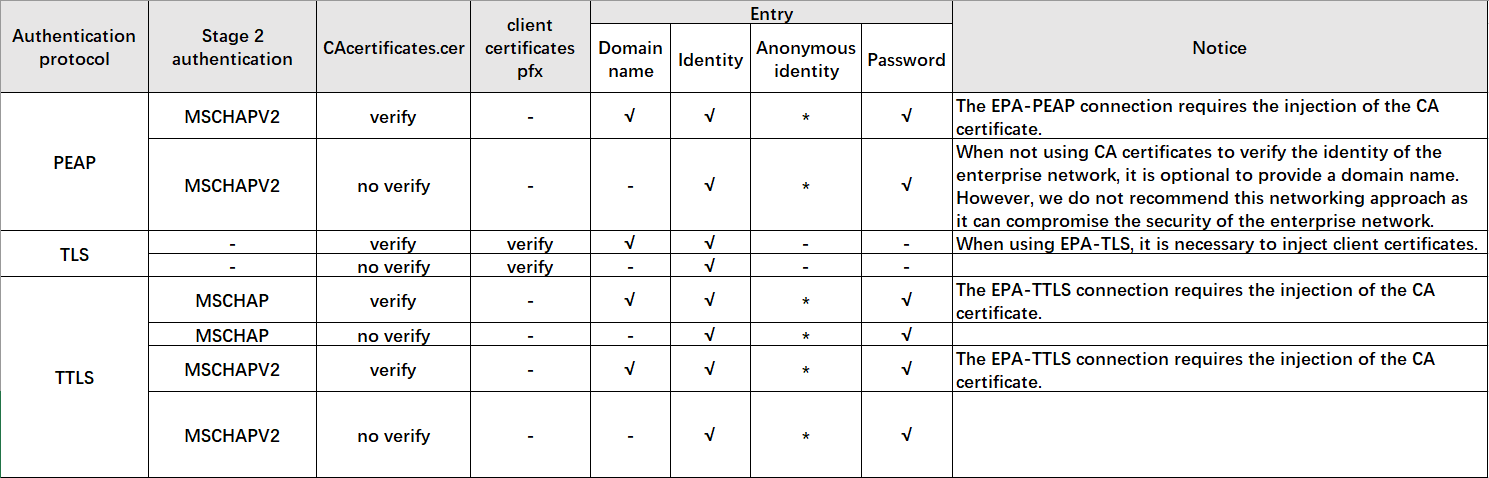
We'd like to remind you that we support the eight network authentication methods listed below. Please select the suitable authentication option for your situation and provide the necessary information.
¶ Introduction to the eight supported authentication methods
¶ Direct Connection to Wireless Network (Non-Authenticated Network) (Same as X1/X1C and P1 series)
¶ Step 1: On the settings page, click on "Wi-Fi" to access the available wireless networks
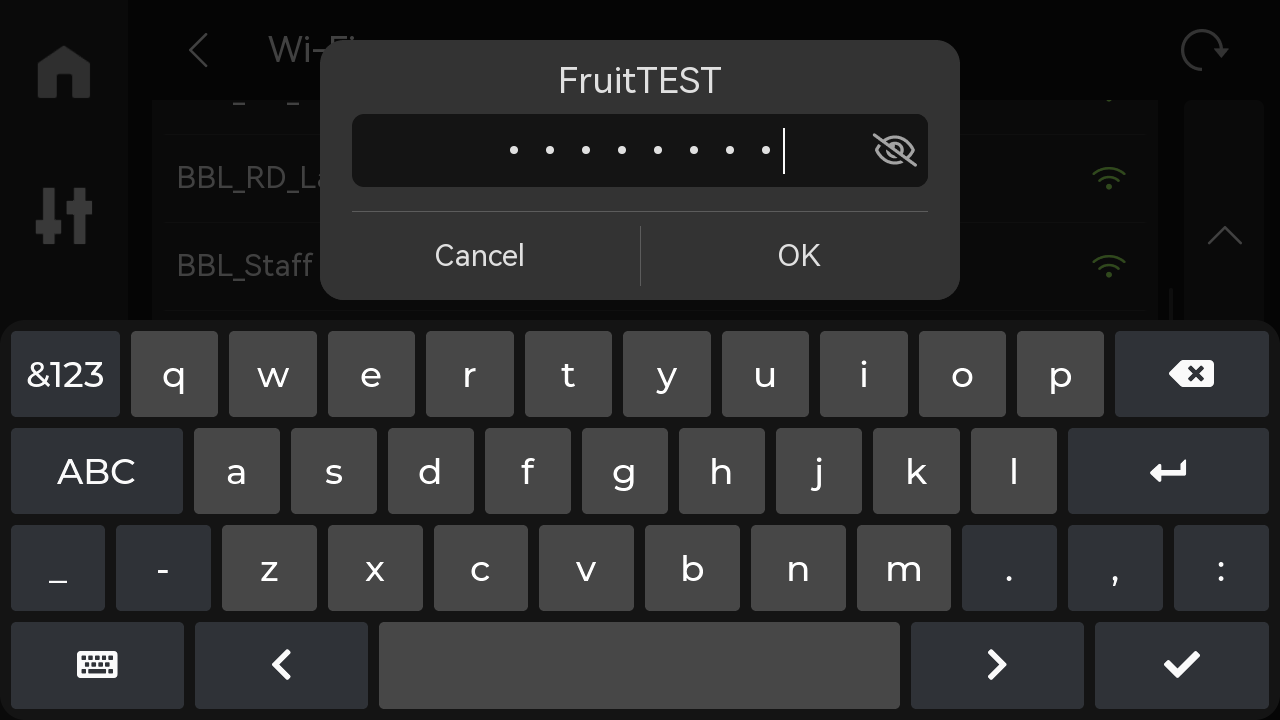
¶ Step 2: Fill in the network password based on your specific situation to establish a successful network connection
¶ Wired Network Connection Guide
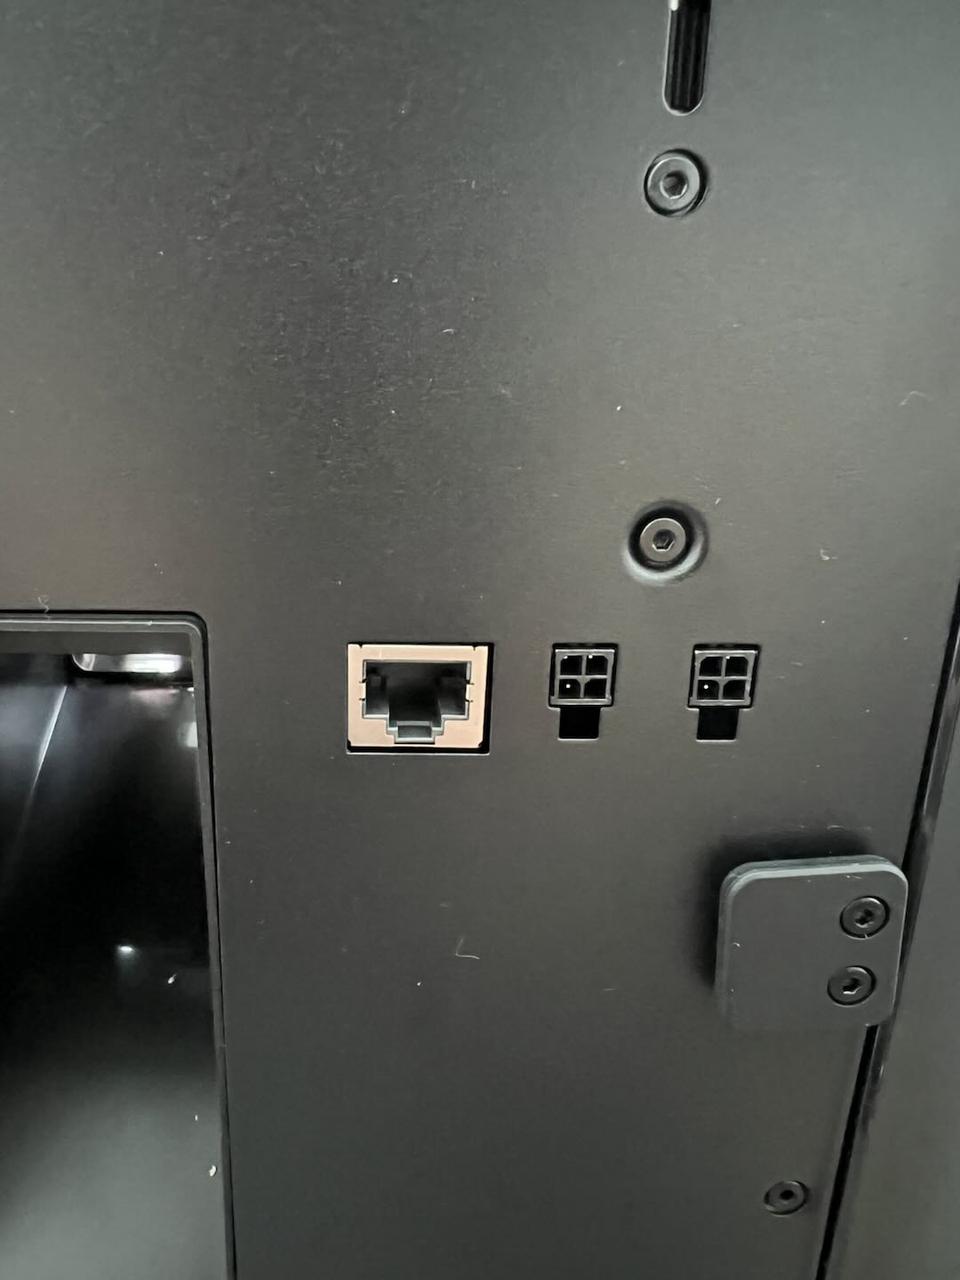
¶ Step 1: According to the diagram, once you connect the Ethernet cable, the printer will automatically connect to the network
 |
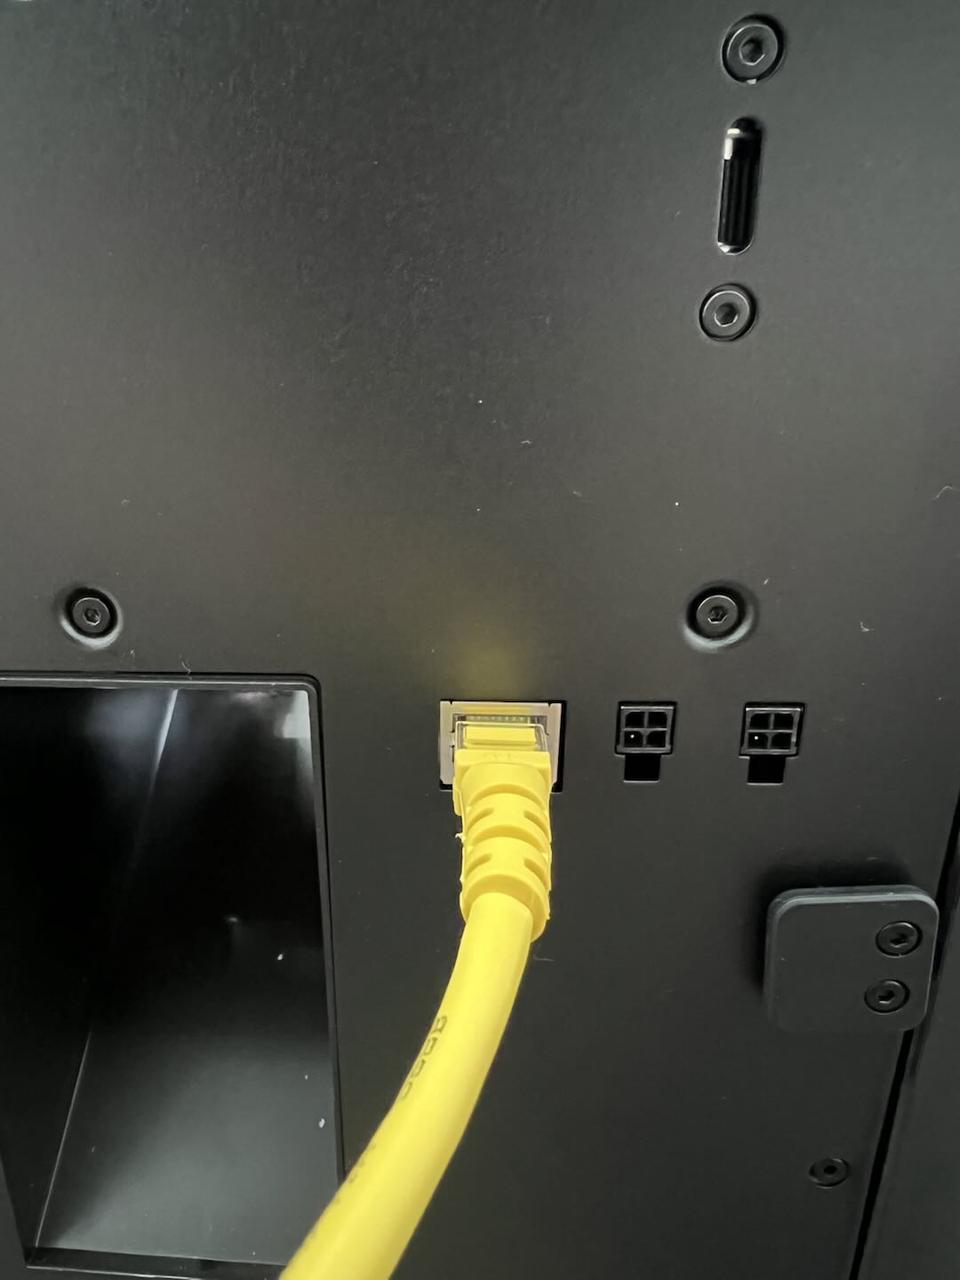 |
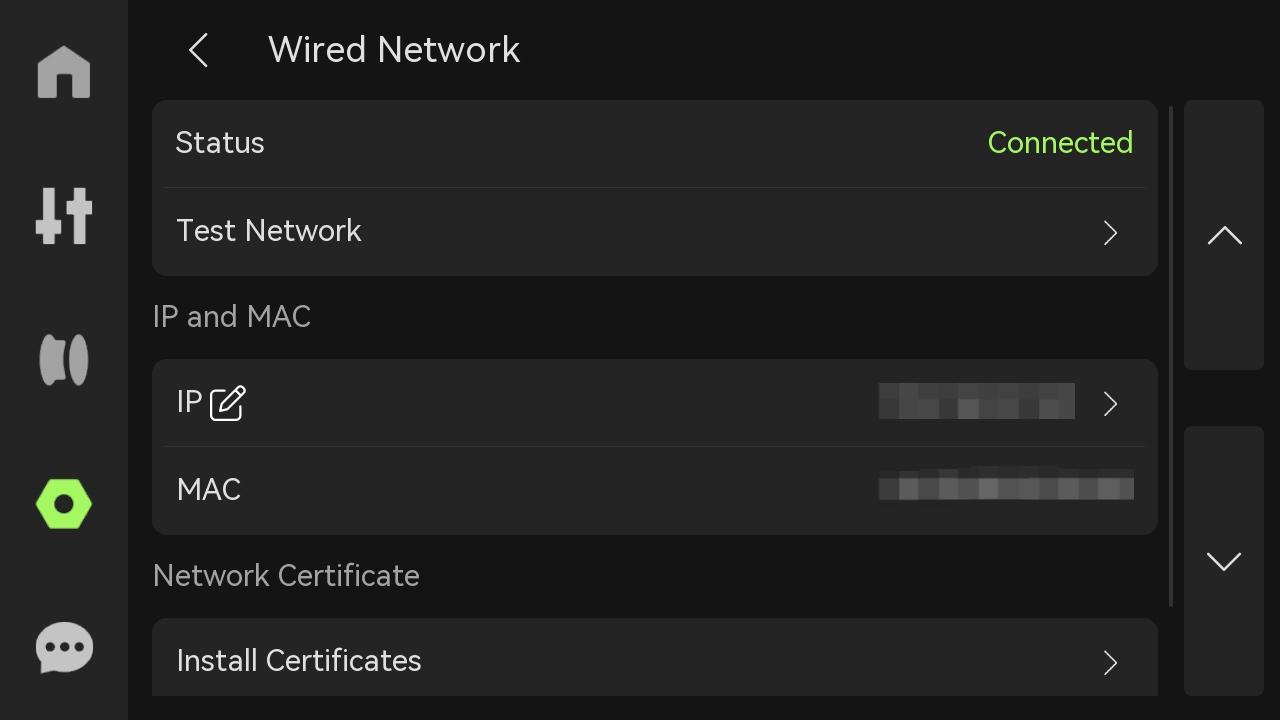
¶ Step 2: Check the status, if it shows "Connected," it means the network connection is successful
¶ Customizing IP and other network information operation guides
Both wired and wireless networks support customizing IP and other network information settings, and the setup methods are generally the same. The following example will demonstrate how to customize IP and other network information settings for a wired network:
¶ Step 1: Click on the "Edit" button next to the IP address to enter the customization settings. This will take you to the "Custom" or "Manual" mode page. By default, it is set to "Auto" mode
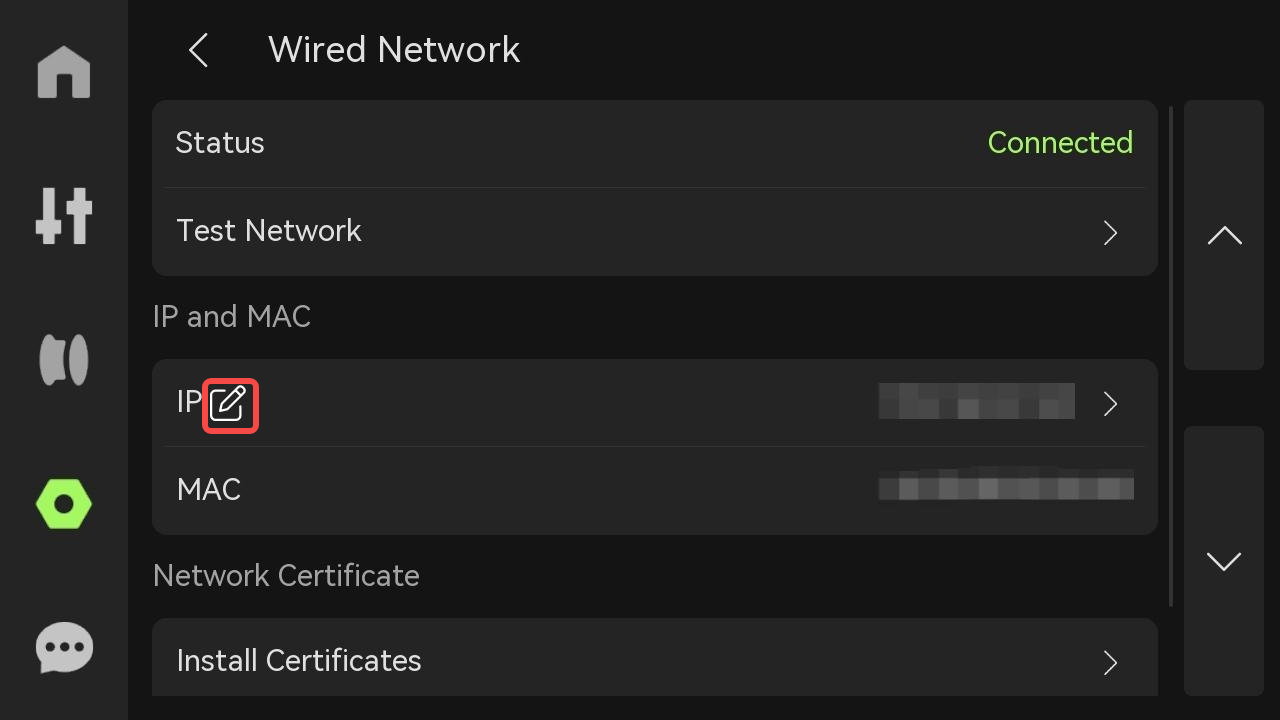
¶ Step 2: Select "Customized" to change the network settings according to your requirements

Note: With firmware updates, the user interface (UI) may undergo slight changes.