Wiki in additional languages can be found below:
¶ Video Guide
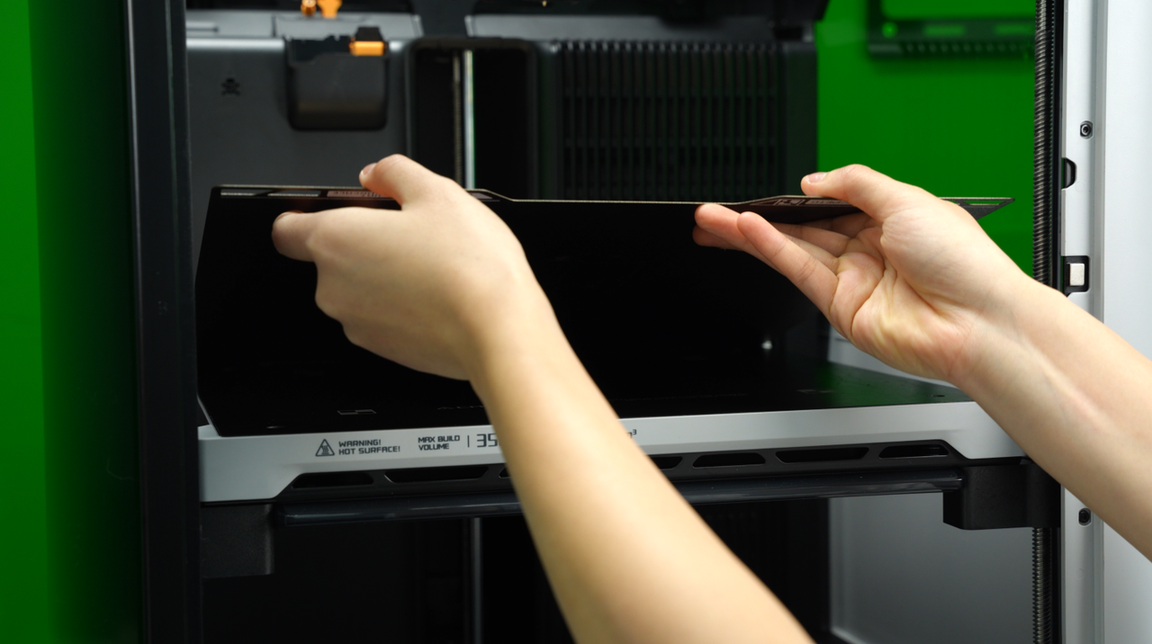
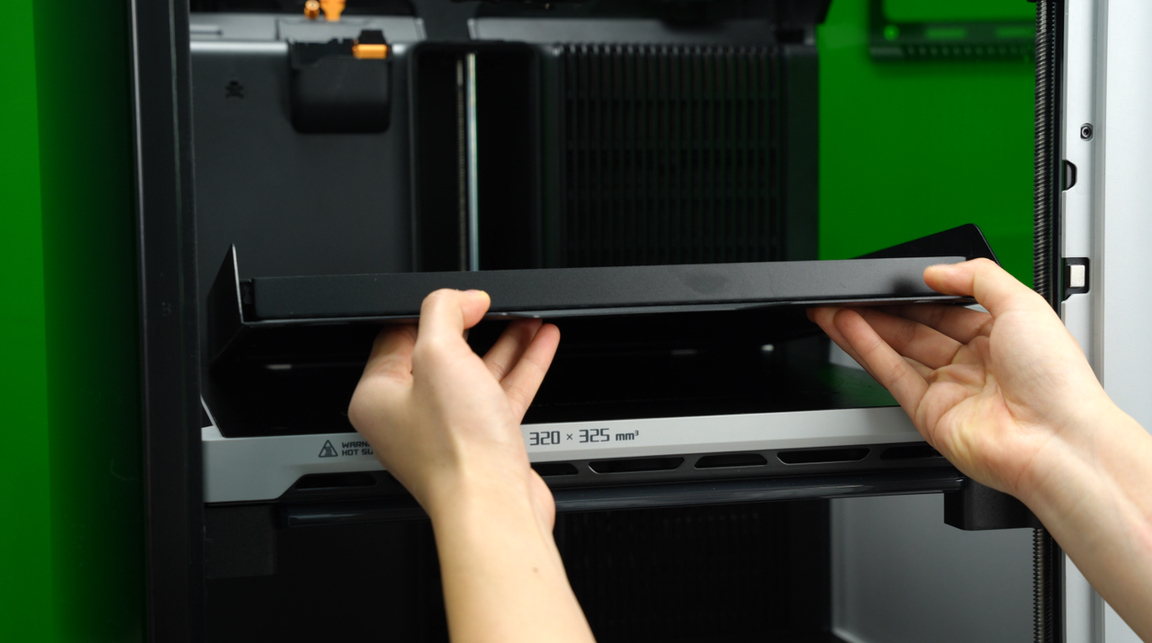
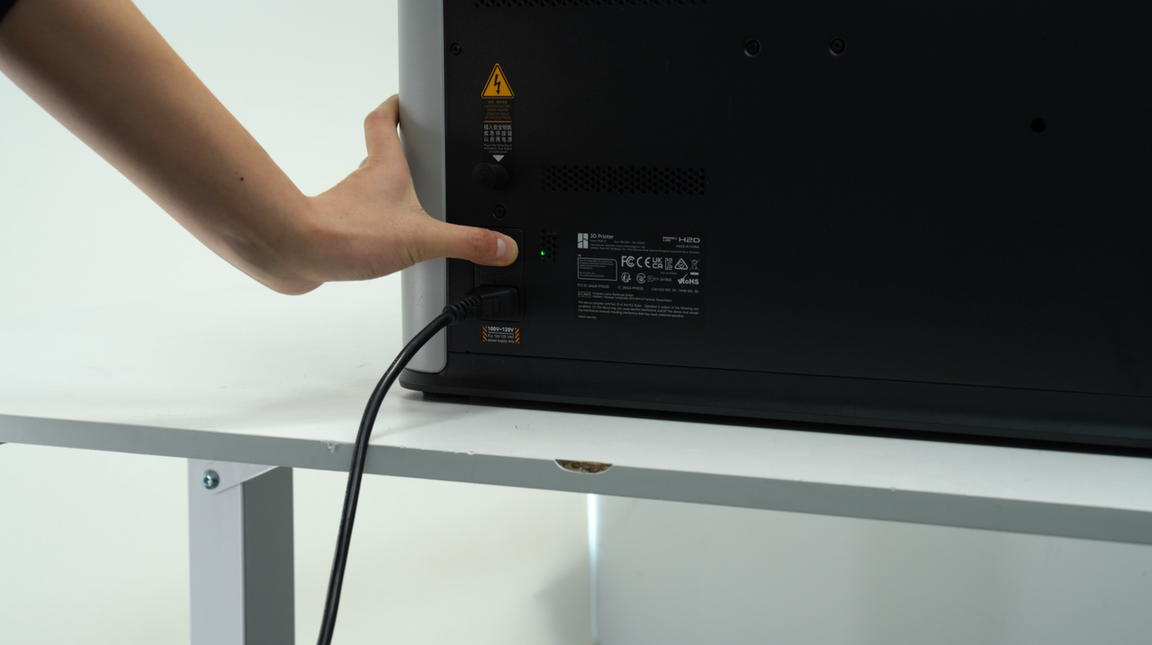
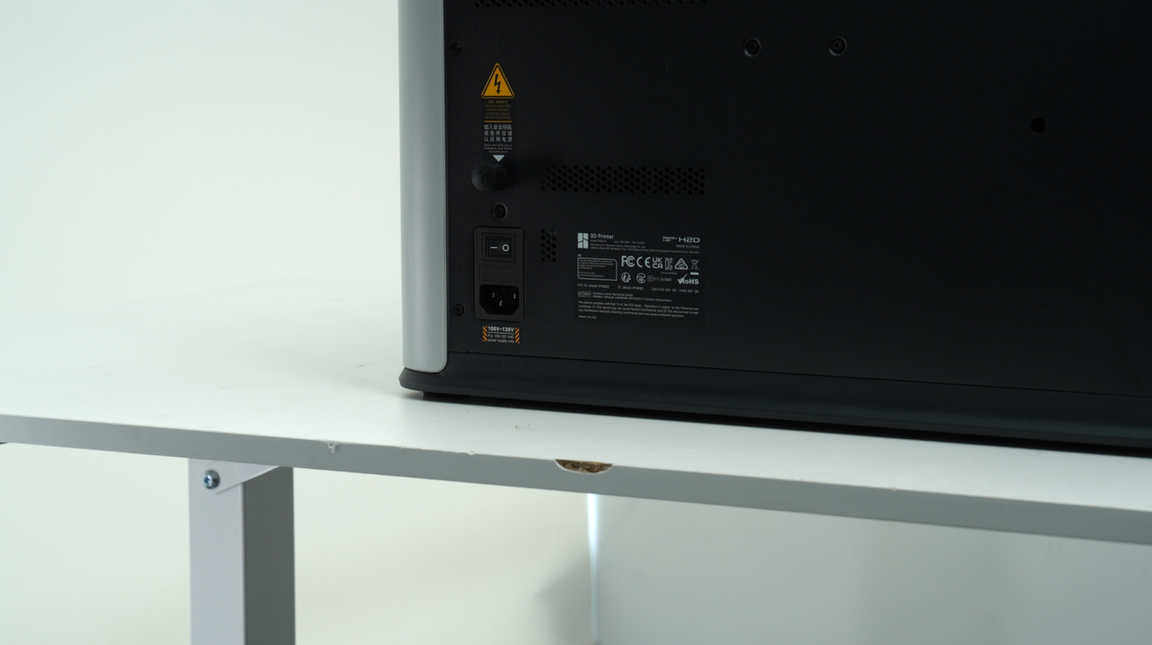
¶ 1. Remove the build plate and turn off the printer
Remove the build plate from the heatbed. If the height of the heatbed is too high for comfortable operation, lower the heatbed using the control on the screen.
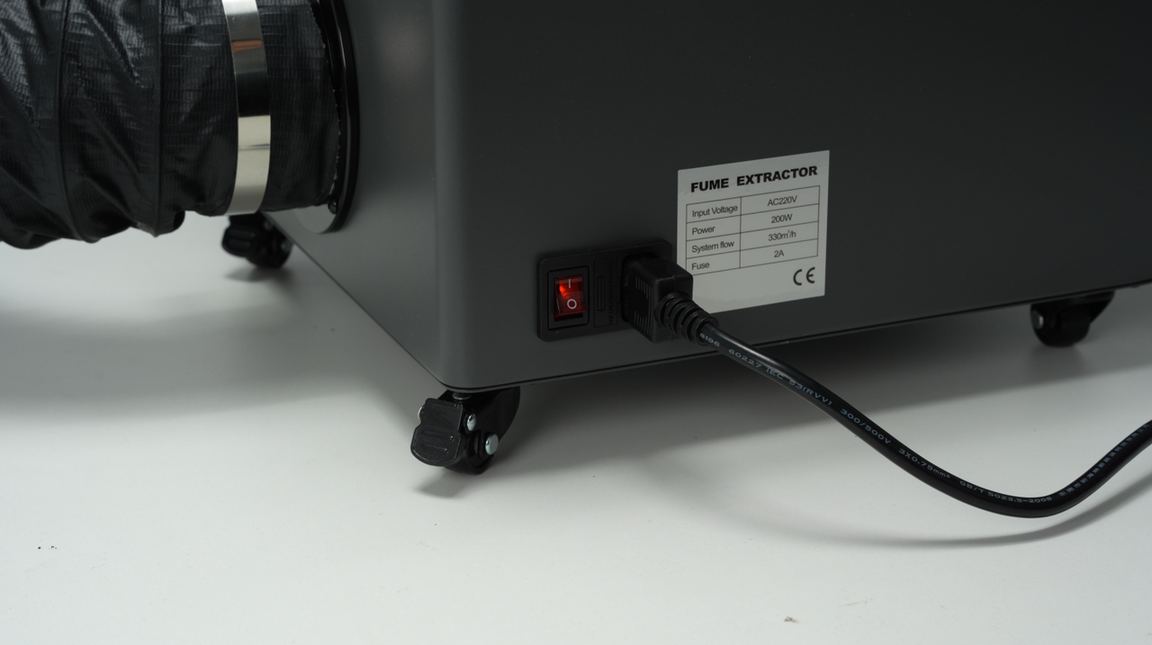
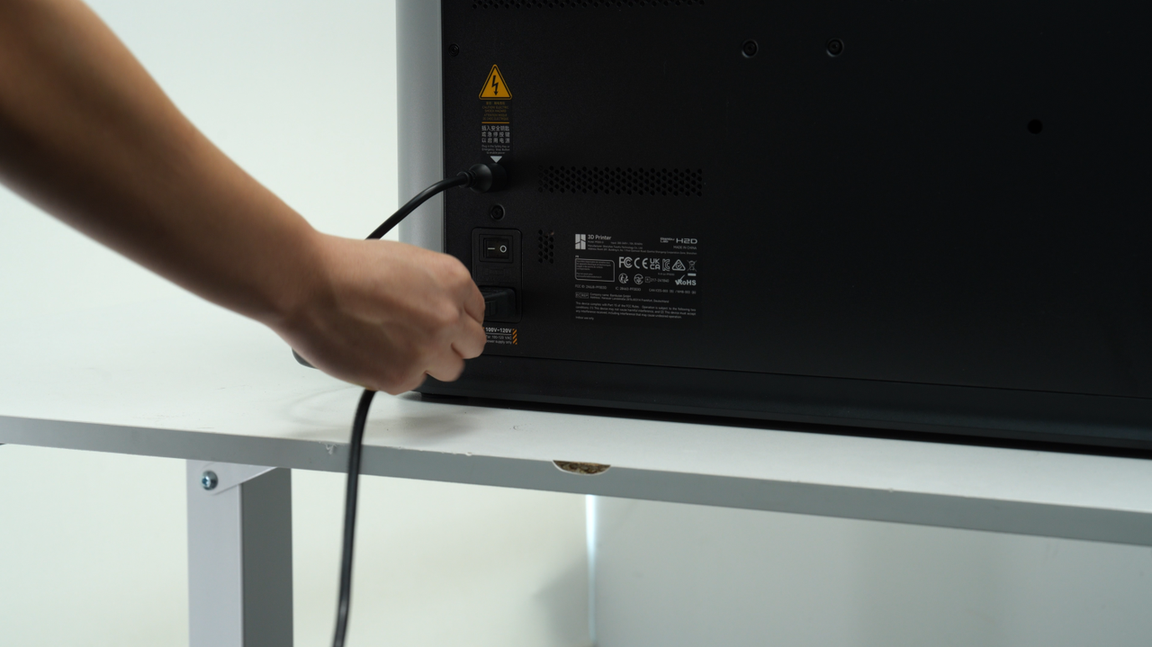
Turn off the power and unplug the power supply.
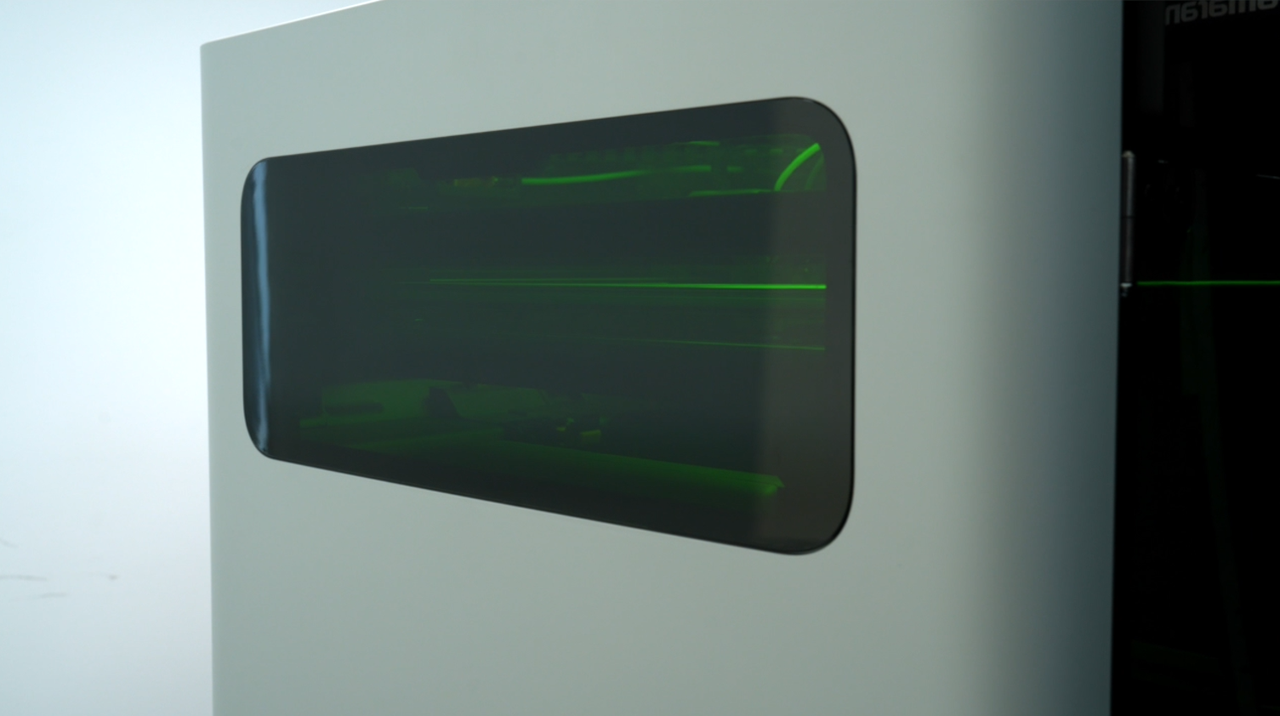
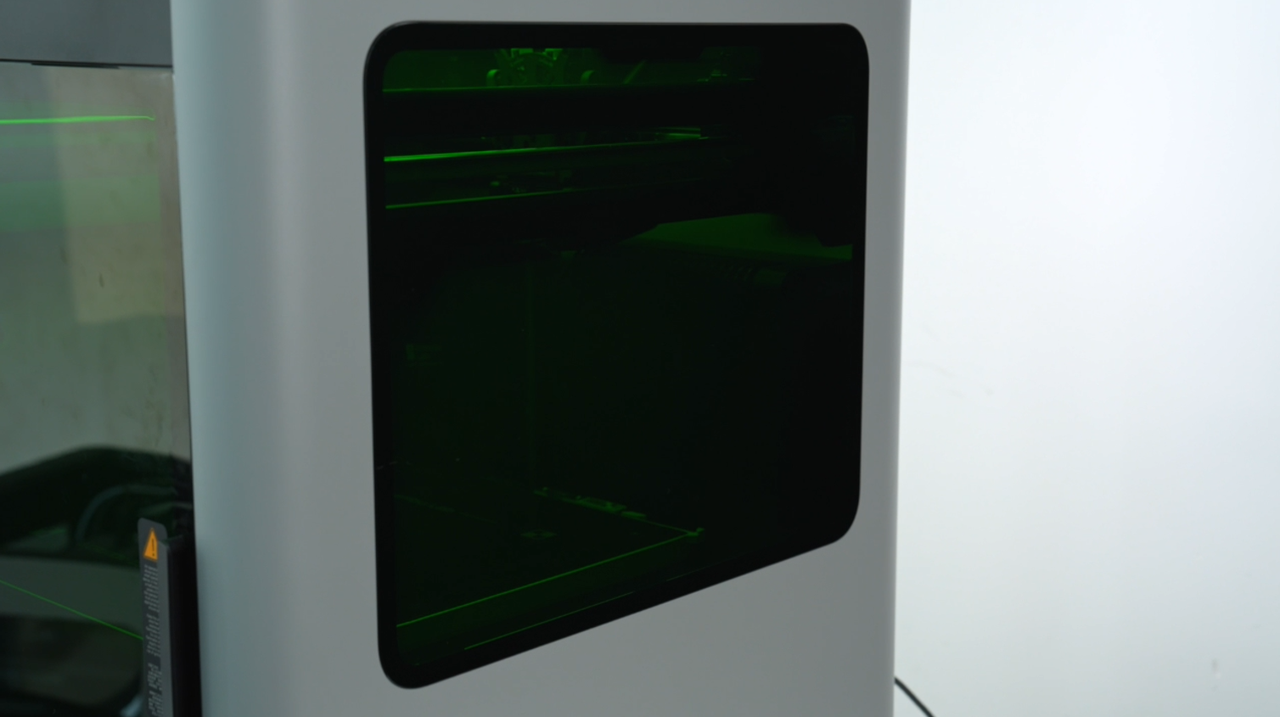
¶ 2. Ensure laser safety
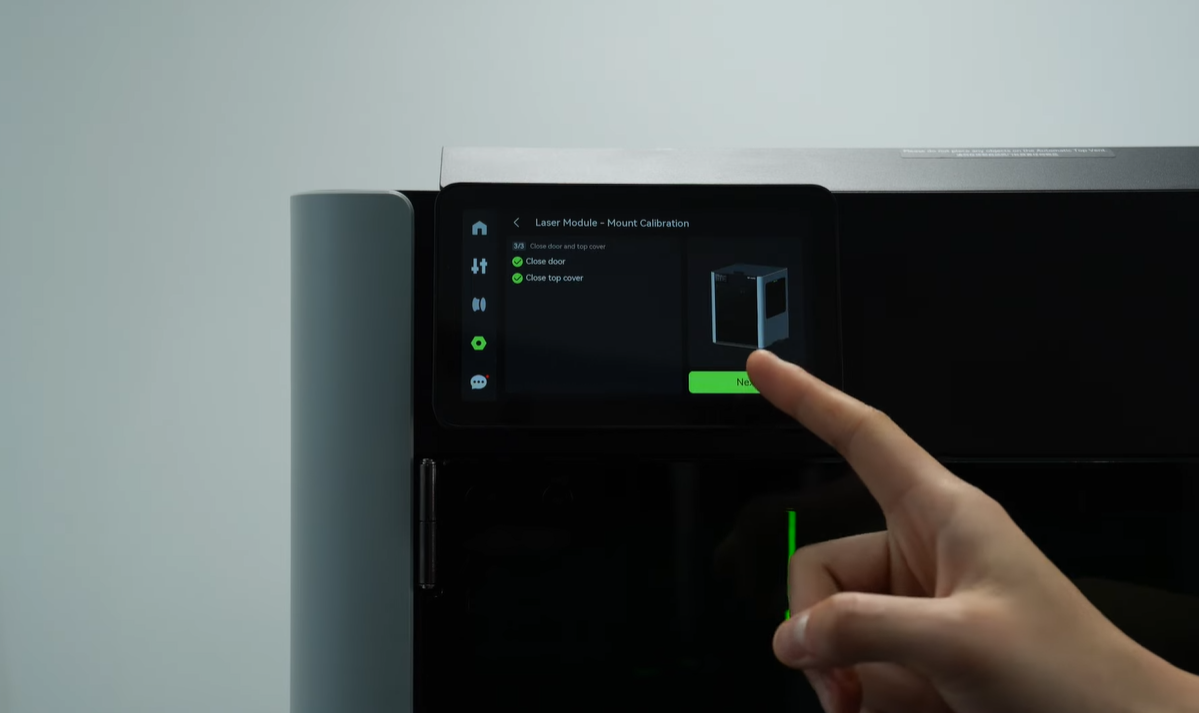
Ensure that the front door, side windows, and top cover are laser safety versions and remain closed during laser operation.
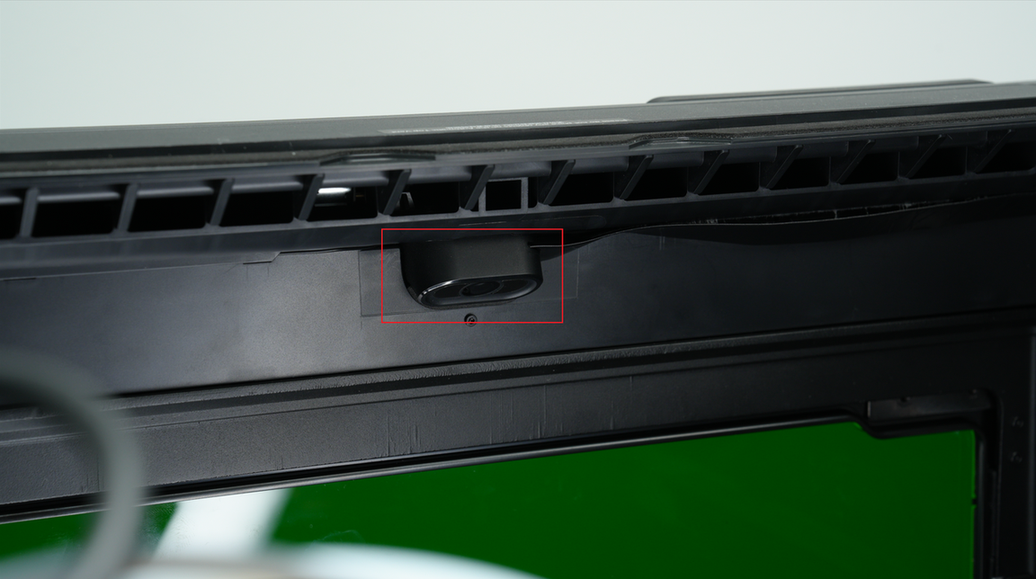
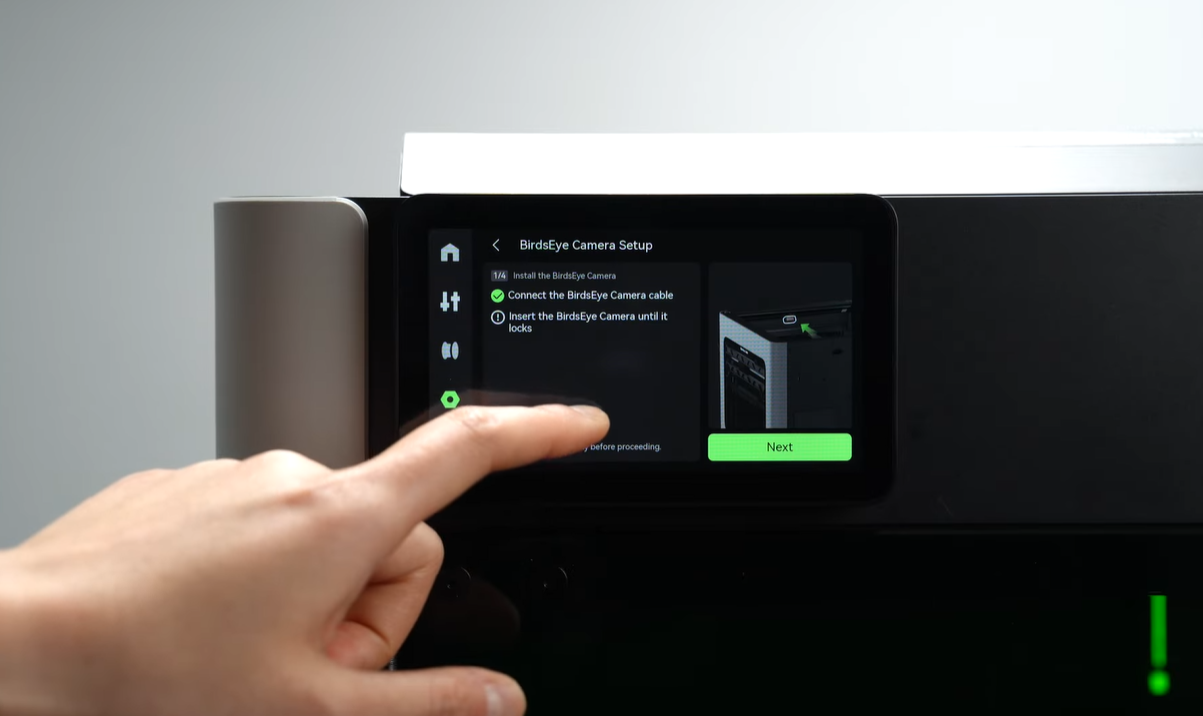
¶ 3. Ensure that the Birdseye camera is installed
The Birdseye camera is located above the frame of the front door.
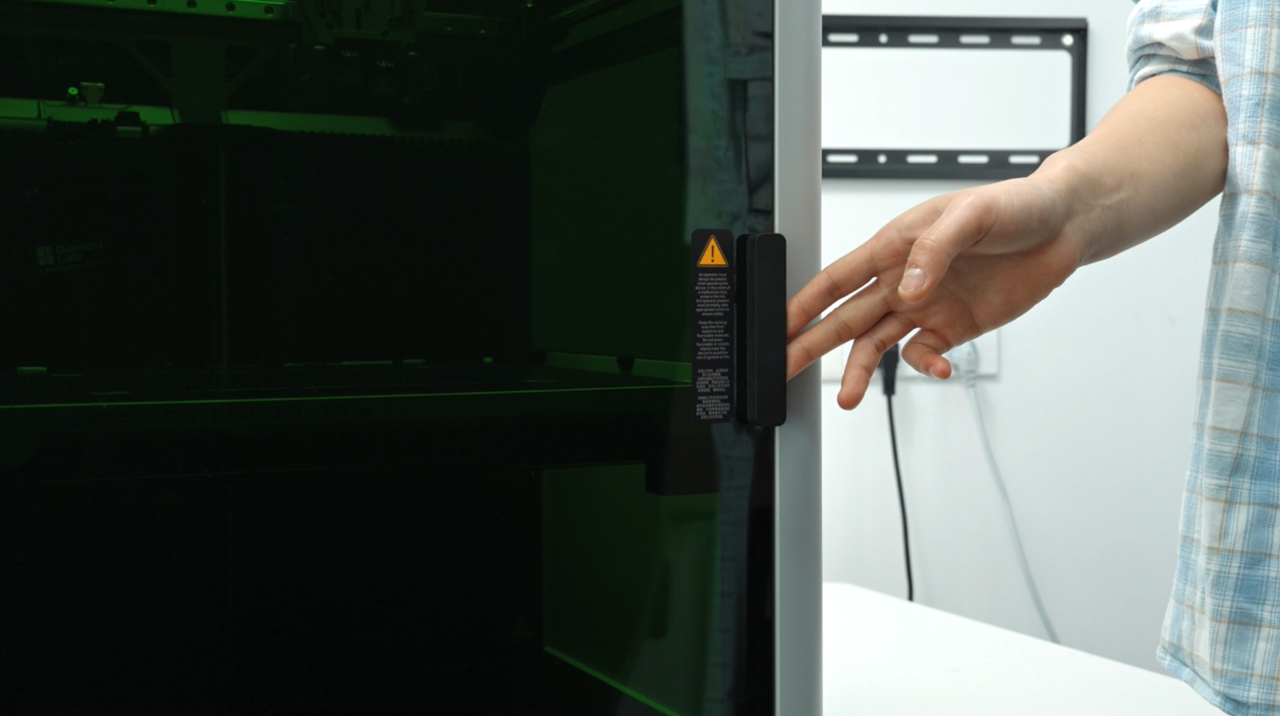
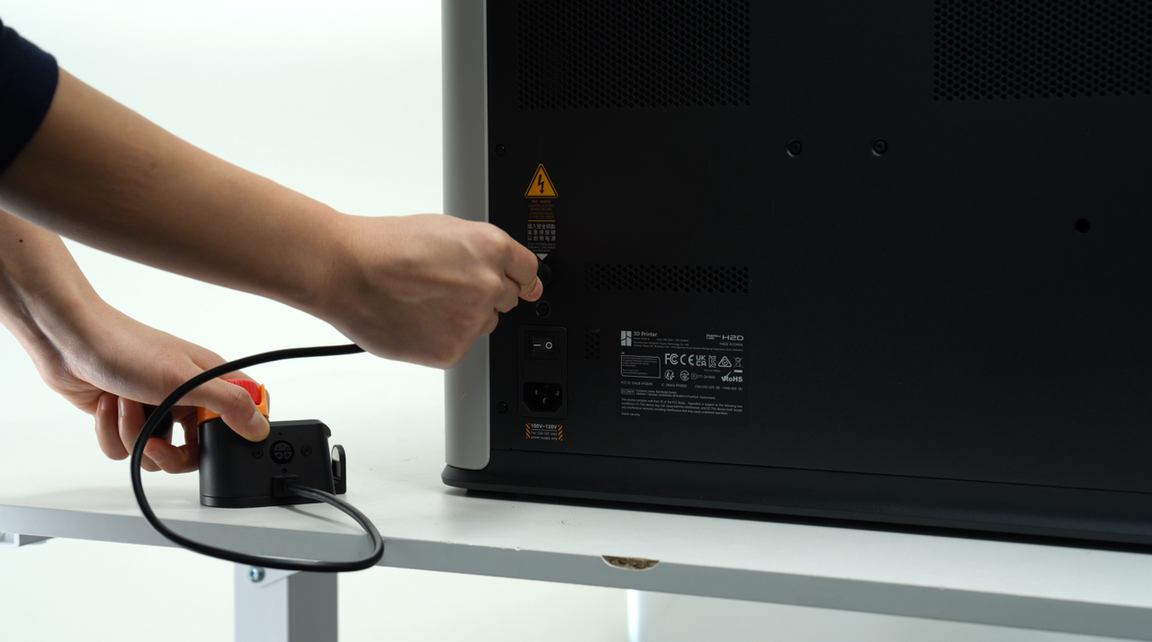
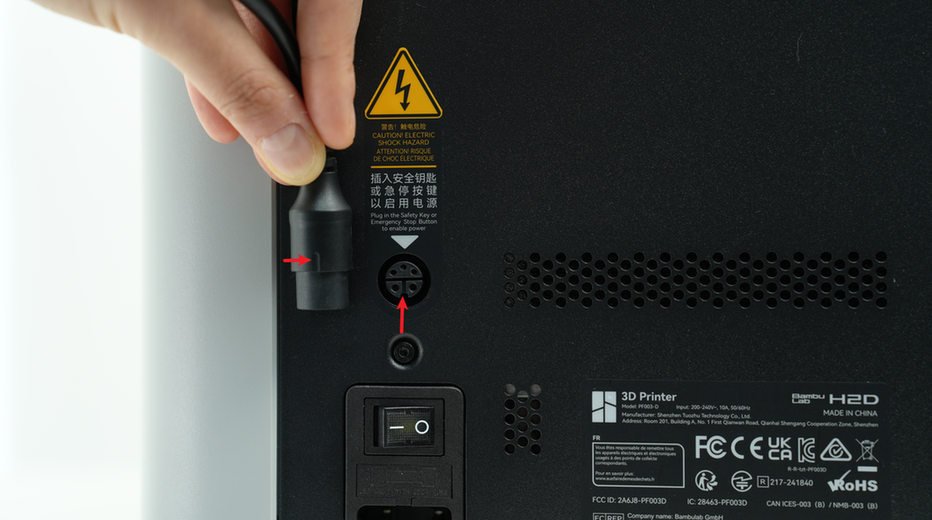
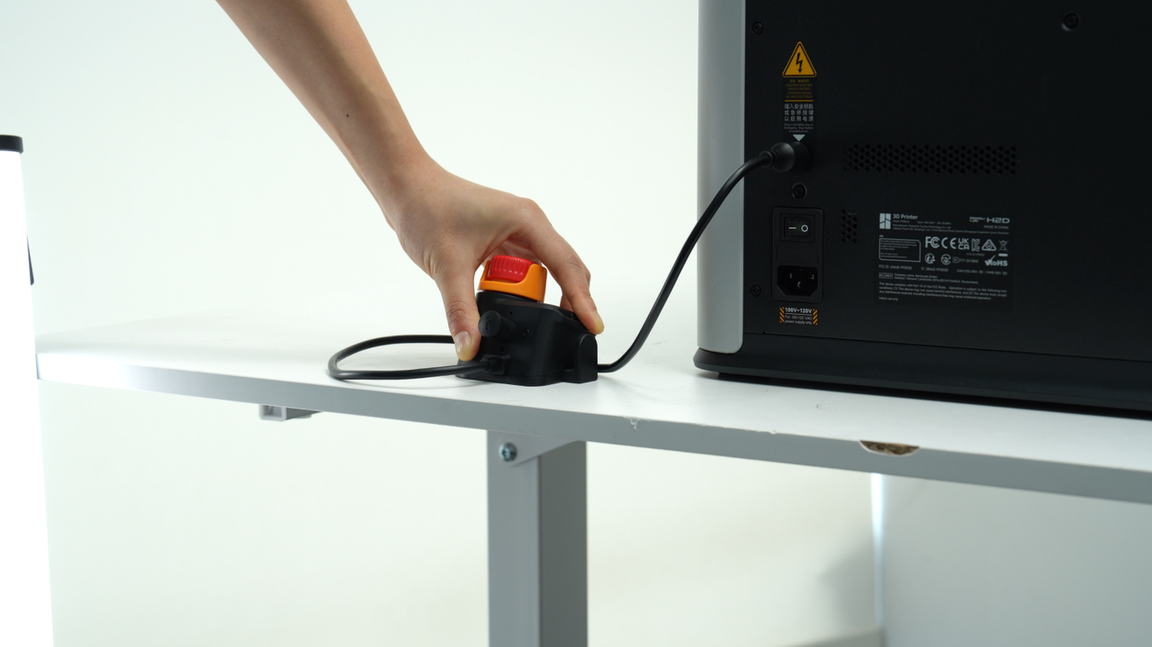
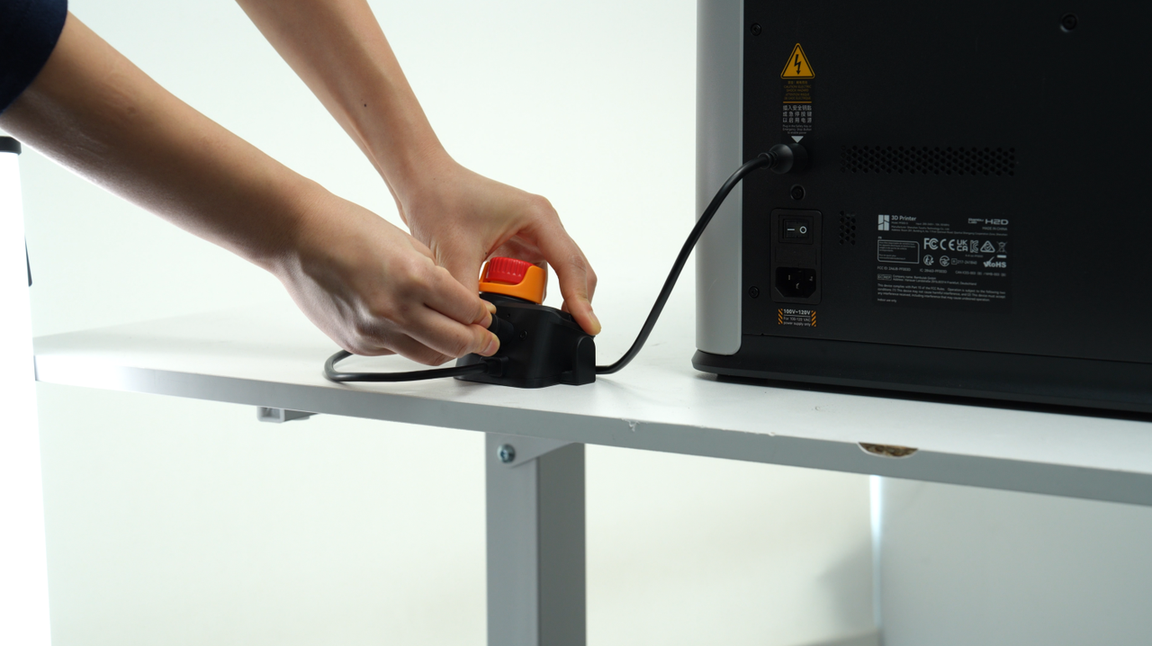
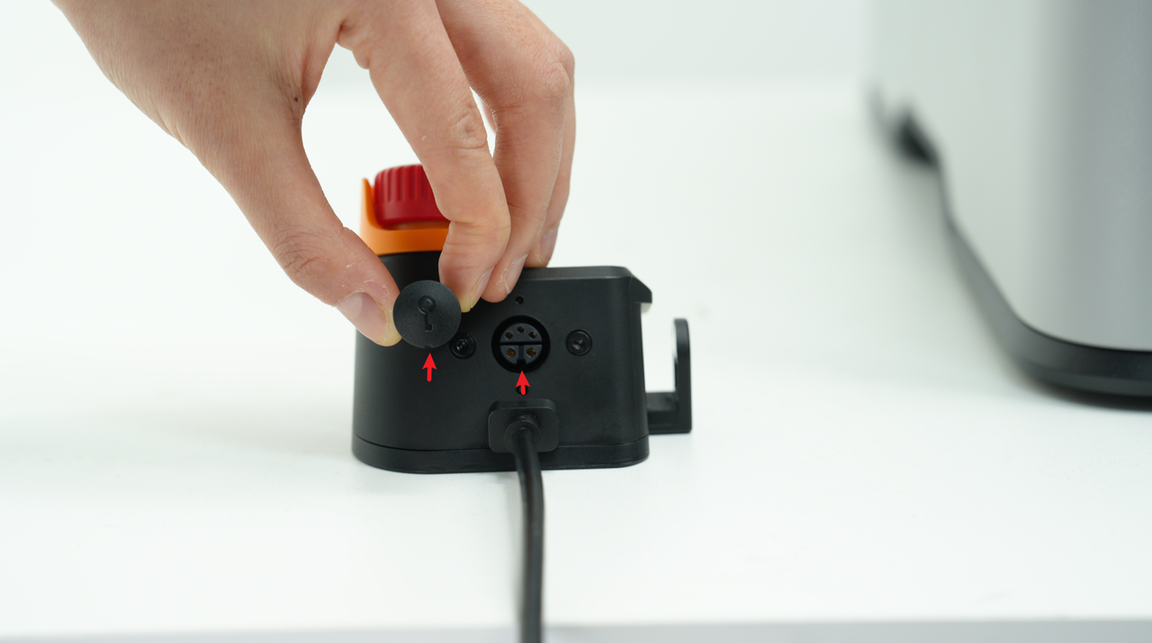
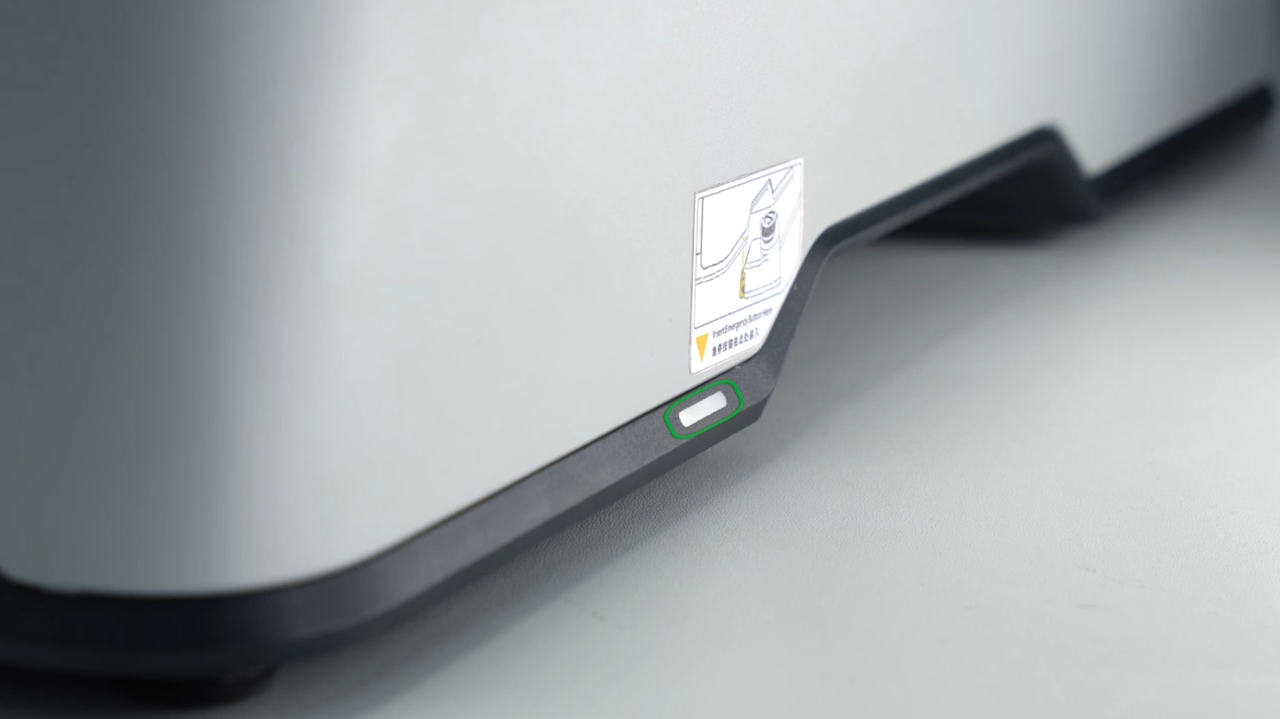
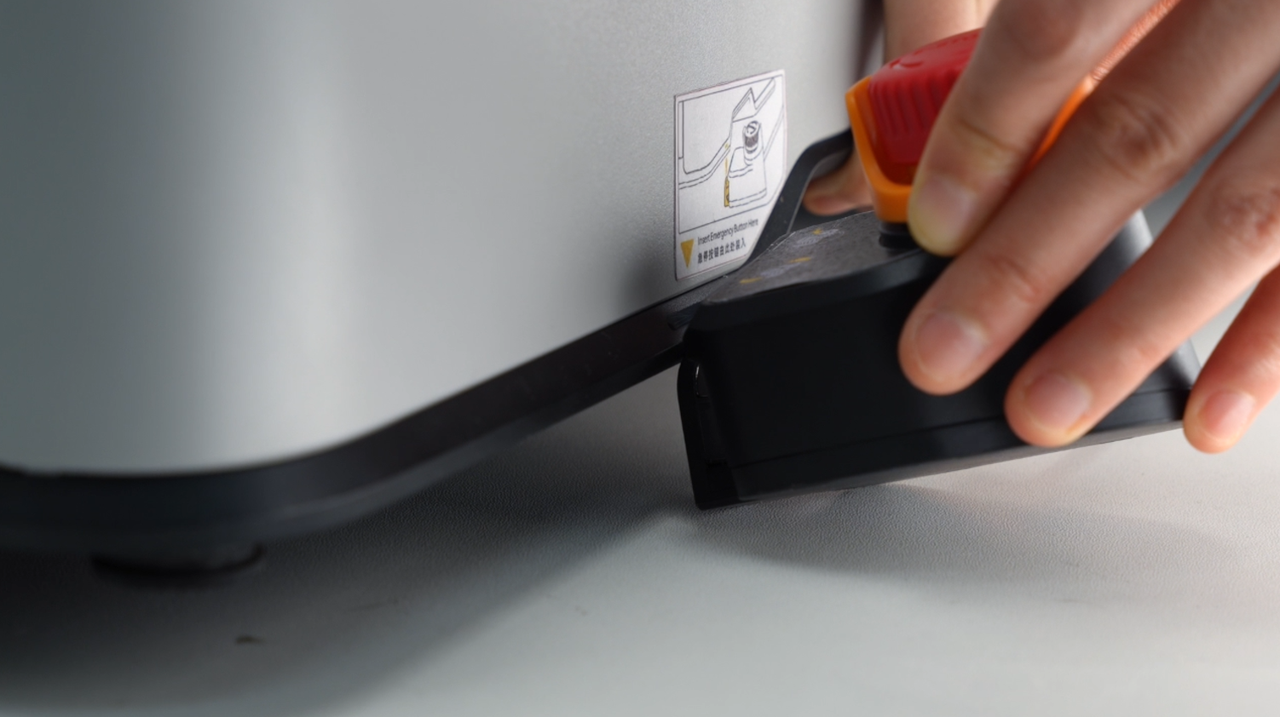
¶ 4. Install the emergency stop button
Remove the safety key from the back of the machine, insert the emergency stop button cable, and check if the safety key is inserted into the keyhole on the emergency stop button.
If it is not inserted, please follow the instructions shown in the video to insert the key. Please note that the emergency stop button cable plug and safety key have a specific orientation for the socket.
There is a pre-installed safety key on the back of the machine and one on the emergency stop button. Please ensure that the safety key from the back of the machine is stored securely to prevent it from being lost.

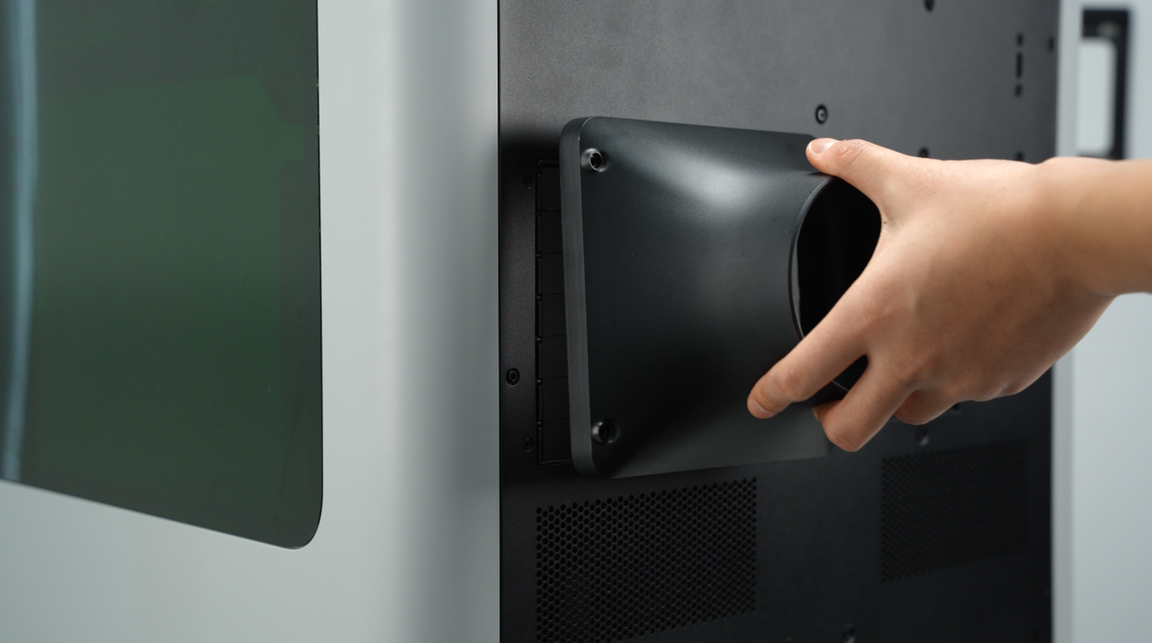
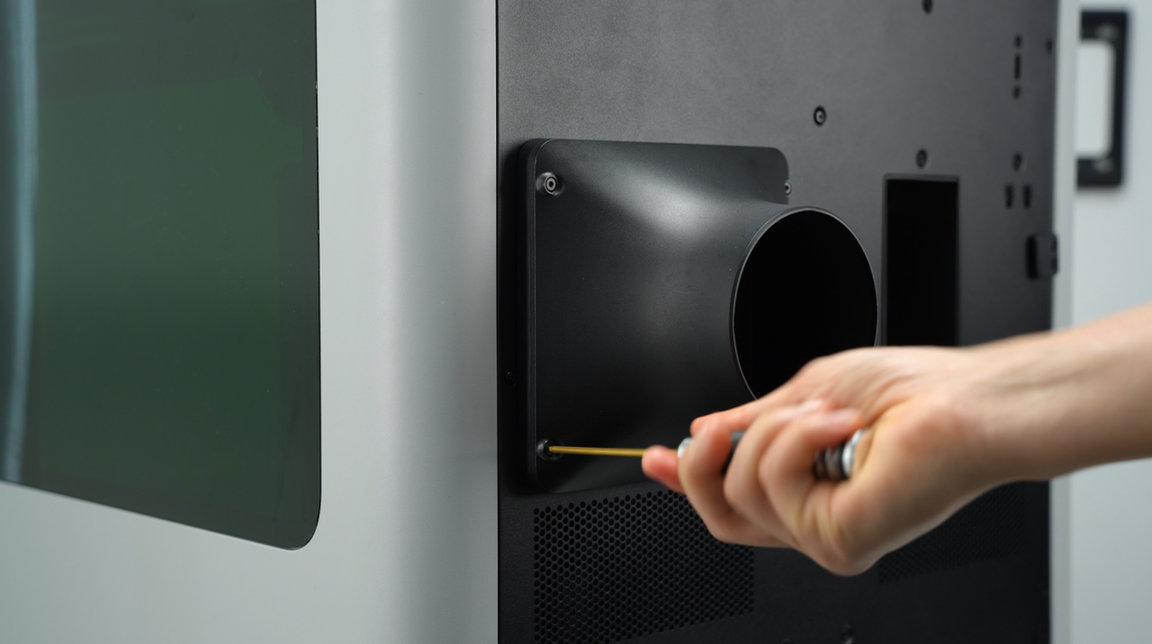
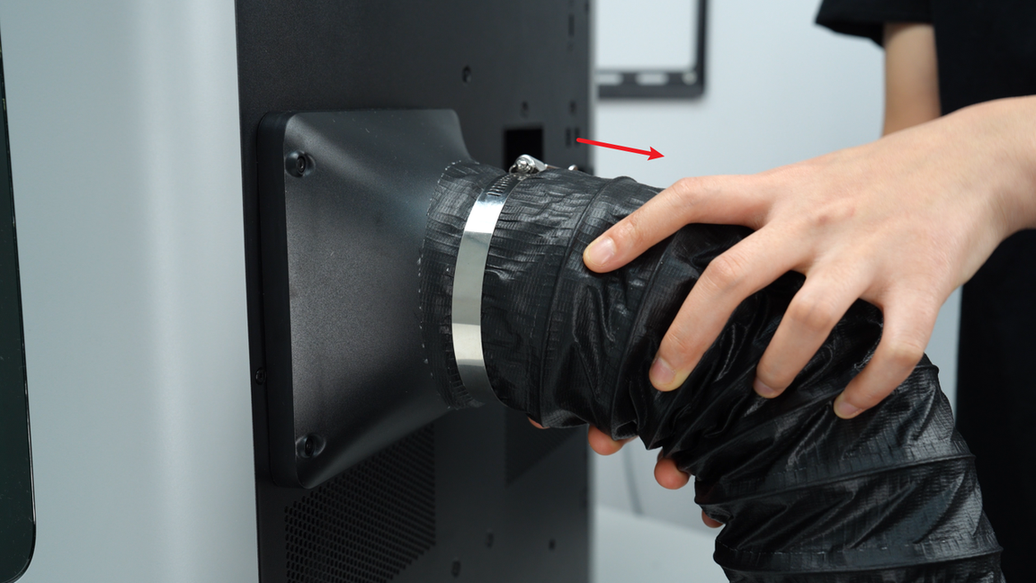
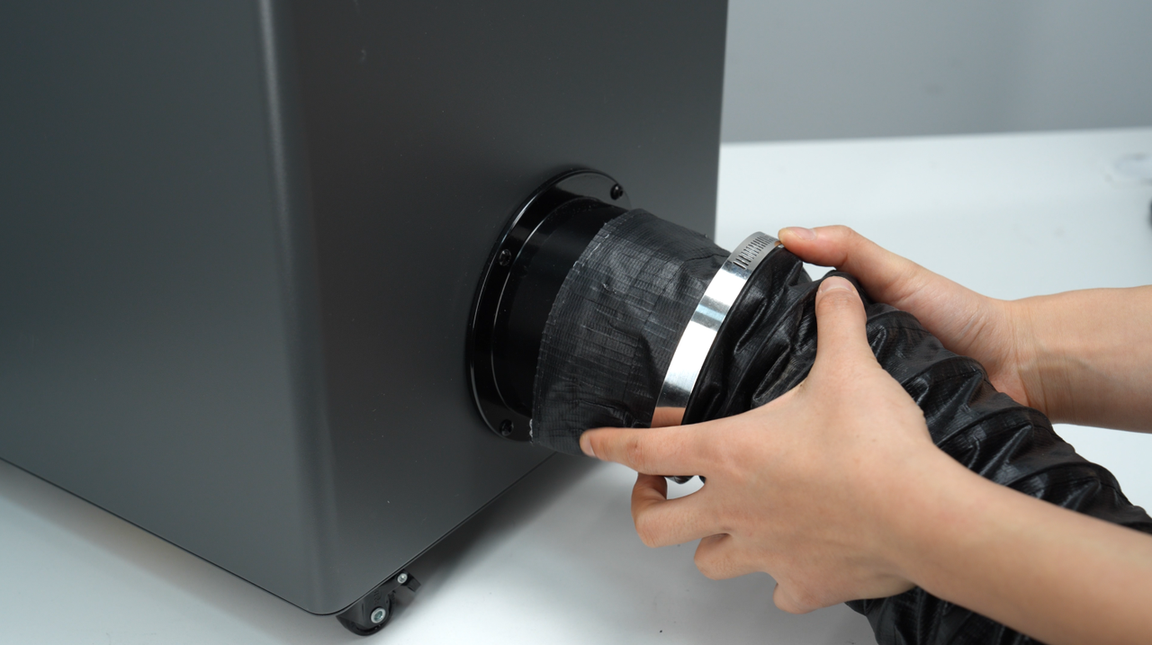
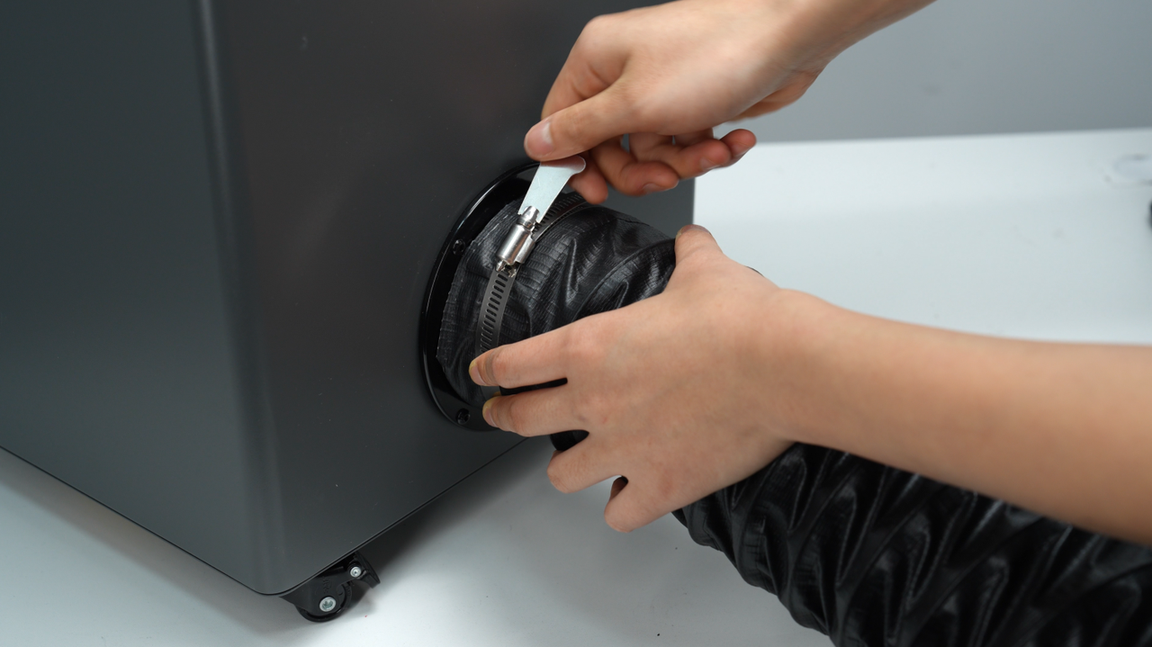
¶ 5. Install Smoke Ventilation Pipe
Use an H2.0 Allen key and 4*BT3-20 screws to fix the adapter on the active chamber exhaust.

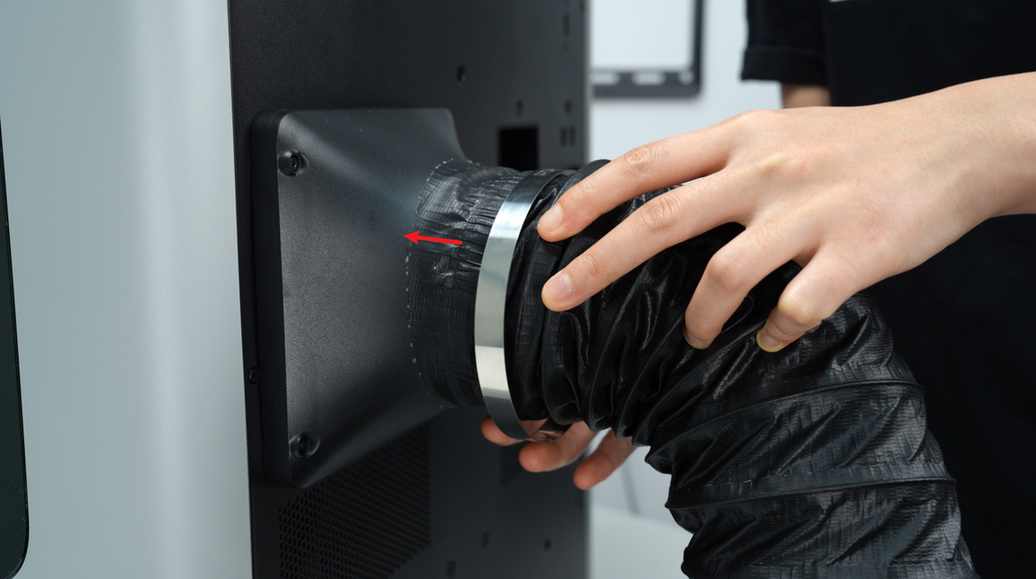
Install the pipe clamp to one end of the pipe.(Smoke Ventilation Pipe diameter: 100 mm, length: 2 m)

Completely wrap the end of the pipe with the clamp on the adapter.
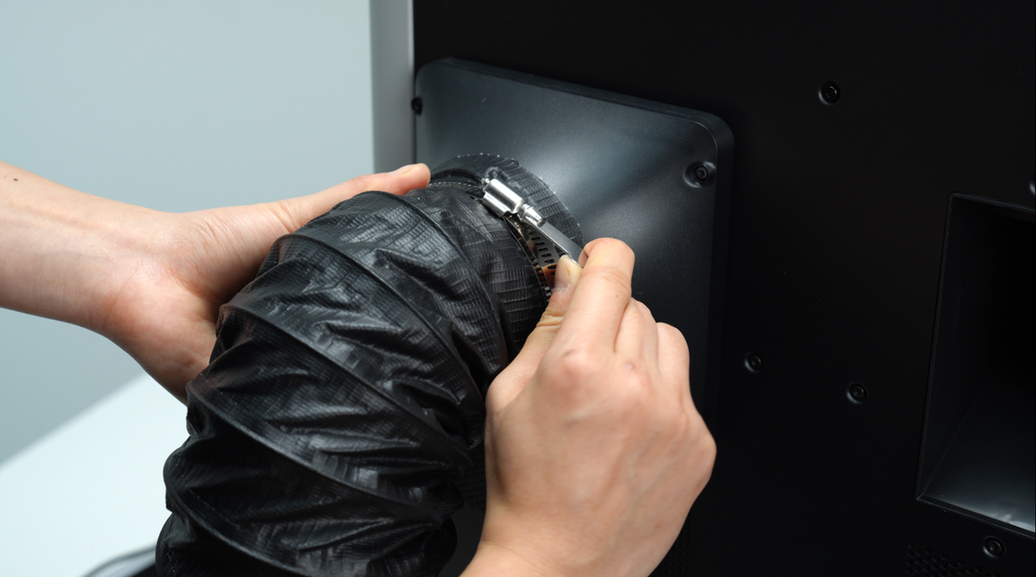
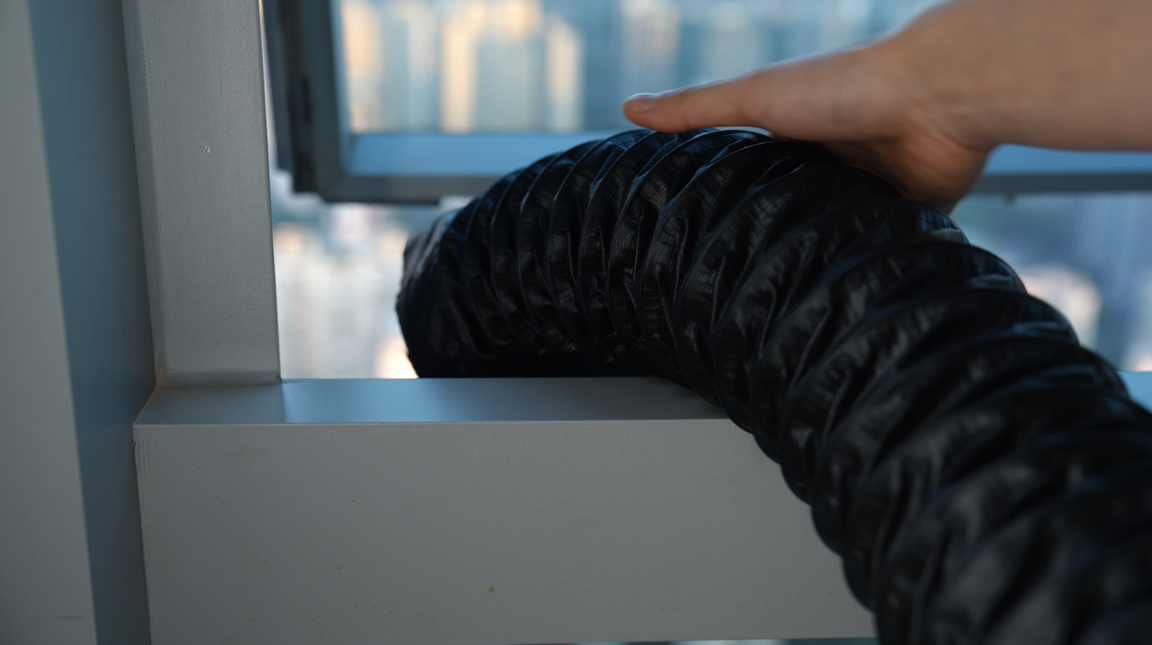
Secure the clamp by turning the key clockwise, and then route the other end outdoors. Before exhausting the ventilated air outside, confirm compliance with local laws and regulations to ensure it does not negatively impact the surrounding environment.
Please make sure to secure the clamp to prevent the pipe from detaching.

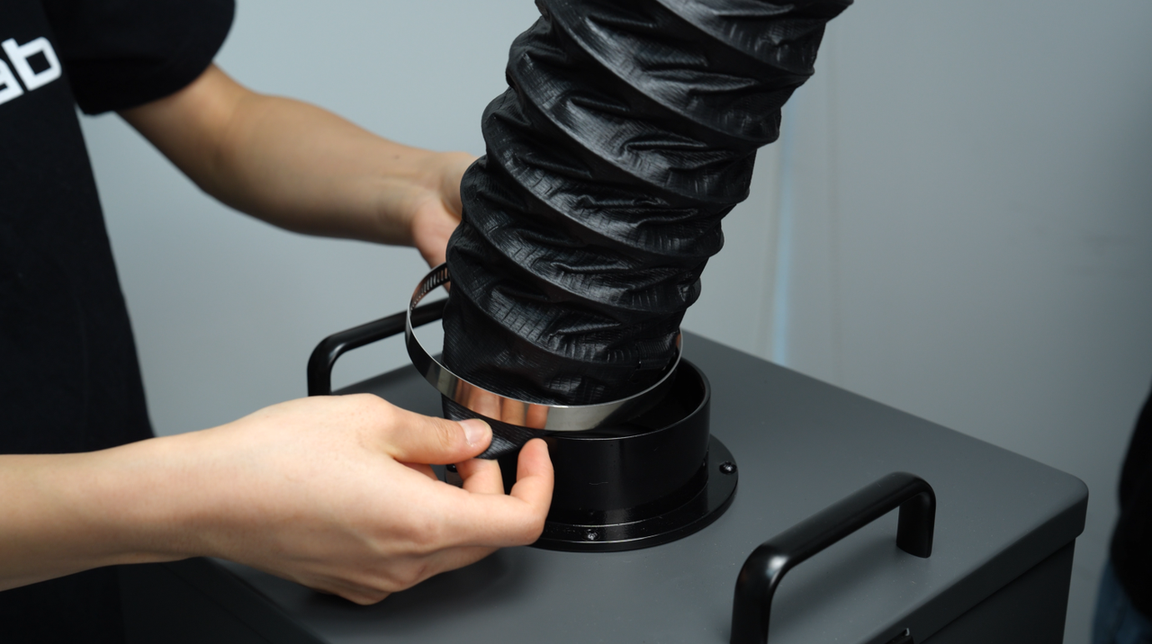
You can also use a smoke purifier for ventilation (available to purchase separately).
Connect the other end of the smoke ventilation pipe at the back of the printer to the air inlet of the smoke purifier.
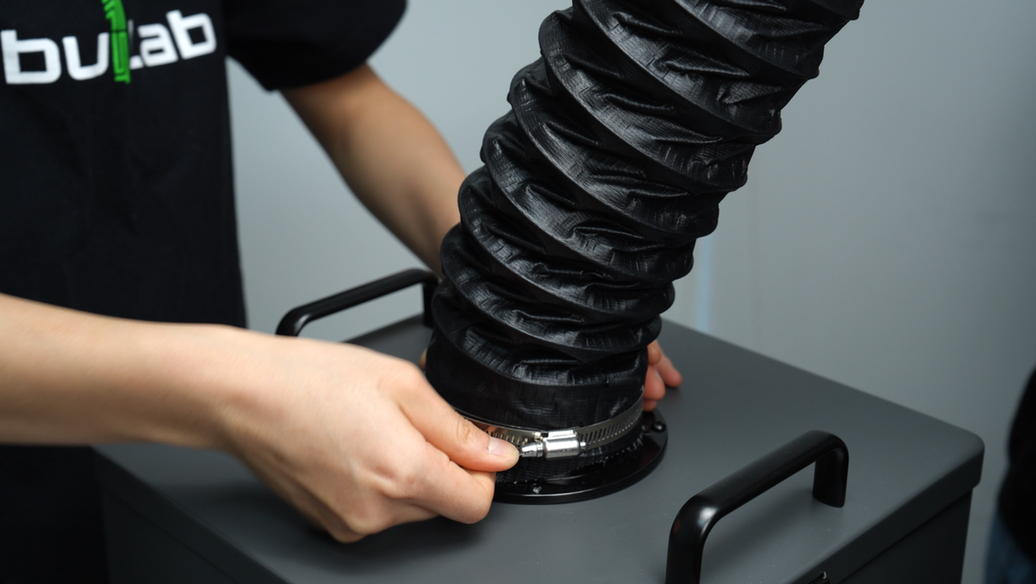
Connect another smoke ventilation pipe to the outlet of the smoke purifier.
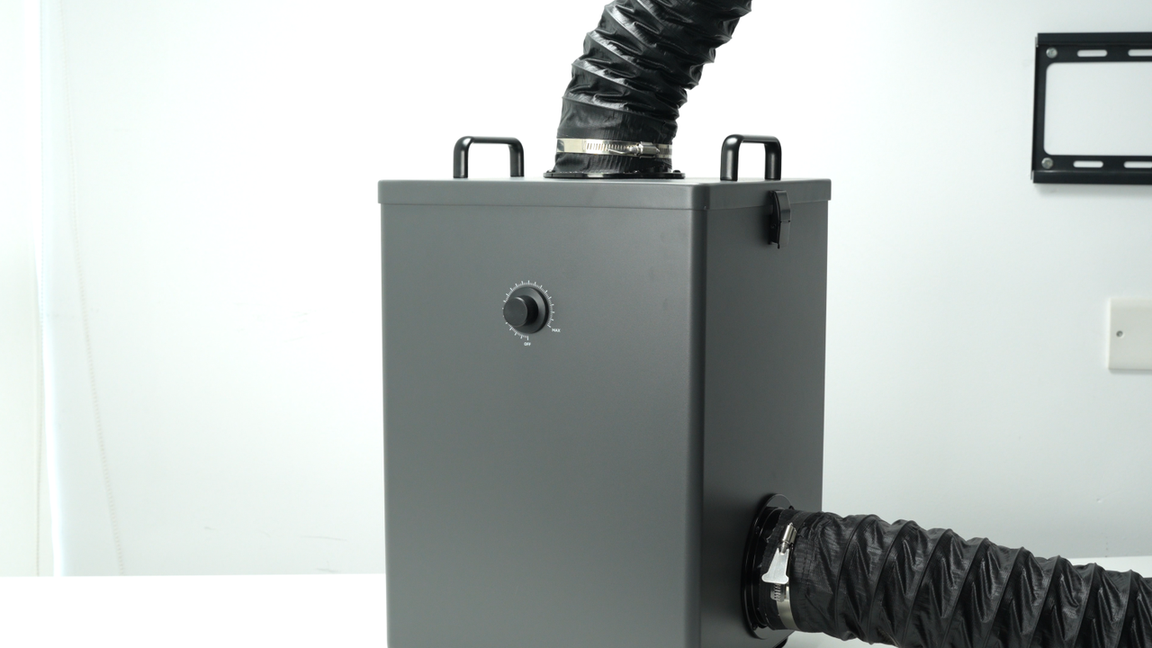
Then, connect the other end of the second smoke ventilation pipe to the outside to allow for the filtered discharge from the smoke purifier to be released outdoors.
Note: After powering on, the smoke purifier can adjust the airflow using the knob, and the filter cartridge needs to be replaced regularly.

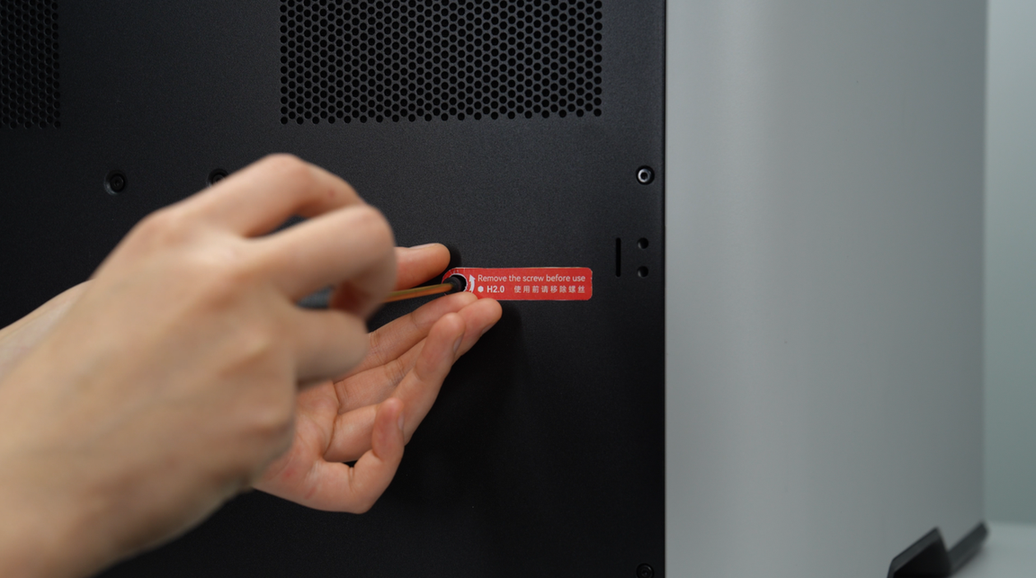
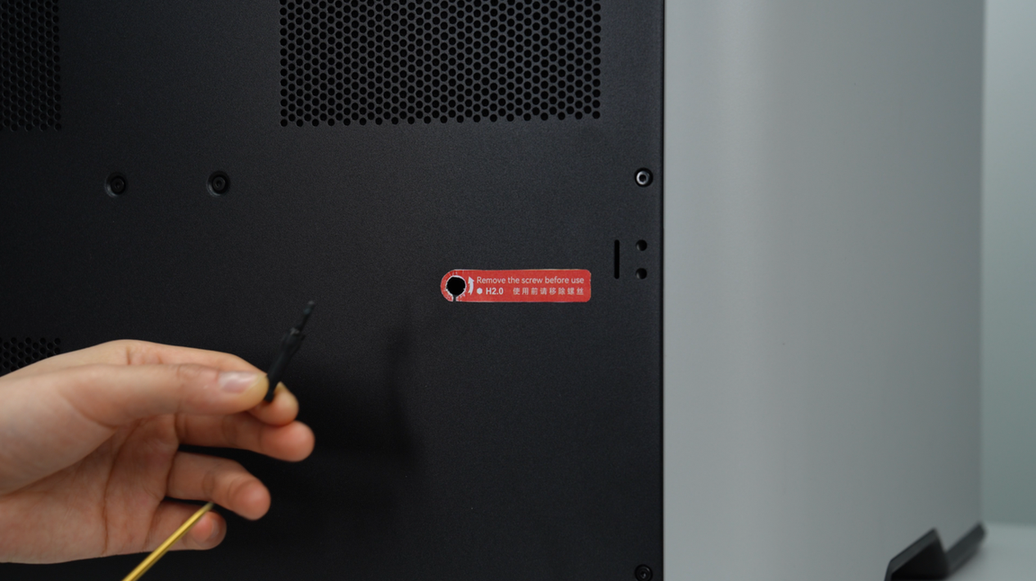
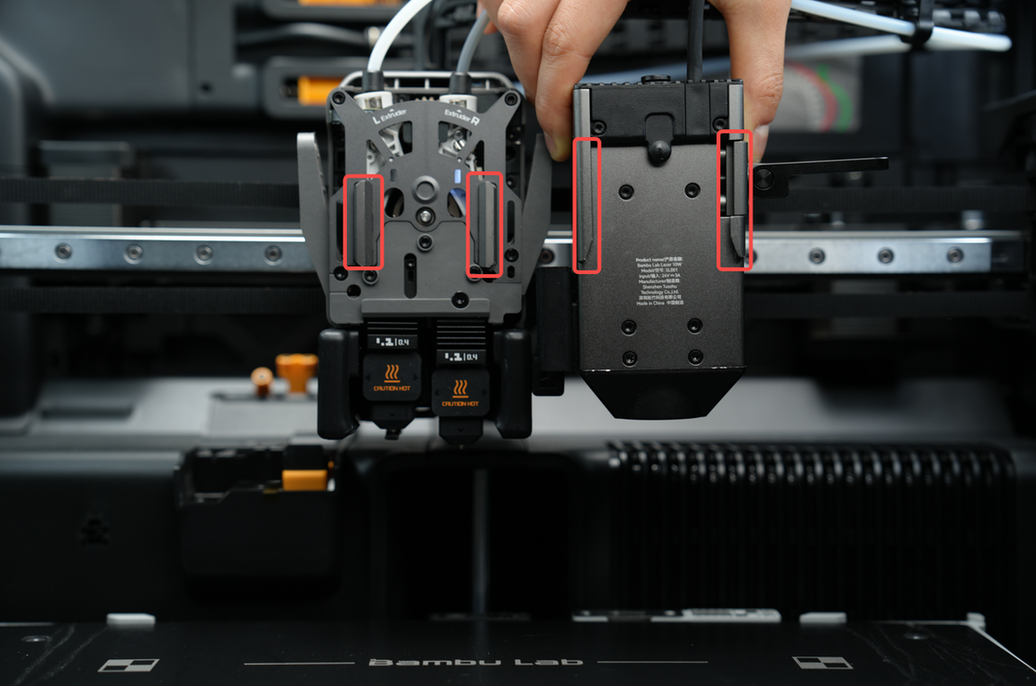
¶ 6. Remove the screw fixing the air pump
Use the H2.0 Allen key to loosen the air pump fixing screw marked in red.
Once you see the screw head, catch the screw with your hand and slowly remove it to avoid it falling into the printer.
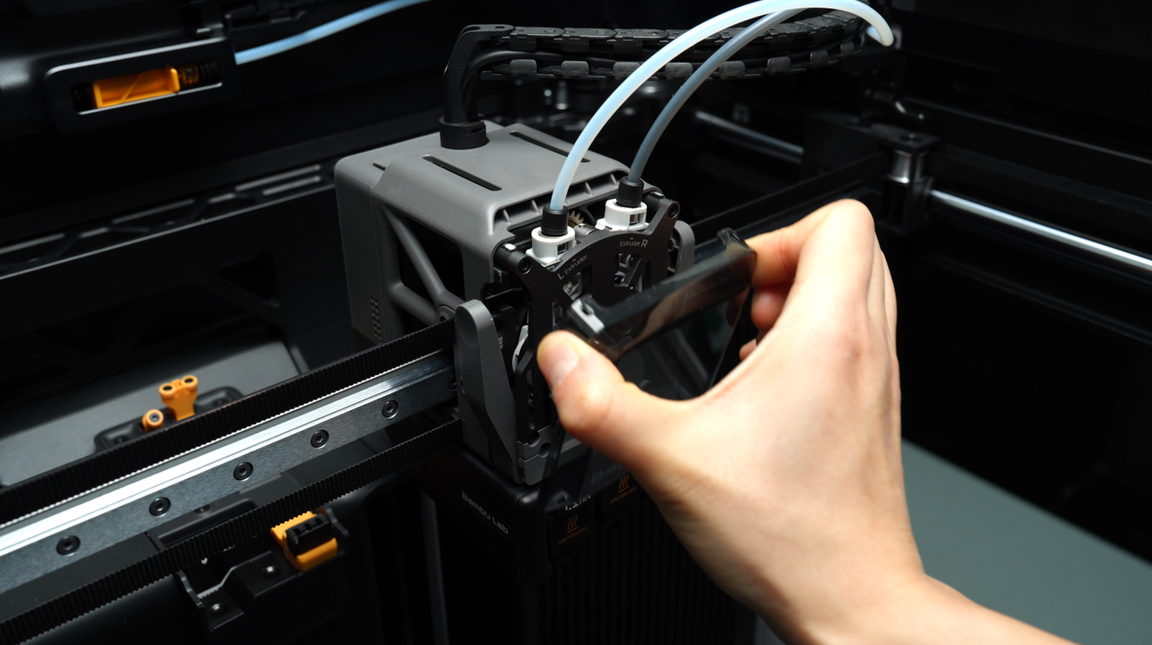
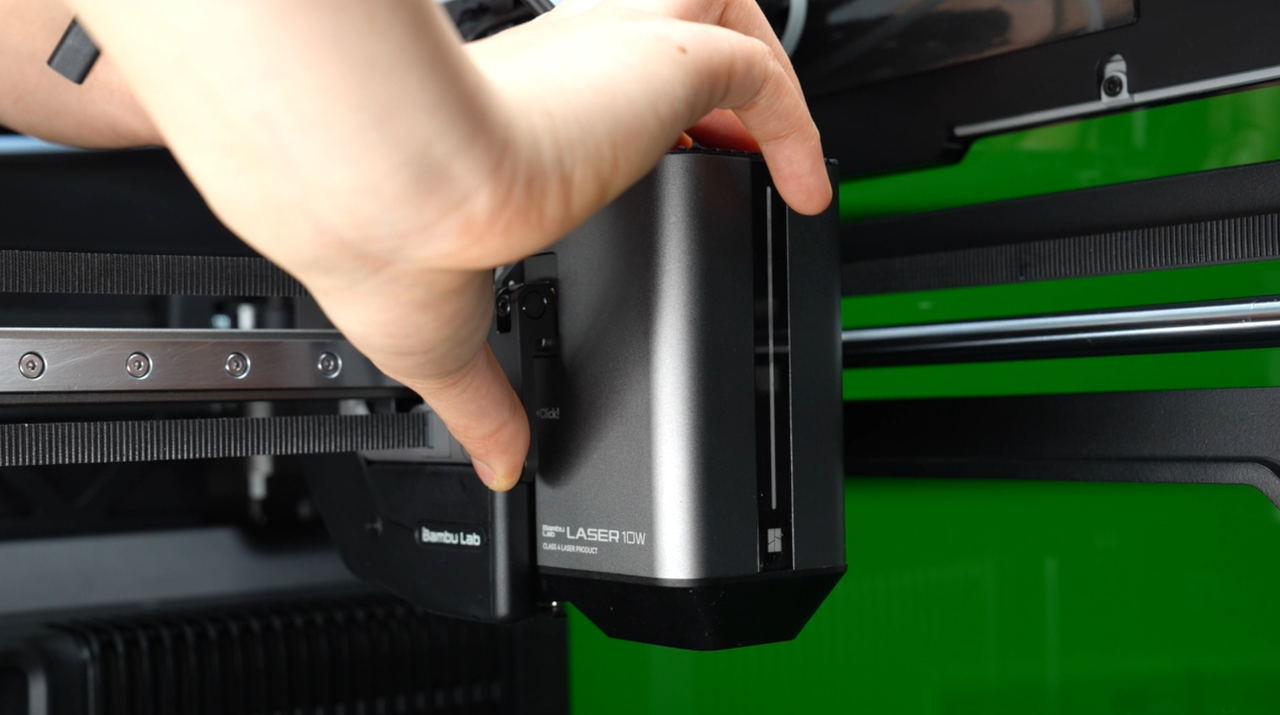
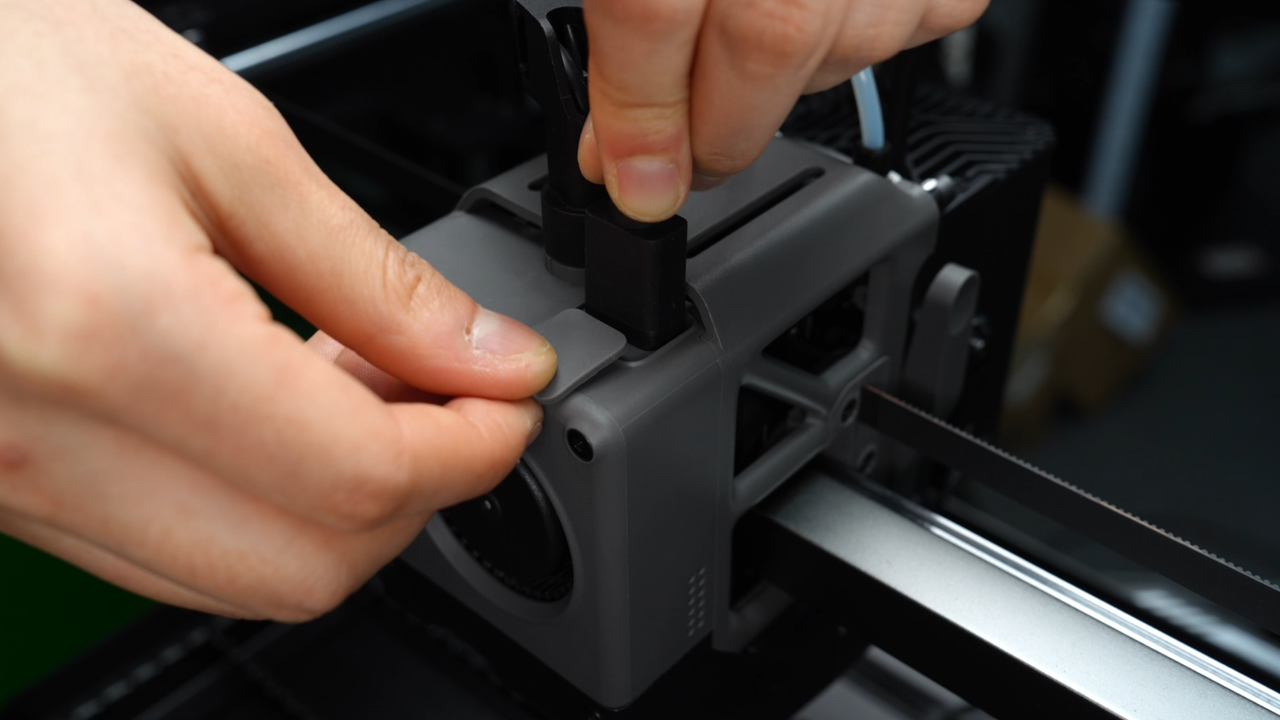
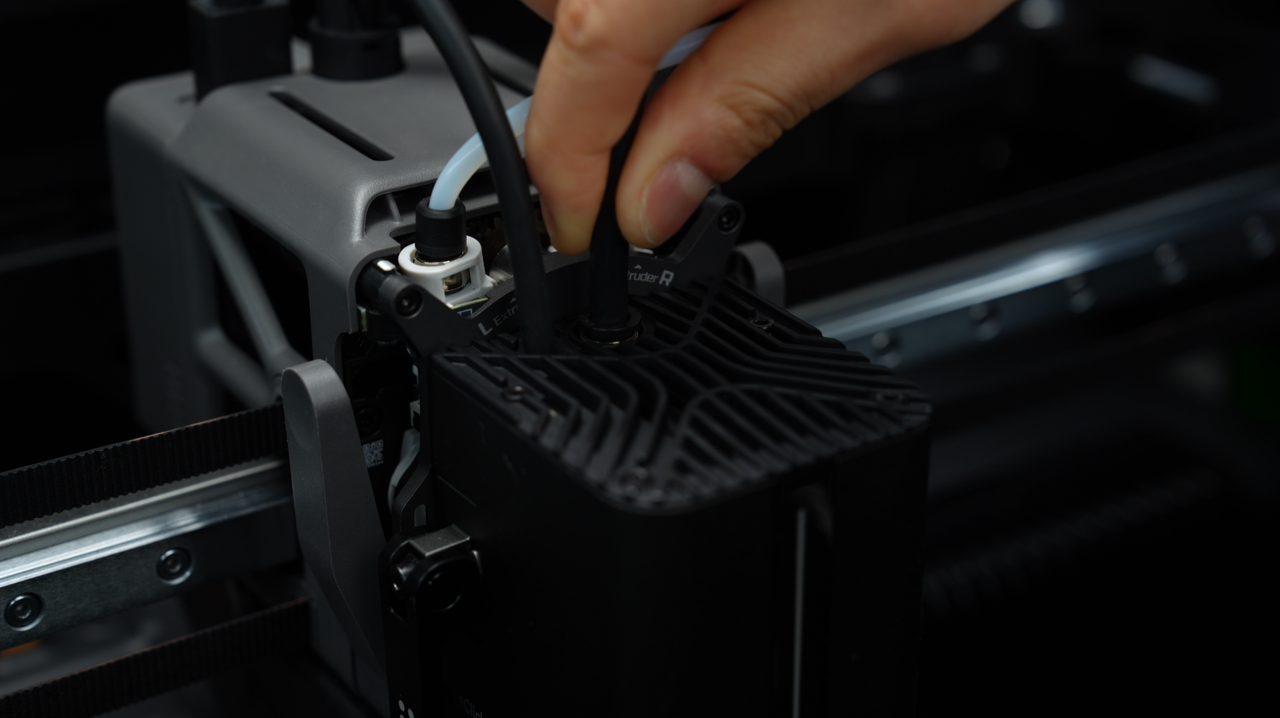
¶ 7. Install the laser module onto the printer and connect the cables and air assist tube
Press the two top corners of the front cover and remove it.
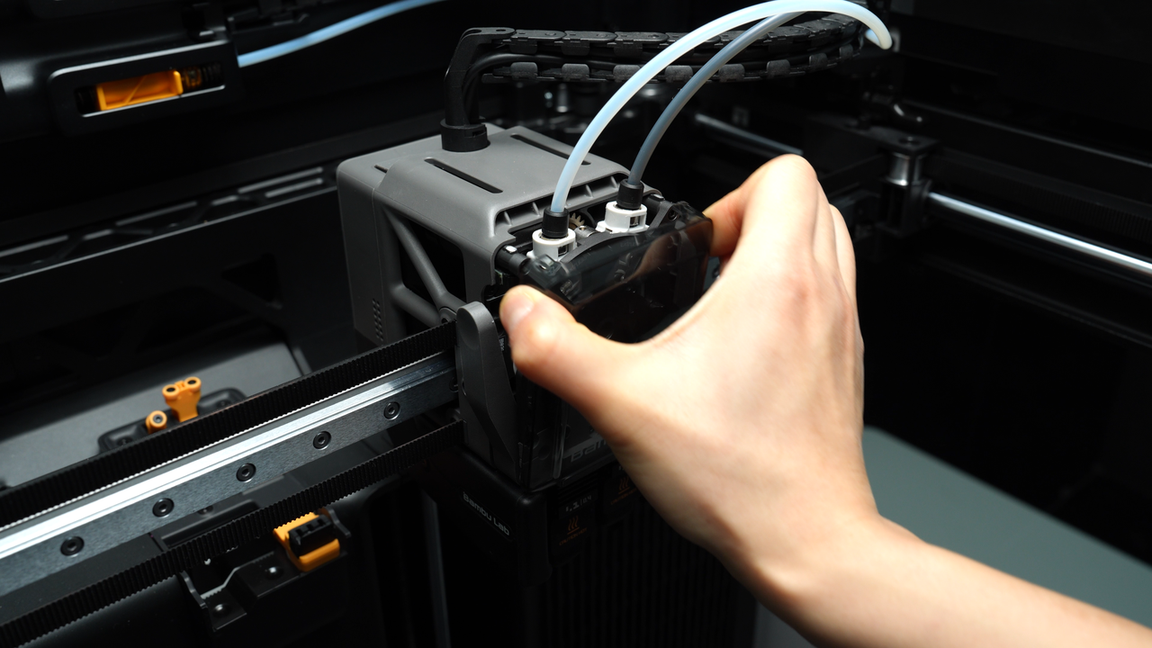
As shown in the picture, unlock the quick-release lever. Then, align the slots of the laser module and the toolhead, and slide the module all the way down.
Make sure the "Click" mark on the module is aligned with the dented slot on the toolhead. Then, push the quick-release lever dovvn to lock it.

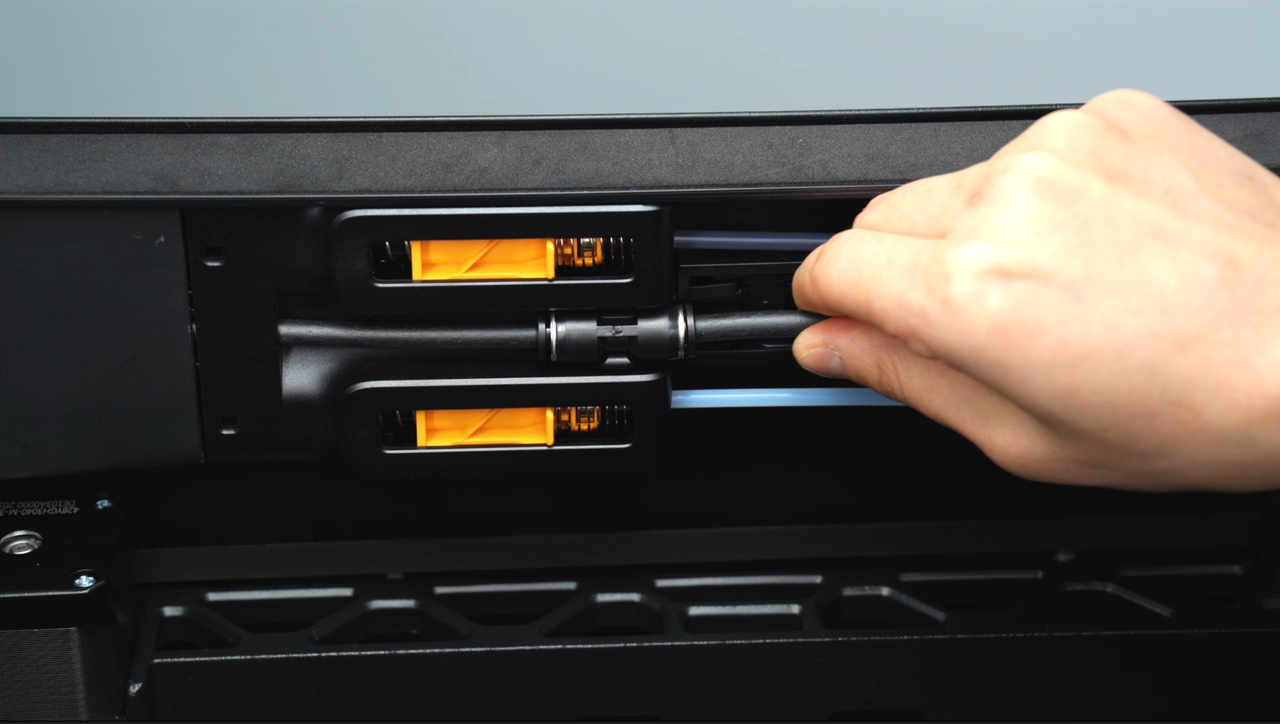
Open the dust-proof cover, insert the connector into the toolhead interface, and remove the
protective film on the status Indicator!
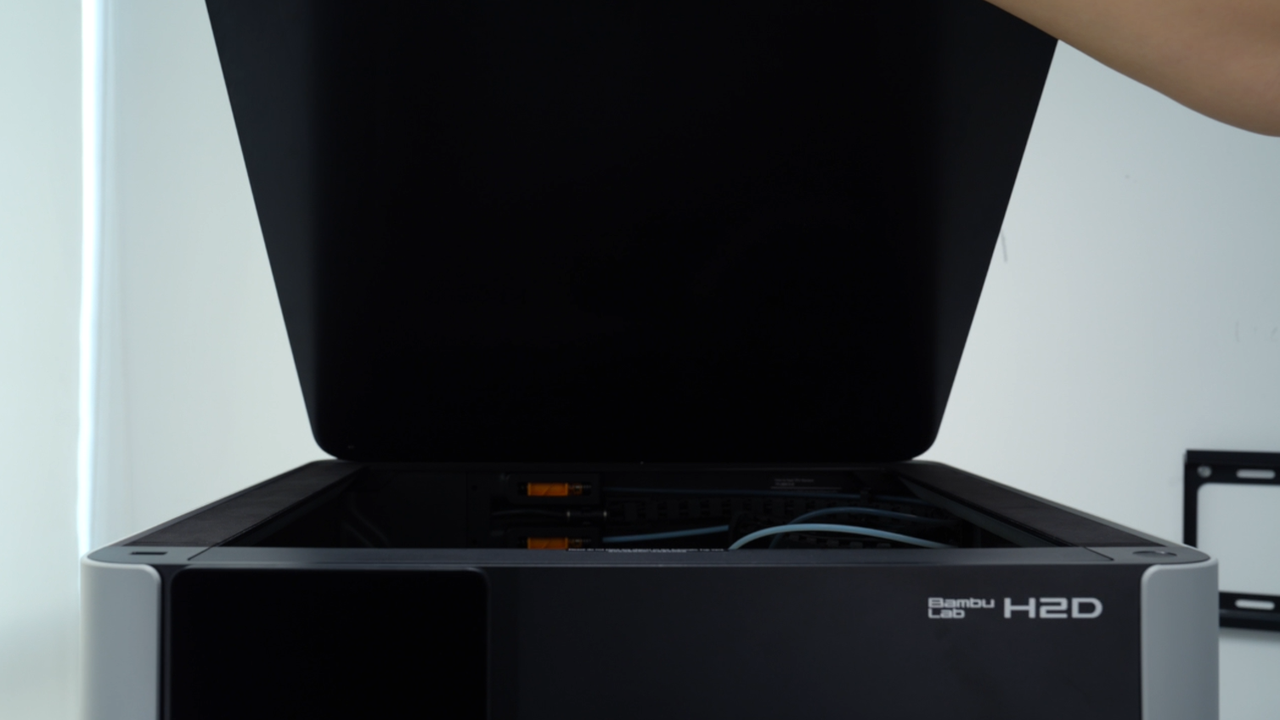
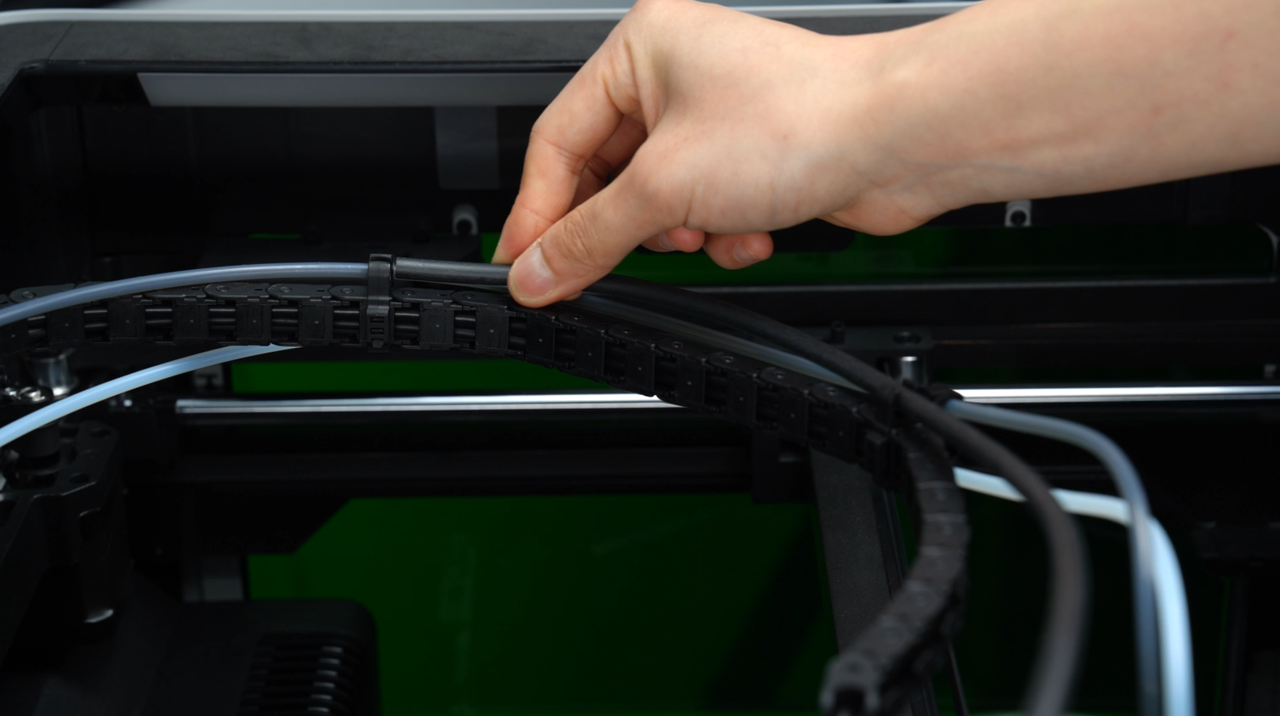
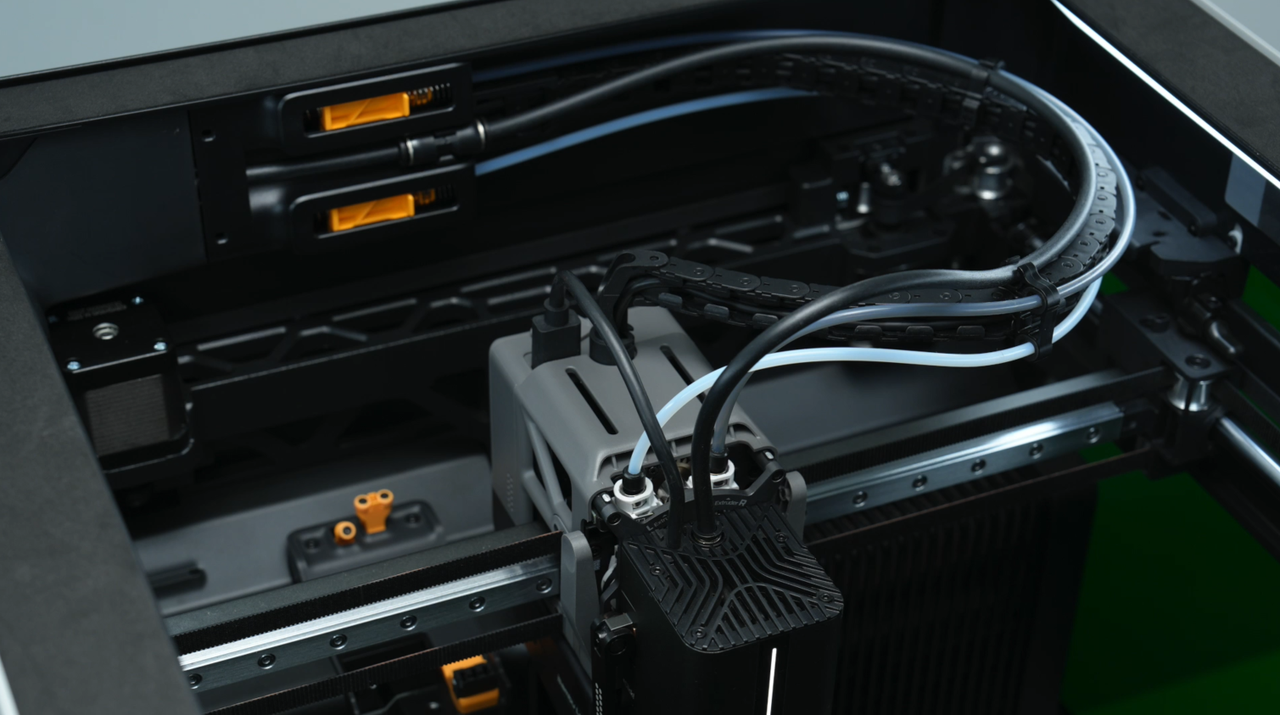
Remove the top cover. Take out the black air assist tube from the accessory box. Insert it into the air assist tube coupler in the middle of the filament buffer, and the one on the laser module. The tube is correctly connected if it cannot be gently pulled out.
Then, tuck the tube into the clips on top of the cable chain, and even it out so that it is not excessively bent on any location. At last, put the top cover back.
If you do not use the laser module, remove the air assist tube to allow the cable chain to move freely and ensure printing quality.
¶ 8. Power on the printer

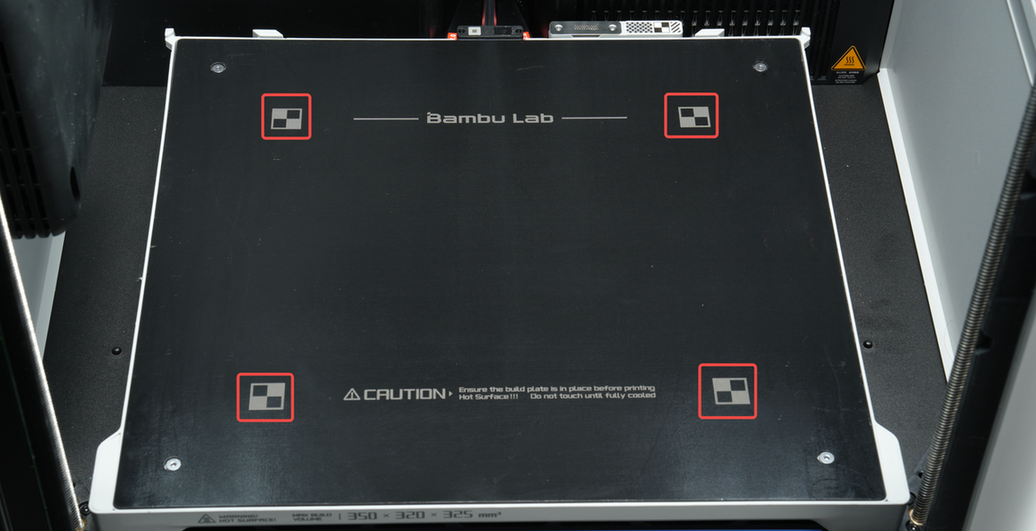
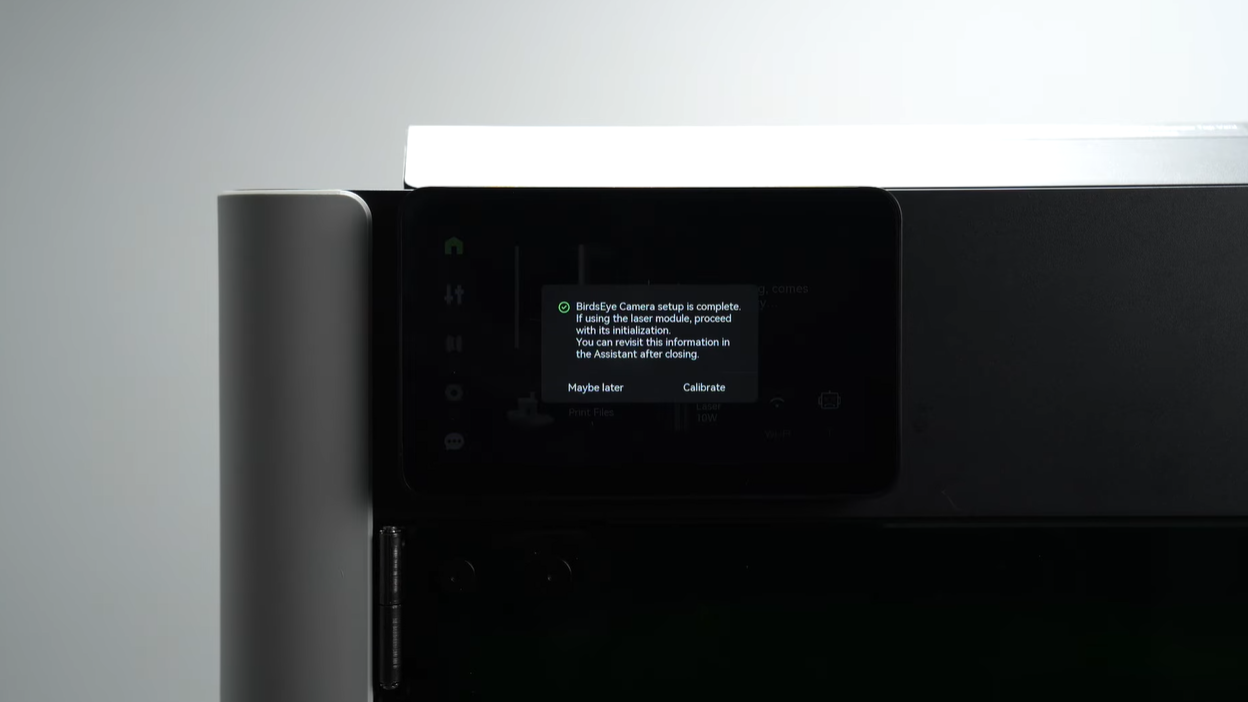
¶ 9. BirdsEye camera setup calibration
Before performing the birdsEye camera setup calibration, please ensure there are no obstructions on the heatbed, especially over the calibration marks used for visual recognition.
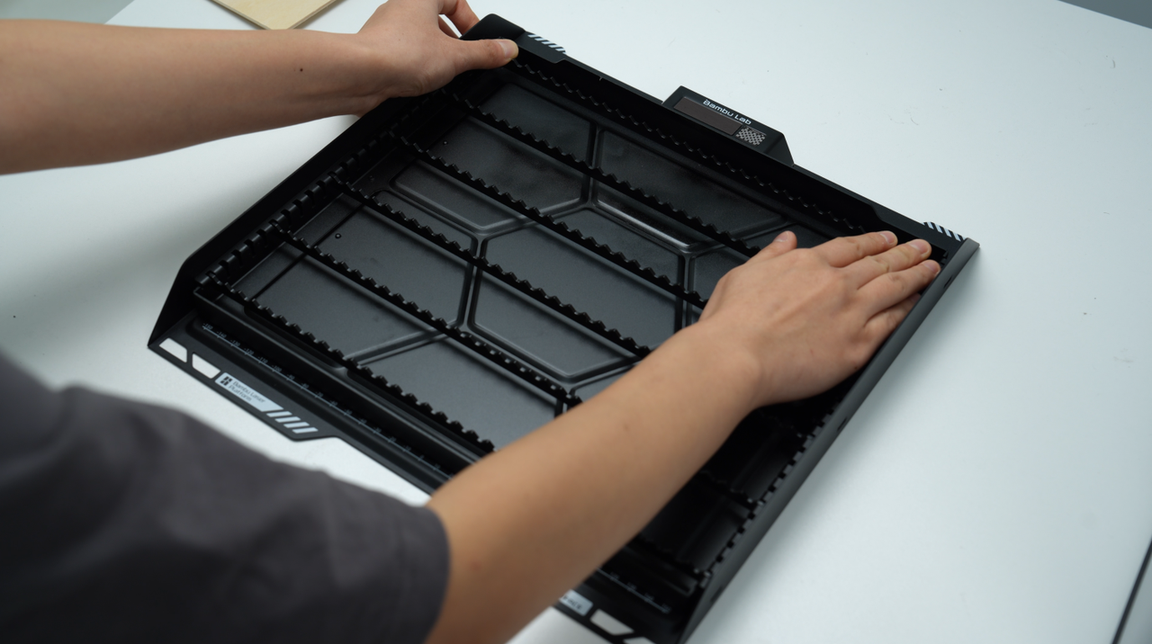
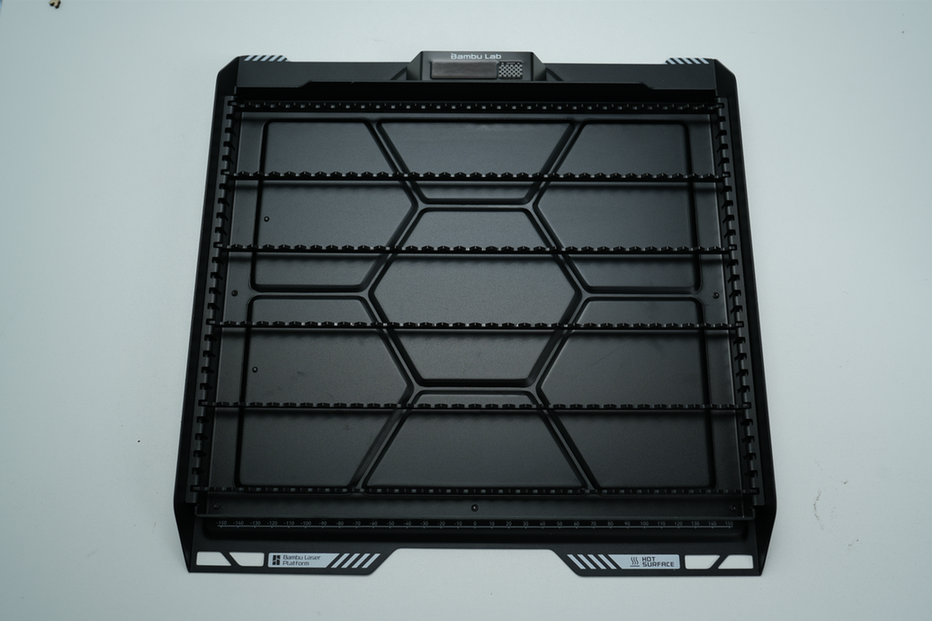
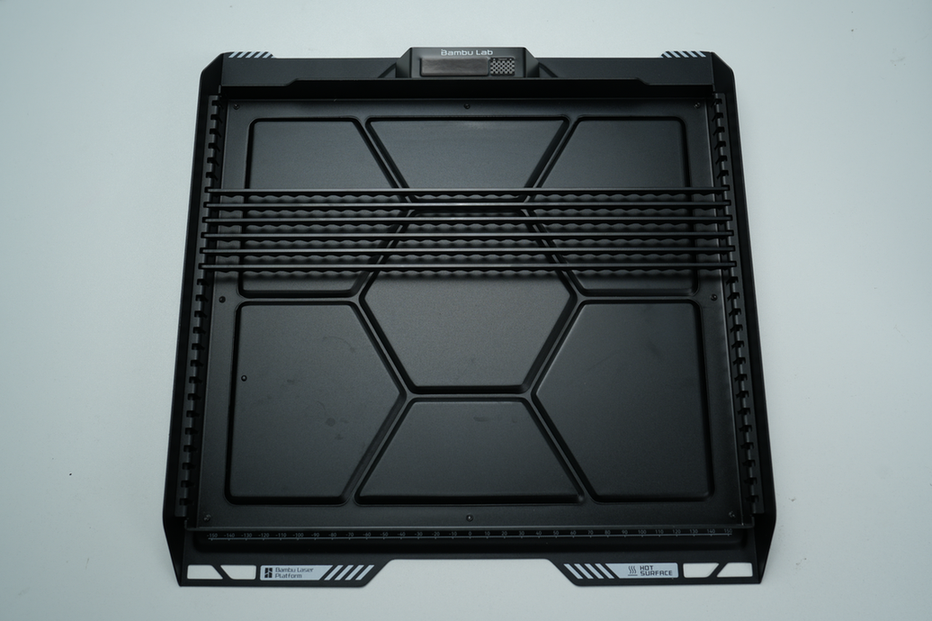
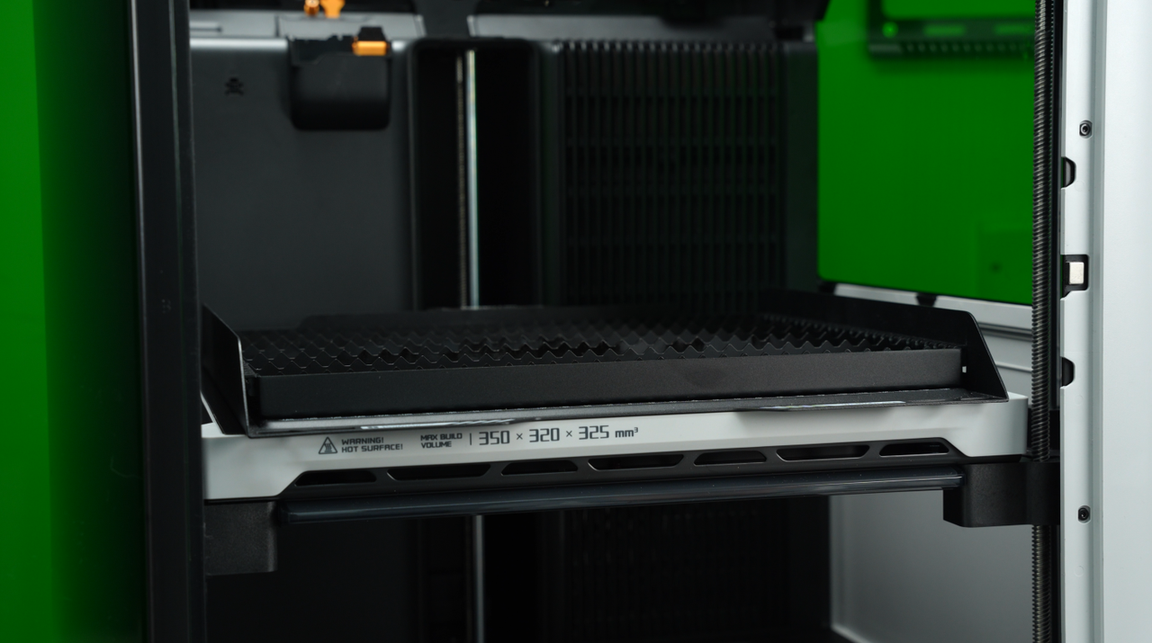
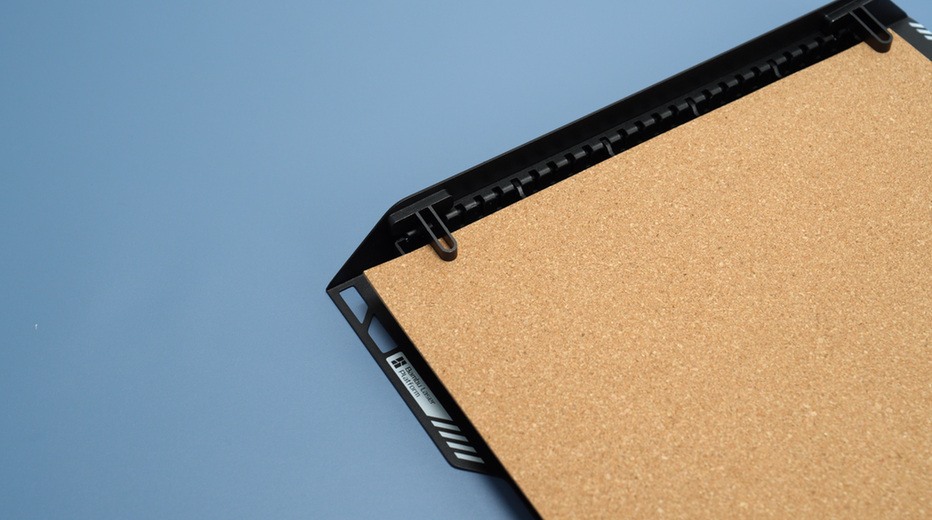
¶ 10. Install the laser platform
Install the slats on the laser platform by pressing them into the slots on both sides. A "click" sound suggests that it is in place.
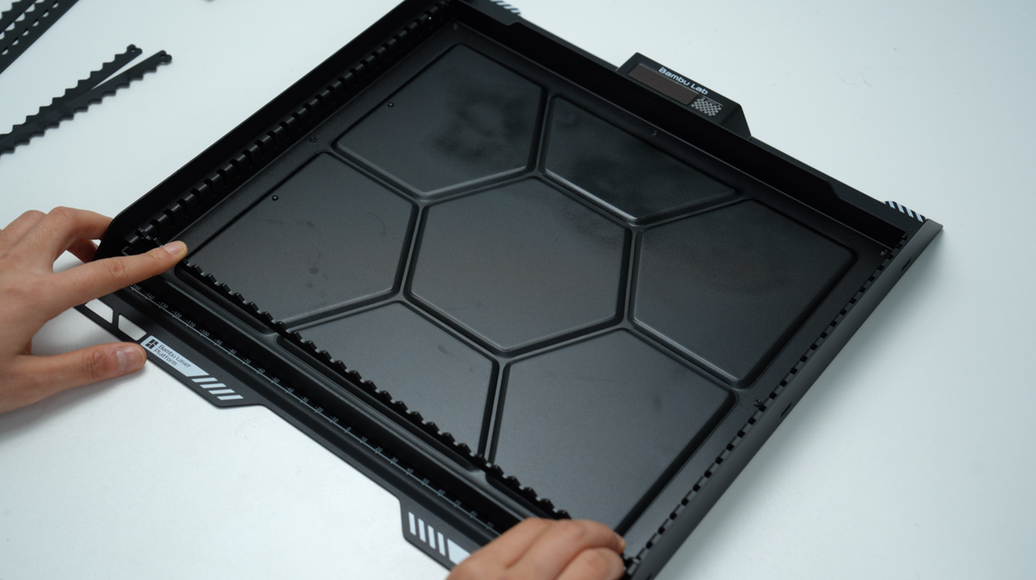
Six slats are included with the machine. During regular use, place one slat every four slots, with the pointed ends facing up.
When processing small materials (such as tags, etc.), the slat can be removed and installed in reverse on the laser base (with the flat side facing up), and they should be arranged closely together.
Place the laser platform on the heatbed, and make sure to align the two markers of the laser platform and tthe stoppers of the heatbed.

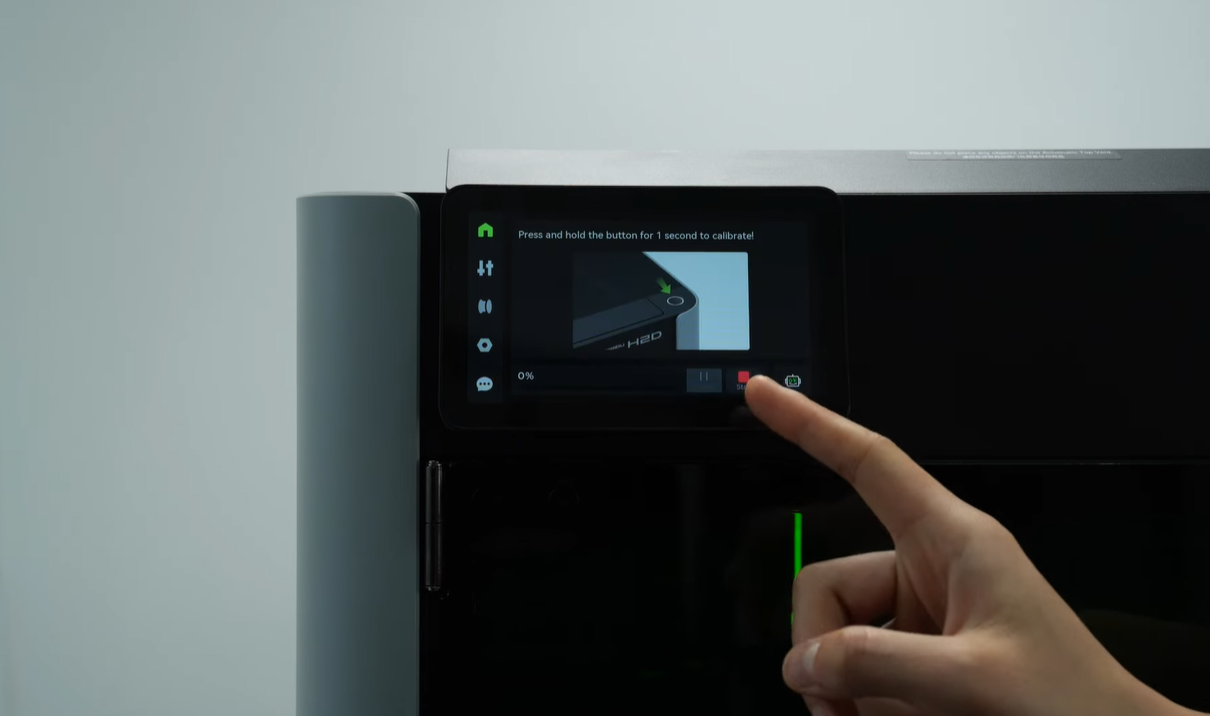
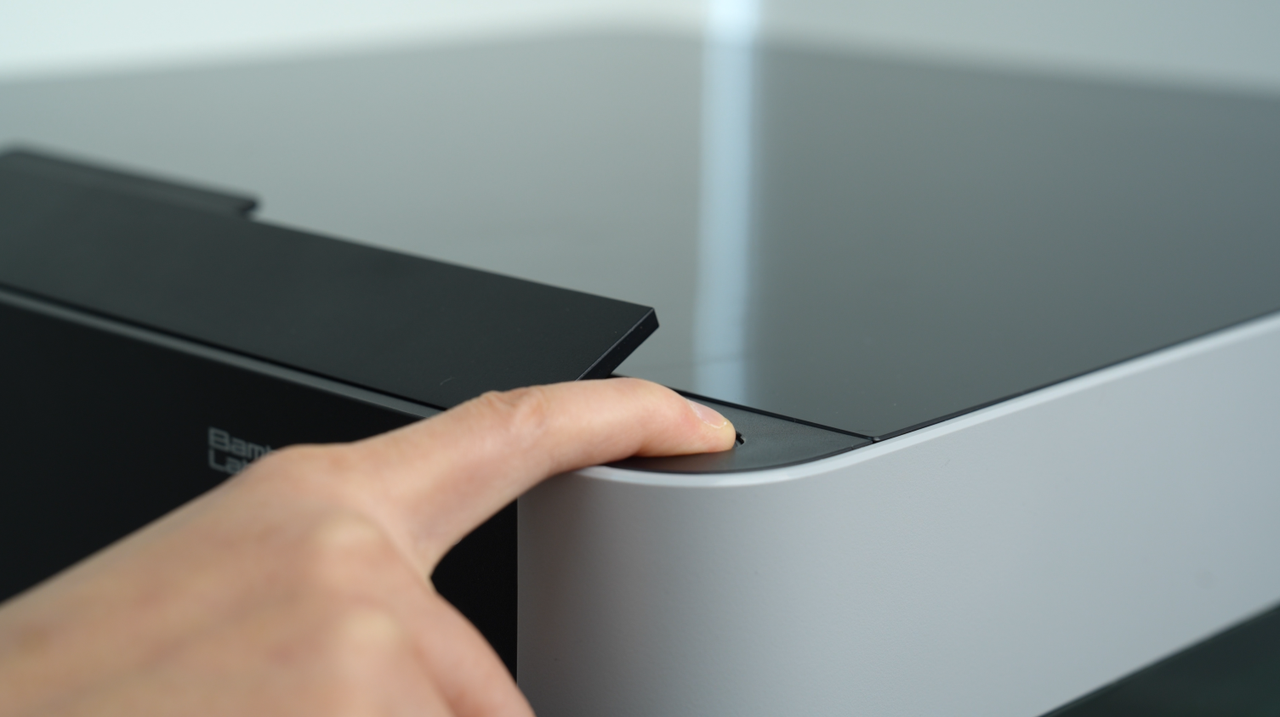
¶ 11. Laser module begin setup calibration
Follow the prompts on the HMS page to access the begin setup calibration page (you can also enter through Settings - Toolbox) and complete the begin setup calibration according to the on-screen instructions.
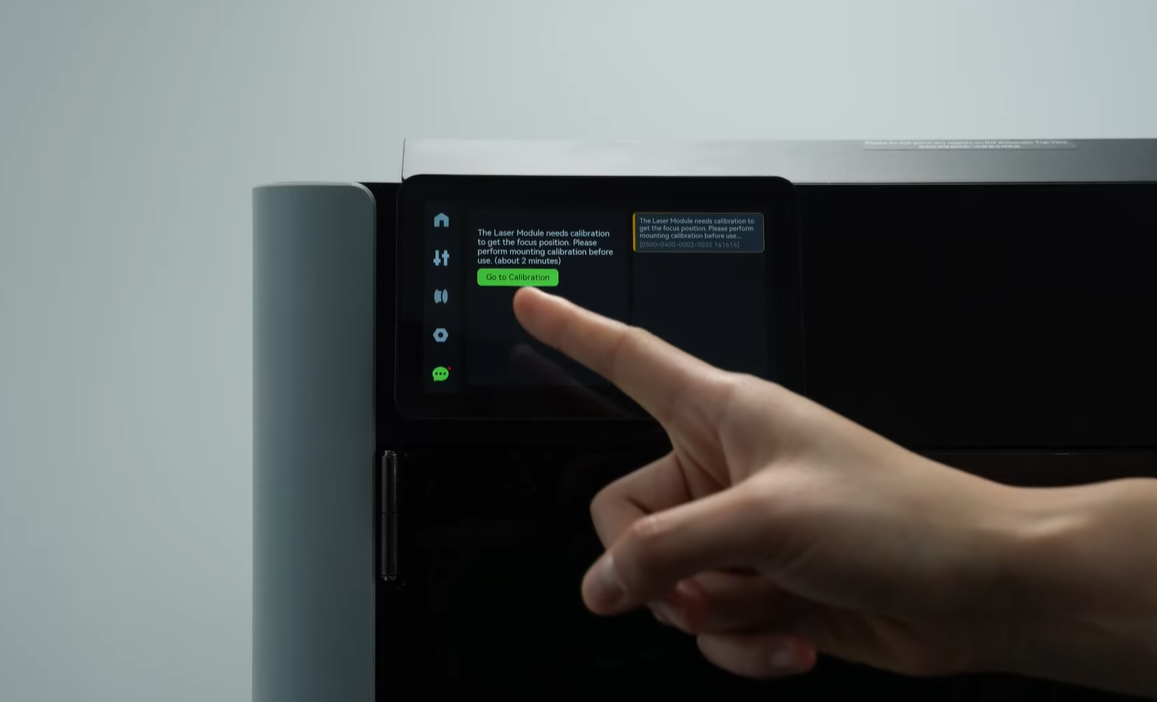
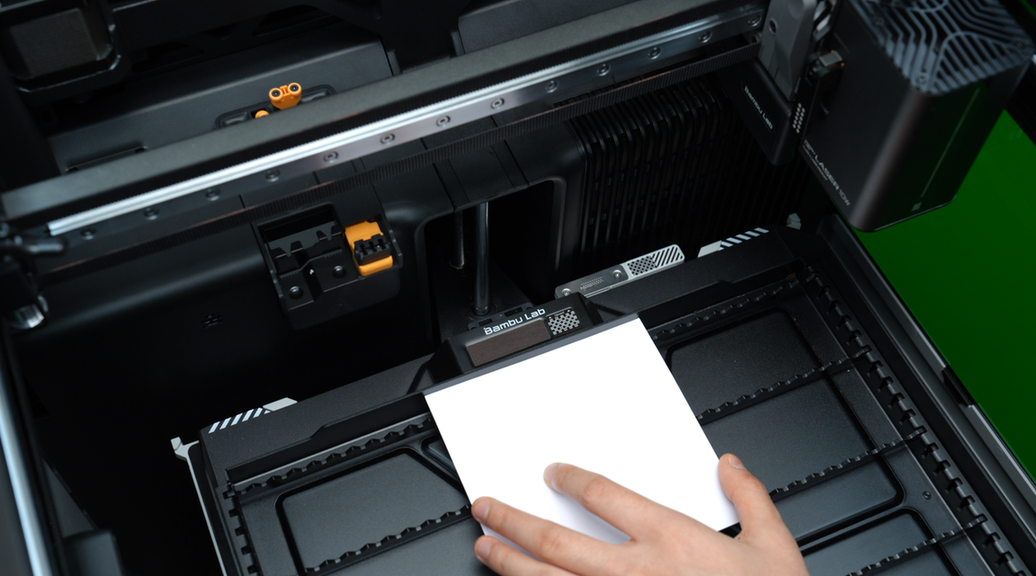

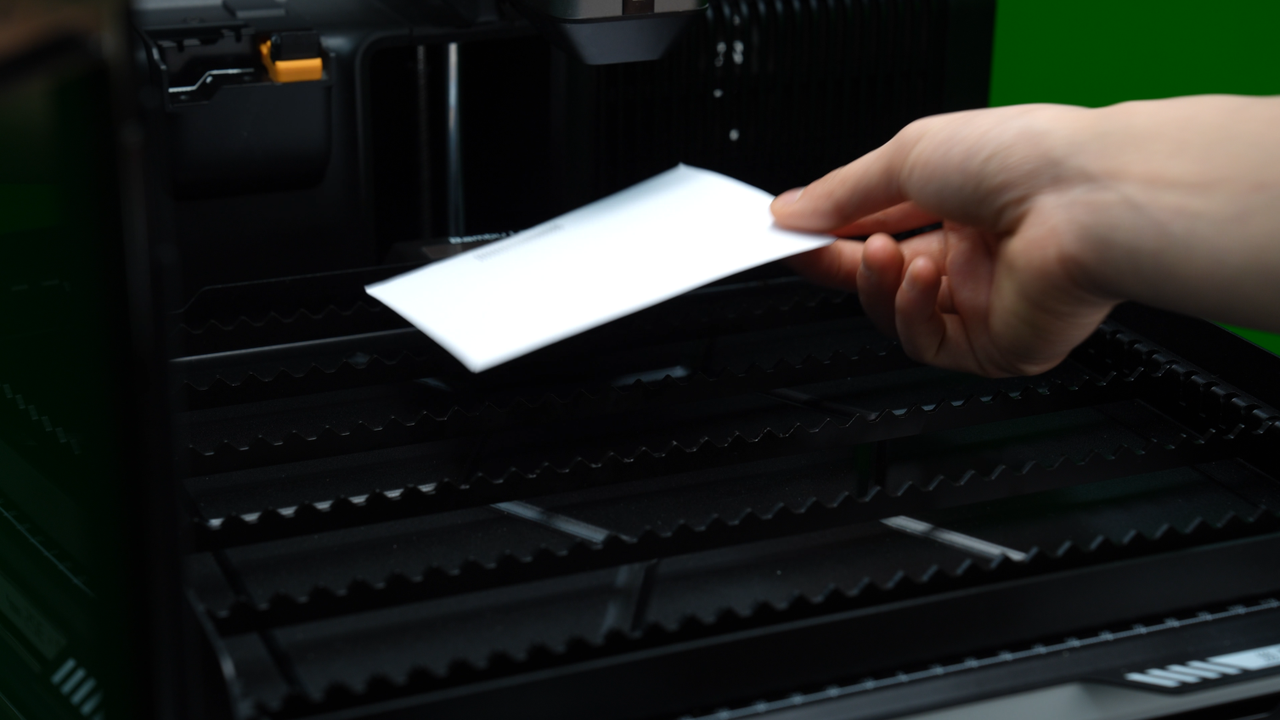
After confirming that the laser module begin setup calibration is complete, open the front door and remove the laser focal length calibration card.
¶ 12. Appendix
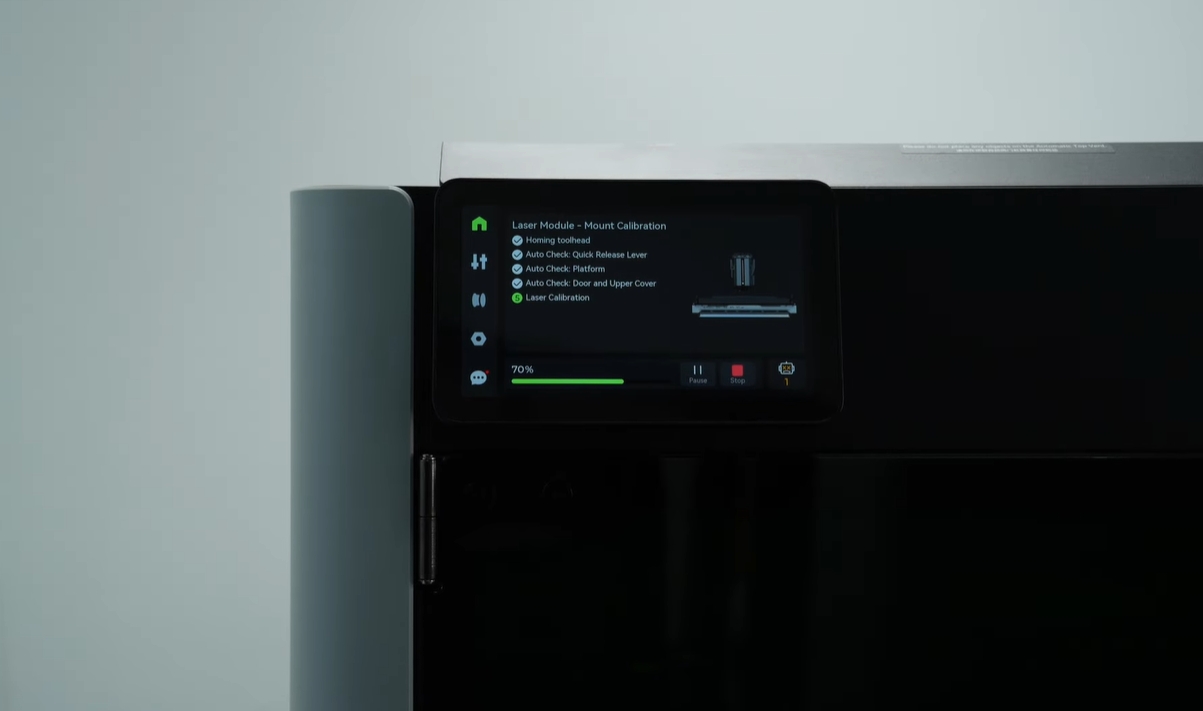
¶ Laser module mount calibration
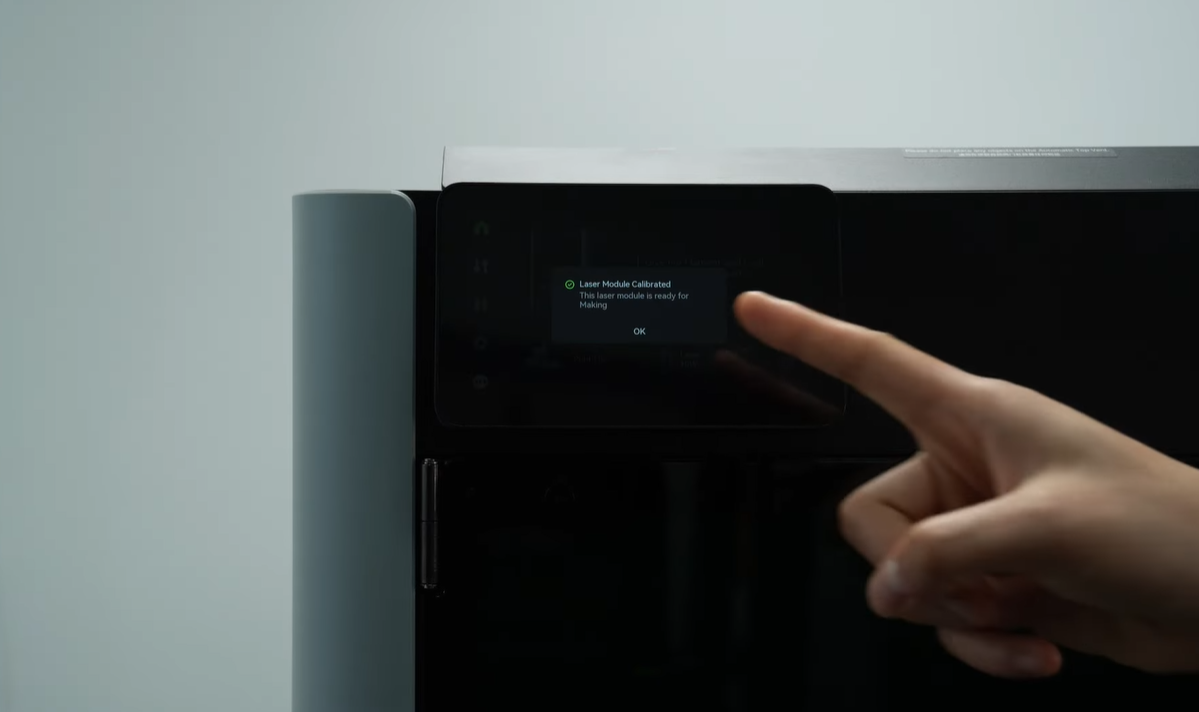
When the laser module is first installed, it needs to undergo begin setup calibration. After that, each time the laser module is powered on again, only the mount calibration needs to be performed.
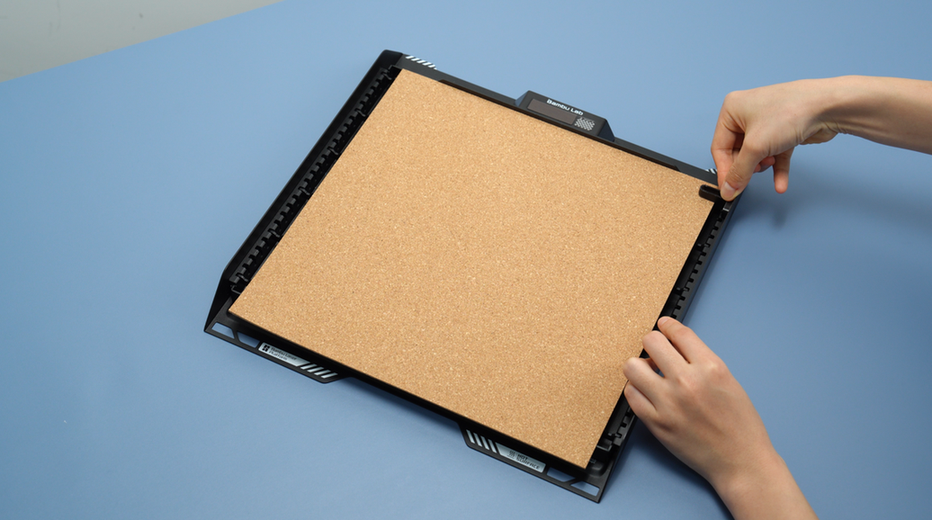
¶ Suggestions for Using the Material Pins
When the material is significantly warped, smooth, and prone to sliding, has a high center of gravity making it shaky, or is lightweight and easily displaced, it is recommended to use material pins to stabilize the material.
In general, it is advisable to use material pins for rigid wood boards and metal sheets, while for other materials, the decision can be made based on the actual situation.
This video uses a cork sheet as an example to demonstrate the method of using material pins. One side of the material pins has a sloped surface, which can apply pressure more effectively when facing the material, but care should be taken to avoid deforming the material.
¶ End Notes
We hope the detailed guide provided has been helpful and informative.
If this guide does not solve your problem, please submit a technical ticket, we will answer your questions and provide assistance.
If you have any suggestions or feedback on this Wiki, please leave a message in the comment area. Thank you for your support and attention!