¶ Video Guide
¶ Operation Steps
¶ Lower heatbed, unload filament, power off
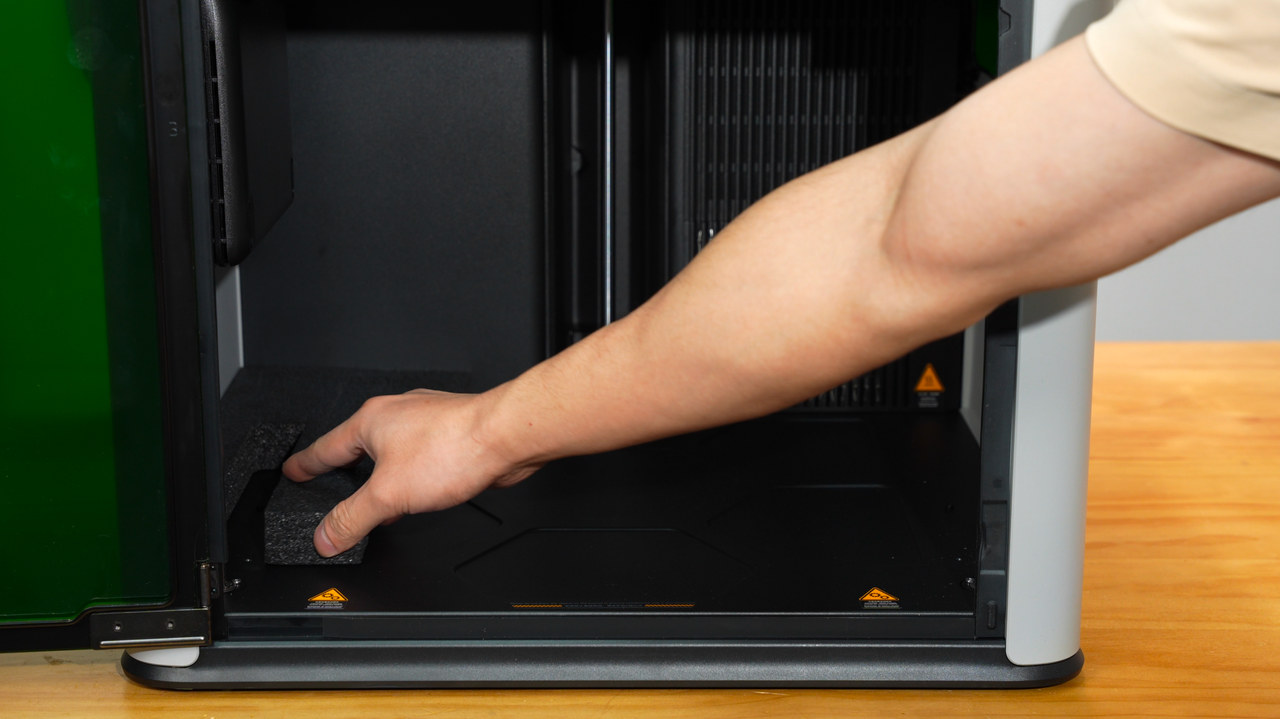
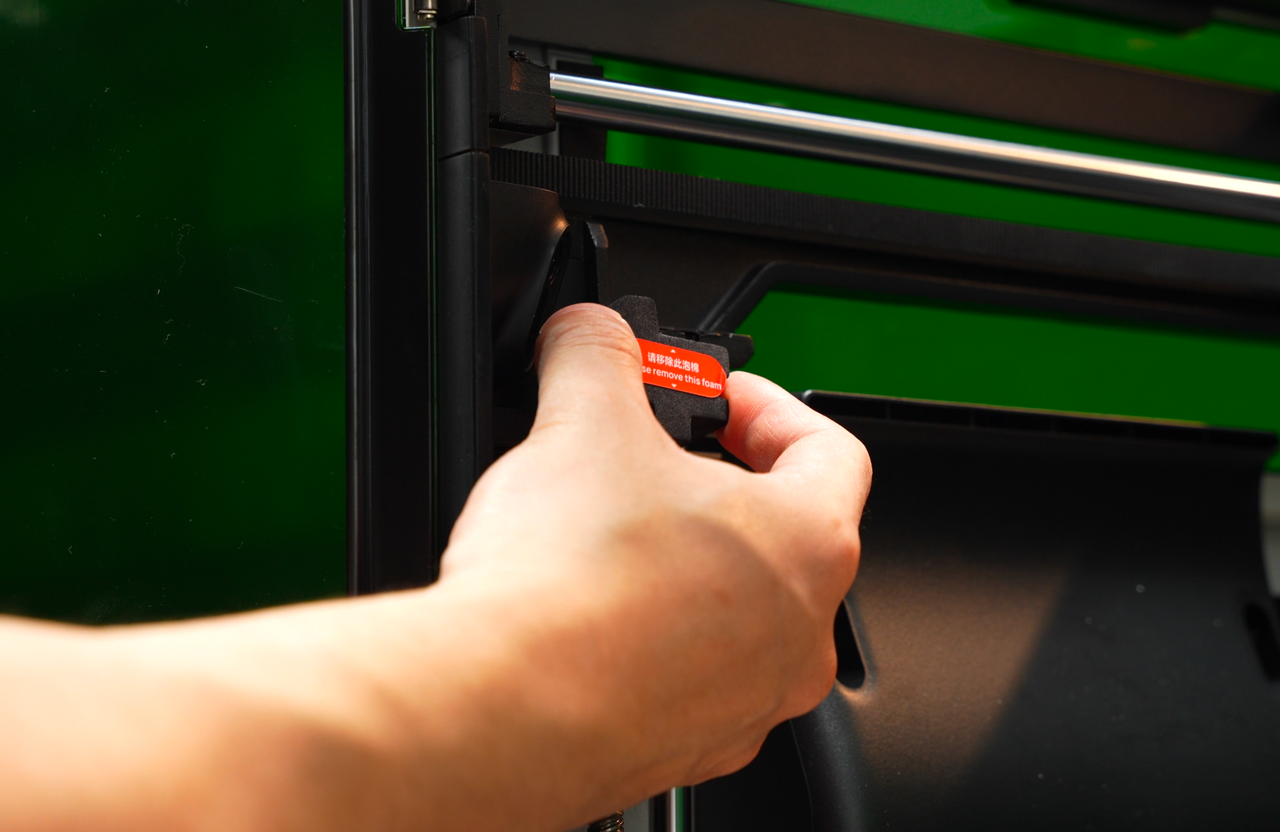
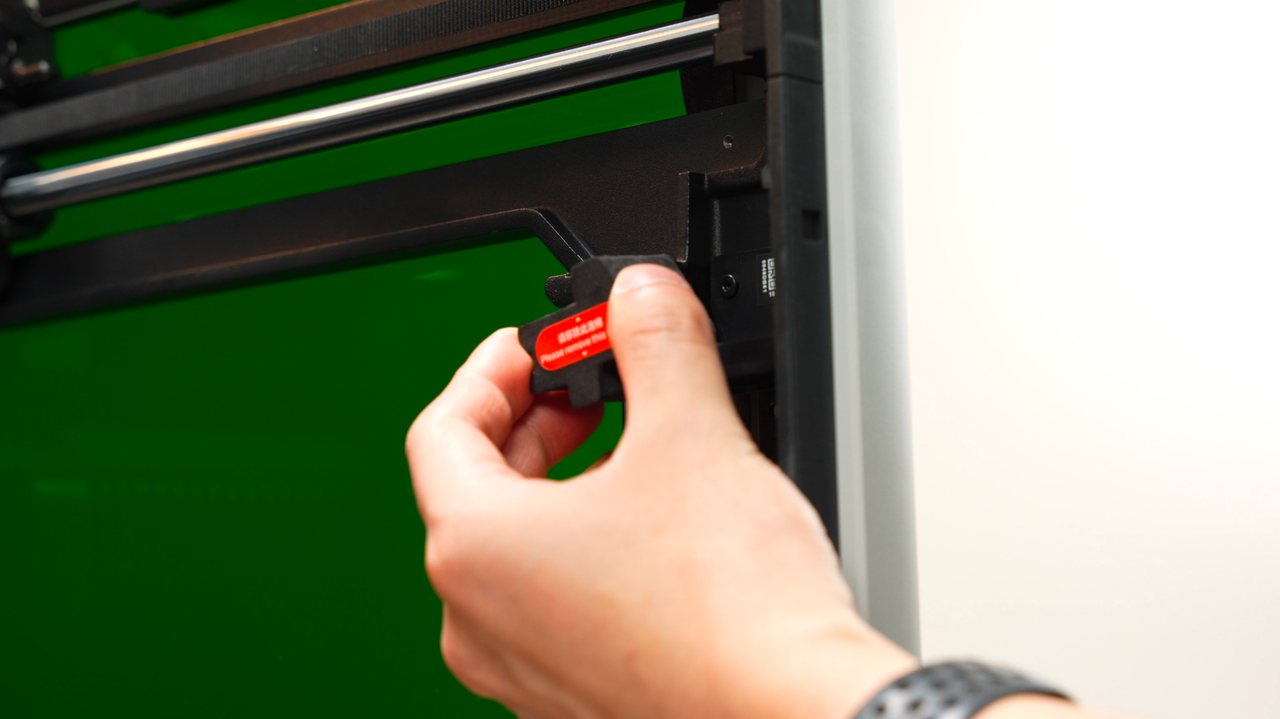
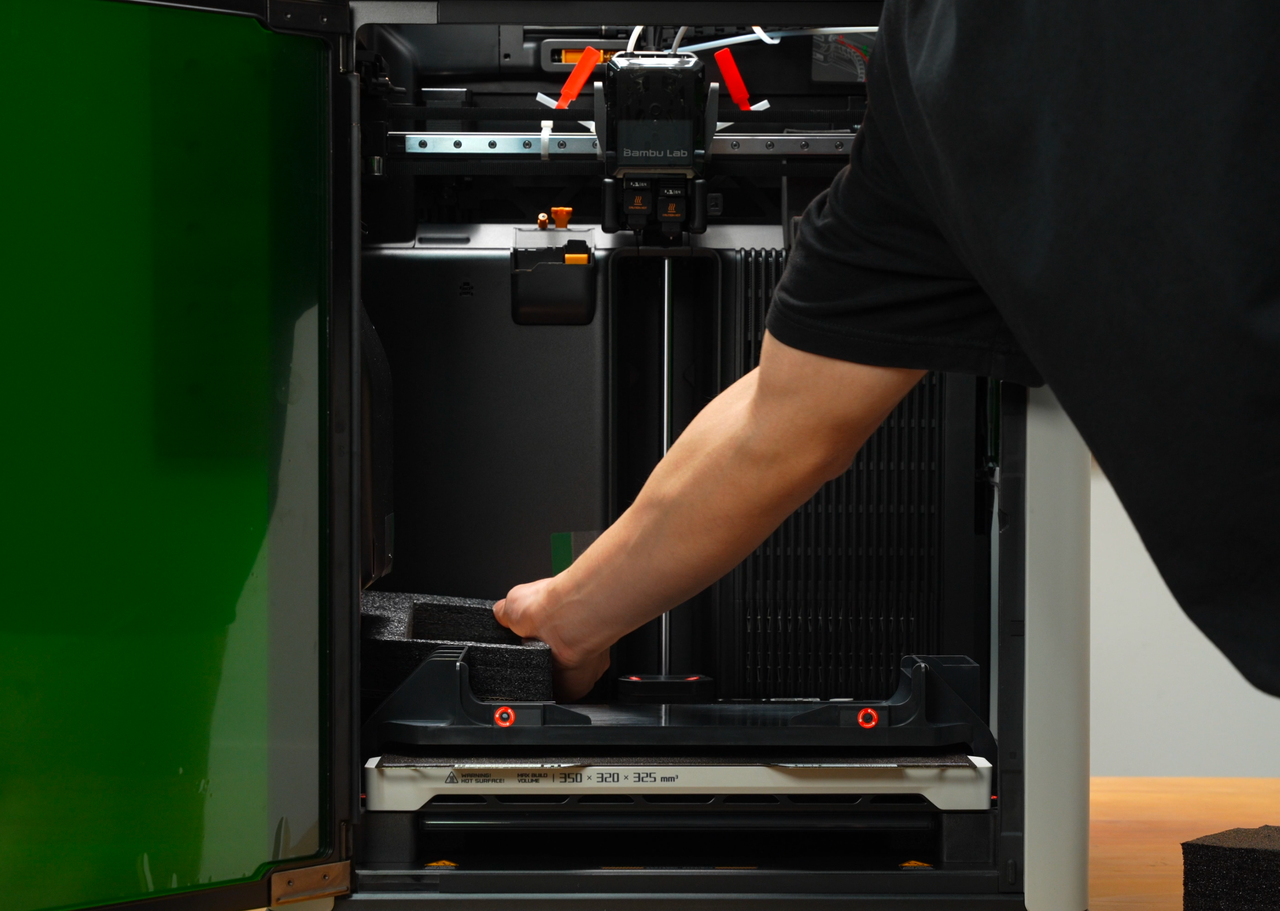
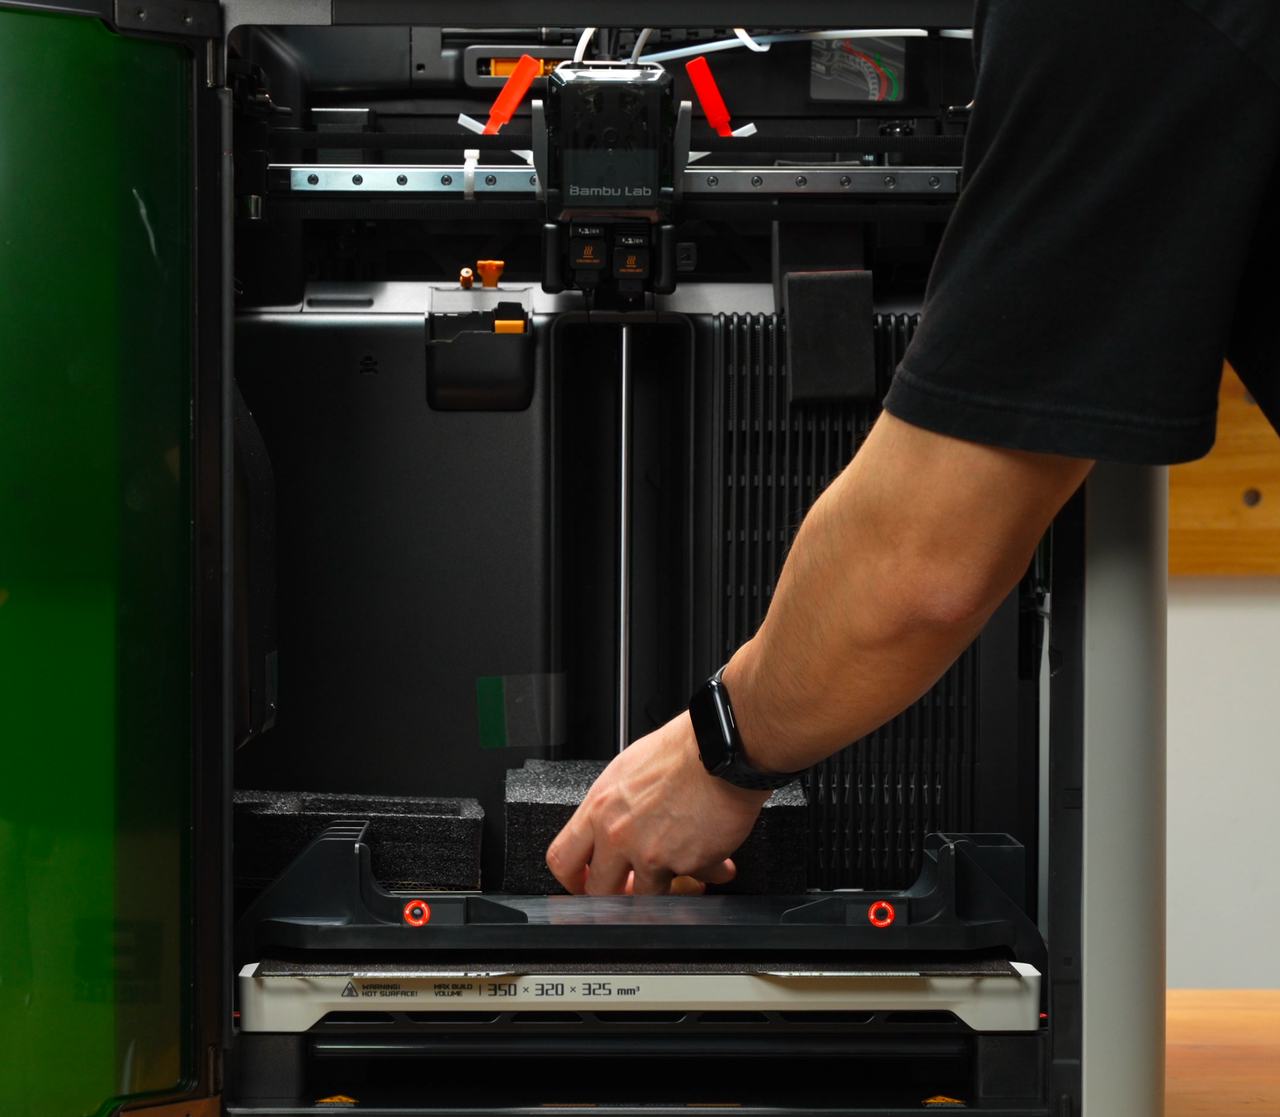
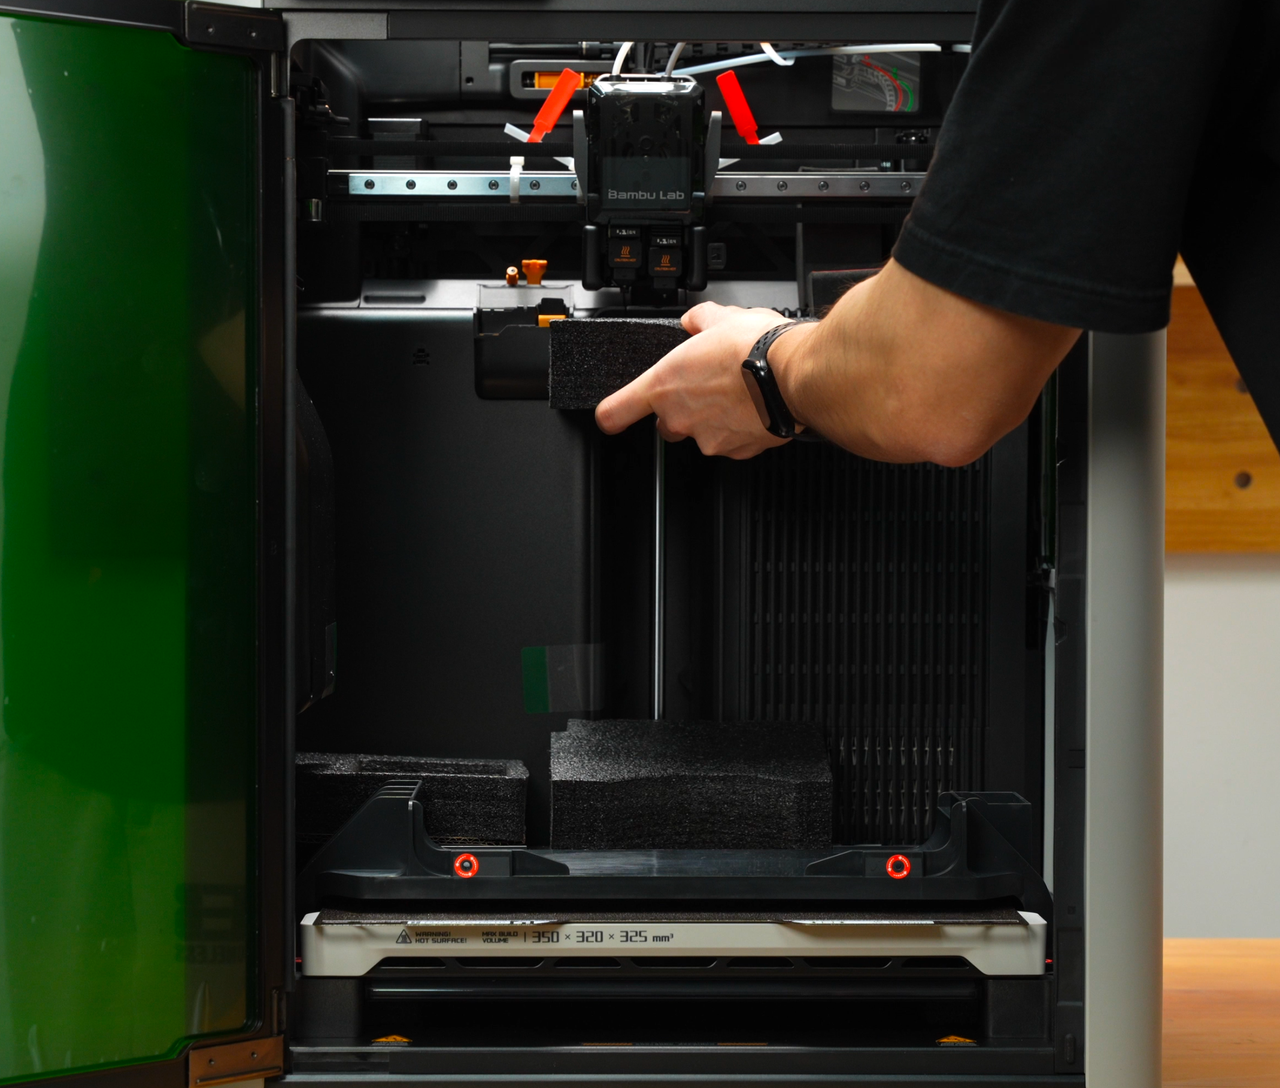
Step 1. Put back the two pieces of foam on the bottom of the heatbed.
 |
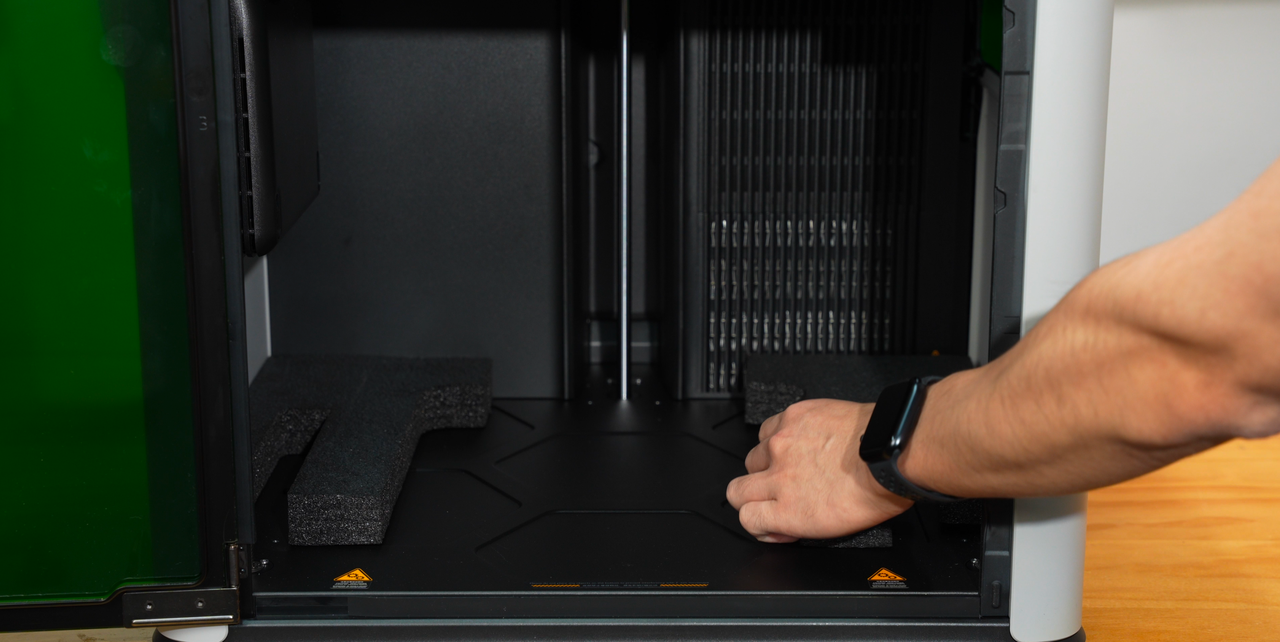 |
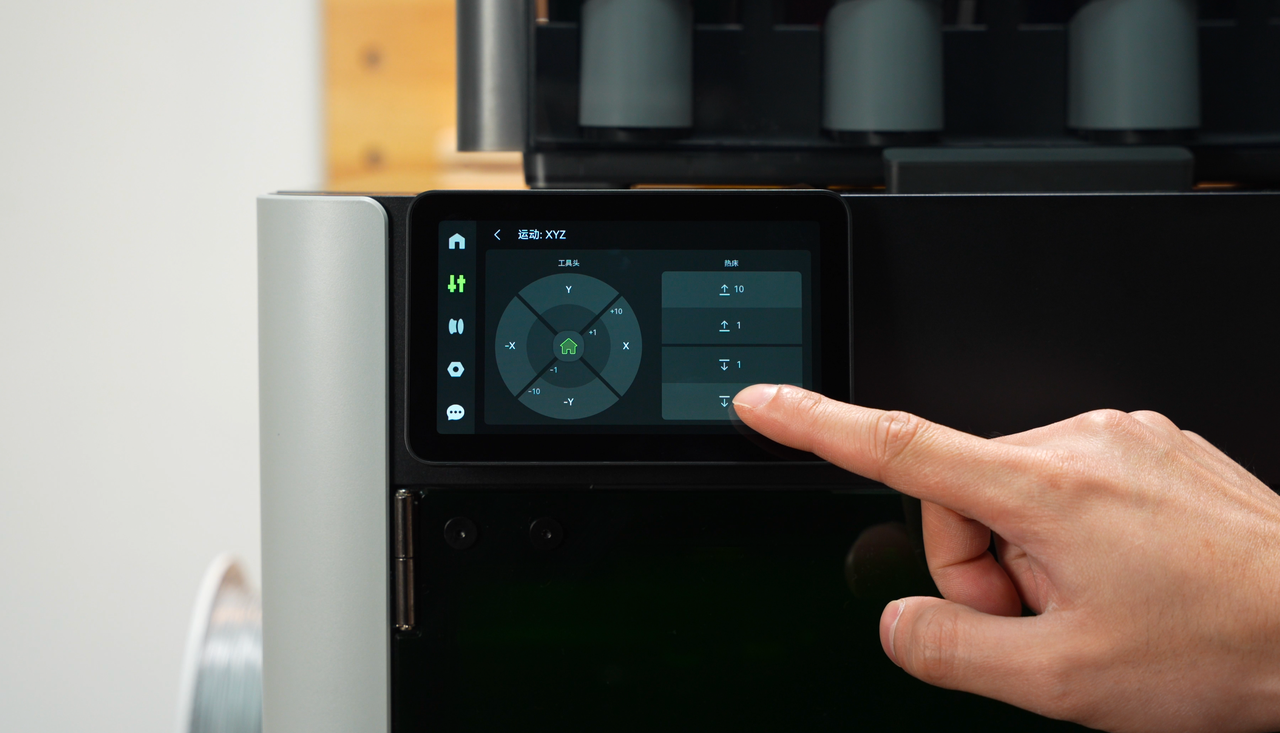
Step 2. On the screen, lower the heatbed to pressed against the foam.
 |
 |
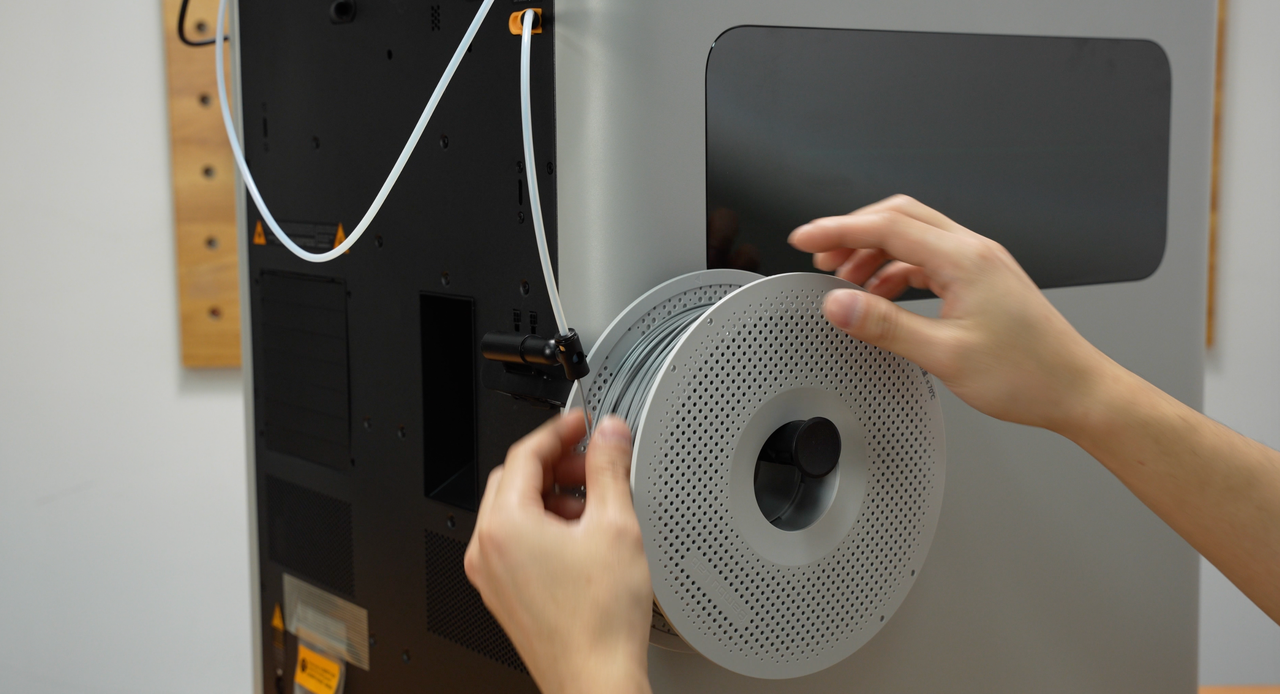
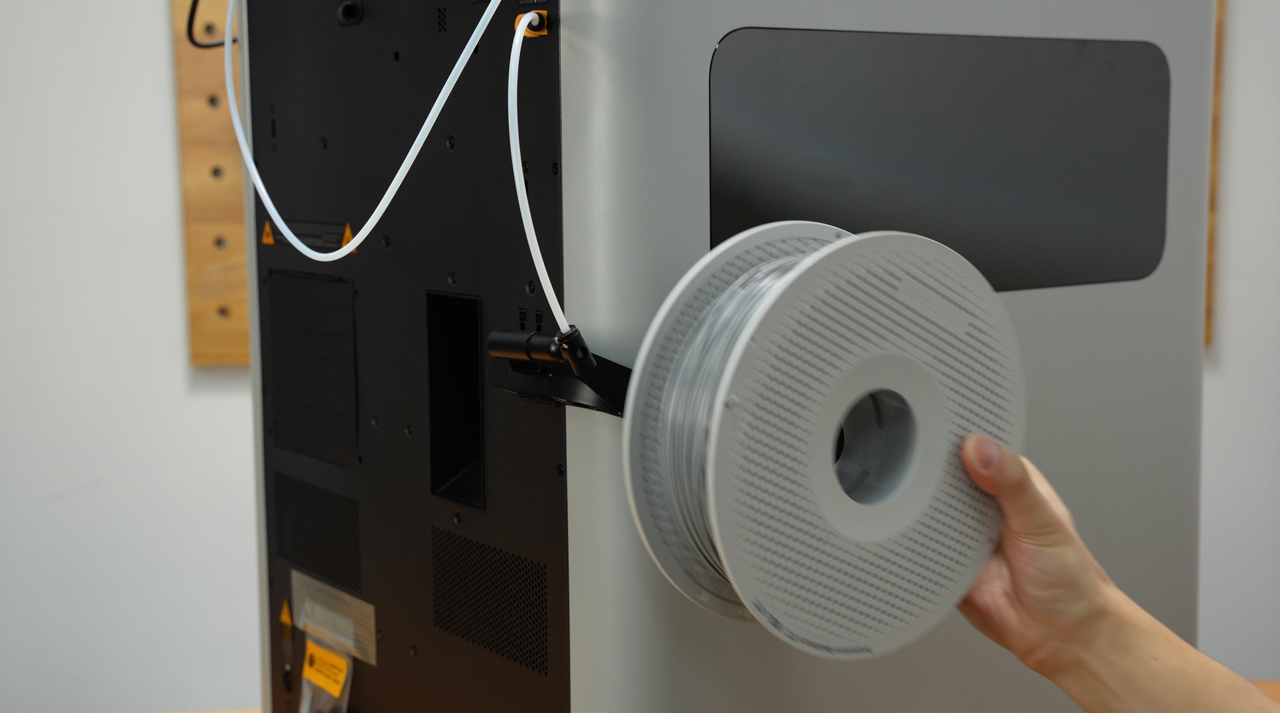
Step 3. Unload the filament on the screen and take down the spool.
 |
 |
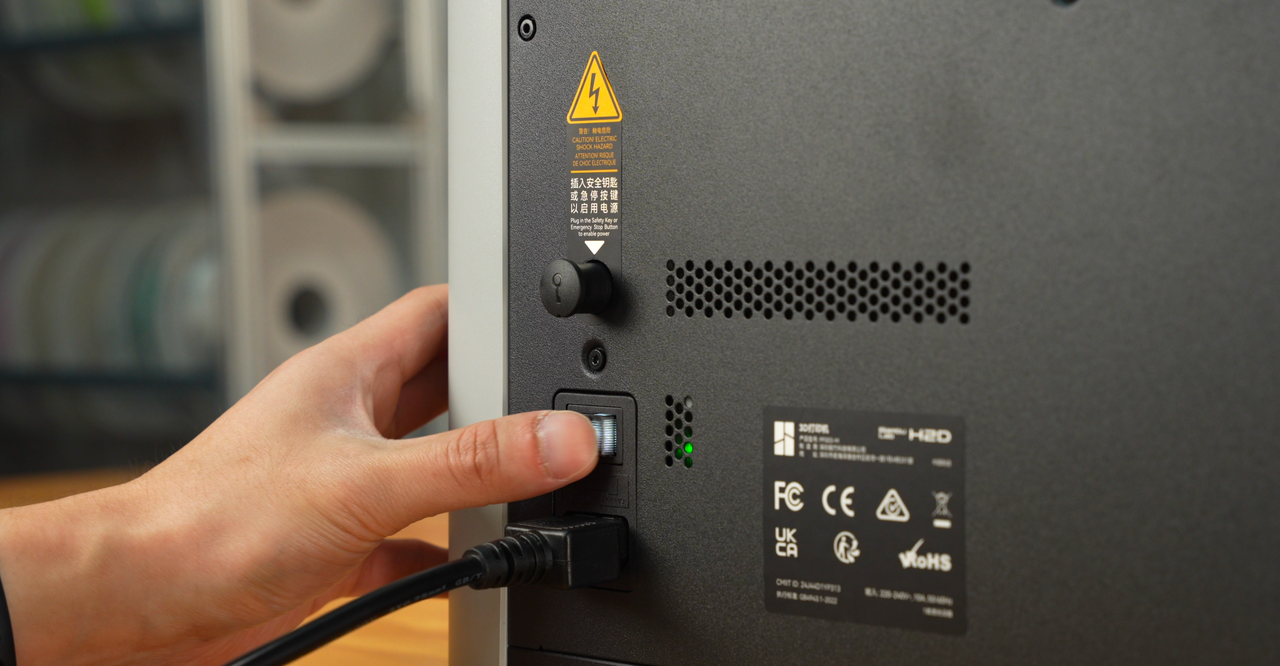
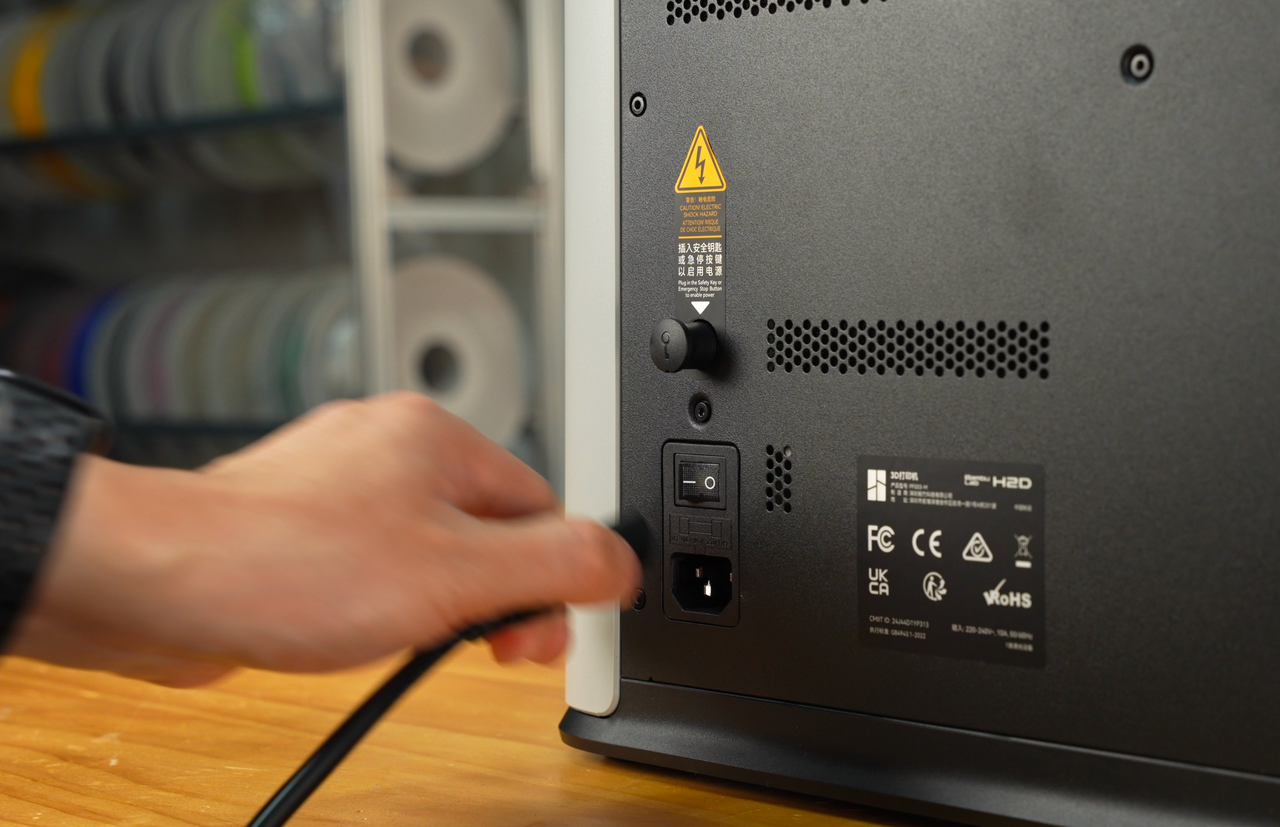
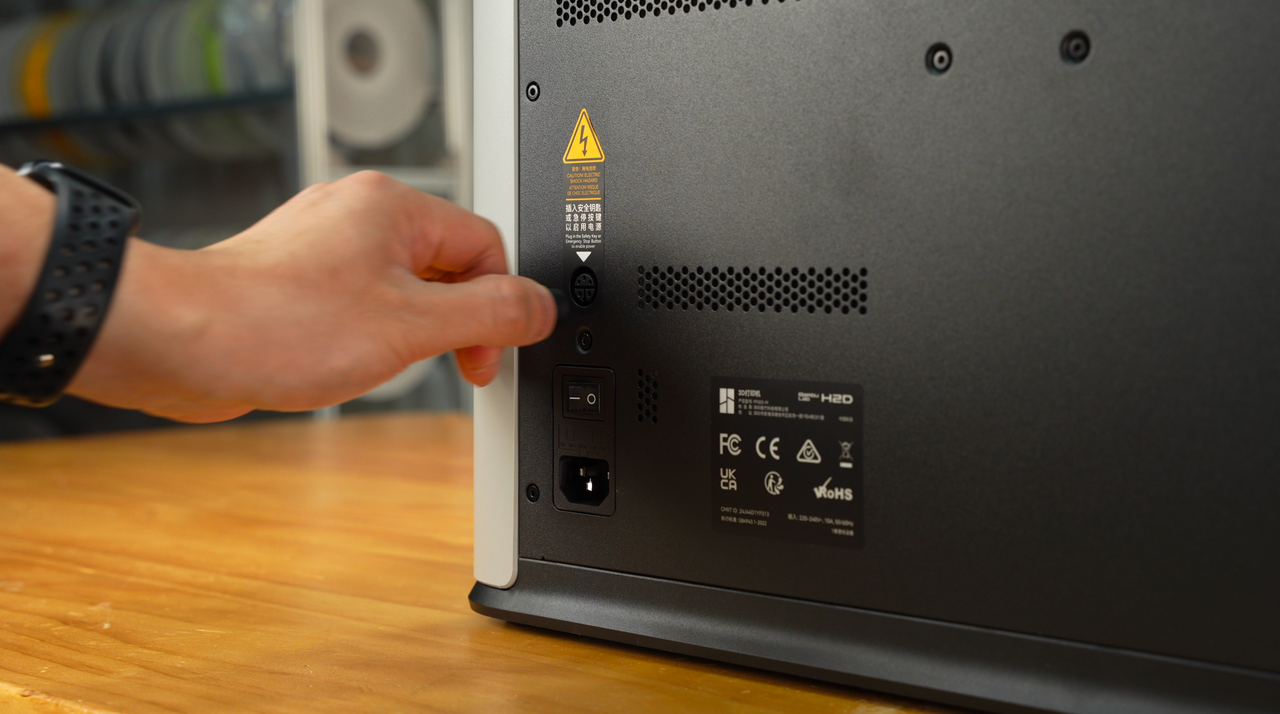
Step 4. Power off and remove the power cord and safety key.
 |
 |
 |
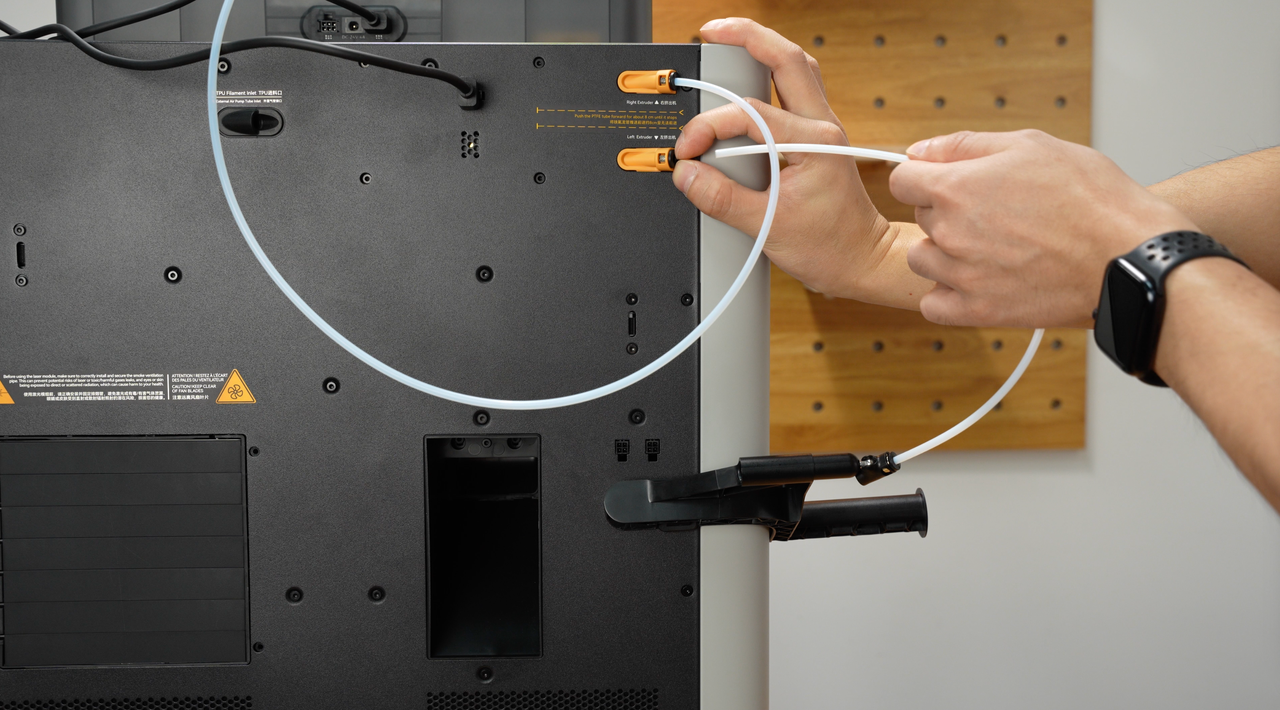
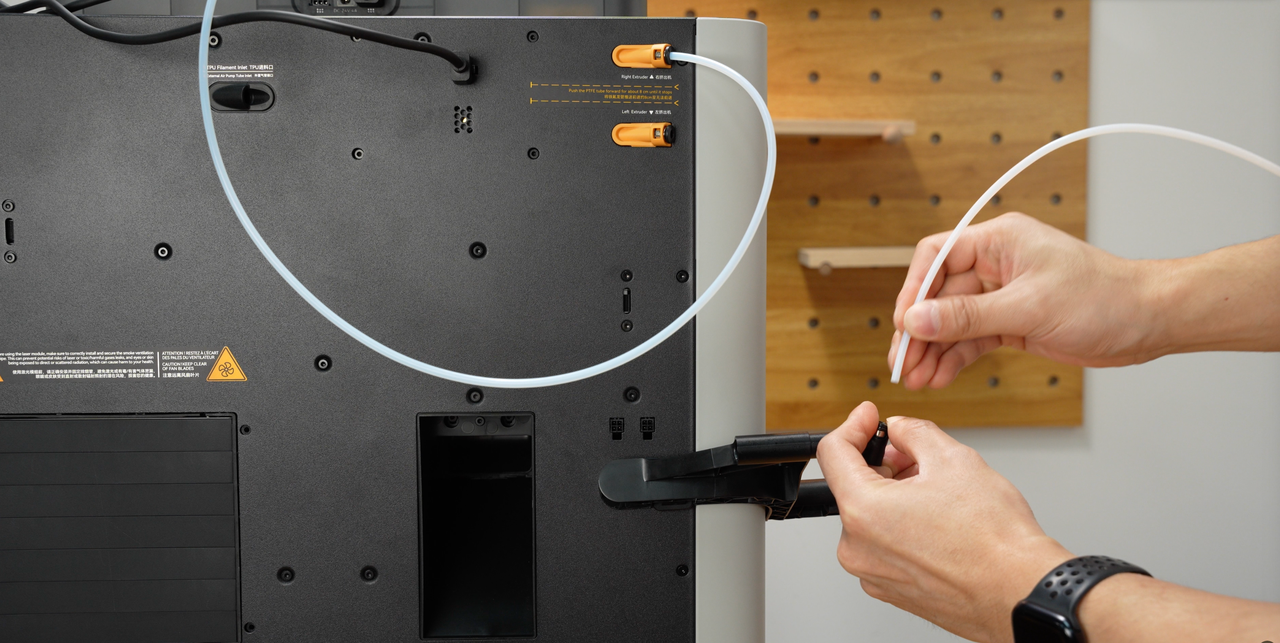
¶ Remove the tube and the spool holder
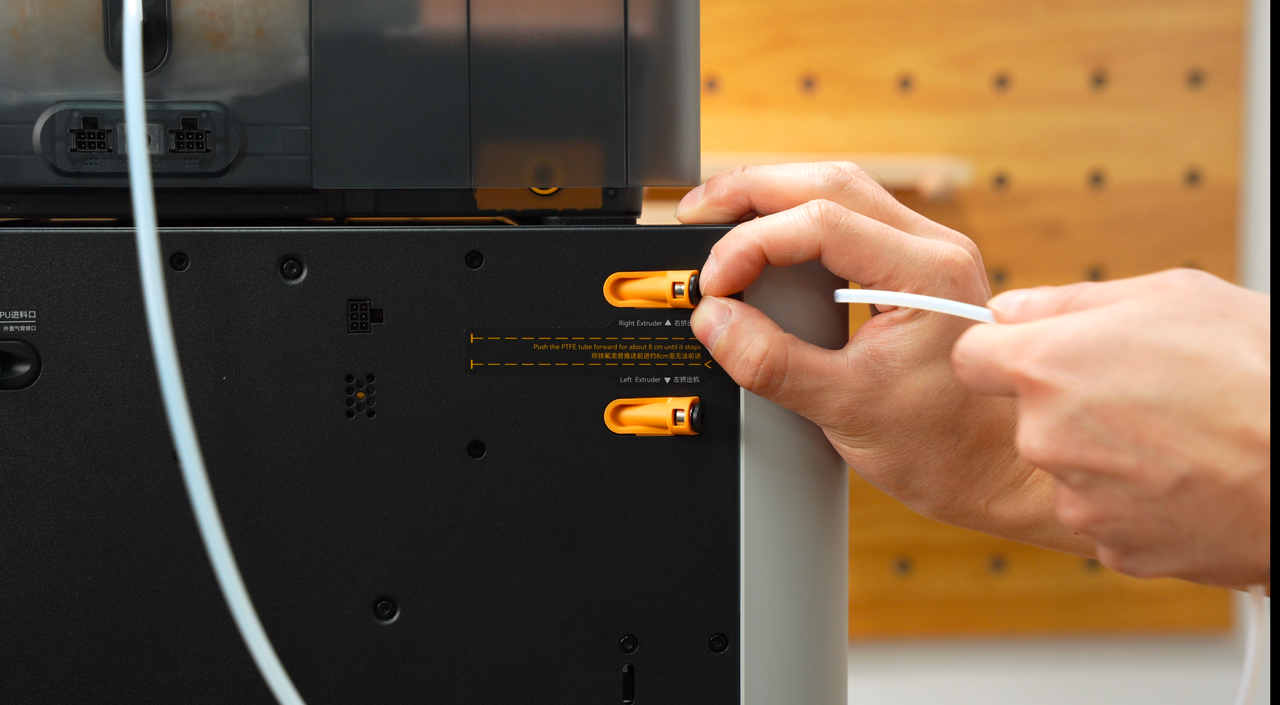
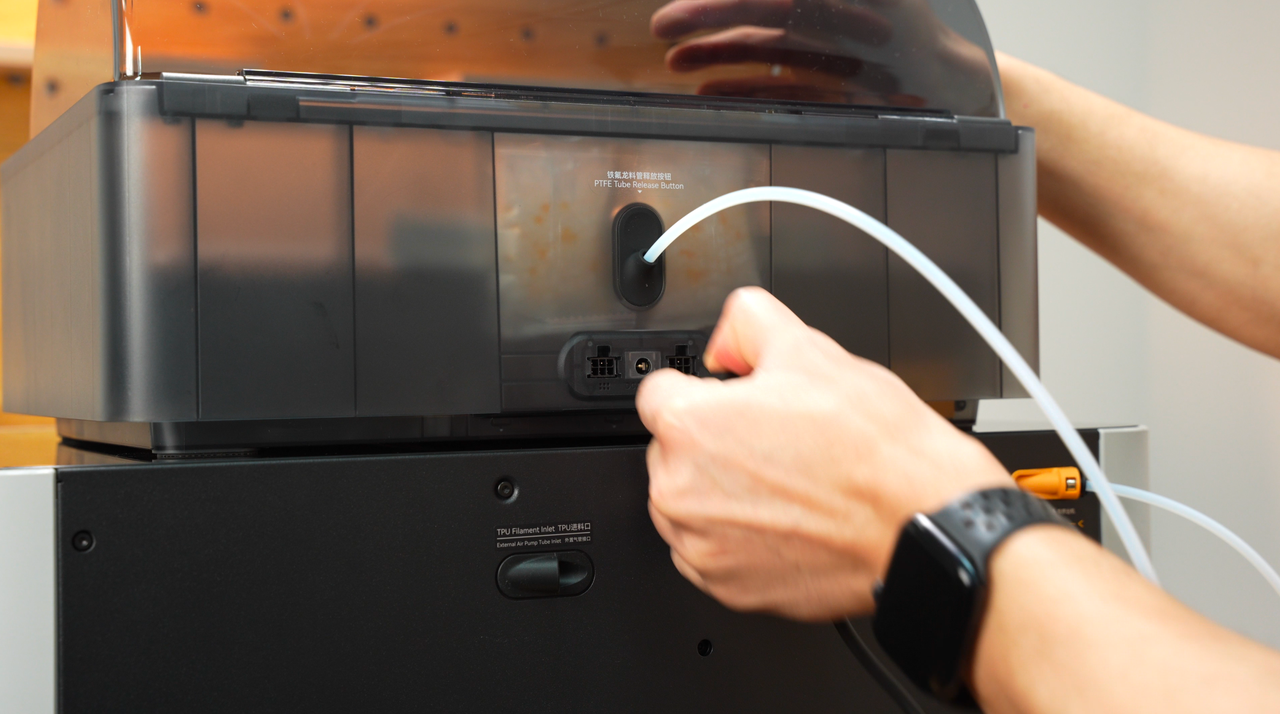
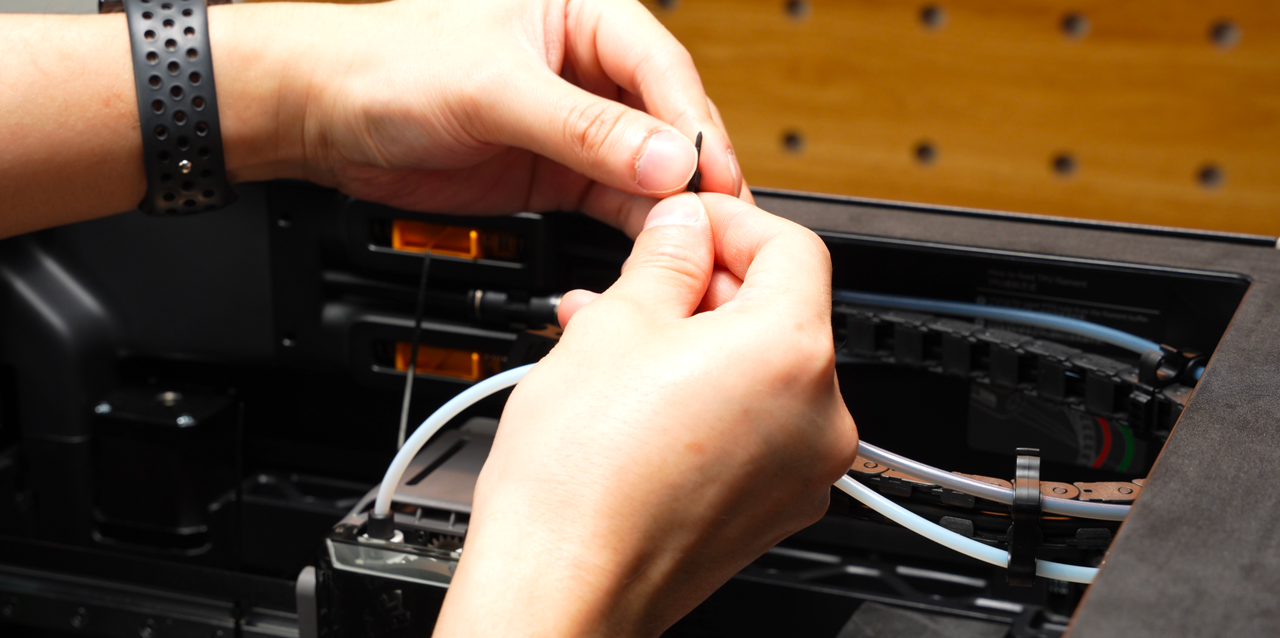
Step 1. Remove the PTFE tube connected to the spool holder.
 |
 |
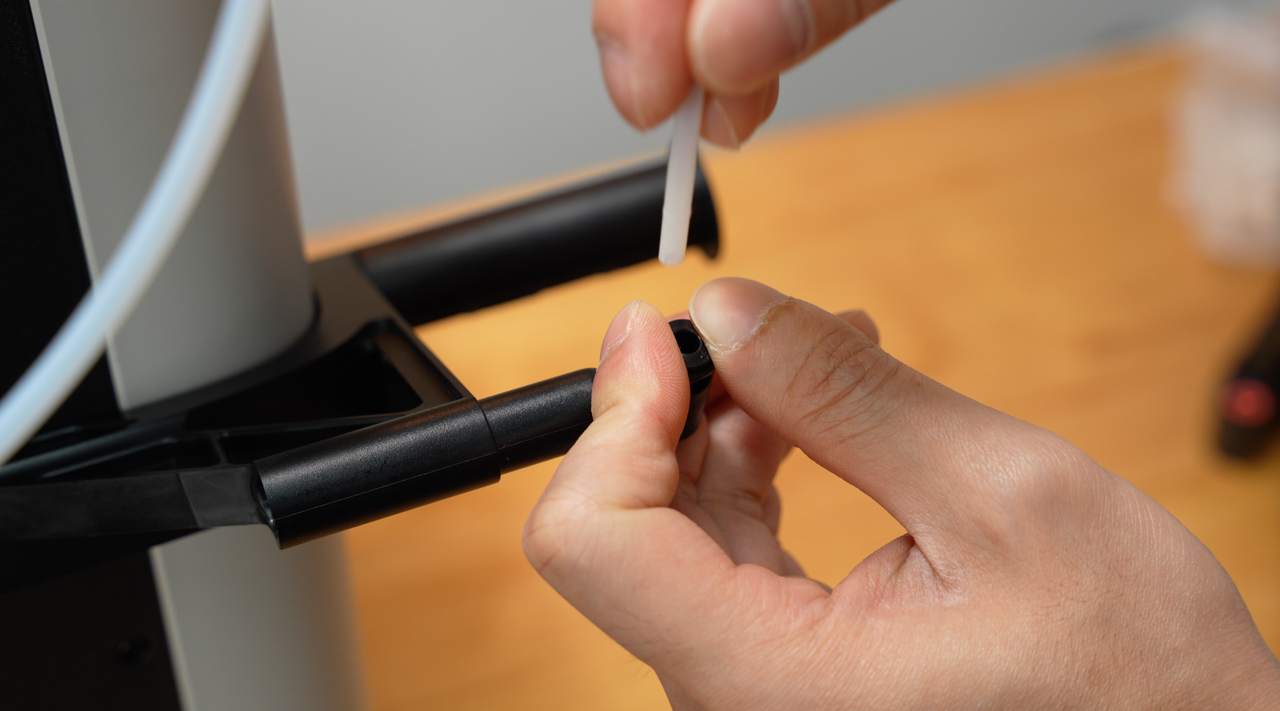 |
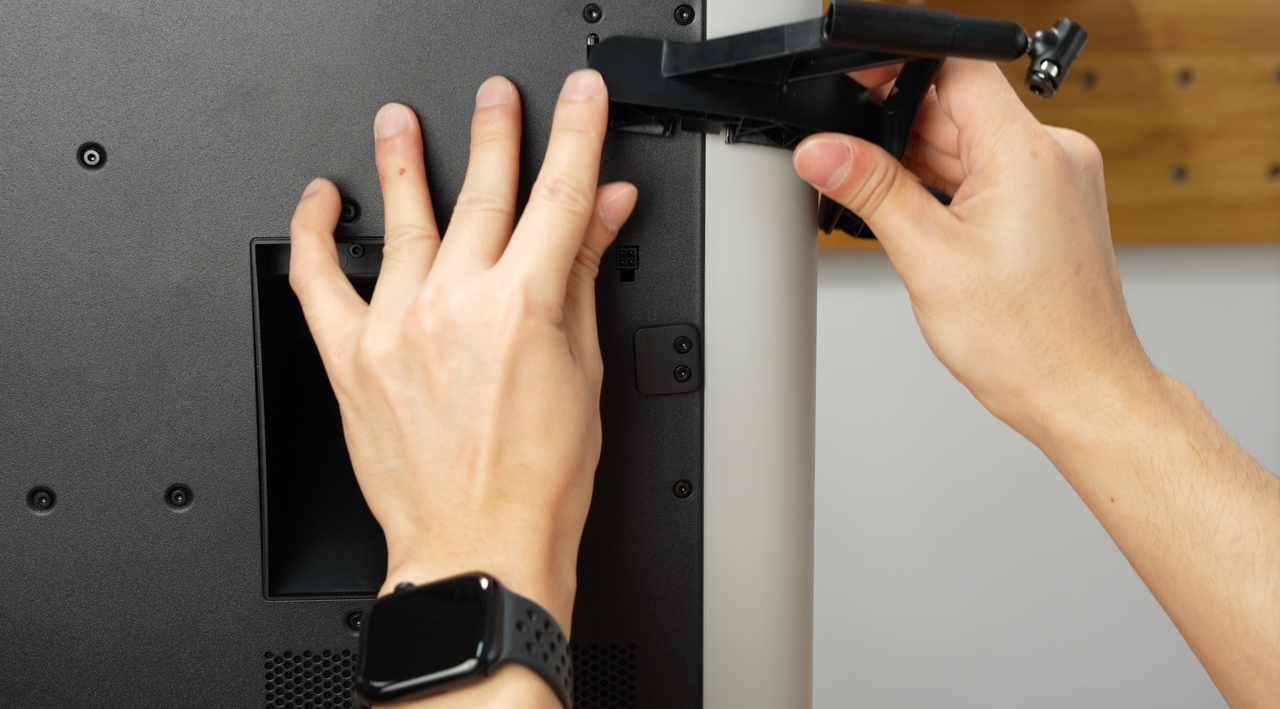
Step 2. Remove the spool holder.
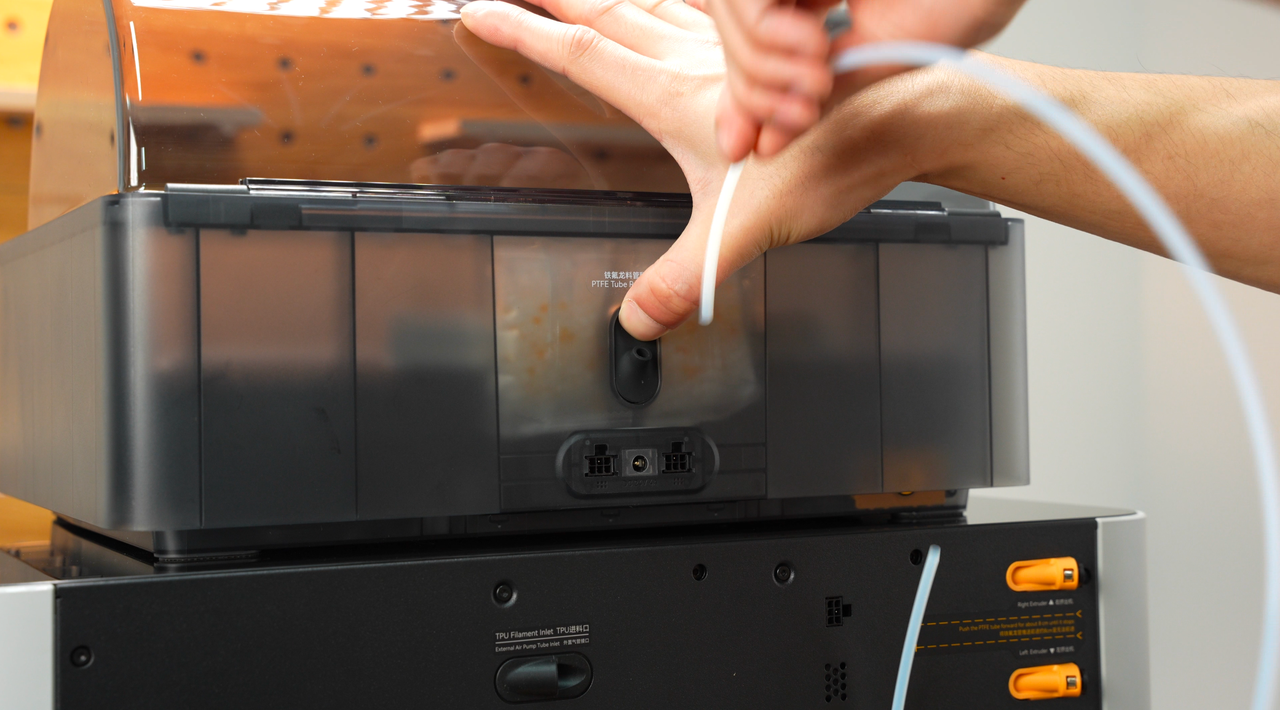
Step 3. Remove the PTFE tube connected to the AMS.
 |
 |
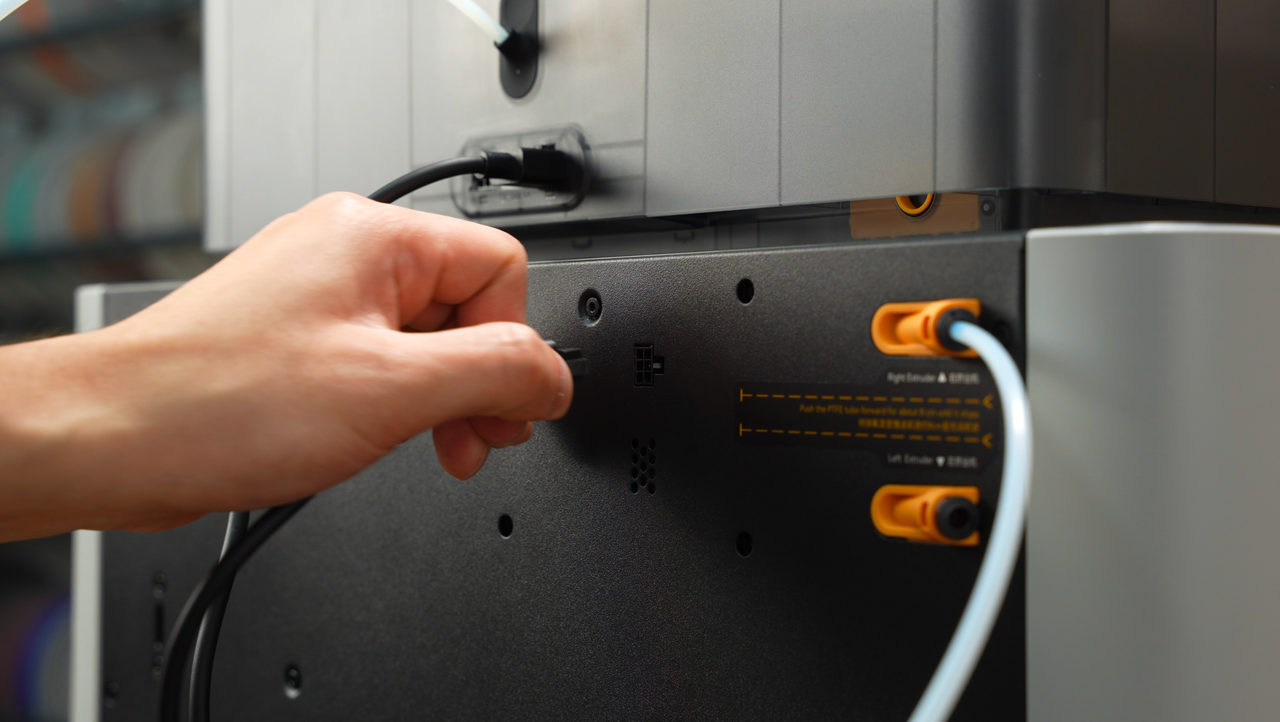
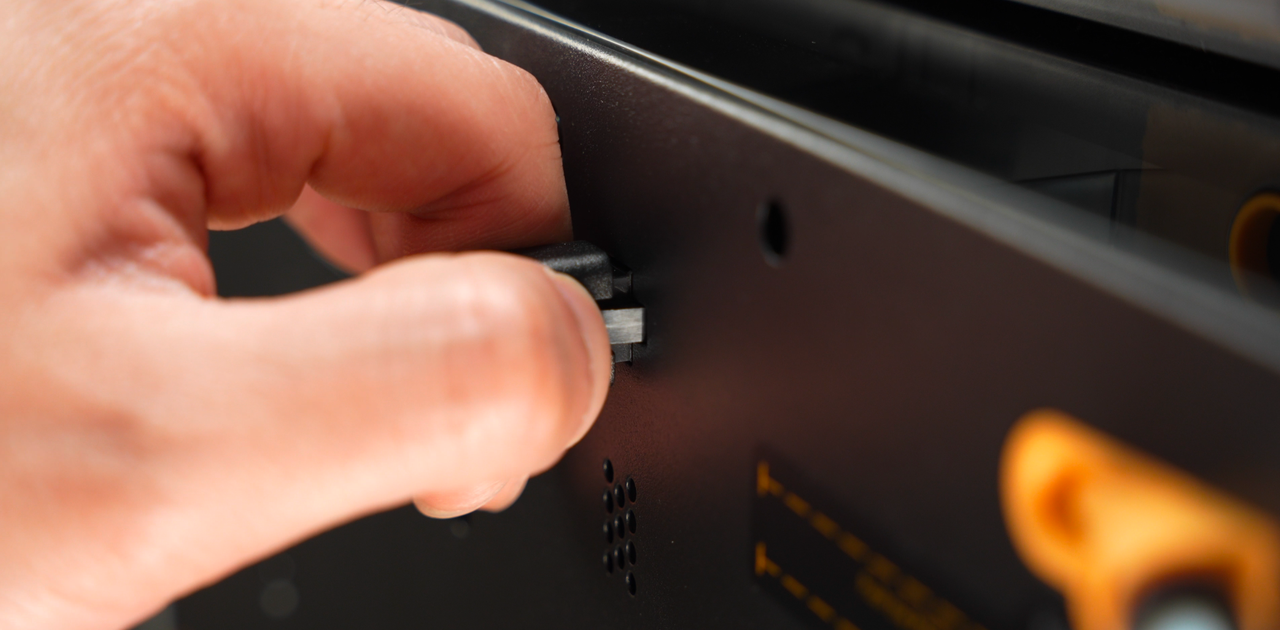
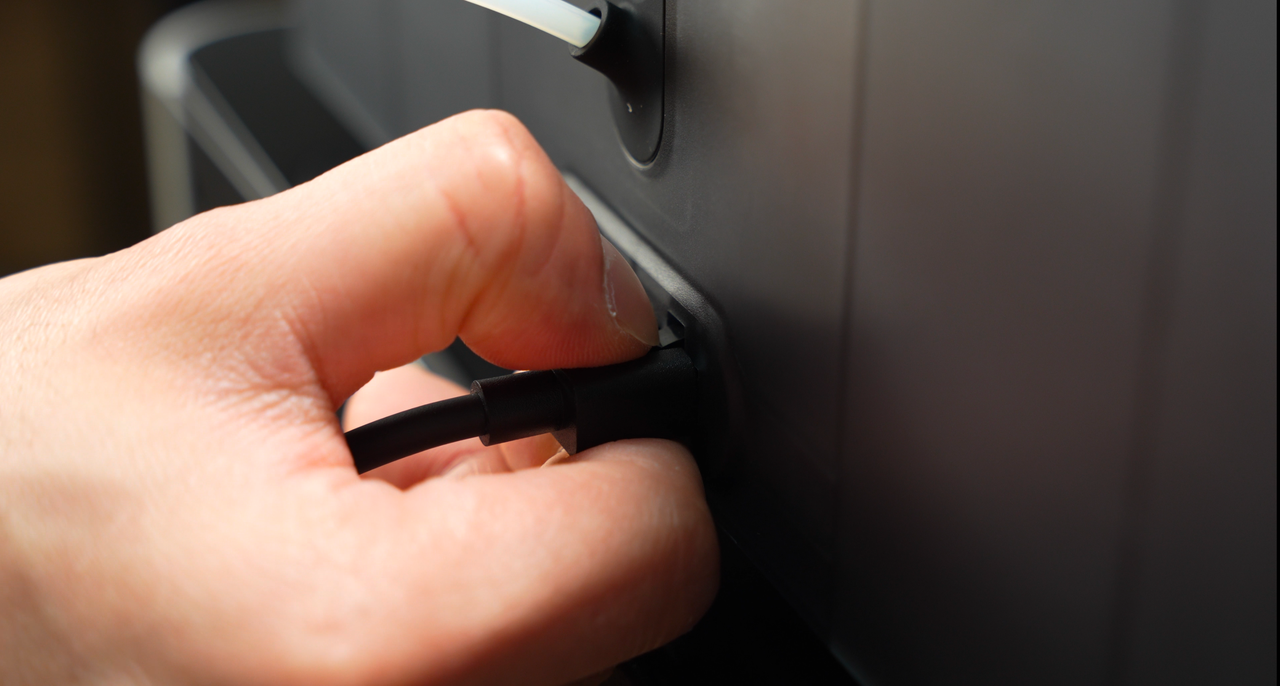
Step 4. Remove the 6-pin cable.
 |
 |
 |
 |
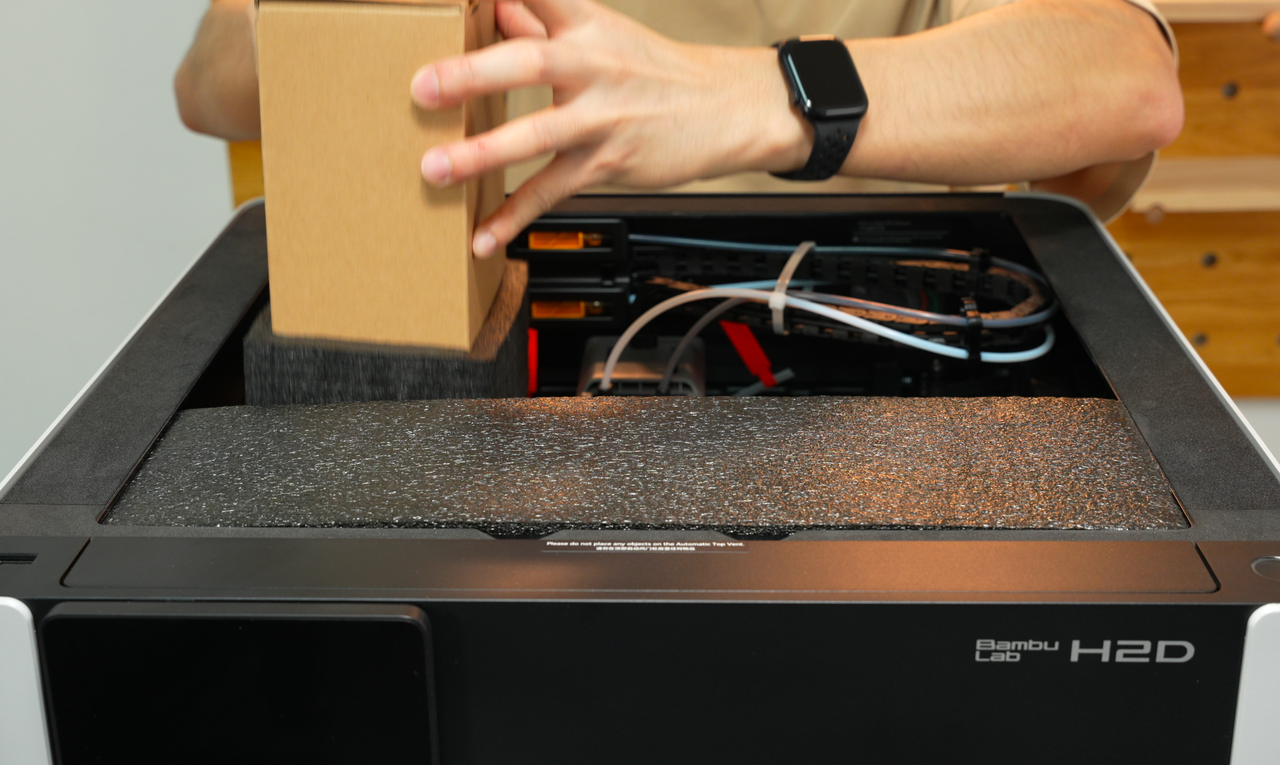
¶ Secure the air pump, lead screws, headbed
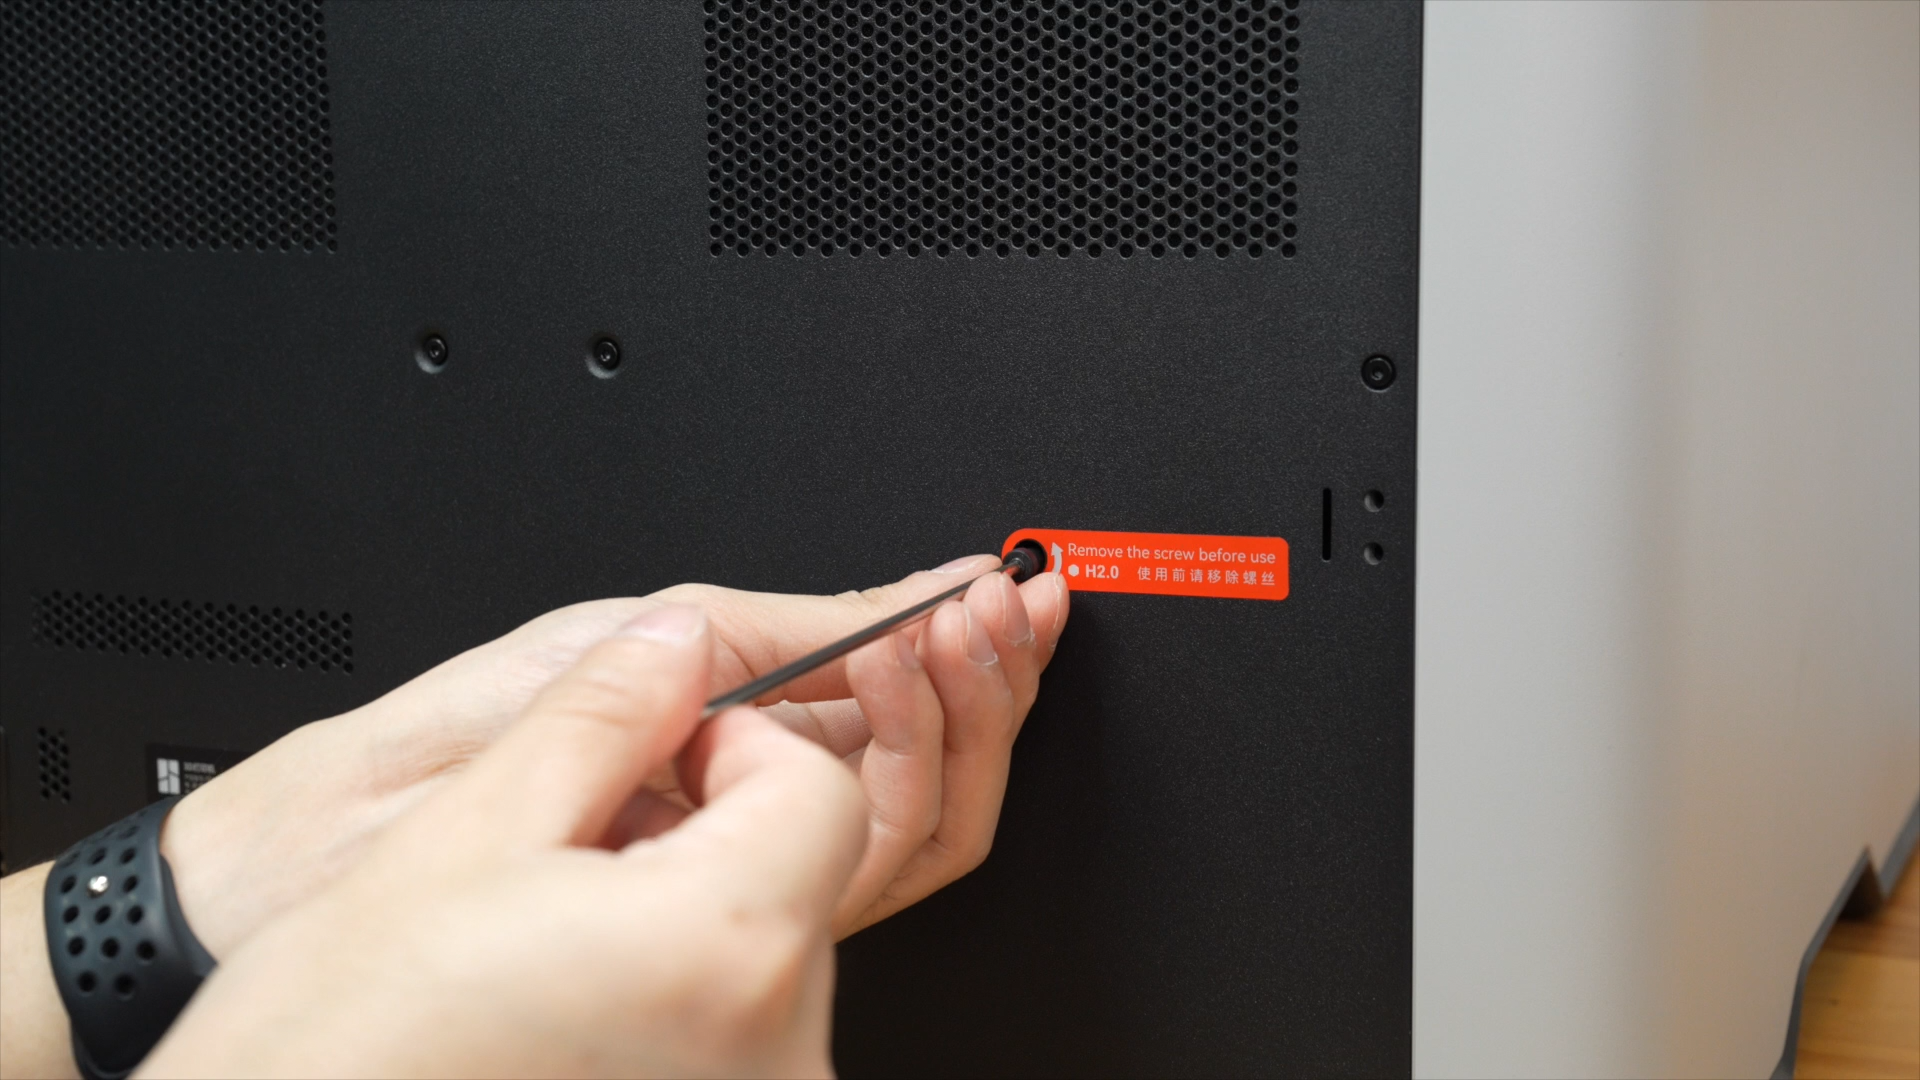
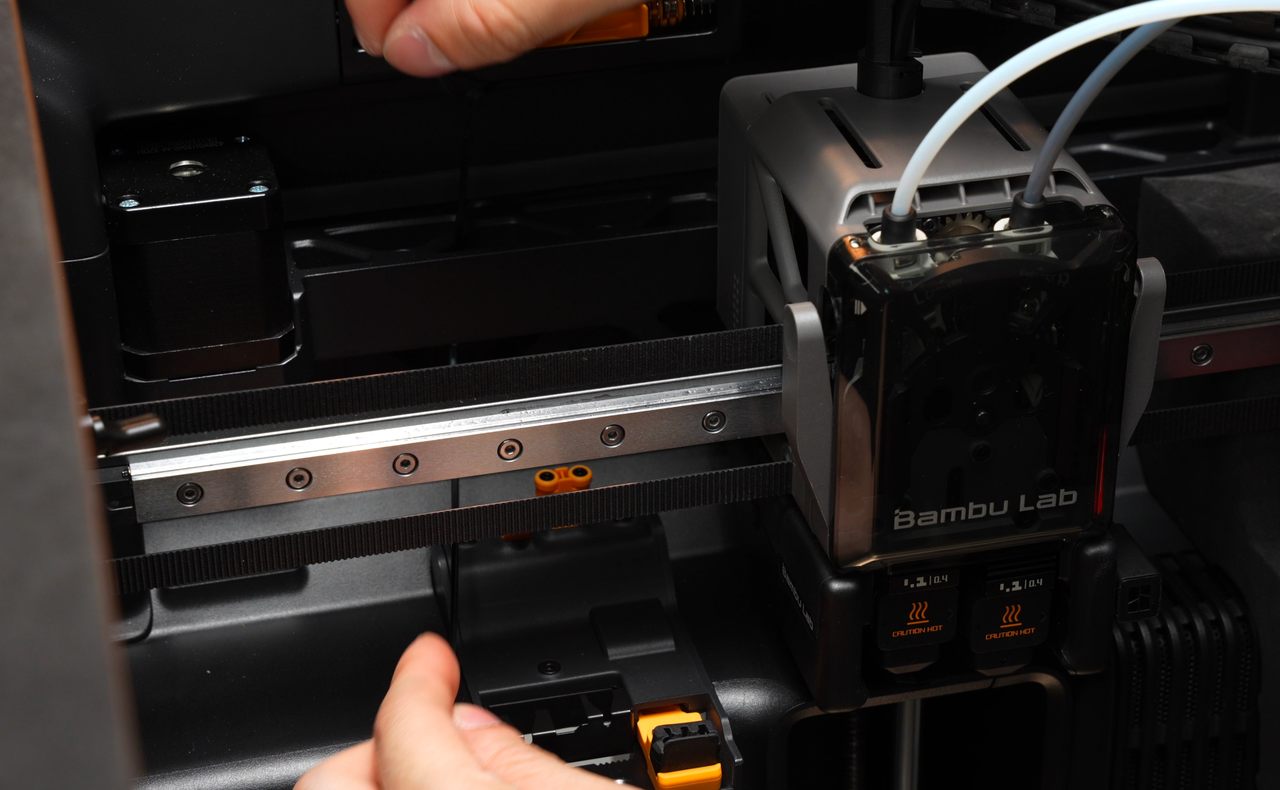
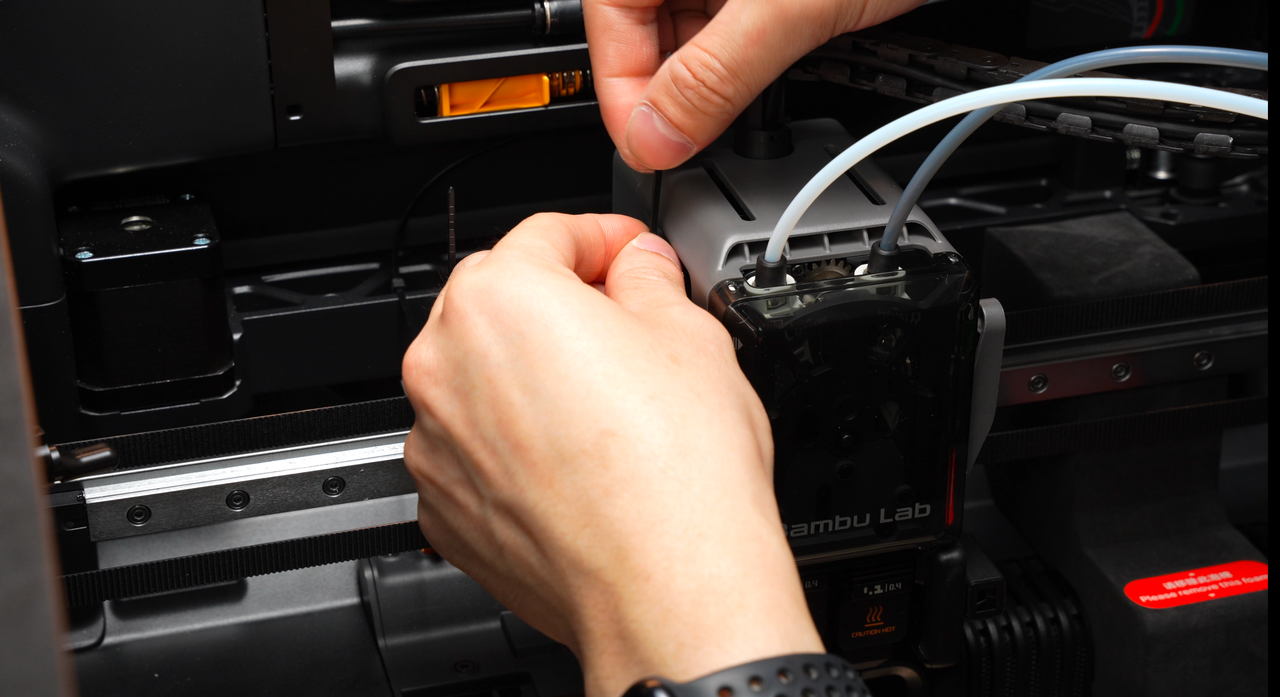
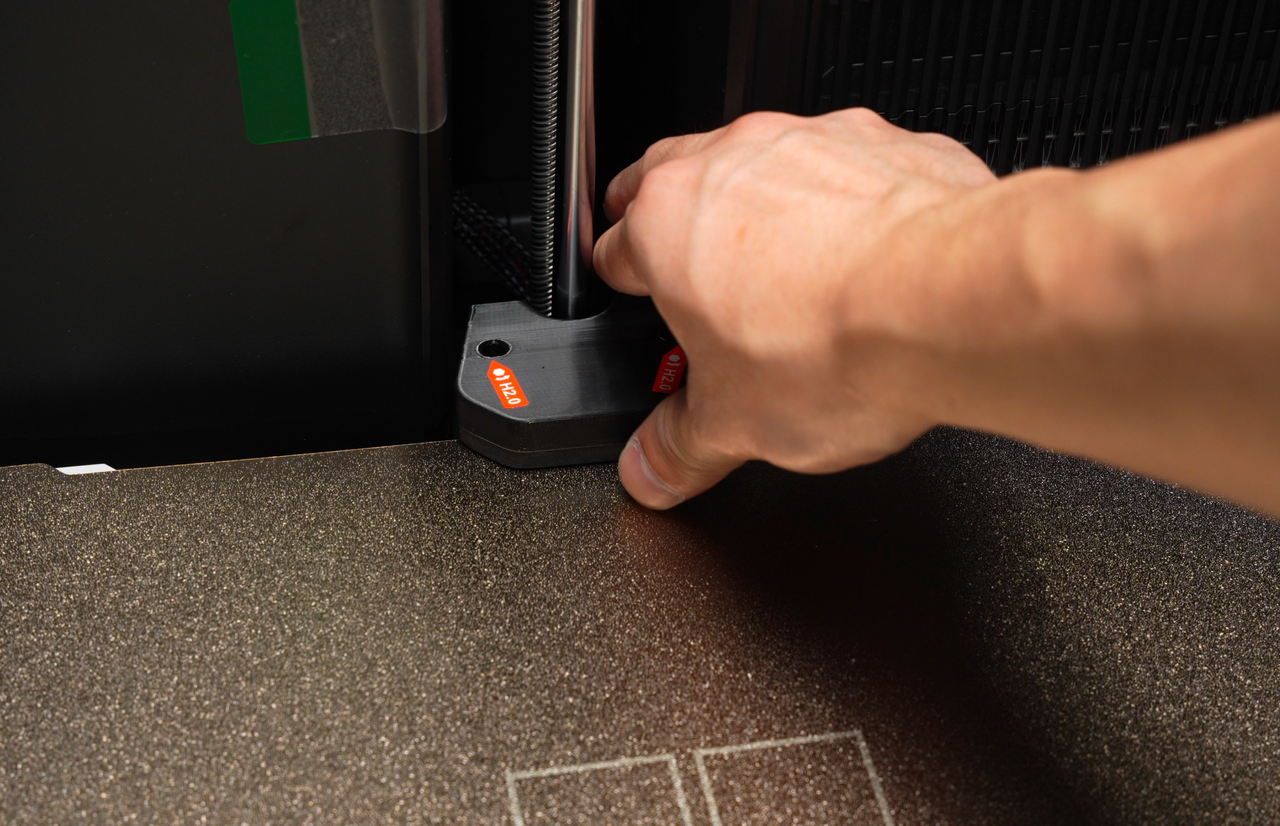
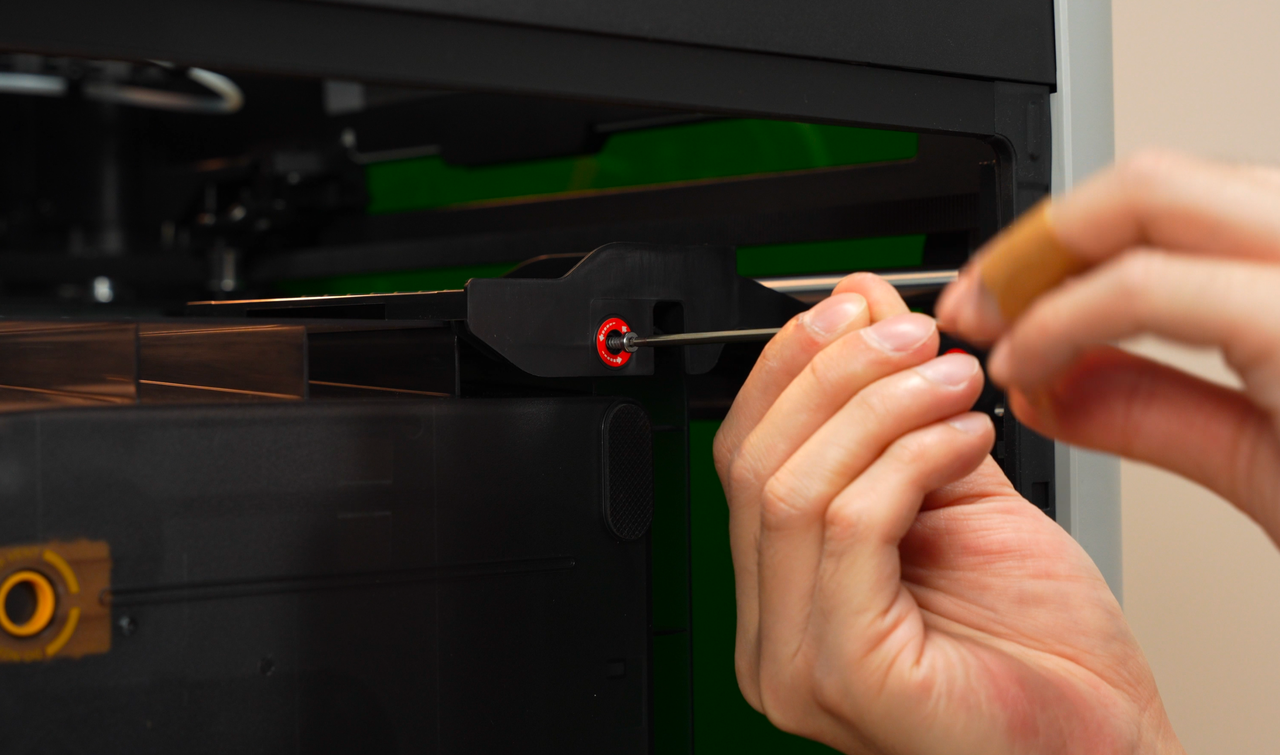
Step 1. Secure the air pump fixing screw.
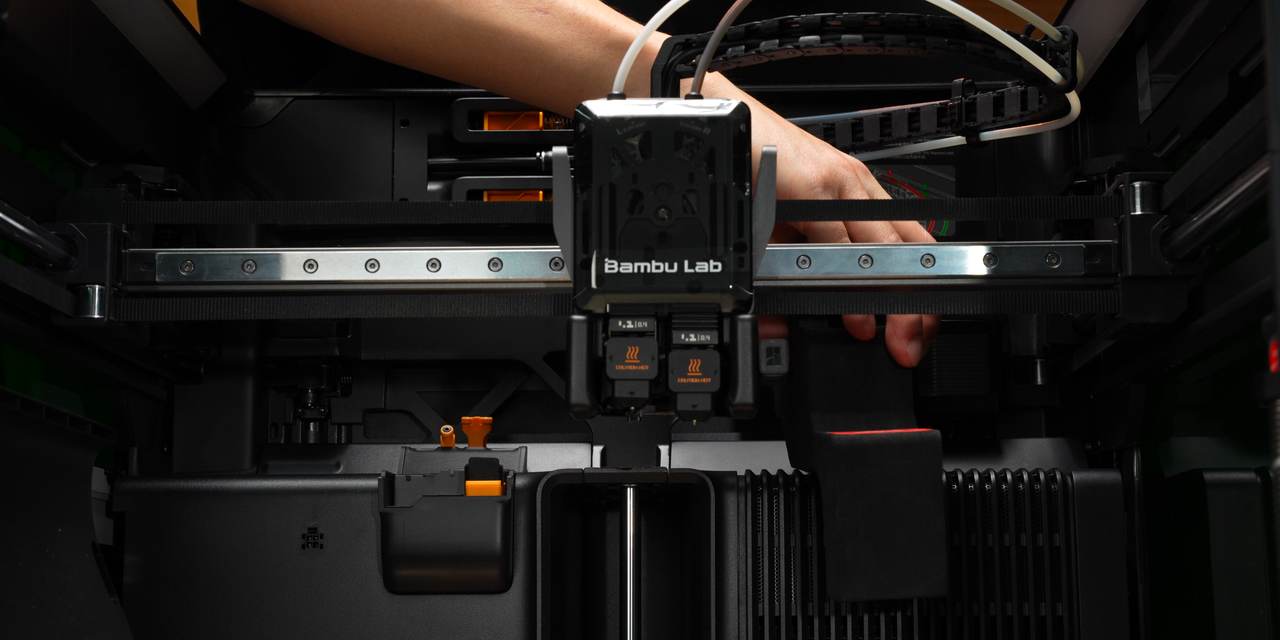
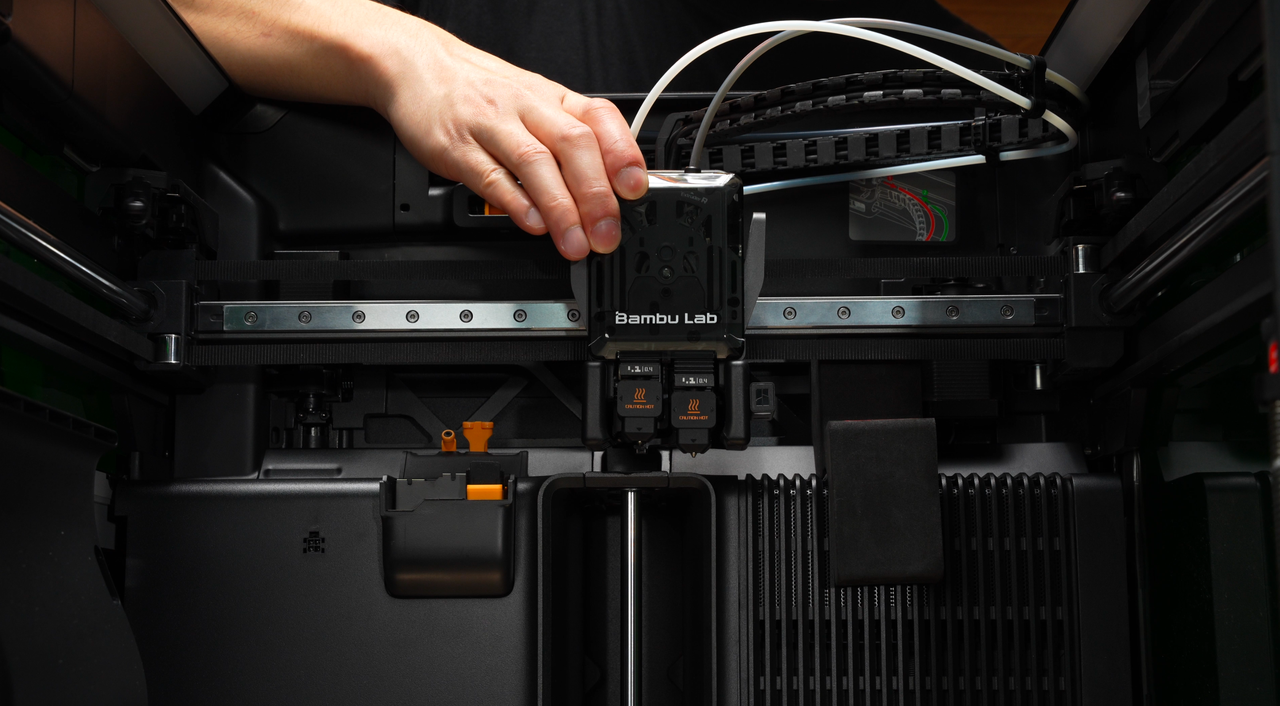
Step 2. Place back the foam above the air filter, and pull the toolhead to press against it.
 |
 |
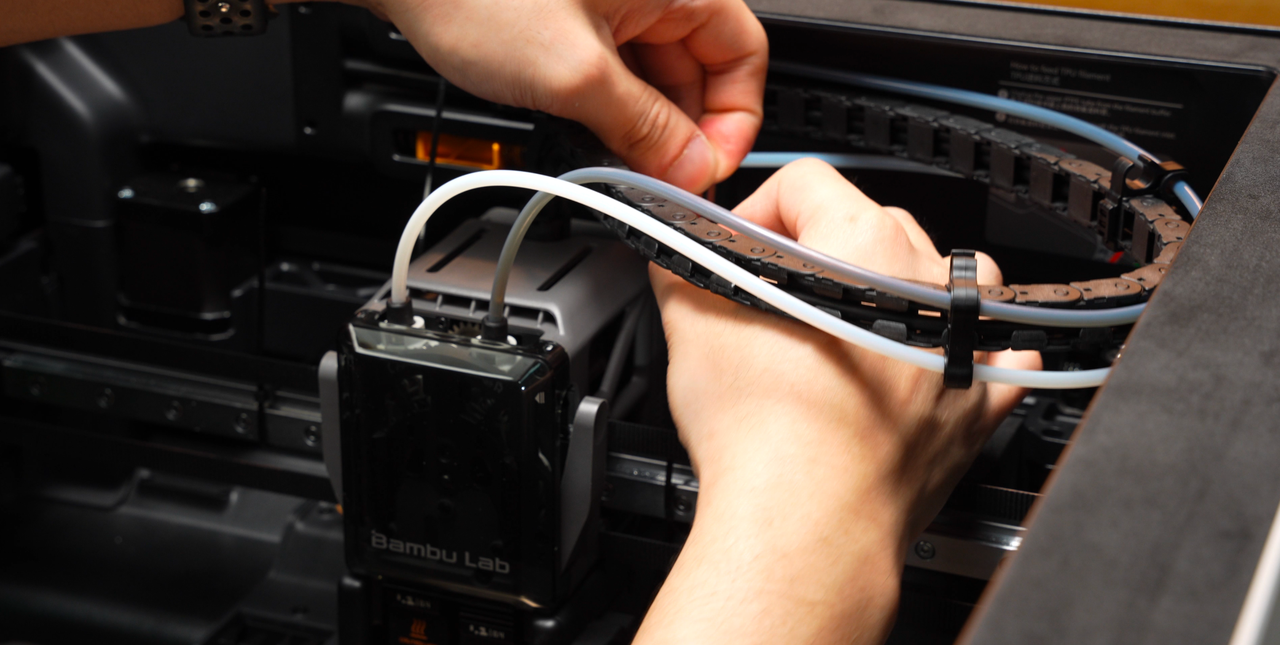
Step 3. Tighten the zip ties while avoid the belt.
 |
 |
 |
 |
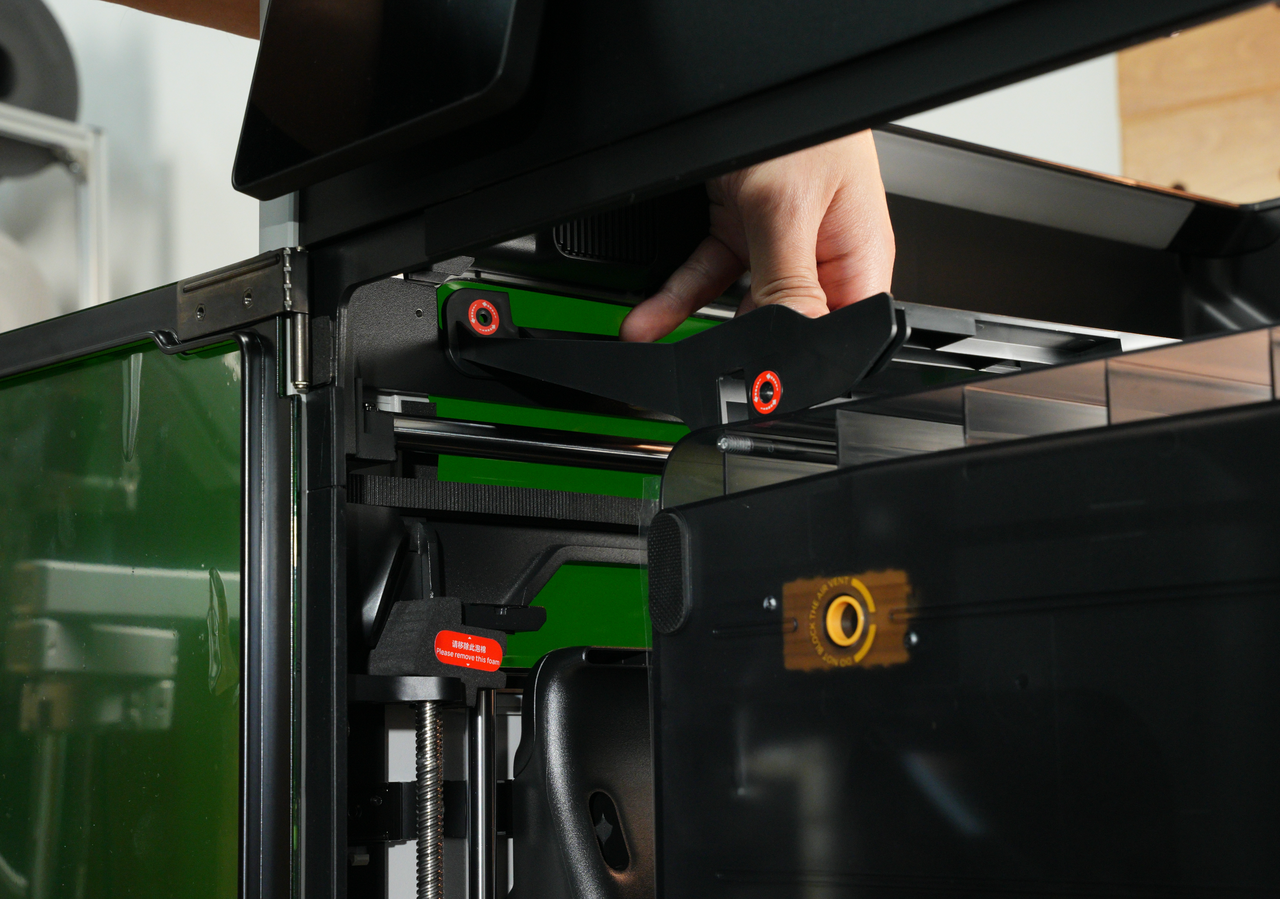
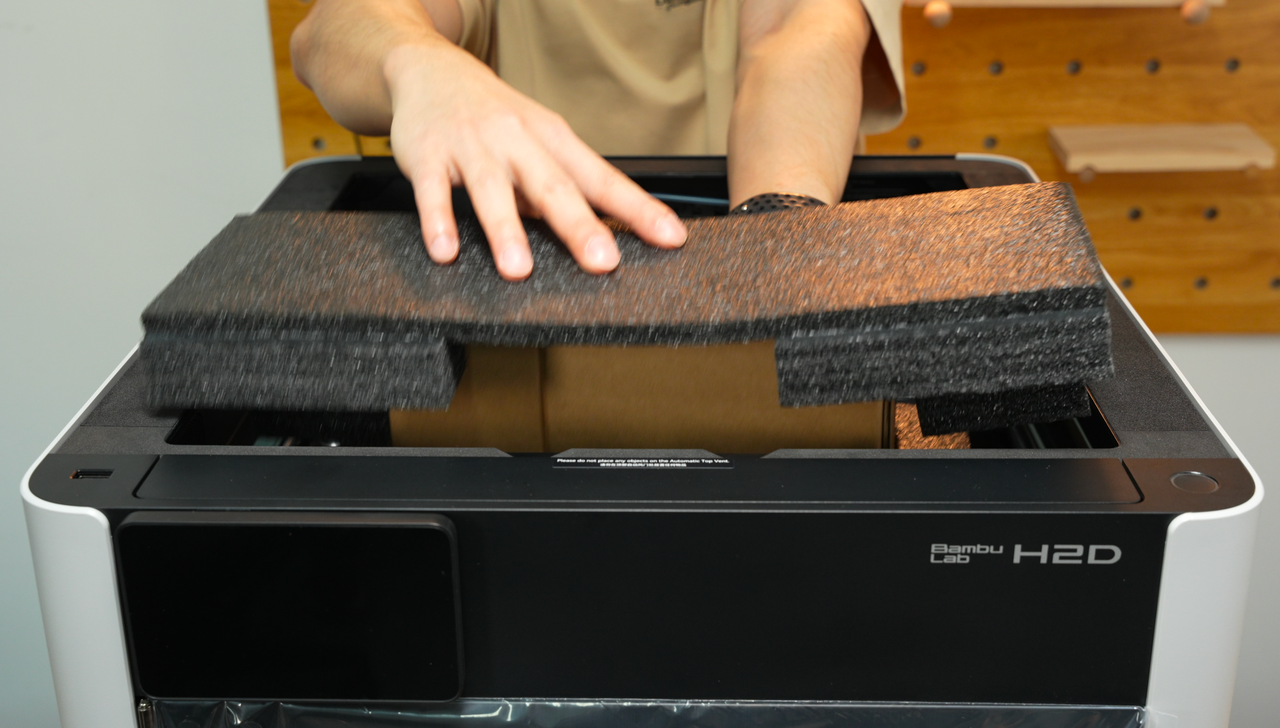
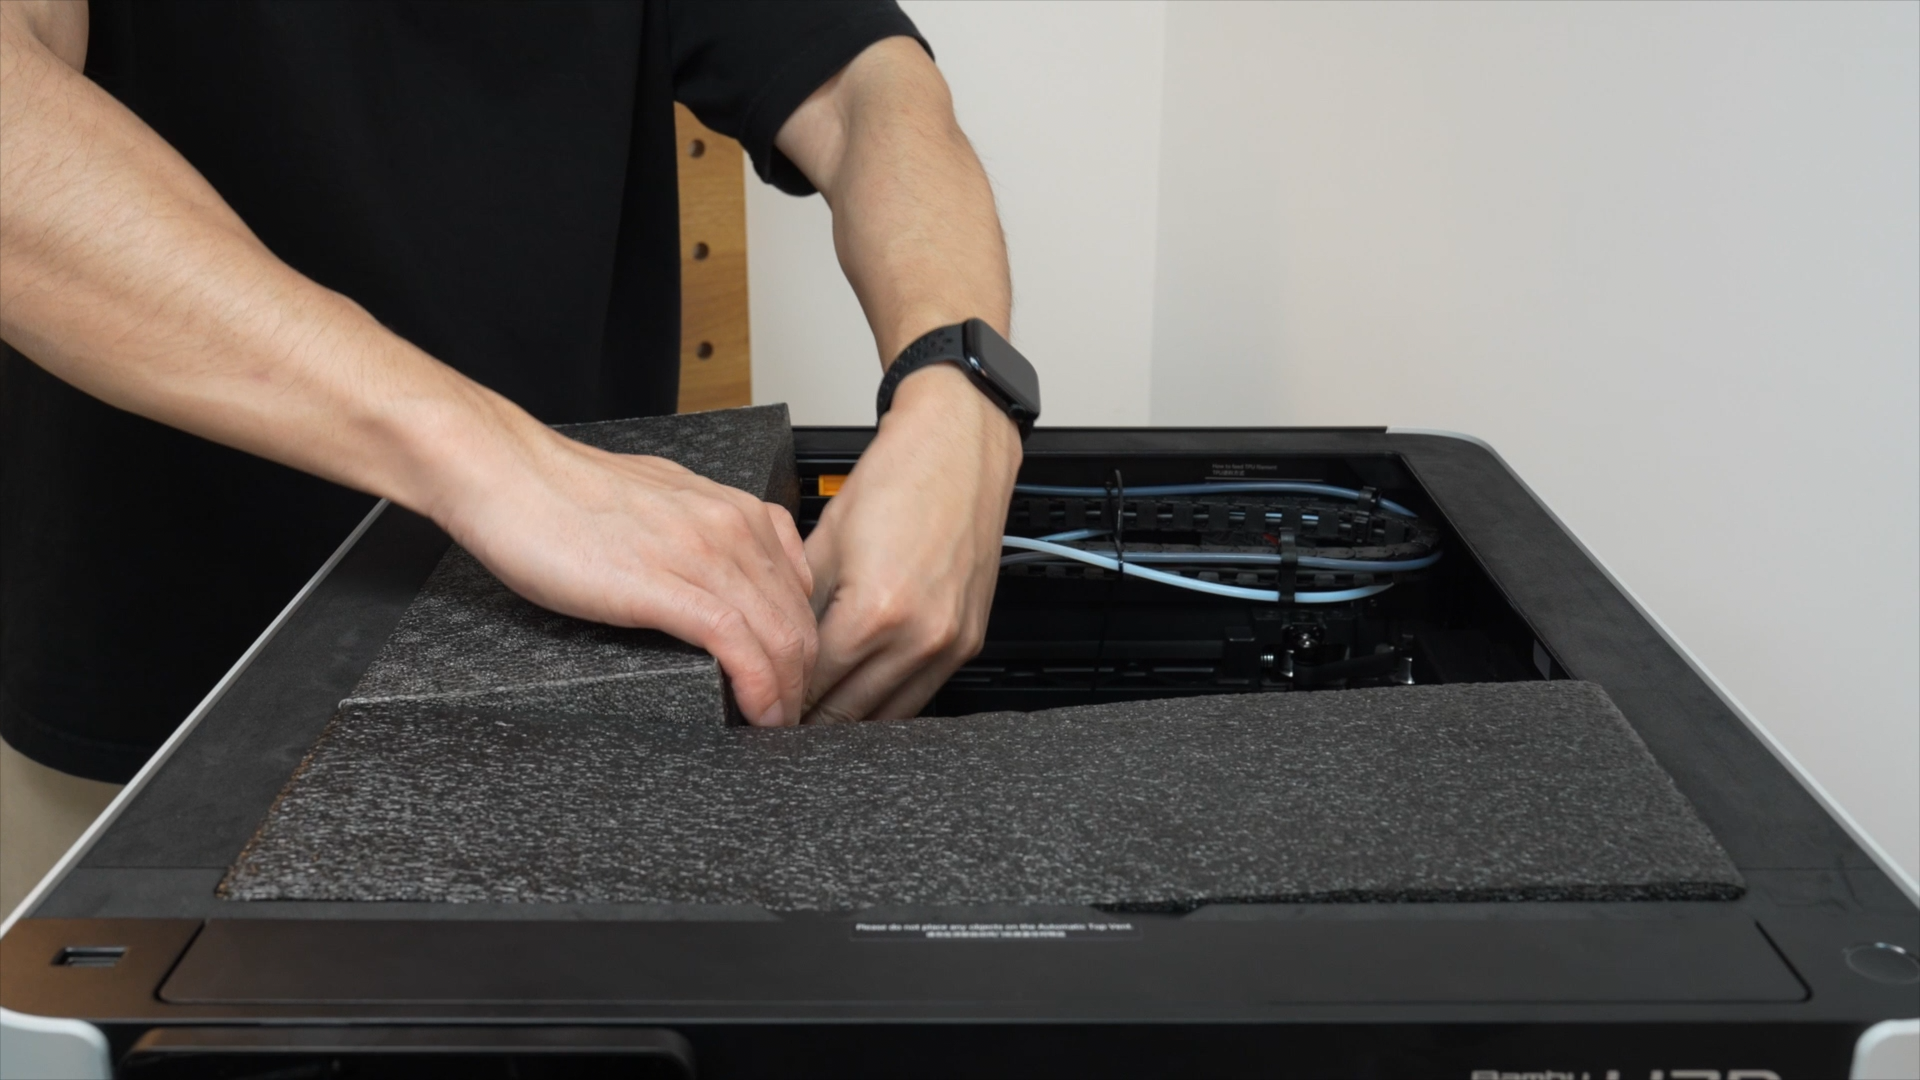
Step 4. Put back the two pieces of foam above the lead screws.
 |
 |
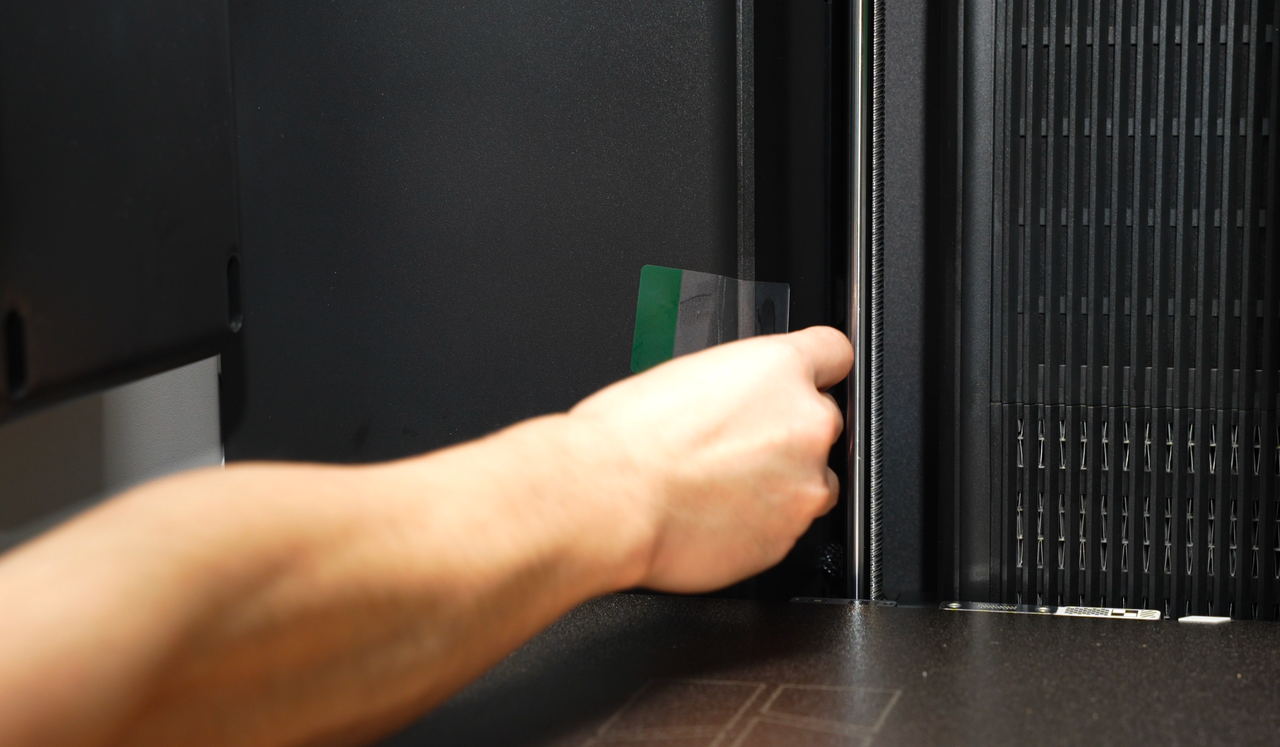
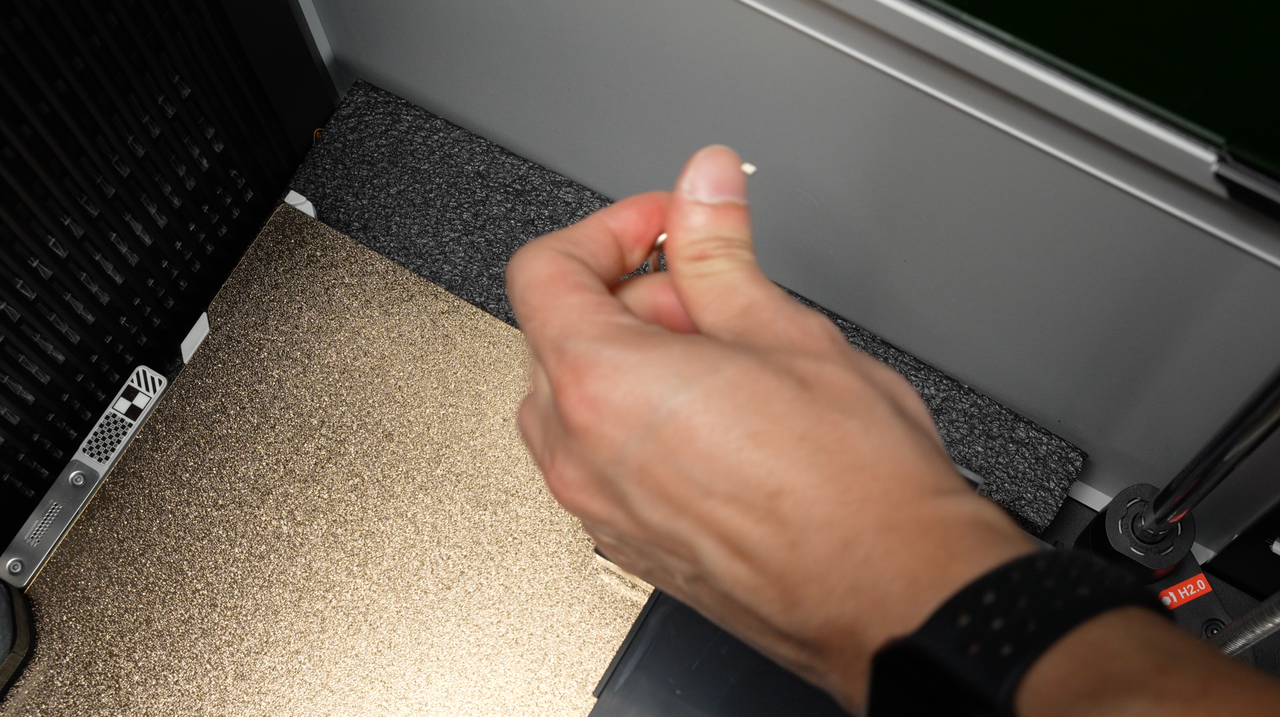
Step 5. Put tapes to avoid scratches during screws tightening later.
 |
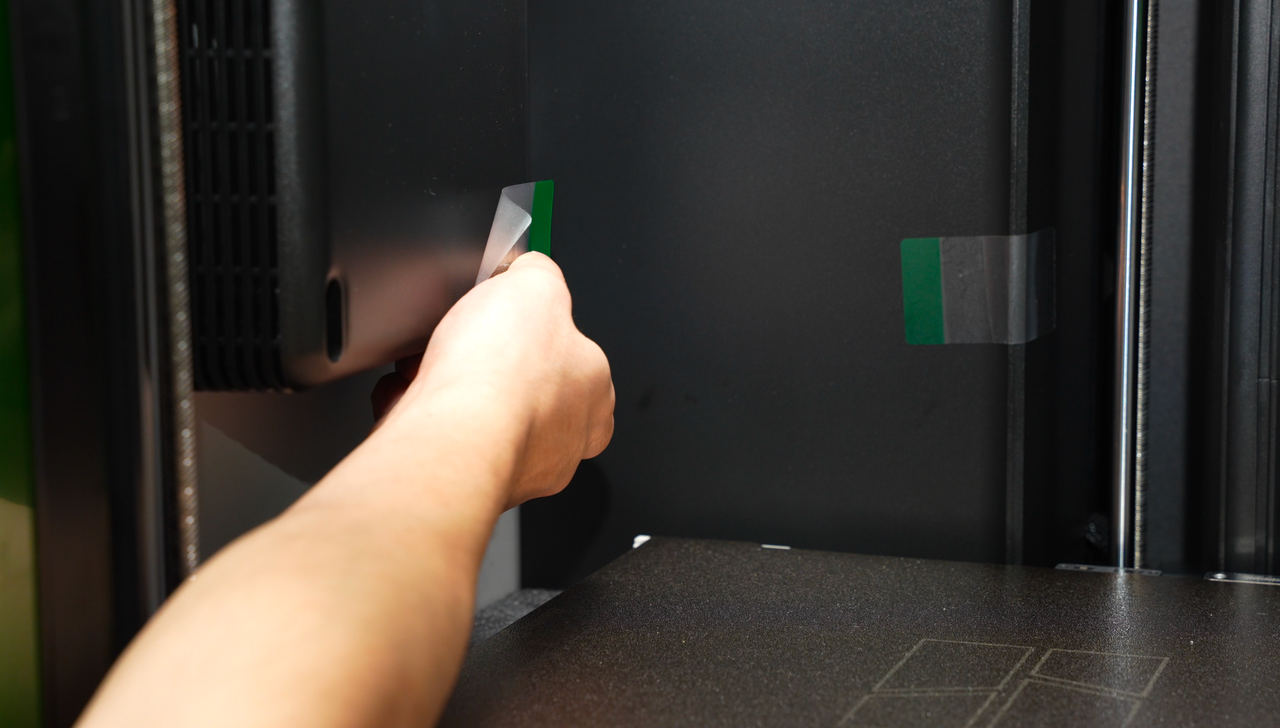 |
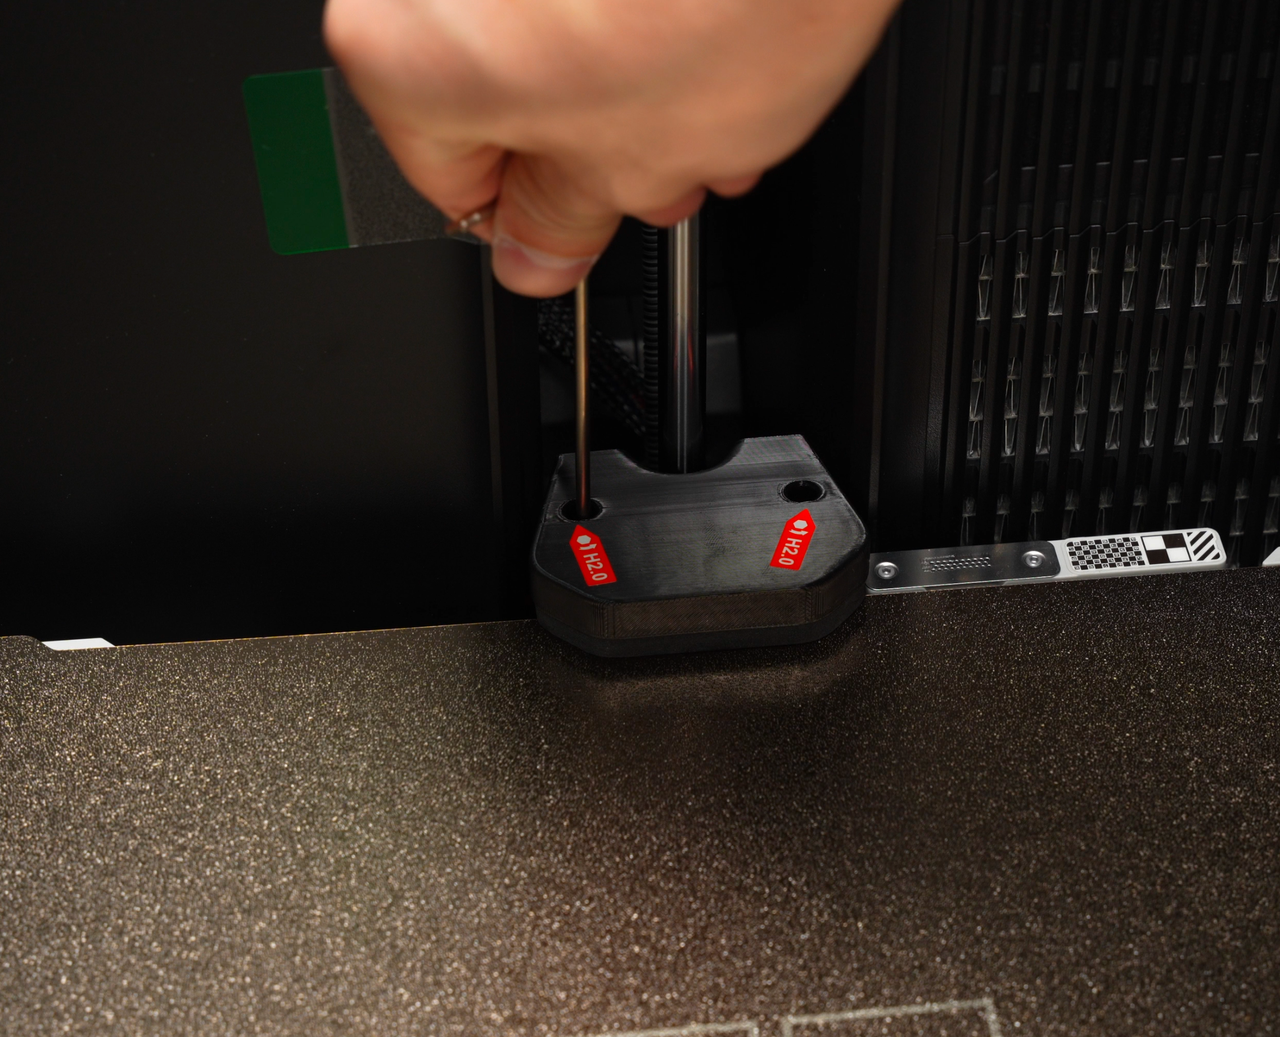
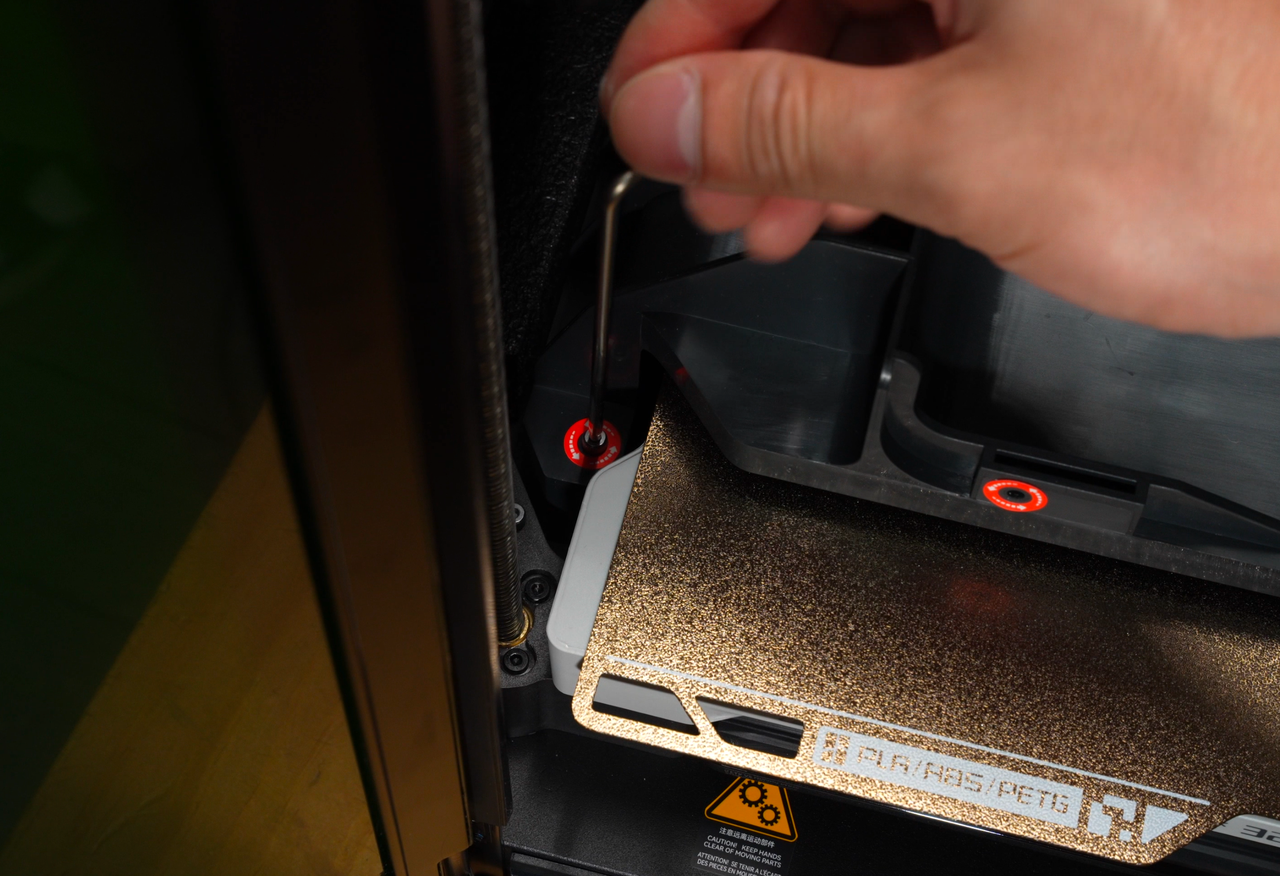
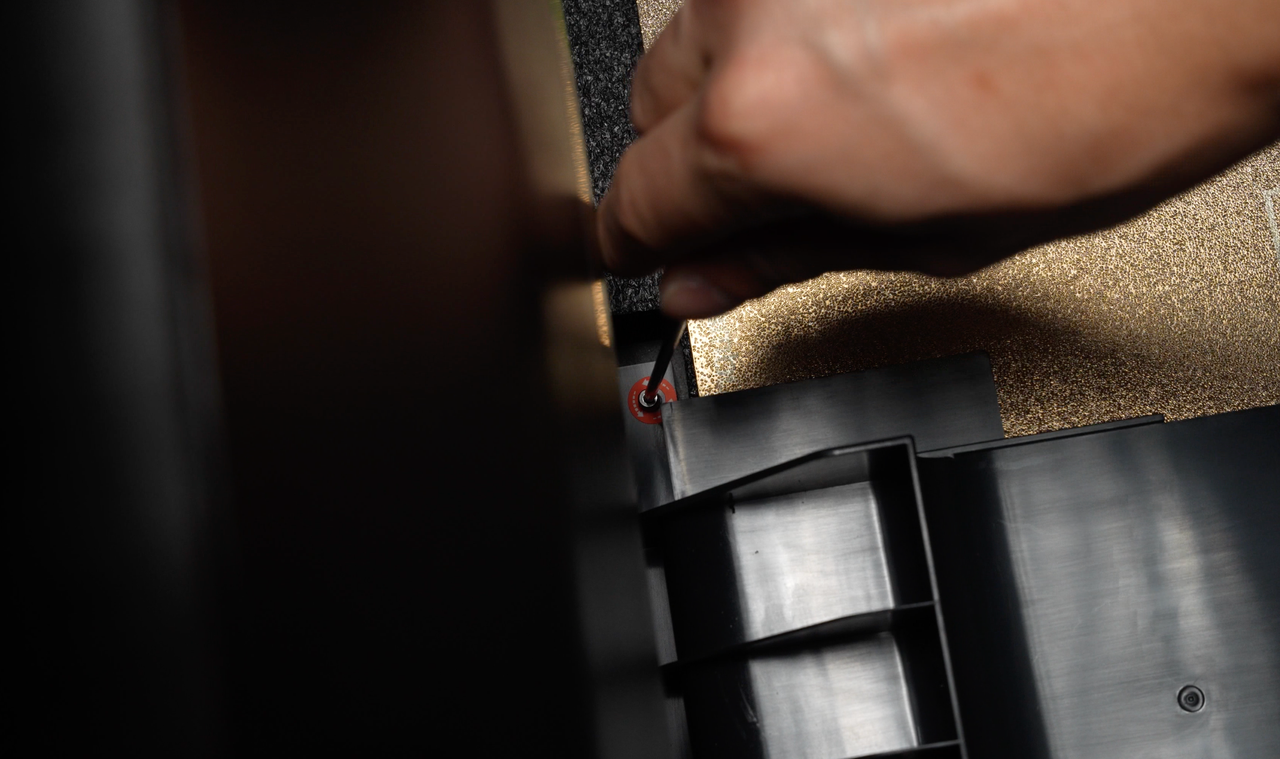
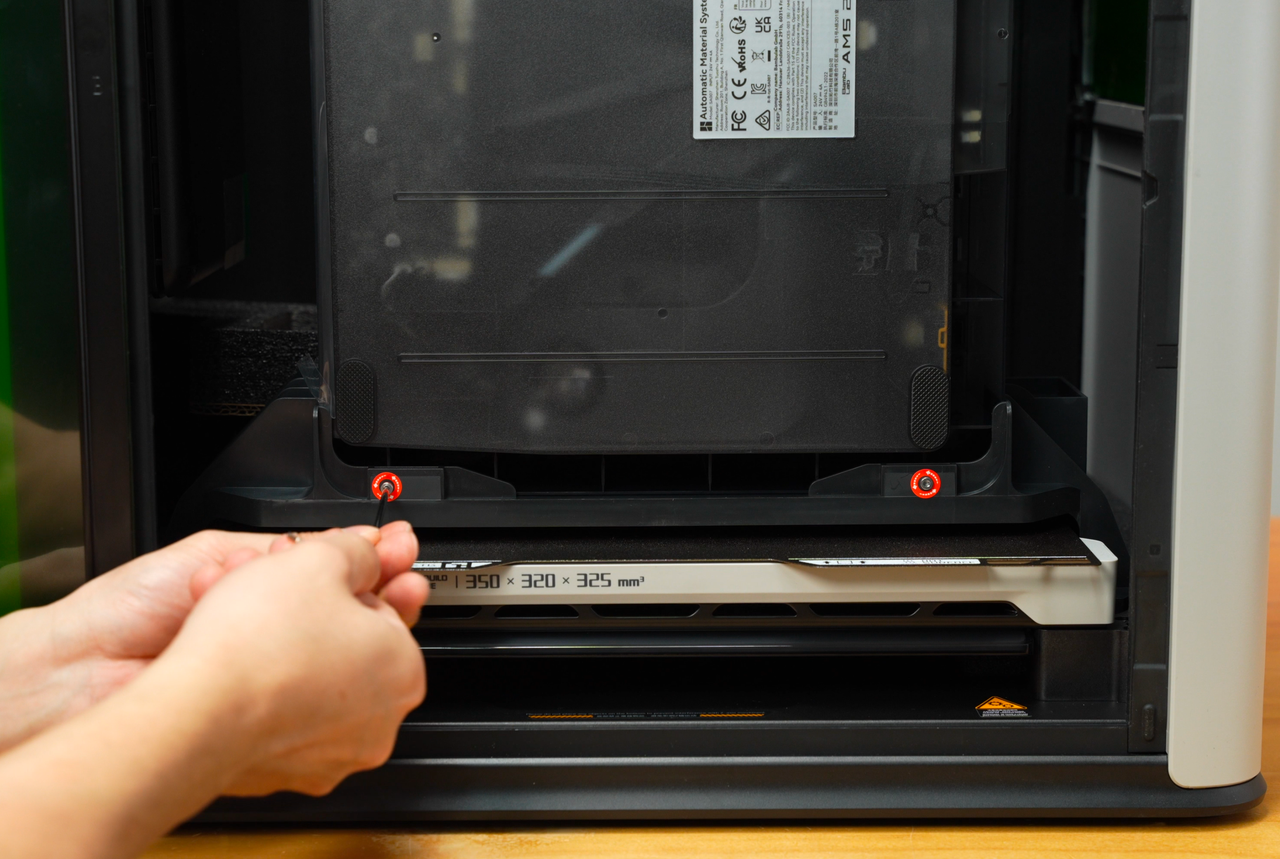
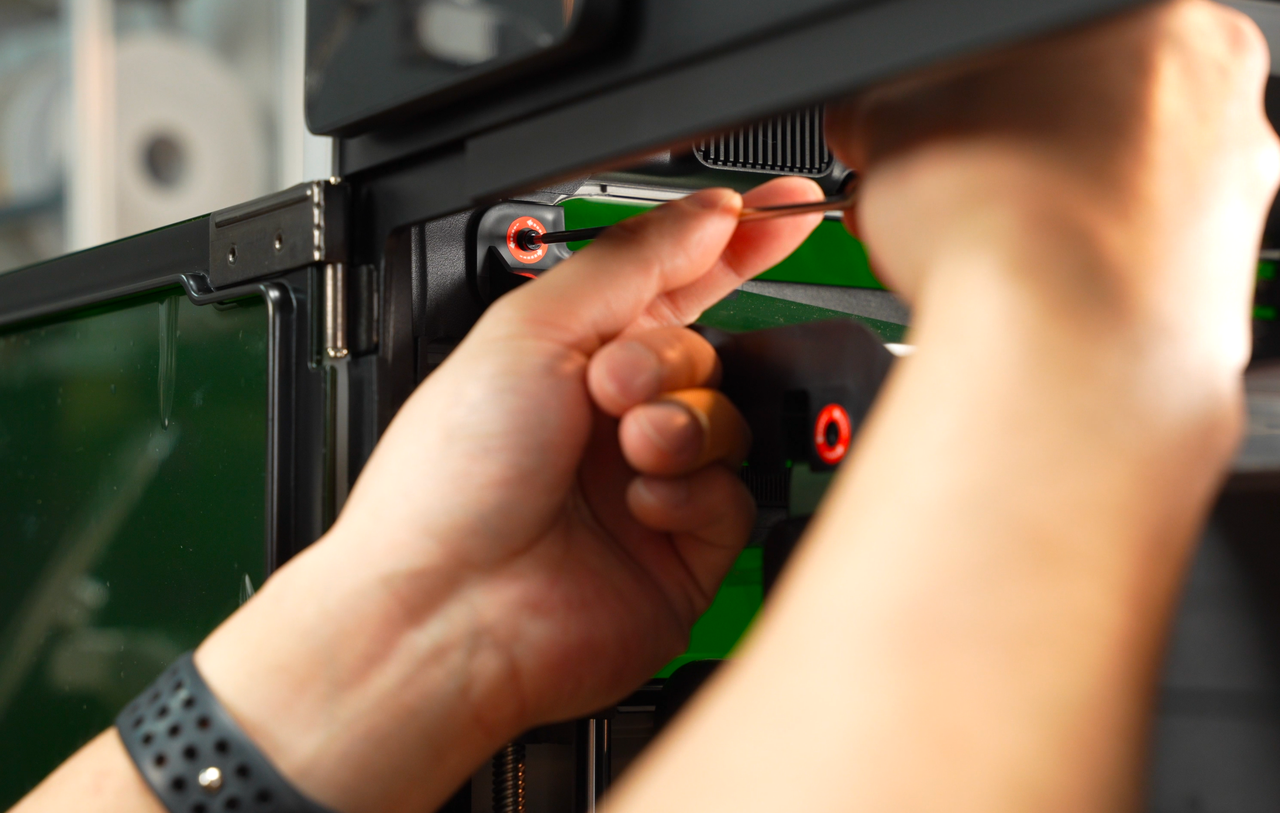
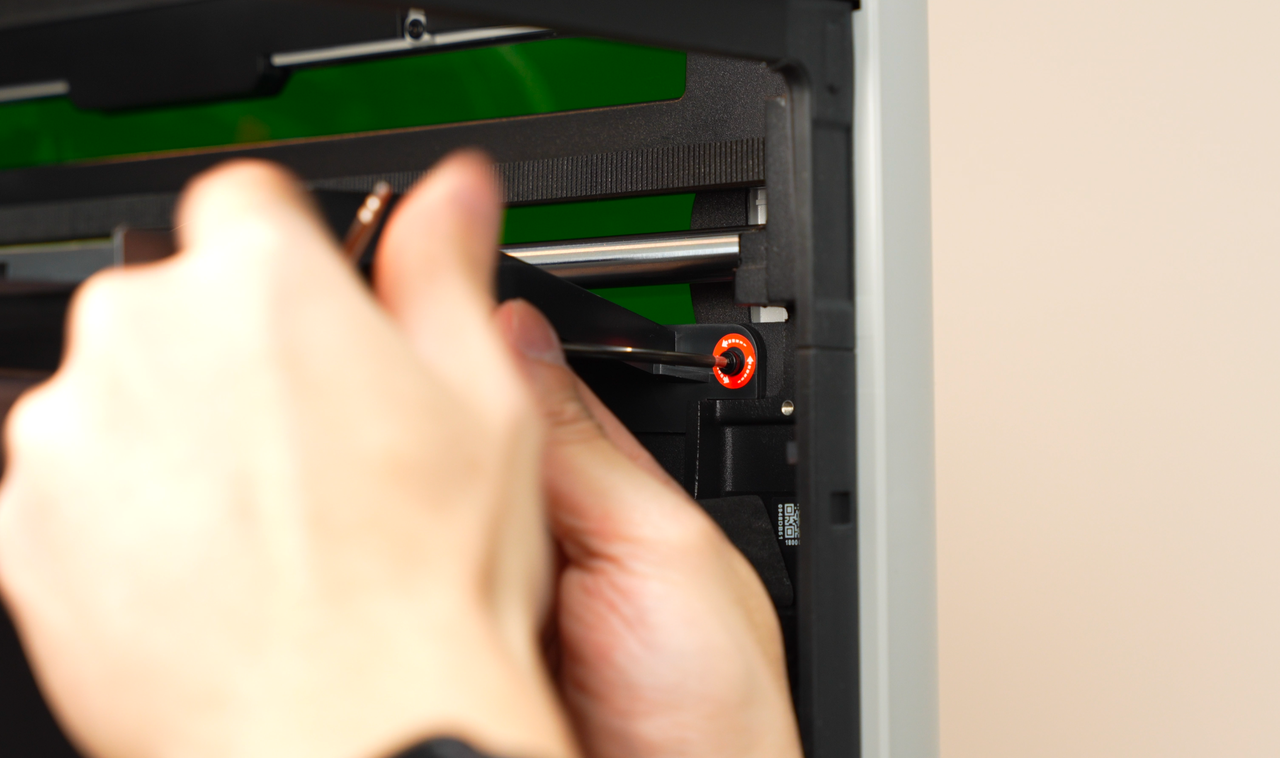
Step 6. Tighten the two screws near the front door.
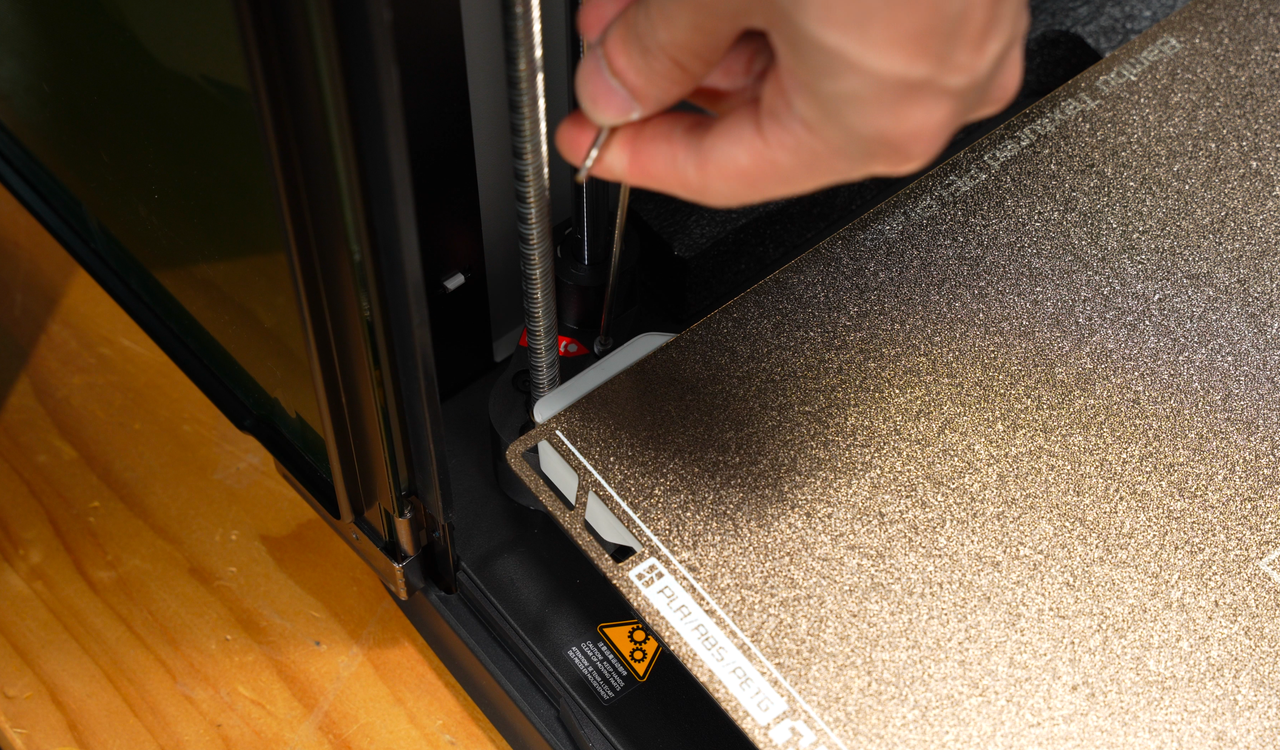 |
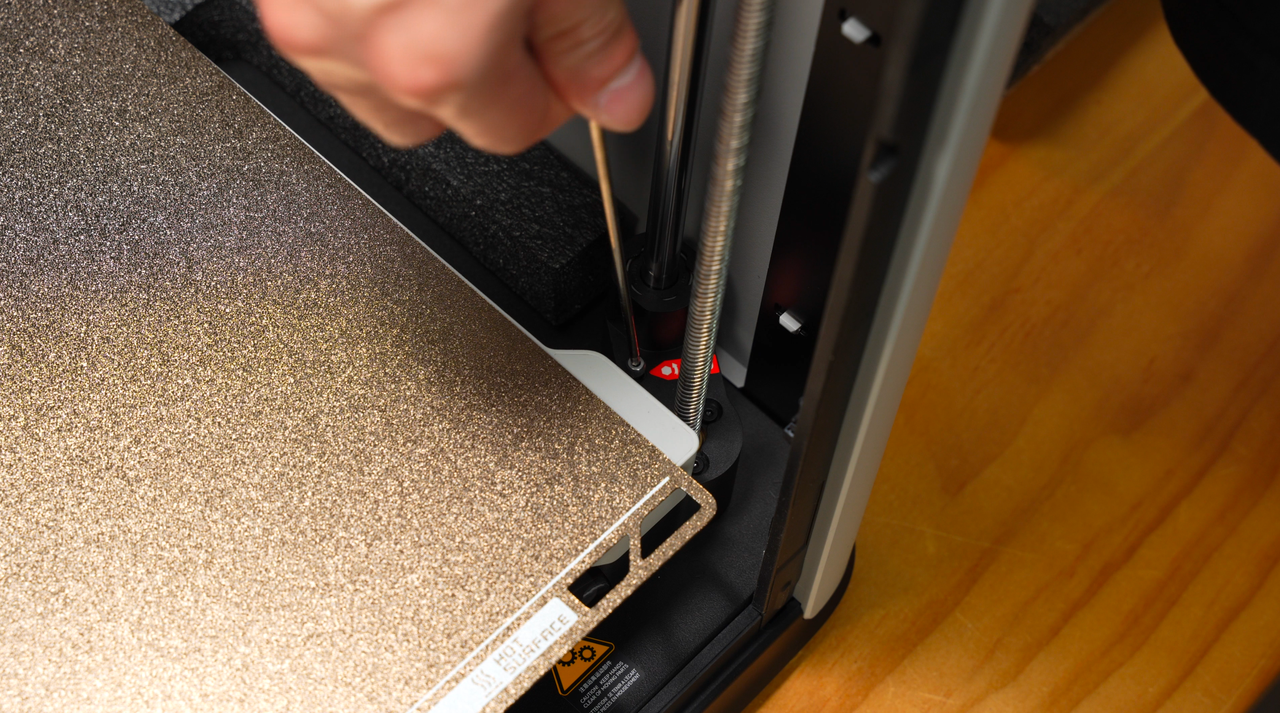 |
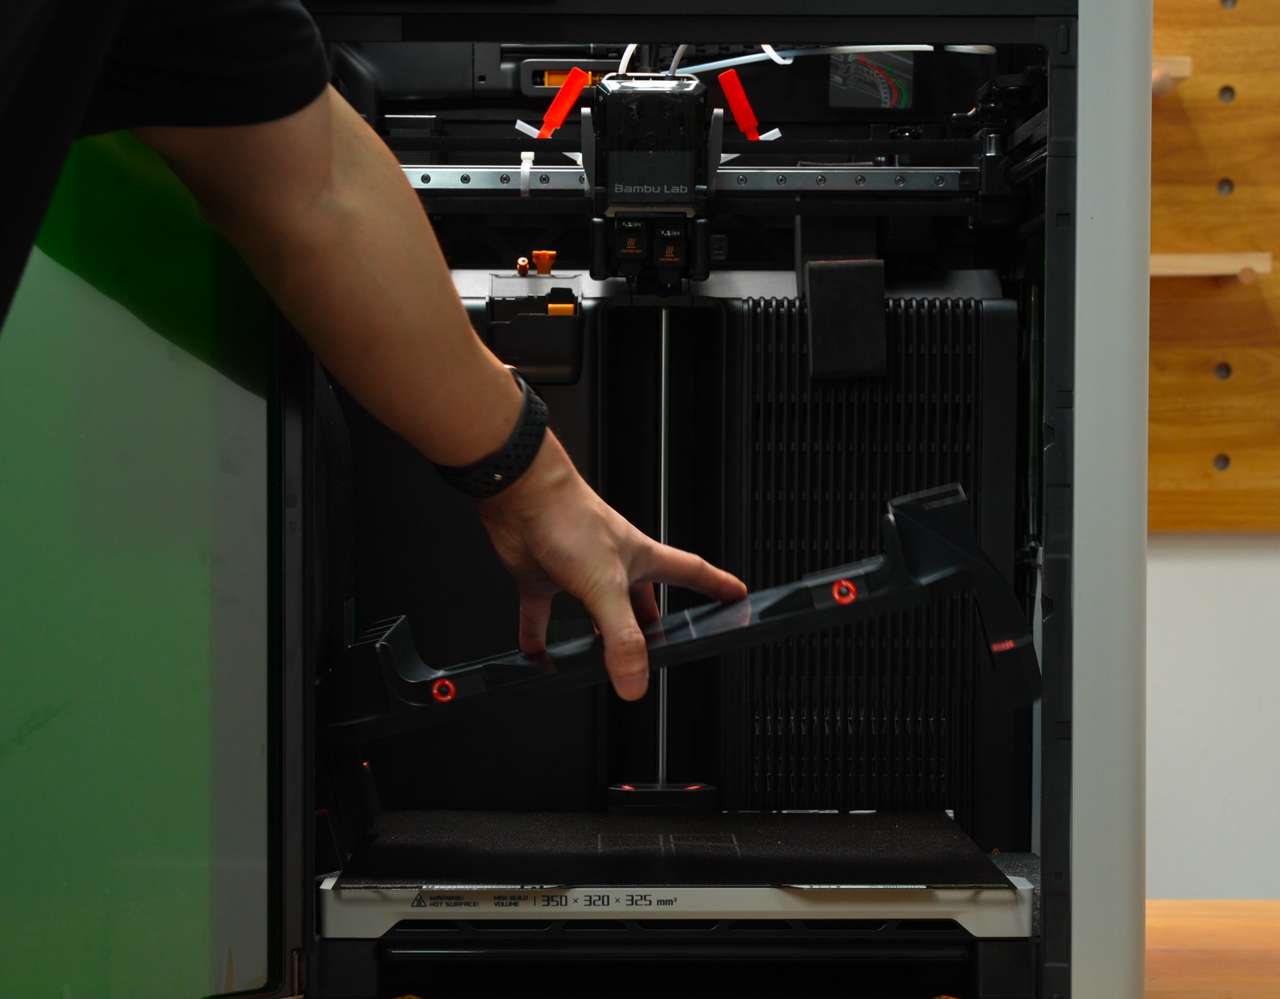
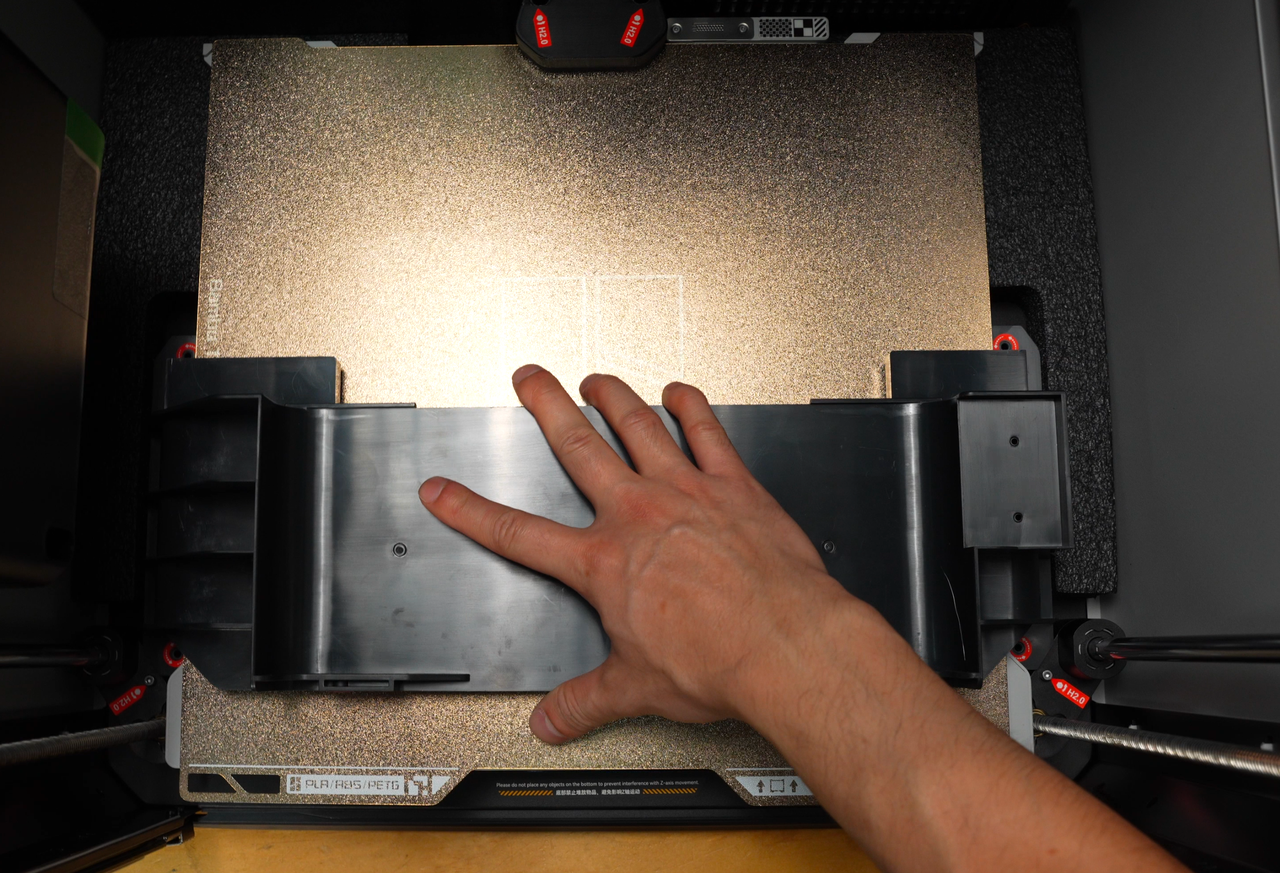
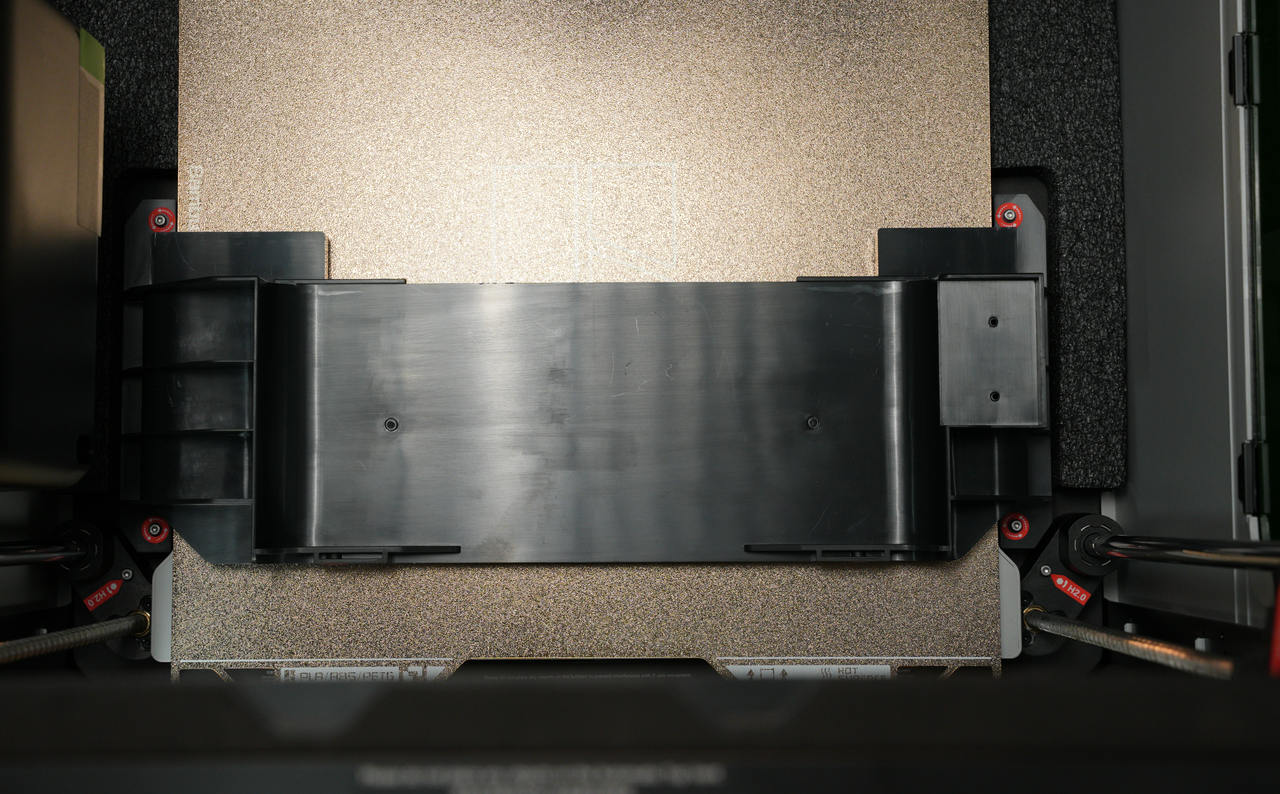
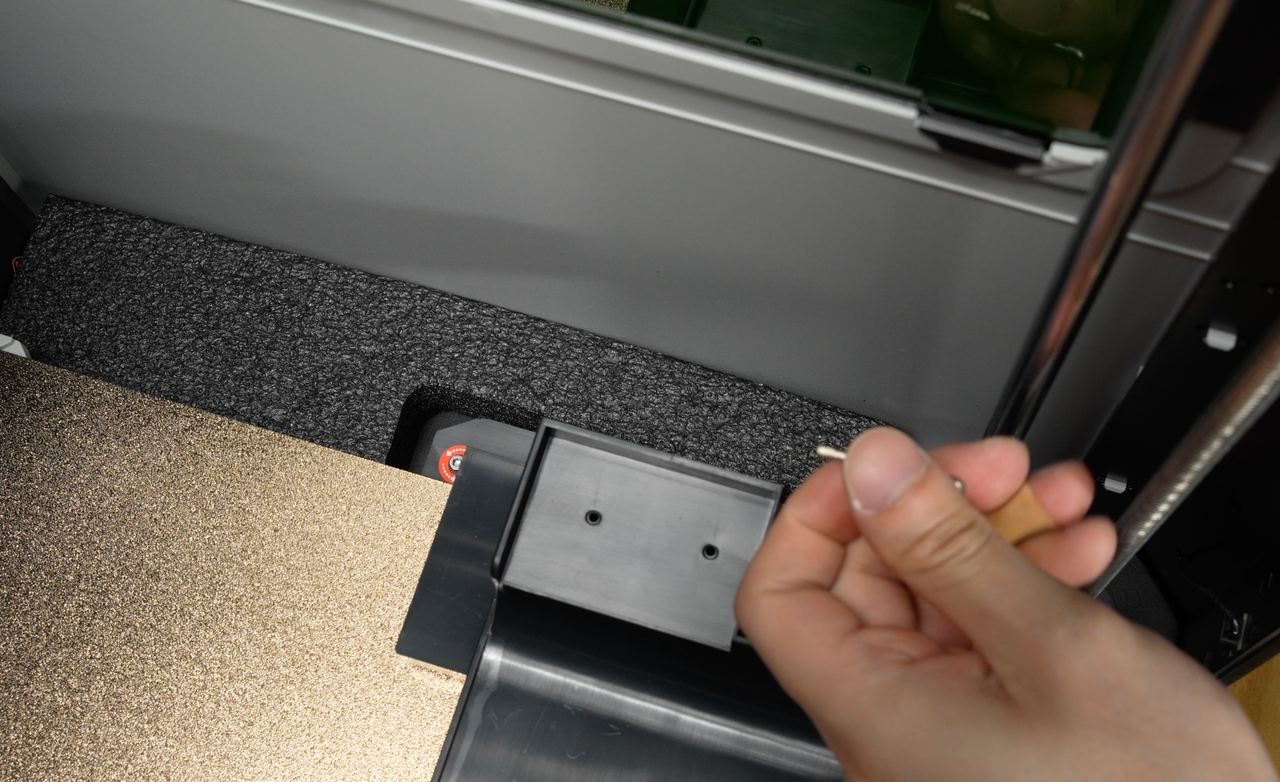
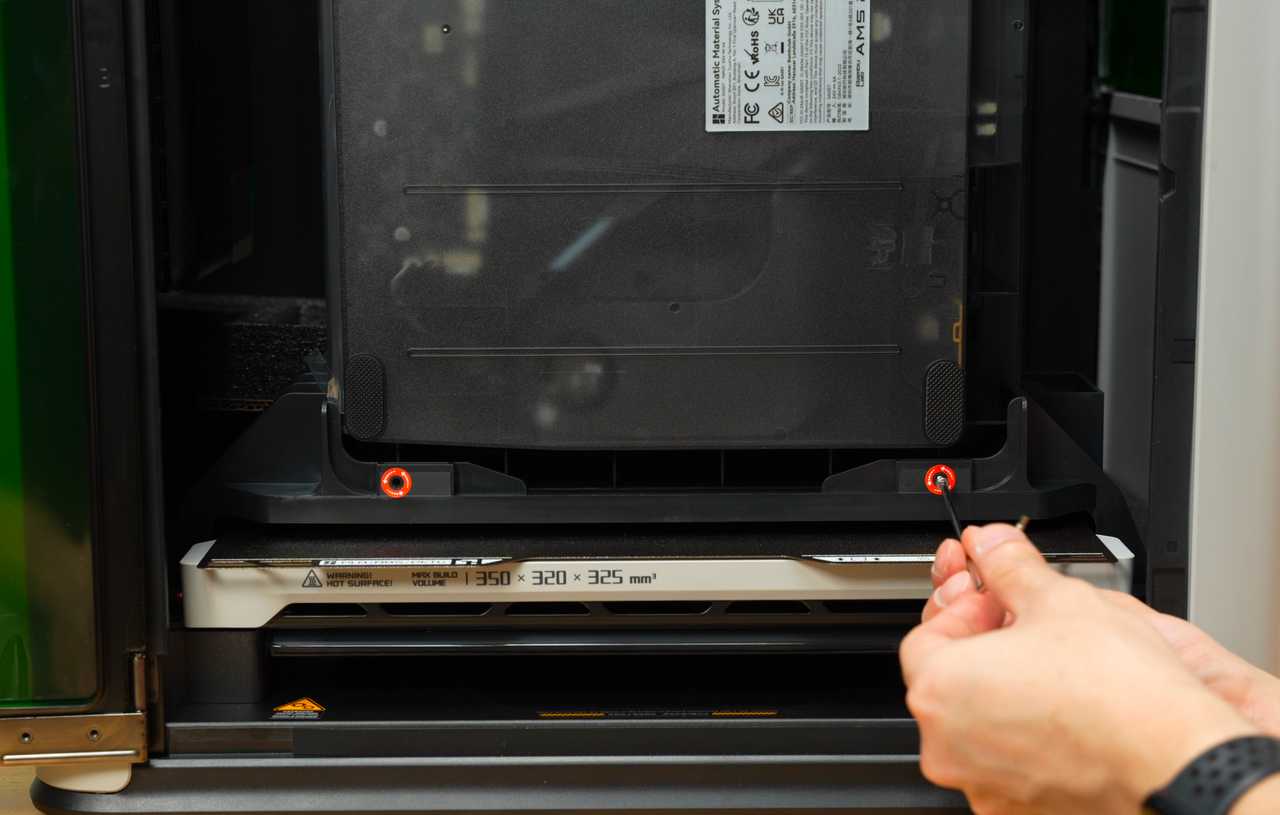
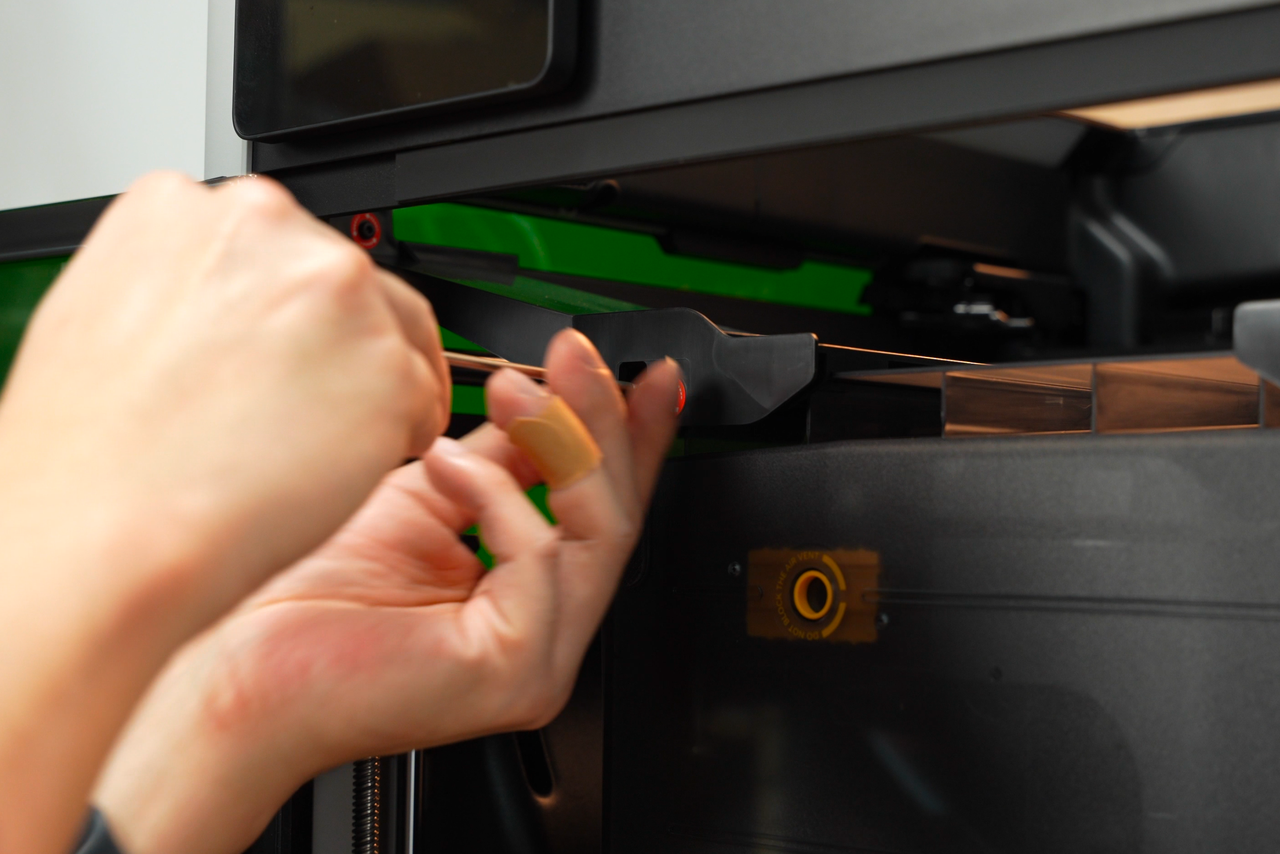
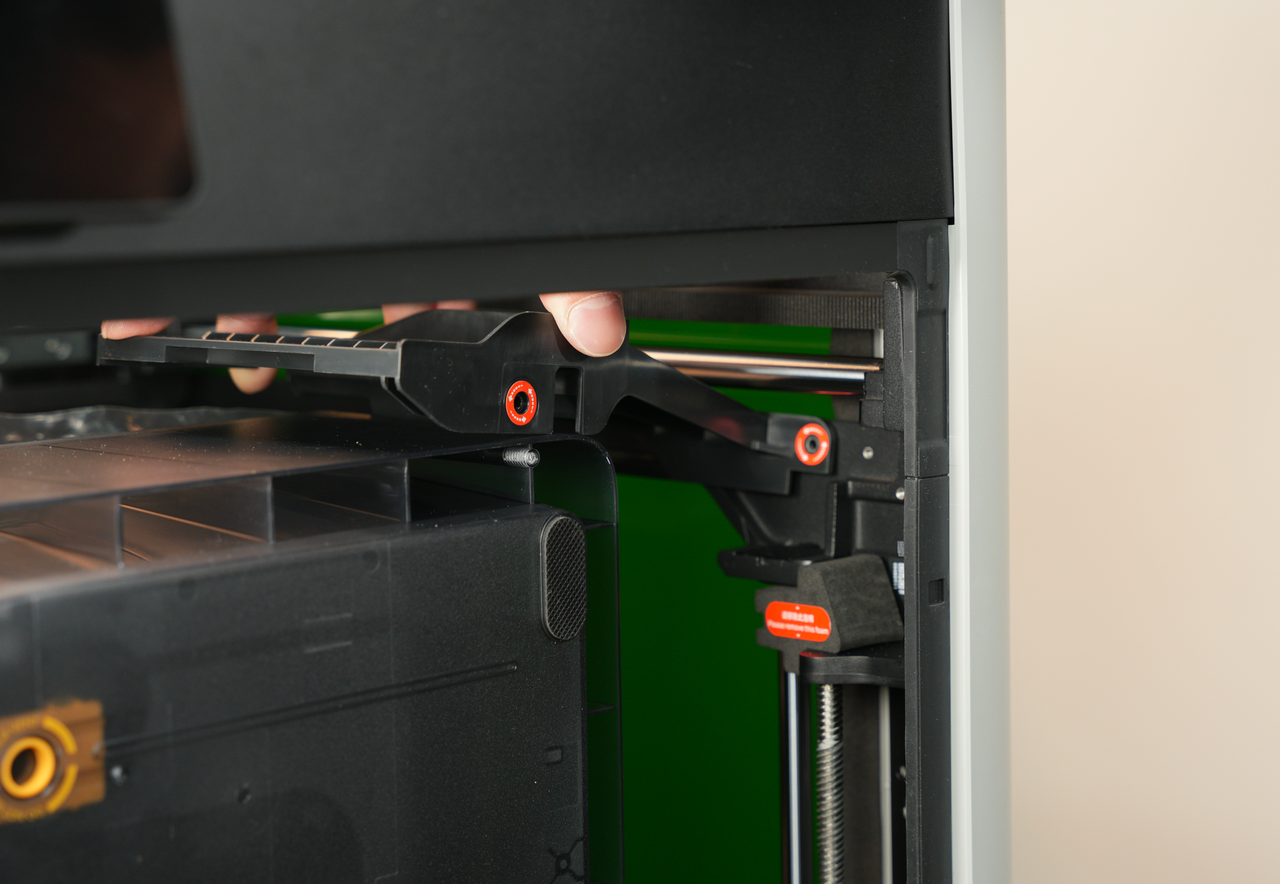
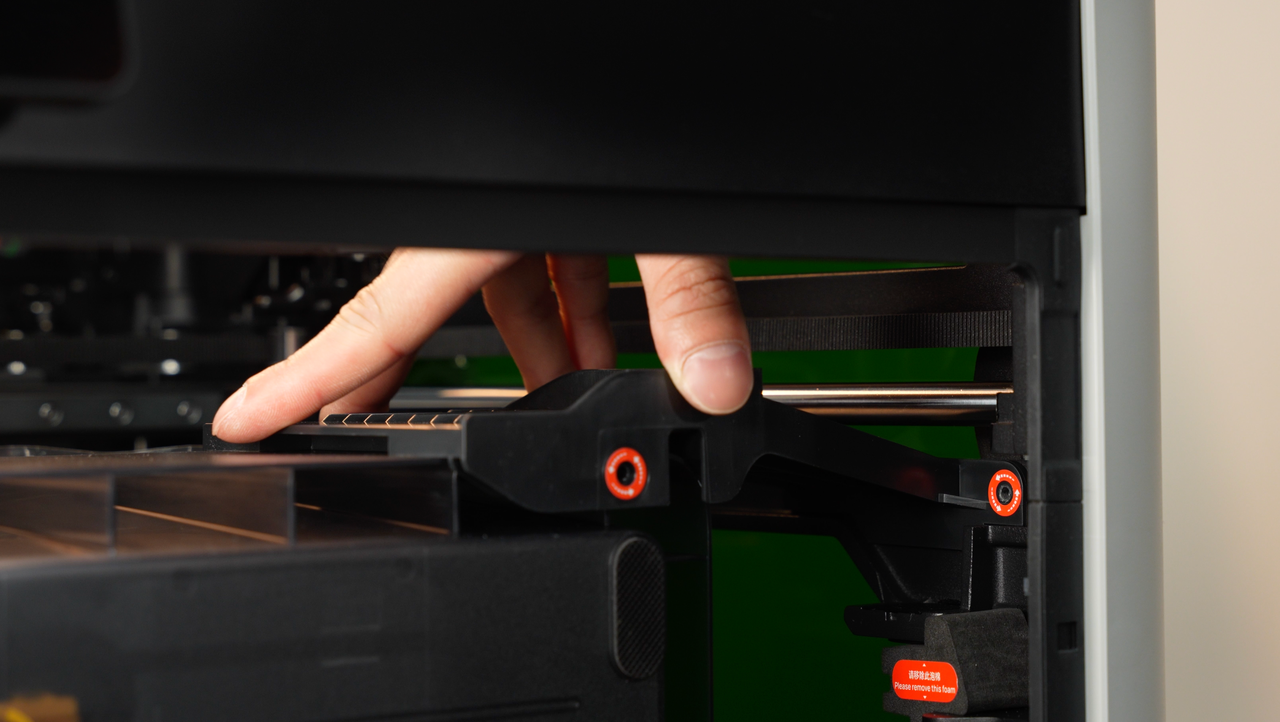
Step 7. Put back the heatbed fixer and tighten the two screws.
 |
 |
¶ Secure AMS
Step 1. Put back the AMS bottom fixture and align the screw holes.
 |
 |
Step 2. Tighten the four screws.
 |
 |
 |
 |
 |
Step 3. Put back three pieces of foam.
 |
 |
 |
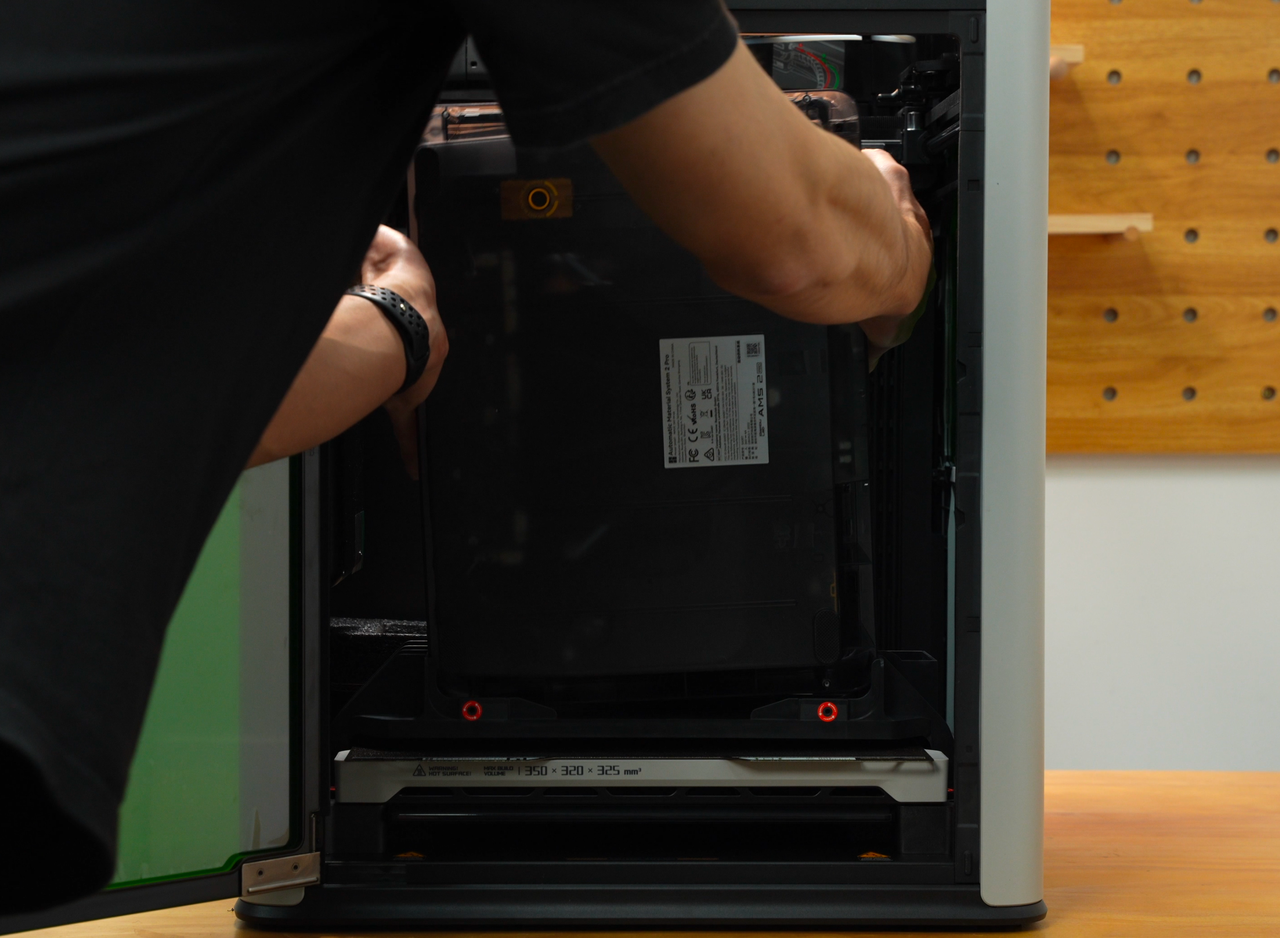
Step 4. Align the slots and place the AMS on the bottom fixture. Make sure the top lid is press against the foam.
 |
 |
Step 5. Tighten the two screws.
 |
 |
Step 6. Align the screws holes and secure the plastic part on upper left.
 |
 |
 |
 |
Step 7. Align the screws holes and secure the plastic part on upper right.
 |
 |
 |
 |
Step 8. Put back the foam on top of the AMS.
¶ Secure the printer and pack
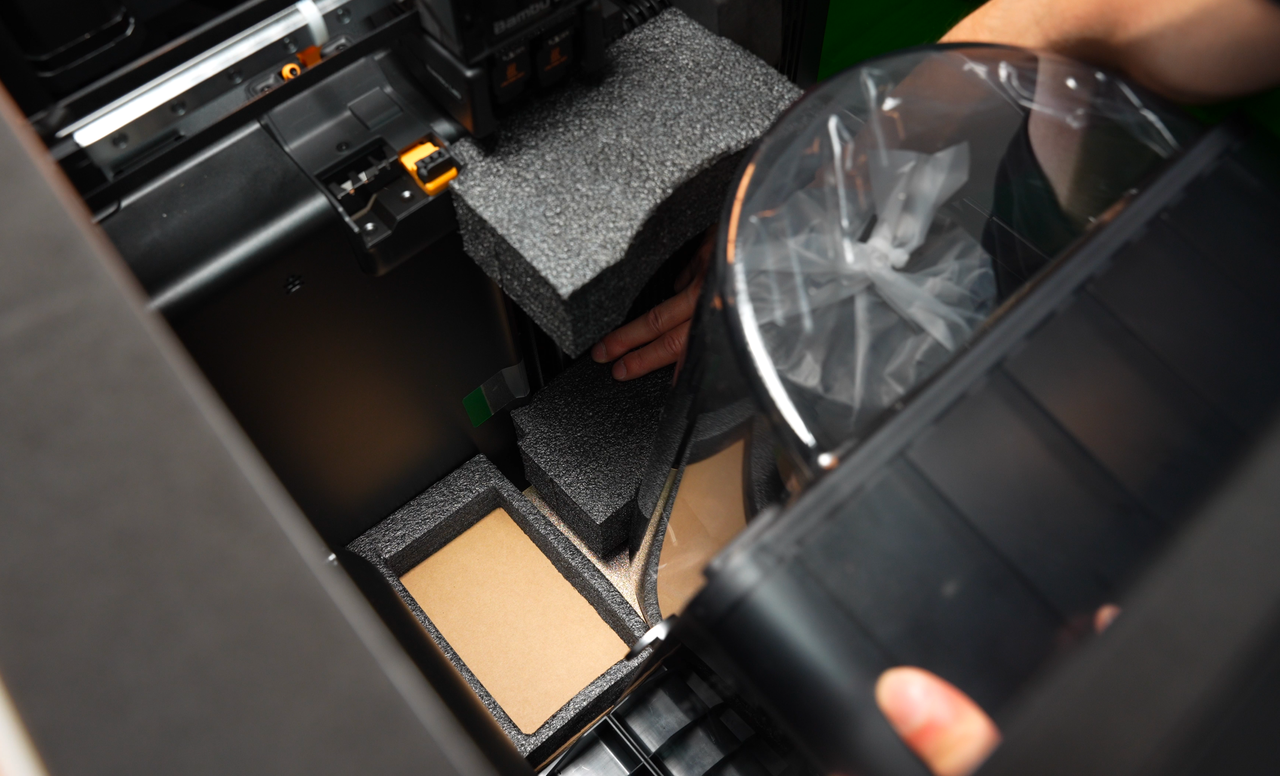
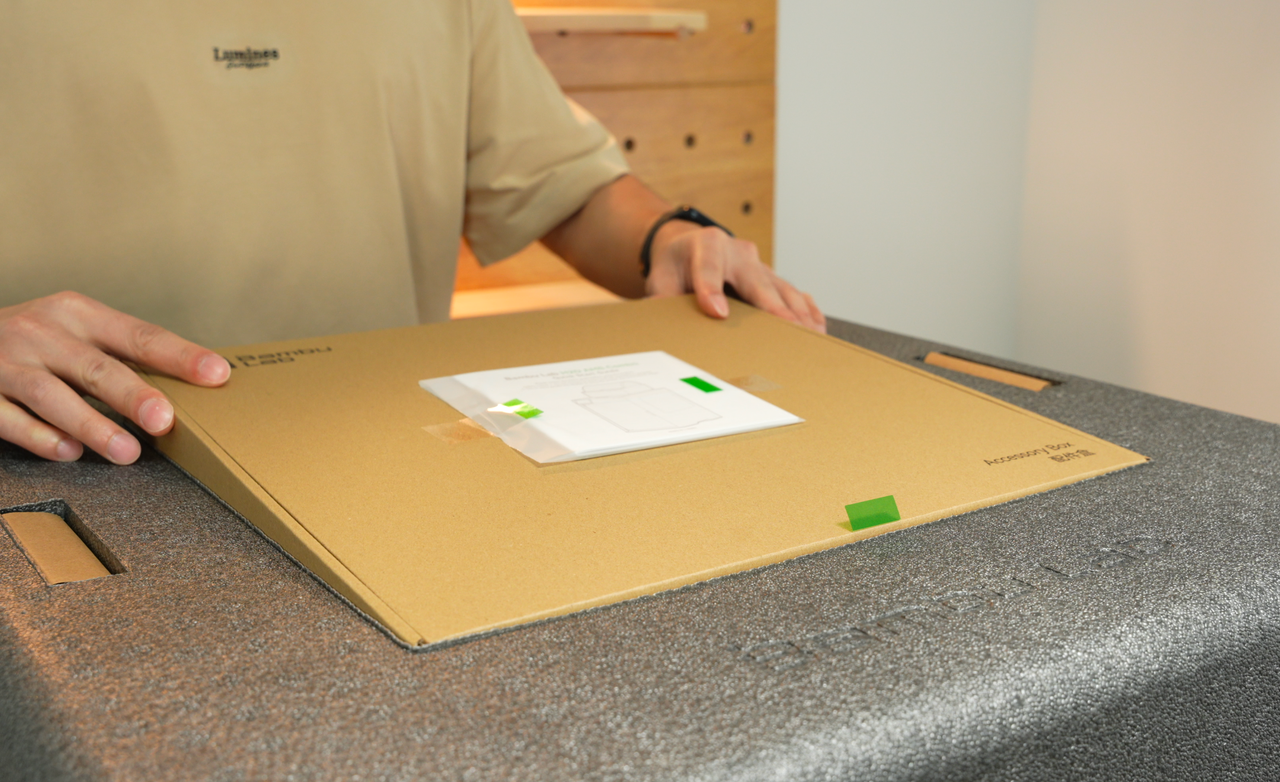
Step 1. Slide the foam on the accessory box and put the box in the printer. Put back the foam on the accessory box.
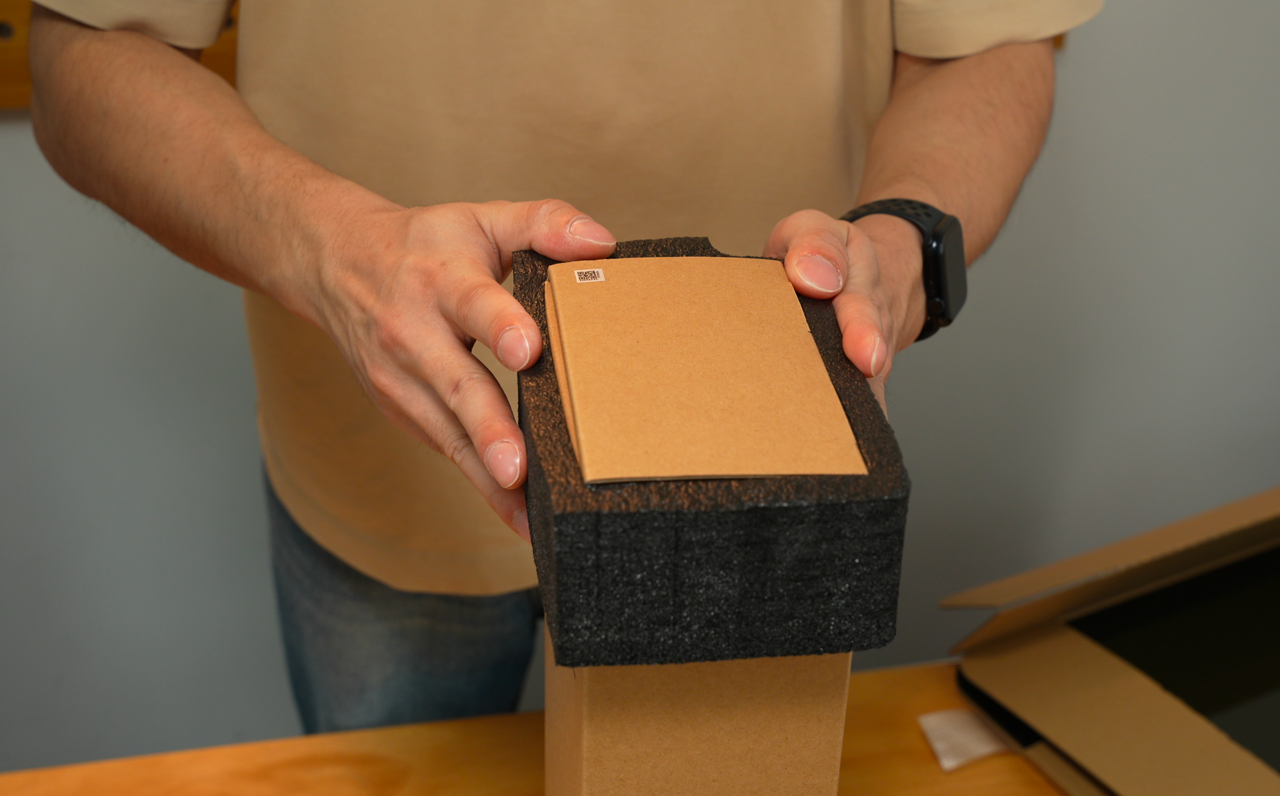 |
 |
 |
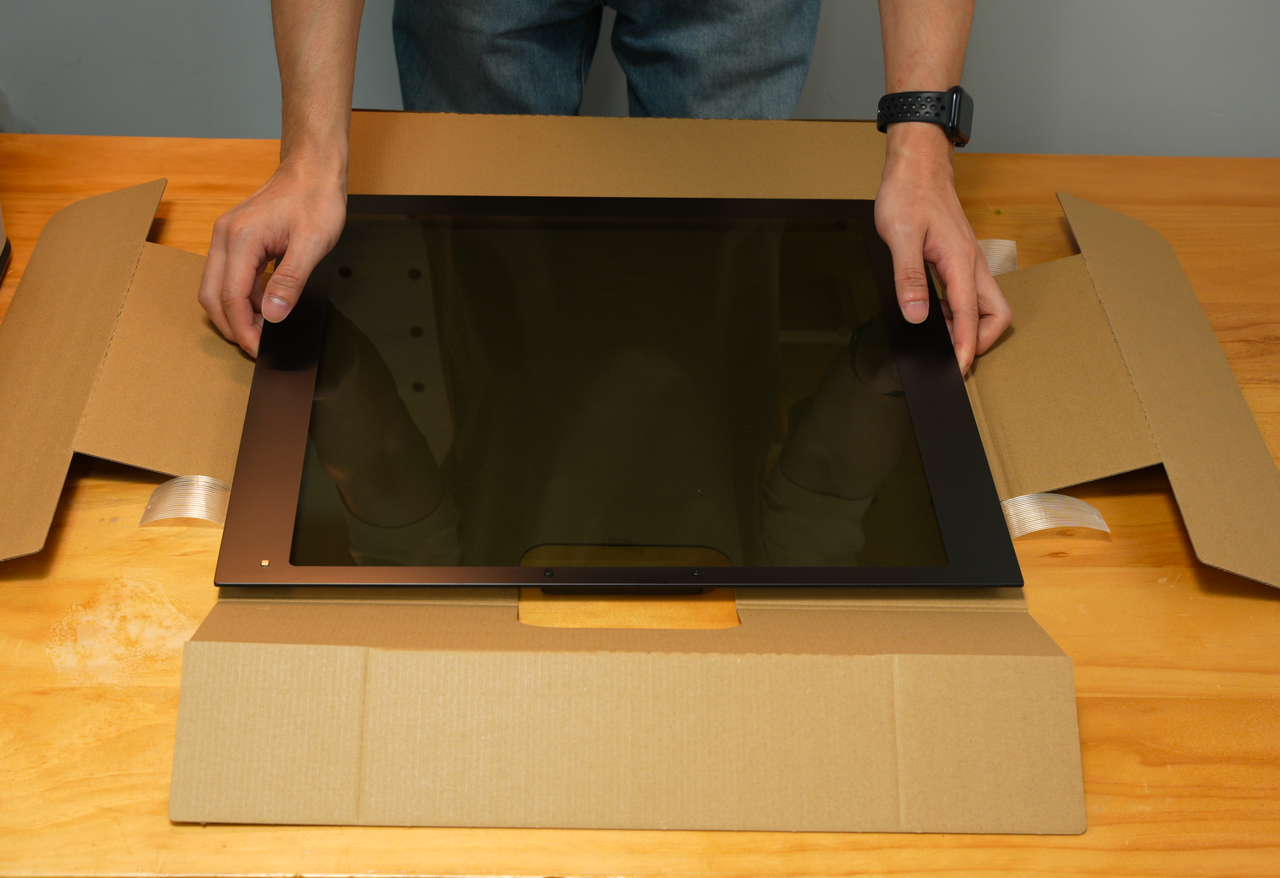
Step 2. Warp the top glass cover inside the cardboard and place it on top of the printer.
 |
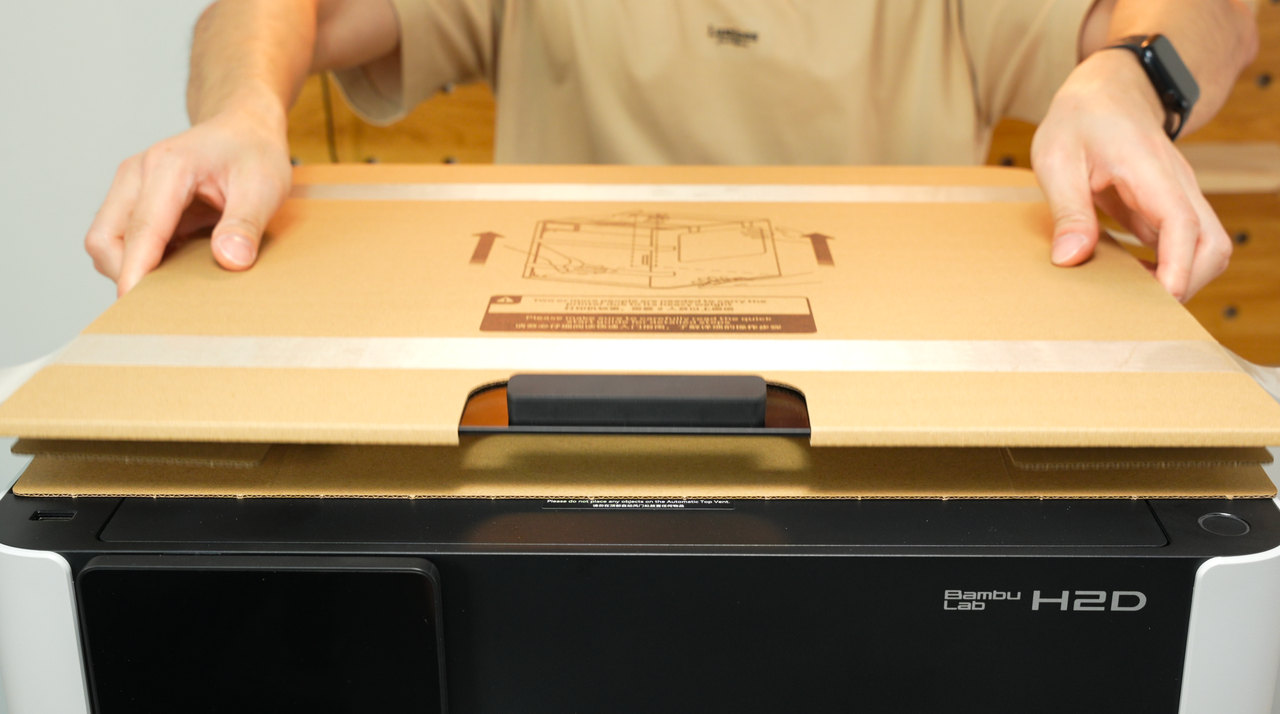 |
Step 3. Use tape to secure the top glass cover on the printer.
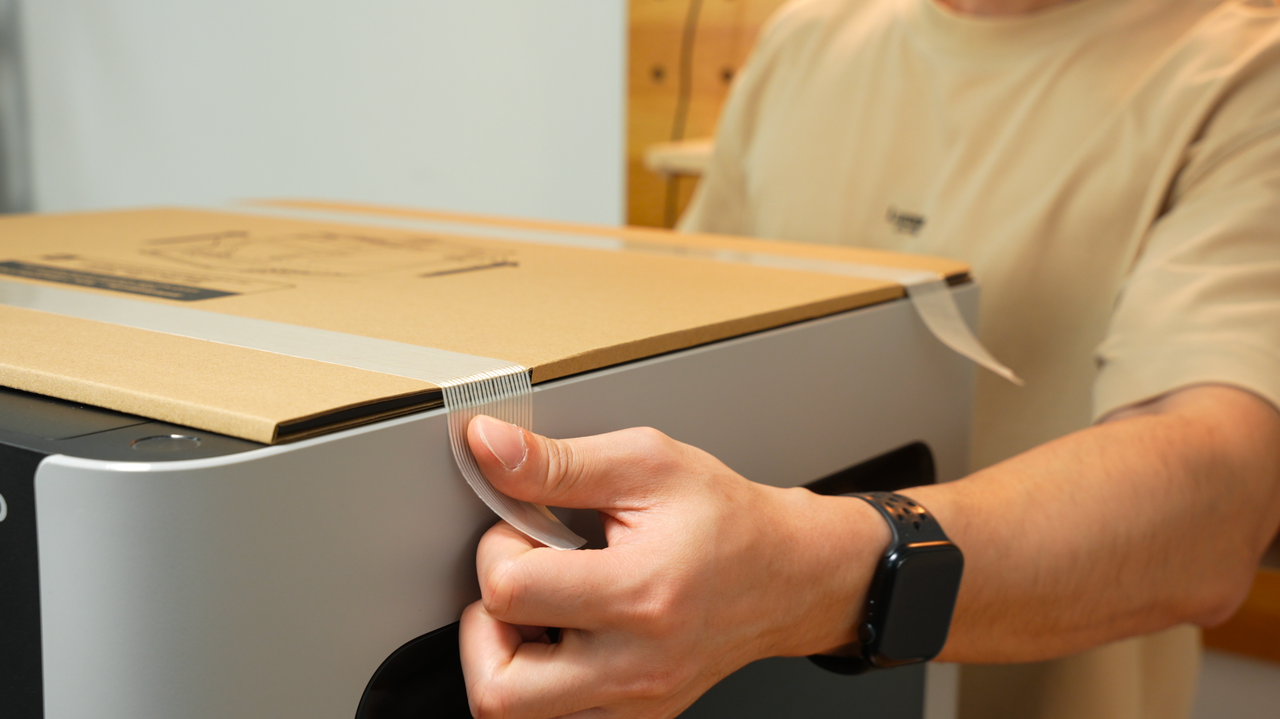 |
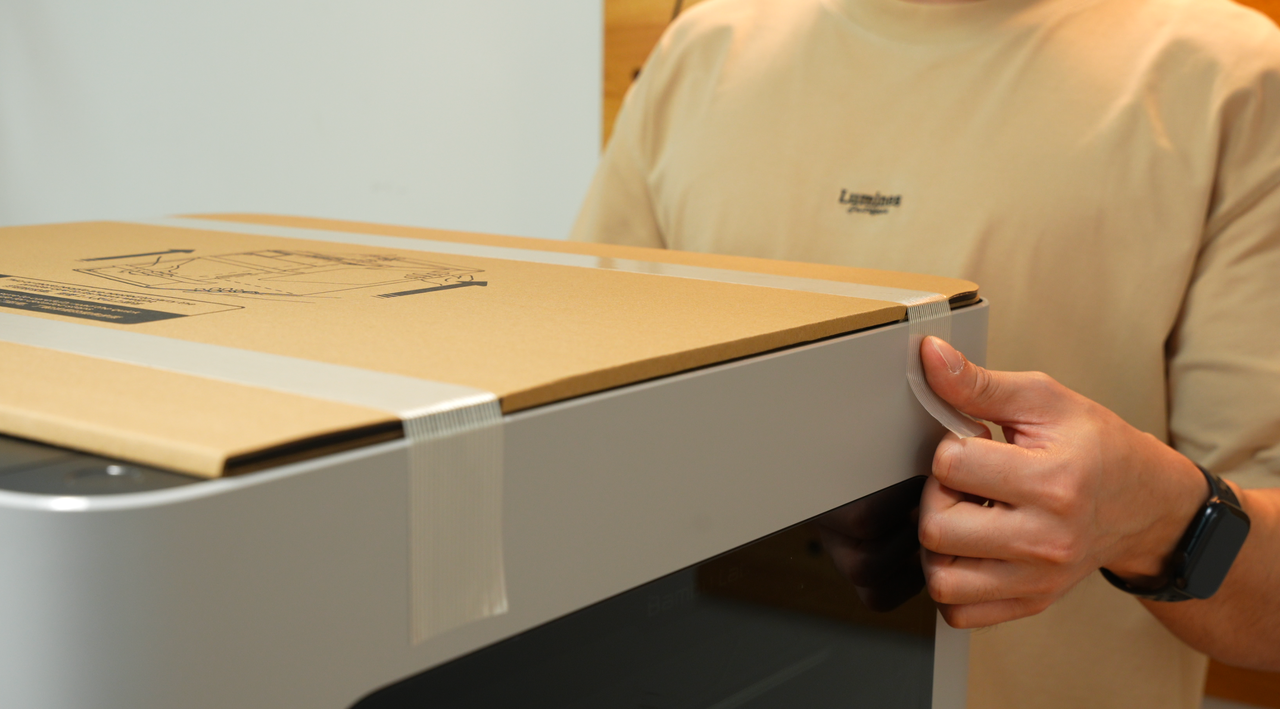 |
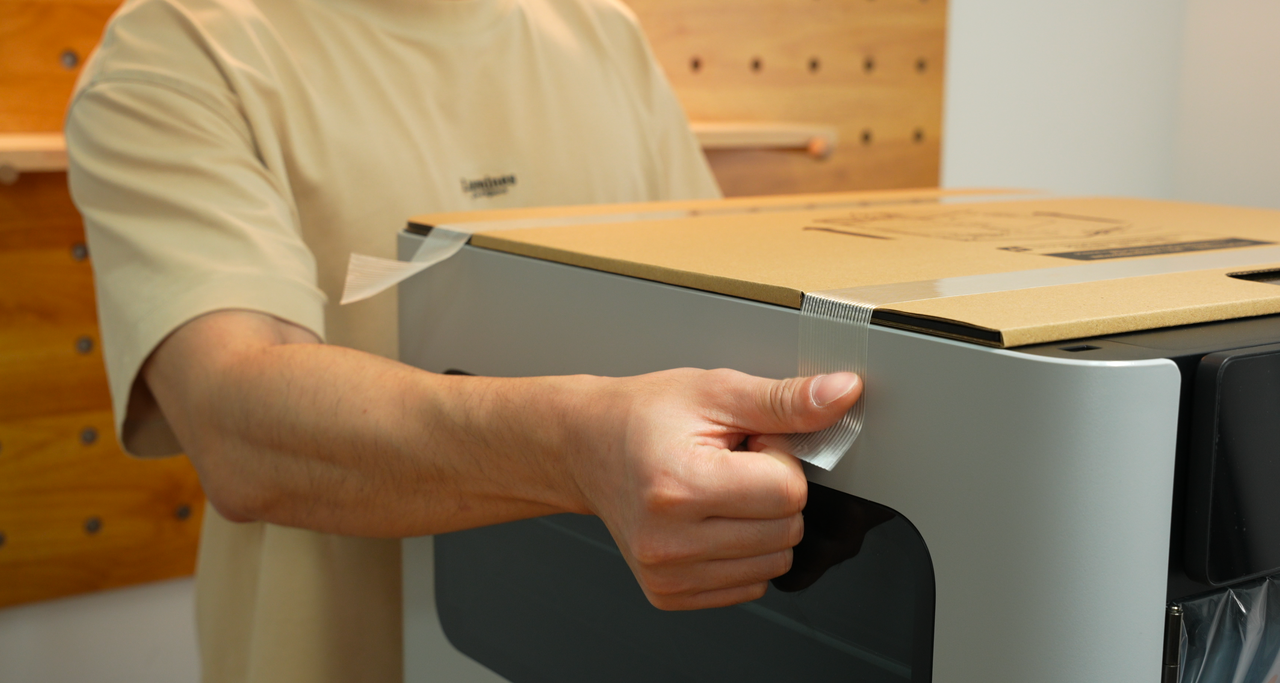 |
 |
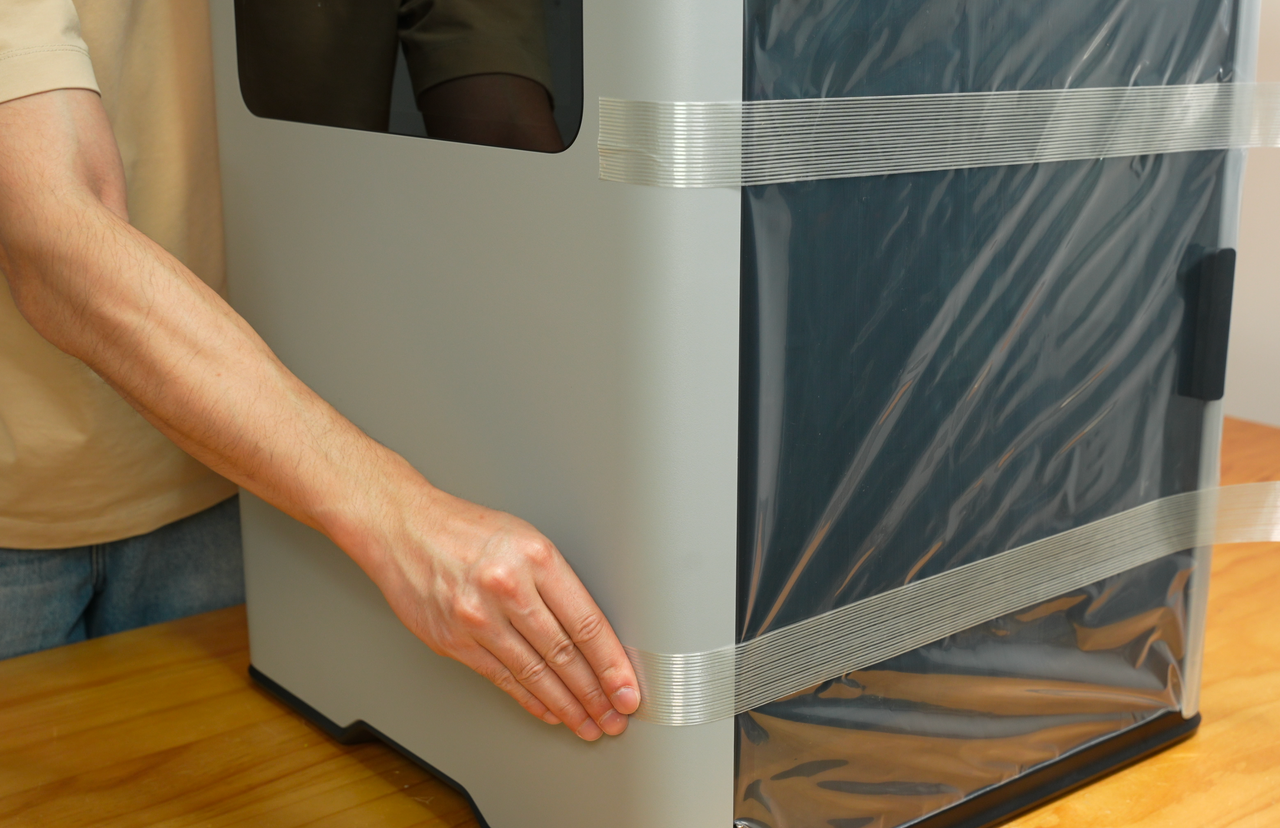
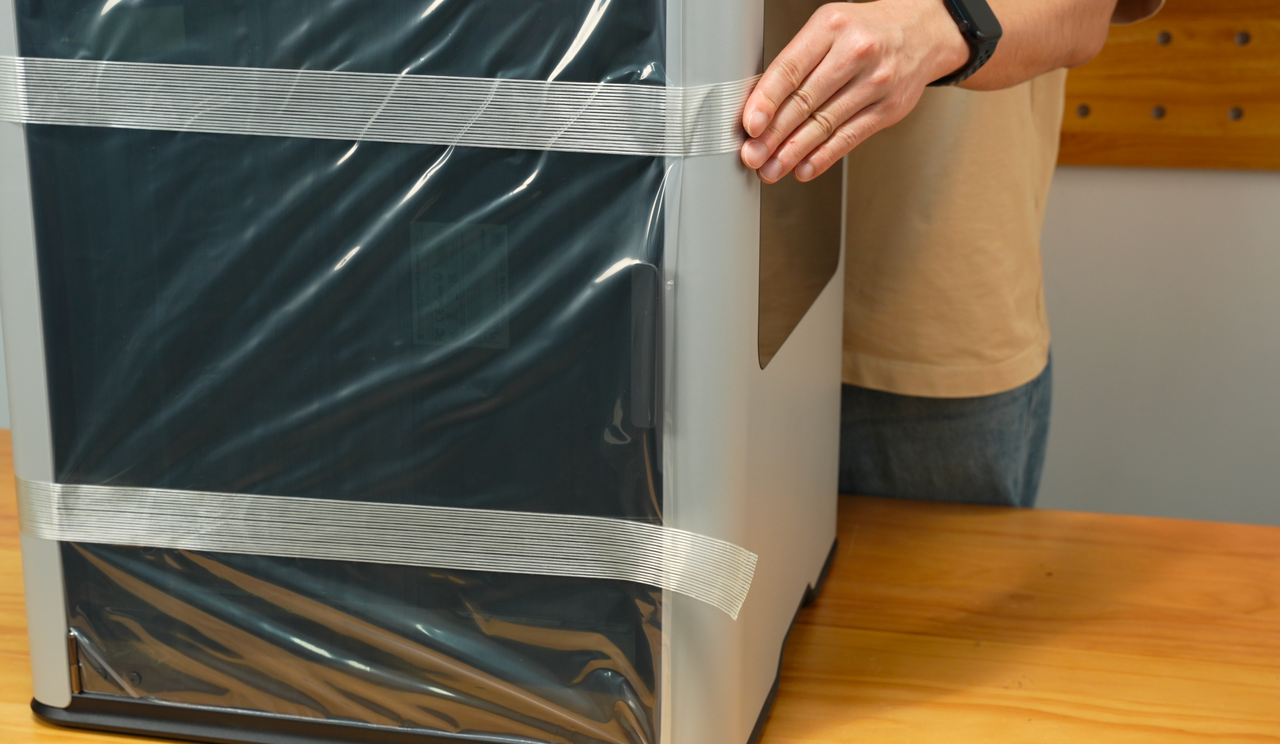
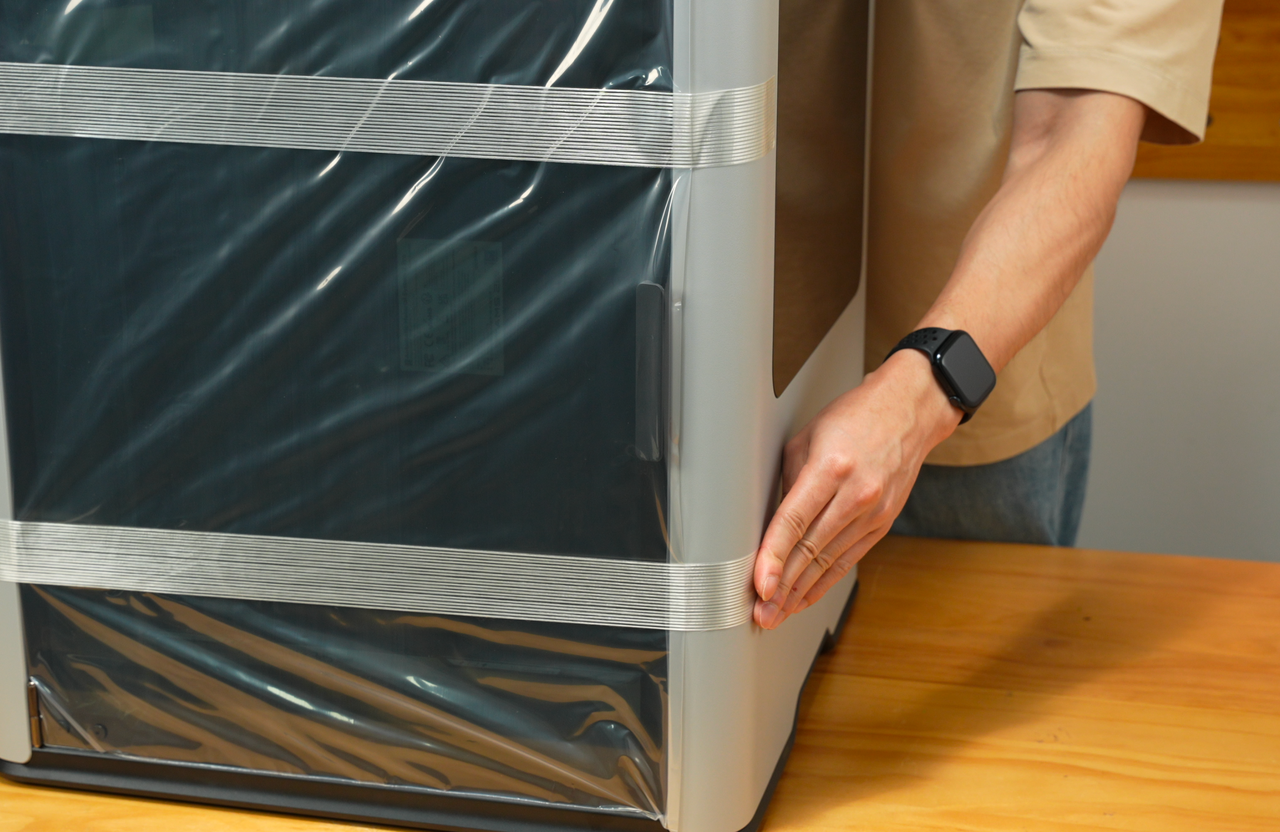
Step 4. Use tape to secure the front door.
 |
 |
 |
 |
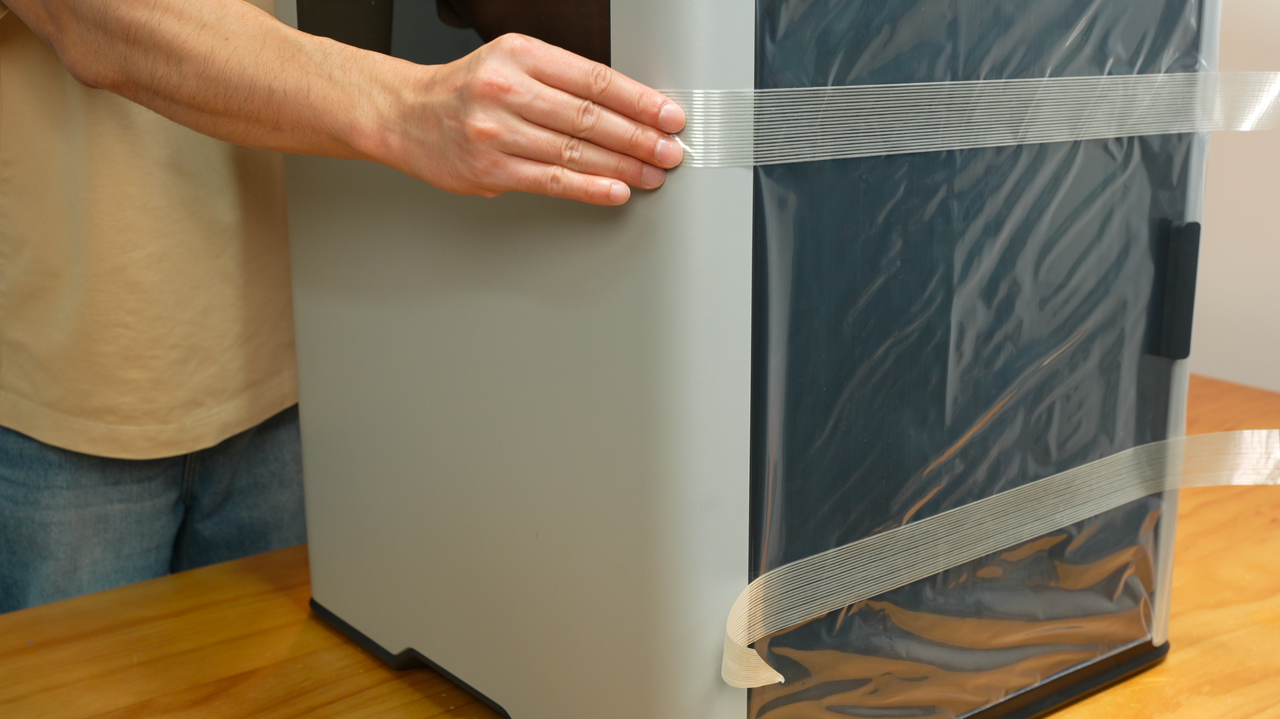
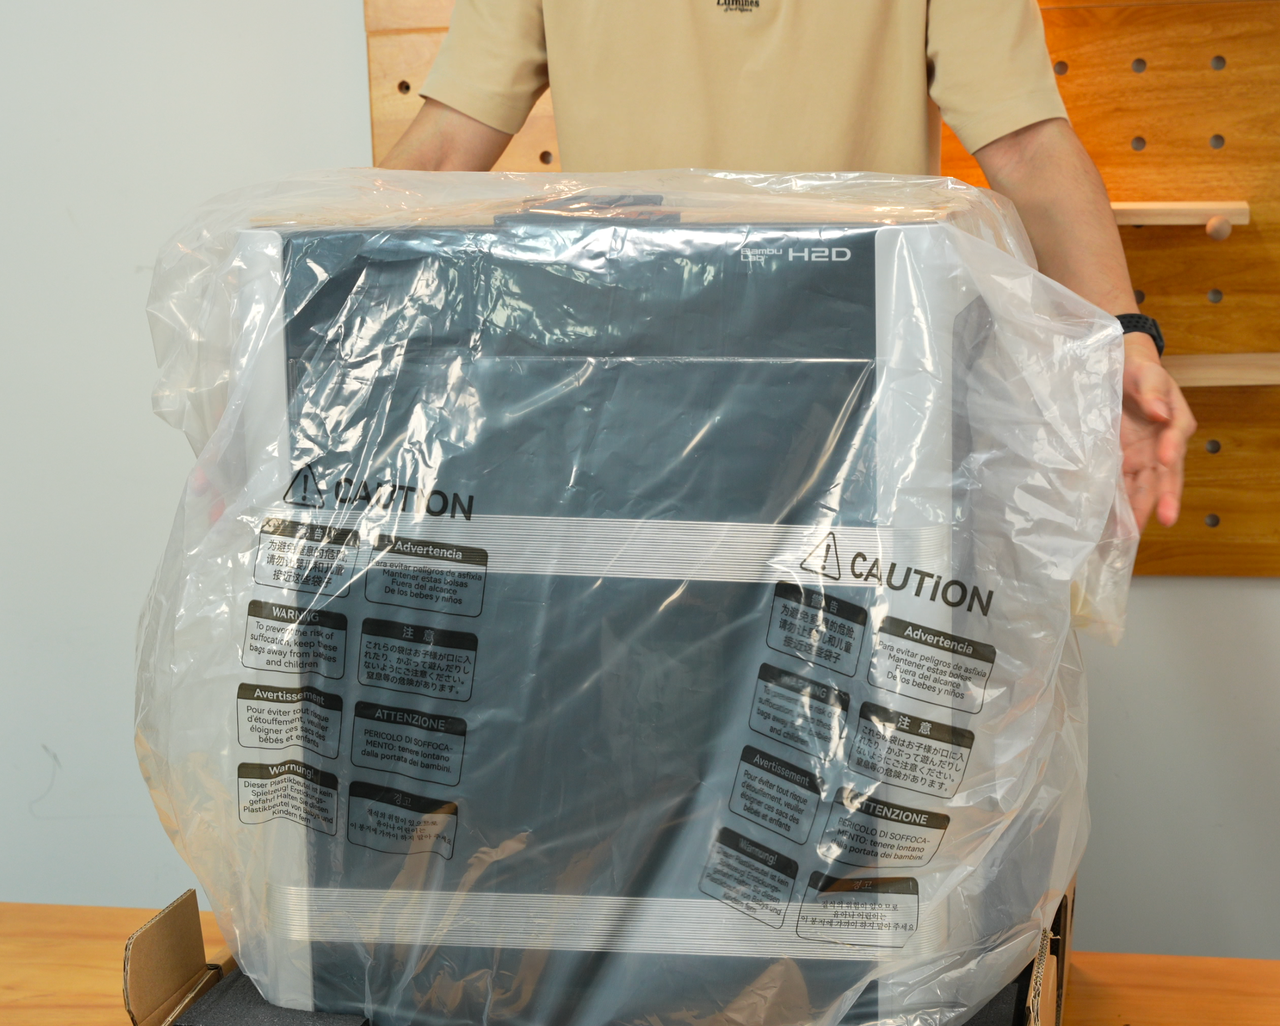
Step 5. Wrap the moisture-proof bag on the four corners. Then, two people lift and place the printer in bottom cardboard.
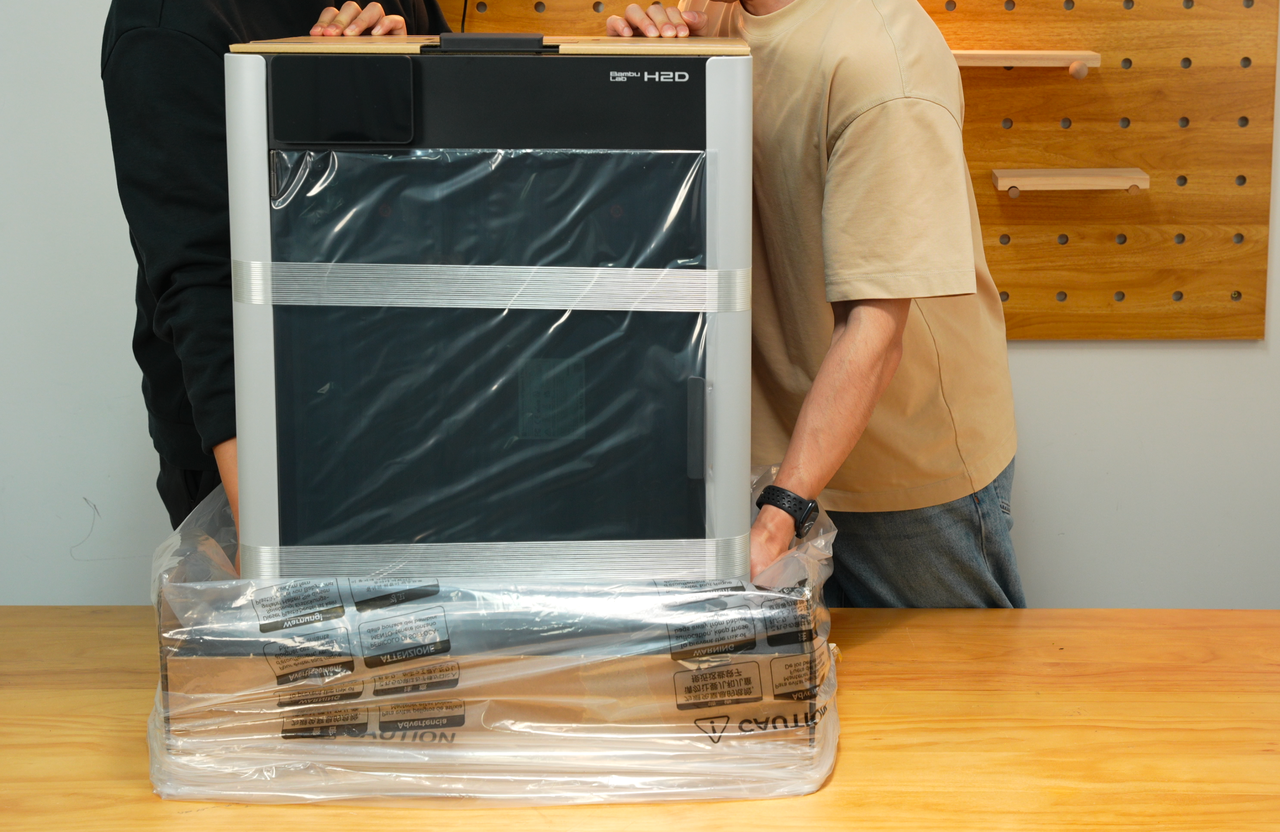
Step 6. Pull up the bag and cover the printer entirely.
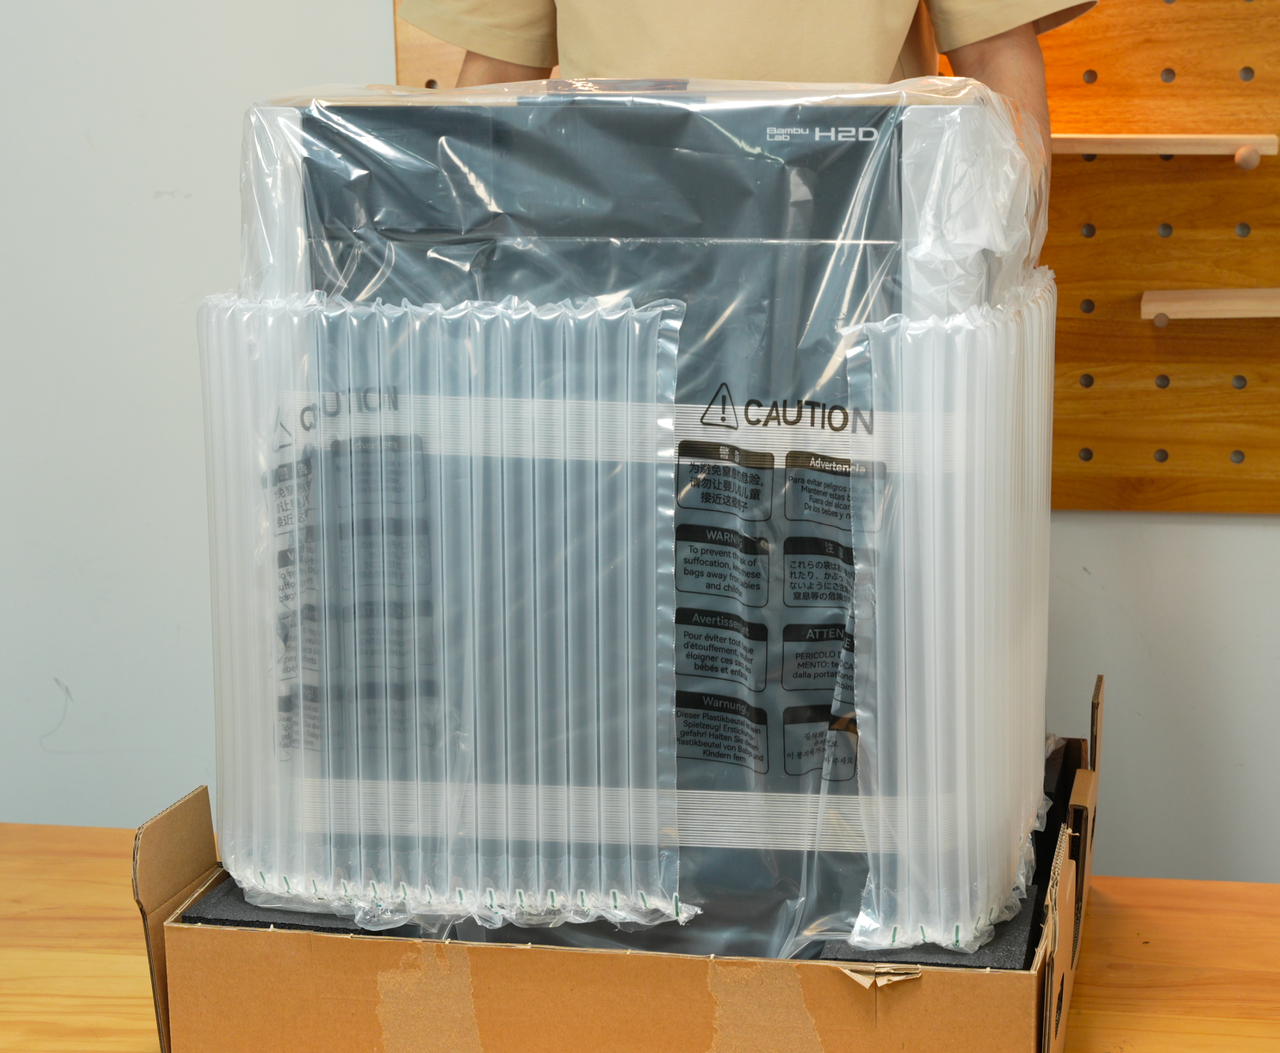
Step 7. Place the air cushion around the printer.
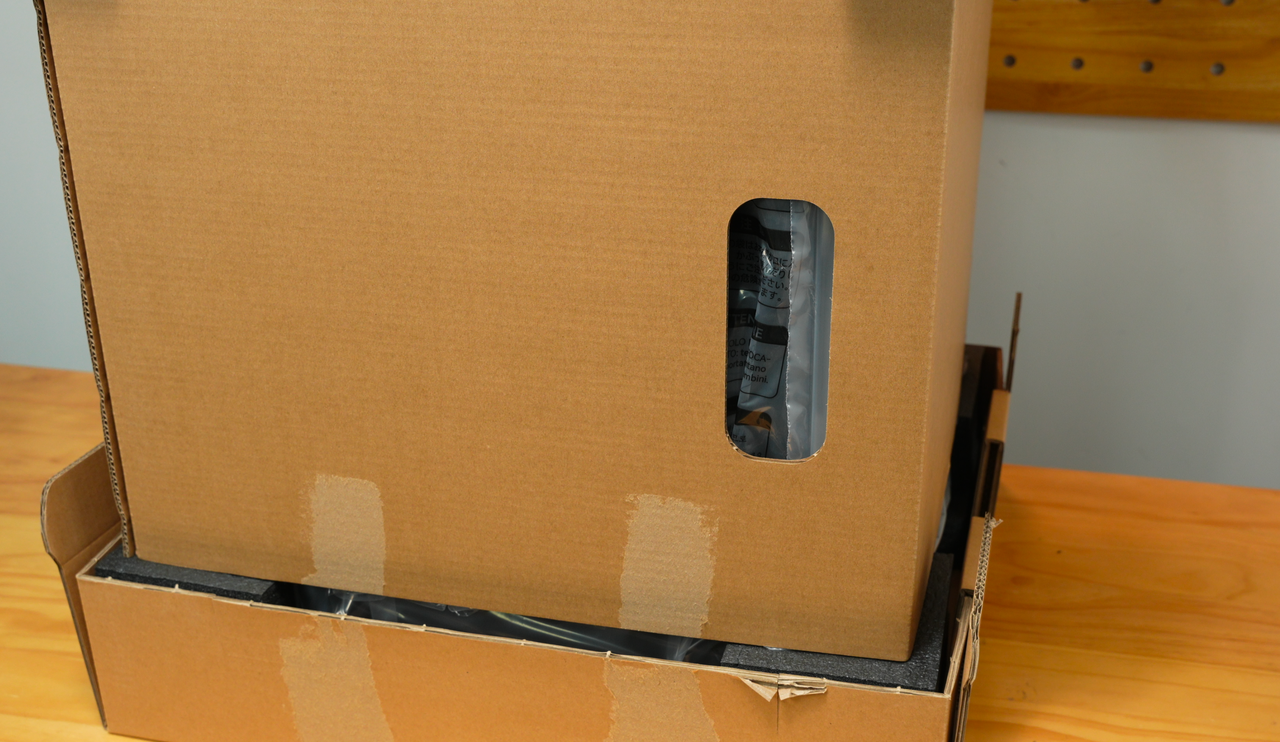
Step 8. Place the cardboard all the way down.
 |
 |
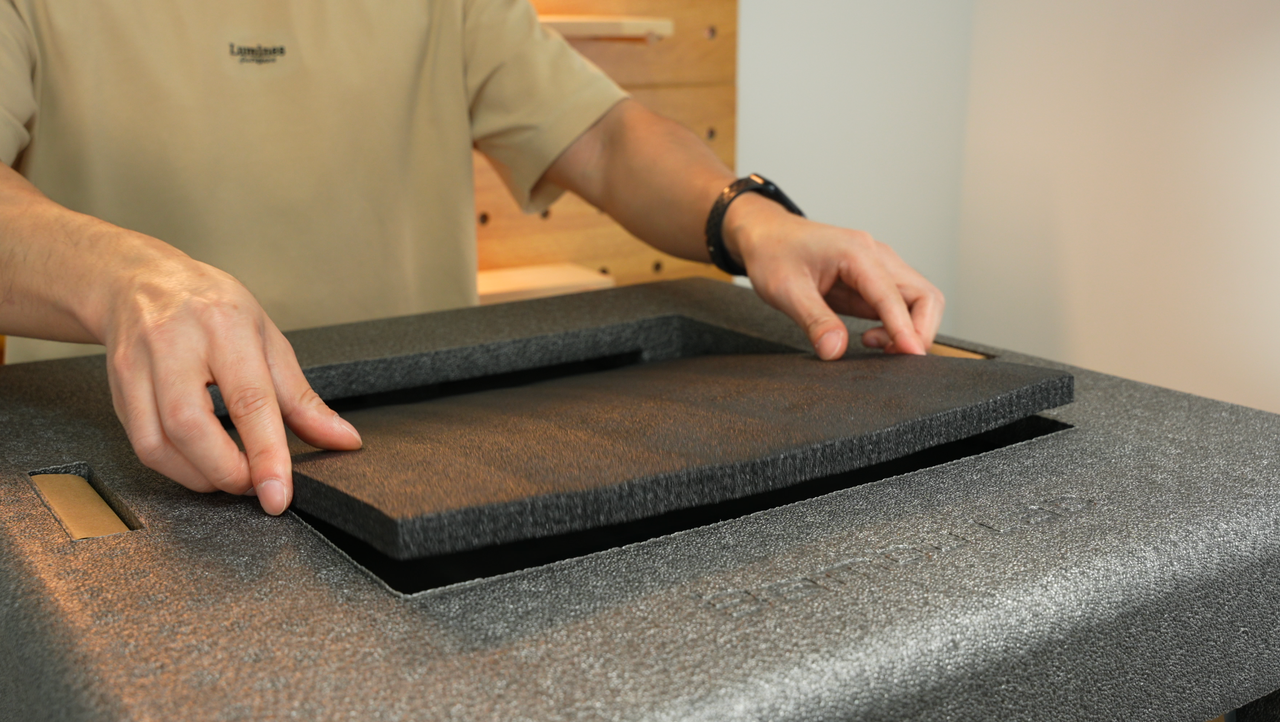
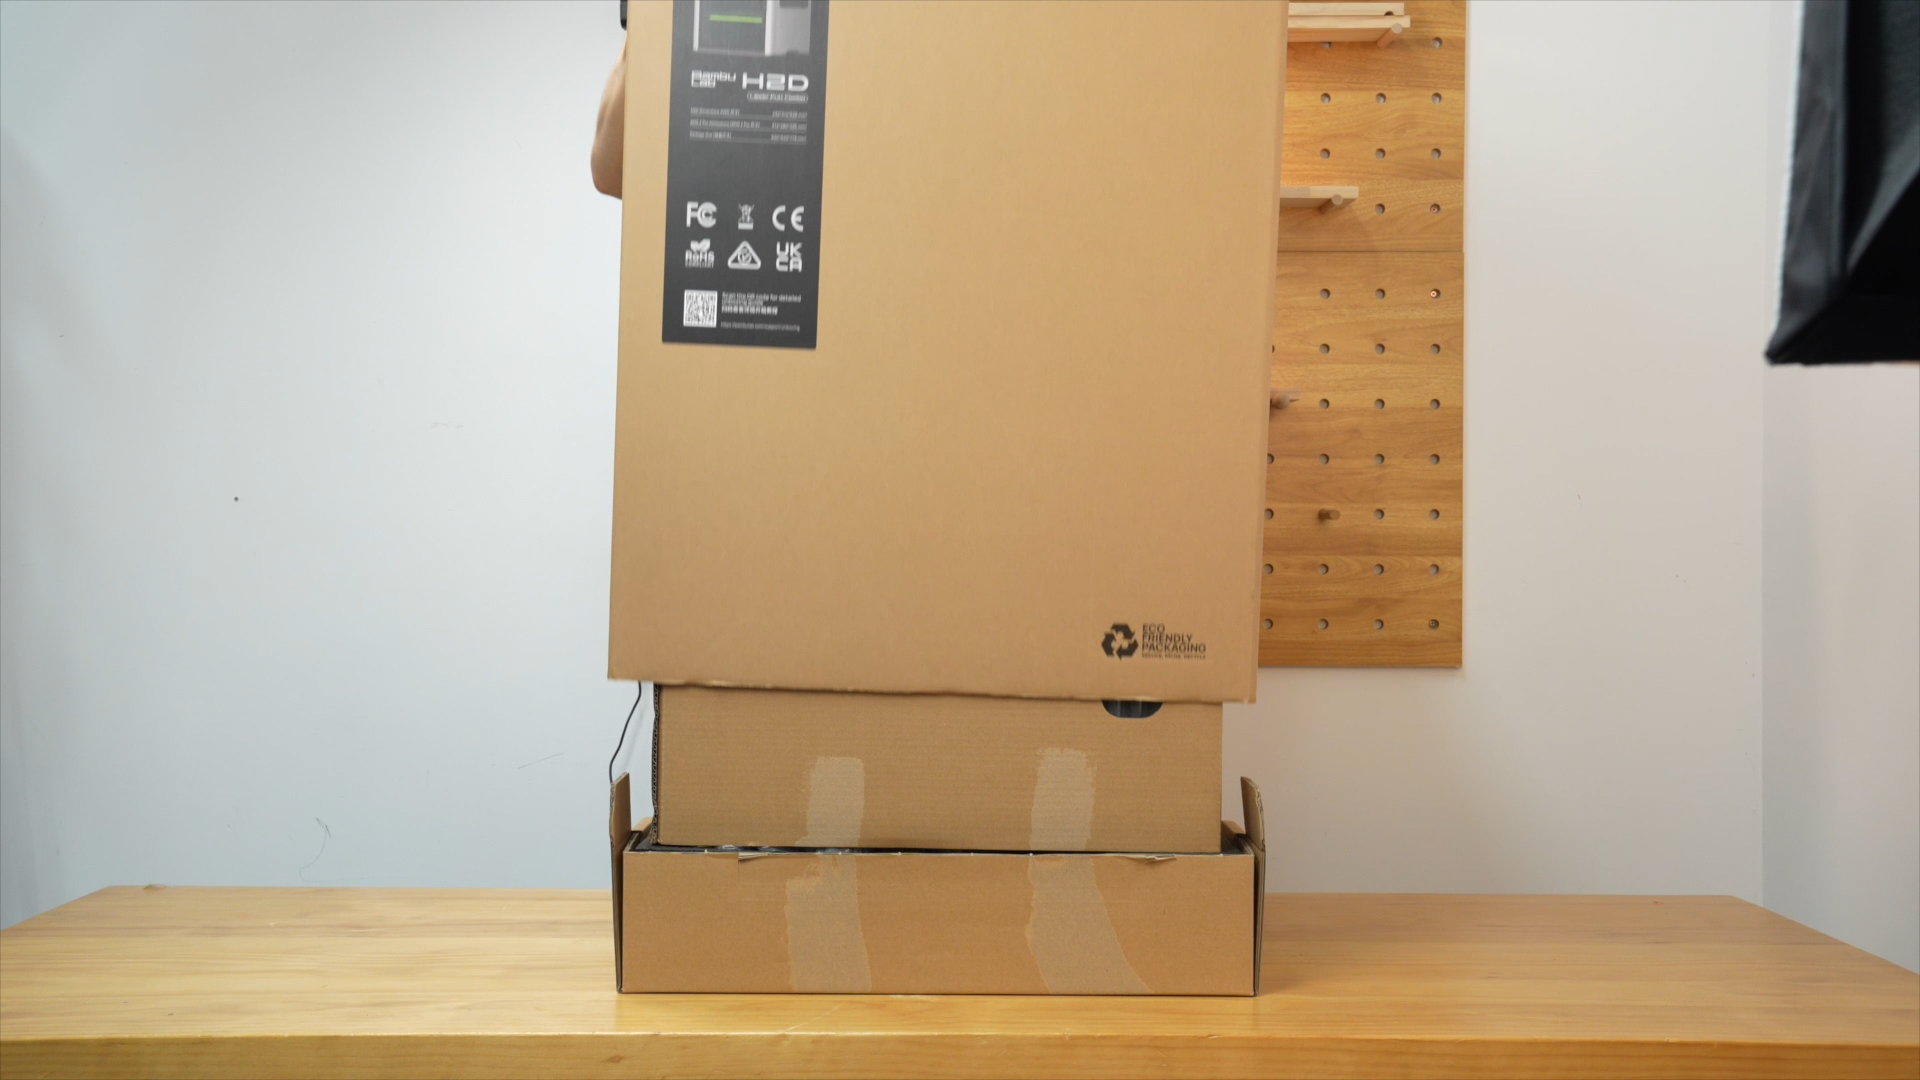
Step 9. Put back the top foam and supply box.
 |
 |
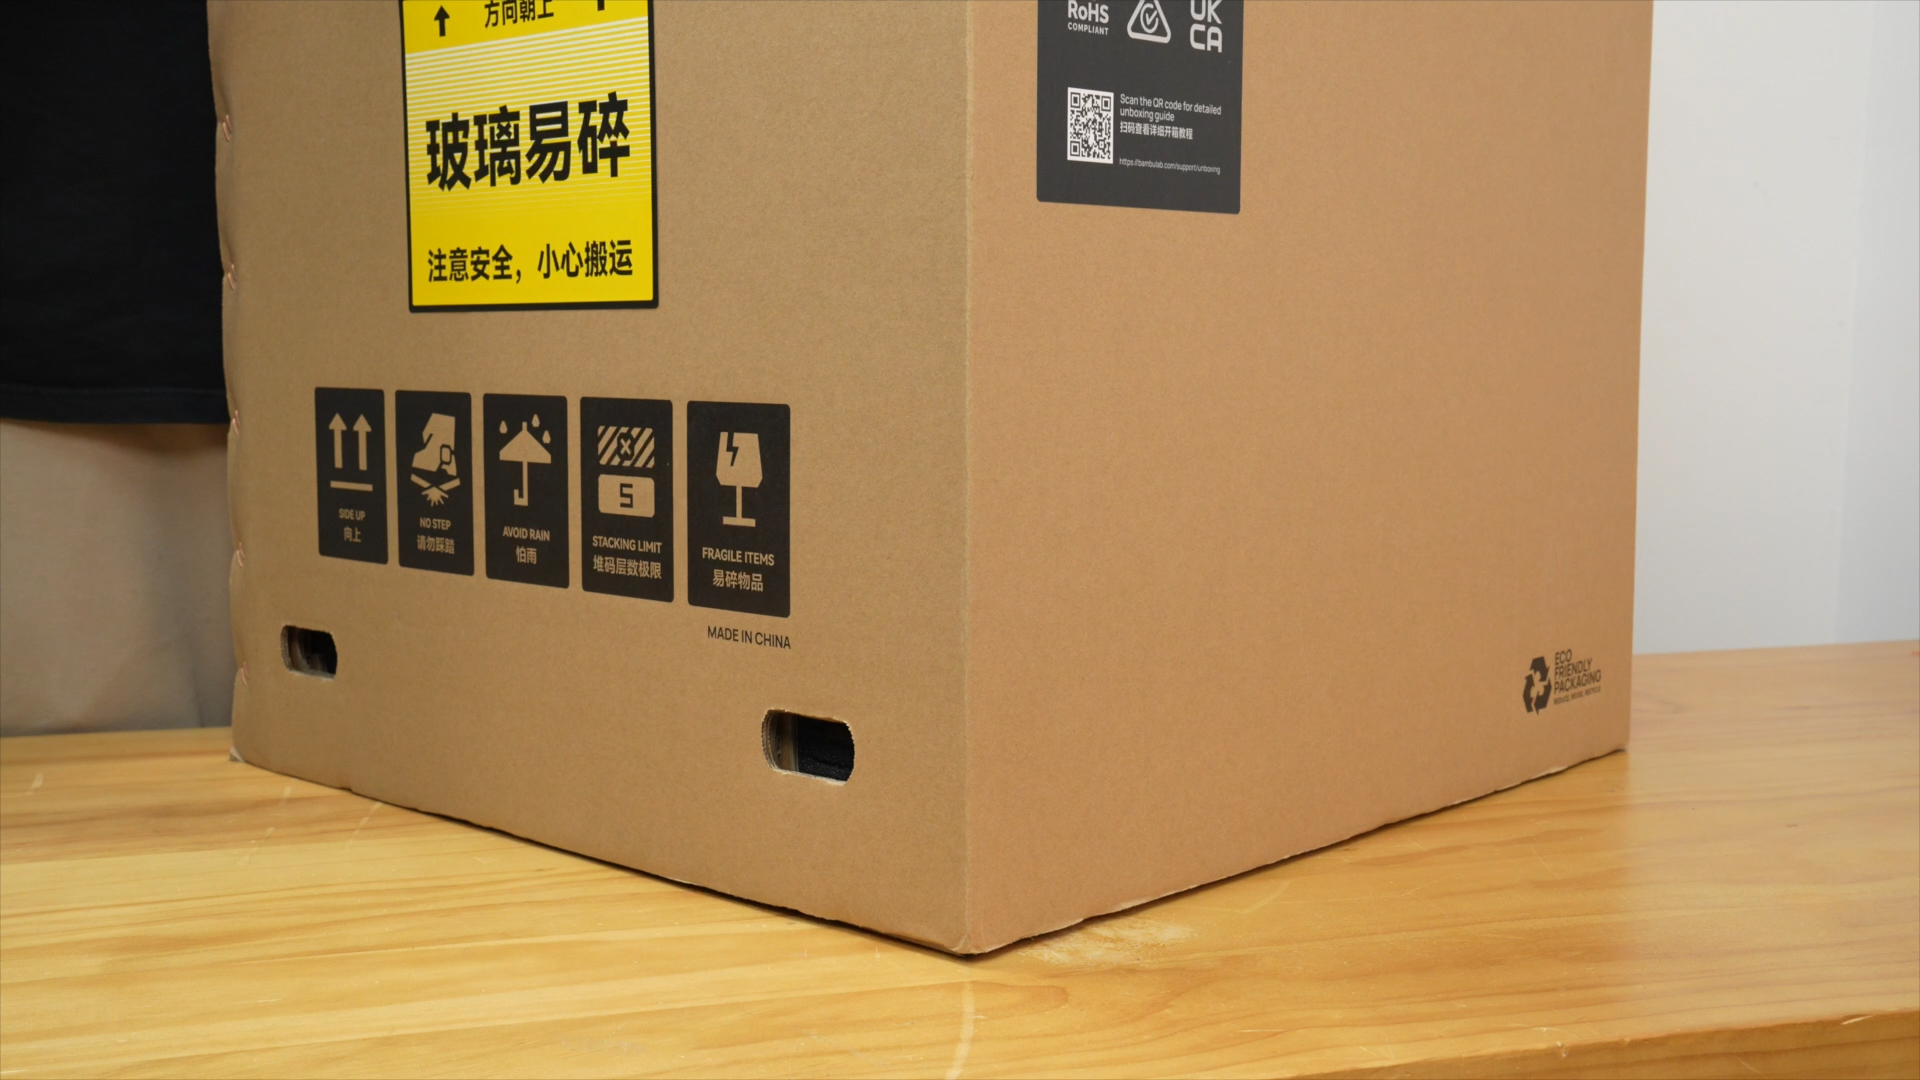
Step 10. Place the outer box and align the four holes on the bottom.
 |
 |
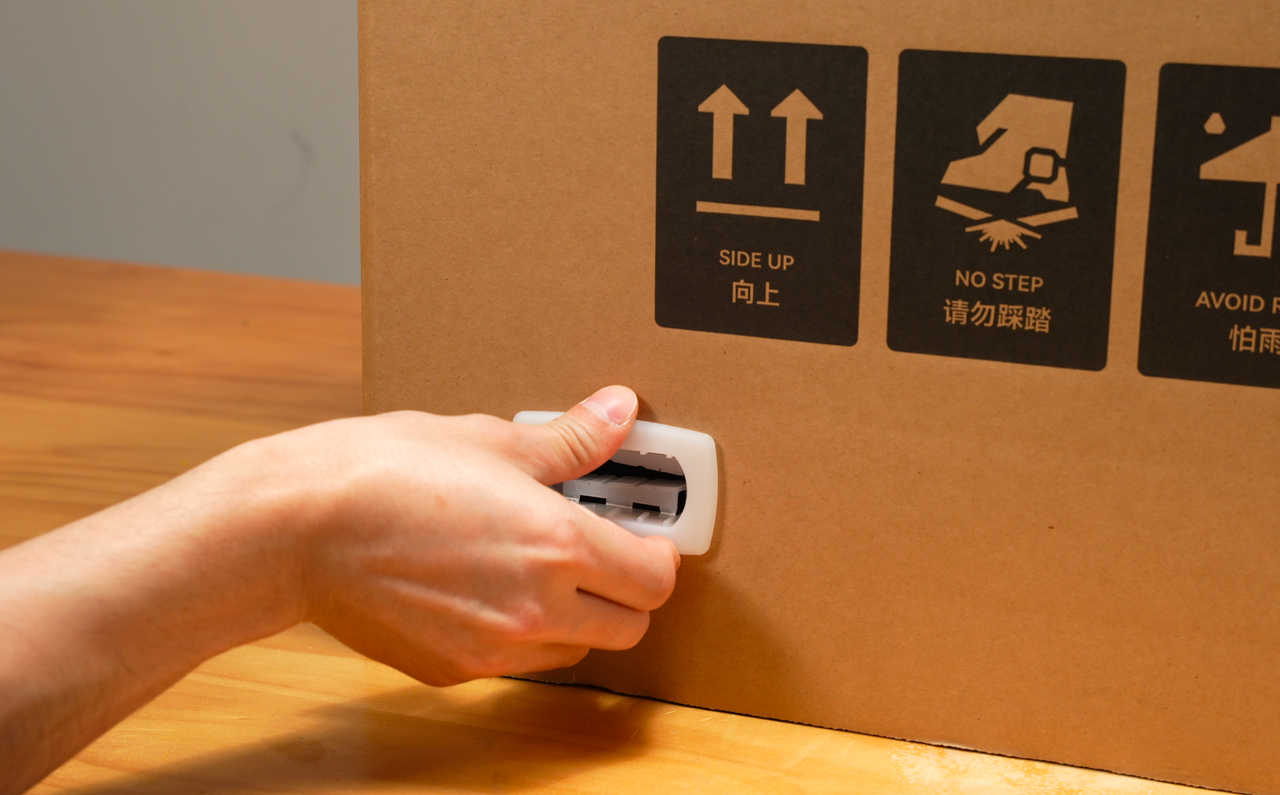
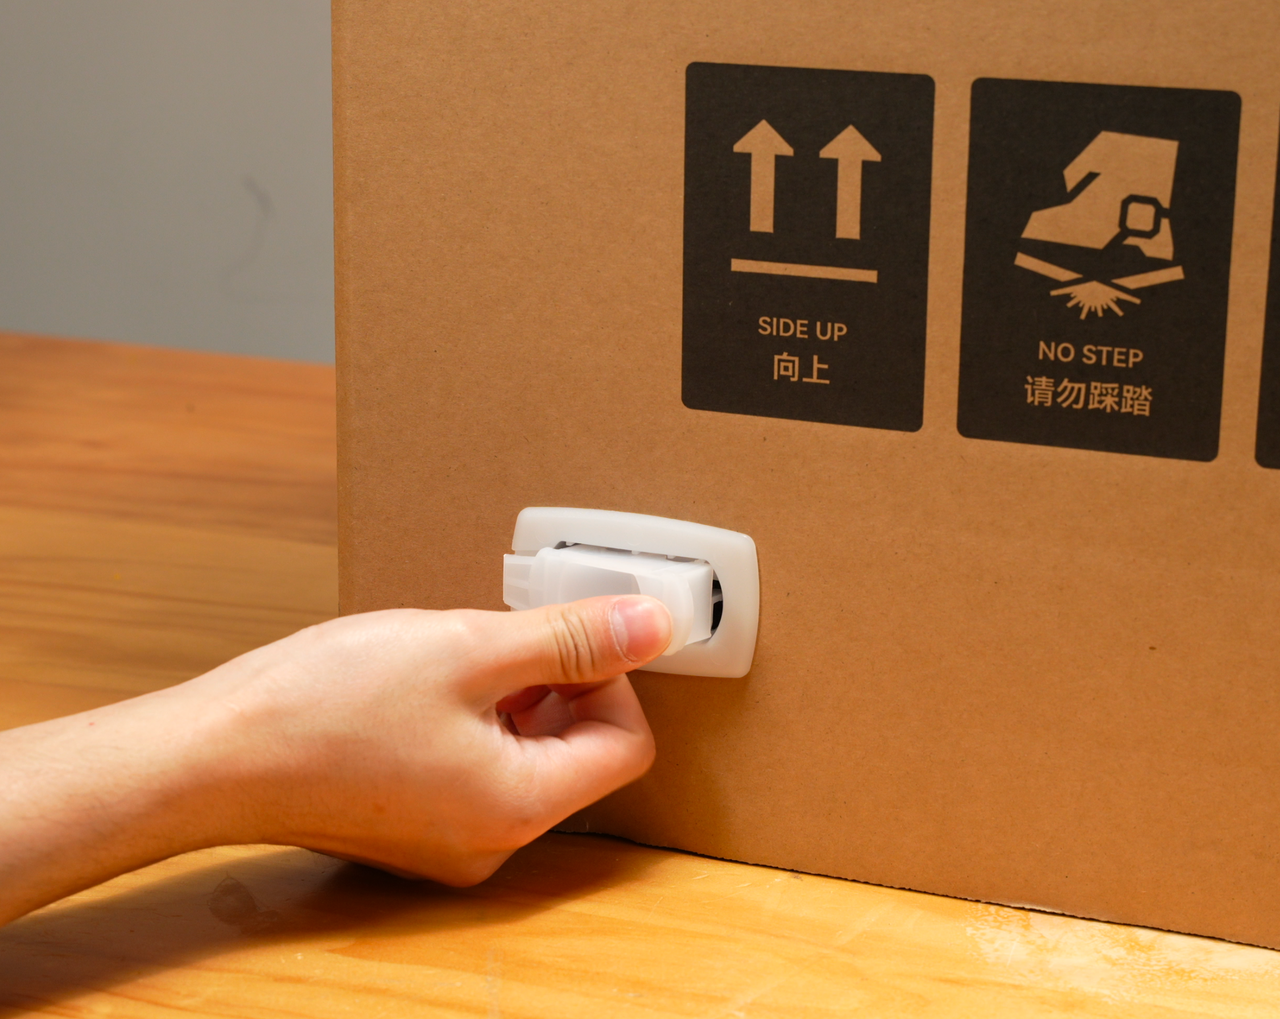
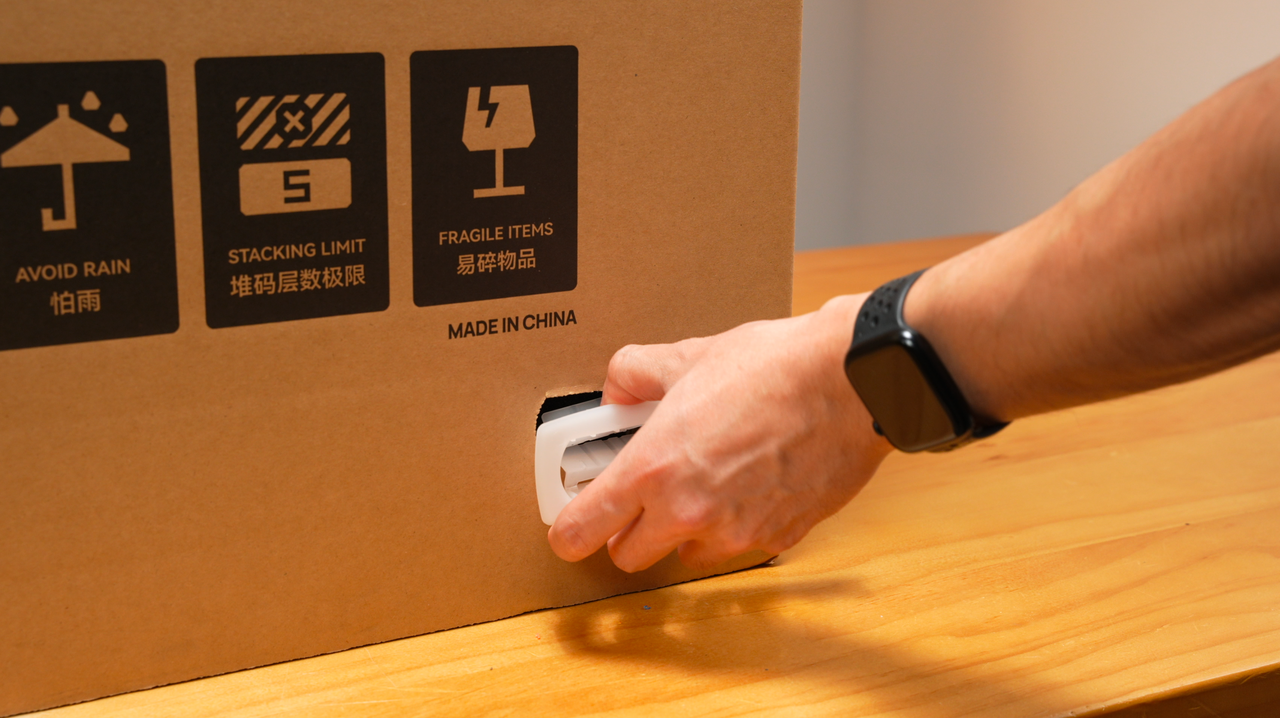
Step 11. Install the four box clip fasteners and lock them in place to secure the outer box.
 |
 |
 |
 |
¶ End Notes
We hope the detailed guide provided has been helpful and informative.
If this guide does not solve your problem, please submit a technical ticket, we will answer your questions and provide assistance.
If you have any suggestions or feedback on this Wiki, please leave a message in the comment area. Thank you for your support and attention!