The packaging materials and accessories of the printer may be updated from time to time. Please refer to the actual items received.
¶ Video Guide
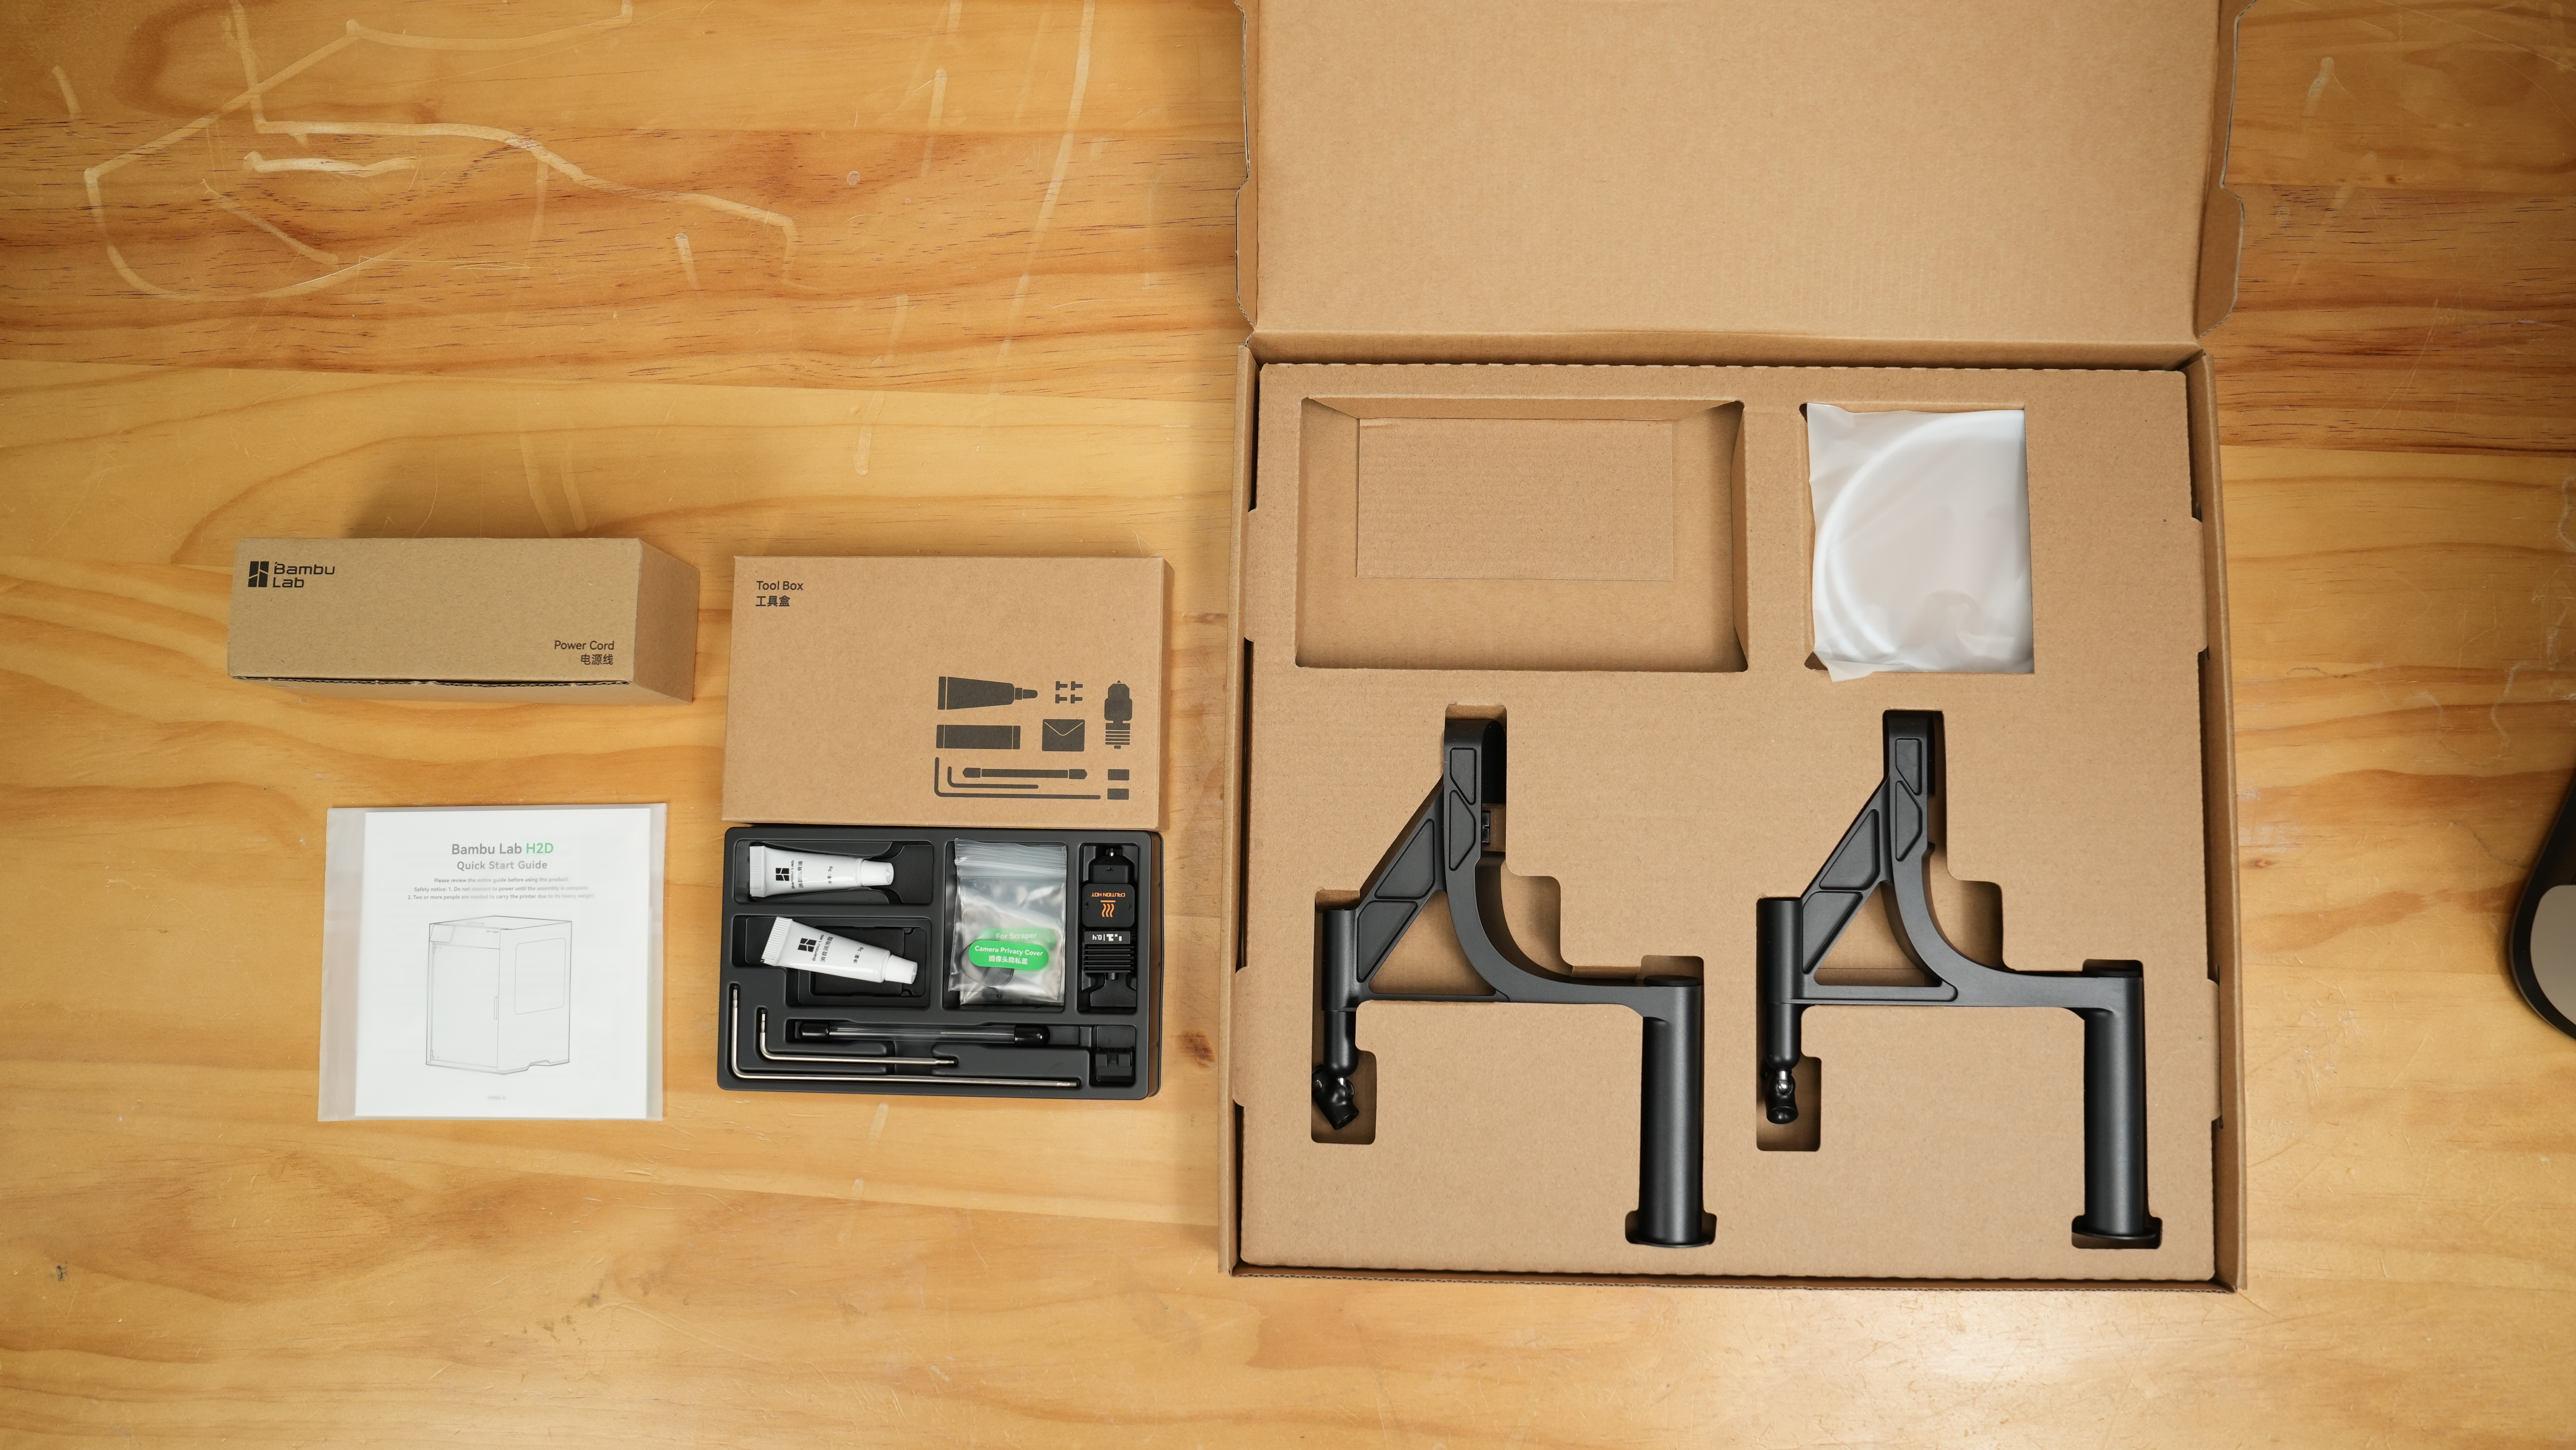
¶ Items Included in the Package
H2D 3D printer、accessory box, power cable, Quick Start Guide
¶ Operation Steps
¶ Step 1: Unpack the outer packaging
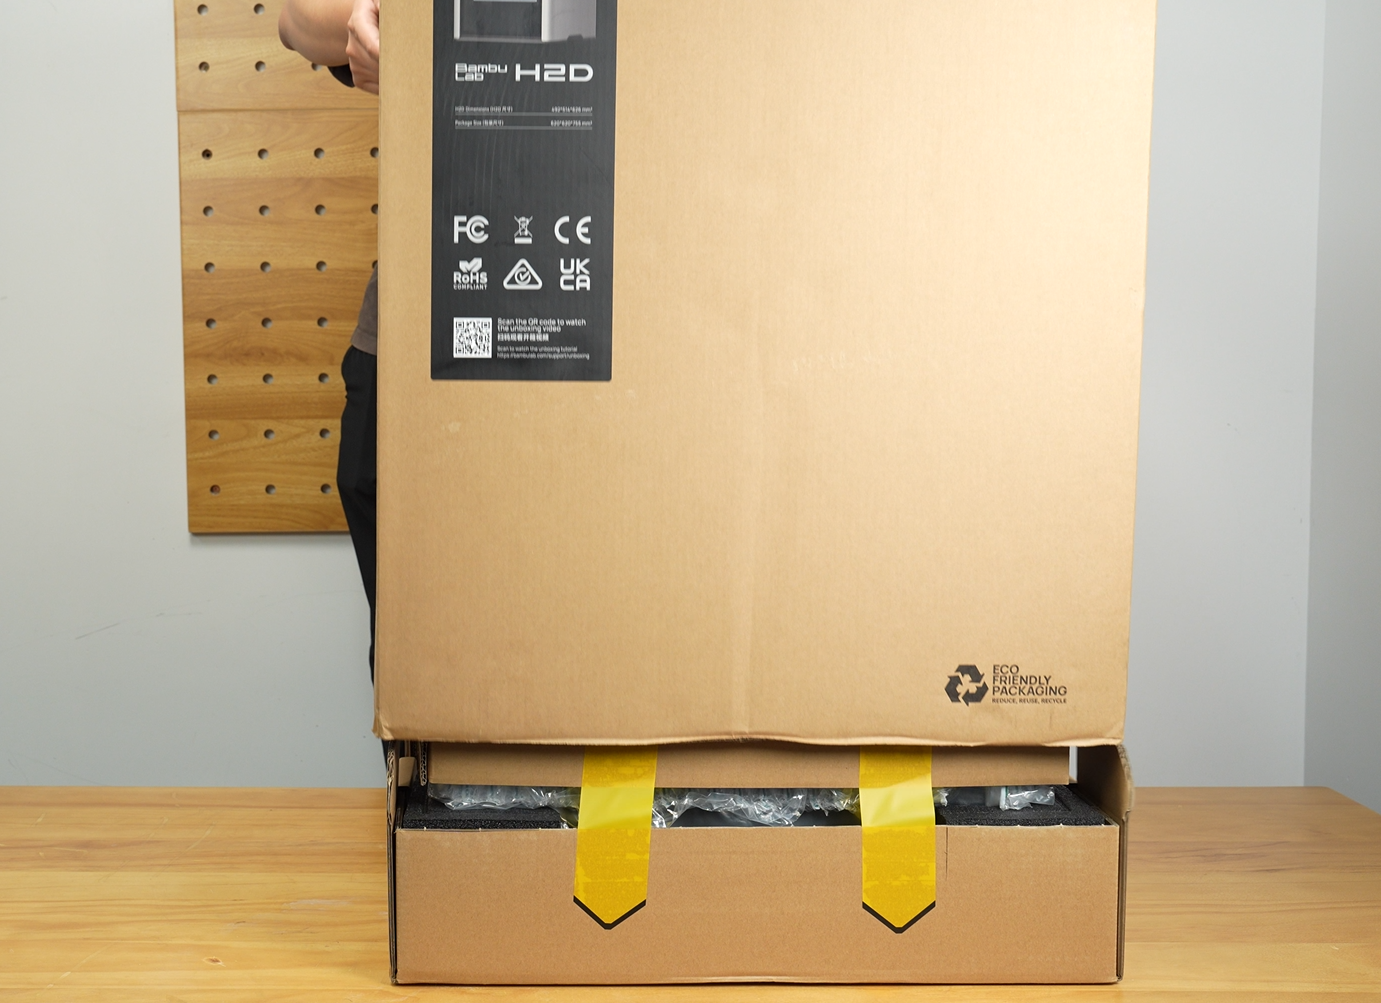
1. Remove the 4 clips on both sides of the bottom.
 |
 |
2. Lift and remove the outer box.
 |
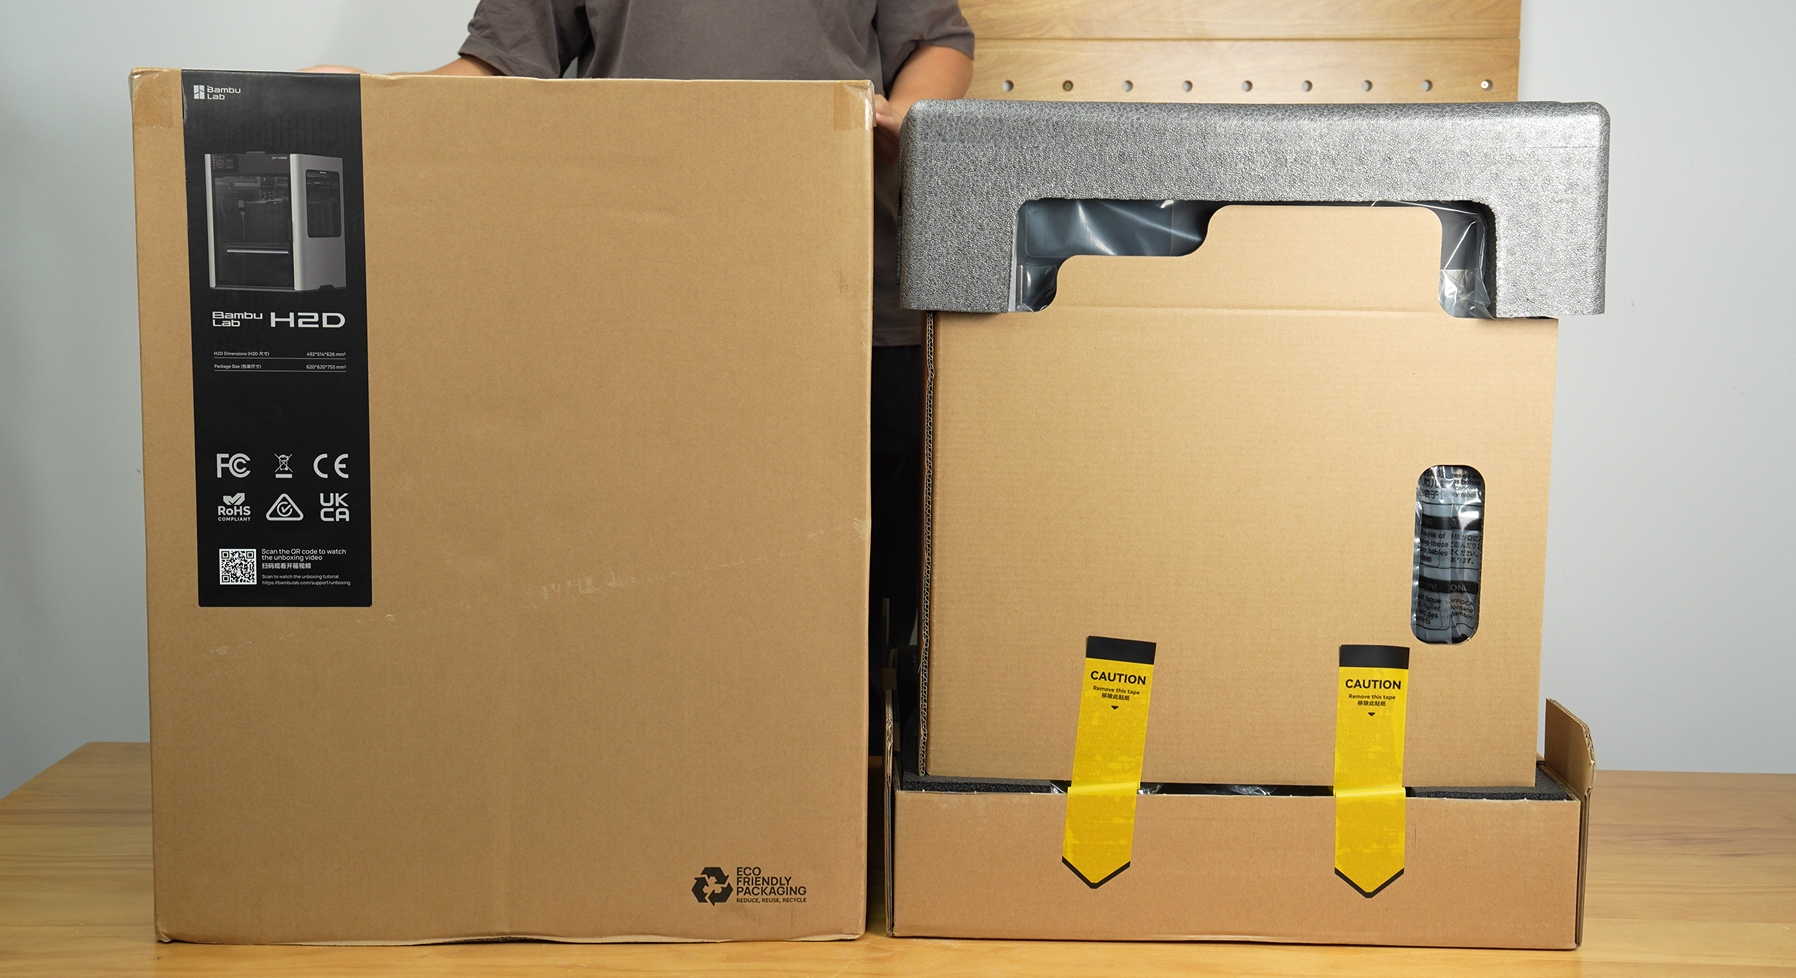 |
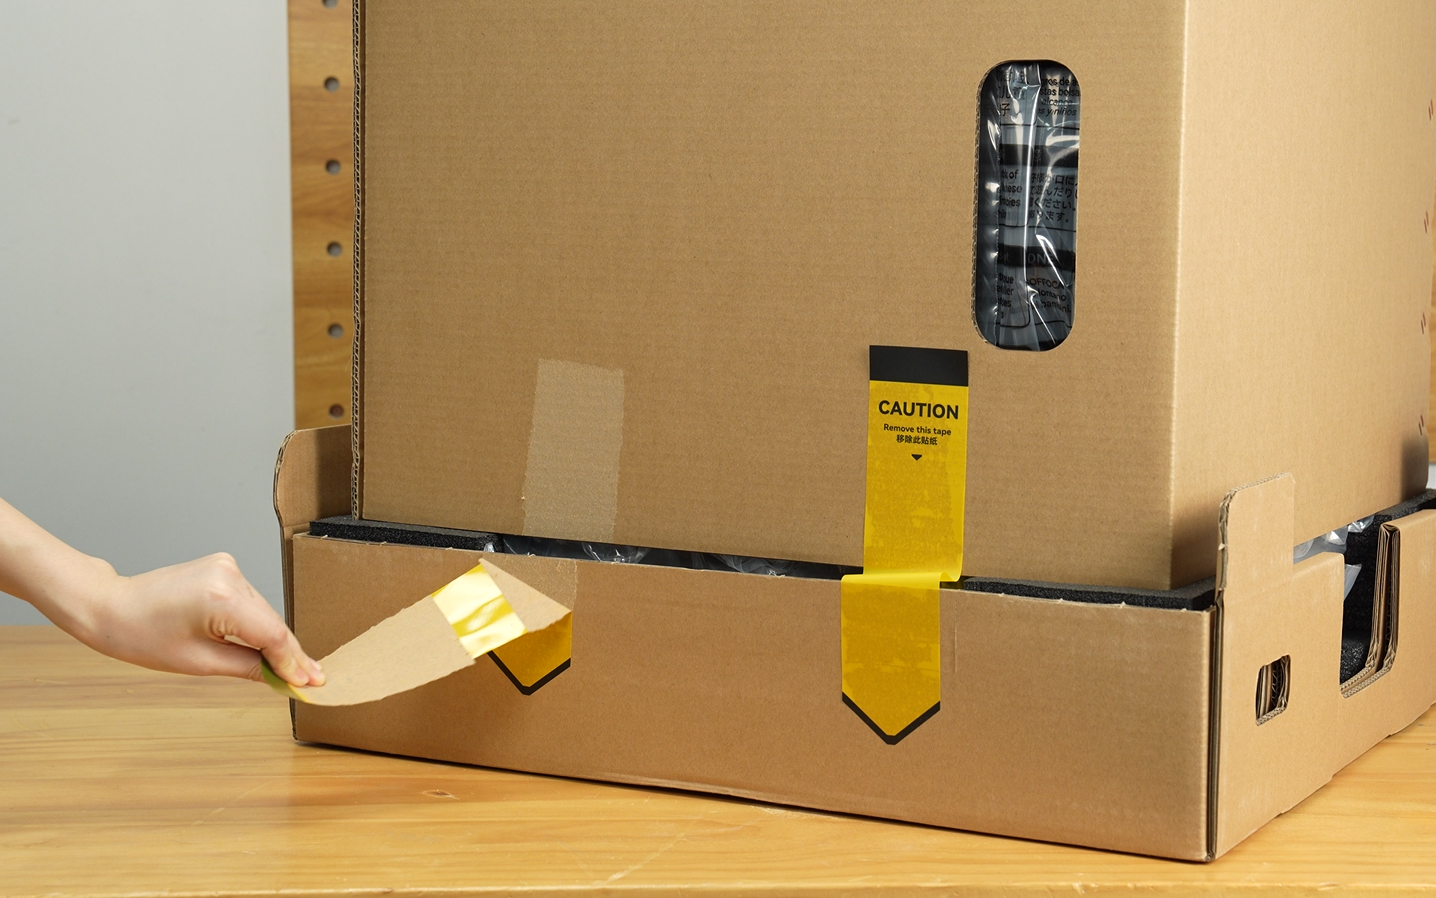
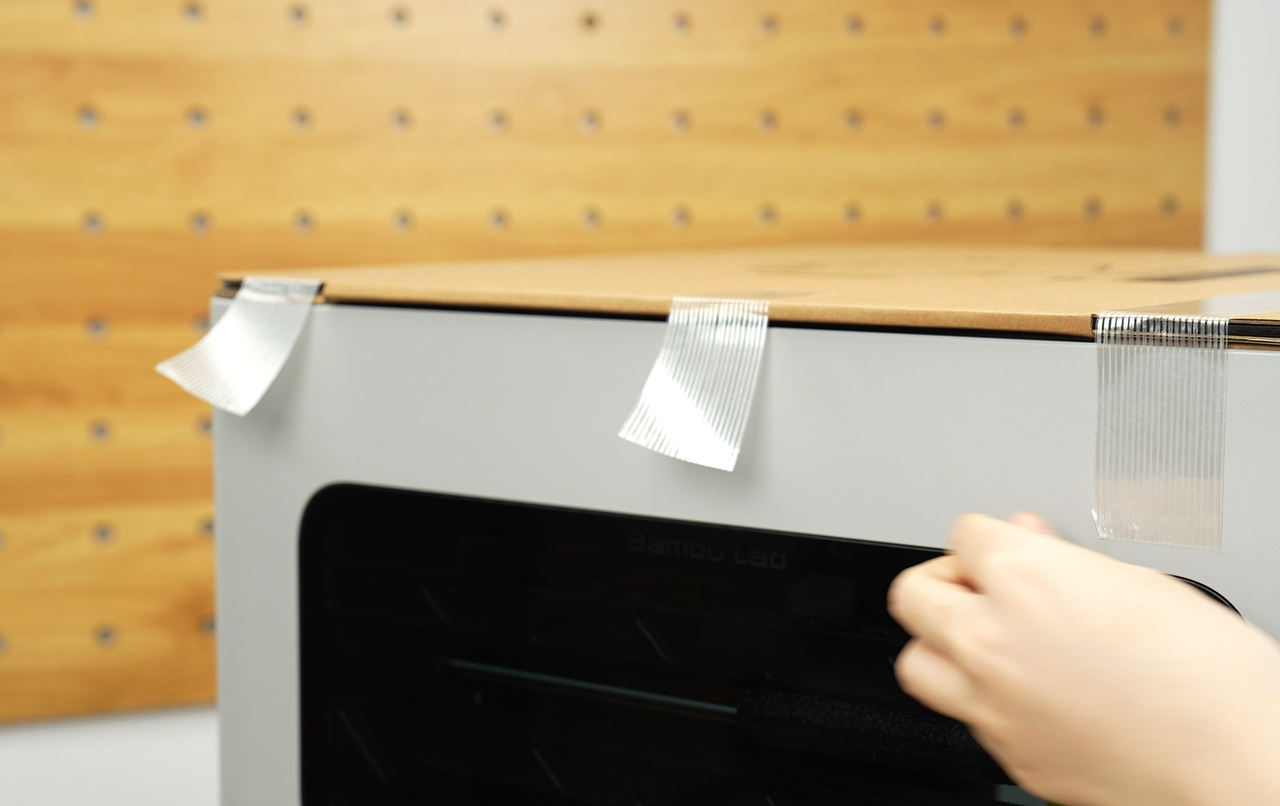
3. Tear off the 4 stickers at the bottom.
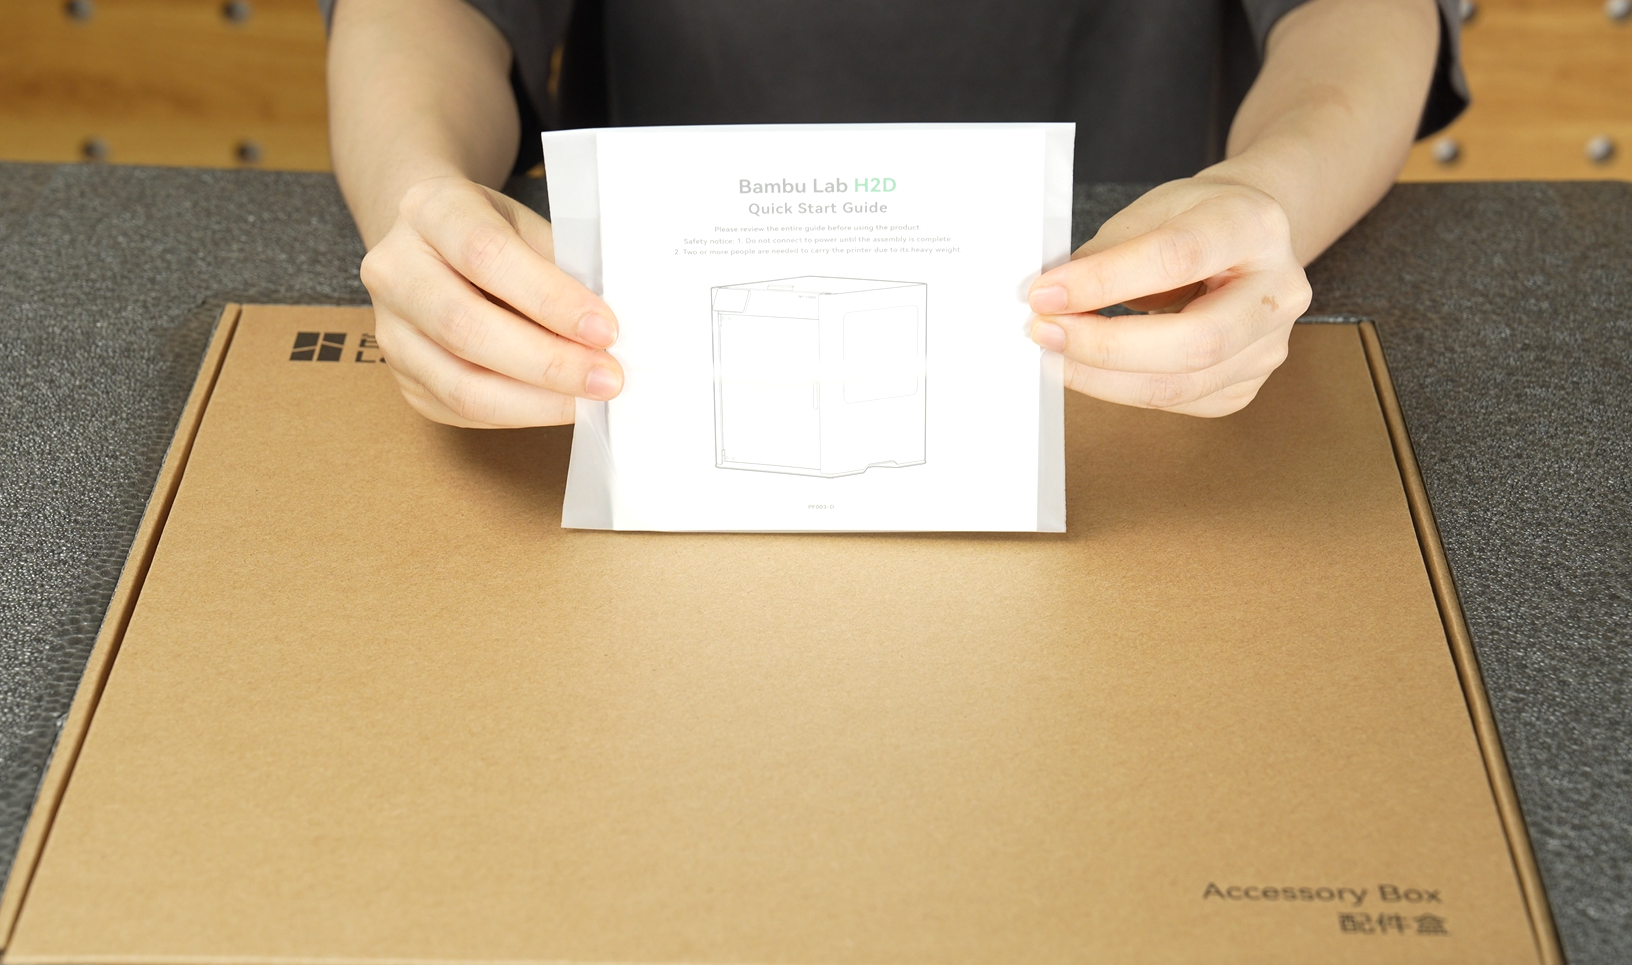
4. Take out and carefully read the Quick Start Guide to understand the detailed steps.
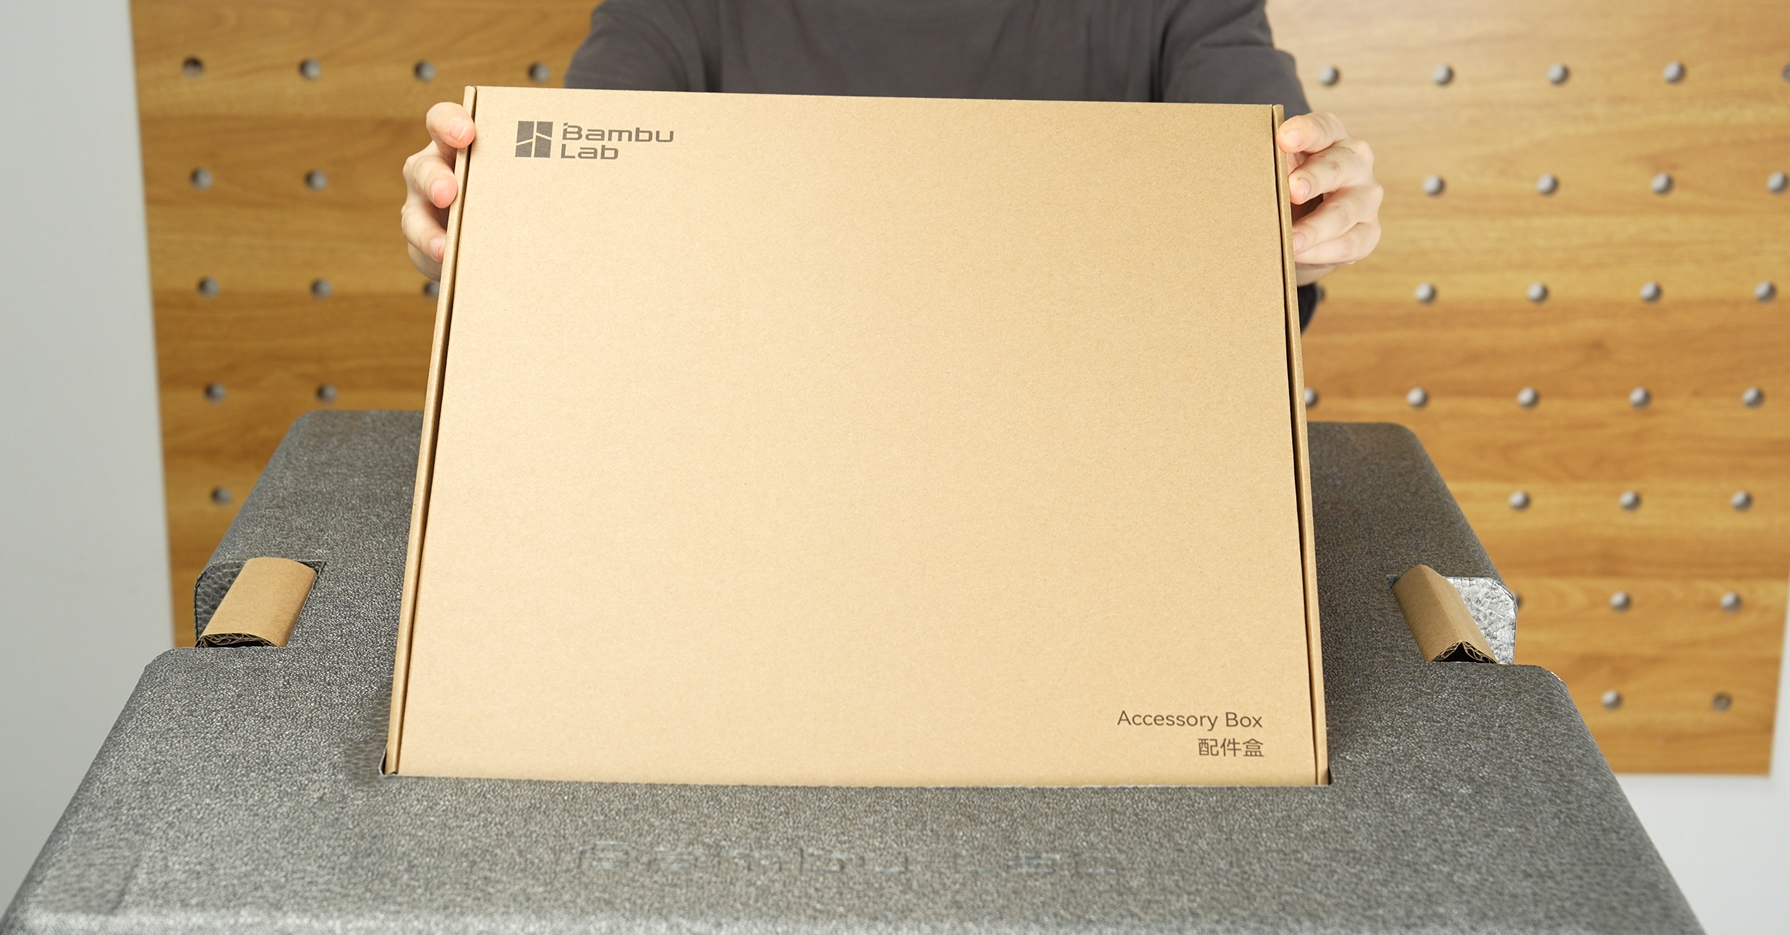
5. Take out the accessory box.
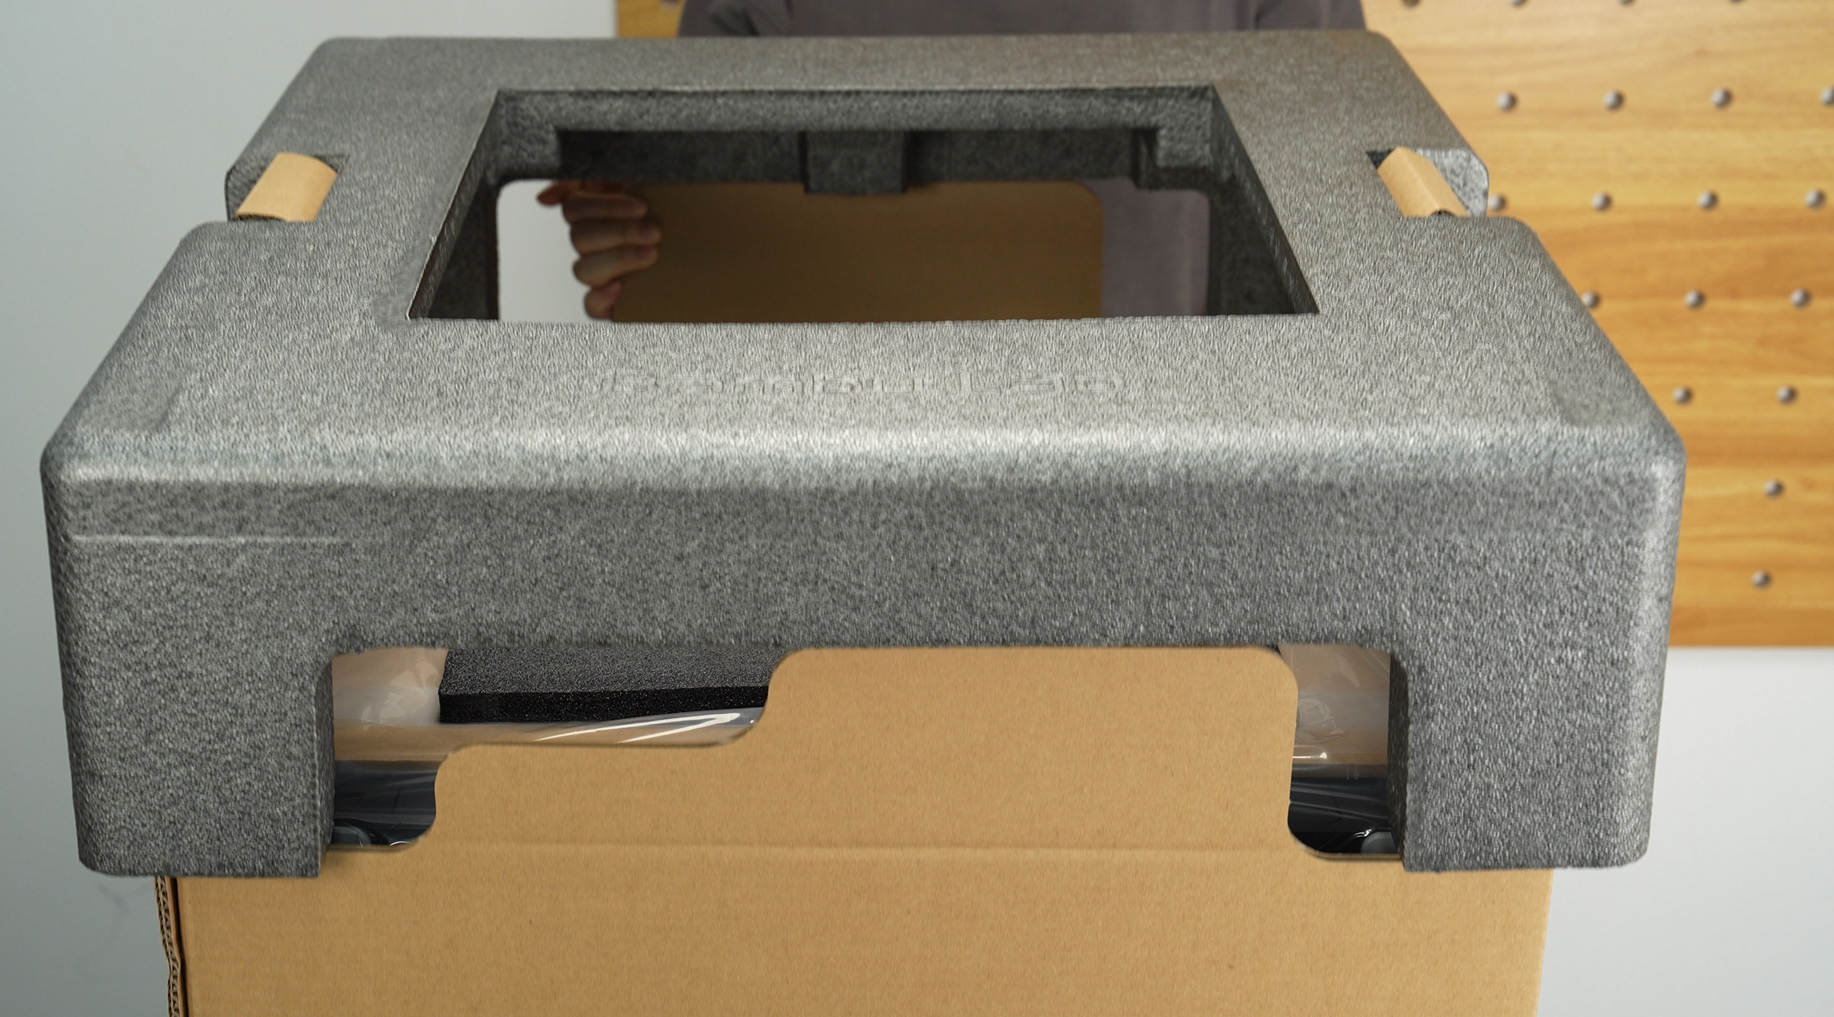
6. Remove the foam, cardboard, and air cushion.
 |
 |
 |
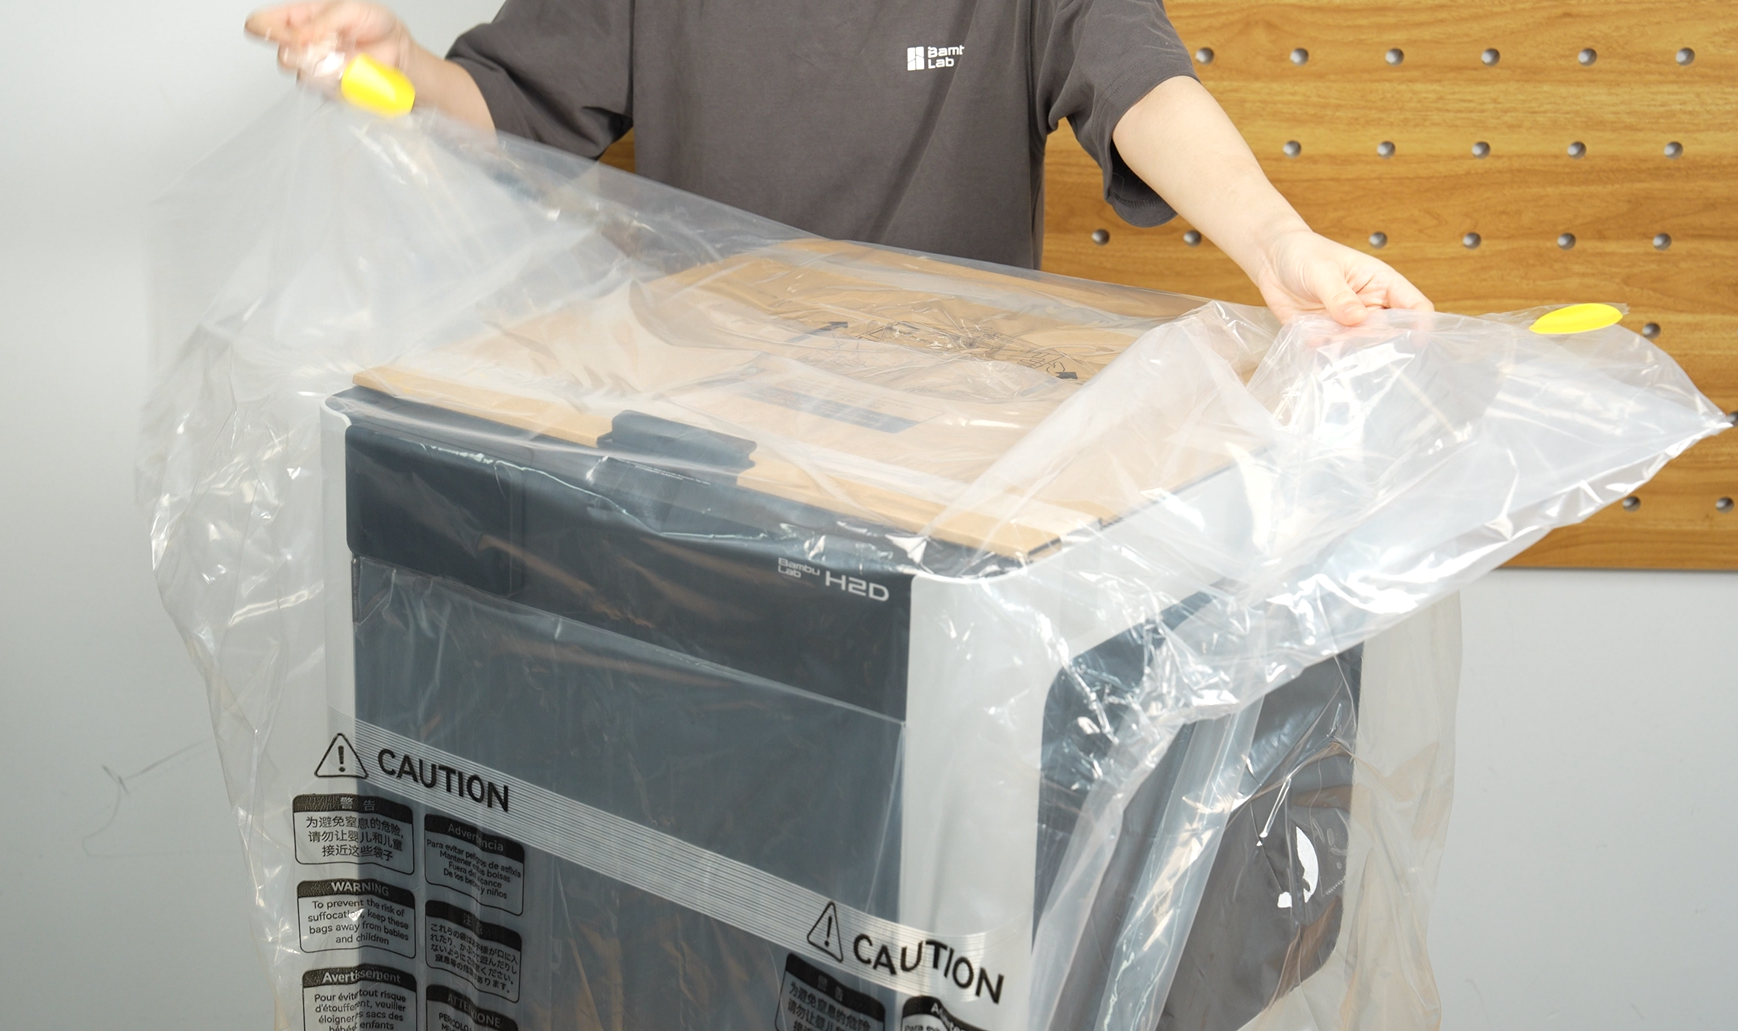
- Tear open the moisture-proof bag from both sides as indicated, and pull it down to wrap around the four bottom corners of the carton.
 |
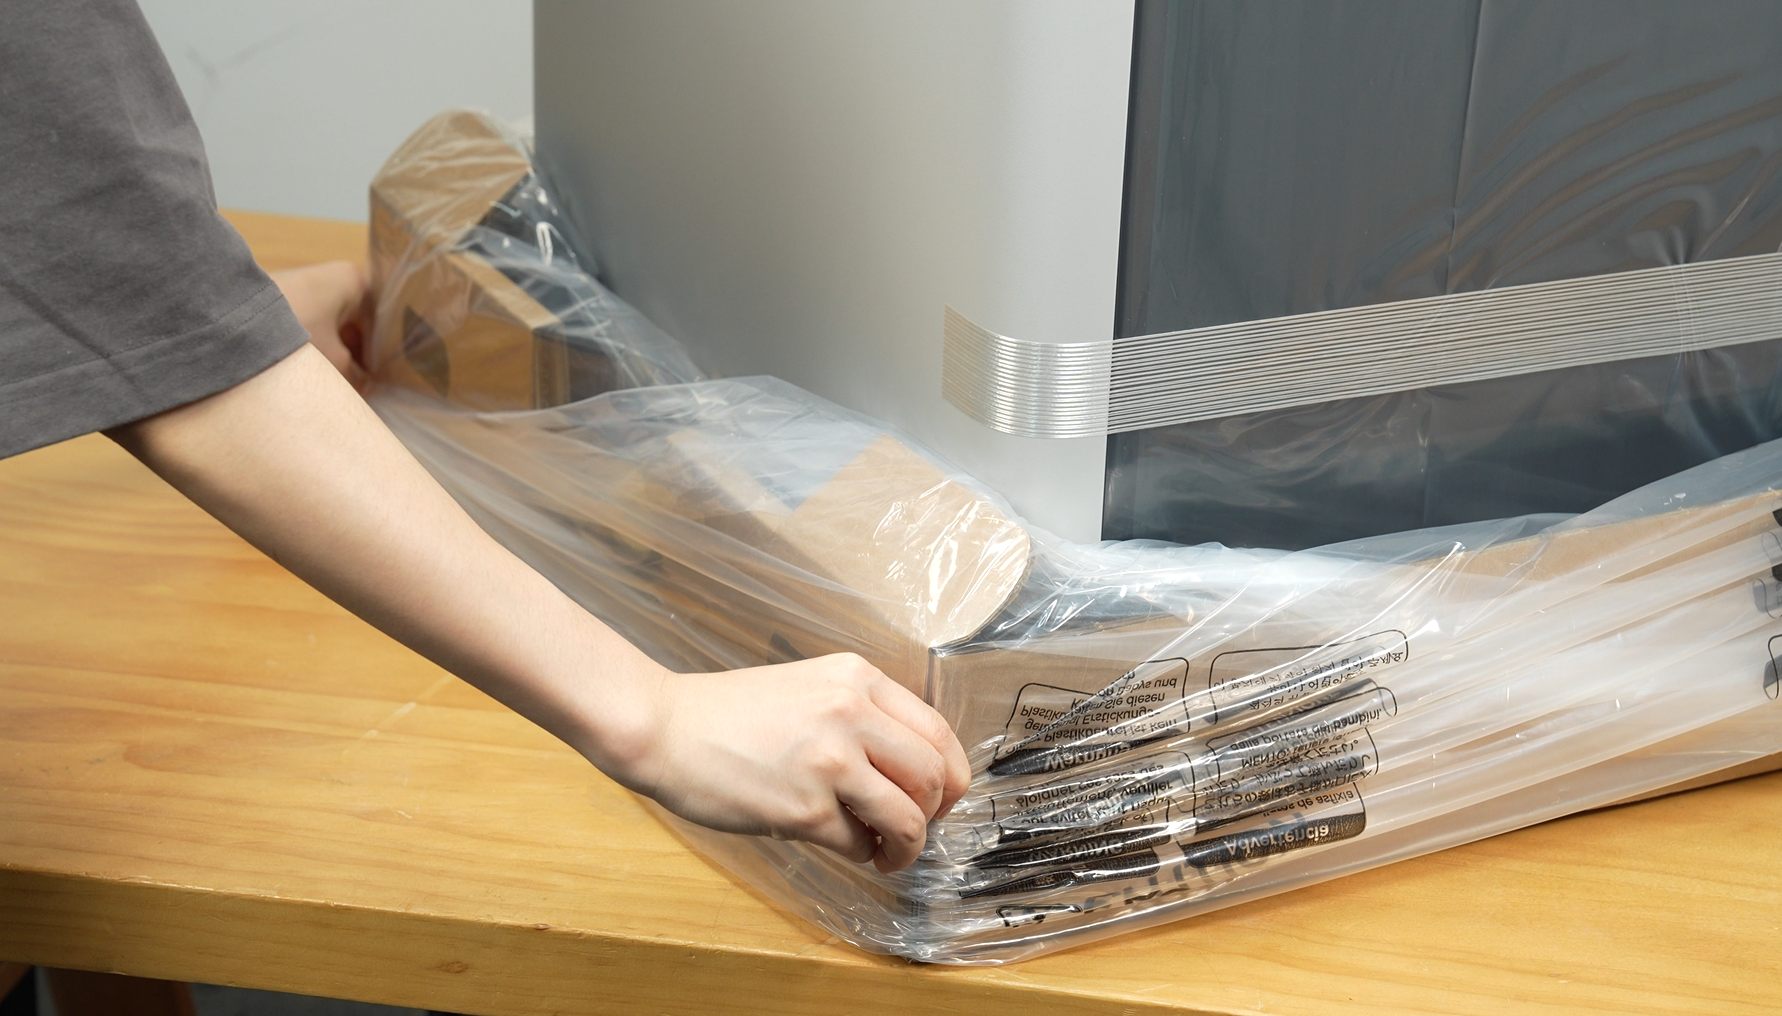 |
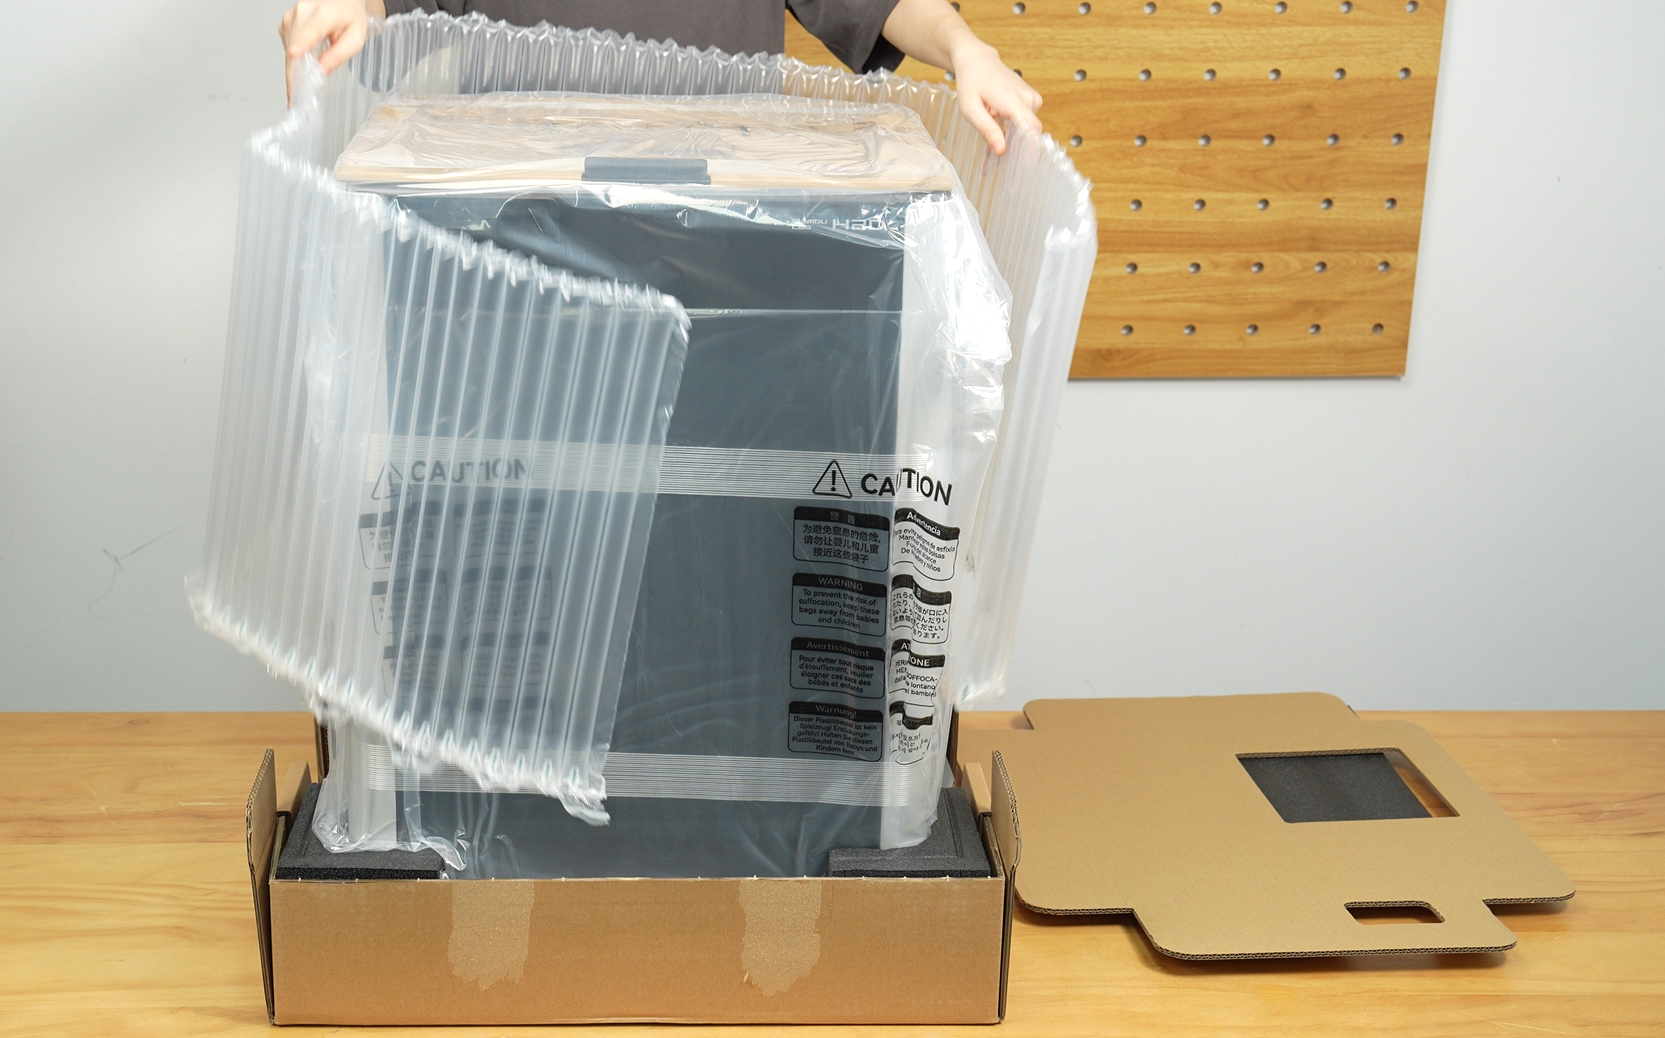
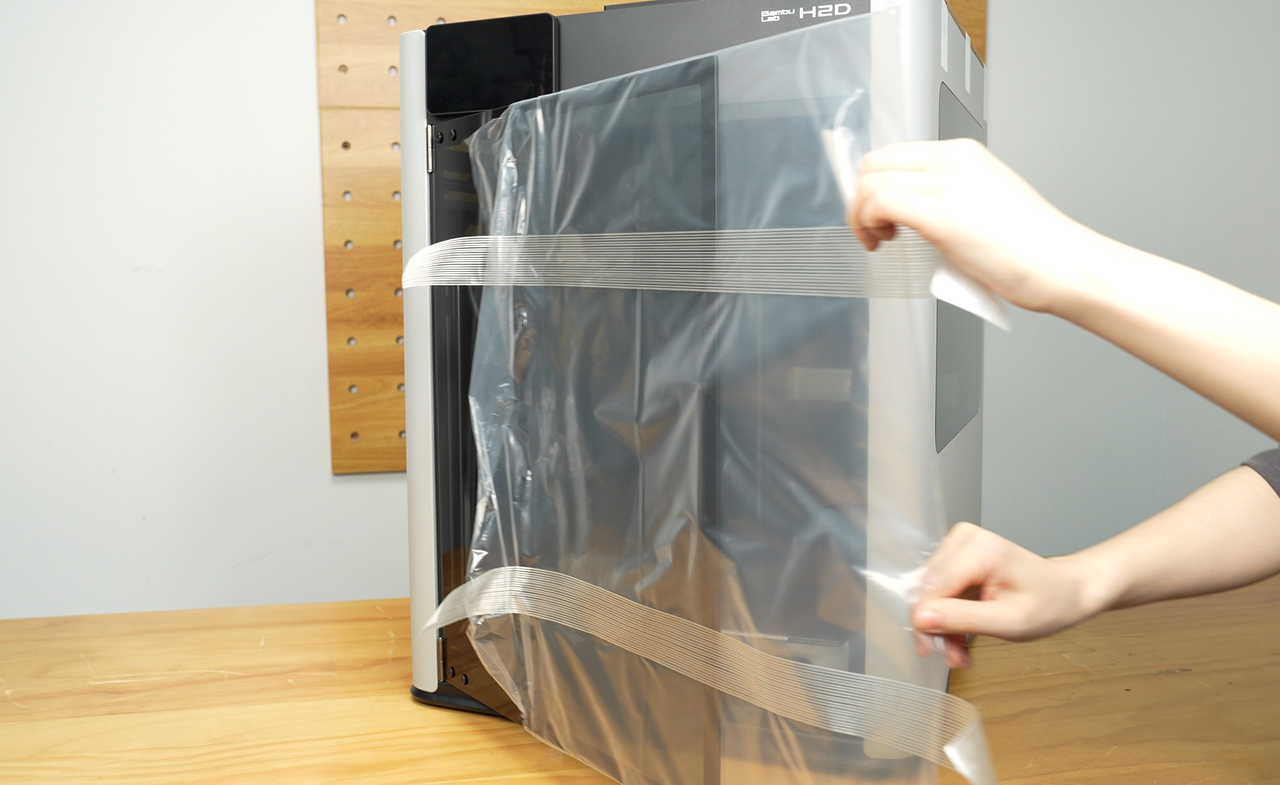
- Two people lift the printer together and place it on a stable surface.;
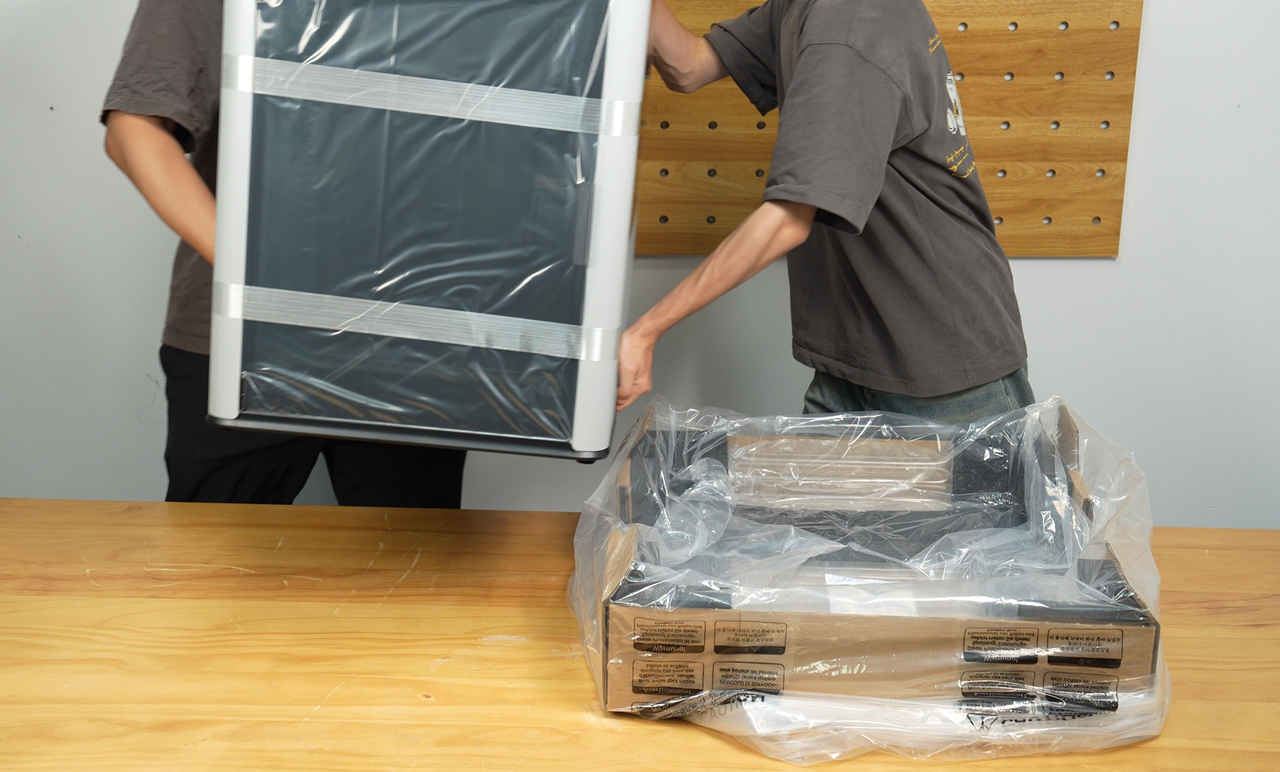
- Remove the packaging and tapes around the printer.
 |
 |
¶ Step 2: Unlock the heatbed and toolhead
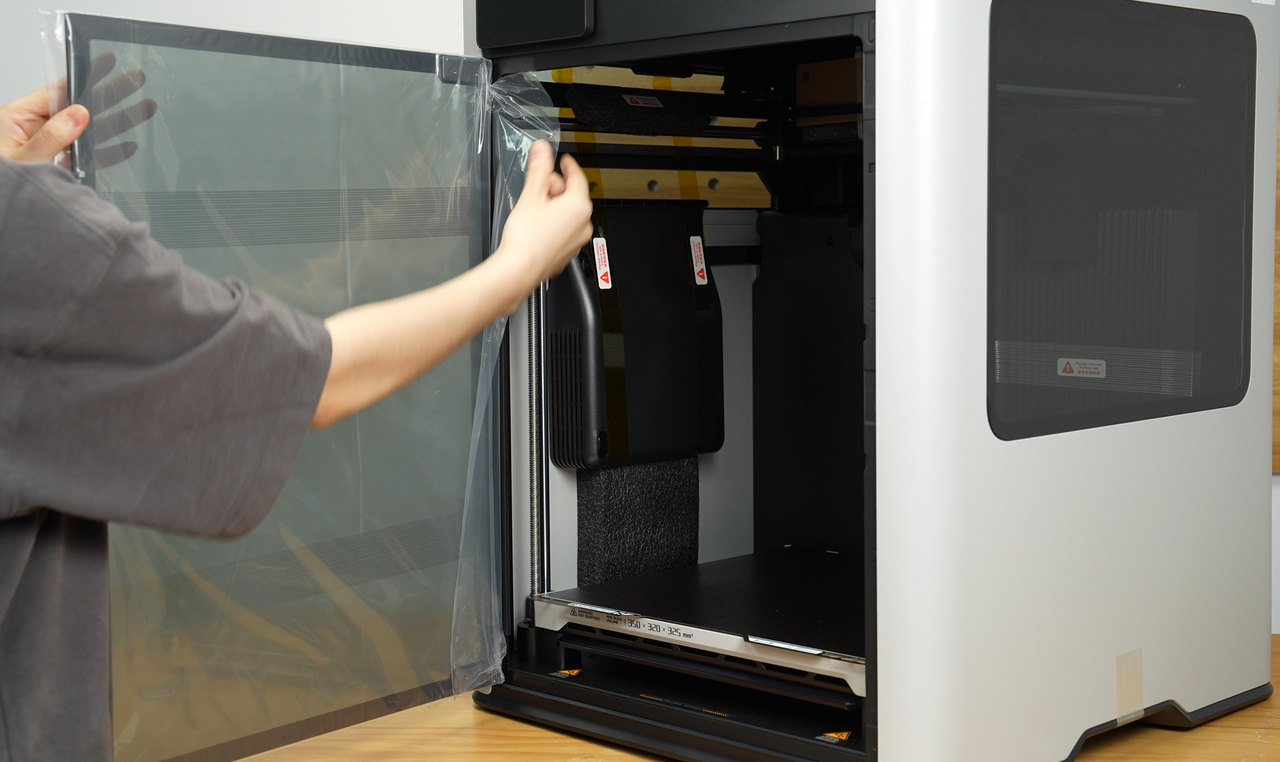
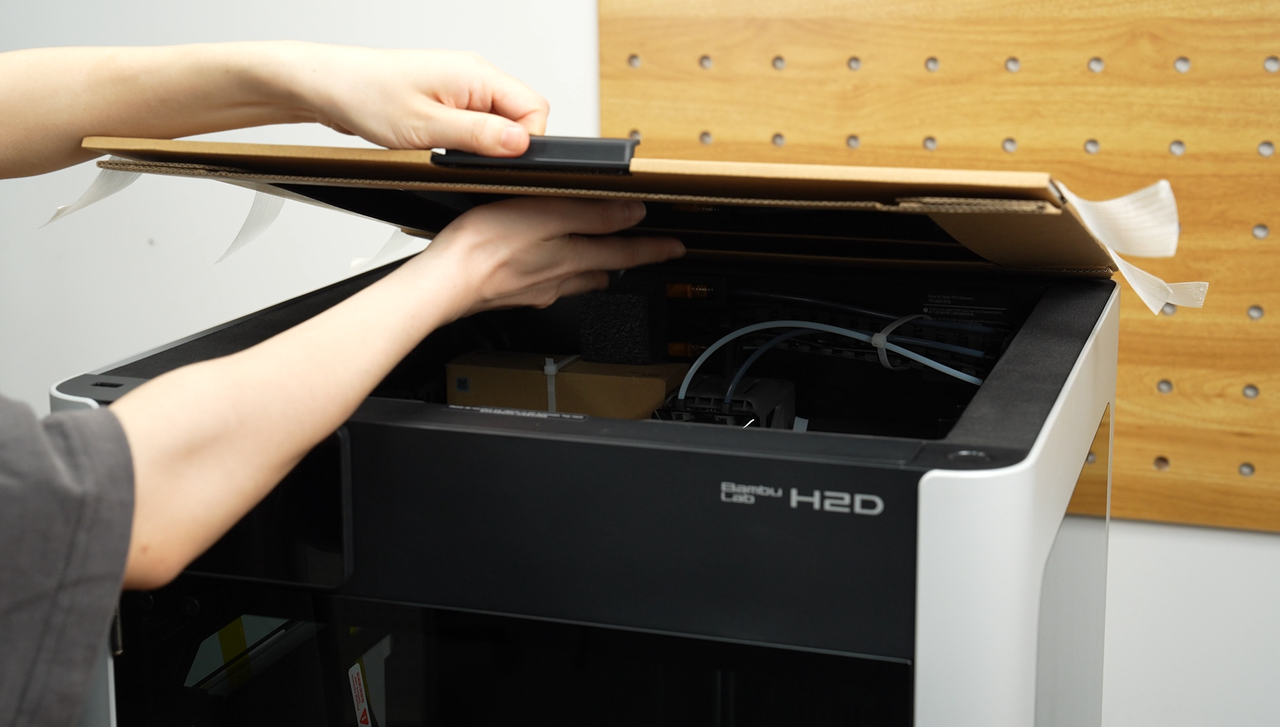
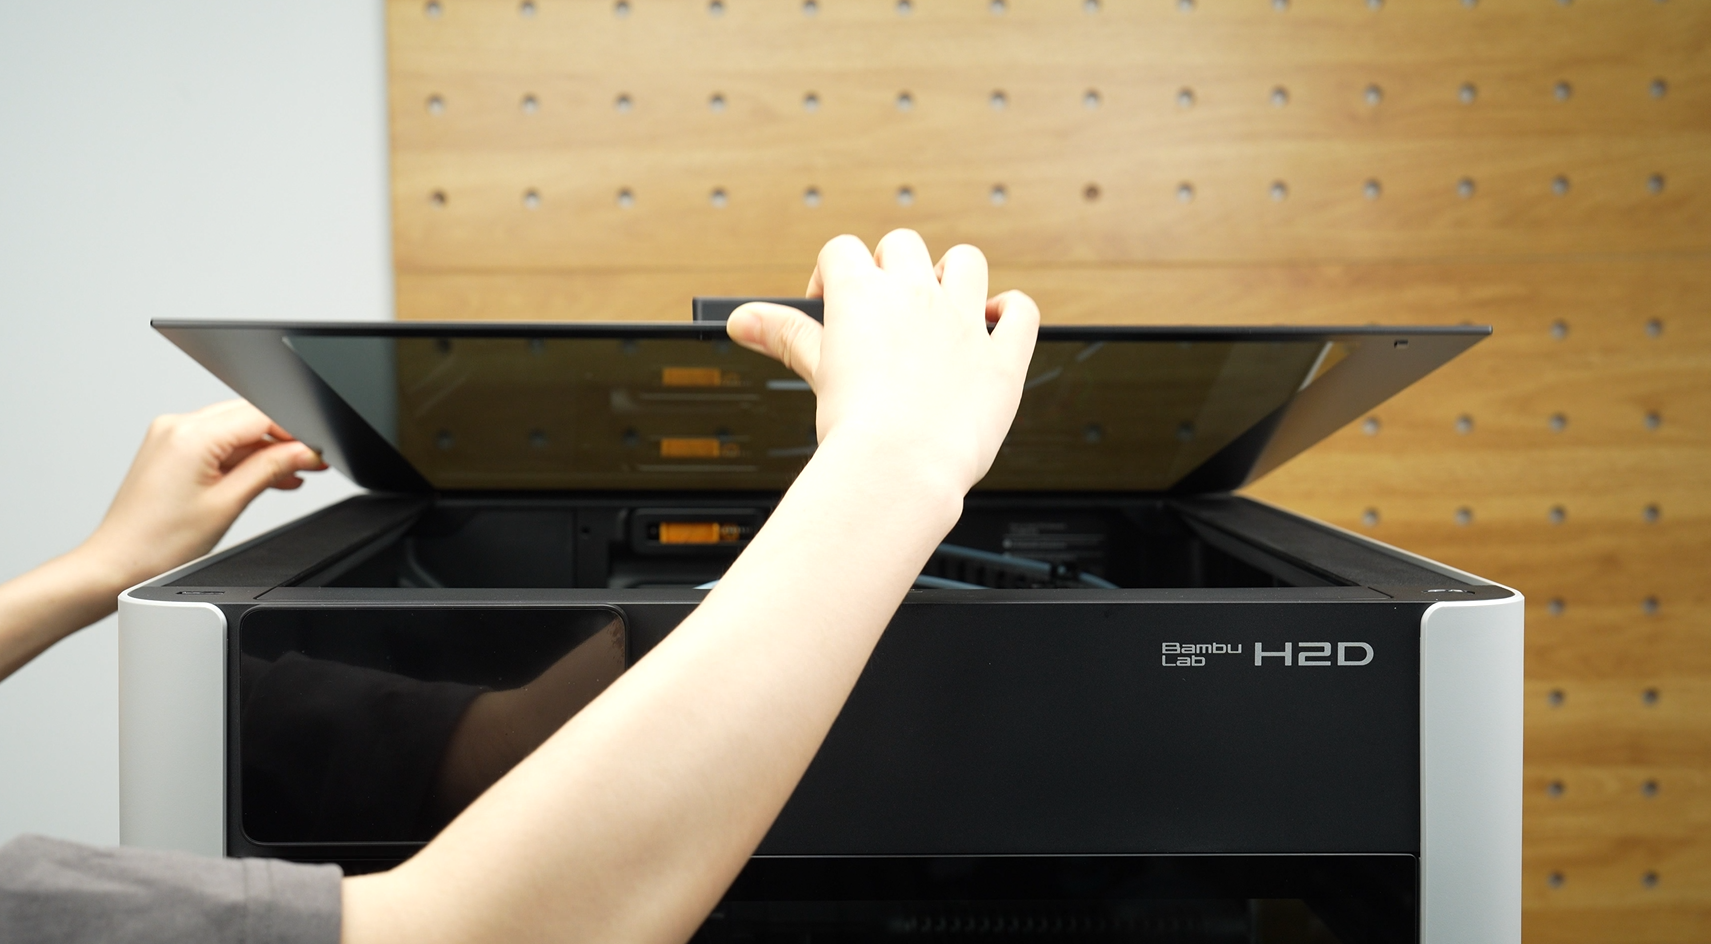
- Remove the top glass cover.
 |
 |
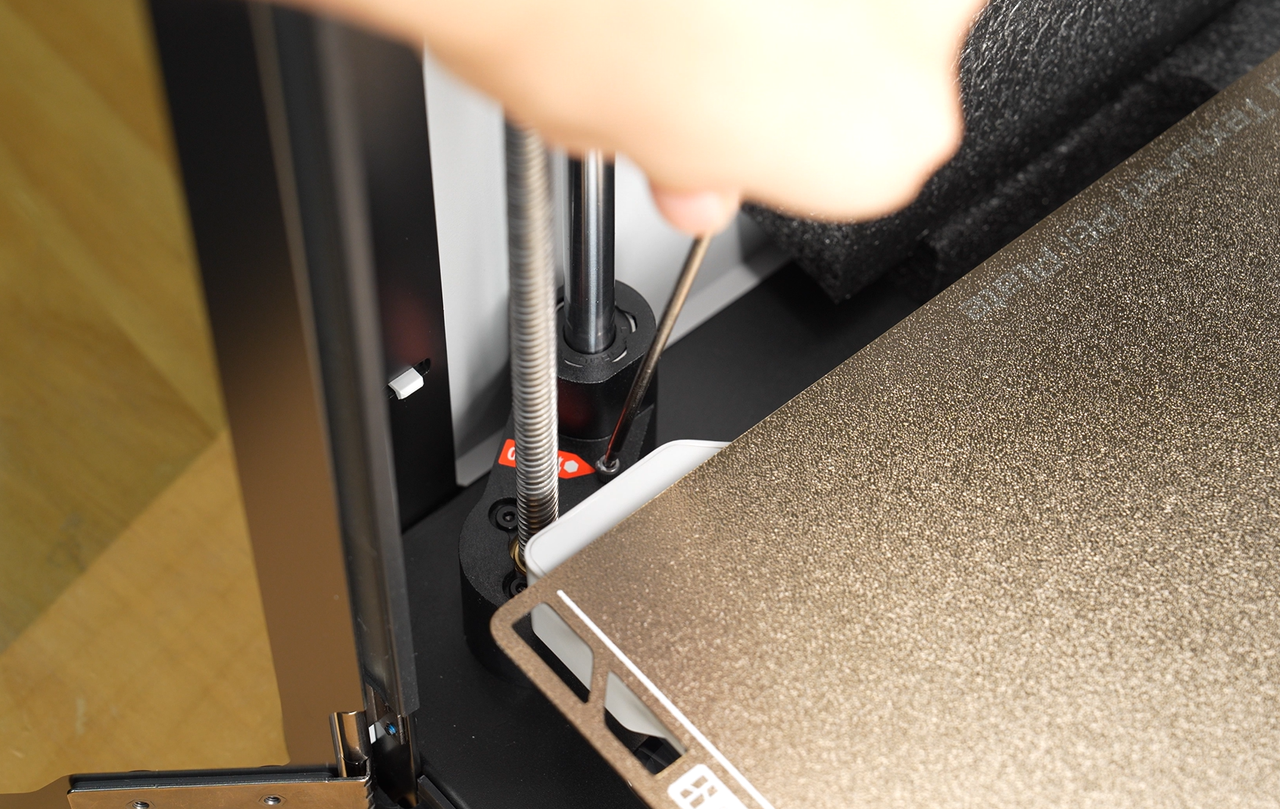
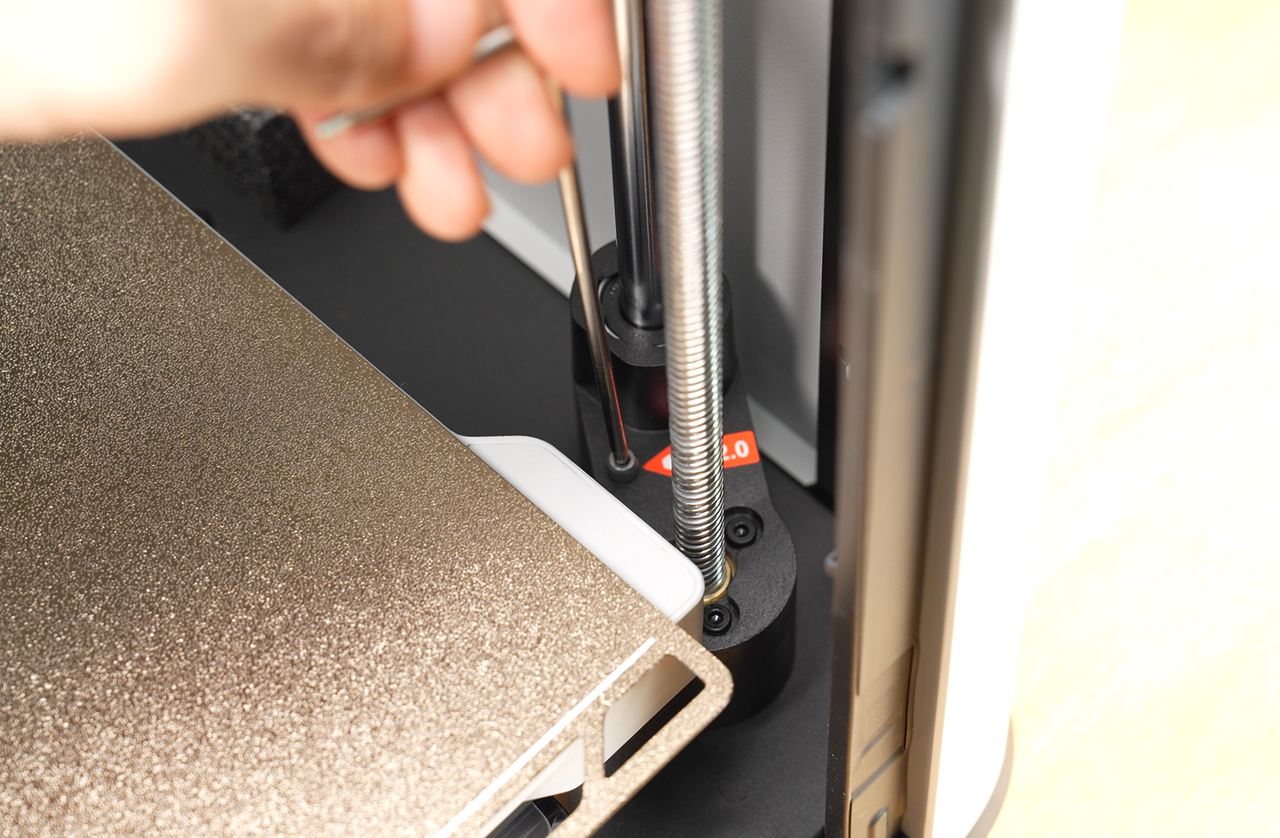
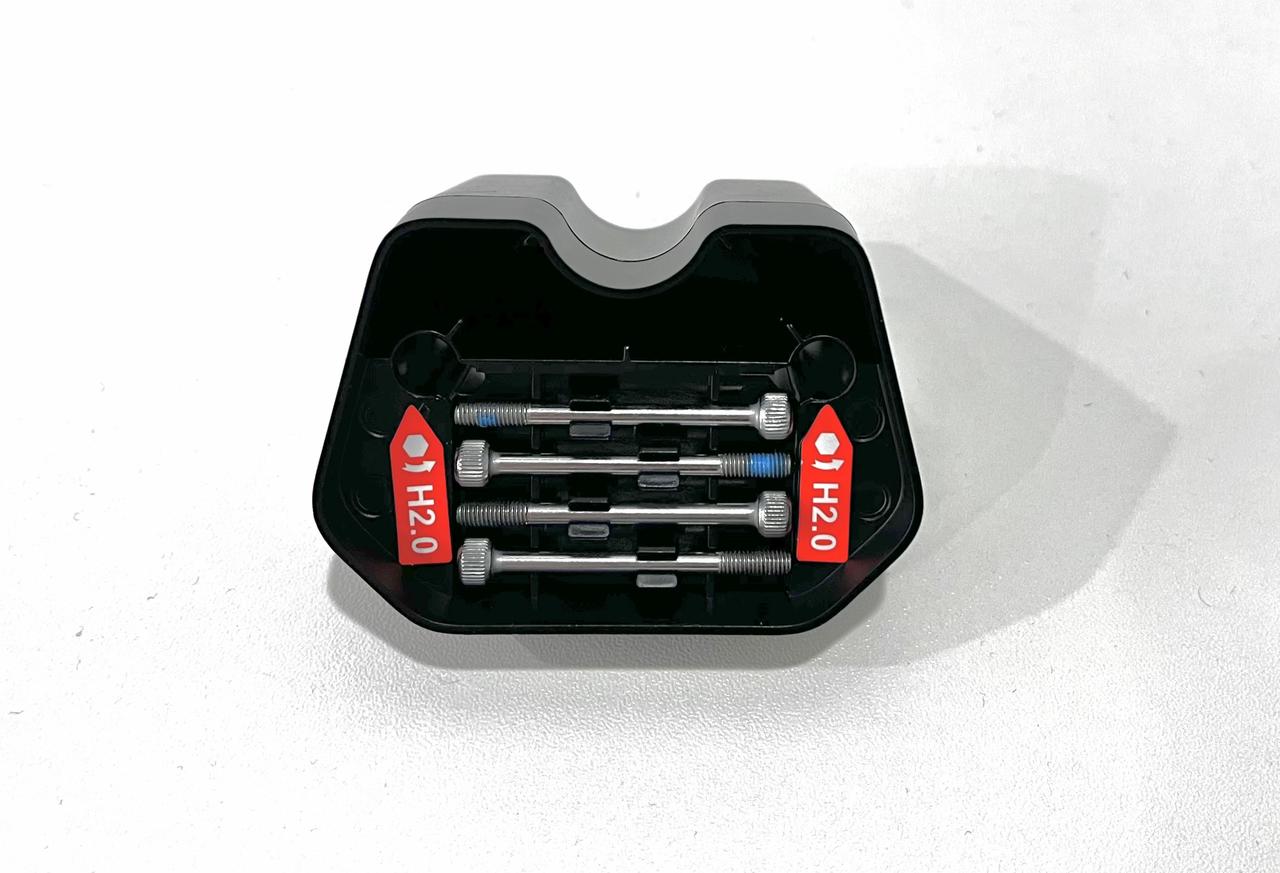
- Remove the 4 screws that secure the heatbed to unlock it.
 |
 |
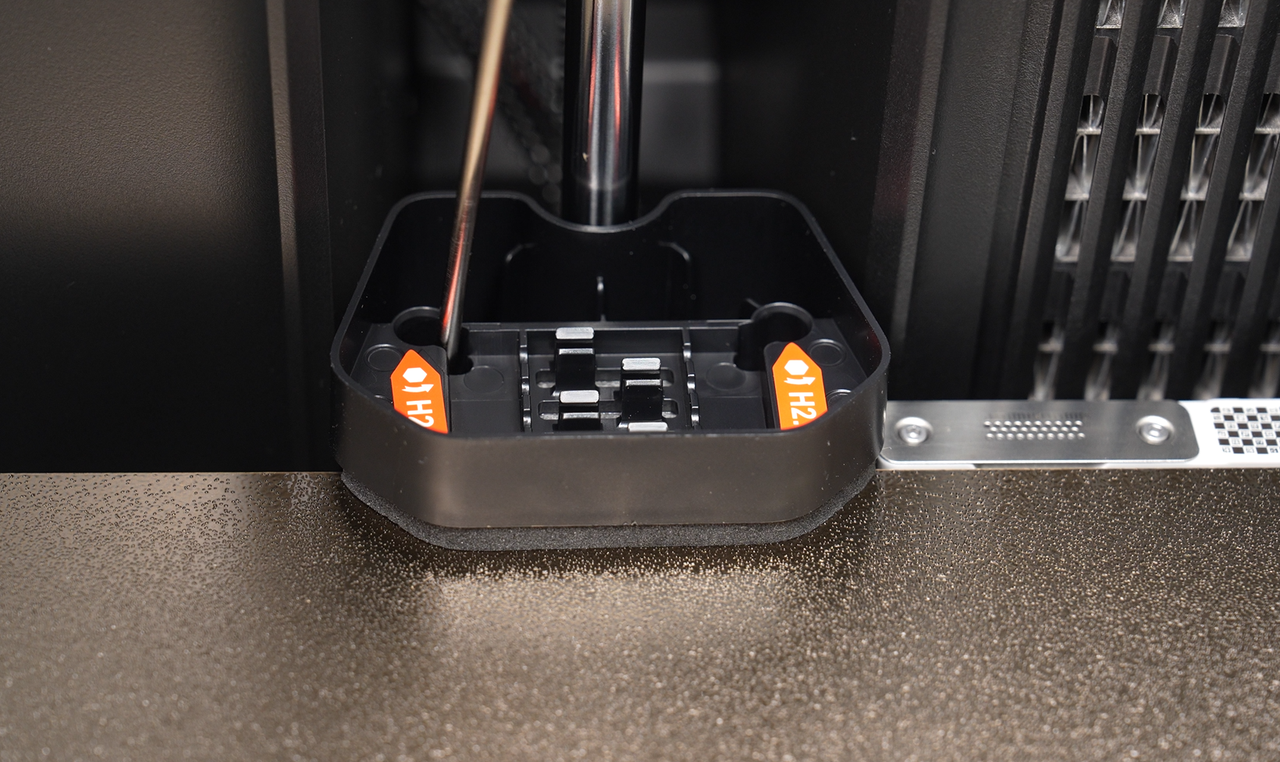 |
Note: The 4 removed screws can be stored in the removed heatbed fixture for future use.
- Remove the foam on both threaded rods.
 |
 |
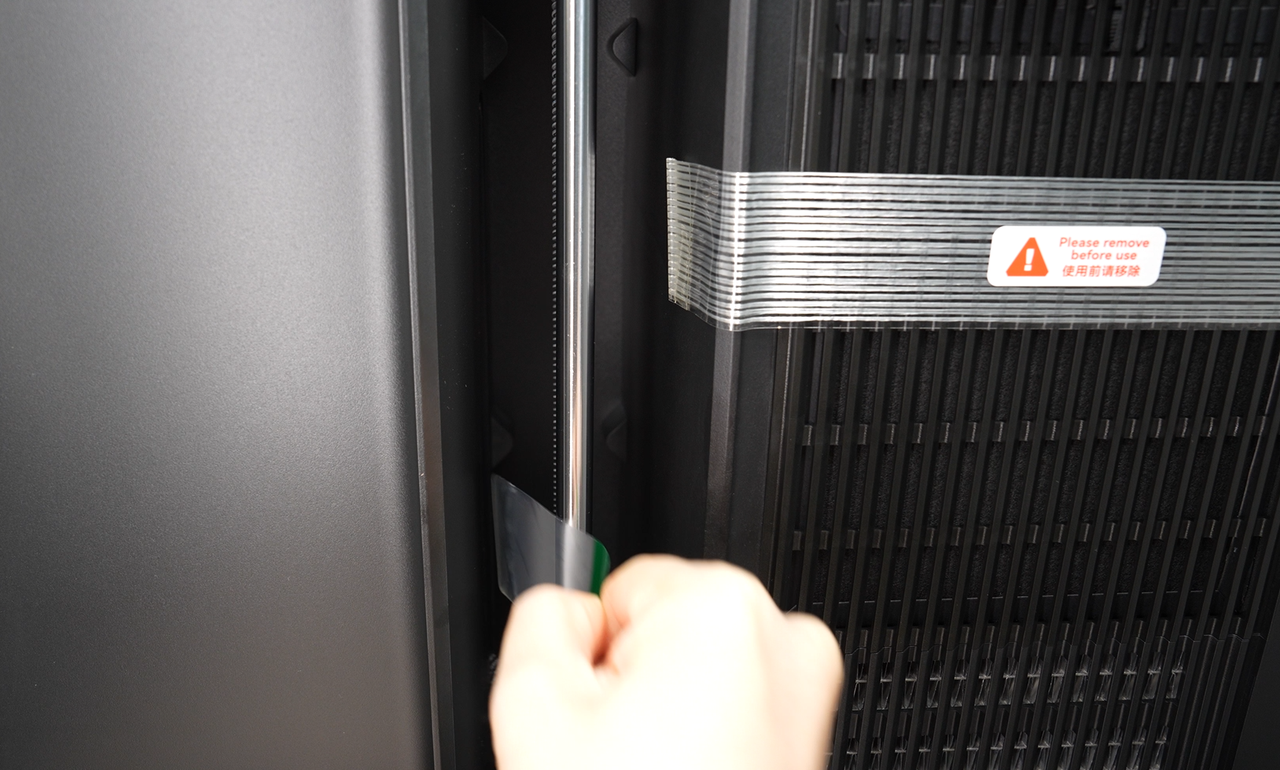
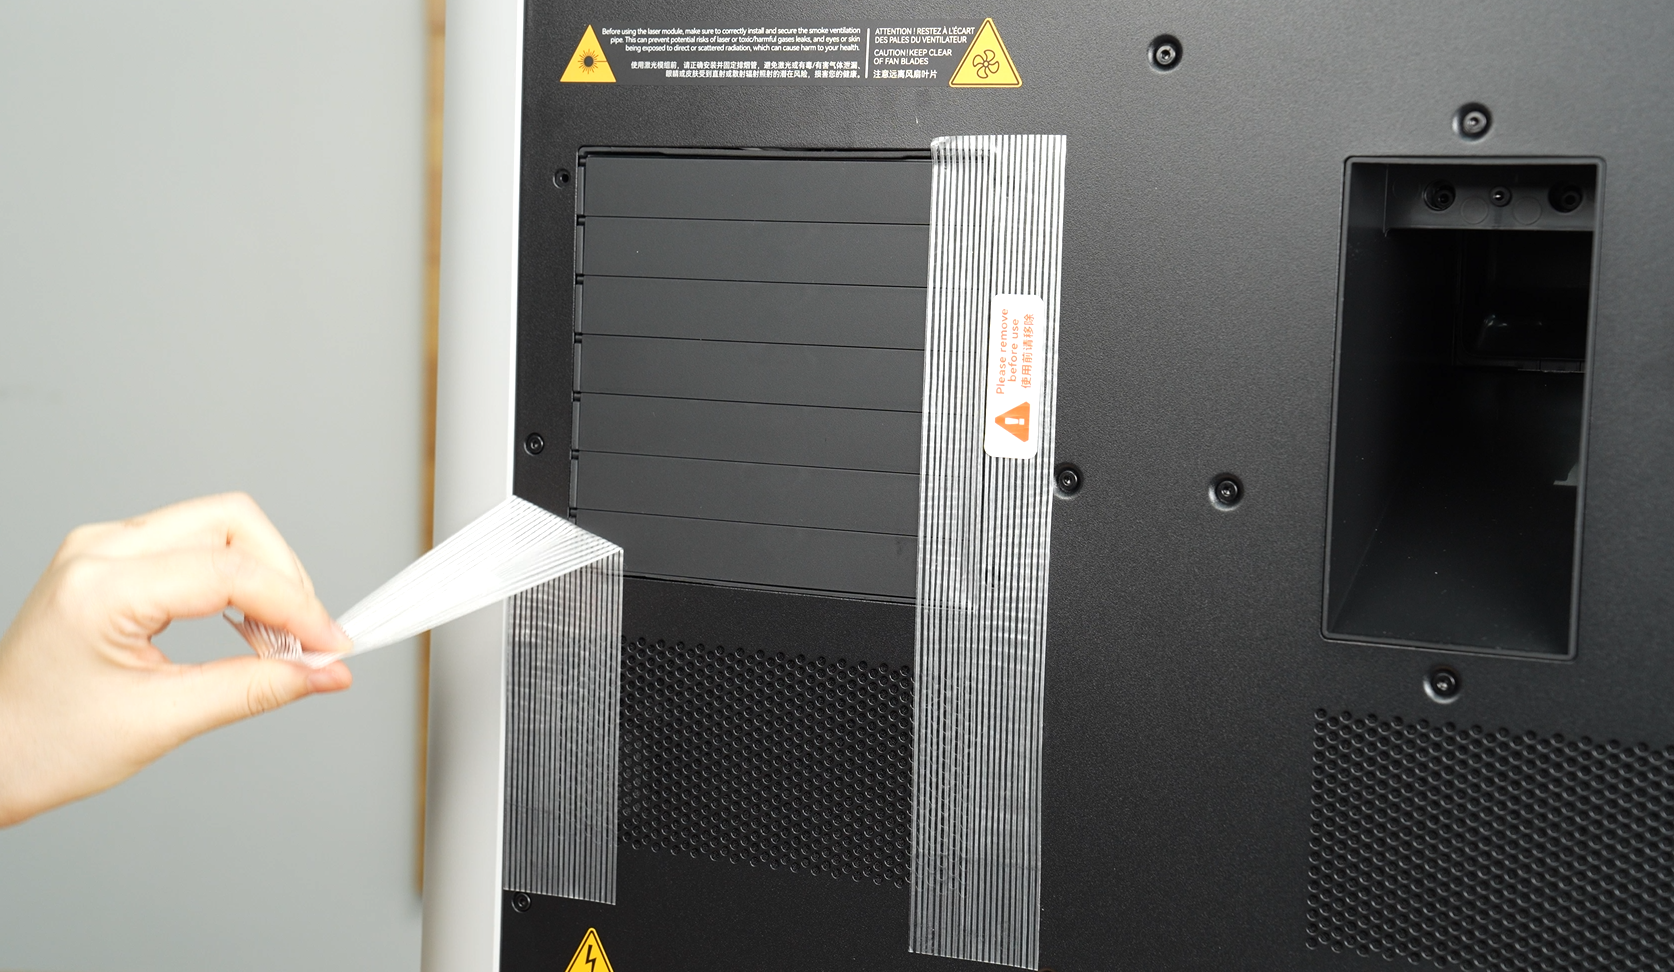
- Remove the tape inside the printer.
 |
 |
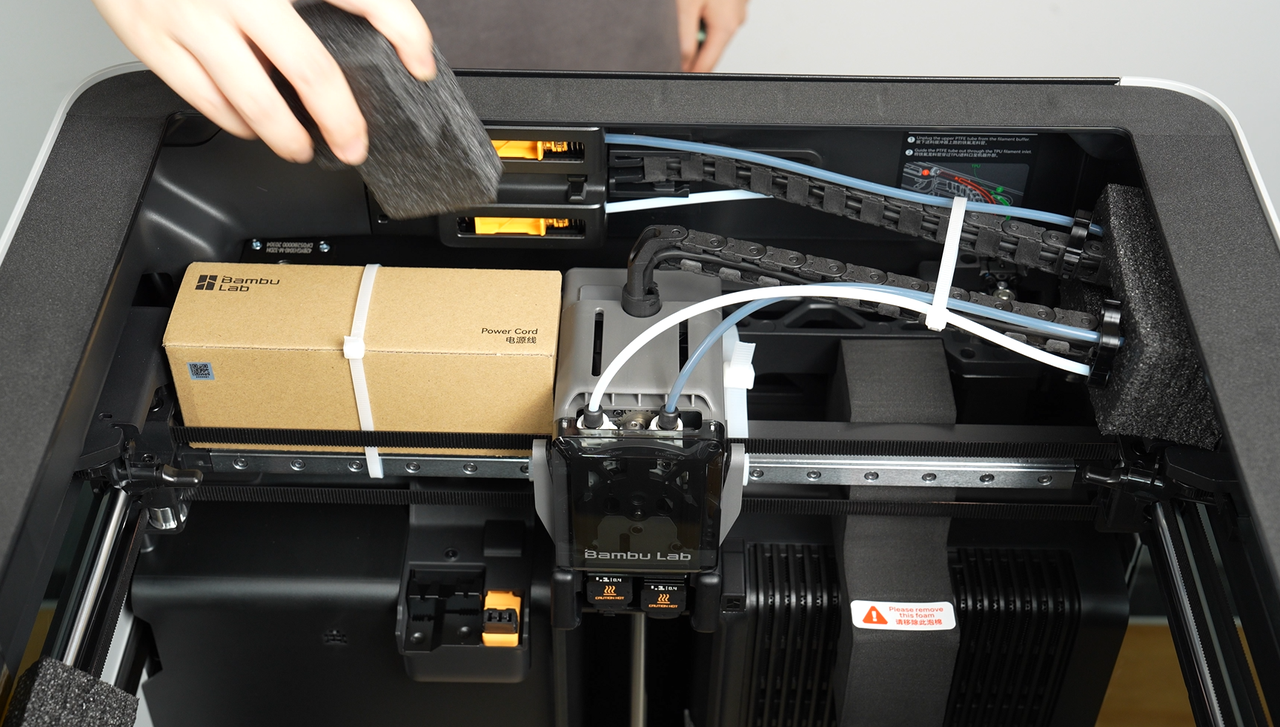
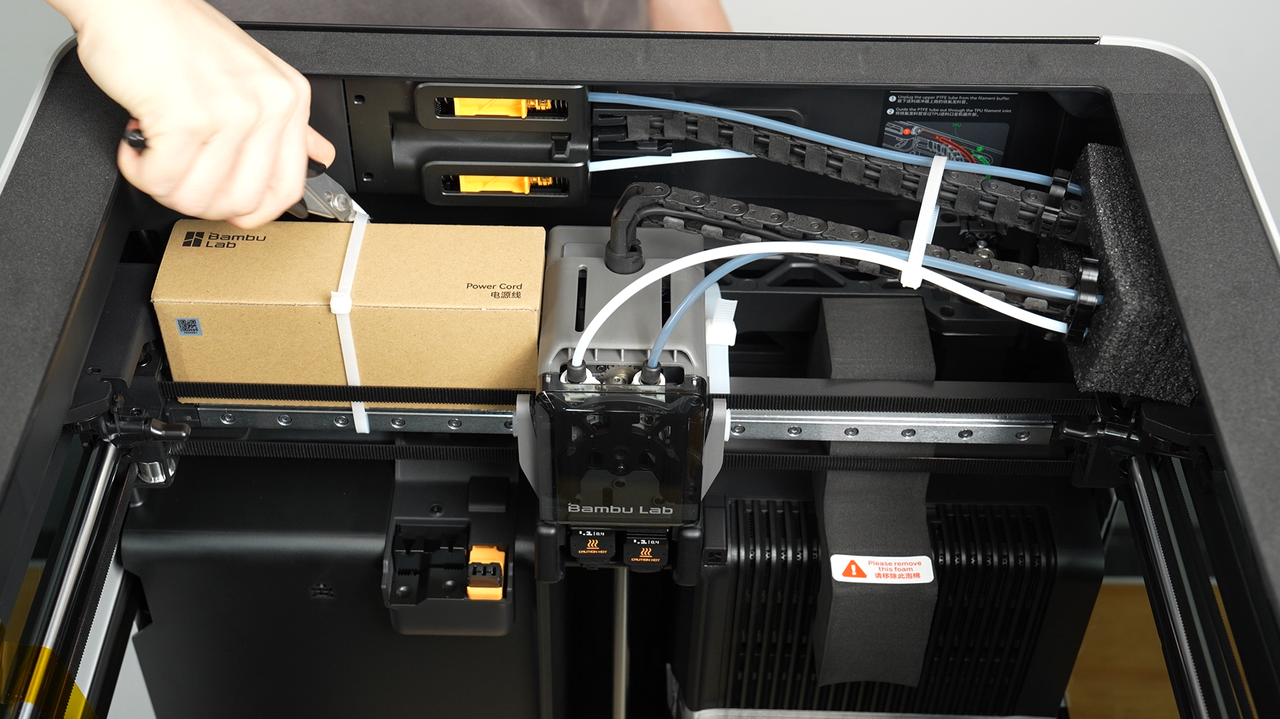
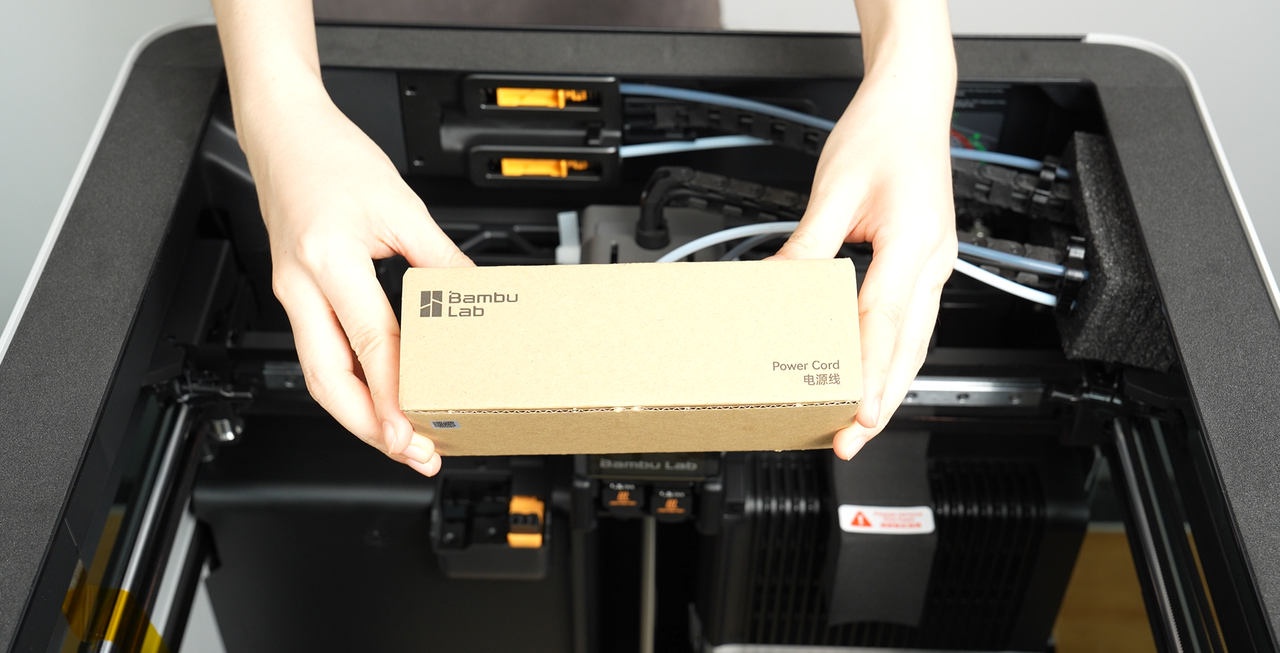
- Cut the zip tie and take out the power cable box.
 |
 |
 |
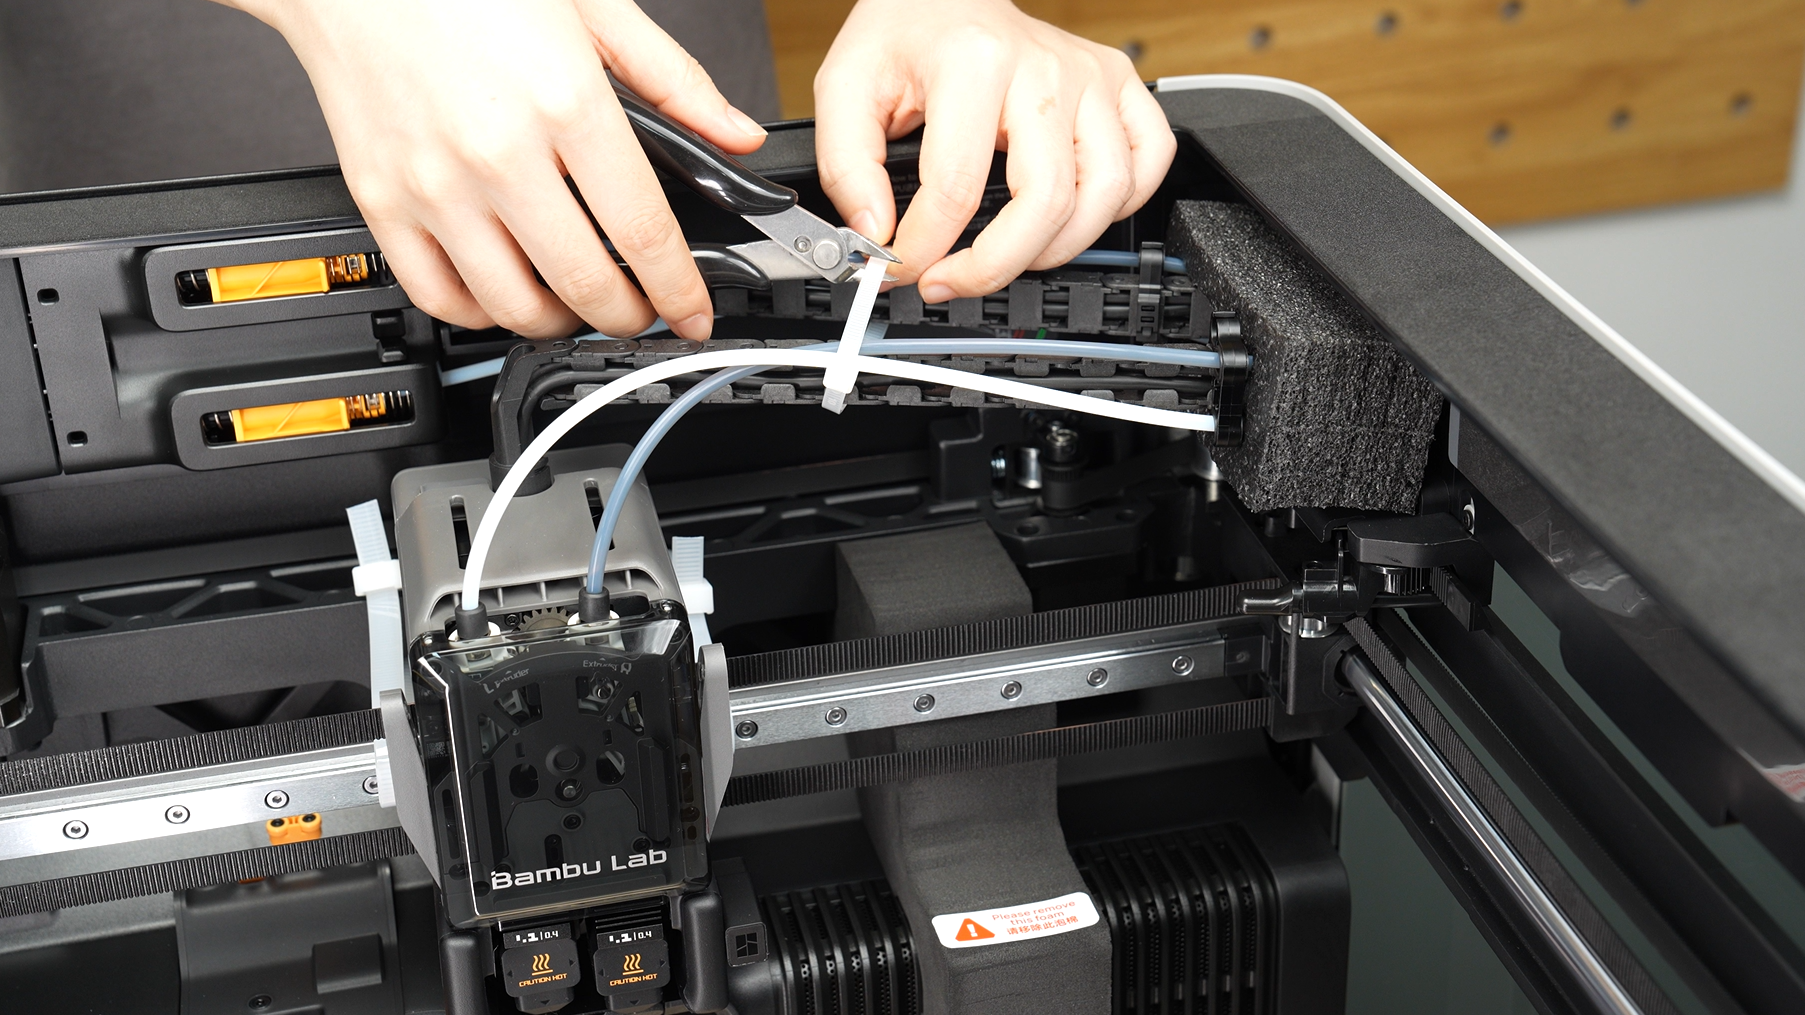
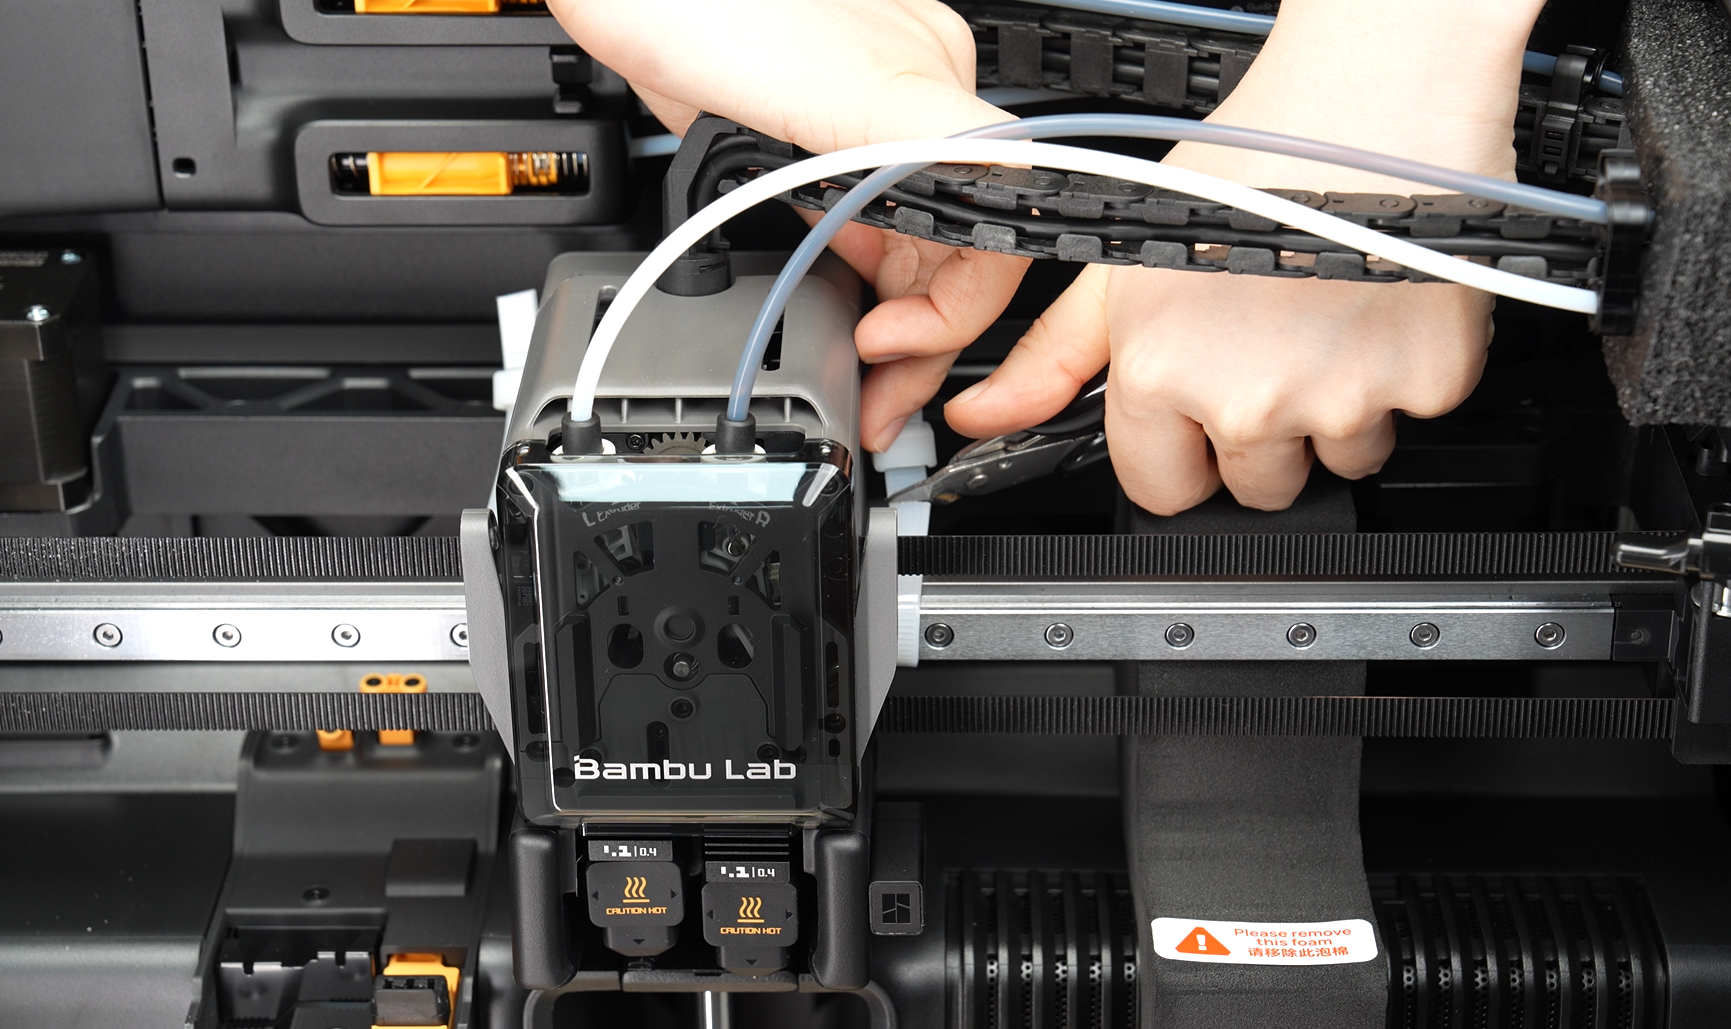
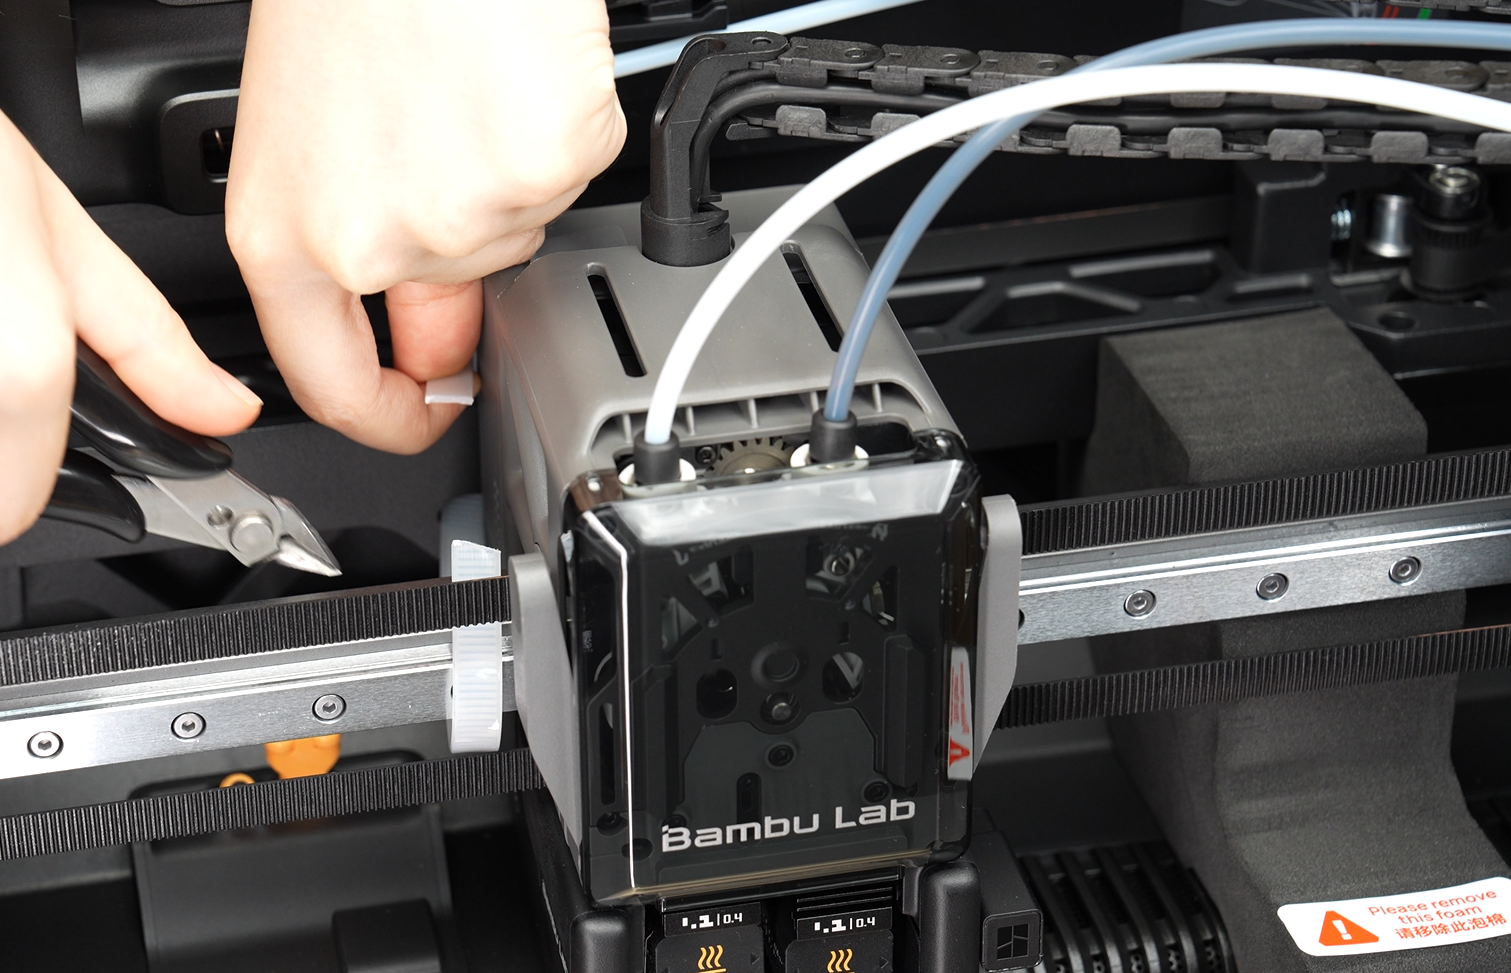
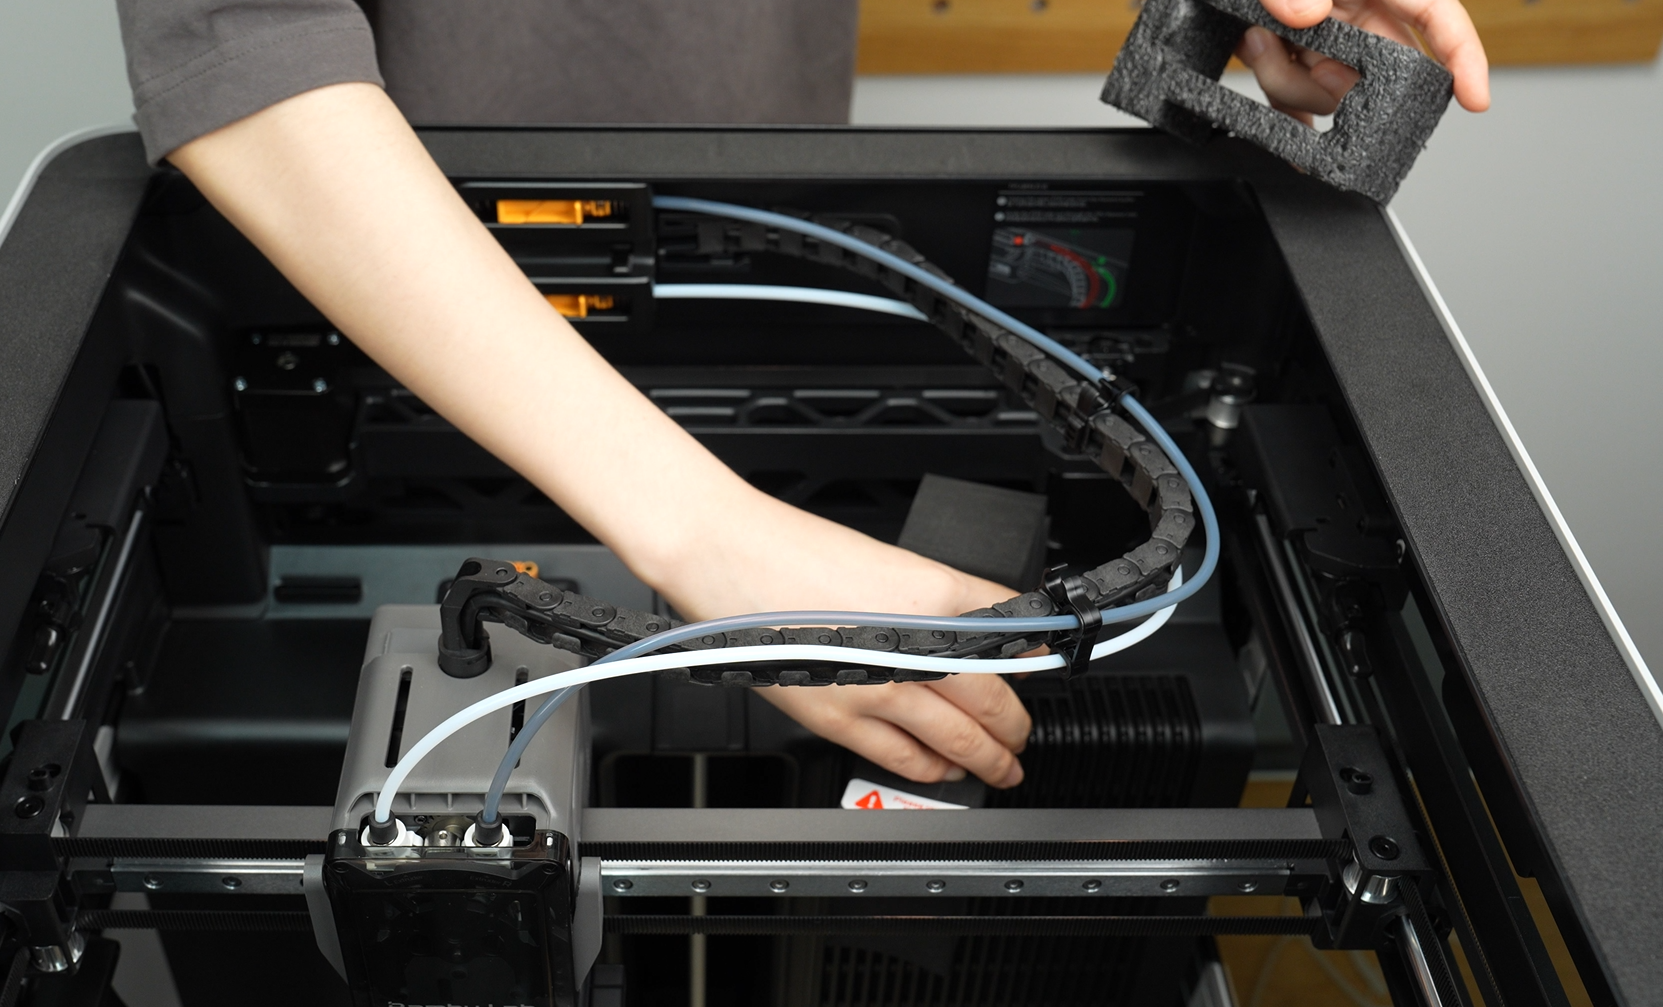
- Cut the zip ties securing the toolhead and cable chain.
Be careful not to cut the belt.
 |
 |
 |
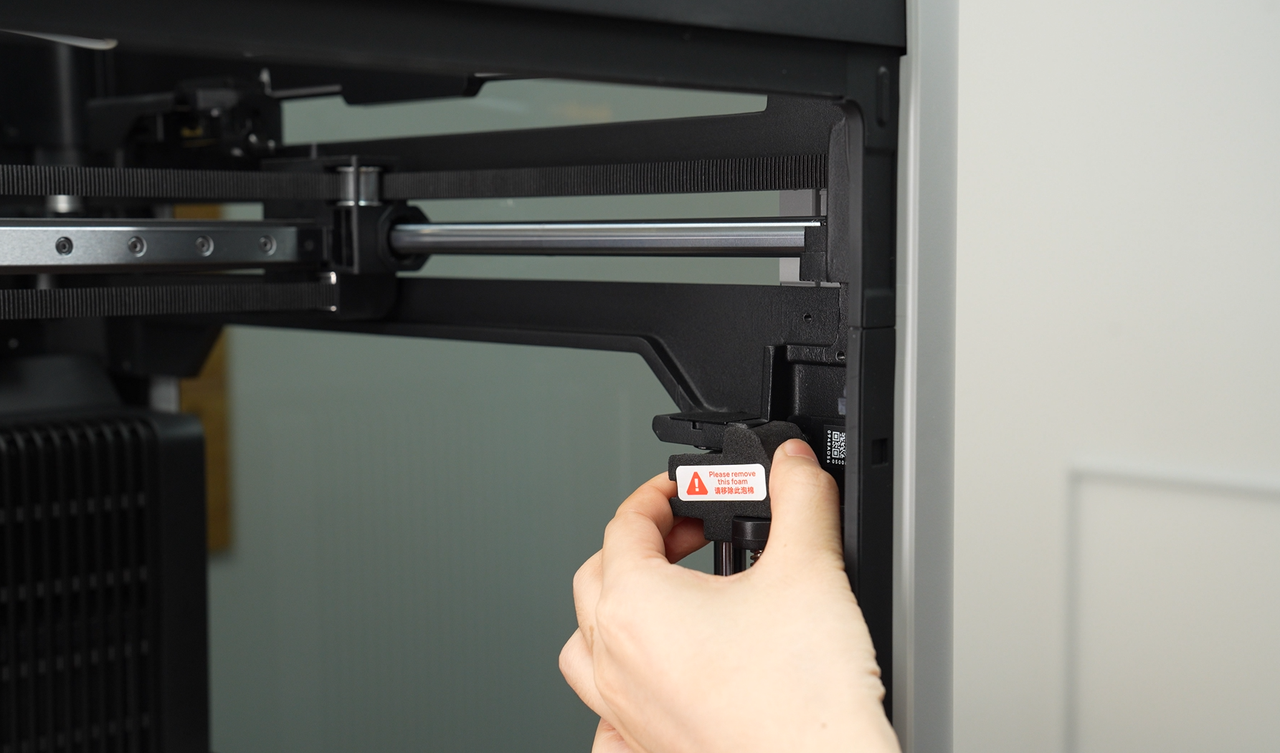
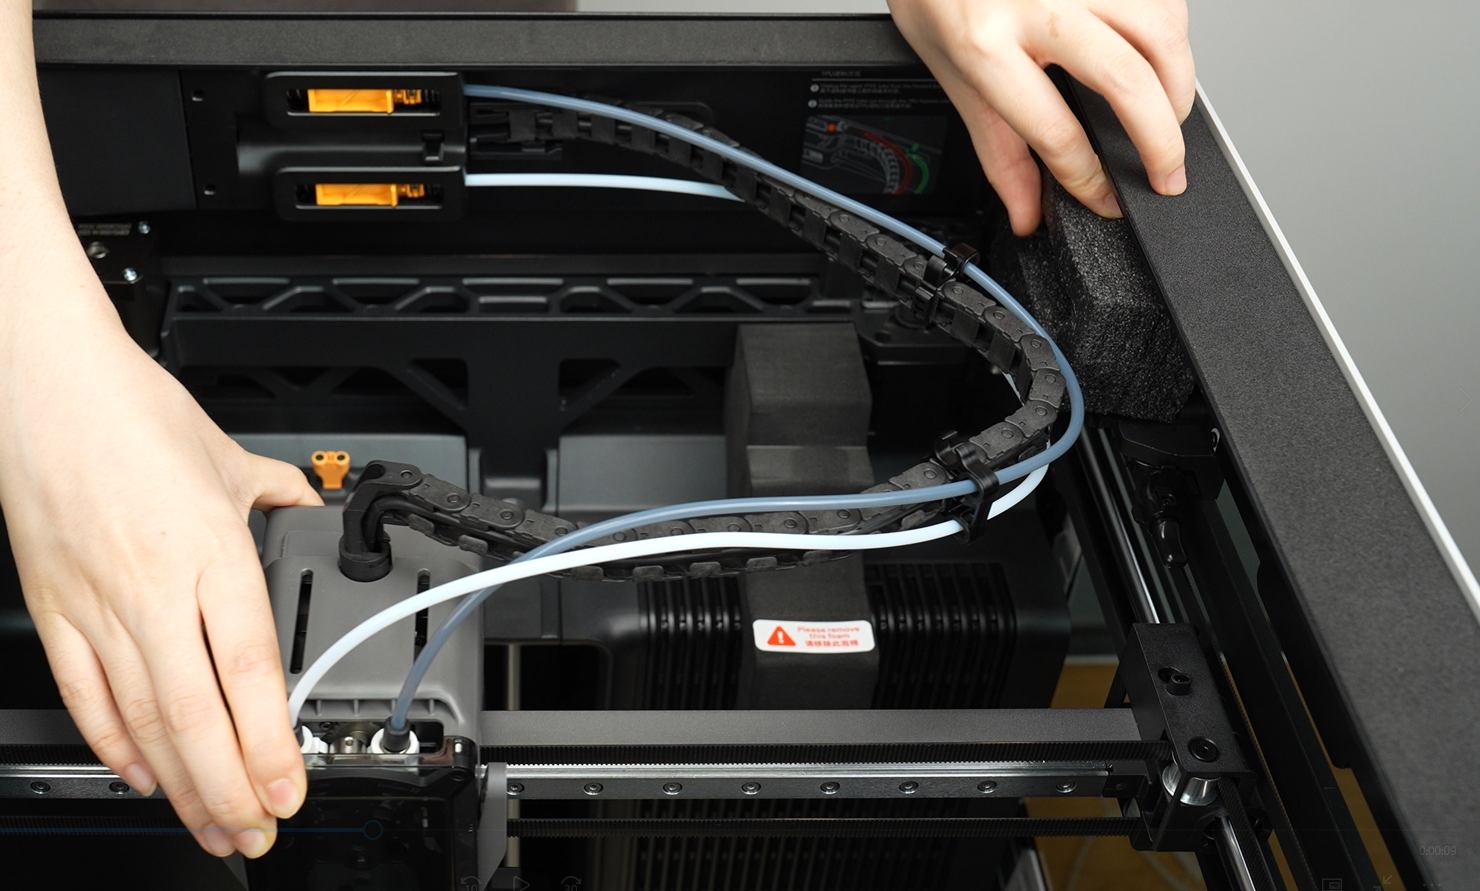
- Move the toolhead toward the front door, and remove the foam securing the cable chain and underneath the X-axis.
 |
 |
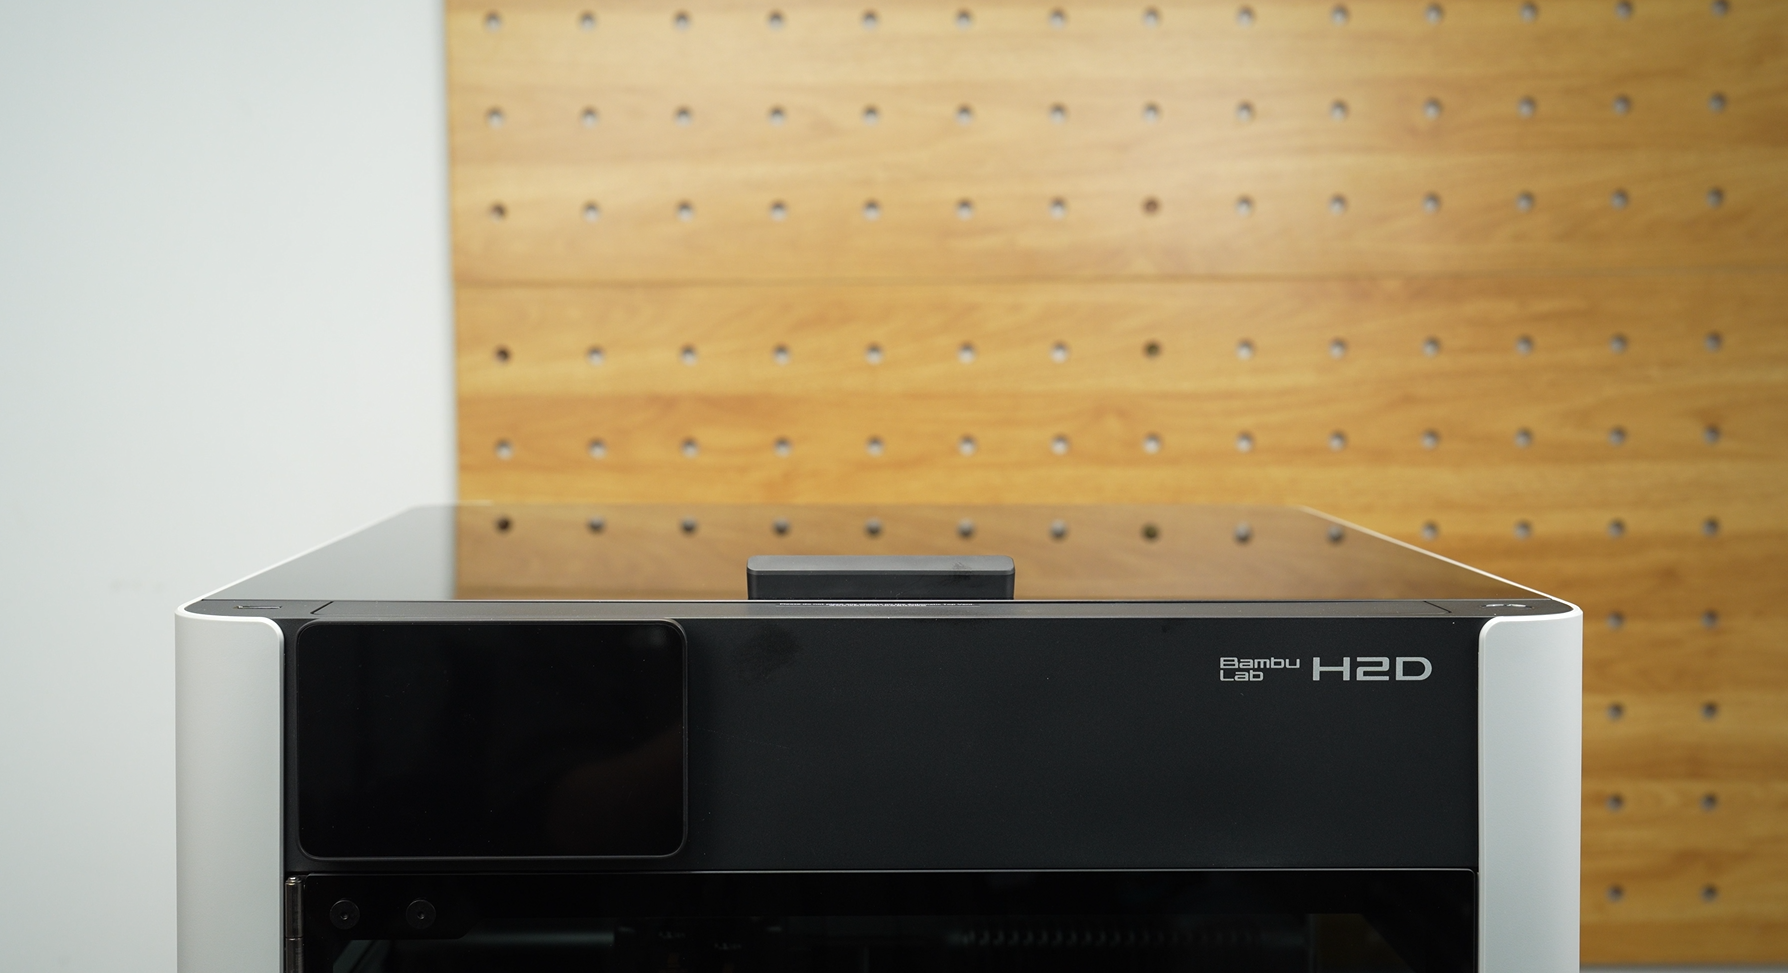
- Place the top cover back onto the printer.
 |
 |
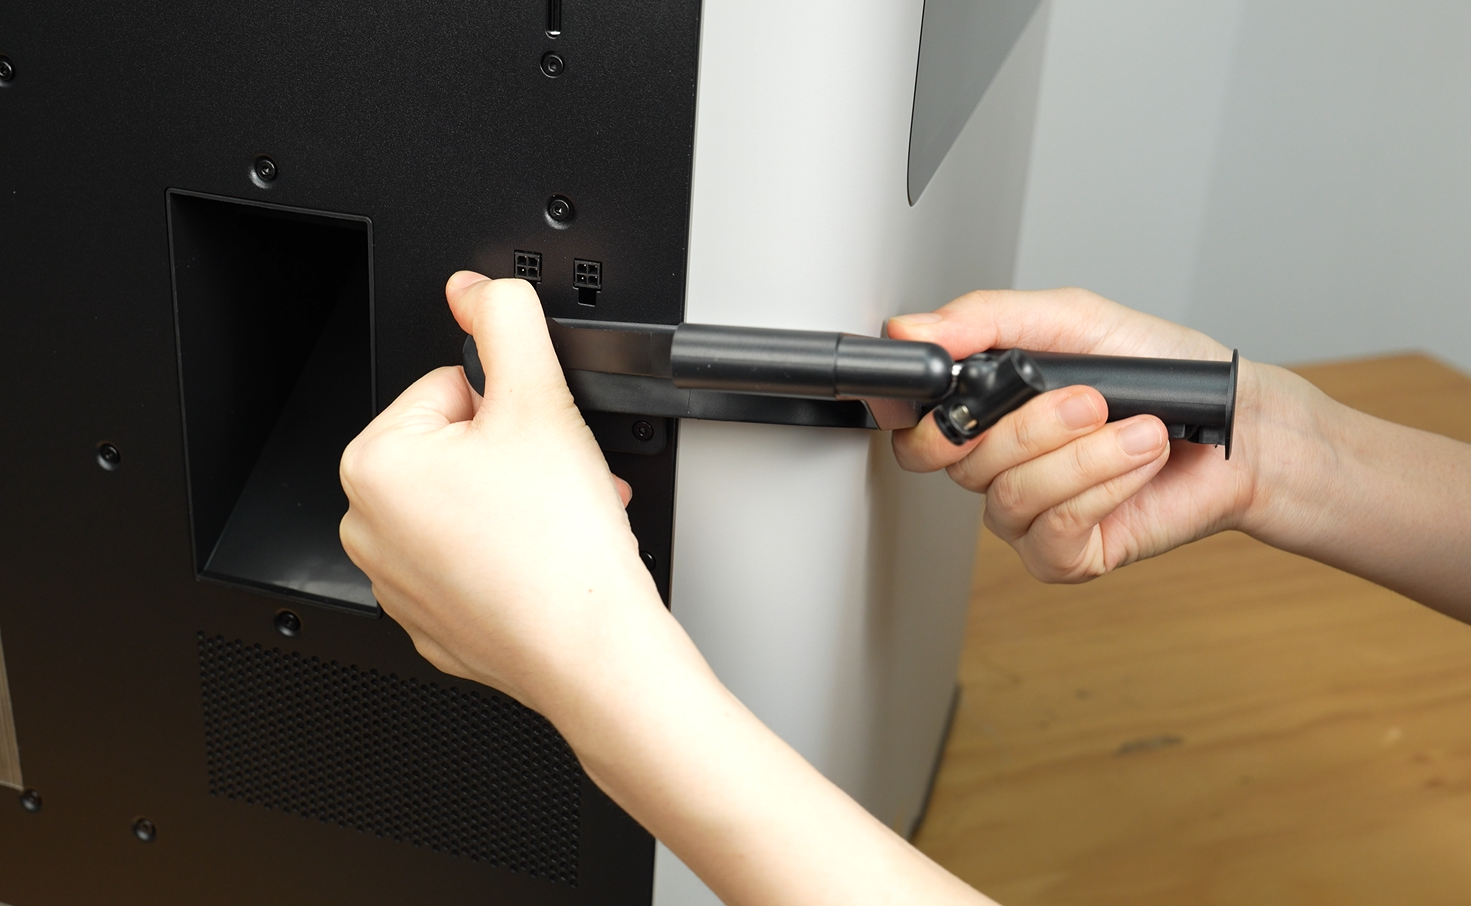
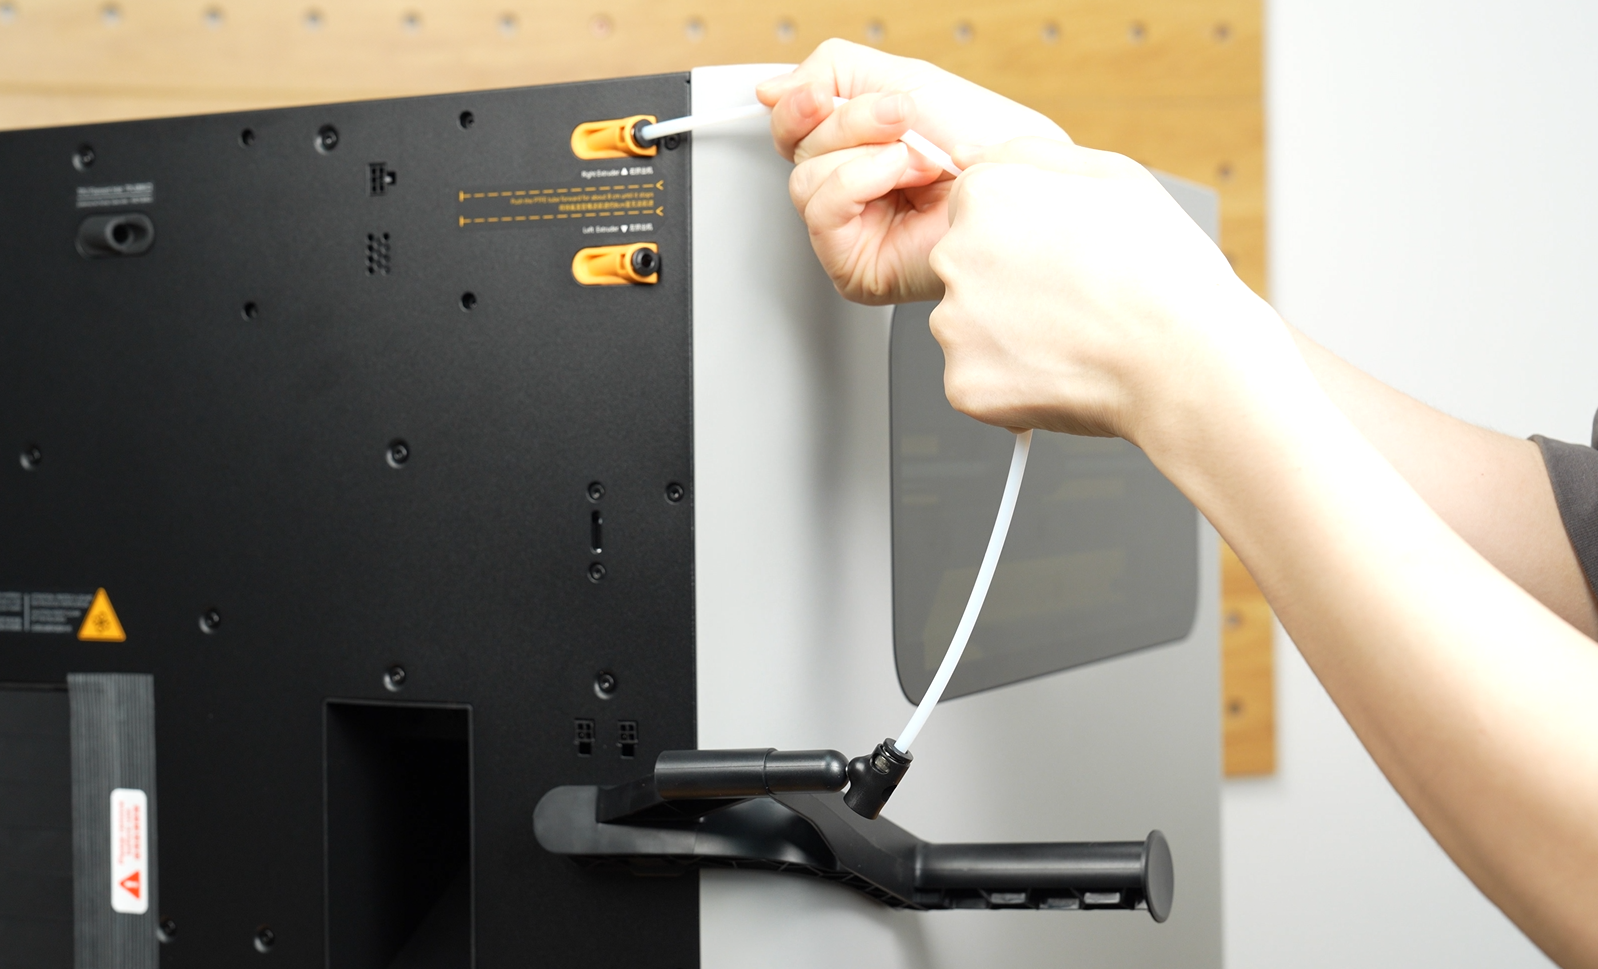
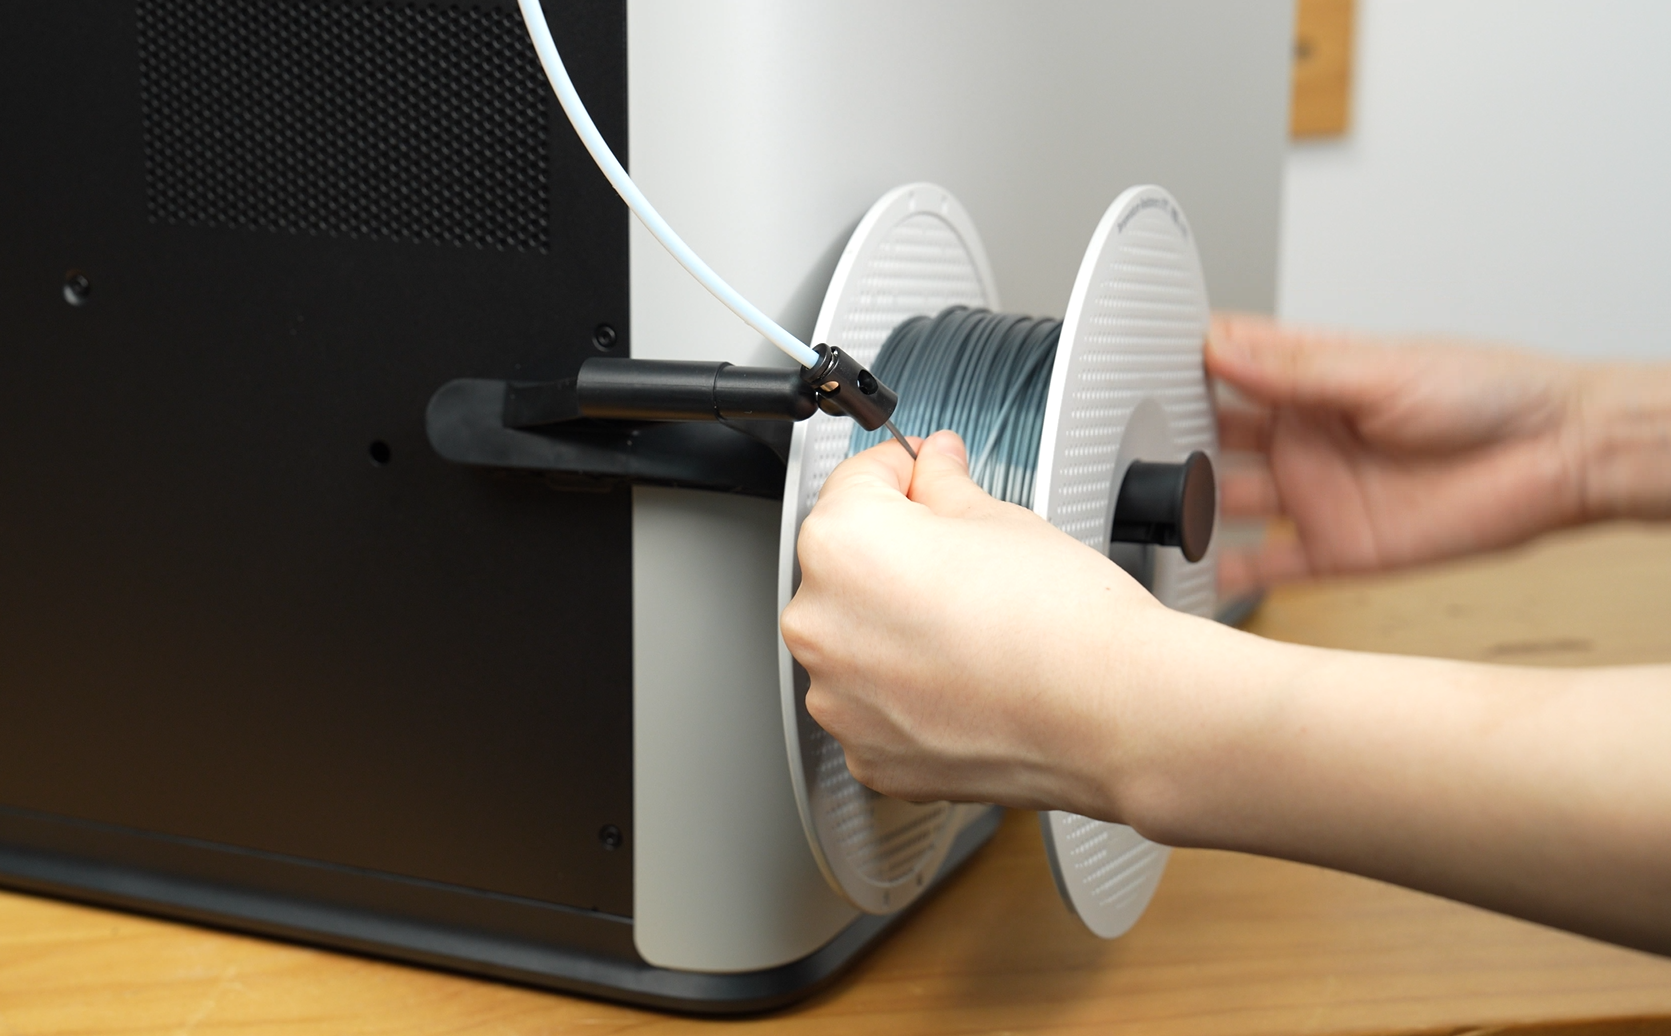
¶ Step 3: Install external spool holders and PTFE tubes
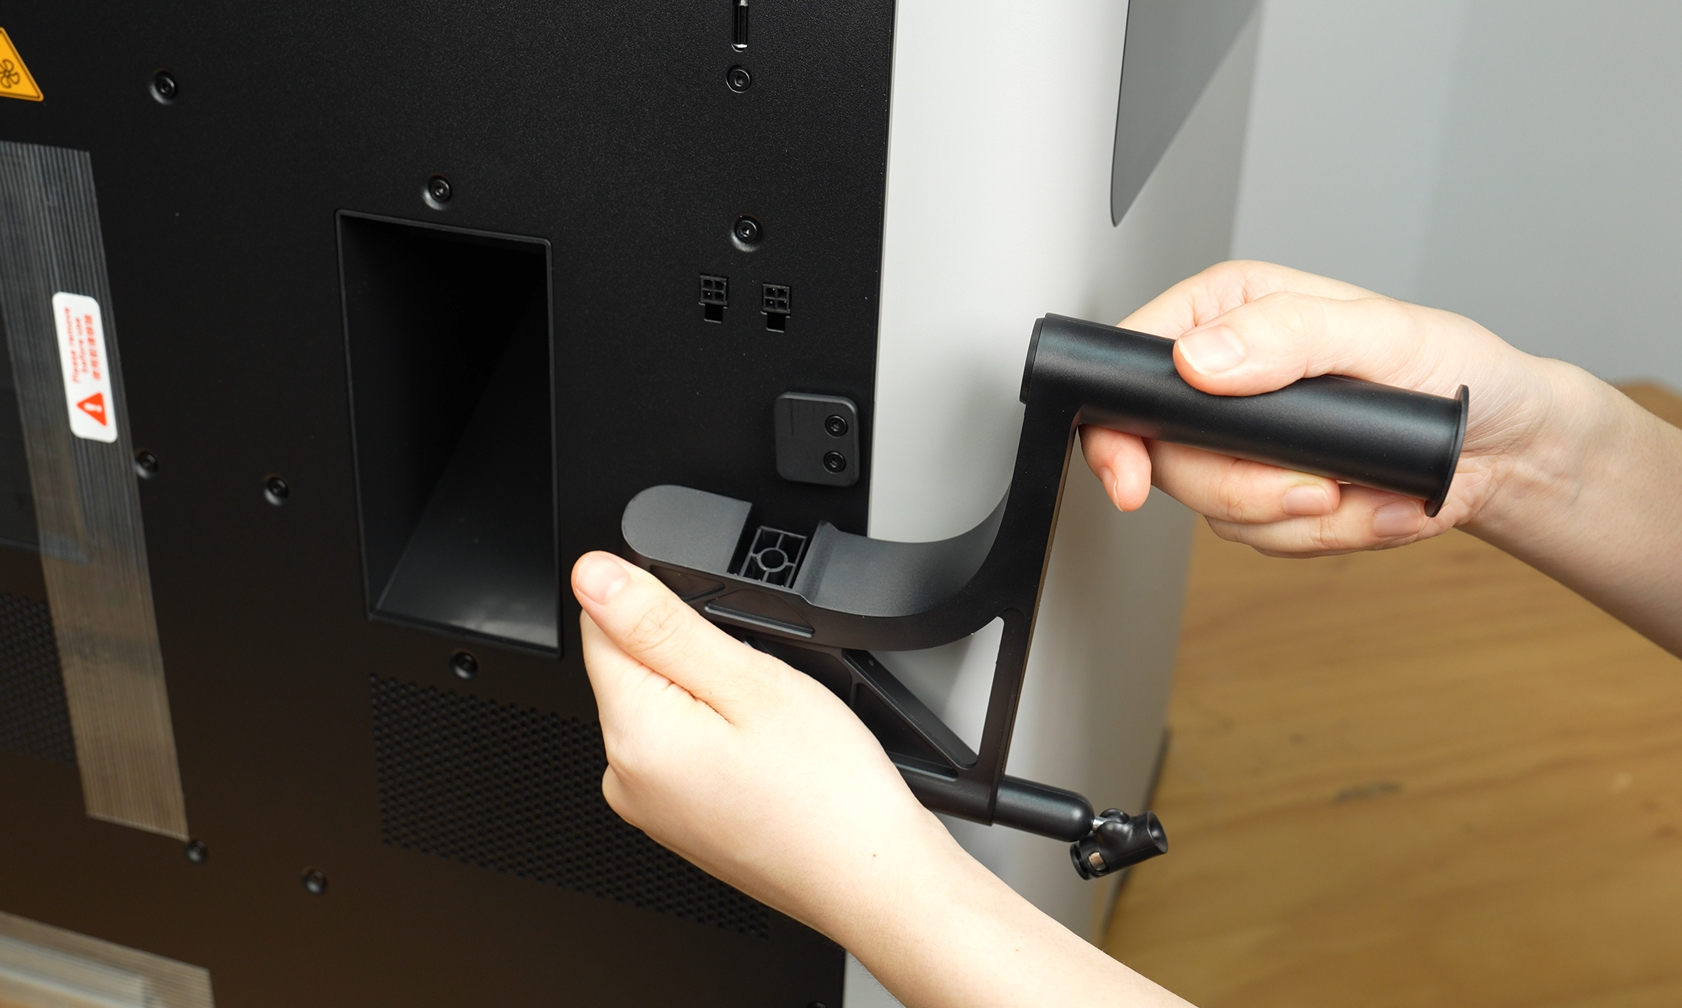
- Take out two spool holders and align them with the upper and lower mounts at the back of the printer. Slide them down to install.
 |
 |
- Take two PTFE tubes from the accessory box.
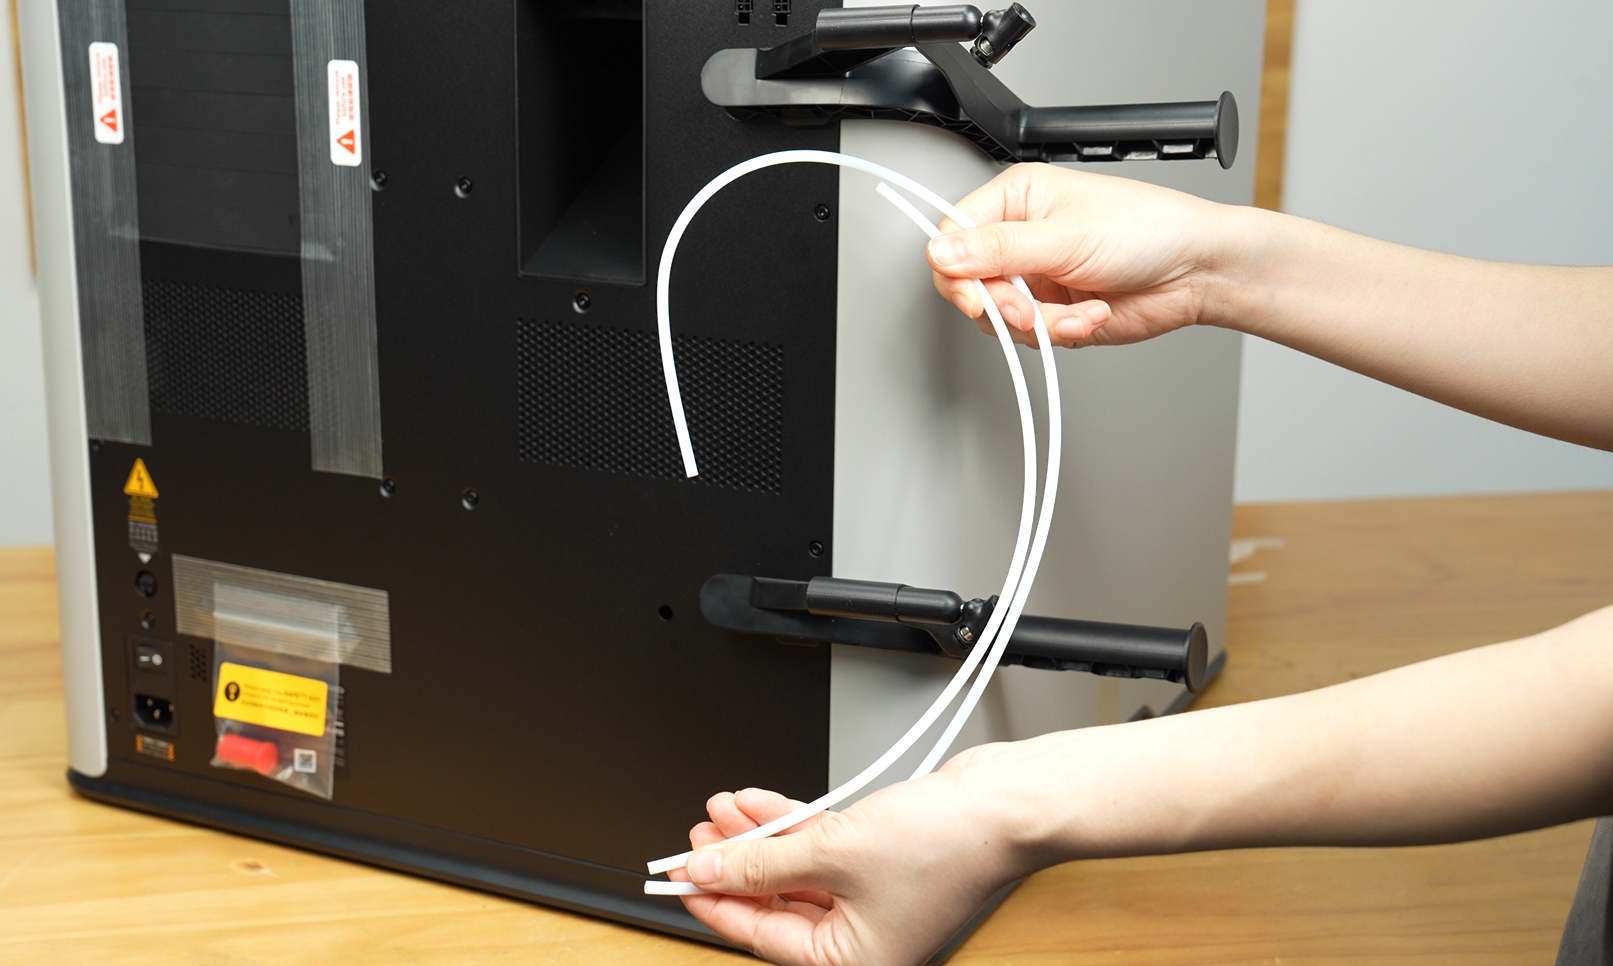
- Insert one end of the short tube into the upper spool holder and the other end into the upper filament inlet on the printer. Connect the long tube between the lower spool holder and the lower filament inlet. After connecting, gently pull to check if the tubes are properly secured.
 |
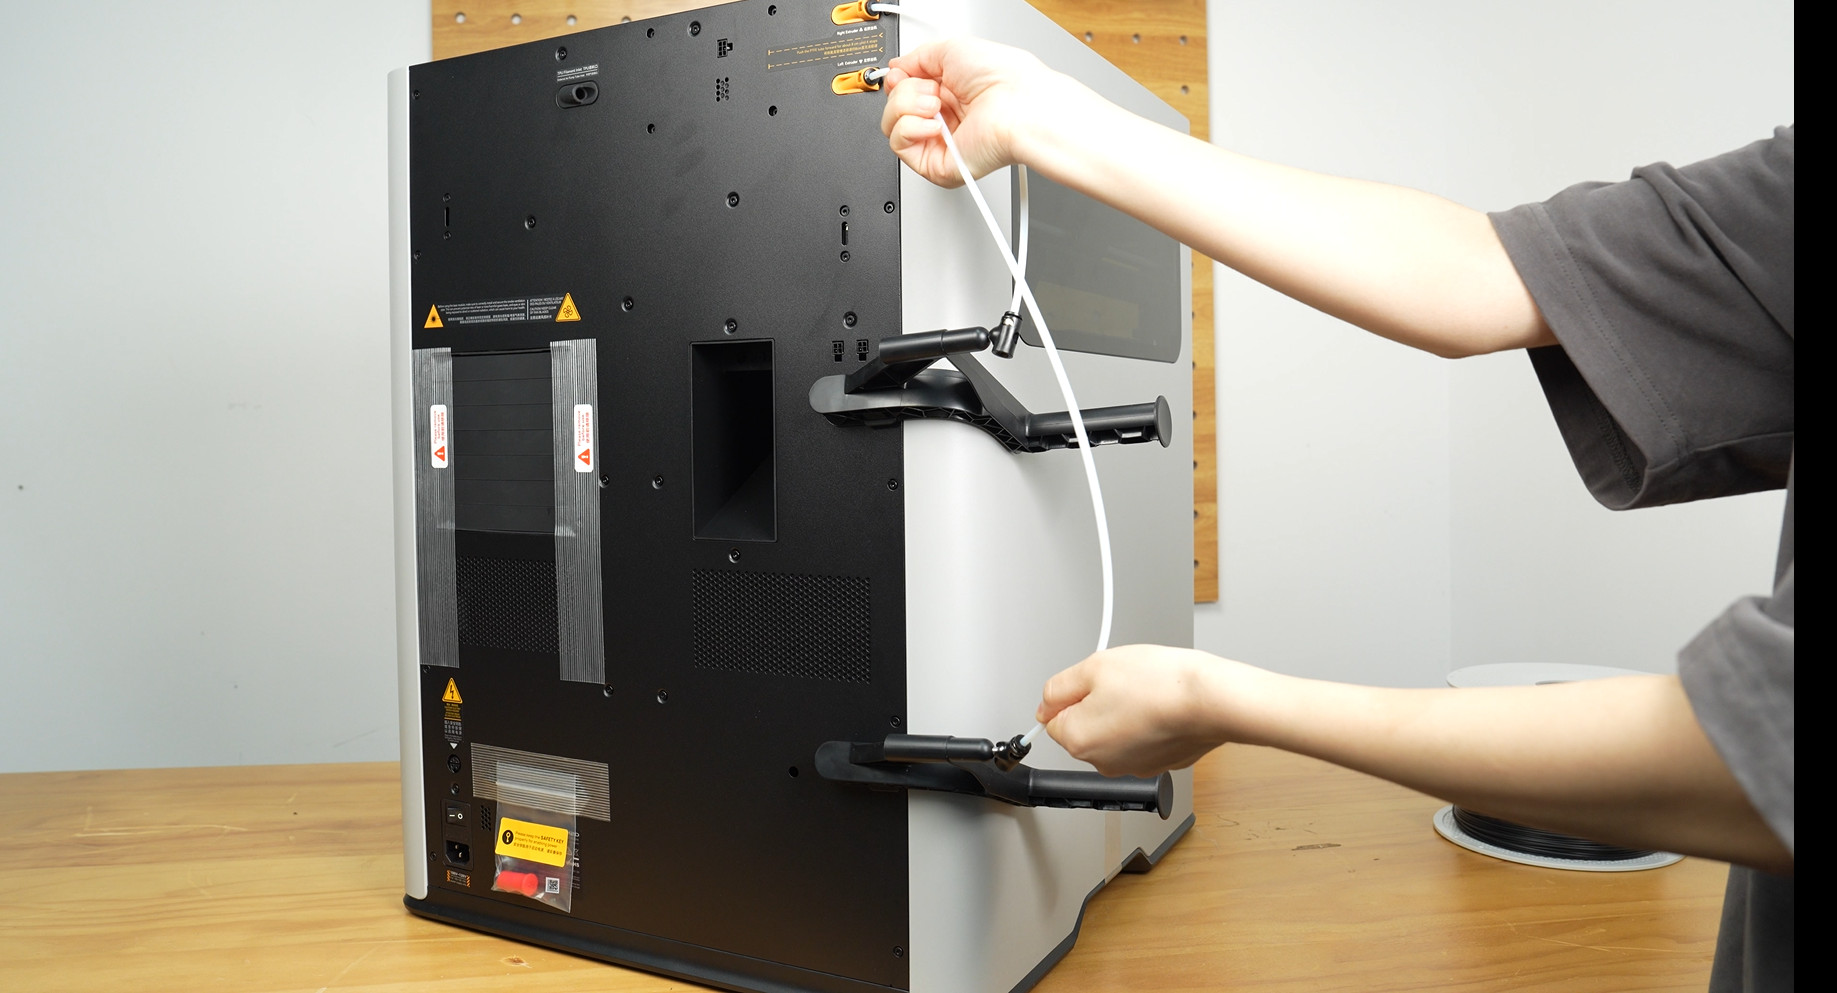 |
- Place the filament on the spool holder, insert it into the tube, and push it forward until it stops.
¶ Step 4: Power on and calibrate
- Remove the safety key on the back of the printer, align with the port, and insert the safety key.
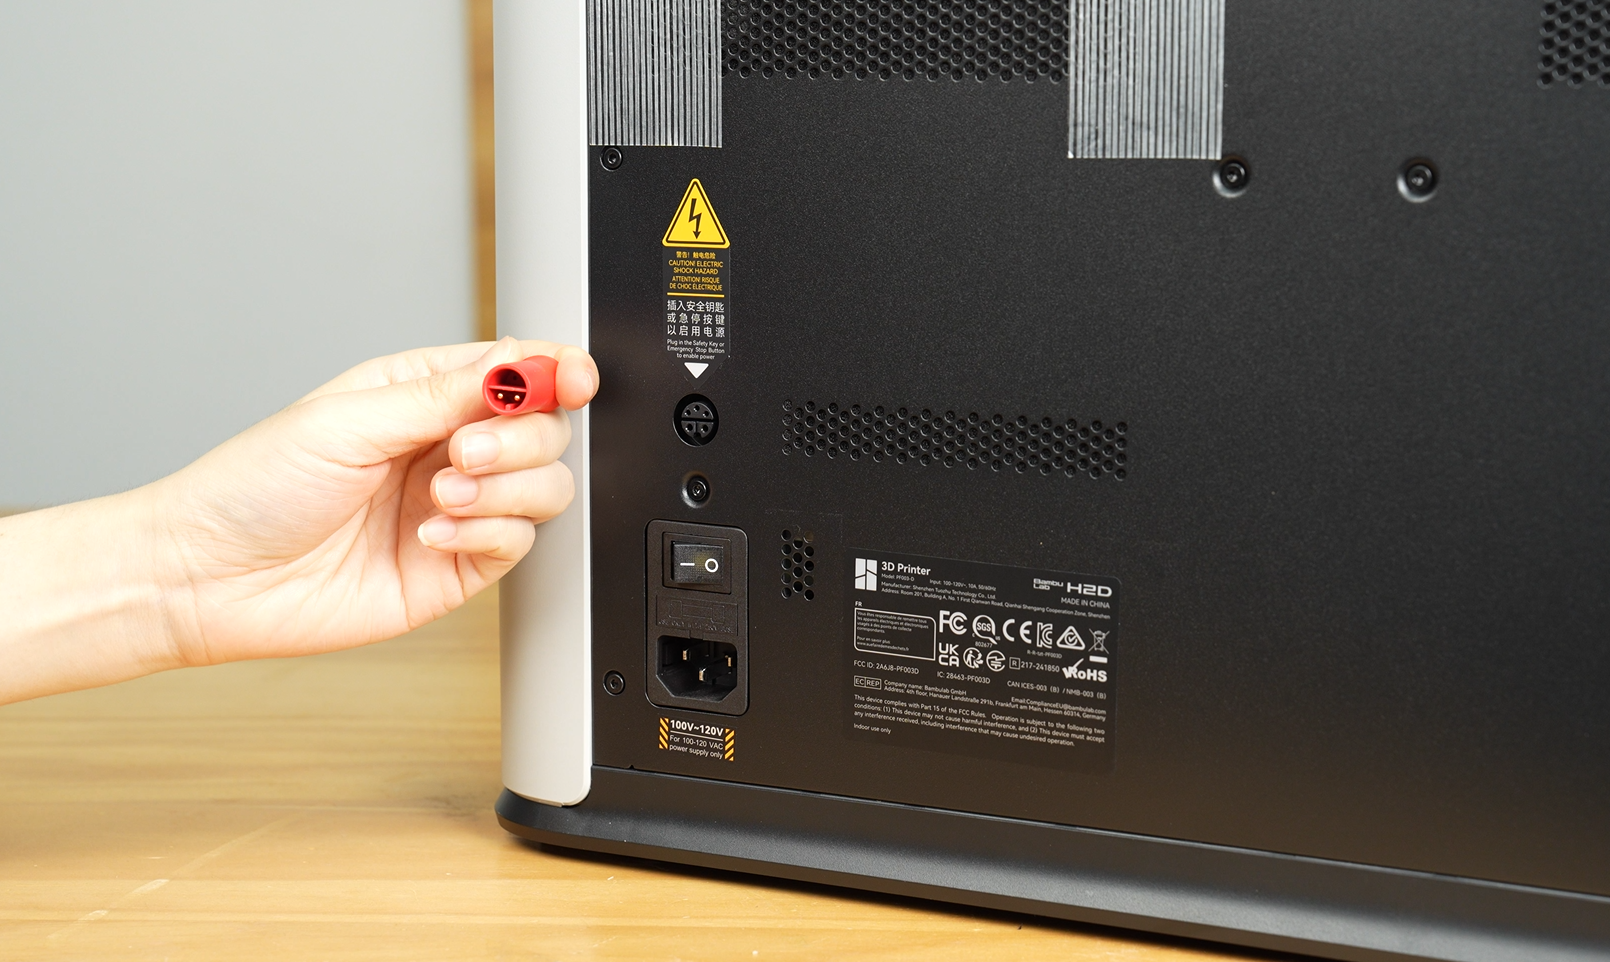 |
 |
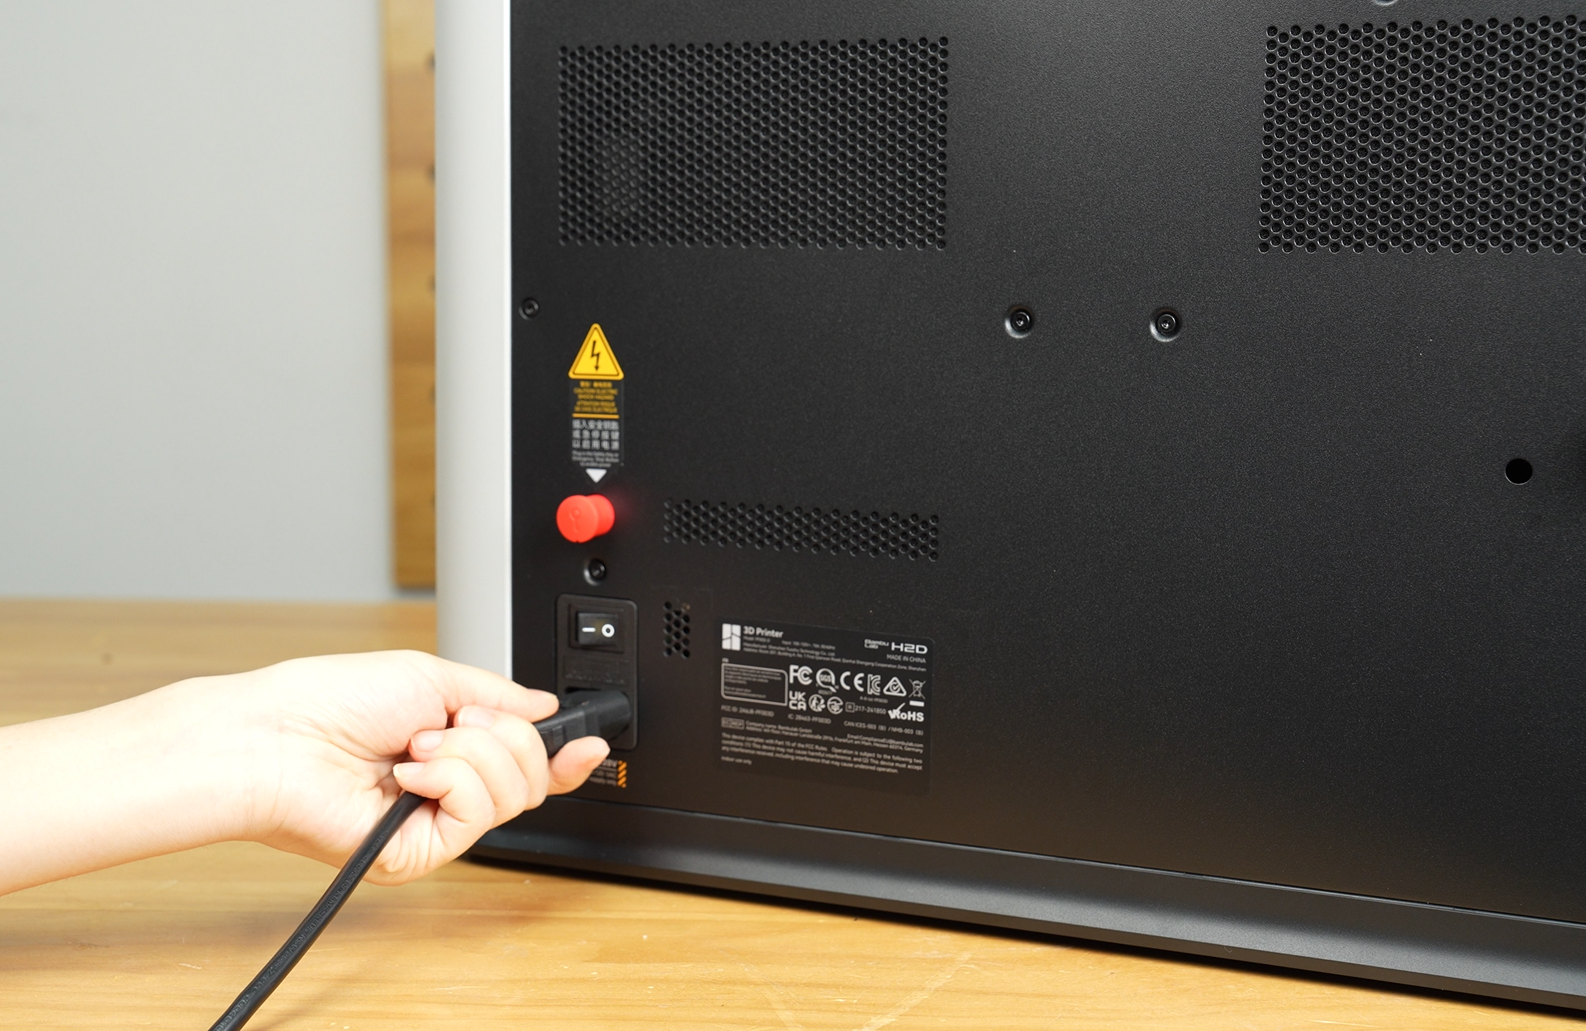
- Remove the tape on the back of the printer.
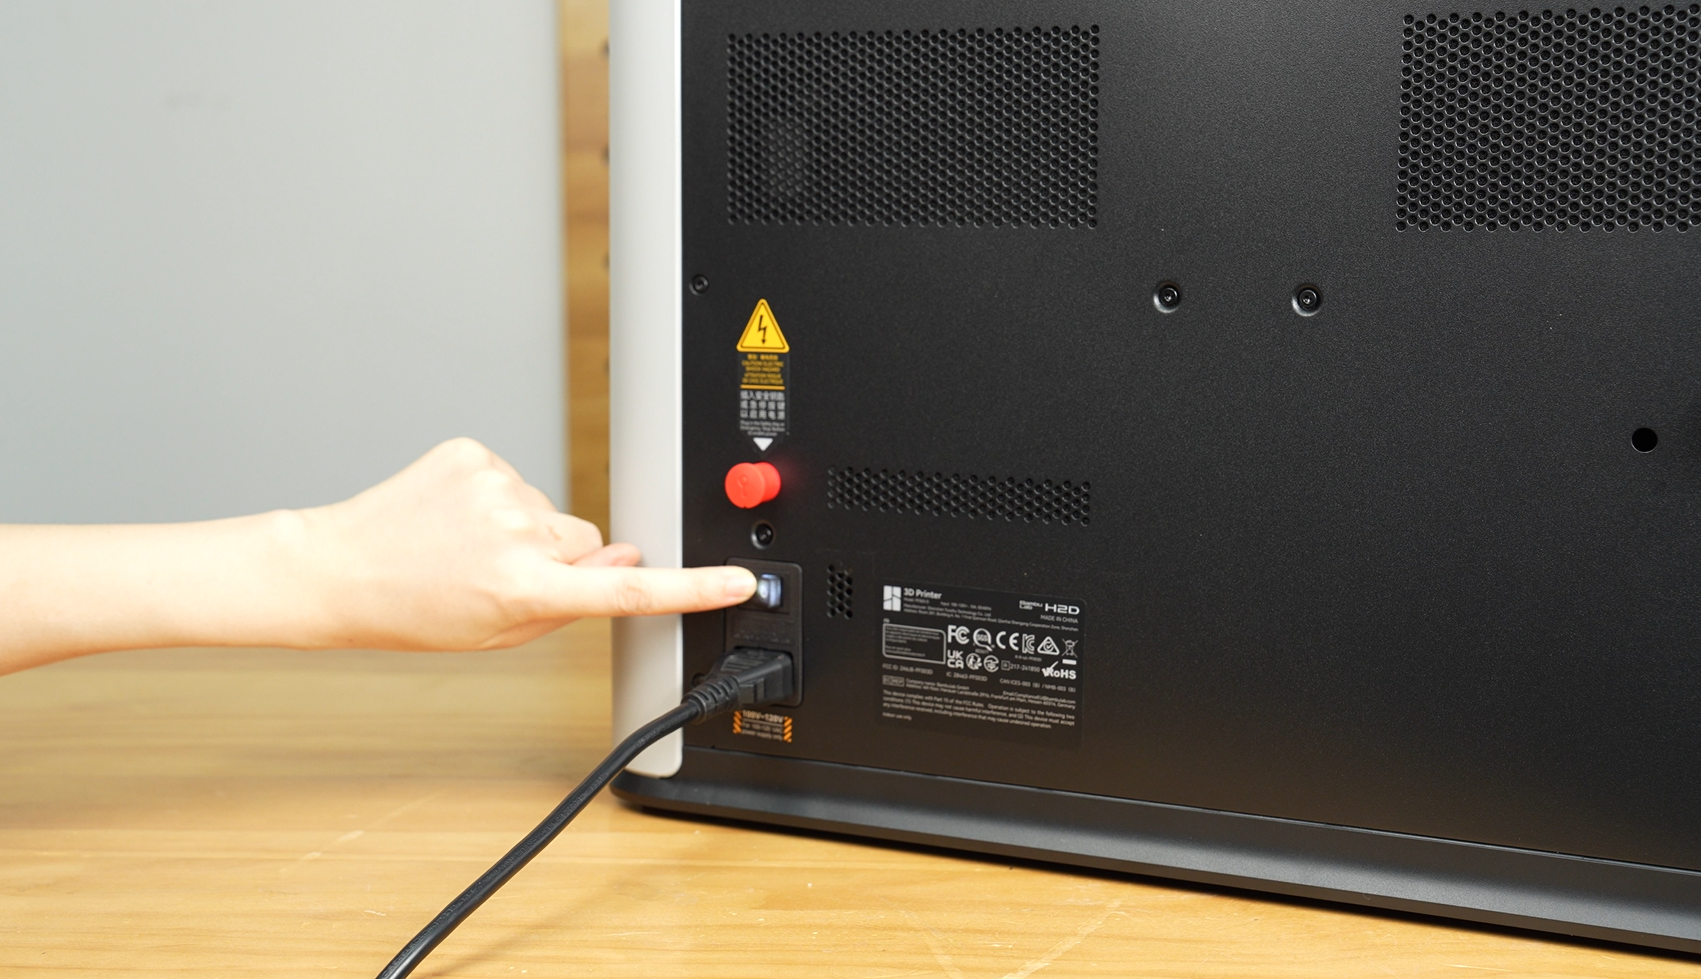
- Plug in the power cable and turn on the printer.
 |
 |
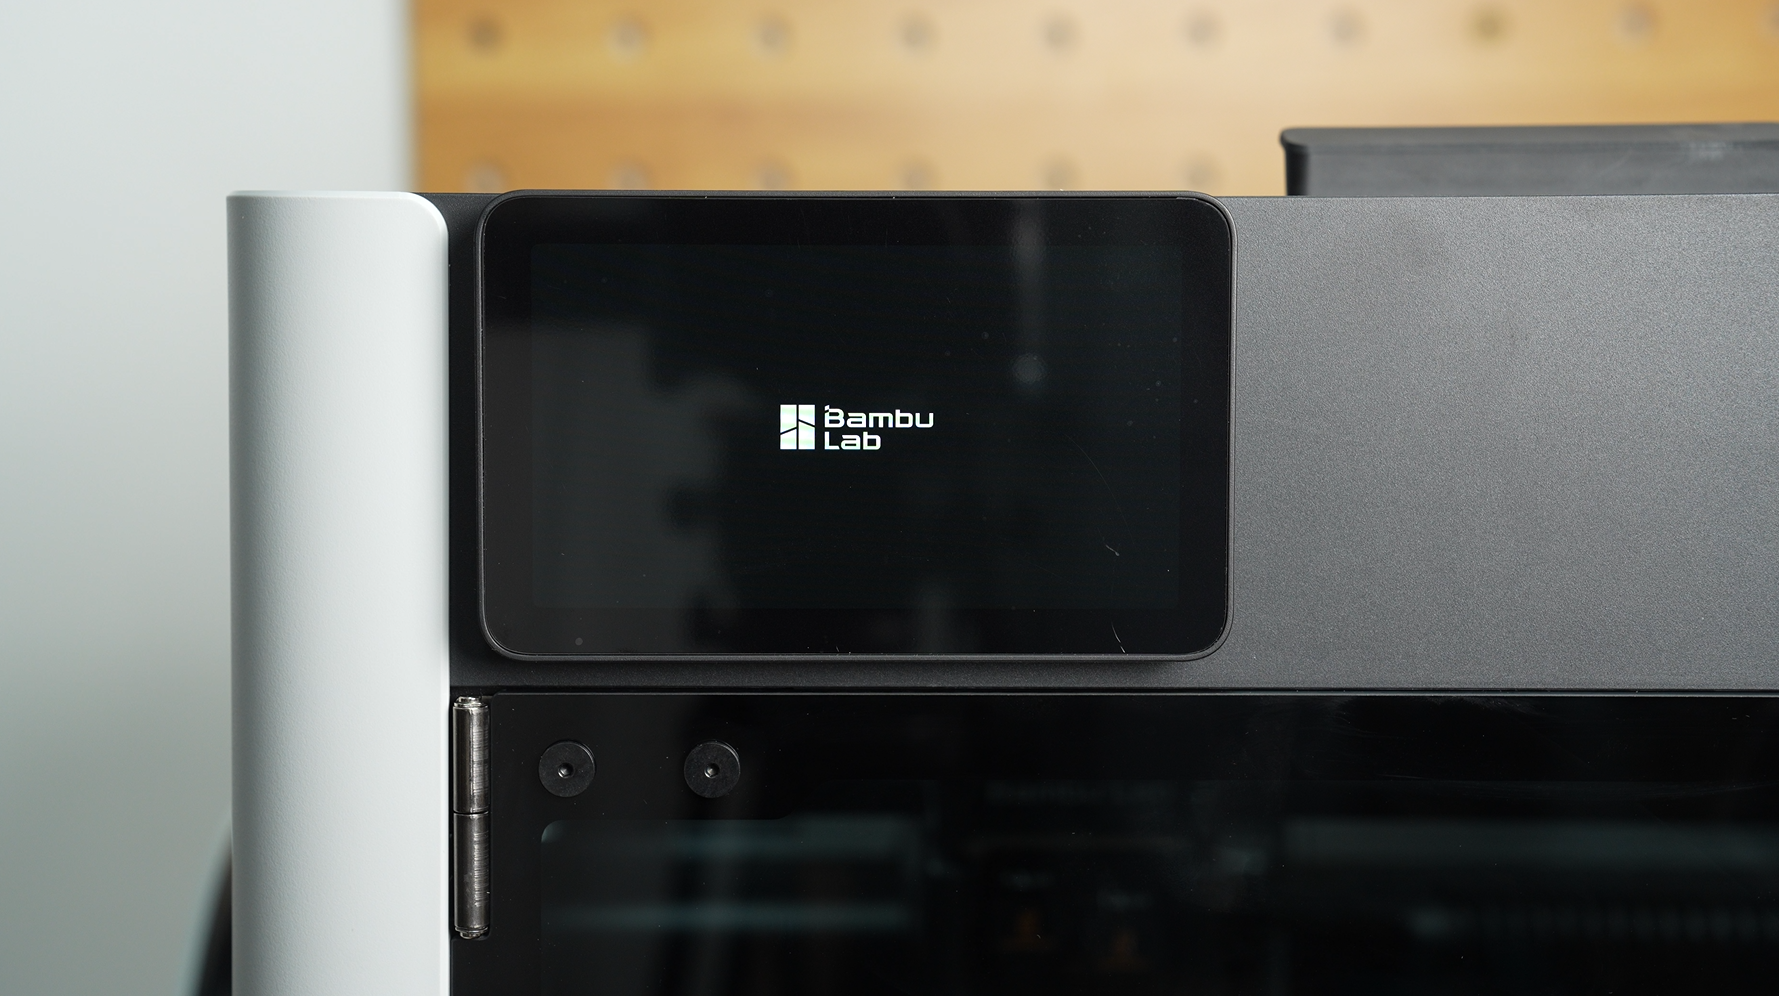
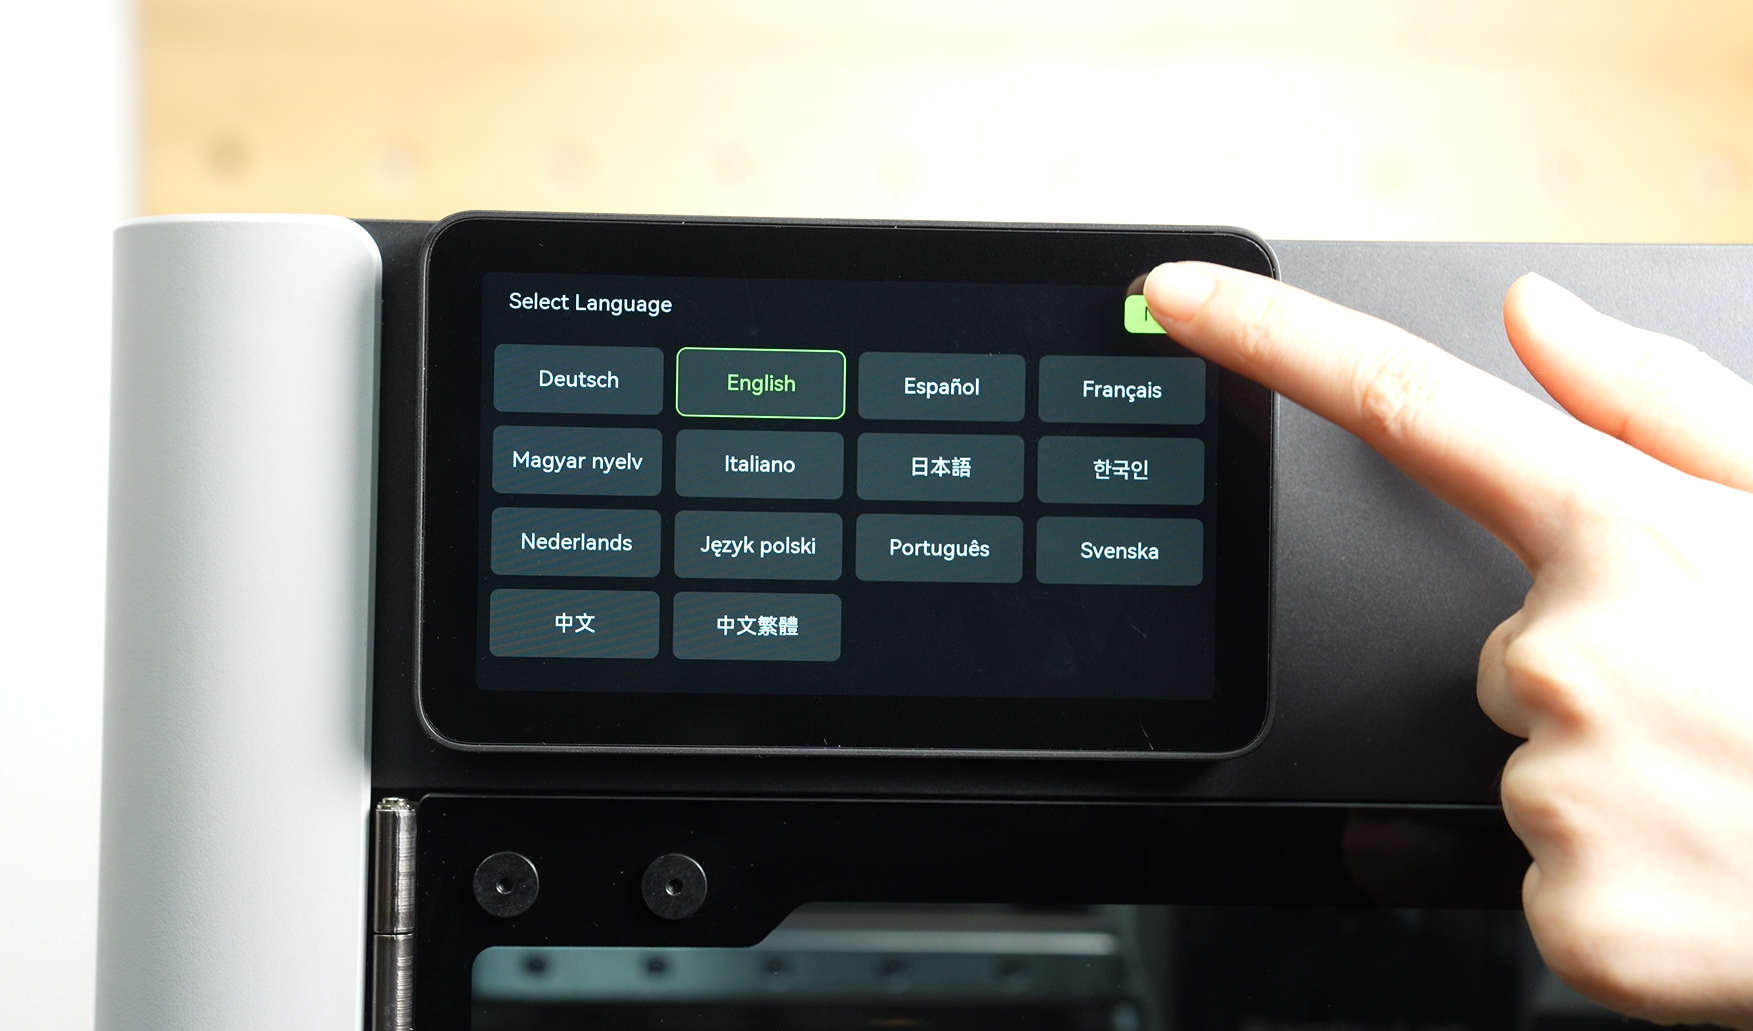
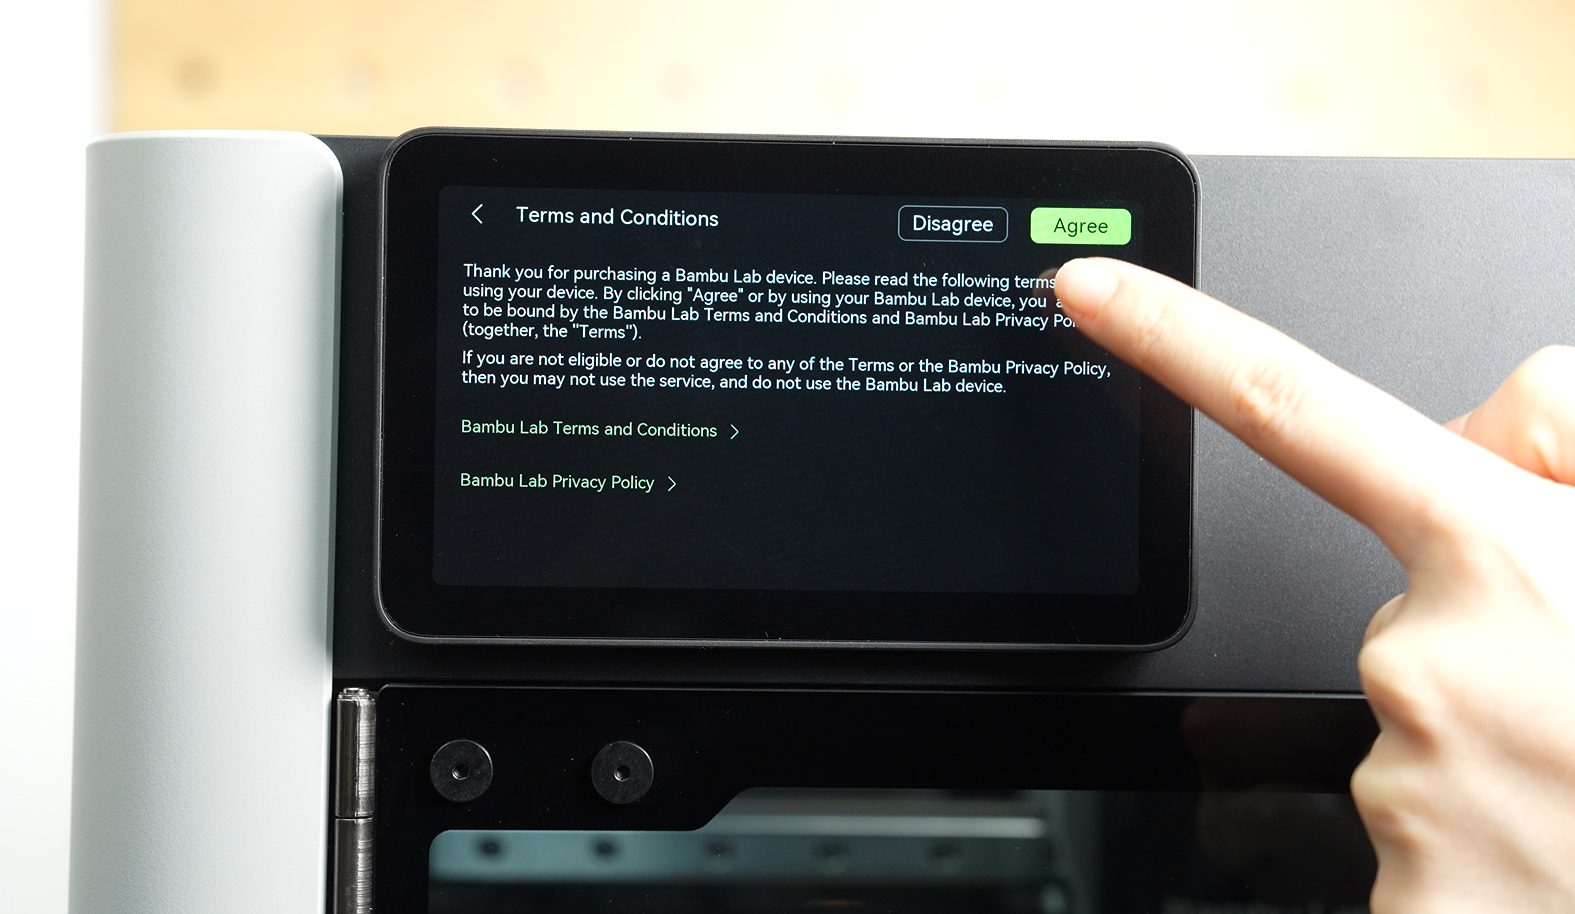
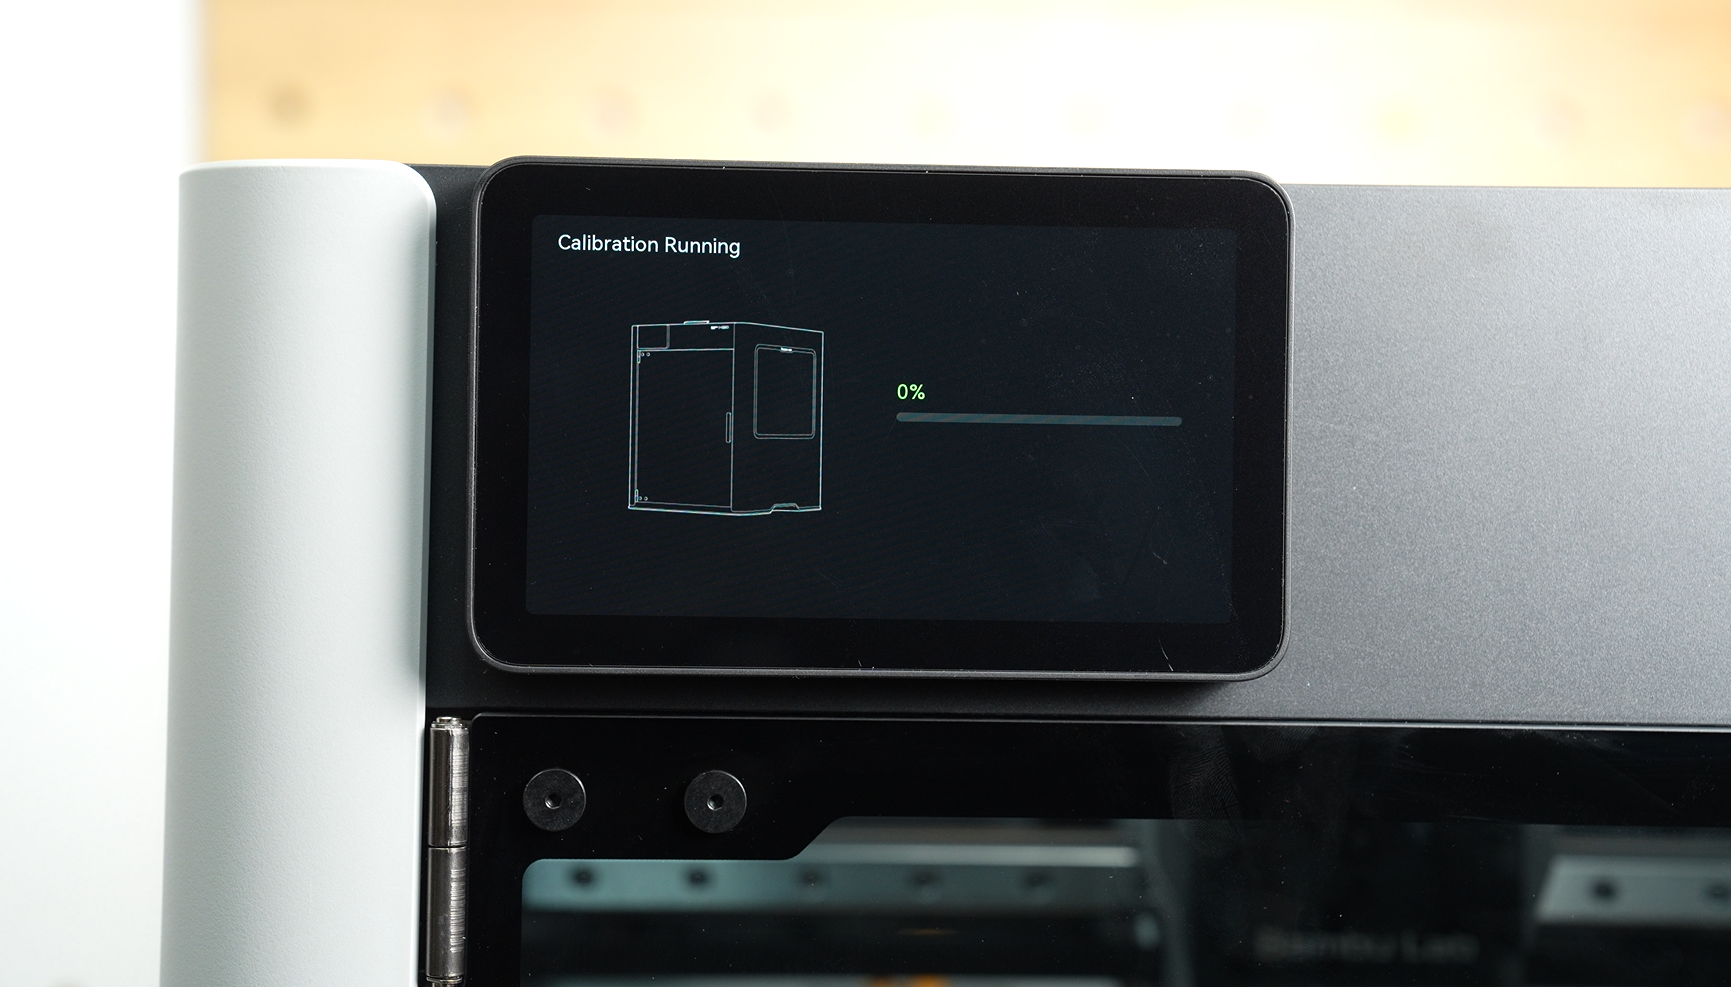
- Follow the on-screen instructions to complete initial setup, including language, region, and first-time calibration.
 |
 |
 |
 |
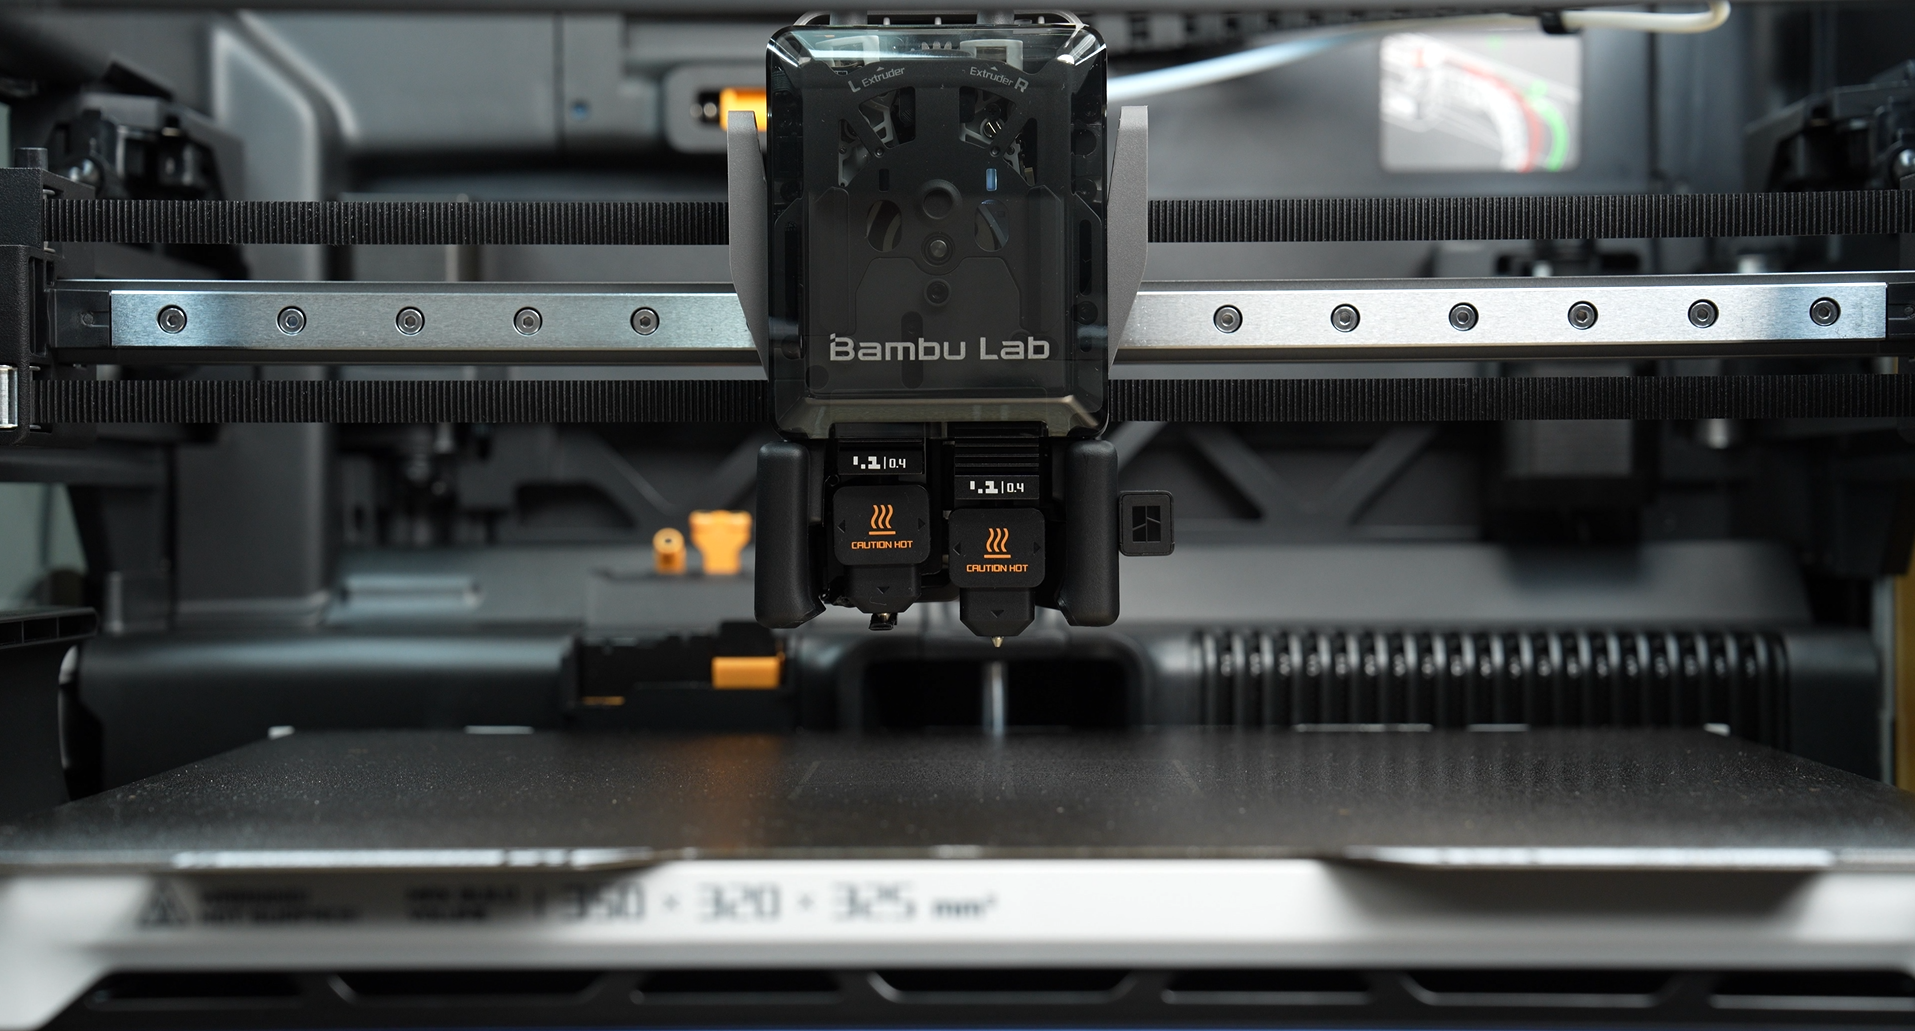
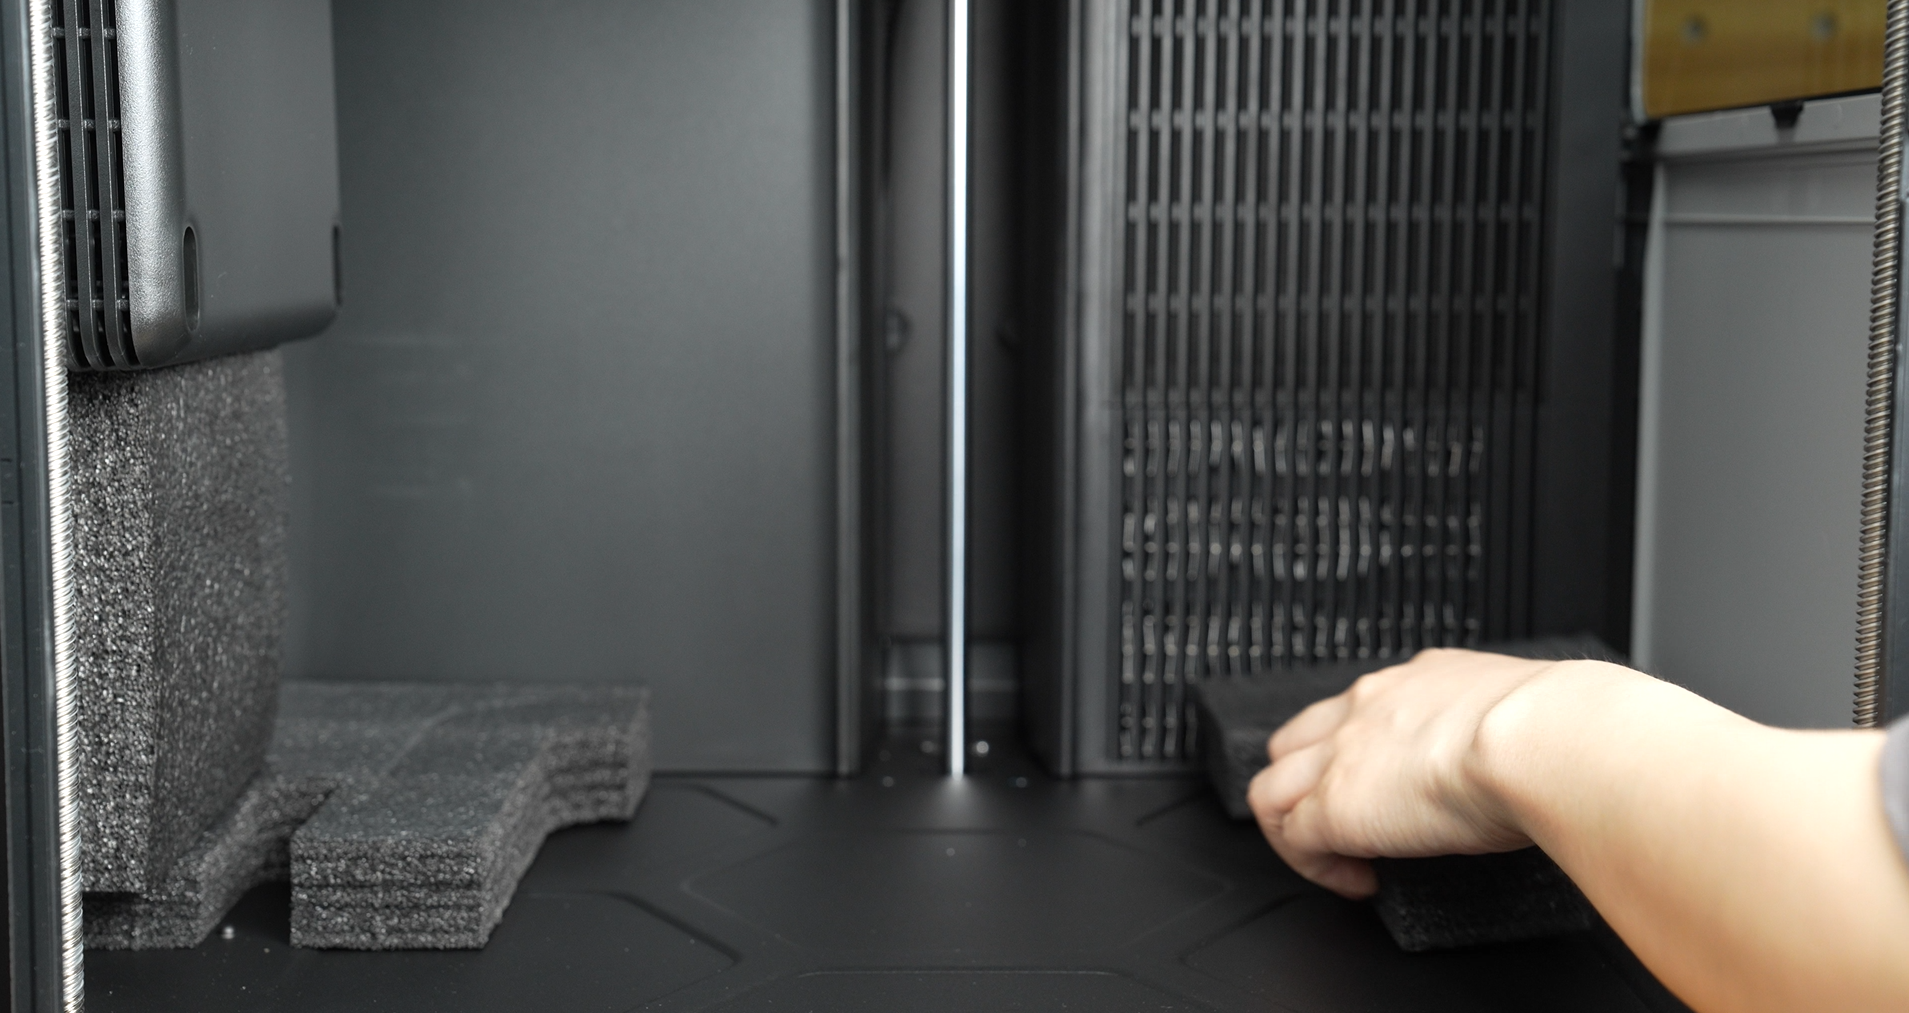
- After calibration, the heatbed will automatically lift. At this point, remove the foam under the heatbed.
 |
 |
Now you’ve completed all the steps to unbox the H2D standalone printer. You can now begin your printing journey!
¶ End Notes
We hope the detailed guide provided has been helpful and informative.
If this guide does not solve your problem, please submit a technical ticket, we will answer your questions and provide assistance.
If you have any suggestions or feedback on this Wiki, please leave a message in the comment area. Thank you for your support and attention!