¶ 1. Tool Overview
Bambu Suite image tools integrate comprehensive image processing functions, including multiple image filter applications, fine-grained image adjustments, professional editing tools, graphic vectorization functions, one-click reset options and image replacement, etc., which can meet the daily image processing needs of most users without the need for third-party software.
¶ 2. Image Filtering
¶ 2.1 Filtering type
Bambu Suite provides four stylized filters. Users can set different filters for images by clicking the corresponding buttons.
-
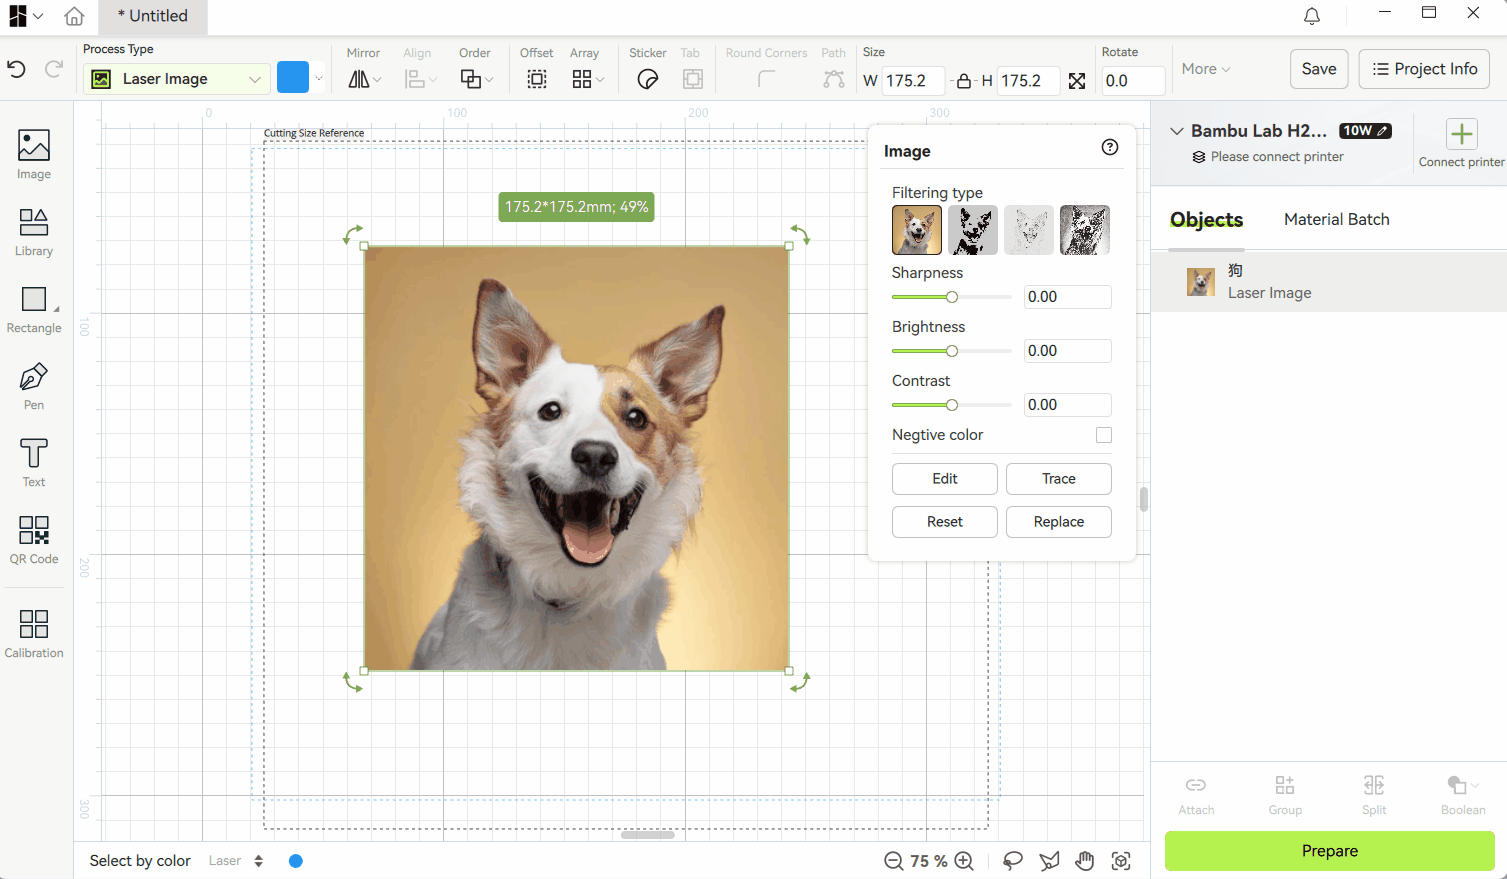
Origin- Keep the original state of the image
-
Binary- Artistic effect with clear black and white
-
Sketch- Convert hand-painted style
-
Relief- 3D relief effect

¶ 2.2 Parameter adjustment
Some filters have unique filter parameters, and the desired effect can be achieved by changing the filter parameters.
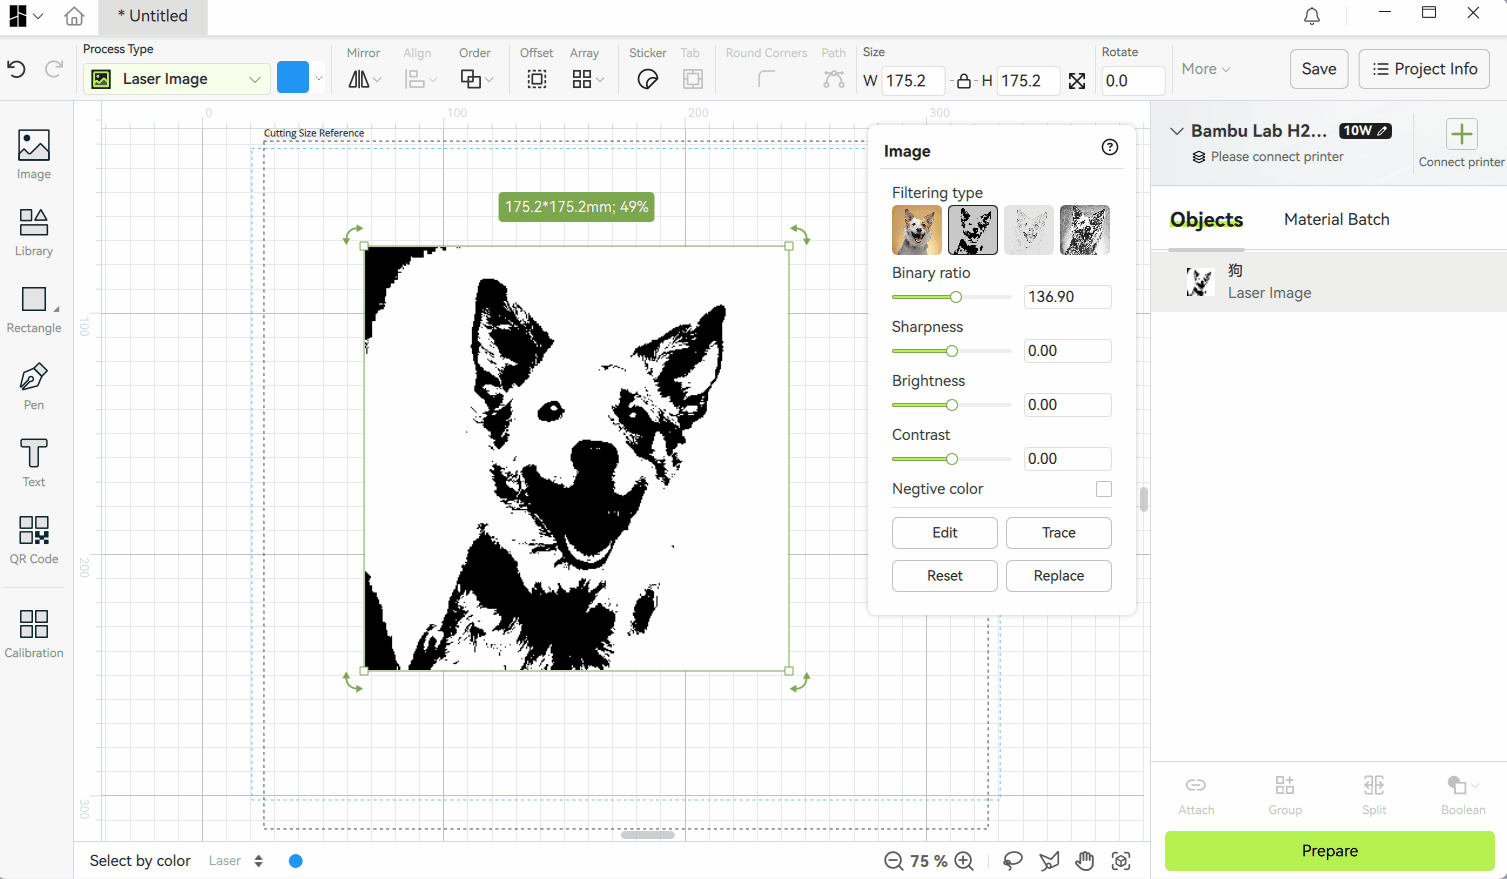
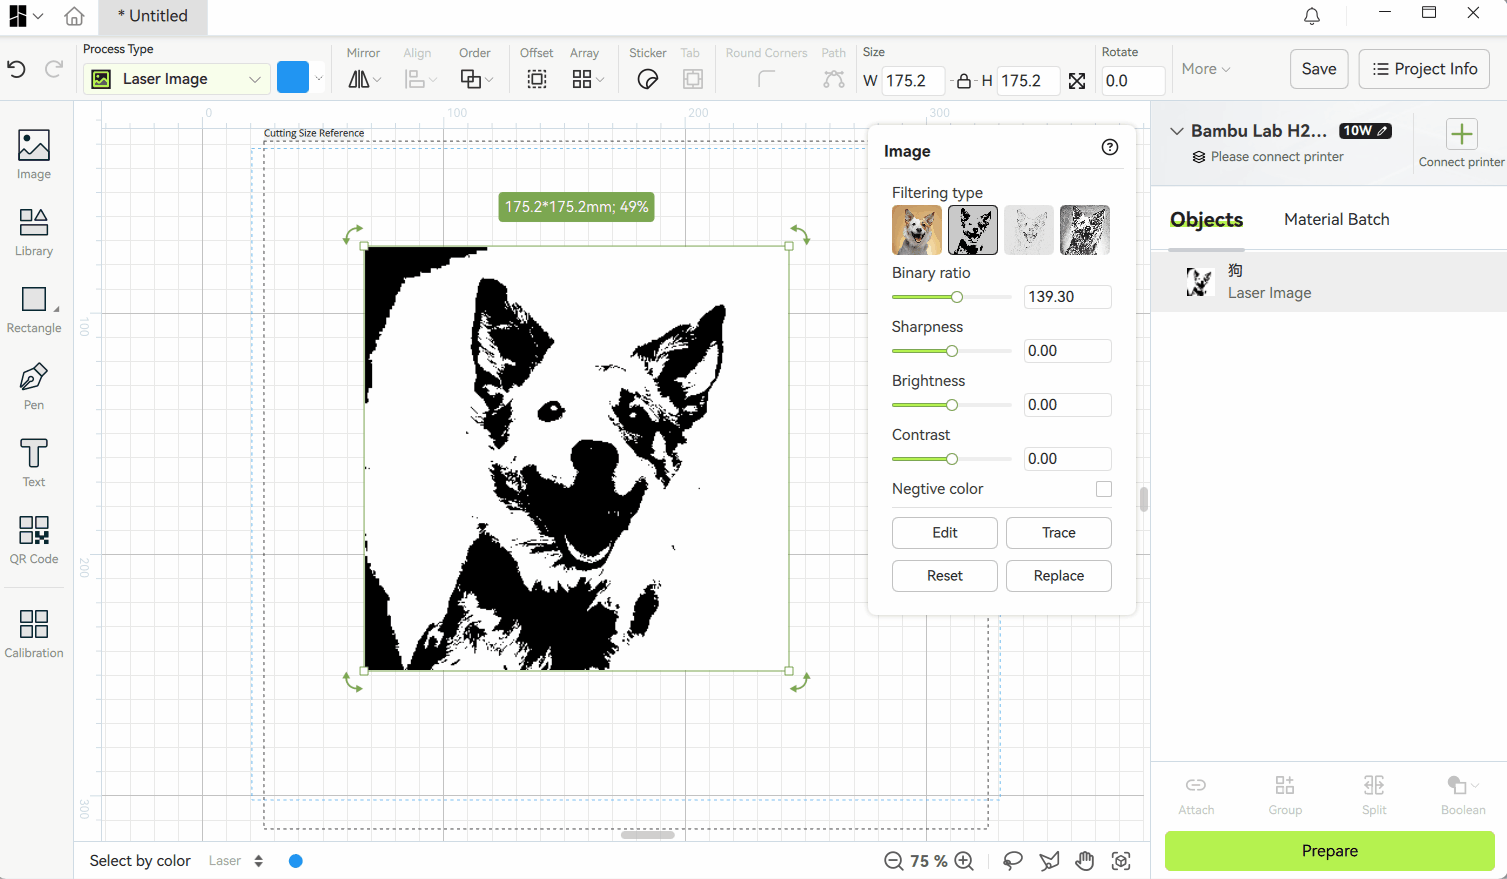
¶ Binary ratio
-
Threshold range: 0~255 (default value 127);
-
Parameter description: Pixels below the threshold will be set to black, and pixels above the threshold will be set to white;
-
Extreme value effect: Threshold = 0, the image is all white; Threshold = 255, the image is all black;
¶ Relief Ratio
-
Threshold range: 1~20 (default value 5);
-
Parameter description: The larger the relief threshold, the stronger the relief effect.
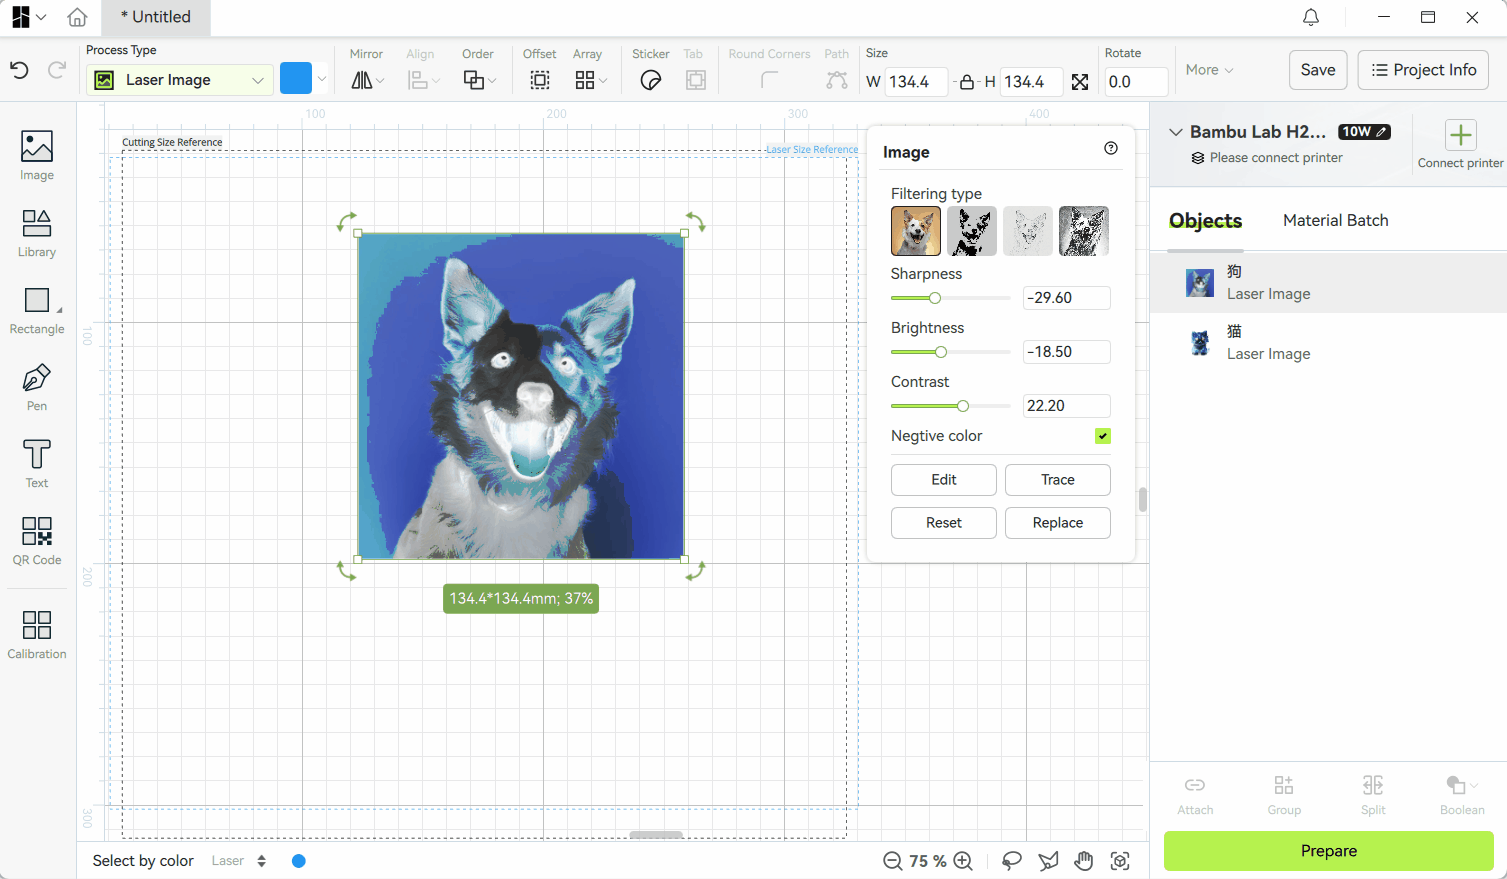
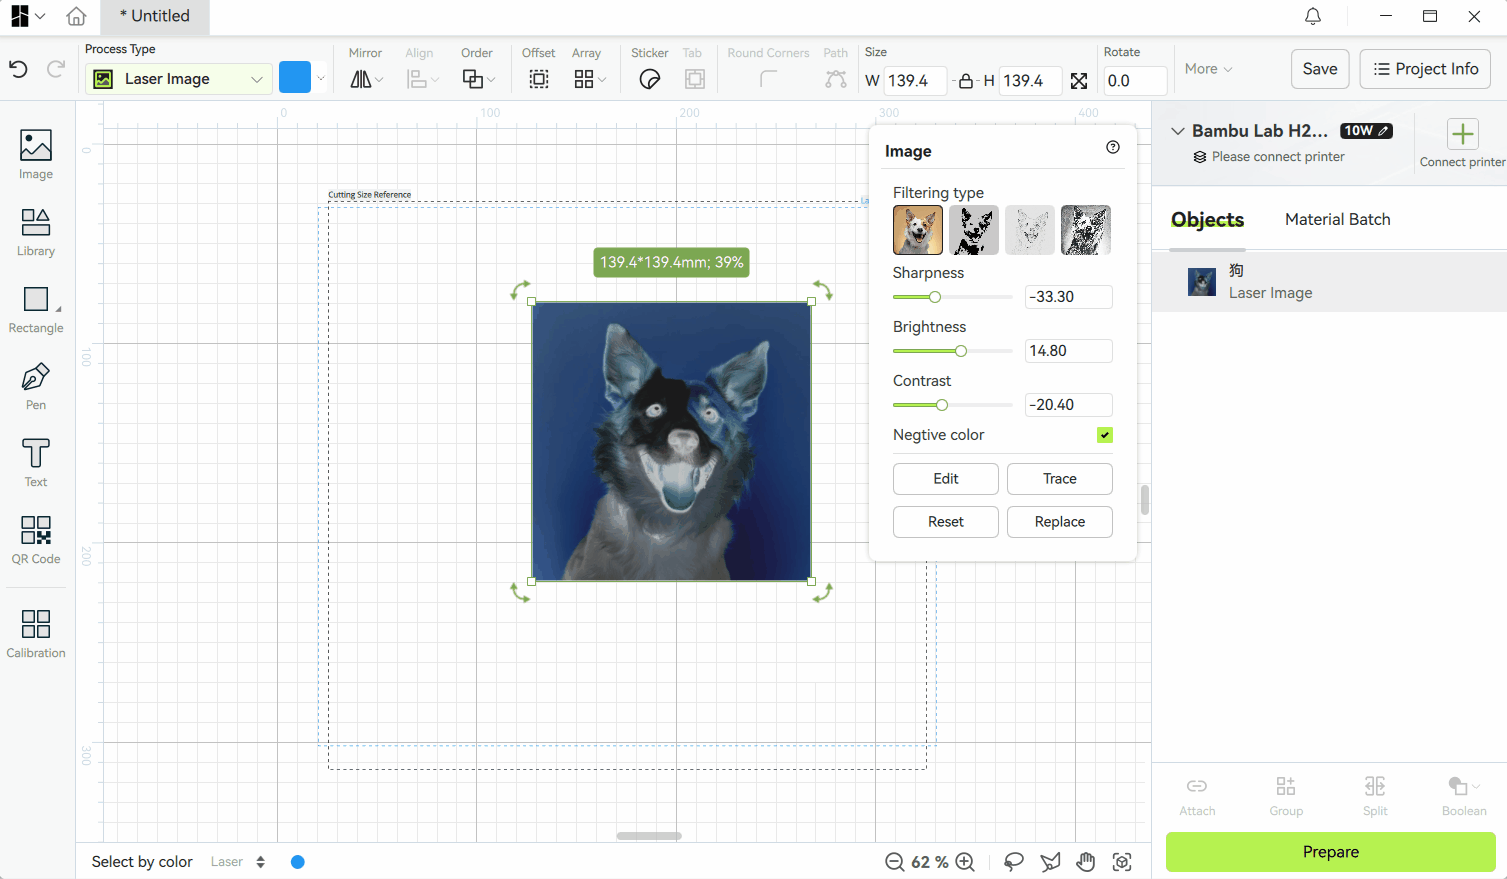
¶ 3. Image adjustment
You can adjust the sharpness, brightness and contrast of the image, and you can also set the image to an Negtive color effect. All adjustments will take effect after the filter is applied.
¶ 3.1 Sharpness
-
Function: Control the clarity of edges and details in the image;
-
Adjustable range: -100~100 (default value 0);
-
Parameter description: The greater the sharpness, the clearer the image, the more obvious the contours and details, and it looks "sharper"; the smaller the sharpness, the blurrier the image, the details become unclear, and the edges appear "soft".

¶ 3.2 Brightness
-
Function: Adjust the overall brightness of the image;
-
Adjustable range: -100~100 (default value 0);
-
Parameter description: The greater the brightness, the brighter the image, and the picture looks more "glowing" or "clear"; the smaller the brightness, the darker the image, which may appear gloomy or difficult to recognize. When the brightness is set to -100, the image will be completely black; when the brightness is set to 100, the image will be completely white.

¶ 3.3 Contrast
-
Function: Adjust the degree of difference between light and dark areas in the image;
-
Adjustable range: -100~100 (default value 0);
-
Parameter description: The greater the contrast, the stronger the contrast between light and dark, and the image is more three-dimensional and impactful; the smaller the contrast, the smaller the difference between light and dark, and the image tends to be gray and flat, and appears "foggy".
¶ 3.4 Negtive color
After setting the filter and adjusting the sharpness, brightness, and contrast, you can also set the image to be displayed in reverse color.
-
Effect: Invert the three RGB color channels
-
Features: Keep the original transparency unchanged, and the transparent areas in the image will remain transparent.
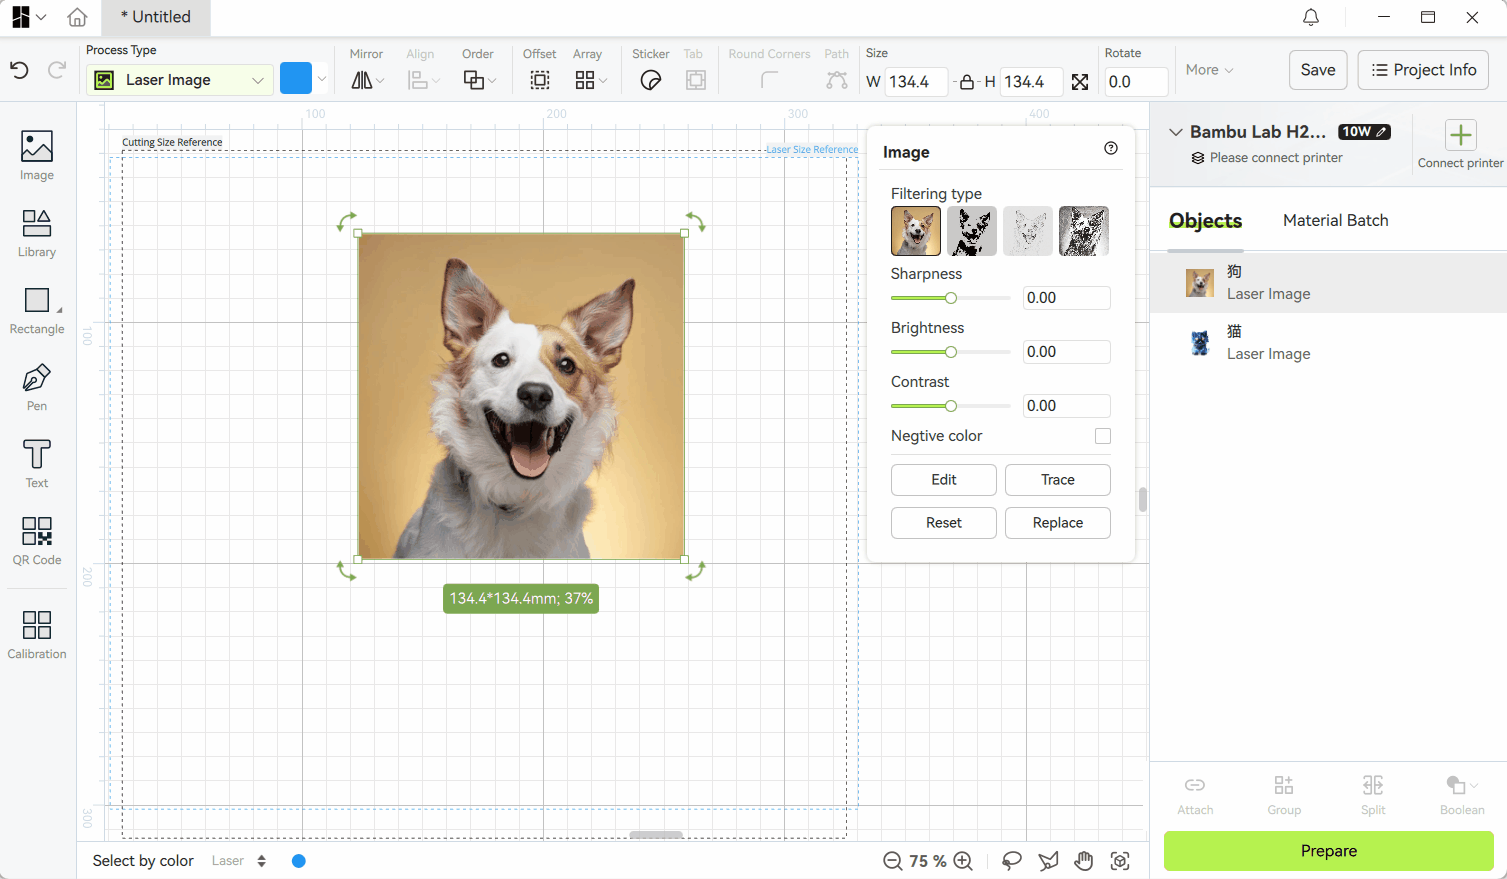
¶ 4. Edit image
- Click the "Edit" button below the image property panel to enter the Image Editor.
¶ 4.1 Canvas Control
¶ 4.1.1 Move the canvas
- Operation method: Press and hold the mouse wheel and drag.

¶ 4.1.2 Zoom the canvas
- Method 1: Scroll the mouse wheel when the mouse is on the canvas, and the canvas will be zoomed with the mouse position as the center to view the local details of the image;
- Method 2: Use the scale adjustment button below the canvas to increase or decrease or manually enter the scale.
¶ 4.1.3 Reset the canvas
If the image is moved or zoomed to a position that is not easy to view, double-click the mouse wheel to reset the image to a suitable viewing angle.

¶ 4.1.4 Undo and Redo
-
Button control: The undo/redo button in the upper left corner can undo or restore changes to the image;
-
Shortcut keys: Ctrl+Z (Undo), Ctrl+Y (Redo).

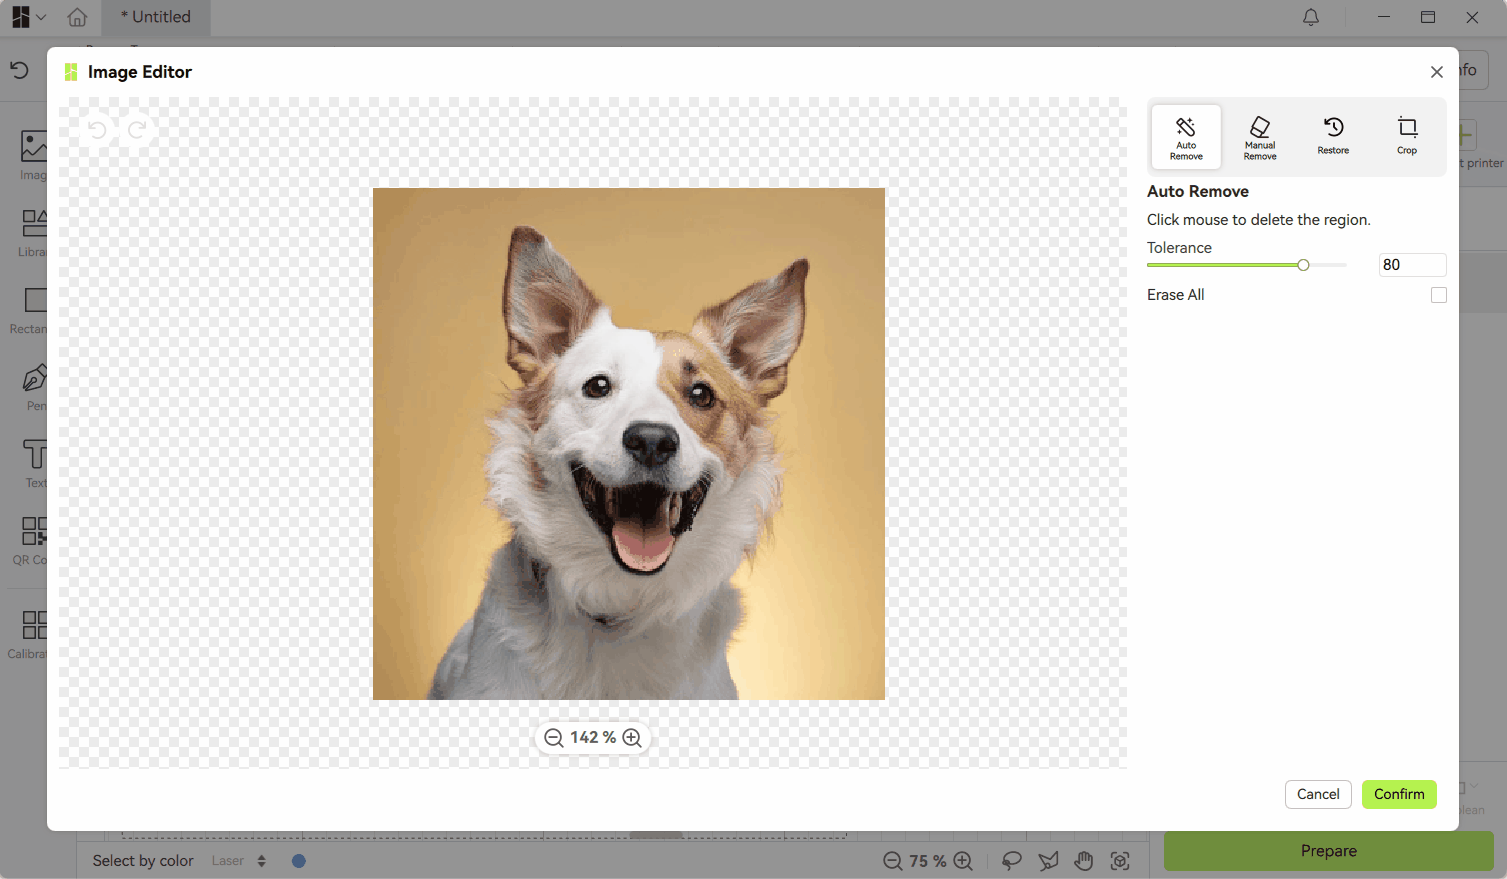
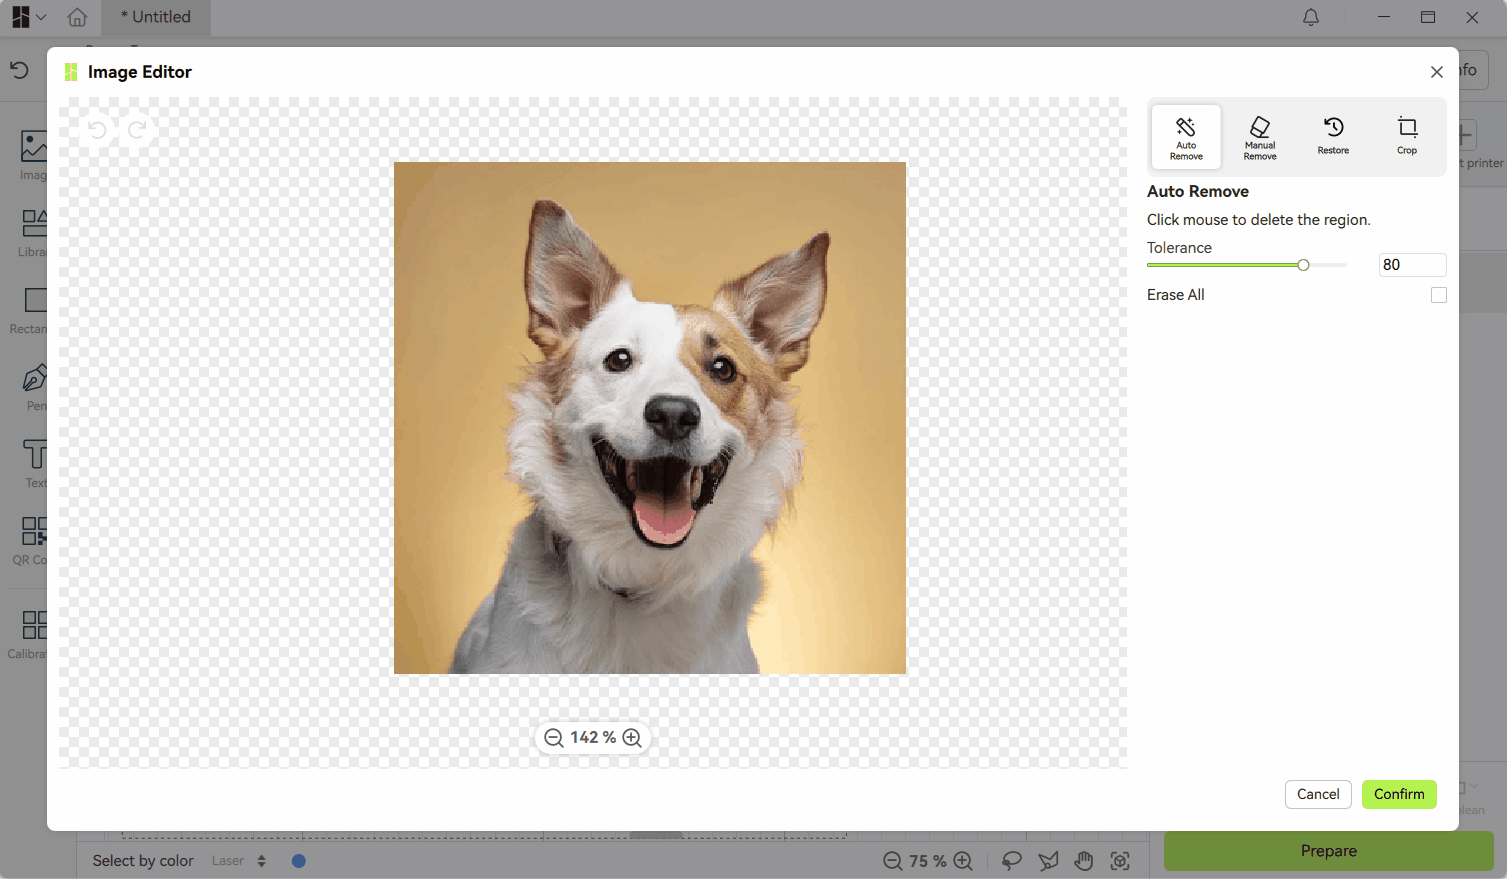
¶ 4.2 Auto Remove
-
Working principle: Automatically identify and clear pixels with a color similar to the mouse click position;
-
Tolerance: Determines the size of the erasing range. The larger the tolerance, the more pixels will be erased;

- Erase All: By default, only continuous pixels are cleared. If this option is checked, unconnected pixels that meet the conditions will also be erased.

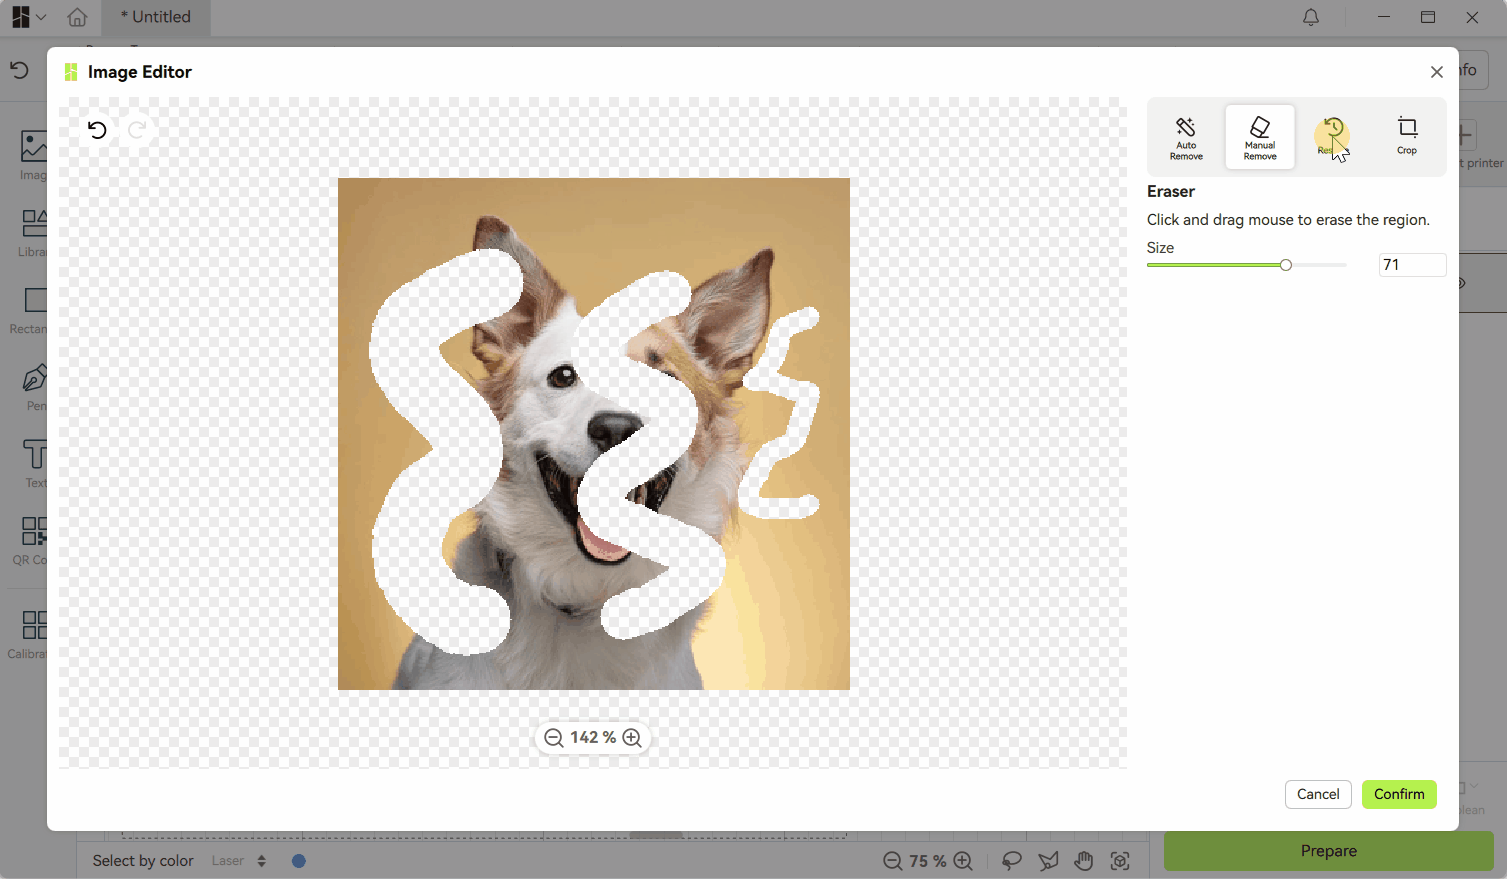
¶ 4.3 Manual Remove
-
Tool form: The mouse will automatically become a circular brush;
-
Size: Customize the size of the circular area;
-
Usage: Press and hold the left button to apply the target area. The area in the image where the circular area passes will be removed.

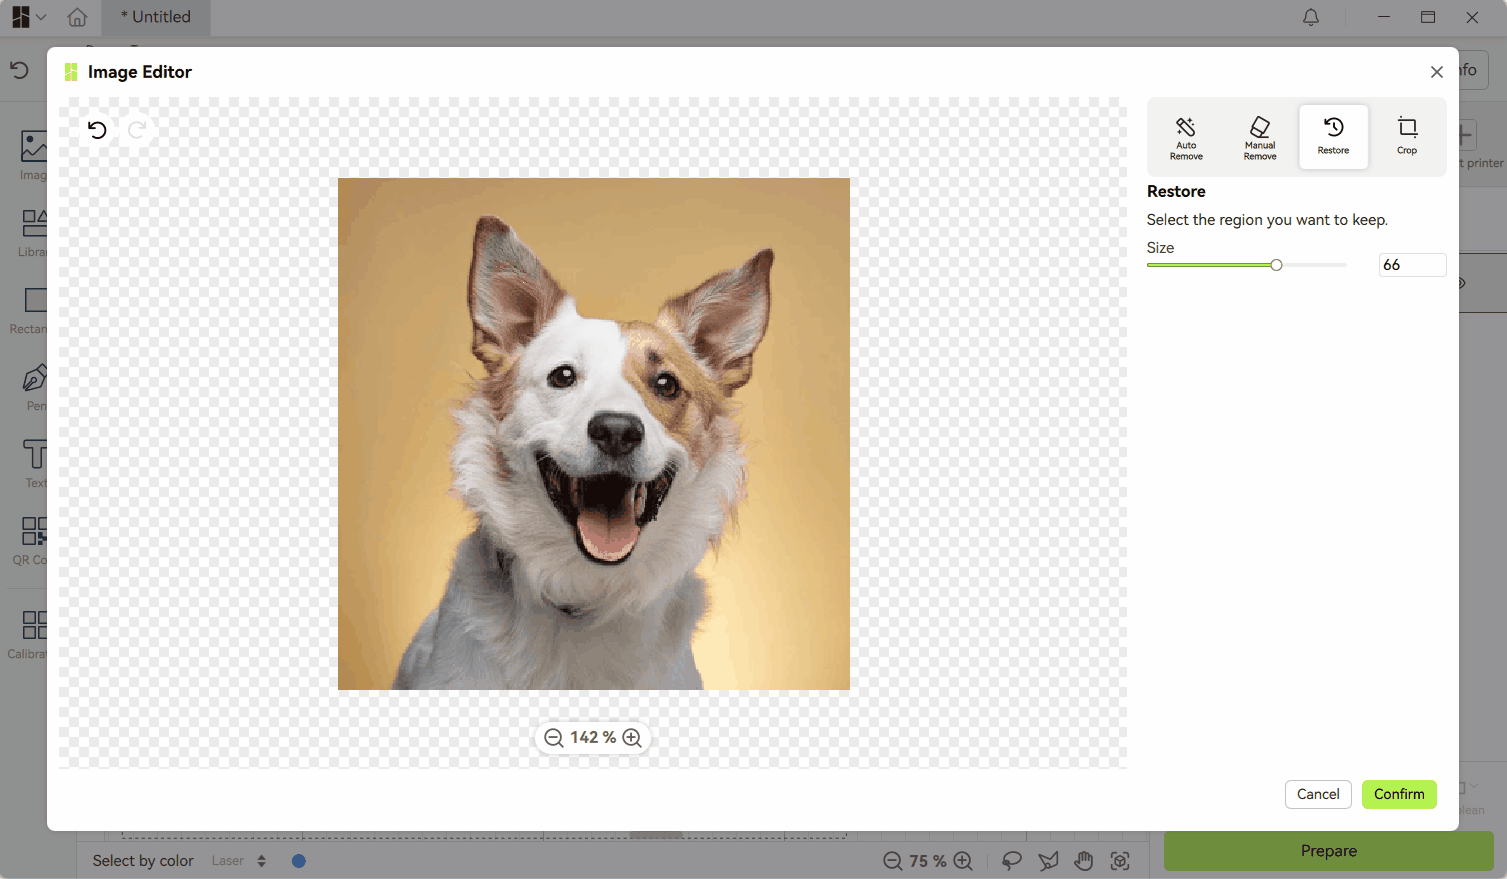
¶ 4.4 Restore
-
Function: The reverse operation of erasing, restoring the erased area;
-
Size: Same as the size setting in Manual Remove.
¶ 4.5 Crop
Crop allows users to crop a rectangular area on the original graphic.
Operation process:
- Select the cropping area (supports Selecting cropping ratio to set the aspect ratio of the cropping rectangle)
- Adjust the cropping area. When Free is selected, users can move or scale the cropping area through control points.

- If the cropping ratio is set, there are no control points on the edge of the selection box.

Confirm the operation:
-
Button: √-Confirm / ×-Cancel cropping;
-
Shortcut: Enter to confirm / Esc to cancel cropping.
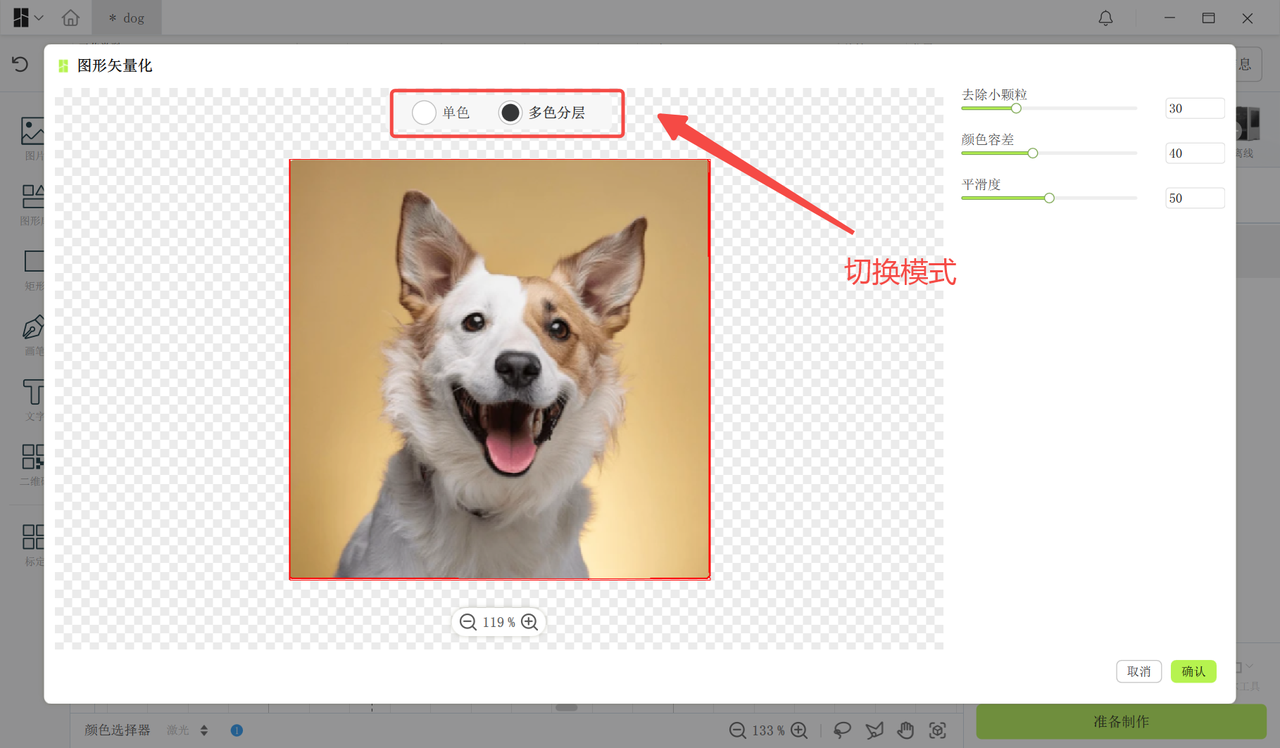
¶ 5. Trace Image
This function can convert bitmaps into vector graphics for subsequent image operations such as to be further cut and processed by region.
Click the Trace button below the image property panel to enter the Trace Image interface.
¶ 5.1 Canvas operation
Please refer to the canvas operation of Edit image .
¶ 5.2 Mode
The Trace Image tool provides two modes: Monochrome/Layered color, which can be switched through the radio button above the canvas.
¶ 5.2.1 Monochrome Mode
-
Best applicable scenarios: monochrome logo, black and white icons, etc.
-
Output effect: Generate a single color vector outline

¶ 5.2.2 Layered color Mode
This mode is suitable for complex graphics containing multiple color blocks, and the color blocks in the middle are cut out to set different processing parameters.
Usage tips:
-
Before execution, the Process Type needs to be set to Print Then Cut to retain the original color.
-
After output, different color blocks will be automatically displayed in layers.
-
The Layered color mode will capture as many areas as possible, and it is usually necessary to delete unnecessary color blocks. Therefore, it is recommended to use it for images that meet the following.
-
Clear borders without gradients
-
Clean background without noise
-
Simple graphic structure

-
¶ 5.3 Parameter Description
¶ 5.3.1 Reduce particle
Filter out color blocks smaller than a certain size.
¶ 5.3.2 Brightness threshold
-
Function: In Monochrome mode, the brightness threshold can determine the range of capture;
-
Tips: Adjust through real-time preview to capture clean and complete color blocks.
¶ 5.3.3 Color tolerance
In Layered color mode, adjust the color tolerance to adjust the range of color merging. Increasing the color tolerance can distinguish color blocks with smaller color differences, but it will also result in more small areas.
¶ 5.3.4 Smoothing
Dual effect:
-
Bitmaps usually produce color unstable areas at the edges of color blocks, and greater smoothness can better filter out the jagged edges of these parts;
-
Sharp corners may be weakened;
Suggestion: Please adjust the optimal value between clarity and naturalness.
¶ 6. Reset
-
Function location: bottom of the image properties panel;
-
Function effect: reset all filters to default filters and restore all adjustment parameters to default values.
¶ 7. Replace
-
Function location: Replace button in the properties panel;
-
Function feature: a Select an image dialog box will pop up to allow users to select the image to be replaced. The image filter and image adjustment parts remain unchanged before and after the image is replaced.
¶ End Notes
We hope the detailed guide provided has been helpful and informative.
If this guide does not solve your problem, please submit a support ticket. We will answer your questions and provide assistance.
If you have any suggestions or feedback on this Wiki, please leave a message in the comment area. Thank you for your support and attention!