¶ Purge Wiper
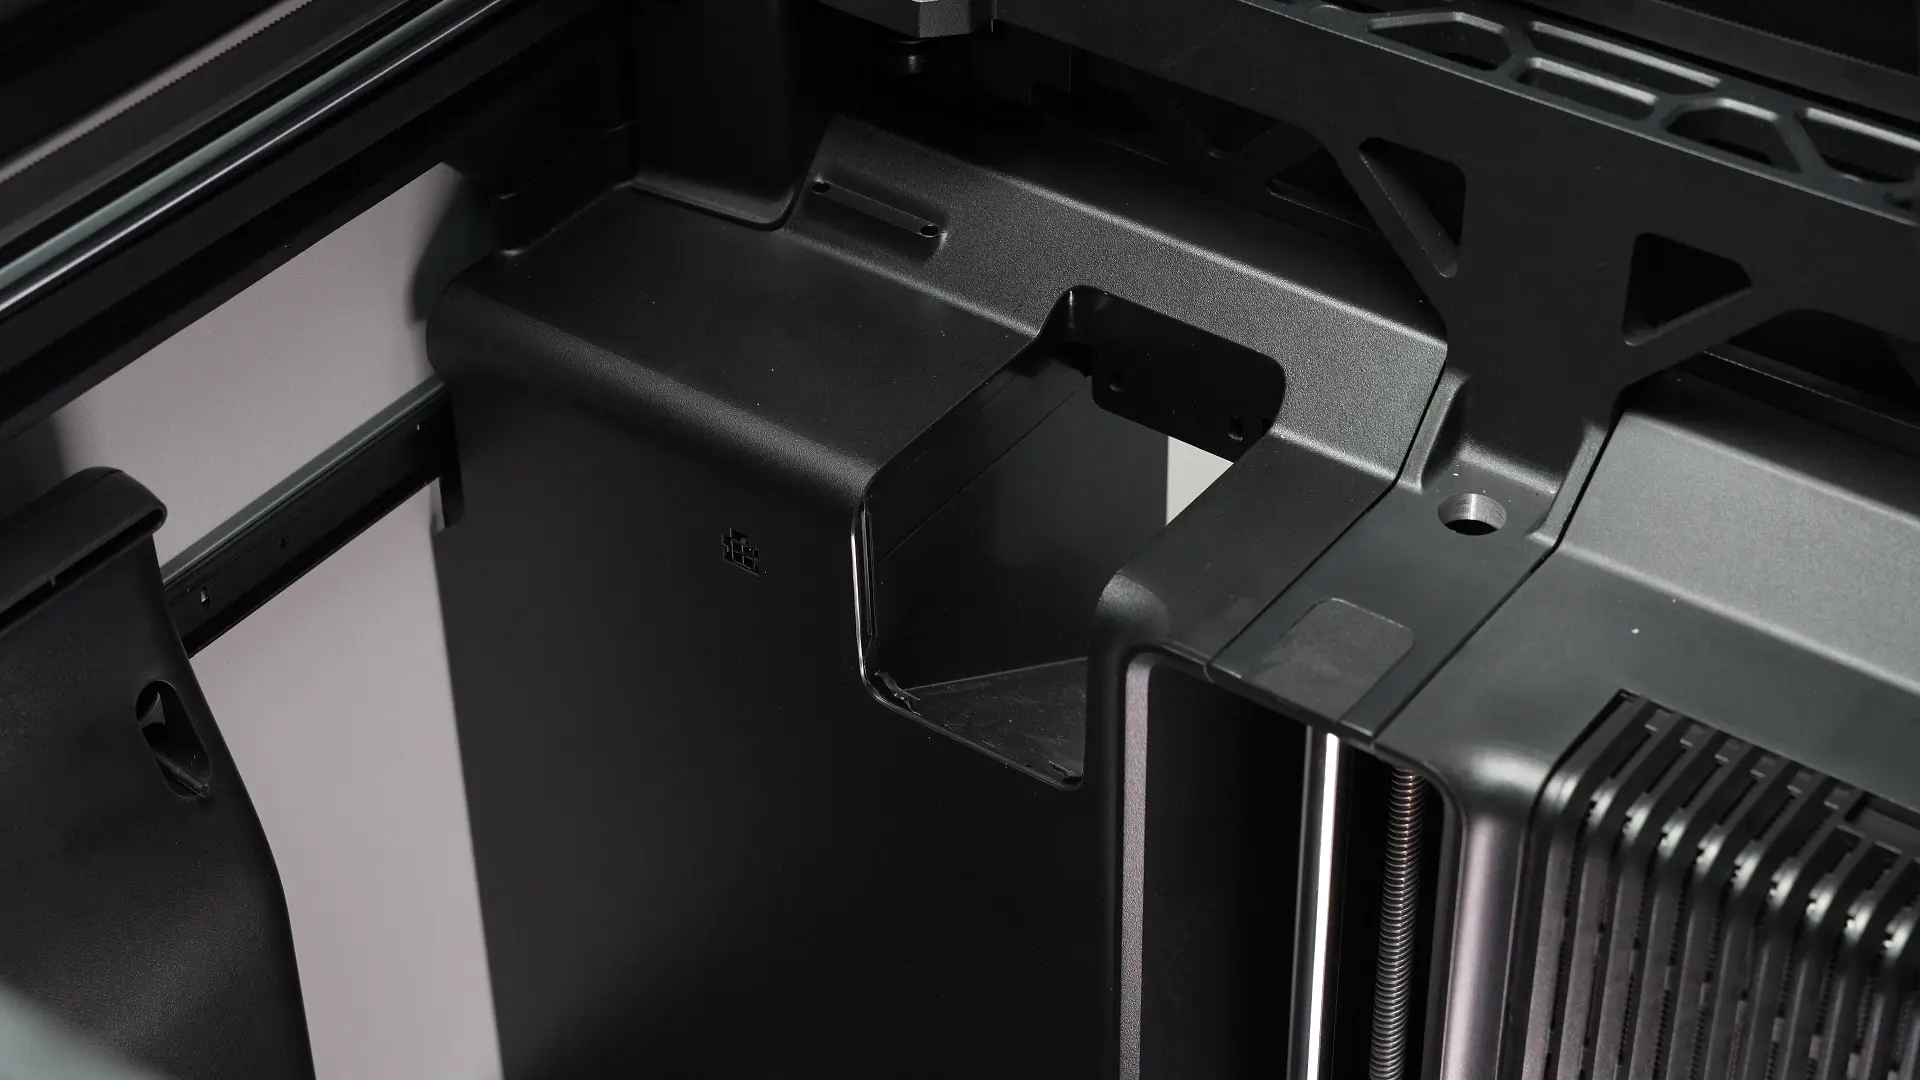
The purge wiper is installed above the left inner lining and is used to discharge waste materials generated during scenarios such as material change to the outside of the printer.
The spare parts of the purge wiper include the following:
-
Purge wiper assembly;
-
BT3x8 screws - for fixing the purge wiper * 2
¶ When to Replace
- The purge wiper is damaged
¶ Required Tools and Materials
-
New purge wiper
-
H2.0 Hex Wrench
Specifications and quantities of screws involved in replacing the H2D purge wiper (it is recommended to keep the removed screws properly to avoid loss):
| Screw Specification | Purpose | Position Diagram | Quantity of Screws | |
|---|---|---|---|---|
| BT3x8 | For purge wiper | 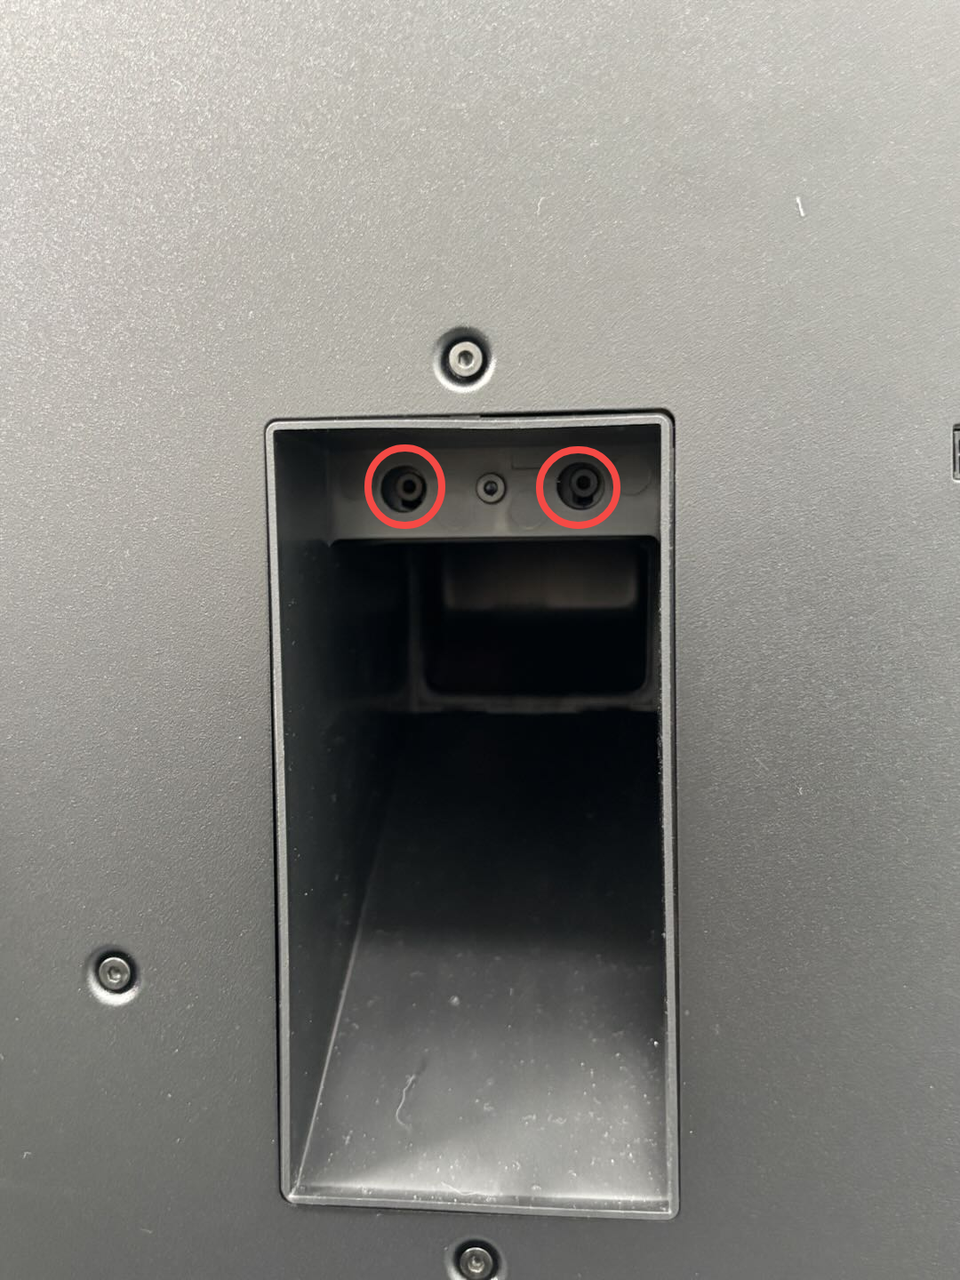 |
2 |
¶ Safety Tips
Important Reminder!
Before performing any maintenance work on the printer and its electronic devices (including toolhead cables), please turn off the printer power and disconnect the power connection to avoid short circuits that may cause additional damage to electronic equipment and safety hazards.
When performing maintenance or troubleshooting on your printer, please first check the temperature of the hotend and heatbed. Avoid operating at high temperatures. If you must operate at high temperatures, please wear heat-insulating gloves to ensure safe and effective maintenance work.
If you have any questions about this guide, please click here to contact online technical support (service hours 9:00-21:00), and we will reply promptly and provide the help you need.
¶ Removing the Purge Wiper
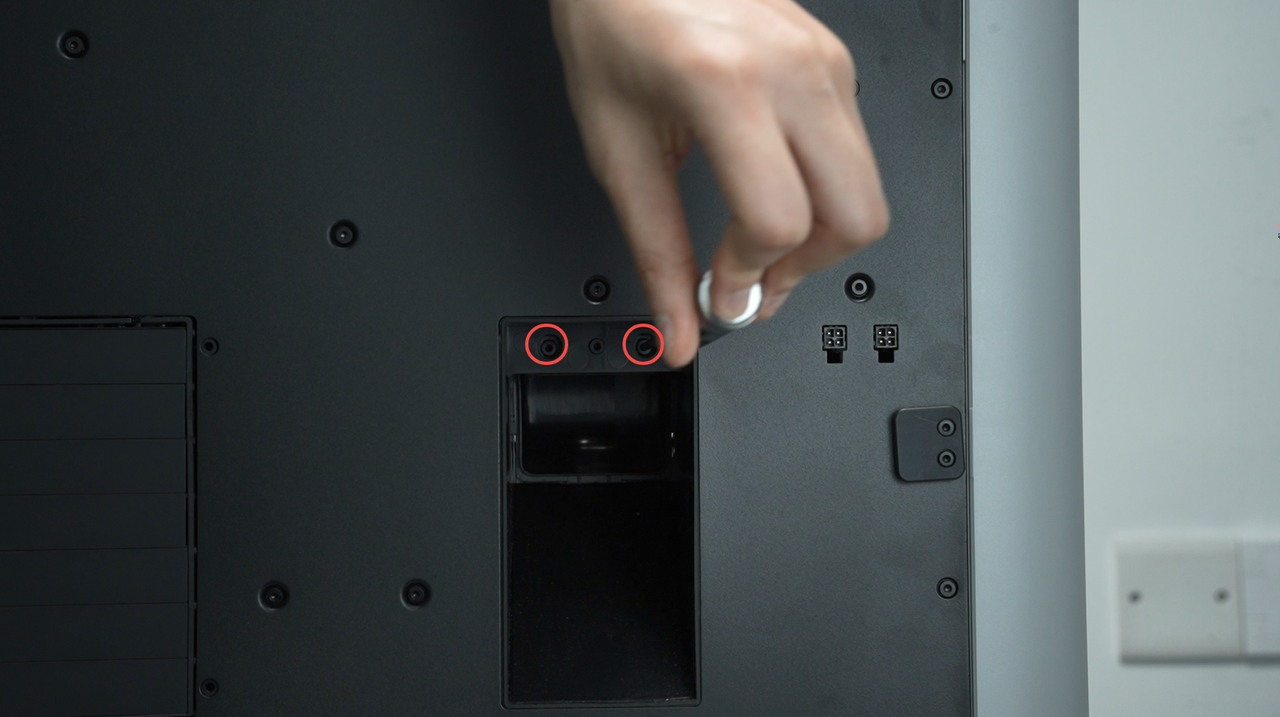
¶ Step 1: Remove the Screws
Two fixing screws of the purge wiper can be seen from the waste chute at the back of the printer. Use an H2.0 hex wrench to remove the two fixing screws (BT3x8). (The middle one does not need to be unscrewed)
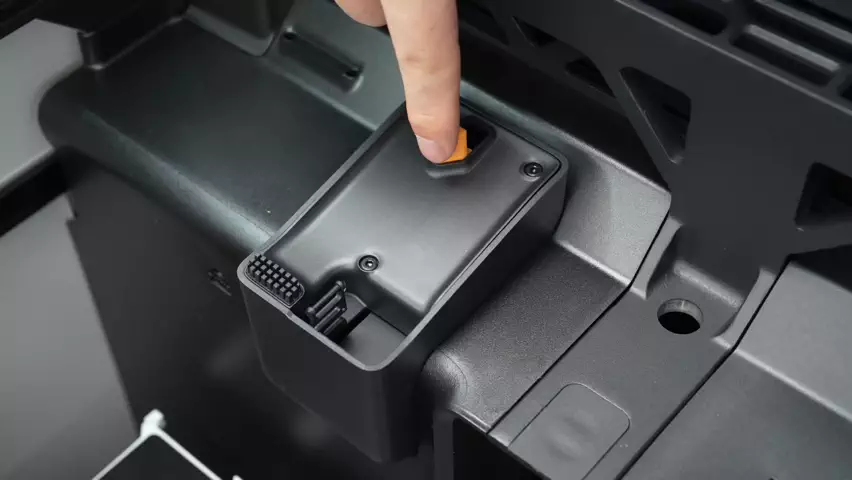
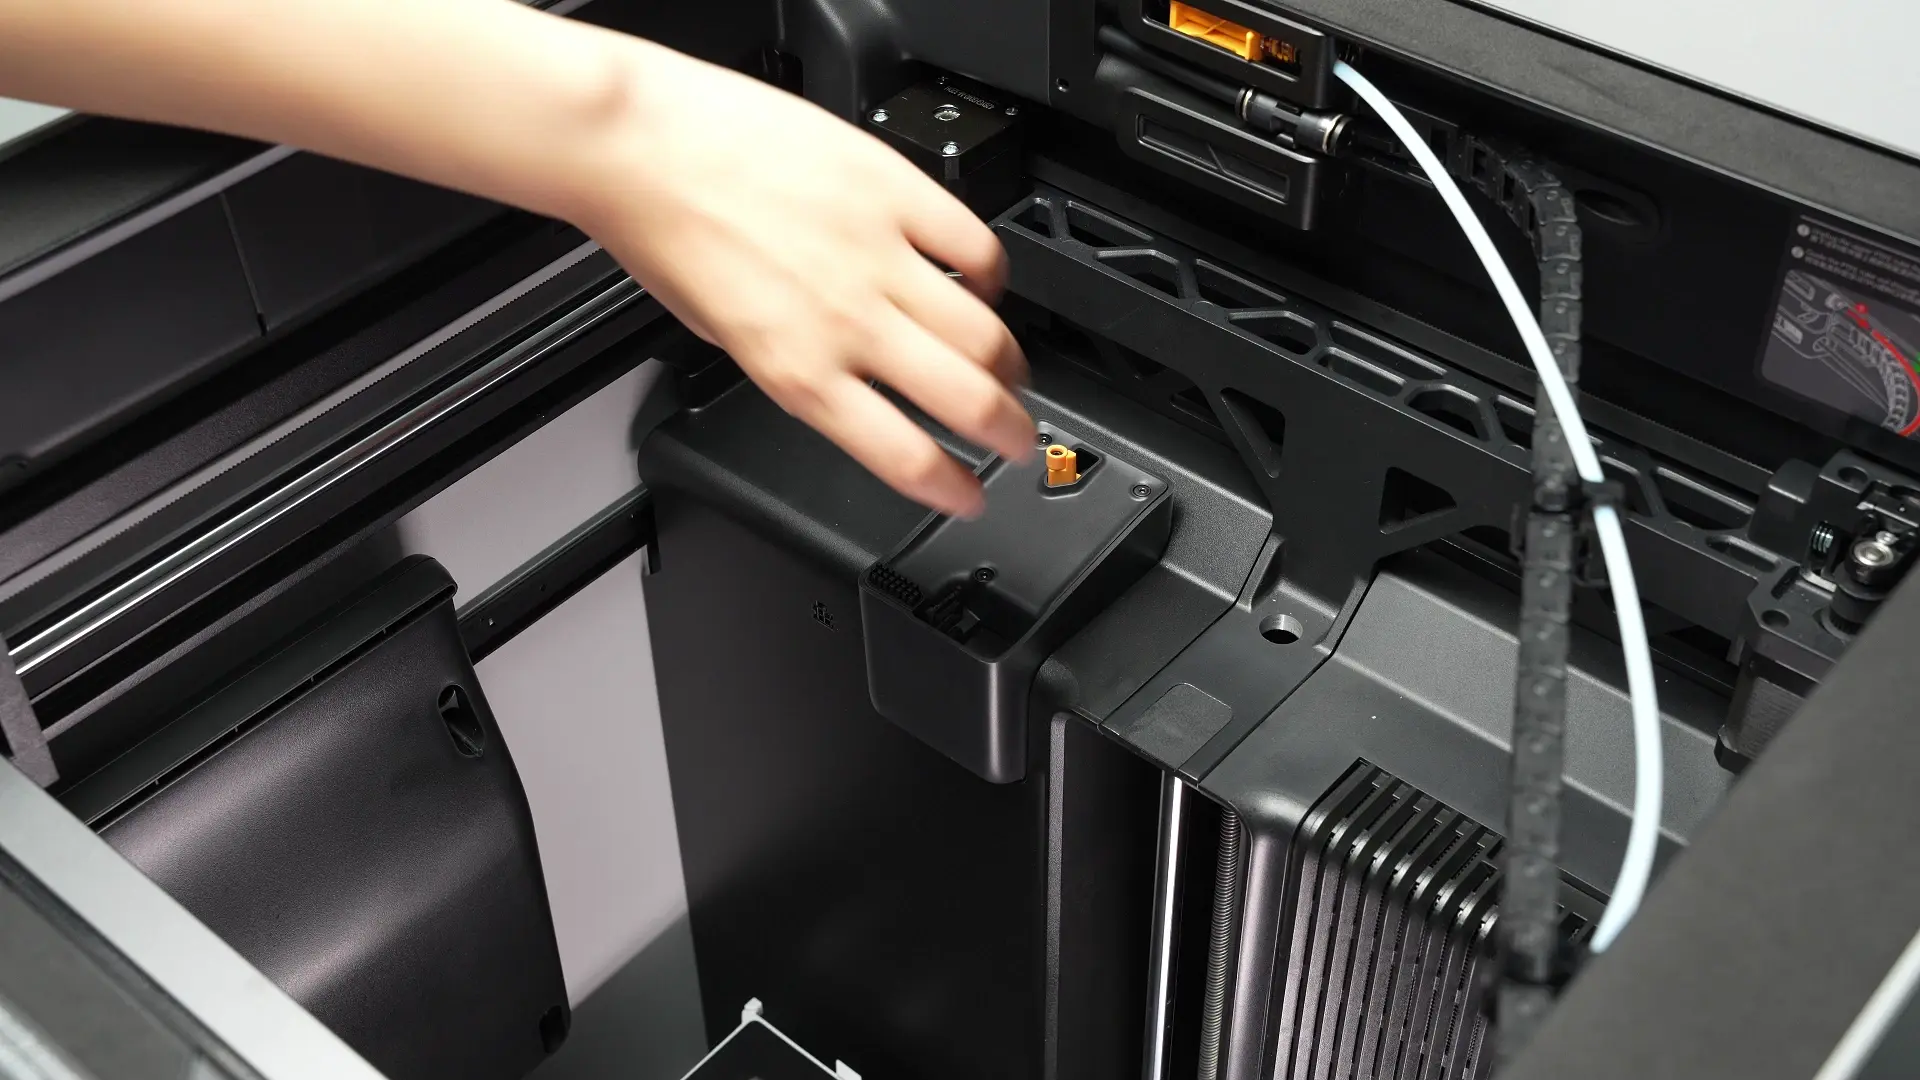
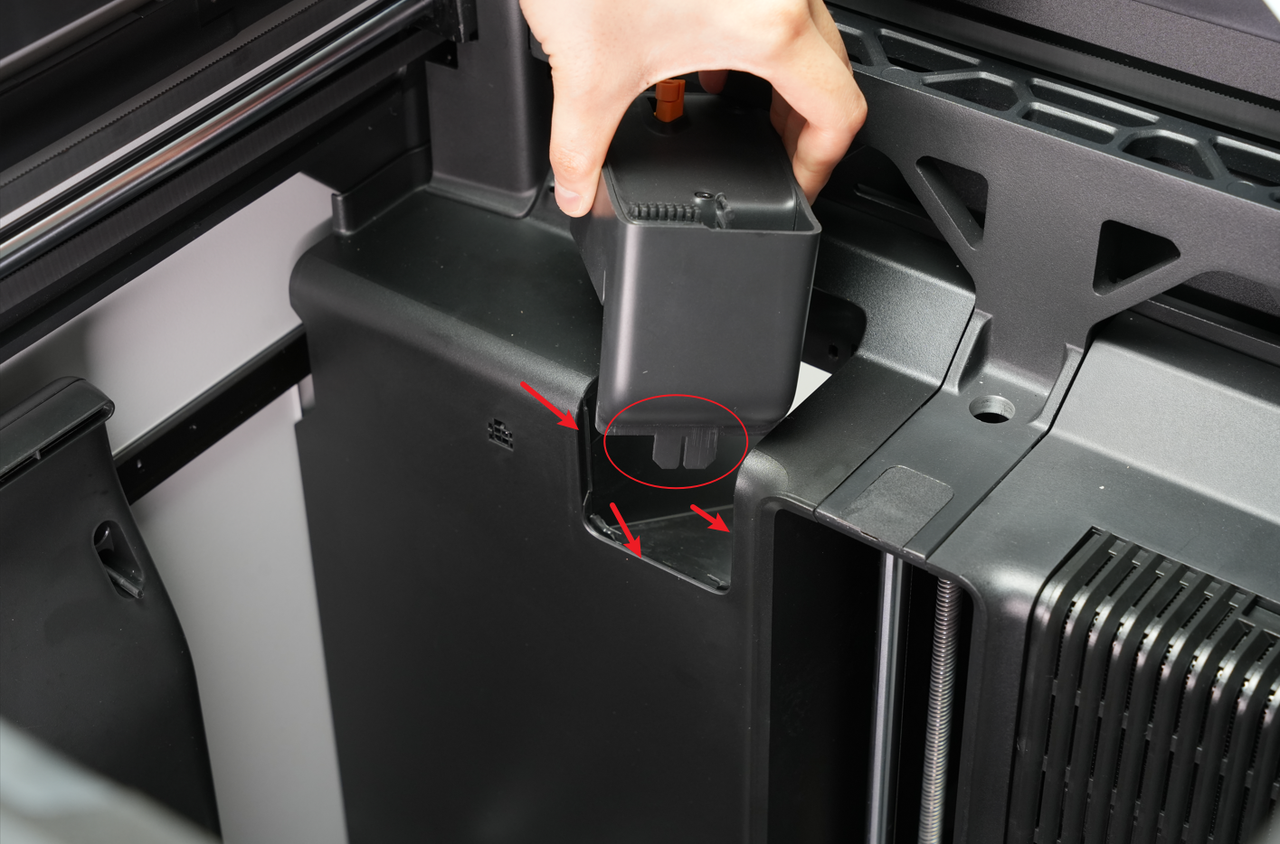
¶ Step 2: Take Out the Purge Wiper
Hold the purge wiper and take it out upward.
¶ Installing the Purge Wiper
¶ Step 1: Reinstall the Purge Wiper
Put the new purge wiper in place. The insertion ribs of the purge wiper need to be inserted into the inner lining and aligned with the screw holes;
¶ Step 2: Tighten the Screws
Use an H2.0 hex wrench to tighten the two fixing screws (BT3x8).

¶ How to Verify Success
The purge wiper is not loose, and waste materials can be discharged normally during printing.
¶ End Notes
We hope the detailed guide provided has been helpful and informative.
If this guide does not solve your problem, please submit a technical ticket, we will answer your questions and provide assistance.
If you have any suggestions or feedback on this Wiki, please leave a message in the comment area. Thank you for your support and attention!