This guide provides detailed instructions for installing, removing, and storing the Cutting Module and its related accessories (Cutting Mat, Knife Holder, Knife Blade, Pen Module, etc.).
It covers the complete process from installation preparation, component securing, latch adjustment, to safe operation and maintenance, helping you get started quickly and minimize the risk of incorrect operation.
During installation and use, always follow the safety instructions. Handle the blades carefully to avoid accidental injury.
¶ 1. Installing the Cutting Mat
Remove the build plate from the heatbed. If the heatbed height makes it inconvenient to operate, you can lower it via the touchscreen controls.
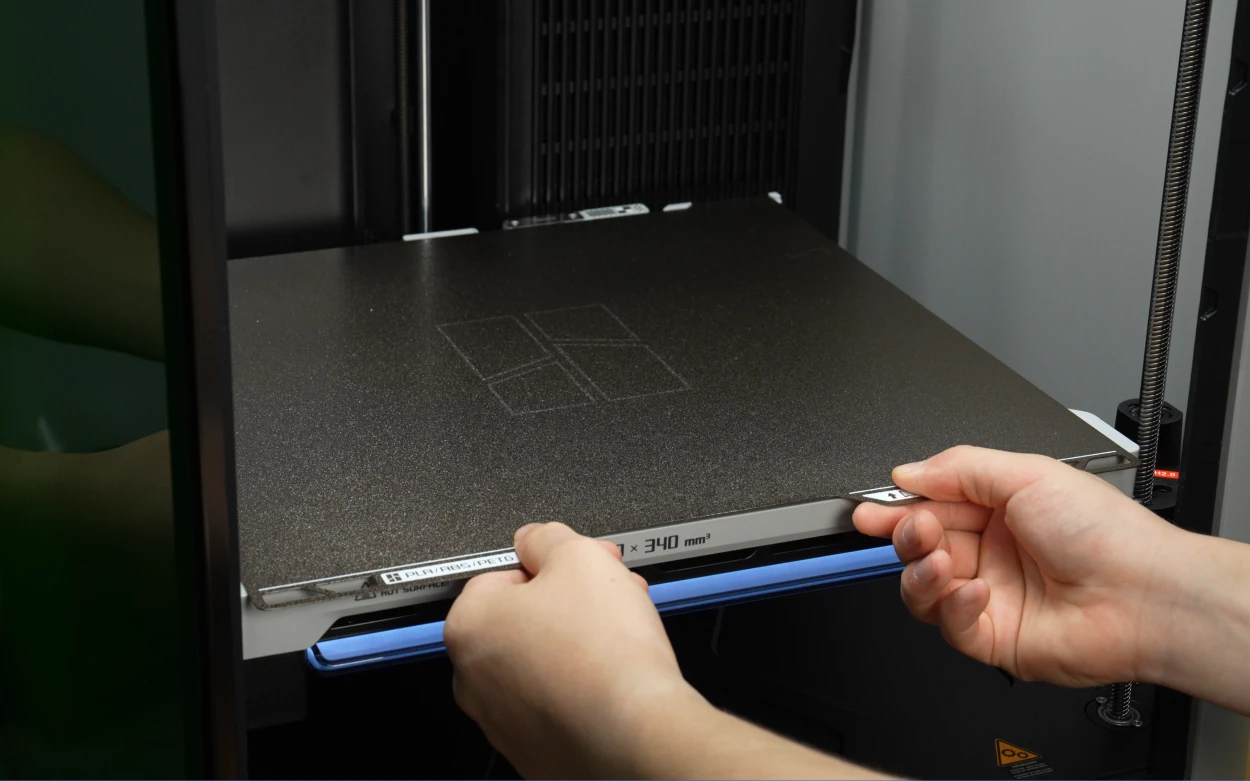
Depending on the material being used, choose the appropriate sticky side of the mat to face upward and peel off the protective film from that side (do not remove the film from the side that contacts the heatbed).
Do not discard the removed protective film. When the mat is not in use, reapply the film to prevent dust or debris from sticking and to preserve the mat's adhesion.

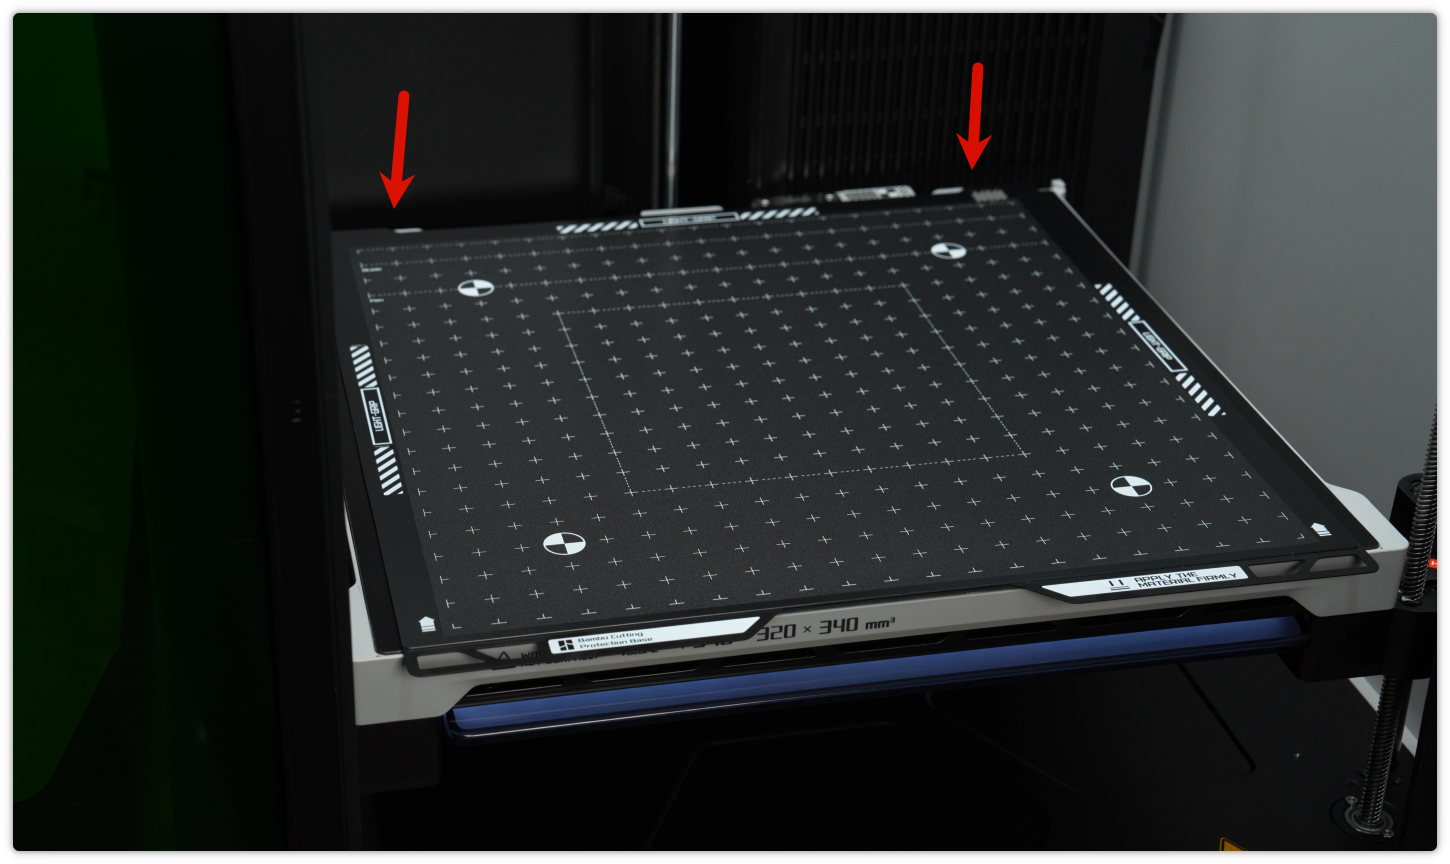
Install the Cutting Mat onto the heatbed, ensuring that both corners are firmly aligned against the positioning blocks.
¶ 2. Installing the Cutting Module
Pinch the bottom of the toolhead front cover and pull it forward to remove it.
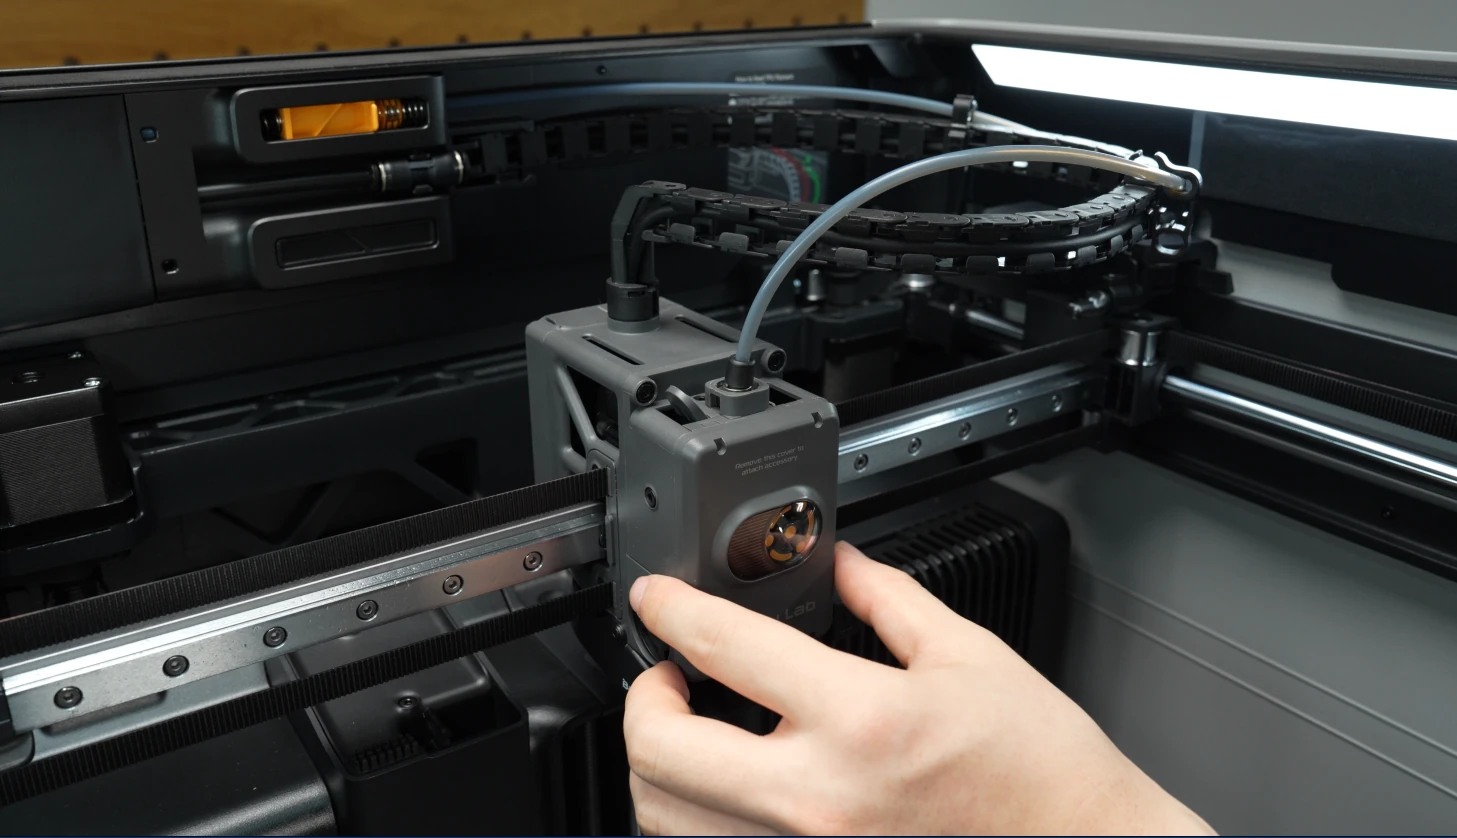
Next, remove the rotary indicator wheel.
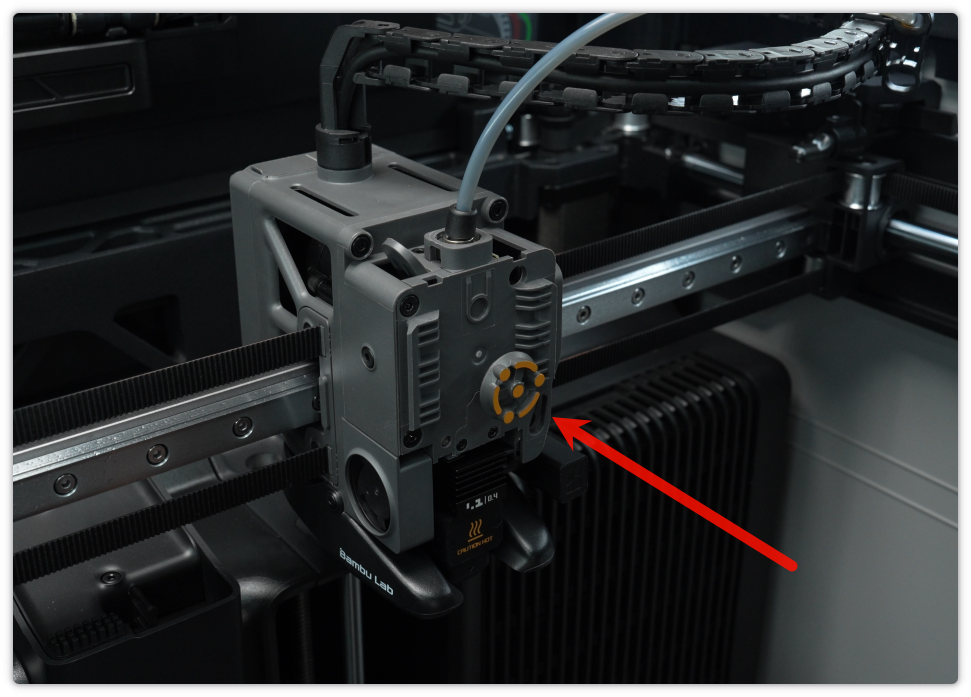
Align the module with the corresponding slot, slide it in, and press down the locking latch to secure it.
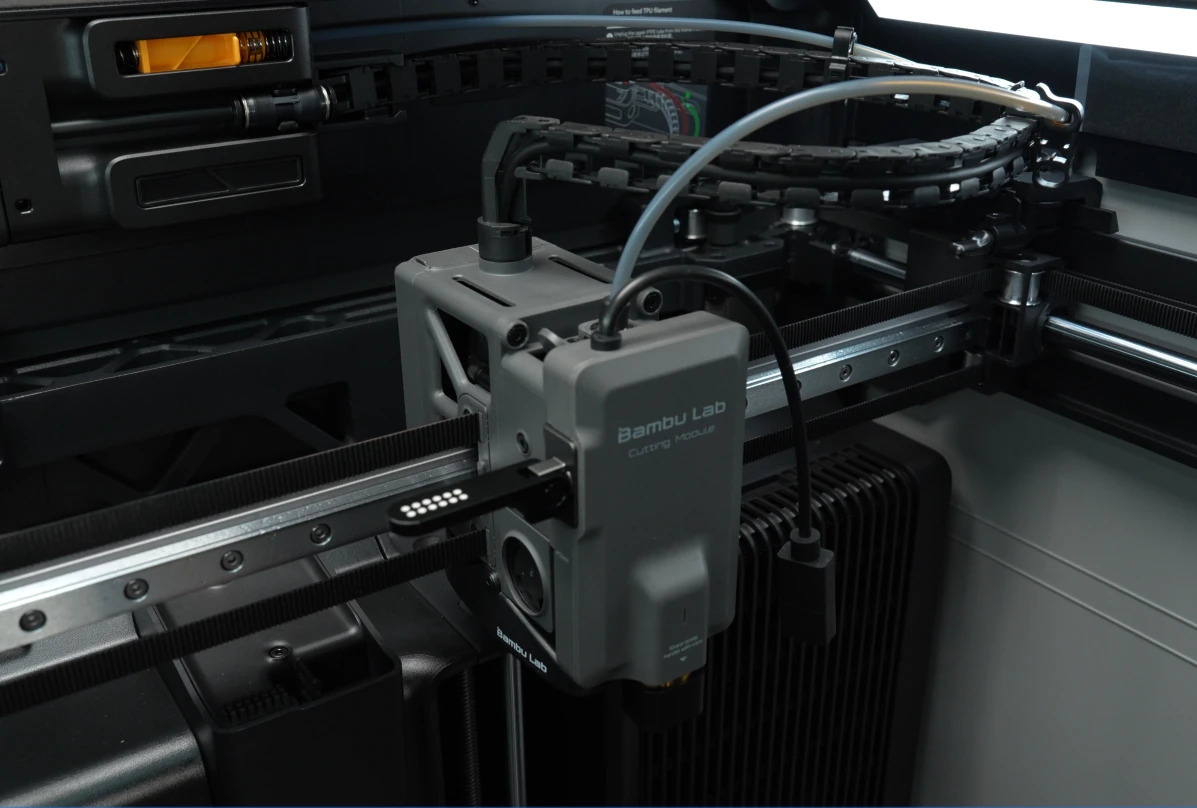
If the latch cannot be pressed down, use a H2.0 hex key to turn the screw counterclockwise by half a turn to loosen it, then try pressing down again. If it is still too tight, loosen it by another half turn until it locks smoothly.
If the latch feels loose, use a H2.0 hex key to turn the screw clockwise by half a turn to tighten it. Check again, and if it is still loose, tighten it by another half turn until it is secure.
Open the dust cover on the toolhead expansion port and insert the connection cable into the port.
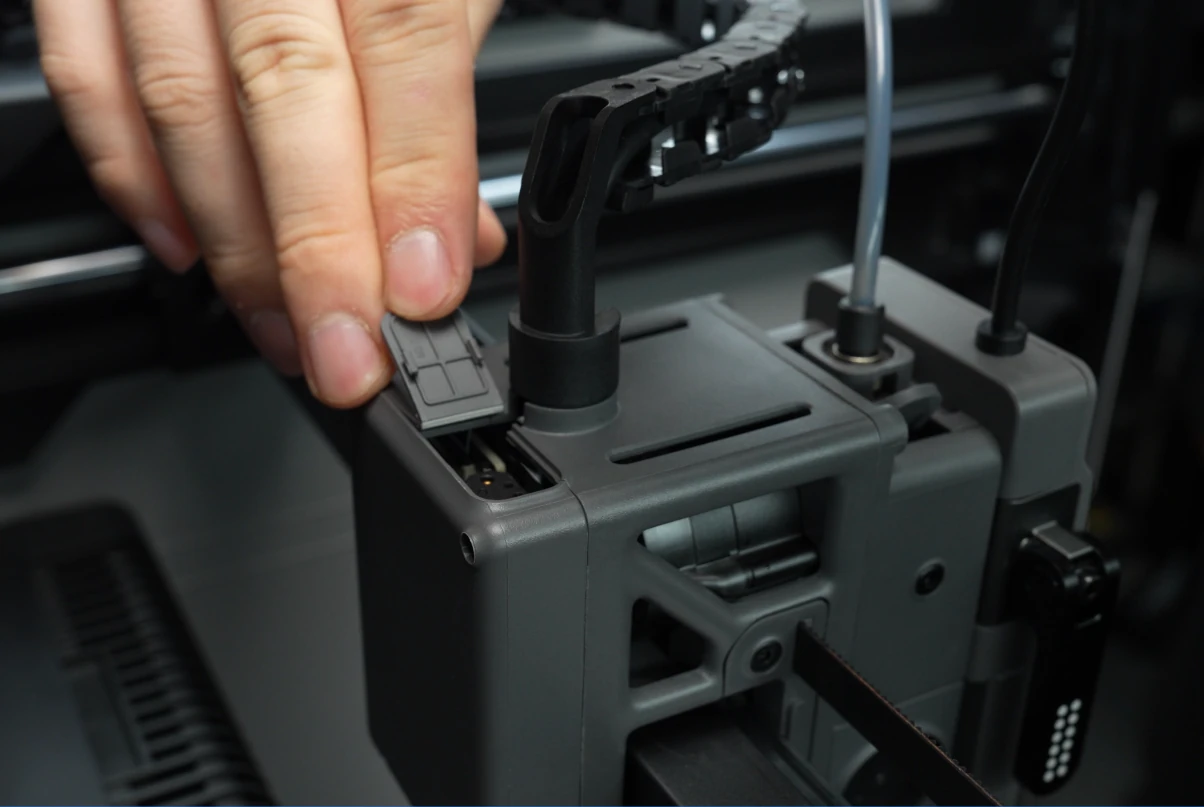
Remove the protective cover from the knife holder. Handle carefully to avoid injury. We recommend keeping this protective cover to wrap around the knife holder during removal or installation.

¶ 3. Cutting Module Mount Calibration
Please note: When performing Cutting Module mount calibration, the knife holder and blade must be installed. Do not install the Pen Module during this process.


For more detailed unboxing, installation, and usage instructions, see: Introduction to Cutter/Pen Main Components and Workflow
¶ 4. Installing the Pen Module (for drawing function)
Remove the height block from the pen adapter and install it to the bottom of the adapter.


Turn the pen lock counterclockwise to loosen it, insert the pen fully, and then turn the lock clockwise to tighten it.


When removing the knife holder from the module, you may use a 3D-printed knife holder and blade removal tool. If you do not have one, grasp the round edge of the knife holder and pull it downward to remove. The blade is very sharp—handle with care to avoid injury.
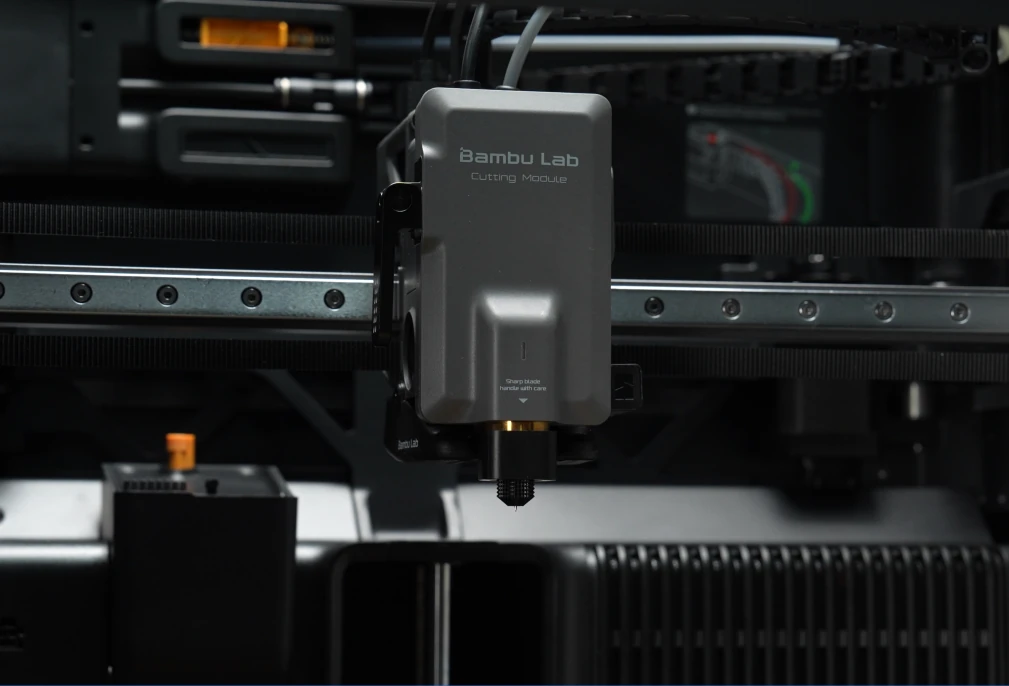

Insert the pen into the Cutting Module.
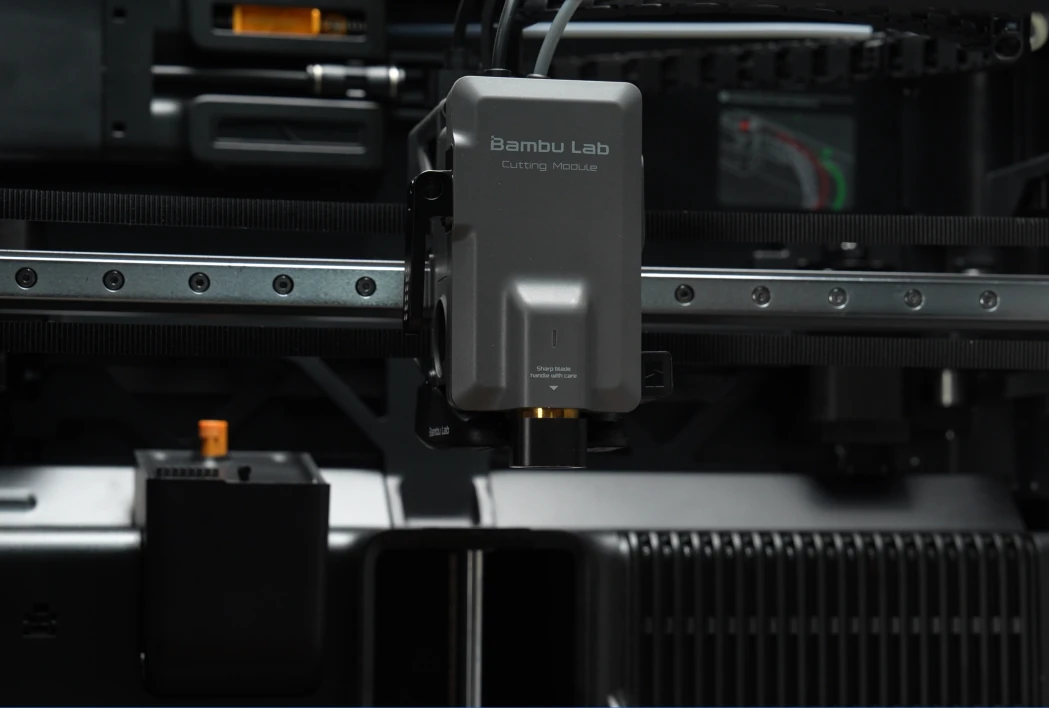
¶ Appendix:
¶ 5. Recommendations for Removing the Knife Holder, Blade, and Cutting Module
After removing the Cutting Module, cover the knife holder (with blade installed) with the protective sleeve to prevent accidental cuts.

When removing the knife holder and blade, you may use a 3D-printed knife holder and blade removal tool.


If you do not have the printed tool, you can also use the red silicone cover to assist in removing the blade, reducing the risk of injury.

When installing the blade, tweezers can be used to avoid injury. The knife holder is magnetic—once the blade is inserted to a certain depth, it will snap into place automatically.


¶ 6. Recommendations for Storing the Cutting Mat
Do not discard the protective film on either side of the sticky mat. When not in use, reapply the film to prevent debris from sticking and to maintain the mat’s adhesion.


¶ End Notes
We hope the detailed guide provided has been helpful and informative.
If this guide does not solve your problem, please submit a technical ticket, we will answer your questions and provide assistance.
If you have any suggestions or feedback on this Wiki, please leave a message in the comment area. Thank you for your support and attention!

