This article provides a detailed guide for installing the Bambu Lab H2S printer laser module.
The content covers all key steps from removing the build plate and installing the emergency stop button to setting up the exhaust system, removing the air pump fixing screws, installing the laser module, and performing the initial calibration.
Before starting, ensure the device is powered off and you are familiar with relevant safety guidelines.
During installation, follow each step in the order described to ensure safe and stable operation of the laser module and to avoid damage to the printer.
¶ 1. Remove the build plate and power off
Remove the build plate from the heated bed.
If the heated bed is too high for convenient operation, lower it via the touchscreen controls.
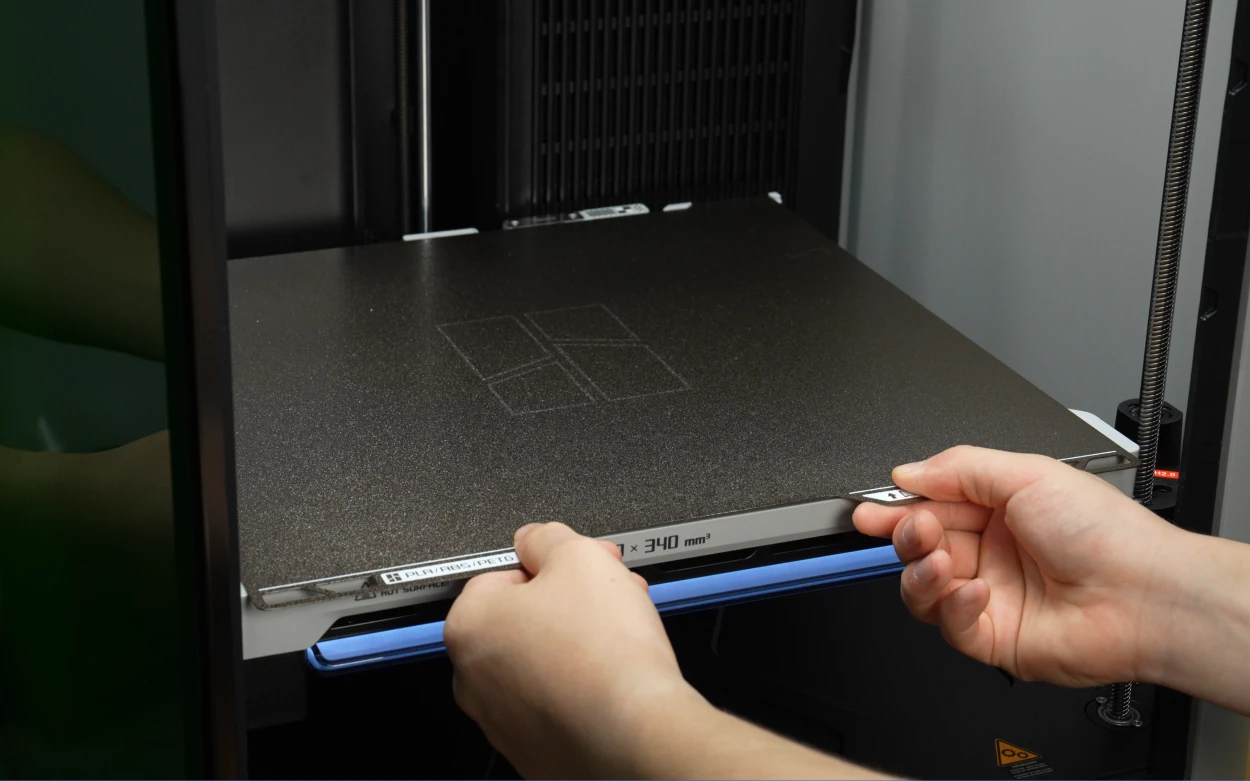
Turn off the printer and unplug the power cable.

¶ 2. Install the emergency stop button
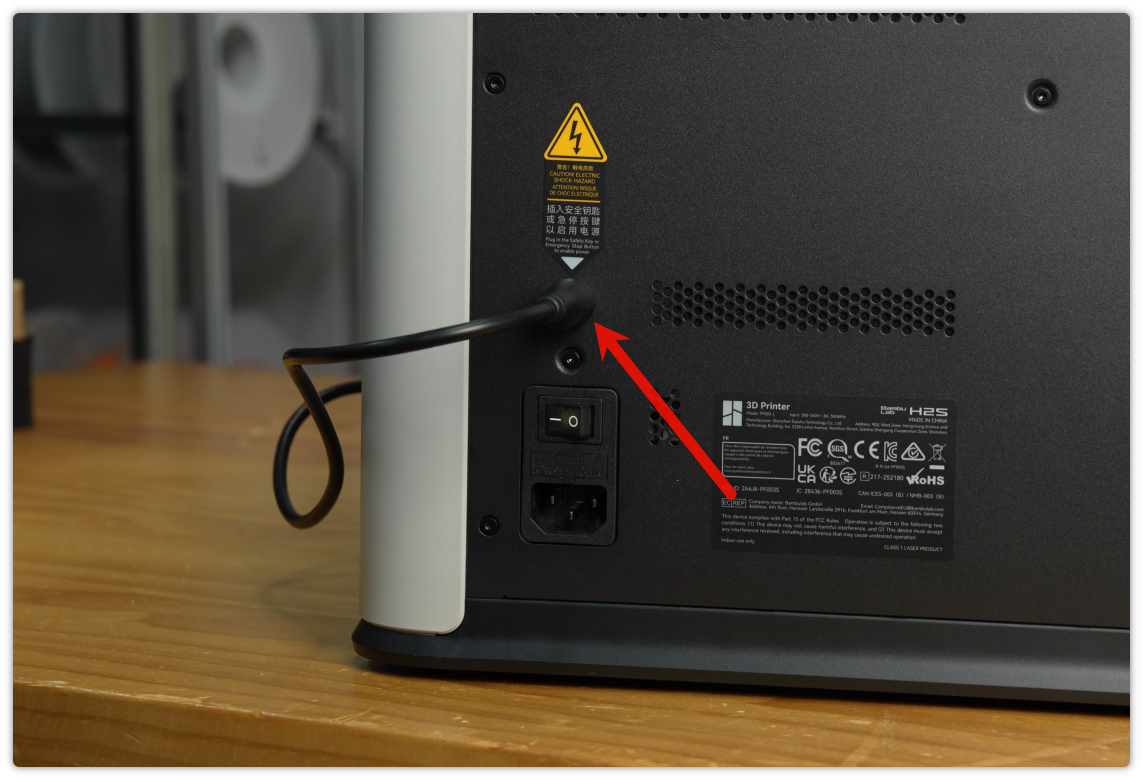
Remove the safety key from the back of the printer and plug the emergency stop button cable into the corresponding port.
Both the back of the printer and the emergency stop button come with pre-installed safety keys. Keep the safety key removed from the printer safely stored.
Check whether the safety key is already inserted into the keyhole on the emergency stop button.
If not, insert it in the direction shown in the picture.


¶ 3. Install the exhaust duct
Use a 2.0 mm hex key to fasten four BT3-20 screws near the exhaust grille on the back panel, securely mounting the exhaust duct adapter.


Place the clamp over one end of the exhaust duct (100 mm diameter, 2 m length), fit that end fully onto the adapter, and tighten clockwise.


After tightening, gently pull back to confirm it is securely locked to prevent loosening during operation.

Route the other end of the duct outdoors (ensure compliance with local laws and regulations, and avoid causing environmental impact).

If you have an optional smoke purifier (sold separately), connect the printer's exhaust duct to the purifier's air inlet.

Then connect another duct from the purifier's outlet to vent the filtered air outdoors.


Tip: Once powered on, you can adjust the purifier fan speed using the knob. The filter cartridge should be replaced regularly.

¶ 4. Remove the air pump fixing screws
Use a 2.0 mm hex key to remove the red-marked screws securing the air pump.
Once the screw head is visible, hold it with your hand and remove slowly to prevent it from falling inside the printer.
It is recommended to keep the removed screws. If the printer needs to be transported, reinstalling them with the original packaging will help prevent damage during transit.

¶ 5. Install the laser module onto the printer, and connect the cables and air tube
Grip the lower part of the toolhead front cover and pull forward to remove it.
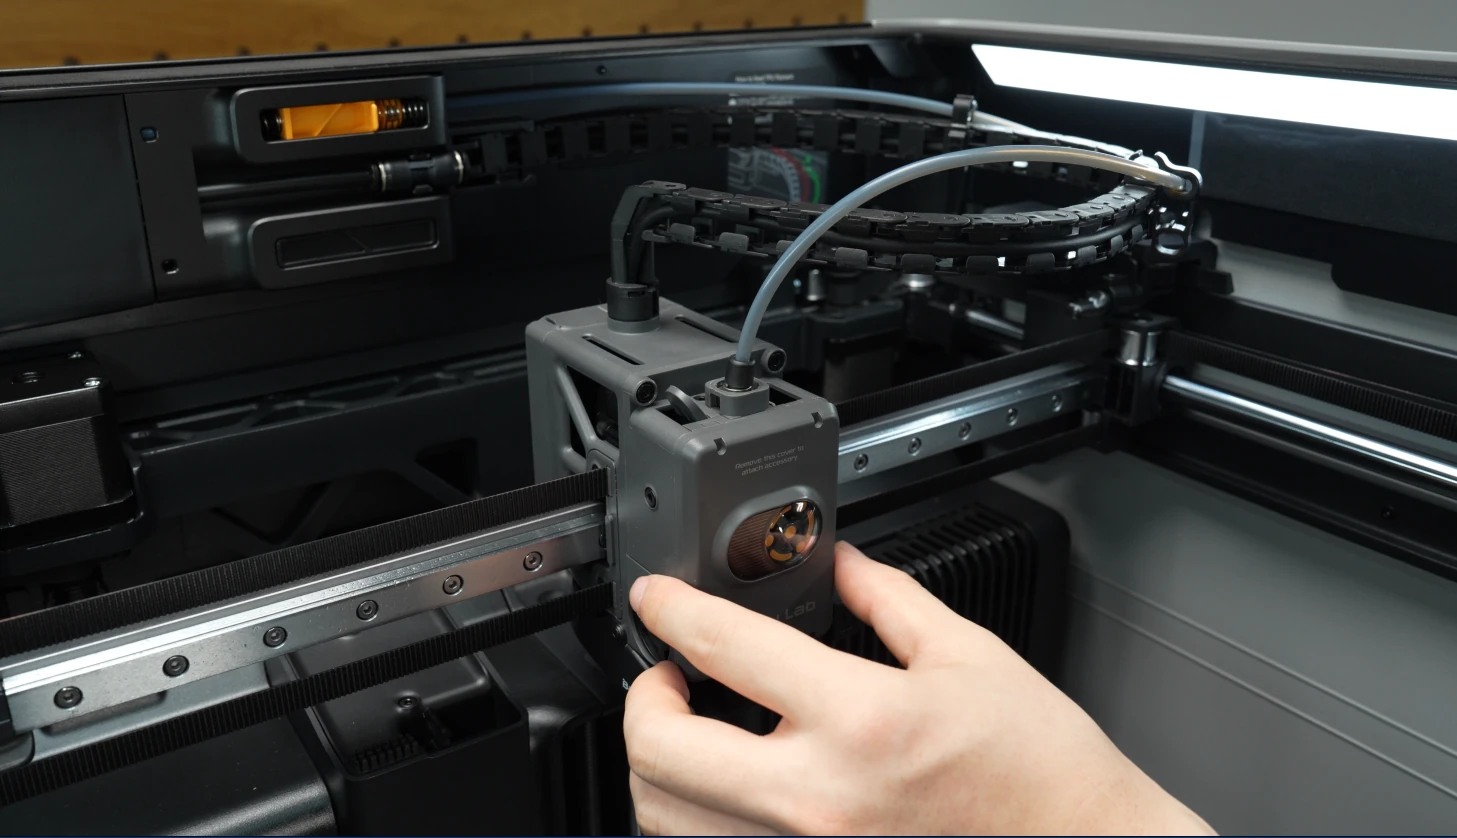
Next, remove the rotating indicator wheel.
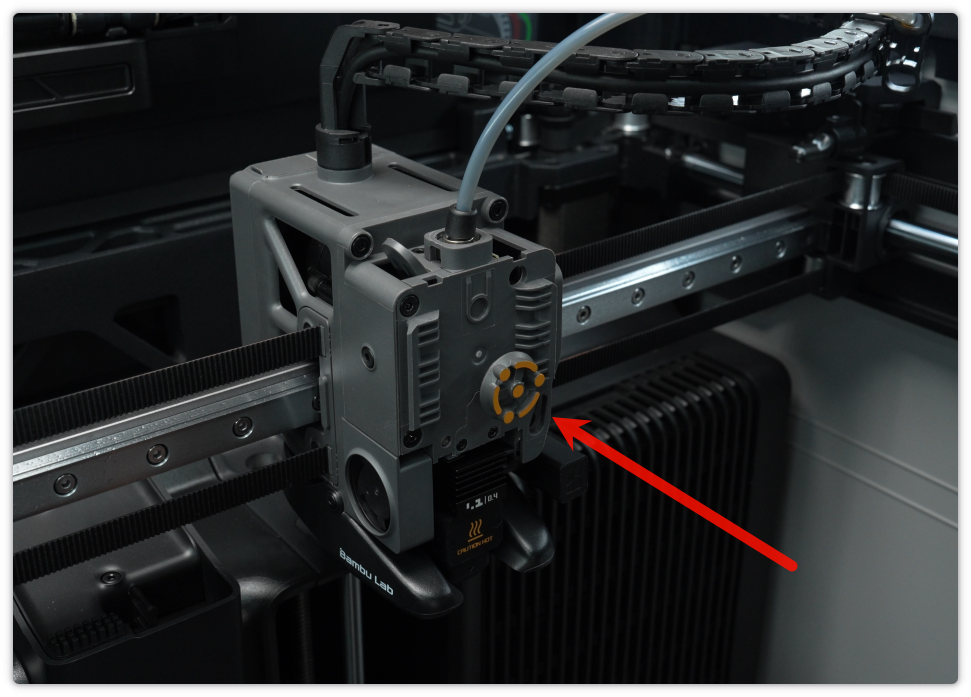
Align the laser module with the slot, slide it in along the track, and press the latch to secure it.
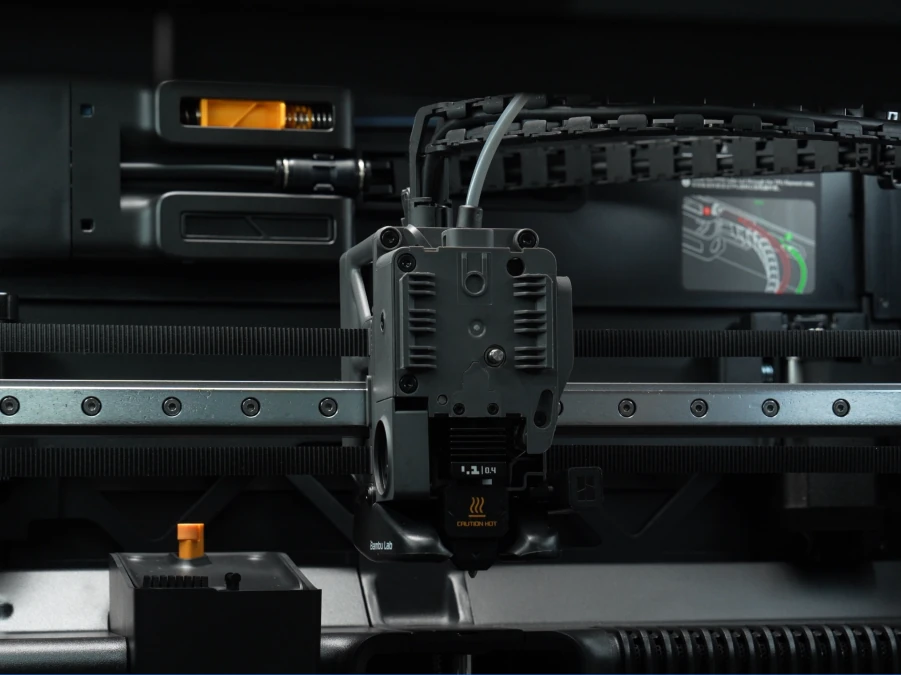
Note: Before printing, be sure to remove the laser protective film and check that there are no foreign objects or print debris inside the chamber to avoid a fire hazard.
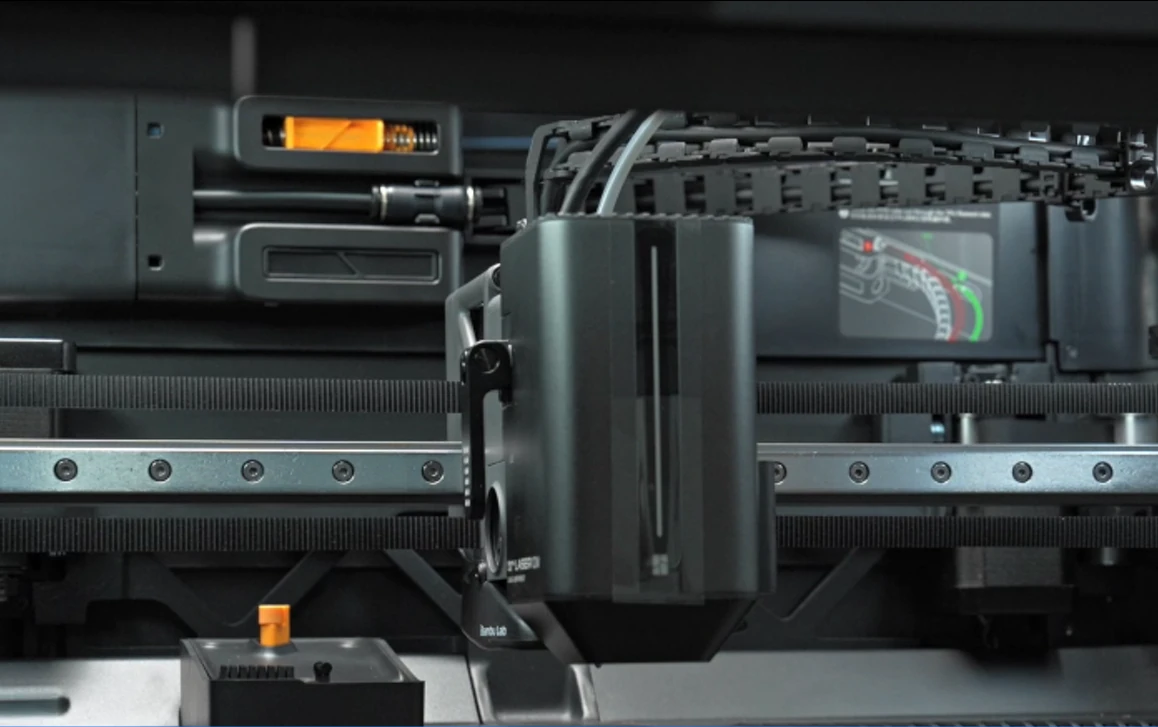
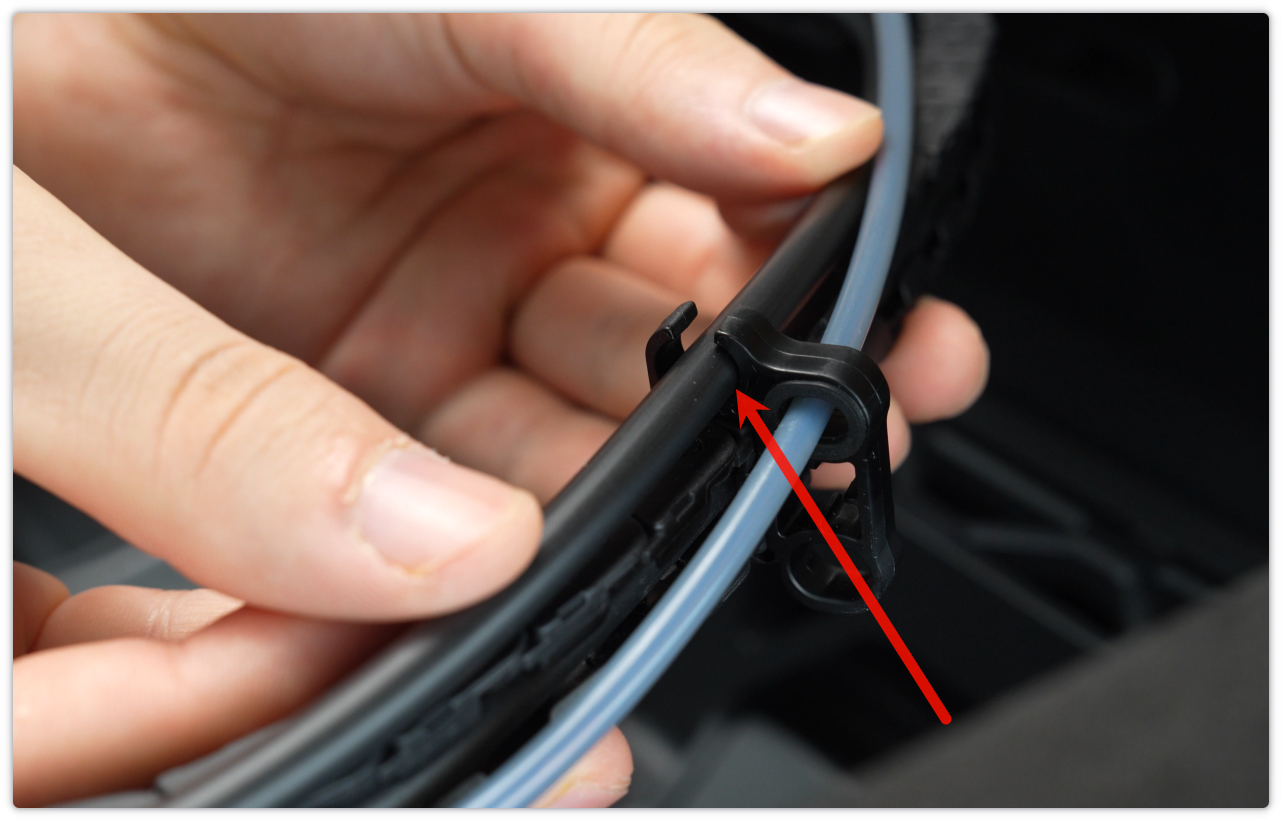
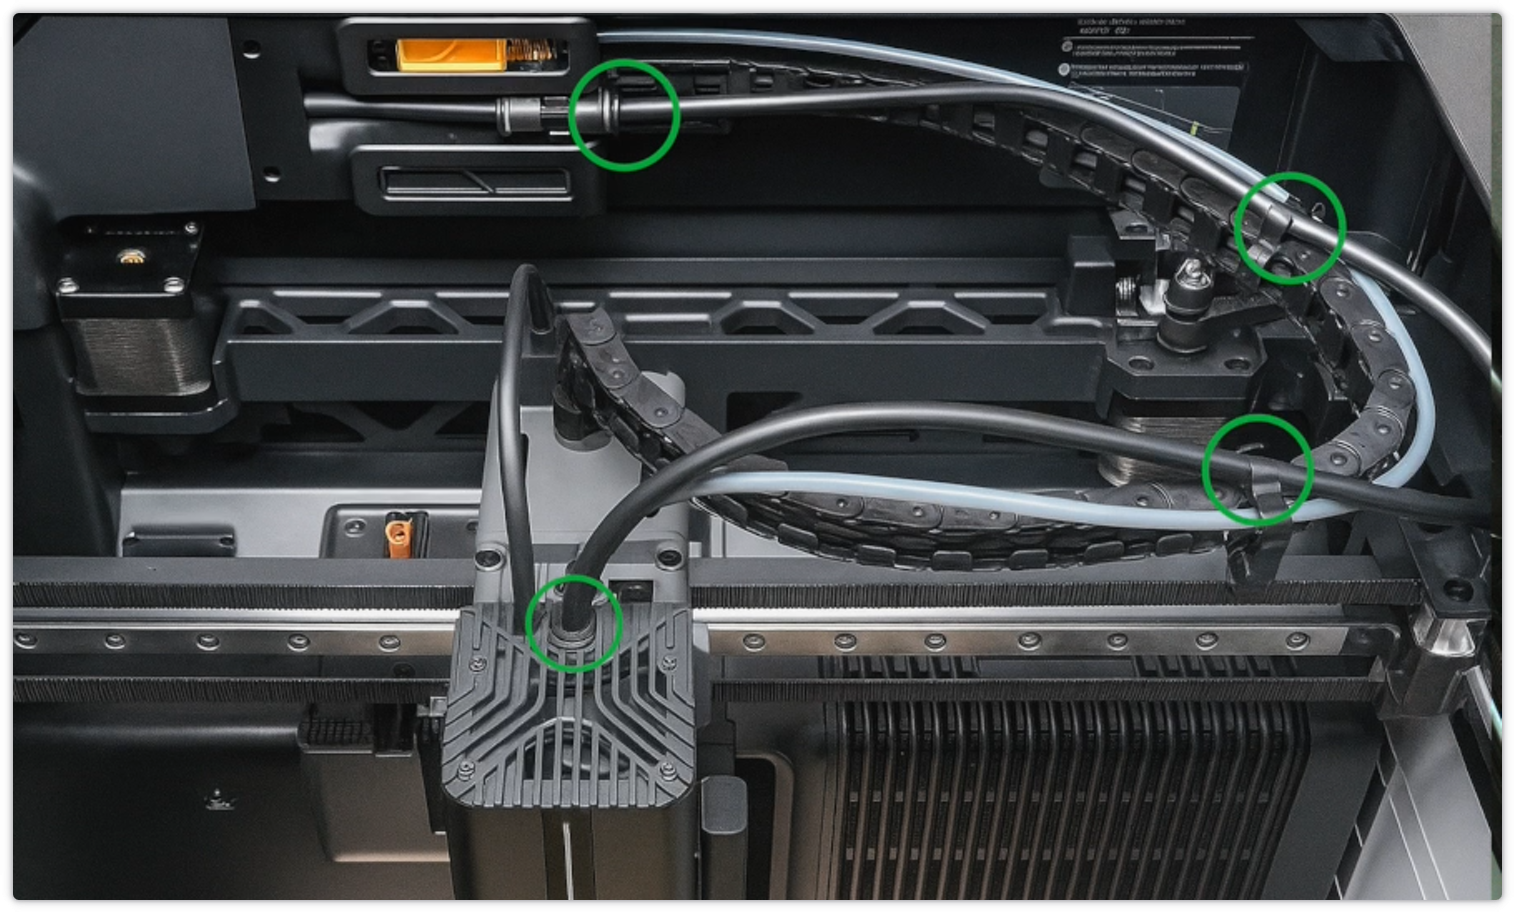
Connect one end of the air tube to the laser module and the other end to the pneumatic fitting on the back of the printer.
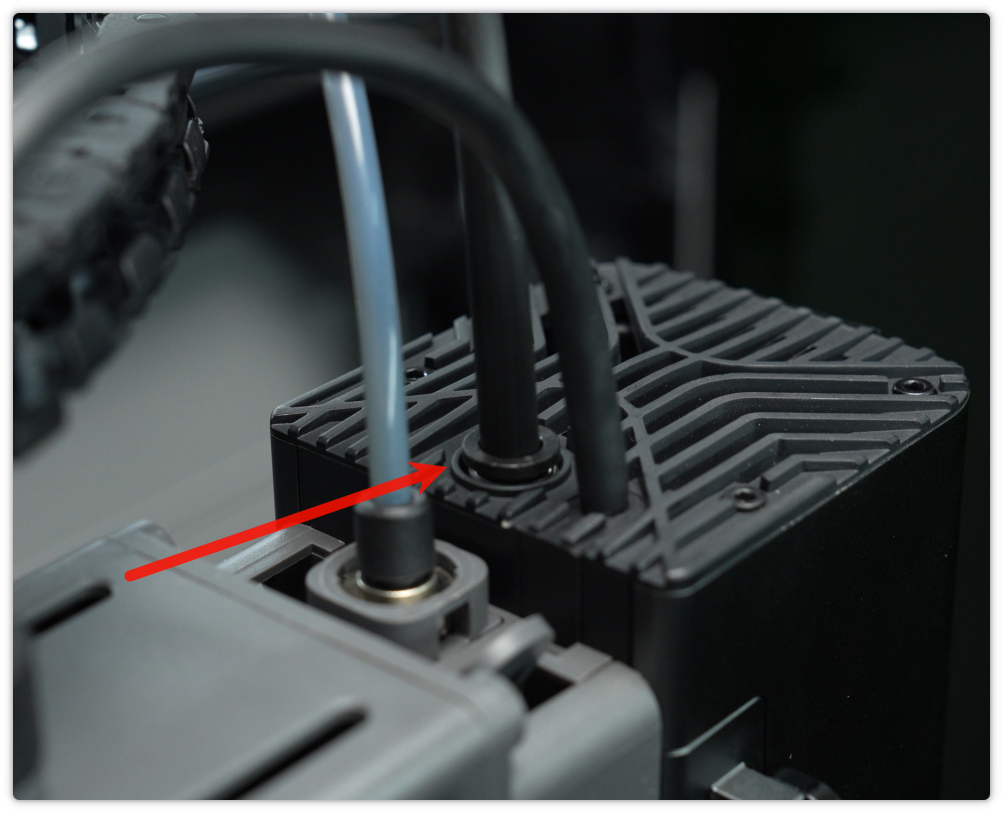
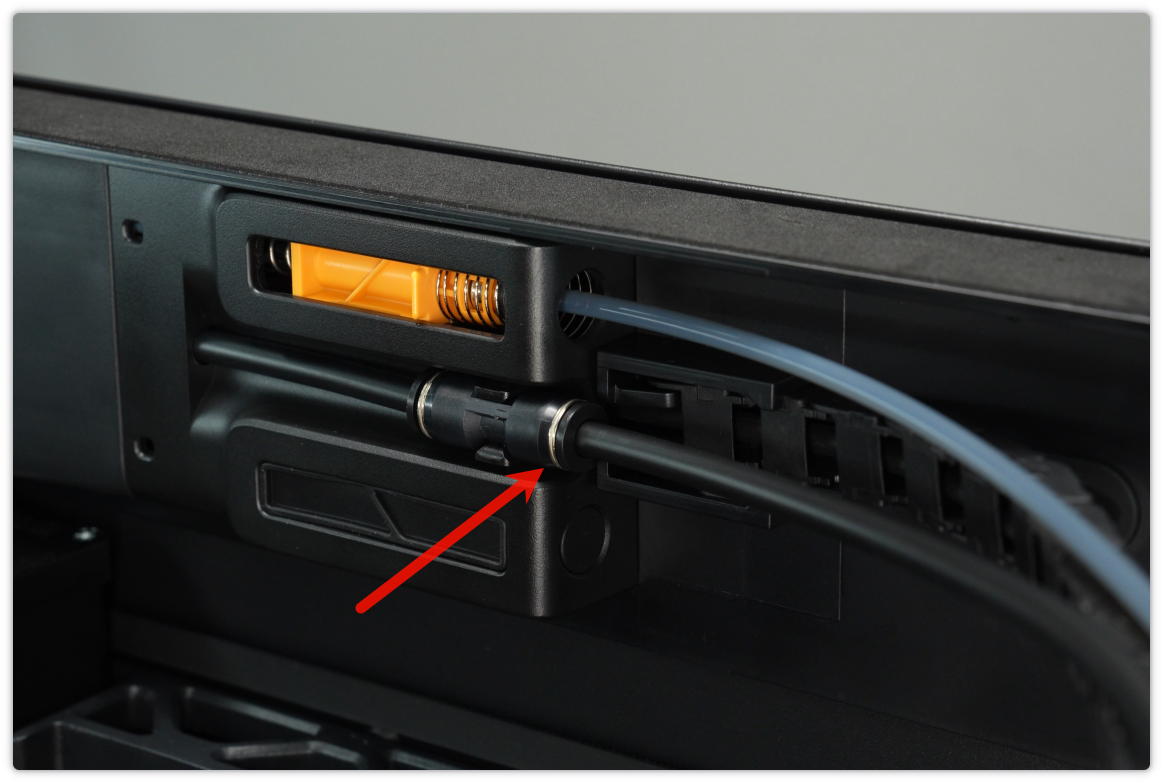
Press the connected air tube into the drag chain slot to prevent tangling or movement obstruction.
After installation, it should look as shown below:
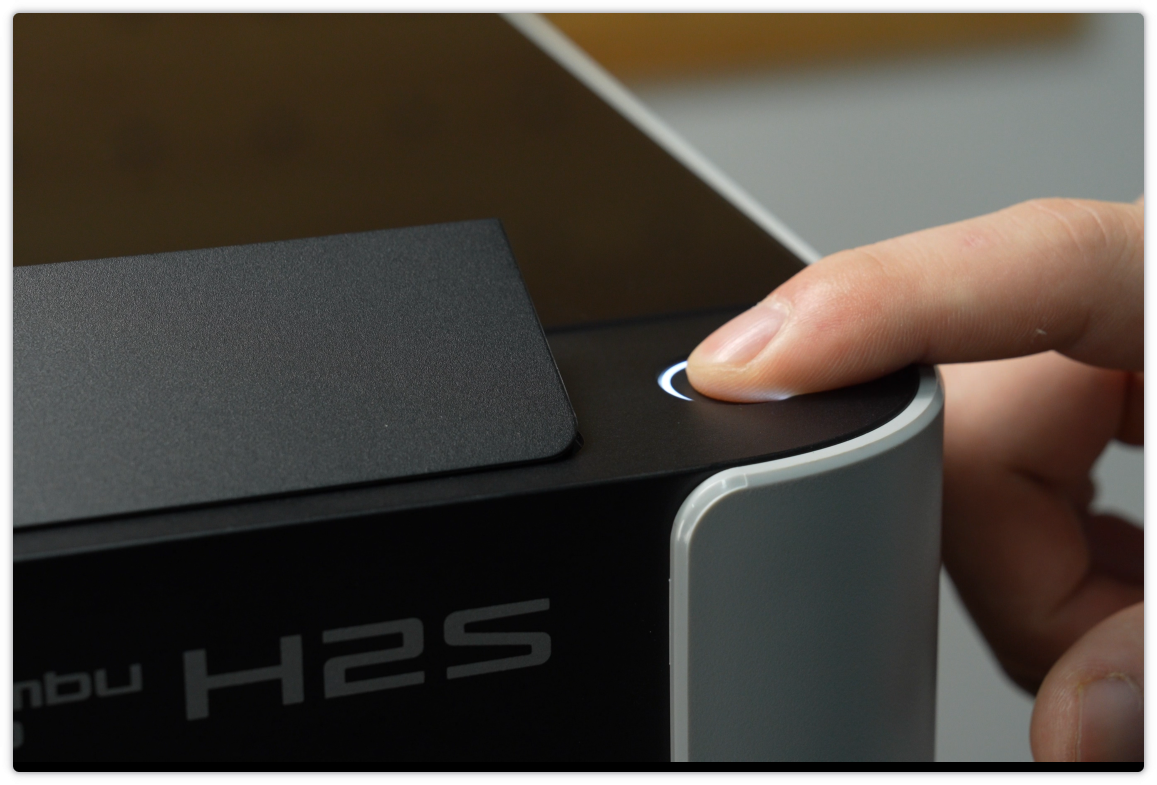
¶ 6. Turn on the printer

¶ 7. Top camera initial calibration
Before starting the top camera initial calibration, make sure there are no obstructions on the heated bed, especially over these visual calibration markers.


¶ 8. Install the laser honeycomb panel
Press both ends of the support bars into the honeycomb panel slots until you hear a “click” indicating they are secured.


The machine comes with 6 support bars.
For normal use, place one support bar every 4 slots, with the pointed end facing up.
When processing small materials (e.g., tags), you can remove the bars, reinstall them in reverse (flat side up), and arrange them closely together.


Place the honeycomb panel onto the heated bed, ensuring the two recognition markers align with the bed limit blocks.

¶ 9. First-time laser module installation initialization
Follow the on-screen prompts on the HMS page to enter the first-time installation initialization (can also be accessed via Settings → Toolbox) and complete the calibration as instructed.


After calibration is complete, open the front door and remove the laser focus calibration card.

¶ 10. Appendix
¶ Laser mounting calibration
The laser module requires initial calibration upon first installation.
Afterward, each time the laser module is powered on again, only the mounting calibration needs to be performed.


¶ Material hold-down block usage recommendations
When materials are severely warped, smooth and slippery, tall and unstable, or lightweight and prone to shifting, it is recommended to use hold-down blocks to stabilize them.
In general, it is recommended to use hold-down blocks for hard wood boards and metal plates, while for other materials, usage can be determined based on the situation.
This example video uses cork sheets to demonstrate the hold-down block usage.
One side of the block is sloped — when facing the material, it applies better pressure.
However, avoid deforming the material.


¶ End Notes
We hope the detailed guide provided has been helpful and informative.
If this guide does not solve your problem, please submit a technical ticket, we will answer your questions and provide assistance.
If you have any suggestions or feedback on this Wiki, please leave a message in the comment area. Thank you for your support and attention!