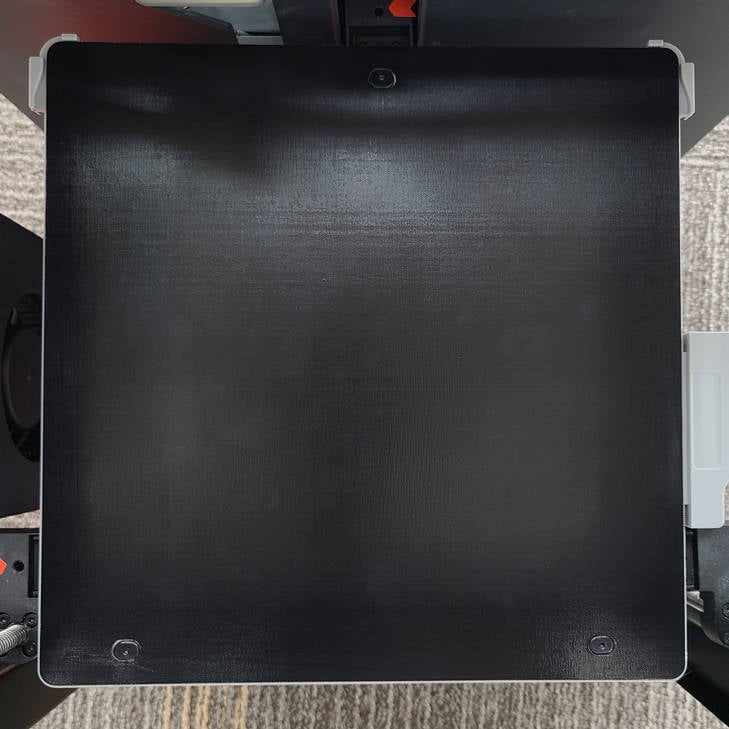
¶ Heatbed Surface Magnet
The Heatbed Surface Magnet is a magnetized soft rubber adhered to the heatbed aluminum base plate. Its primary purpose is to ensure a strong magnetic connection with the build plate.
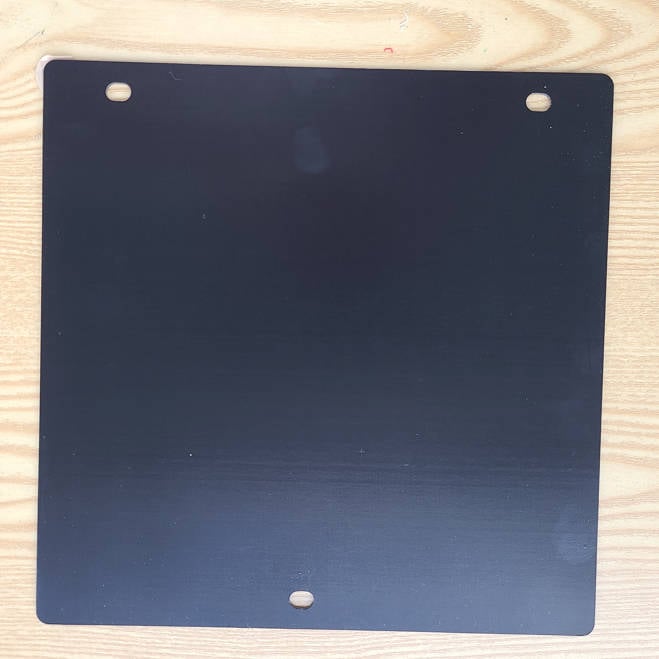
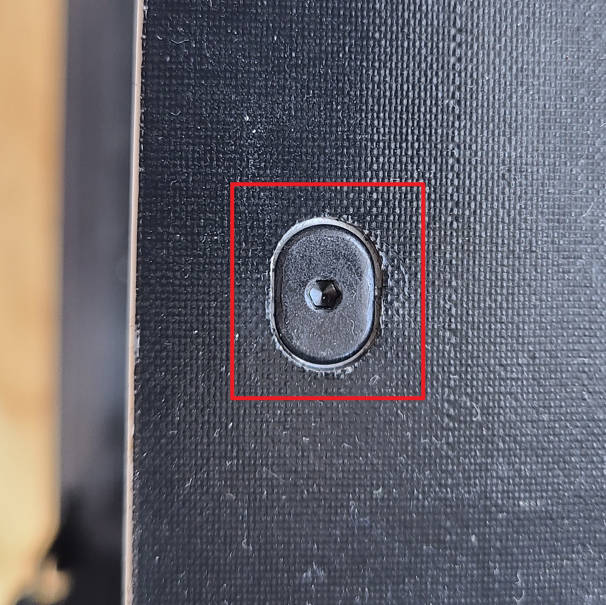
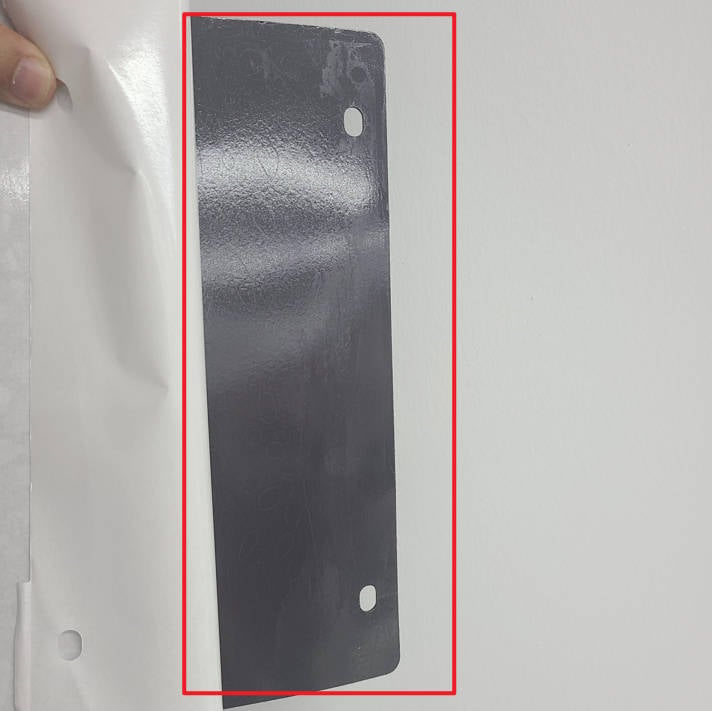
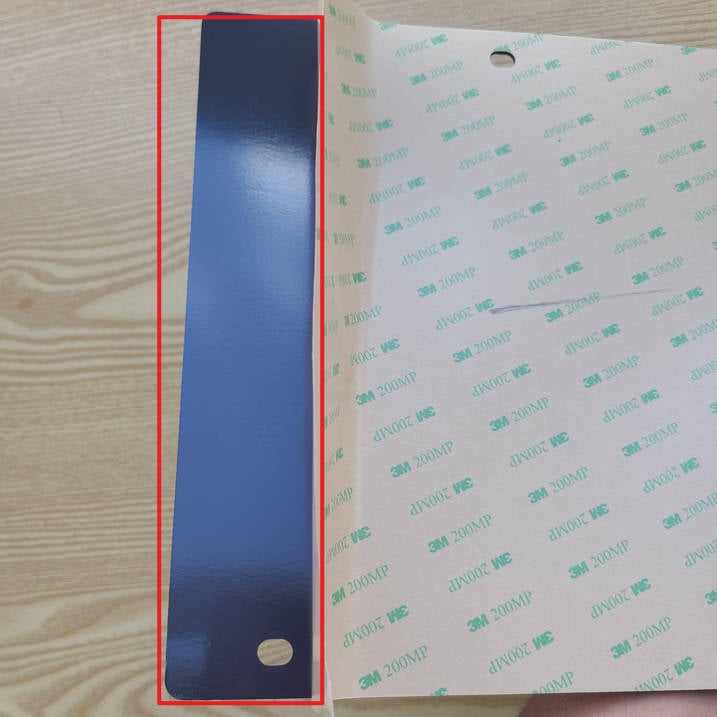
In our P1 series printers, there are two versions of the Heatbed Surface Magnet due to structural differences. One version features holes to accommodate leveling screws, while the other version does not.
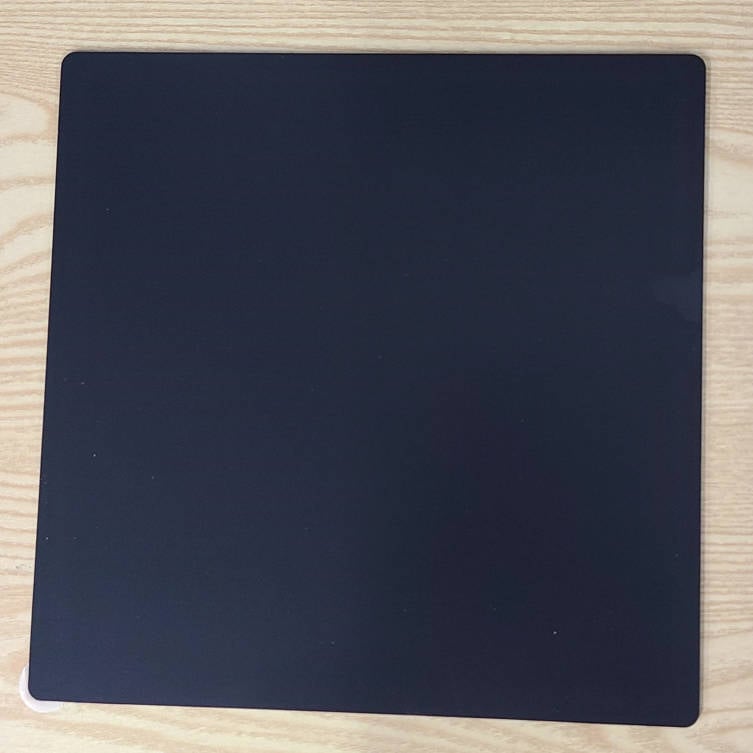
The X1 series printers utilize the version without holes.
 |
 |
If your printer requires a replacement for the surface magnet, please ensure that you order the correct version to avoid any errors.
In case you mistakenly purchased the wrong version, it is still possible to proceed with the replacement. After attaching the surface magnet, you only need to create holes in the corresponding positions to fully expose the screws below.
¶ When to replace
1. If the surface magnet is bubbling, noticeable bulges may occur after placing the build plate.
2. If the surface magnet is damaged and turned upward, visible bulges may appear after the build plate is positioned.
3. If the surface magnet lacks sufficient strength to attract the build plate.
Warm reminder: Minor scratches, dents, or small-scale damage on the surface magnet won't impact printing functionality and don't require replacement, as long as the build plate remains securely in place.
¶ Tool List
- A new heatbed surface magnet
- Gloves
- Clean Cloth
- Alcohol
- Scraper
¶ Safety Warning
IMPORTANT!
It's crucial to power off the printer before performing any maintenance work on the printer and its electronics, including tool head wires, because leaving the printer on while conducting such tasks can cause a short circuit, which can lead to additional electronic damage and safety hazards.
When you perform maintenane or troubleshooting on the printer, you may be required to disassemble some parts, including the hotend. This process can expose wires and electrical components that could potentially short circuit if they come into contact with each other or with other metal or electronic components while the printer is still on. This can damage the electronics of the printer and cause further damage.
Therefore, it's essential to switch off the printer and disconnect it from the power source before doing any maintenance work. This will prevent any short circuits or damage to the printer's electronics. By doing so, you can avoid potential damage to the printer's electronic components and ensure that the maintenance work is performed safely and effectively.
If you have any concerns or questions about following this guide, open a new ticket in our Support Page and we will do our best to respond promptly and provide you with the assistance you need.
¶ Remove the faulty old Heatbed Surface Magnet
Whether it's a Heatbed Surface Magnet with or without holes, the removal procedure is identical. Here, we illustrate the process using a Heatbed Surface Magnet with holes as an example.
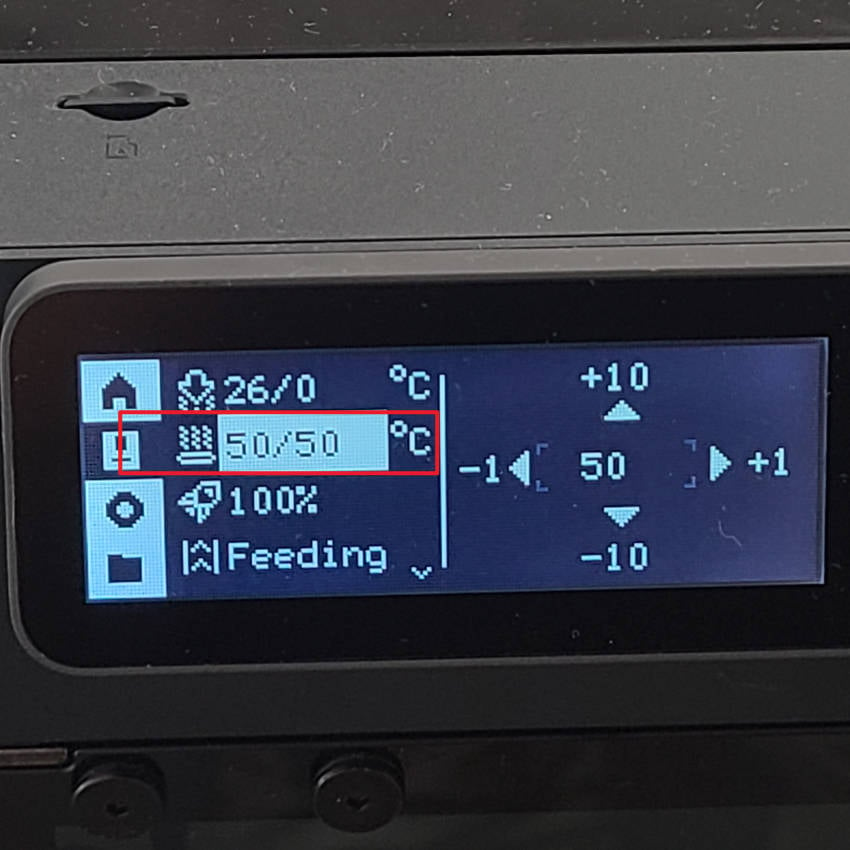
¶ Step 1 - Heat the Heatbed
Typically, a pre-heated heatbed facilitates the easier removal of the surface magnet.
Start the printer, set the heatbed to 50 degrees Celsius, then turn off and disconnect the power.
For ease of operation when attaching the new surface magnet, adjust the screws to be perfectly parallel to the holes of the magnet.
|
|
|
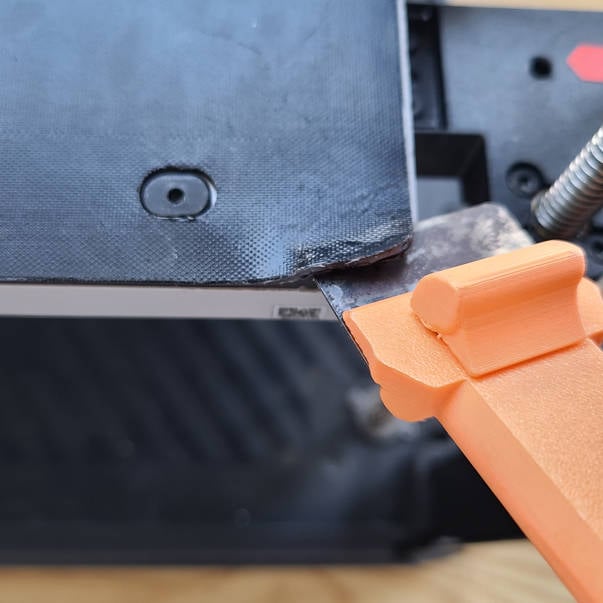
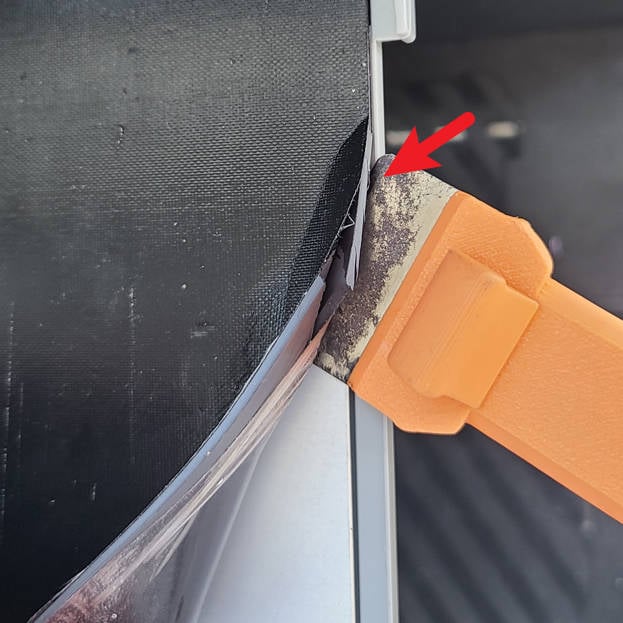
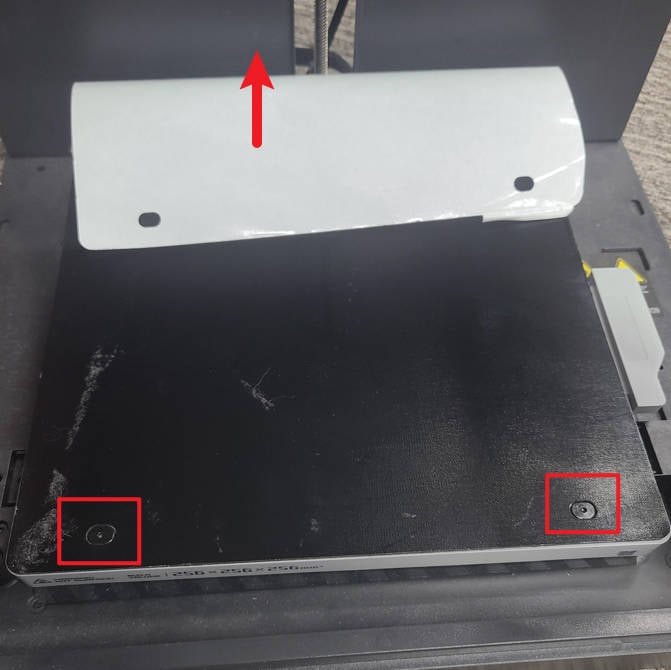
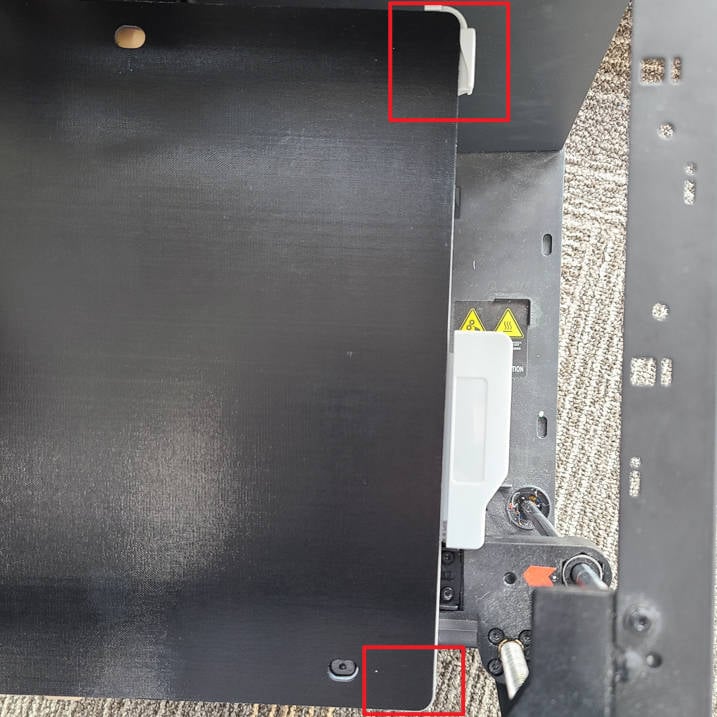
¶ Step 2 - Remove the Heatbed Surface Magnet
Use a scraper to gently pry up the surface magnet from the corner. Ensure that the double-sided tape on the surface magnet is lifted away from the aluminum substrate simultaneously, preventing any residual adhesive on the aluminum surface.
 |
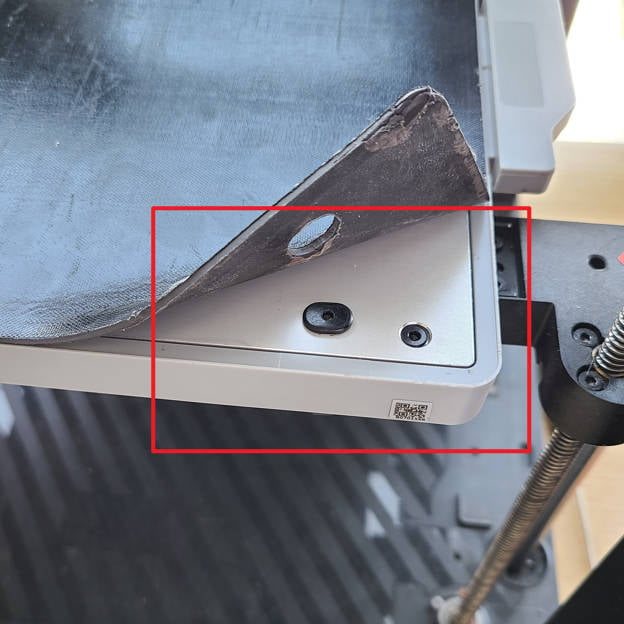 |
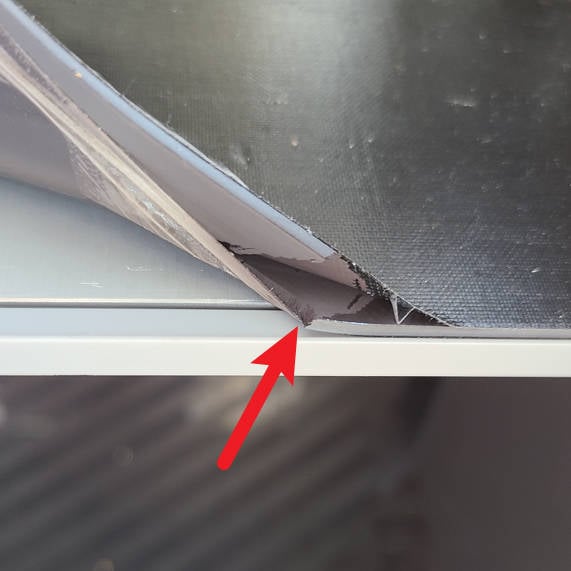
If any damage occurs during the removal of the surface magnet, it is advisable to pause, use a scraper to assist in prying up the remaining part, and then proceed with the removal of the surface magnet.
 |
 |
The process of tearing off the surface magnet demands a slow and deliberate operation, with the position of the surface magnet continually adjusted. Additionally, because there is a heated bed, it is essential to wear insulated gloves to prevent potential high-temperature burns and blisters resulting from prolonged contact with the hot surfaces.
A video clip:
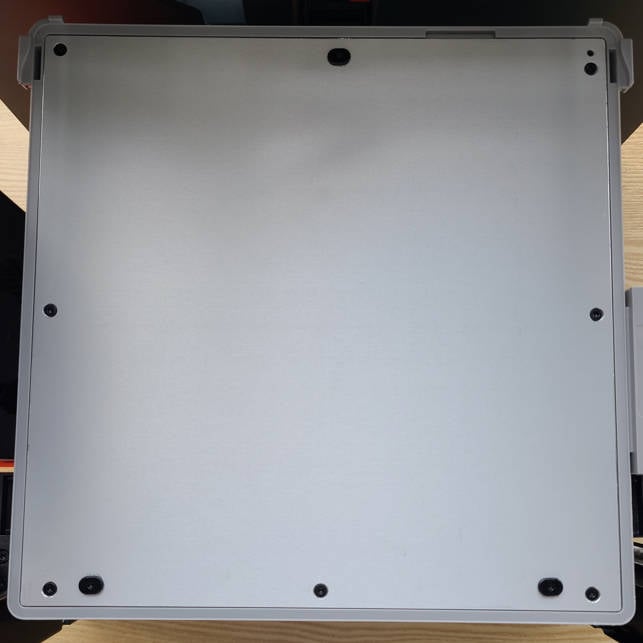
¶ Step 3 - Clean the Aluminum Substrate
After removing the surface magnet, it is necessary to clean the surface of the aluminum substrate before attaching a new one. This involves removing any residual glue, fingerprints, or oil stains. Spray alcohol onto the surface of the aluminum substrate, and then thoroughly clean the surface with a clean cloth.
¶ Install a new Heatbed Surface Magnet
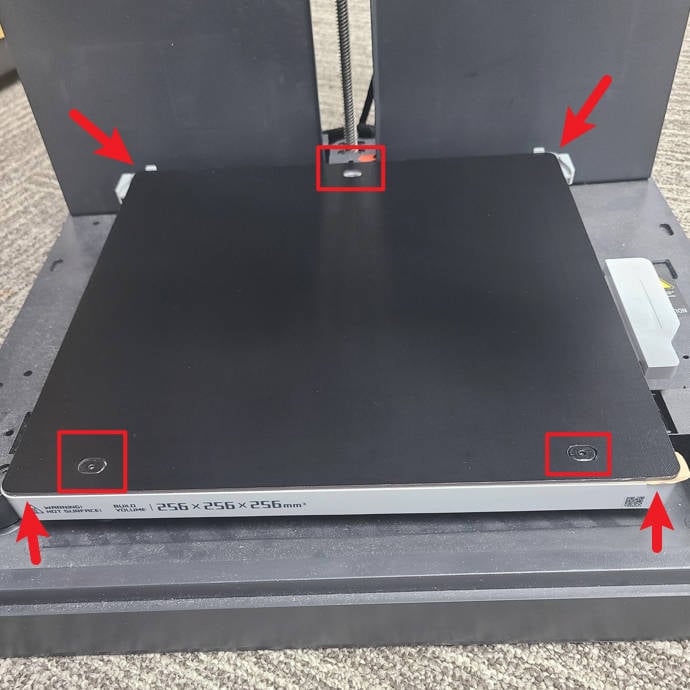
¶ Step 1 - Confirm installation location
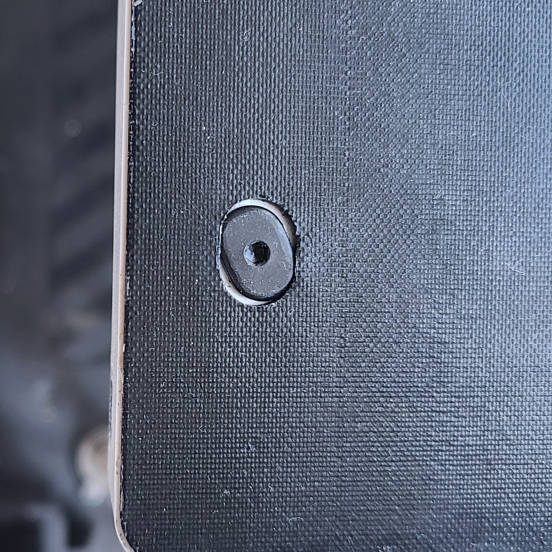
Before attaching the surface magnet, it is advisable to place it with protective paper on the heatbed surface and confirm the installation direction and position. Particularly for the version with holes, ensure alignment of the holes with the leveling screws.
¶ Step 2 - Attach the Heatbed Surface Magnet
When attaching the magnetic surface with holes, follow these steps:
- Begin by peeling off a section of the protective paper.
- Align the two holes with the two leveling screws at the front.
- Pull the protective paper from front to back, attaching the surface magnet to the aluminum substrate.
 |
 |
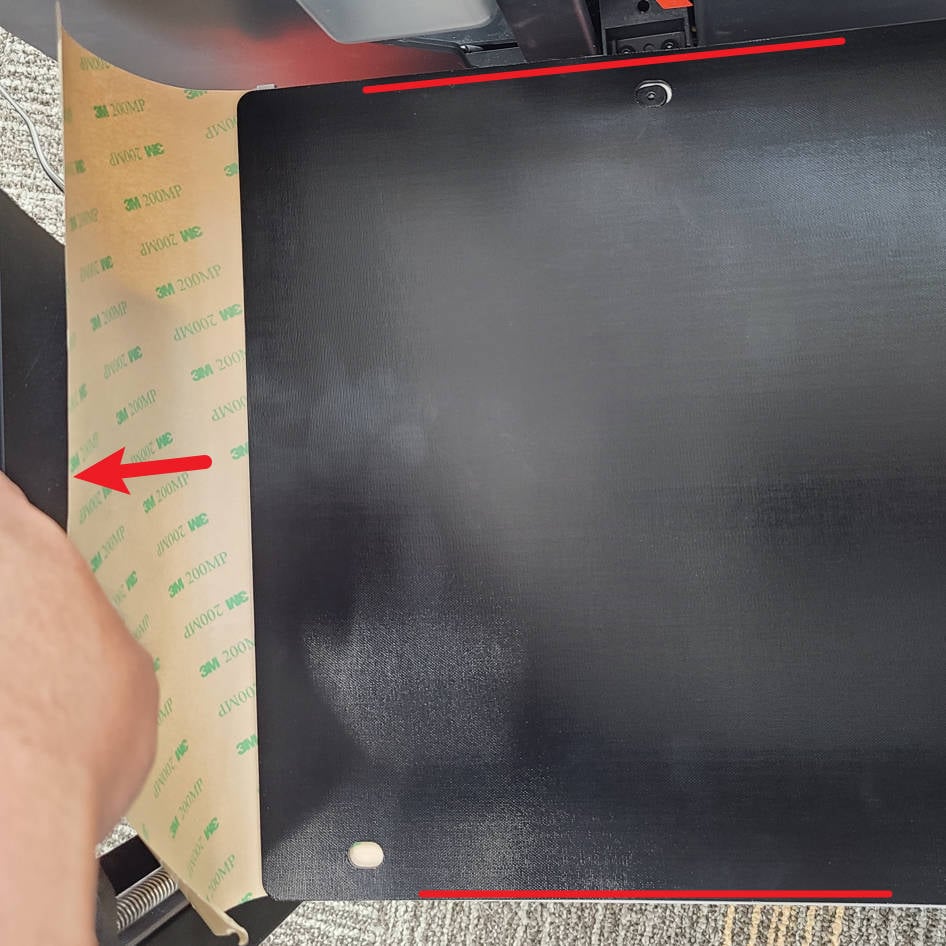
When attaching the surface magnet without holes, follow these steps:
- Align the right edge first, leaving a gap of about 0.5mm between the surface magnet and the right edge of the heatbed.
- Keep the inner and outer sides parallel.
- Pull out the protective paper to the left, attaching the surface magnet to the aluminum substrate of the heatbed from right to left.
 |
 |
 |
Please note that during the process of attaching the surface magnet, avoid pressing it with your hand. Pay attention to any potential offset, and make necessary fine adjustments as needed.
If a small deviation is observed after attaching the surface magnet, but it does not exceed the edge strip of the heatbed, there is no need to reattach it. Repeated removal of the surface magnet may result in wrinkles.
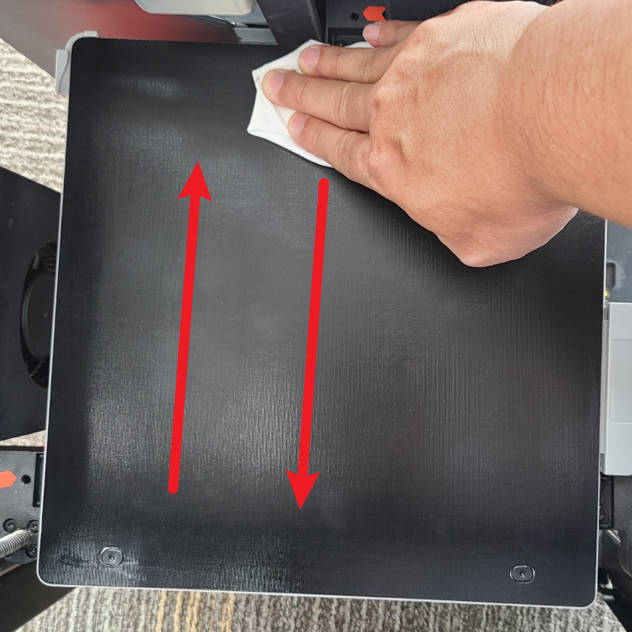
¶ Step 3 - Clean and Pressurize
After confirming that the surface magnet is in place, you can clean it. Dip a clean cloth in alcohol, clean the surface in a back-and-forth motion, and apply moderate pressure to ensure a firm attachment of the surface magnet while cleaning.
 |
 |
¶ Verify the functionality
After replacing the heatbed surface magnet, please refer to the Manual Bed Tramming to perform a manual leveling operation.
¶ Calibration
After completing the operation, it is recommended to perform a printer calibration to ensure the proper functioning of the heatbed and related components.
¶ End Notes
We hope that the detailed guide we shared with you was helpful and informative.
We want to ensure that you can perform it safely and effectively. If you have any concerns or questions regarding the process described in this article, we encourage you to reach out to our friendly customer service team before starting the operation. Our team is always ready to help you and answer any questions you may have.
Click here to open a new ticket in our Support Page.
We will do our best to respond promptly and provide you with the assistance you need.