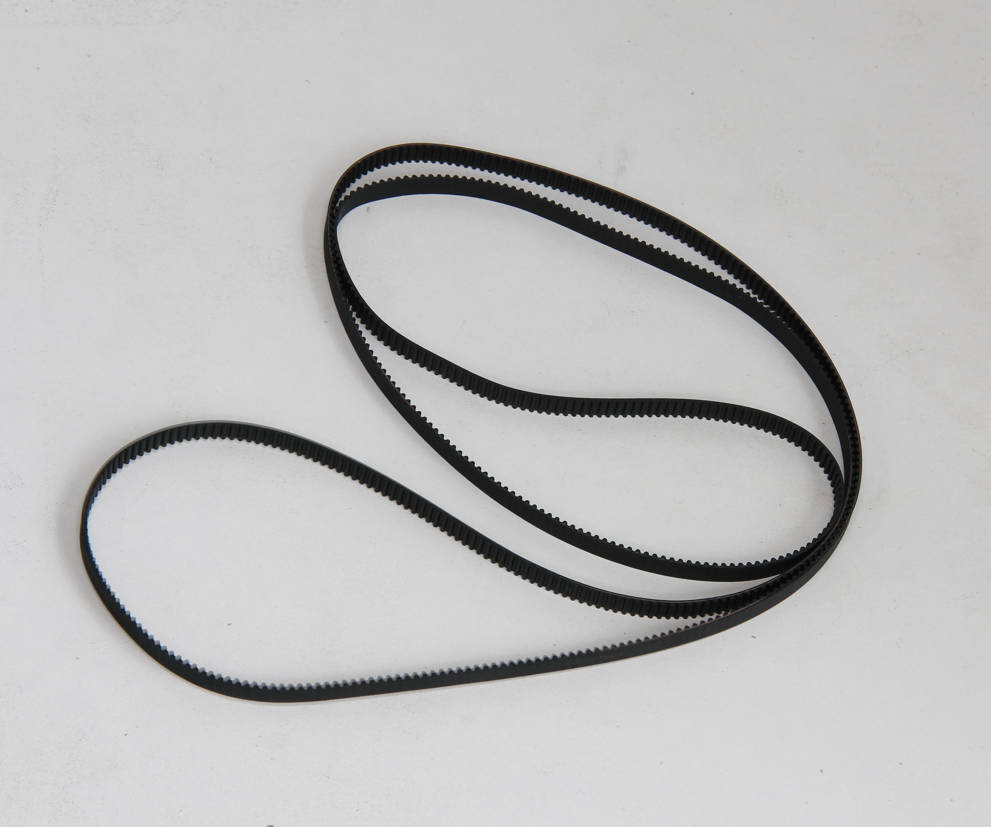
¶ Z timing belt
¶ Tools
H2.0/H1.5 hex key
Tweezers
¶ Preparation
Disconnect the power cord cable
¶ Disassembly
¶ Step 1 - Lower the heat bed and lock the Z-axis sliders
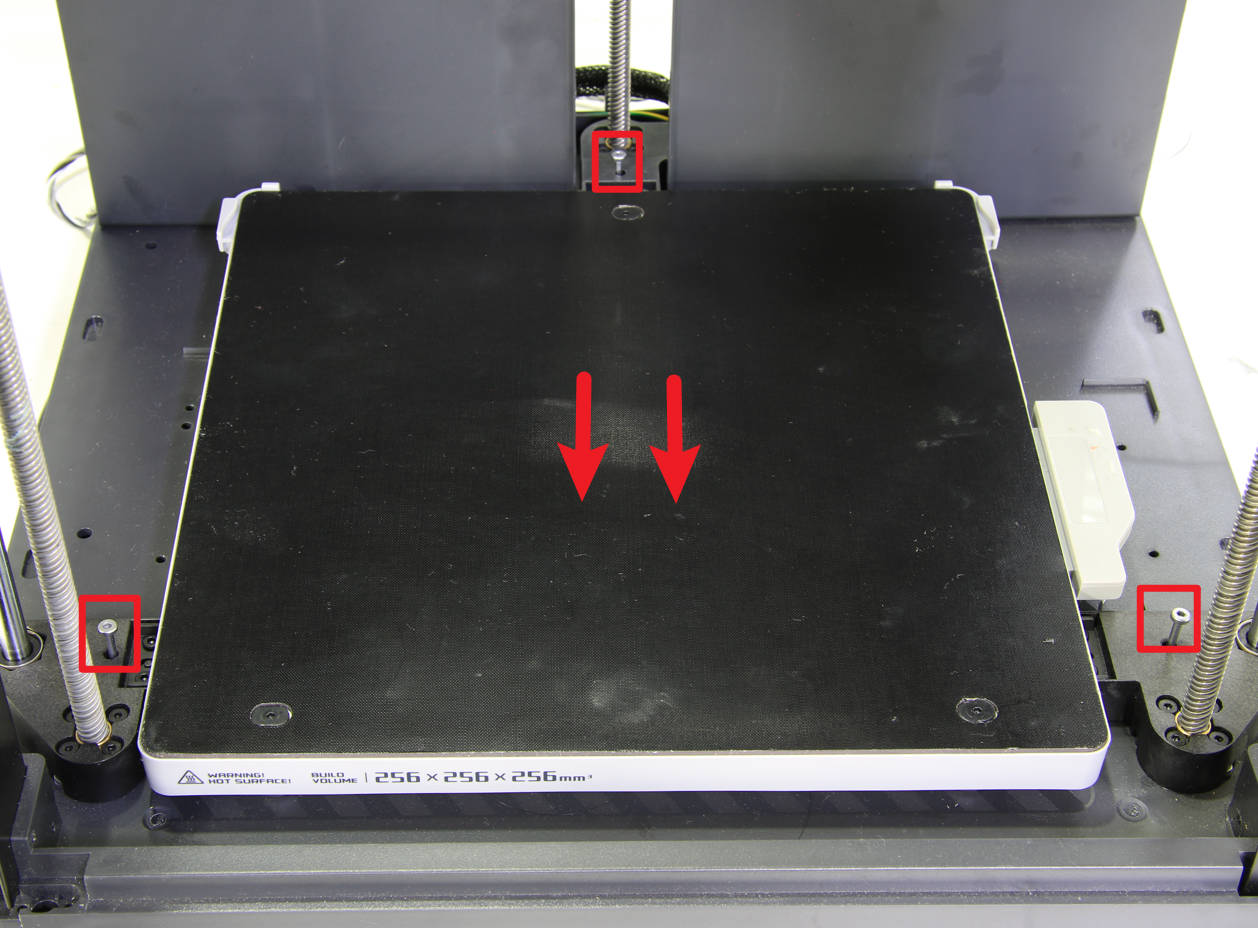
Tilt the printer, pull the Z-axis belt to lower the heat bed to the bottom, and lock in 3 auxiliary screws to fix the 3 Z-axis sliders.
¶ Step 2 - Remove screws
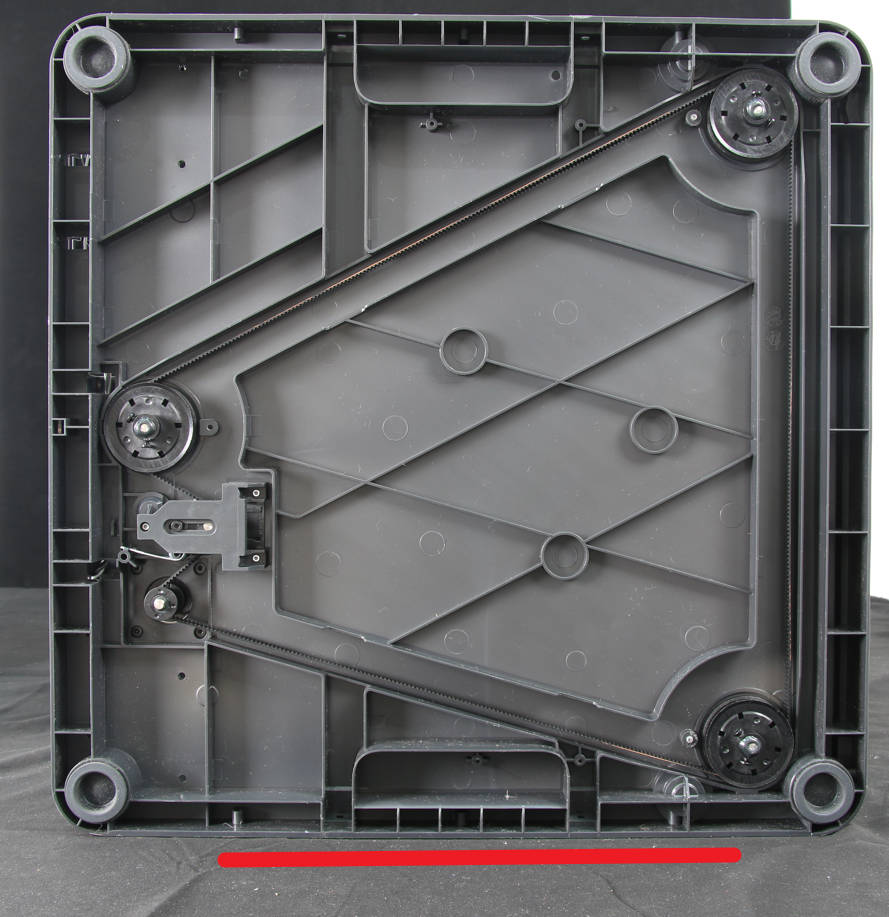
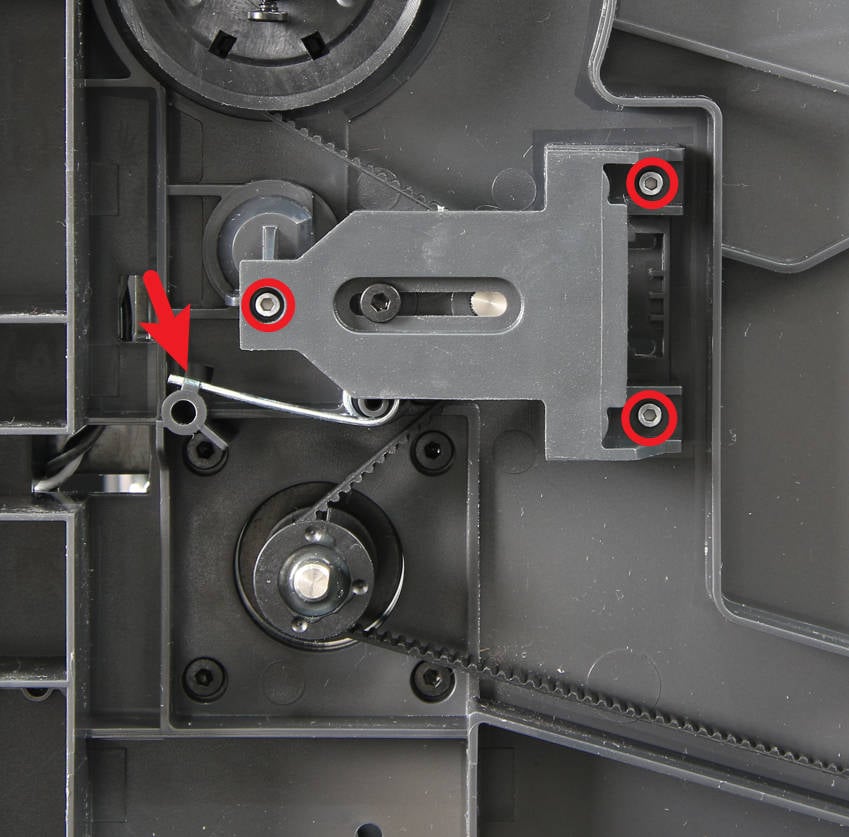
Right side down the printer, release the Z tension spring and remove the 3 screws of the tensioner cover with the H1.5 hex key.
 |
 |
¶ Step 3 - Remove the Z tensioner
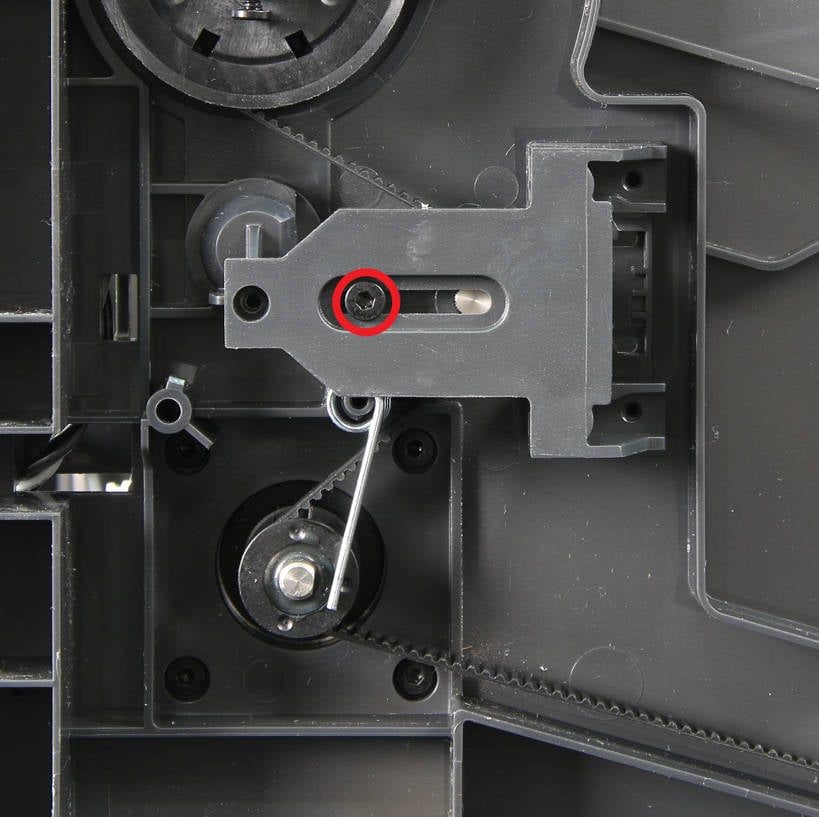
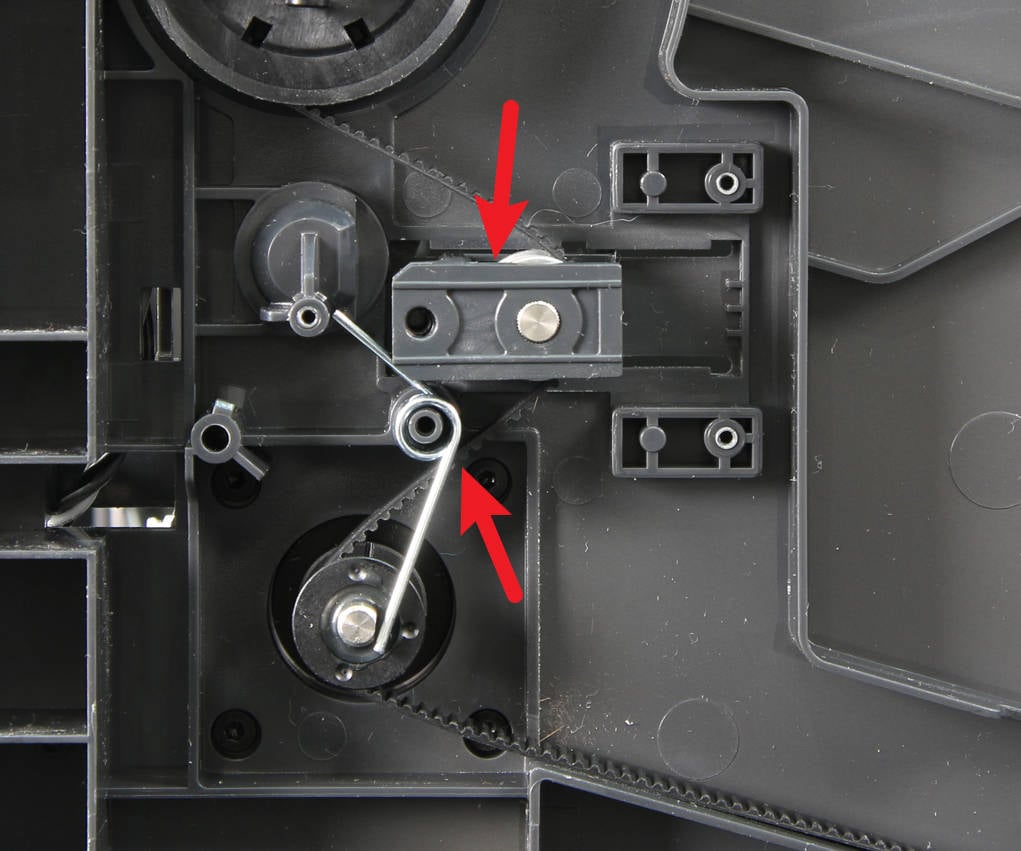
Remove the tensioner screw with the H2.0 hex key, take off the Z tensioner cover, and remove the Z tensioning spring and Z tensioner.
 |
 |
¶ Step 4 - Remove the Z timing belt
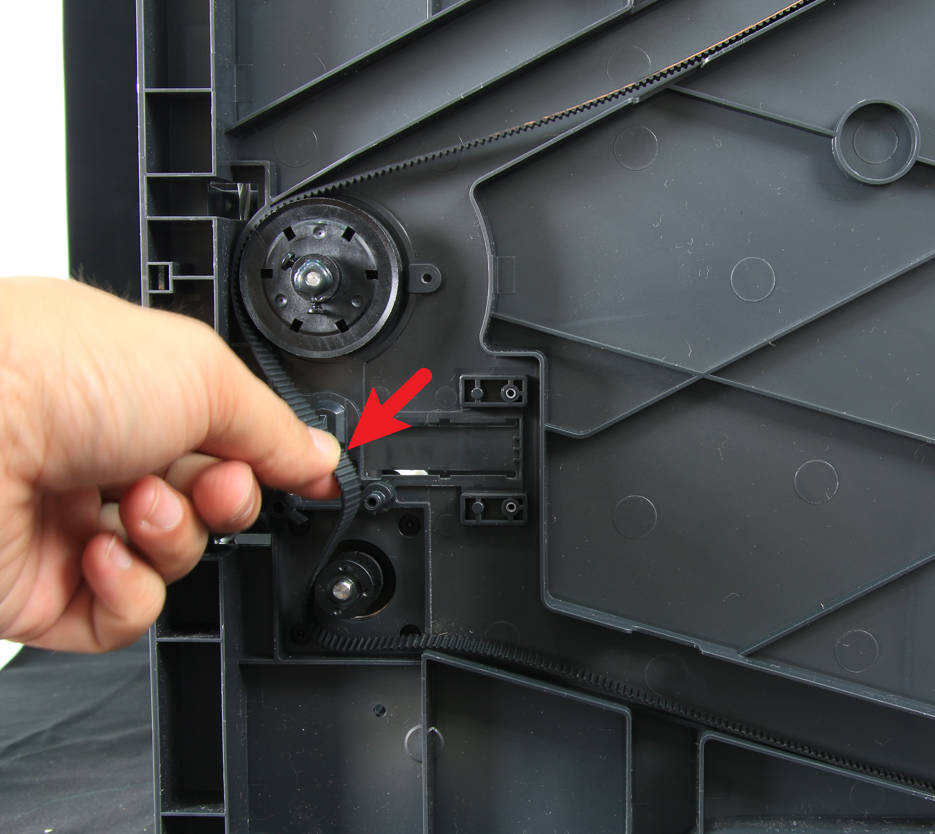
At this time, the Z timing belt can be removed directly.
¶ Assembly
¶ Step 1 - Install the Z timing belt
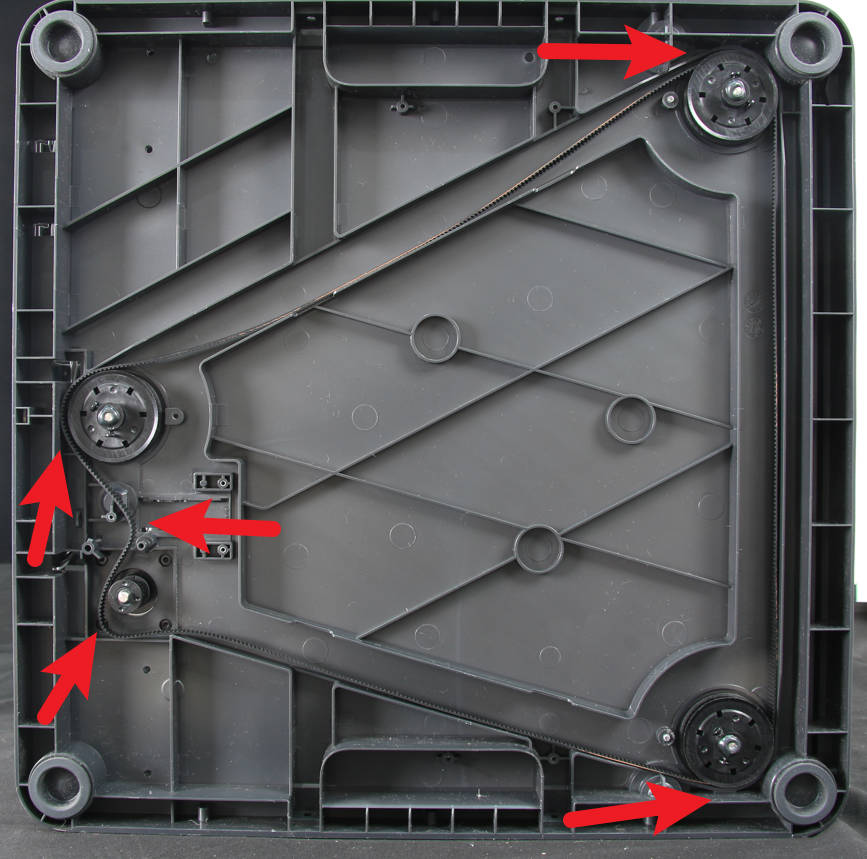
Install the Z timing belt to the bottom of the printer, place it as shown in the figure, and pay attention that the teeth side should face inward.
¶ Step 2 - Remove the Z tensioner and spring
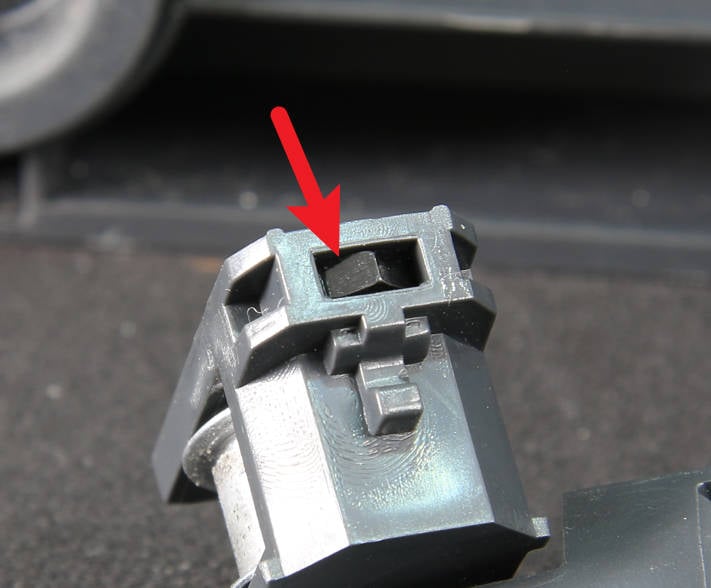
Confirm that the nut on the tensioner is in place, and then install the tensioner and the spring, pay attention not to reverse the direction of the long and short arms of the spring.
 |
 |
¶ Step 3 - Install the tensioner cover
Install the tensioner cover, lock in 1 tensioner screw (do not tighten) and 3 cover secure screws, and then snap the long arm of the spring in place.
 |
 |
¶ Step 4 - Unlock the Z sliders
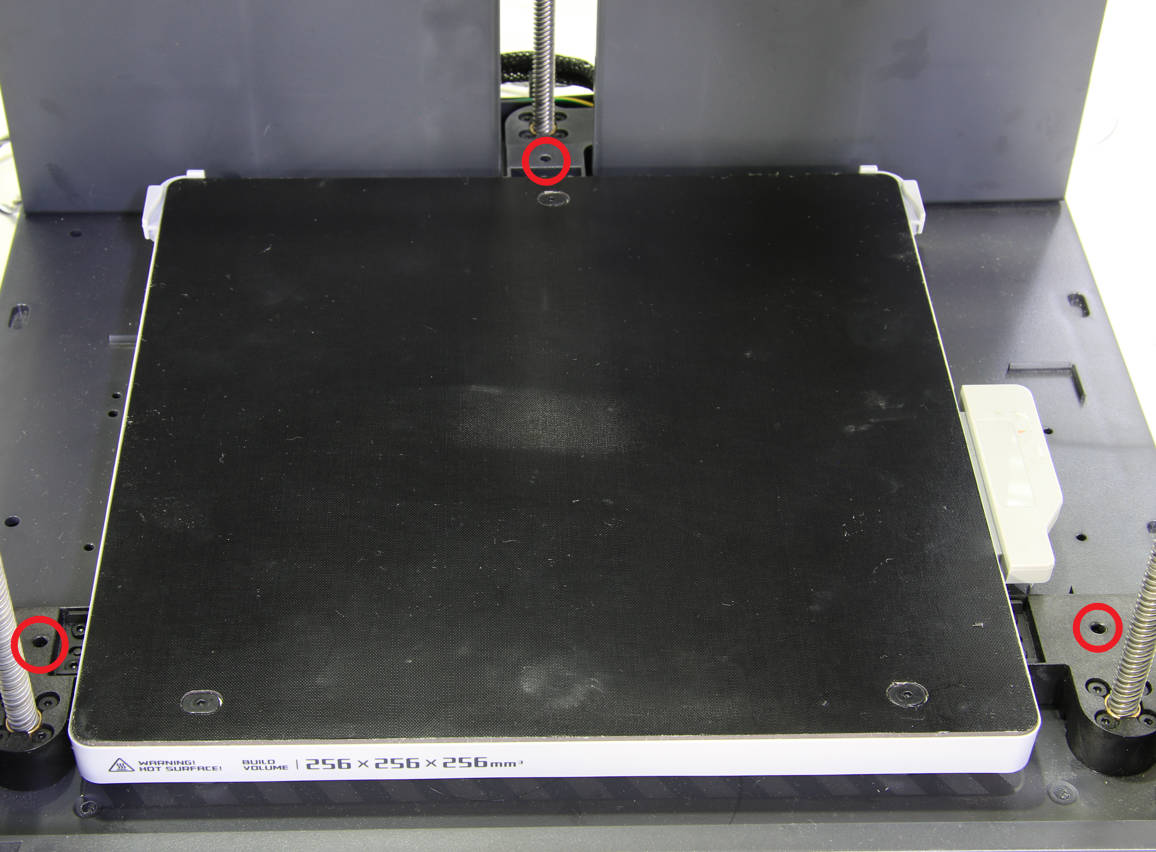
Put the printer upright, and then remove the 3 screws that lock the Z sliders.
¶ Step 5 - Lock tensioner screws
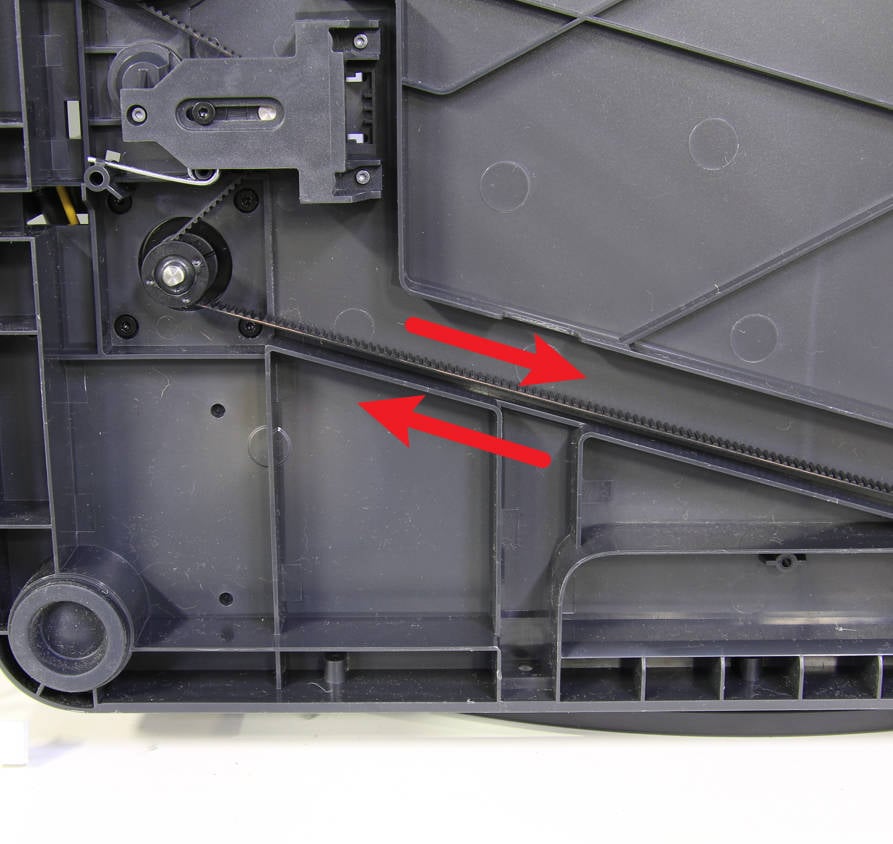
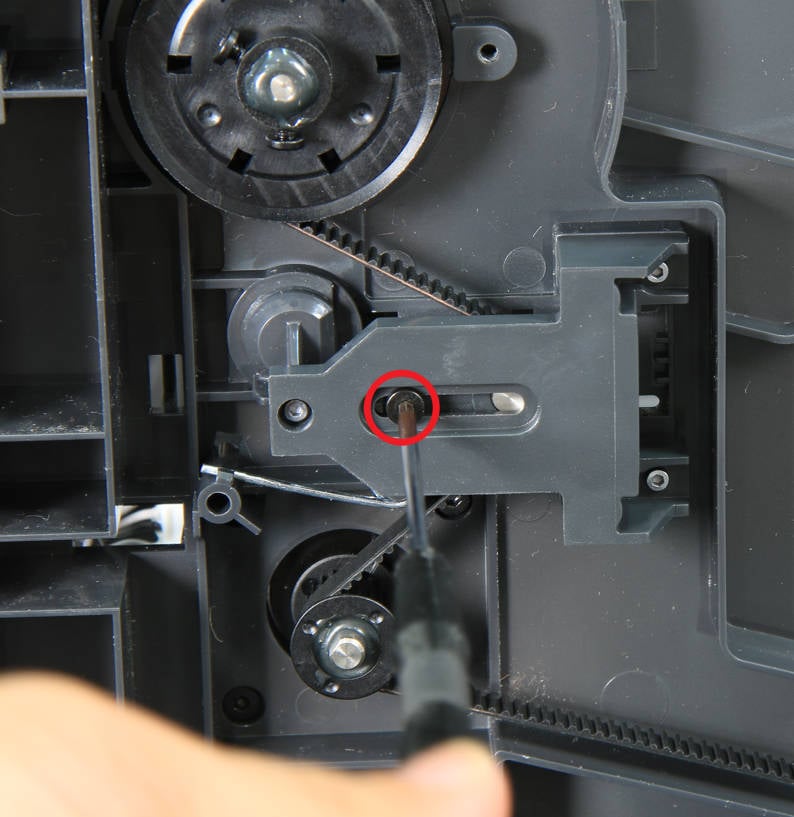
Right side down the printer again, pull the Z belt to move the heat bed up and down, confirm that there is no abnormality in the movement, and then lock the tensioner screw.
 |
 |
¶ How to verify
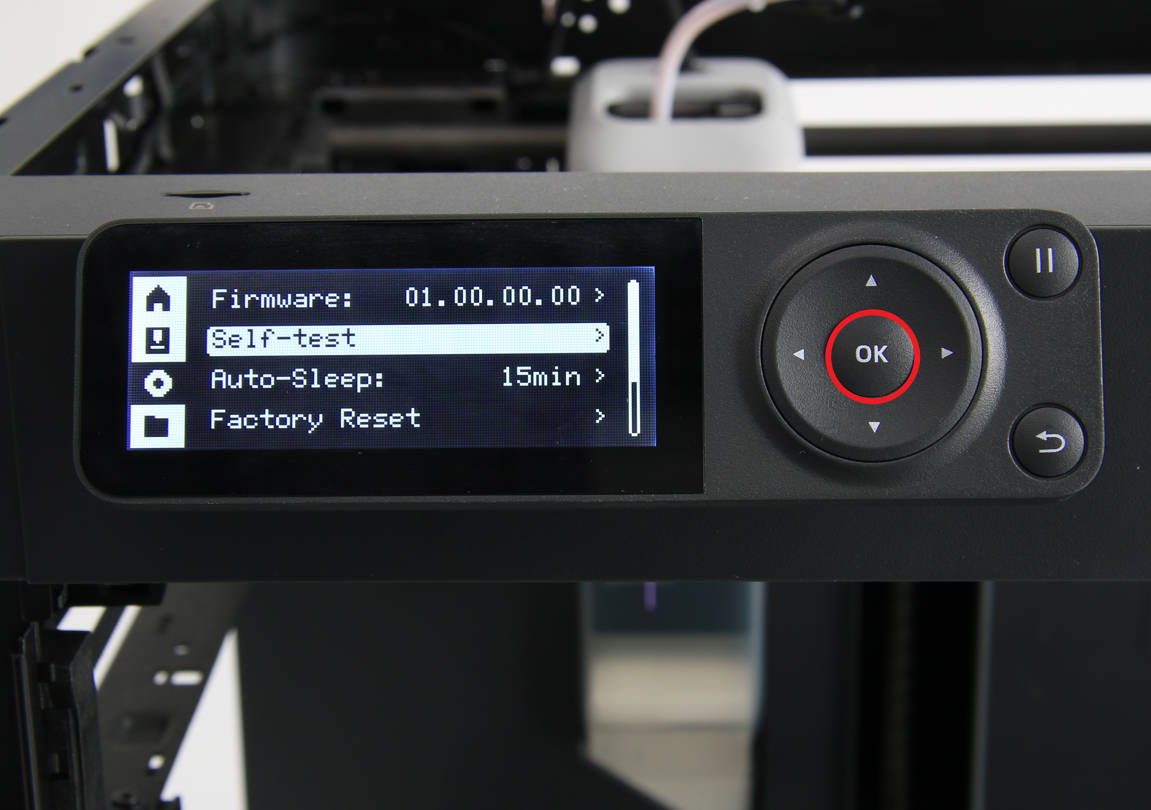
Connect the power cord cable, turn on the printer, and run the device self-test process. If the self-test passes, the operation is successful.
