¶ Applicable Model
P1 and A1 series printers.
¶ Application Scenario
1. Do not want to use Bambu Handy app to configure the network for P1 series printers;
2. The WiFi password contains special characters that cannot be entered on the screen of A1 series printers;
3. Want to connect the printer to a hidden WiFi network.
¶ Operation Procedure
¶ Step 1 - Prepare the Configuration File
There are two methods to prepare this file:
¶ Method 1: Create the File Directly
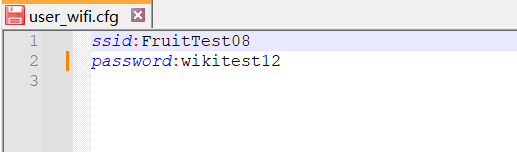
Right-click to create a new document and rename it as "user_wifi.cfg". Both the file name and file extension should follow this format.
Add the following content to the “user_wifi.cfg” file as shown in the example below
- ssid: FruitTest08
- password: wikitest12
Replace "FruitTest08" With Your Actual Wi-Fi Name (SSID), and "Wikitest12" With Your Wi-Fi Password.
¶ Method 2 (Recommended): Download the Configuration File and Modify the Network Information
- Click here to download the "user_wifi.cfg" file.
- Replace "FruitTest08" with your actual Wi-Fi name (SSID), and "wikitest12" with your Wi-Fi password.
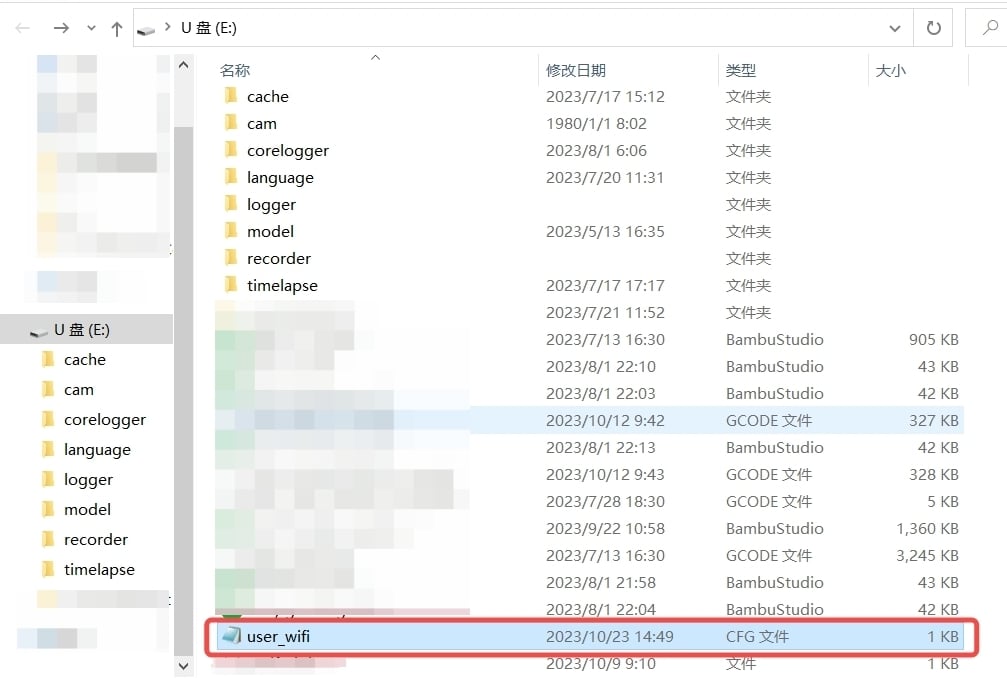
¶ Step 2 - Copy the Prepared Configuration File to the Root Directory of the Micro SD Card, and Restart the Printer.
Copy the file to the root directory of the micro SD card. After inserting the micro SD card into the printer, restart the printer.
Note:
1. For the files to take effect, you must restart the printer, as the printer only detects the SD card's configuration files during the boot-up process.
2. If the printer is currently connected to another network, disconnect the current network first, and then use this method to connect to the specified network.
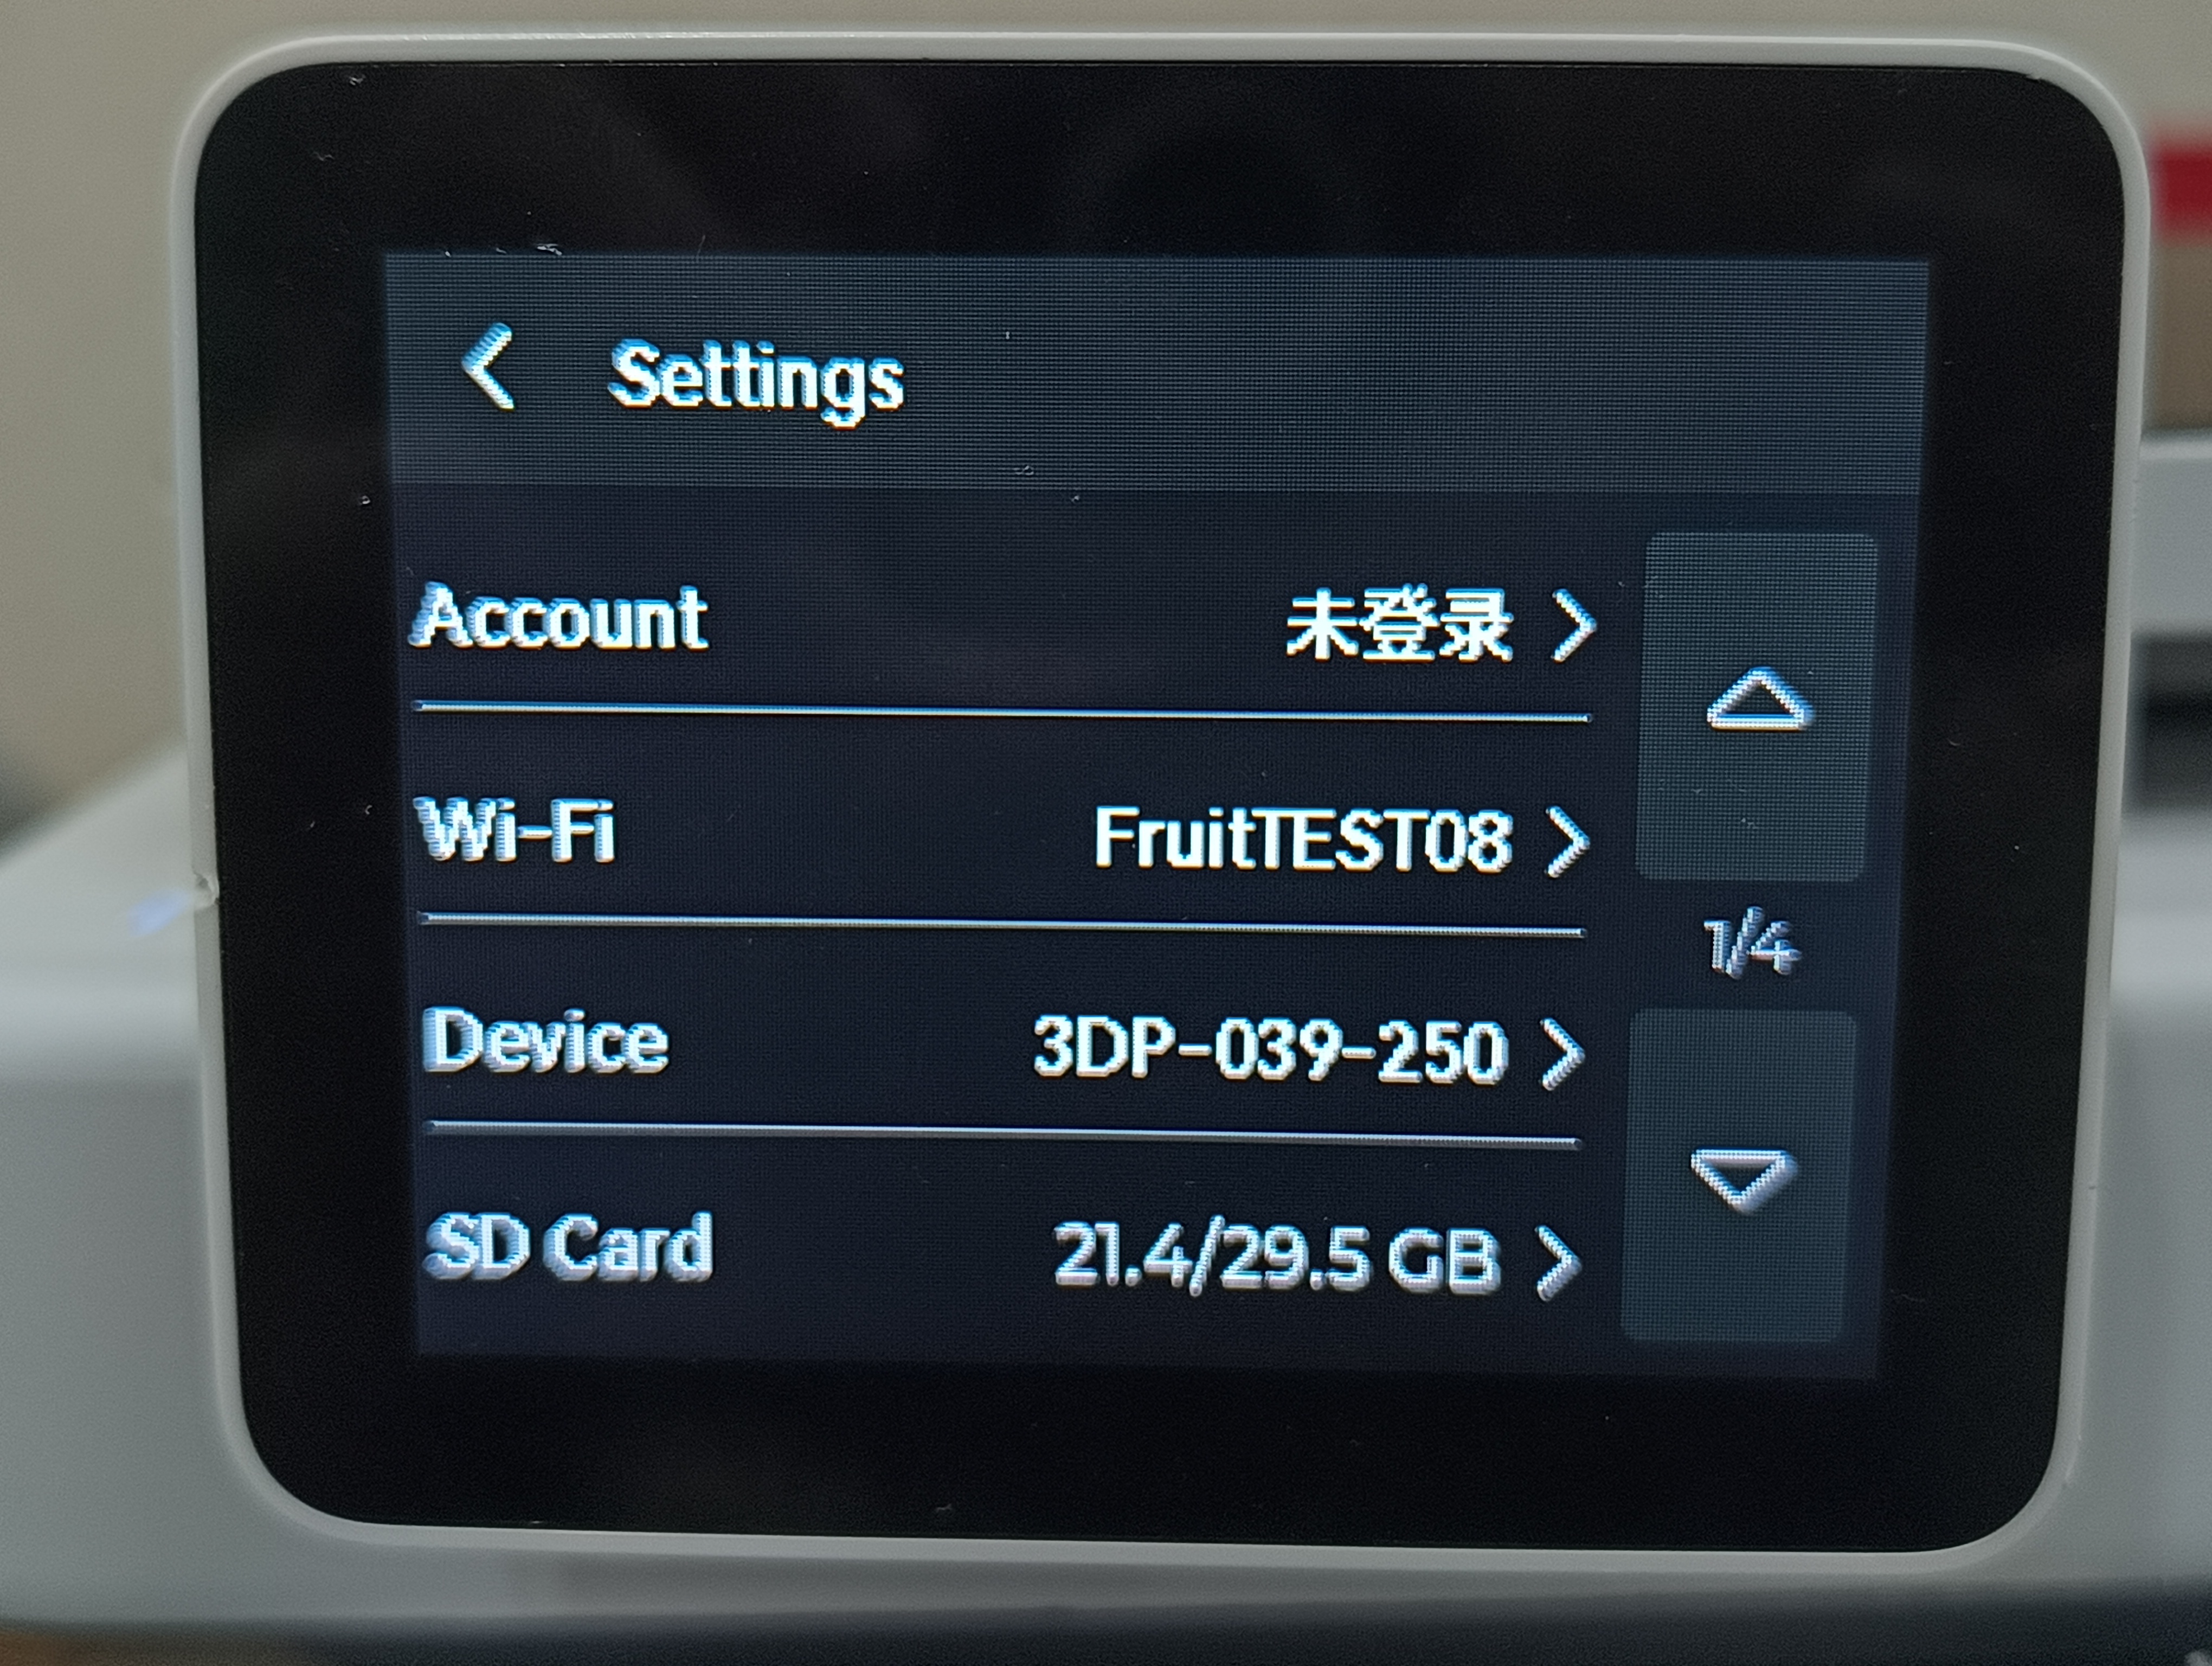
¶ Step 3 - Verify the network connection
Go to the printer's network settings interface and check if the network connection is successful. As shown in the following P1 and A1 screen images, they indicate that the printer has successfully connected to the network named "FruitTest08".

|
|
¶ End Notes
We hope the detailed guide provided has been helpful and informative.
If this guide does not solve your problem, please submit a technical ticket, we will answer your questions and provide assistance.
If you have any suggestions or feedback on this Wiki, please leave a message in the comment area. Thank you for your support and attention!