¶ Z-axis Linear Bearing Dislodged
¶ When to use
When performing automatic bed leveling or homing failure, the printer encountered an error. Please check if the Z-axis linear bearing has become dislodged. If so, follow the guide below for repair.
The Z-axis linear bearing may become dislodged due to the following issue:
- Accumulation of debris in the grooves at the bottom of the printer's linear shafts, which can gradually push the bearing upward when the heatbed lowers over time.
¶ Safety Warning
It's crucial to power off the printer before conducting any maintenance work, including work on the printer's electronics and tool head wires. Performing tasks with the printer on can result in a short circuit, leading to electronic damage and safety hazards.
During maintenance or troubleshooting, you may need to disassemble parts, including the hotend. This exposes wires and electrical components that could short circuit if they contact each other, other metal, or electronic components while the printer is still on. This can result in damage to the printer's electronics and additional issues.
Therefore, it's crucial to turn off the printer and disconnect it from the power source before conducting any maintenance. This prevents short circuits or damage to the printer's electronics, ensuring safe and effective maintenance. For any concerns or questions about following this guide, open a new ticket in our Support Page and we will do our best to respond promptly and provide the assistance you need.
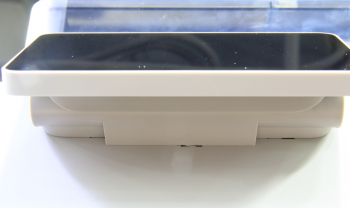
¶ 1. Remove the Screen
To reset the linear bearing, the printer needs to be flipped over. To avoid damaging the display from reverse pressure, please remove the screen module from the front housing first.
¶ X1 Series
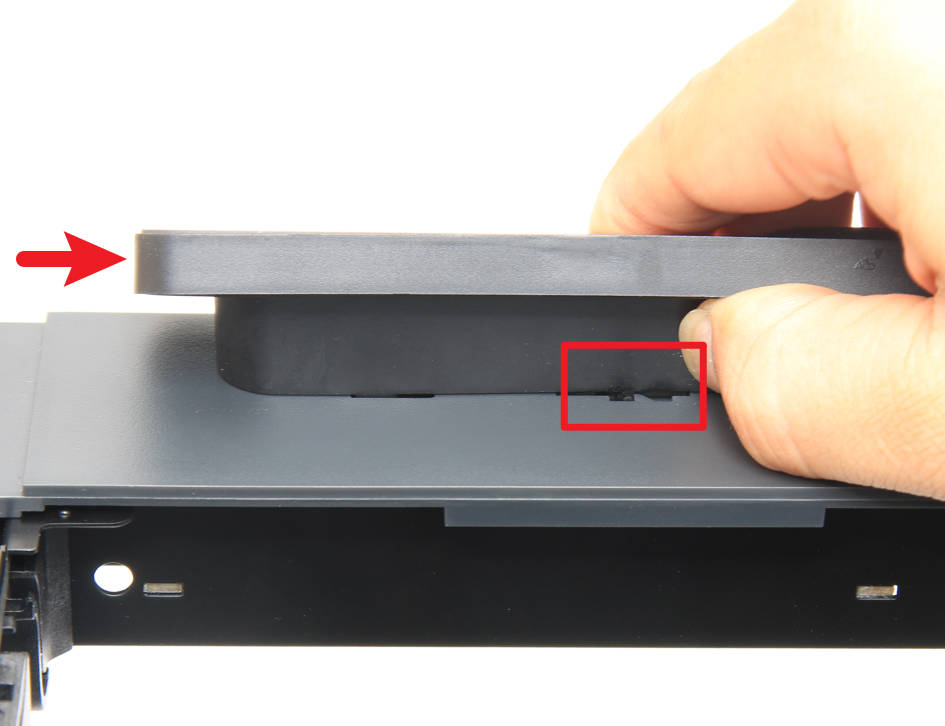
Tilt the screen upward and press the area shown in the image to release the latch.
Then push the screen to the right to detach it.
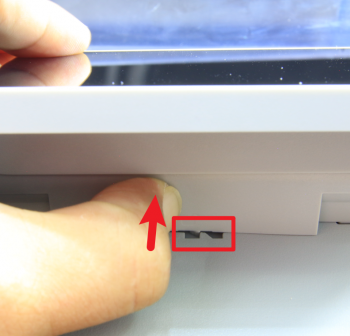
¶ P1 Series
Press the latch located underneath the screen to release it, then slide the screen to the right to remove it.
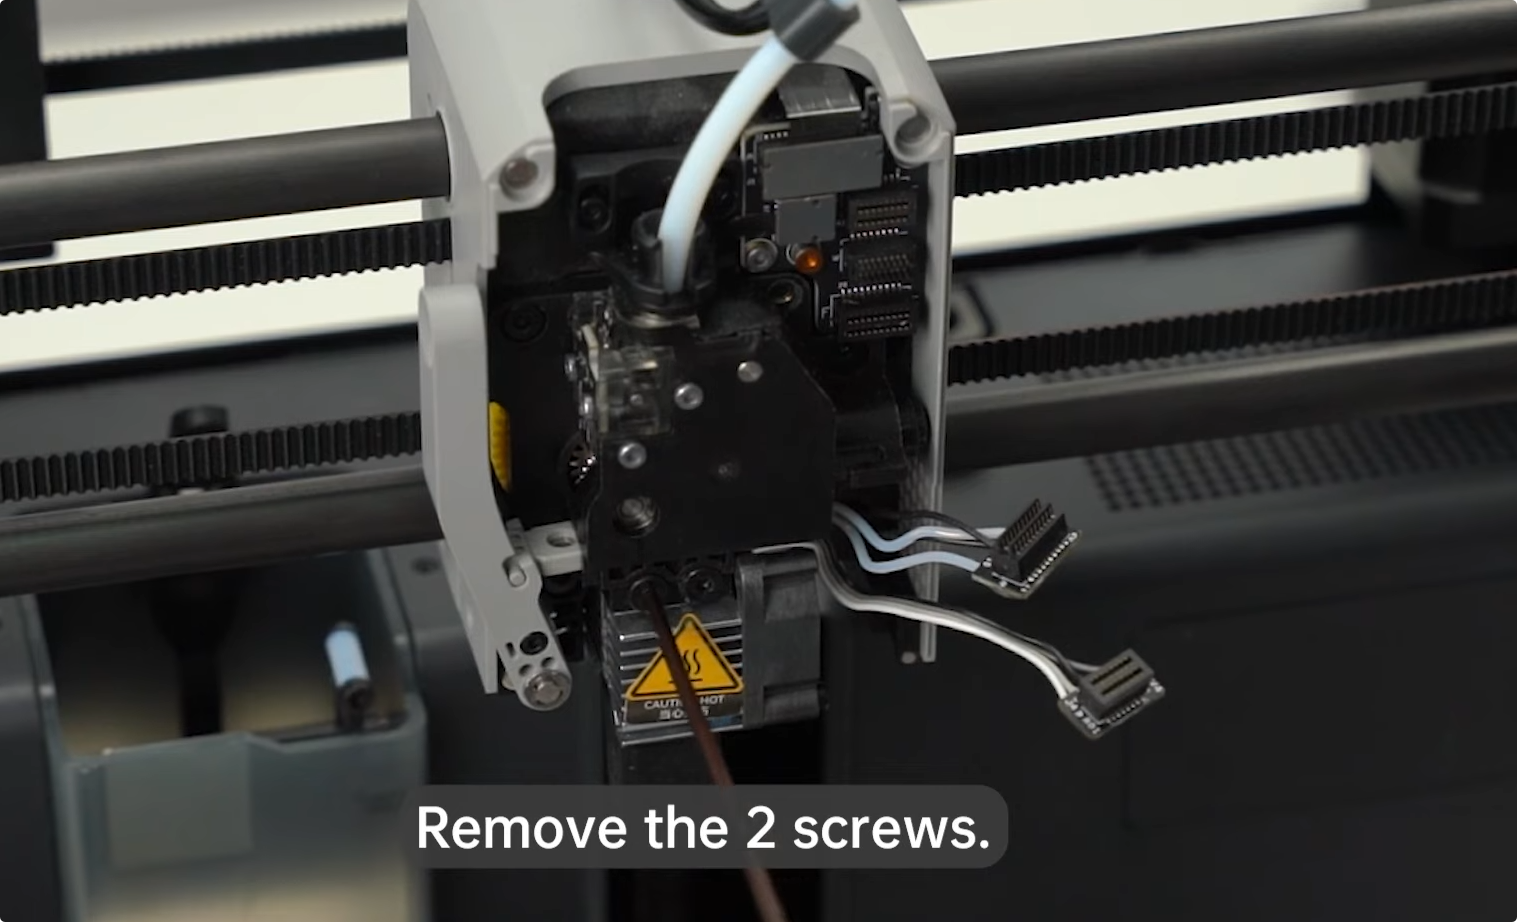
¶ 2. Remove the Hotend Assembly
To prevent the heatbed from colliding with the hotend assembly during maintenance, please remove the hotend assembly first.
Refer to the following video for instructions:
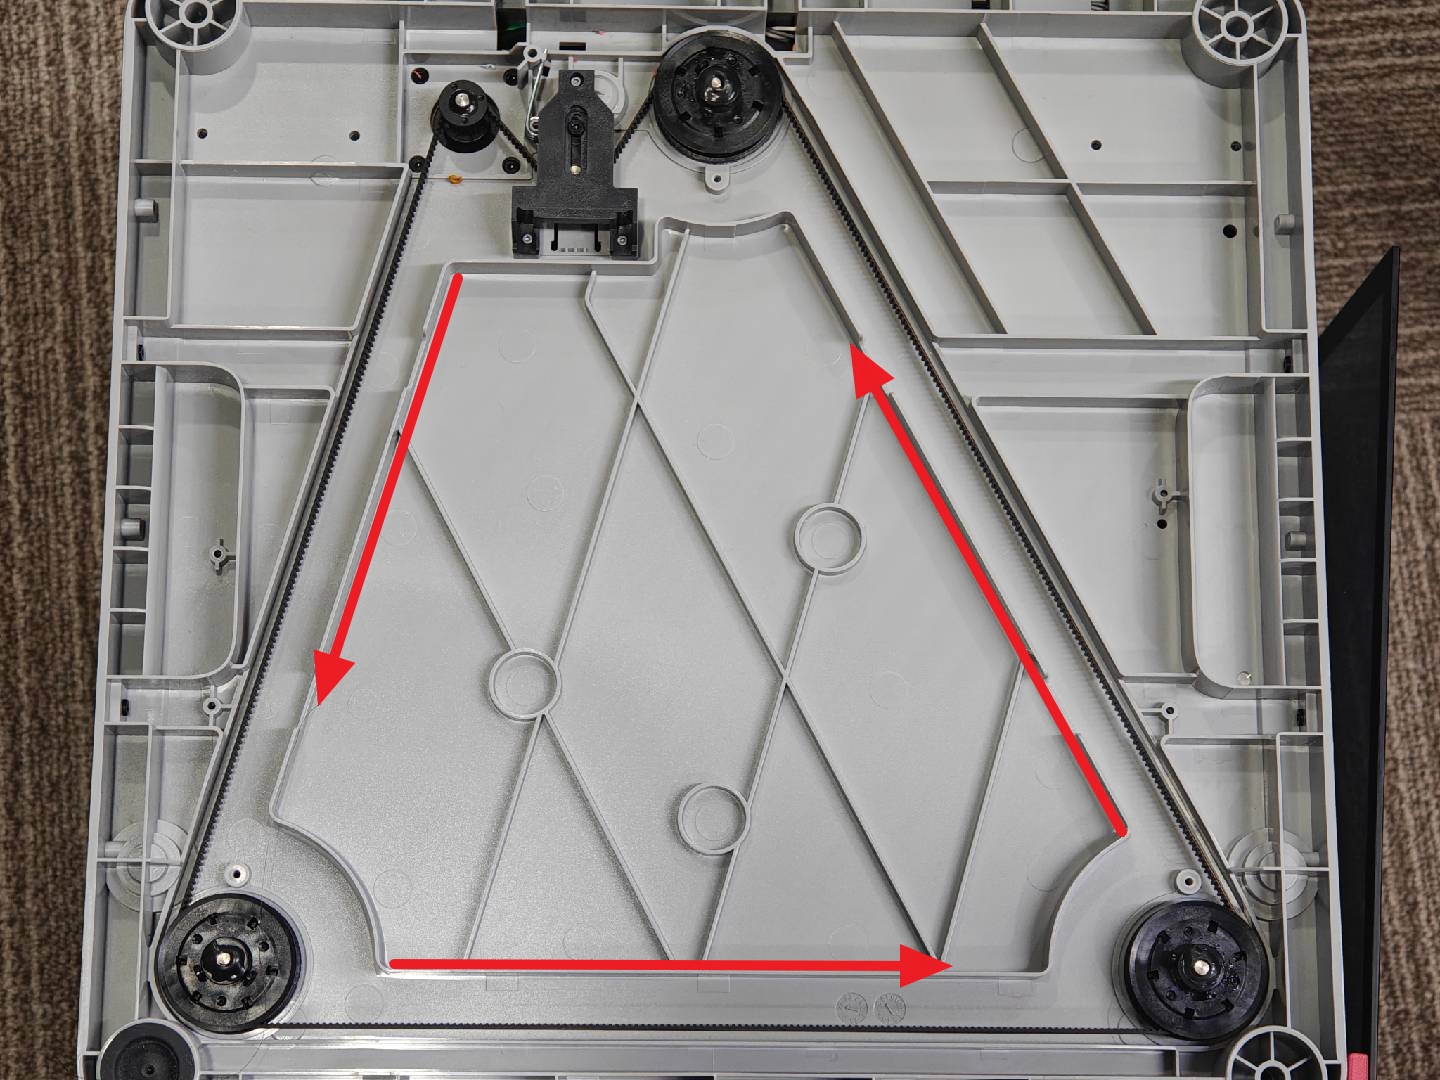
¶ 3. Flip the Printer
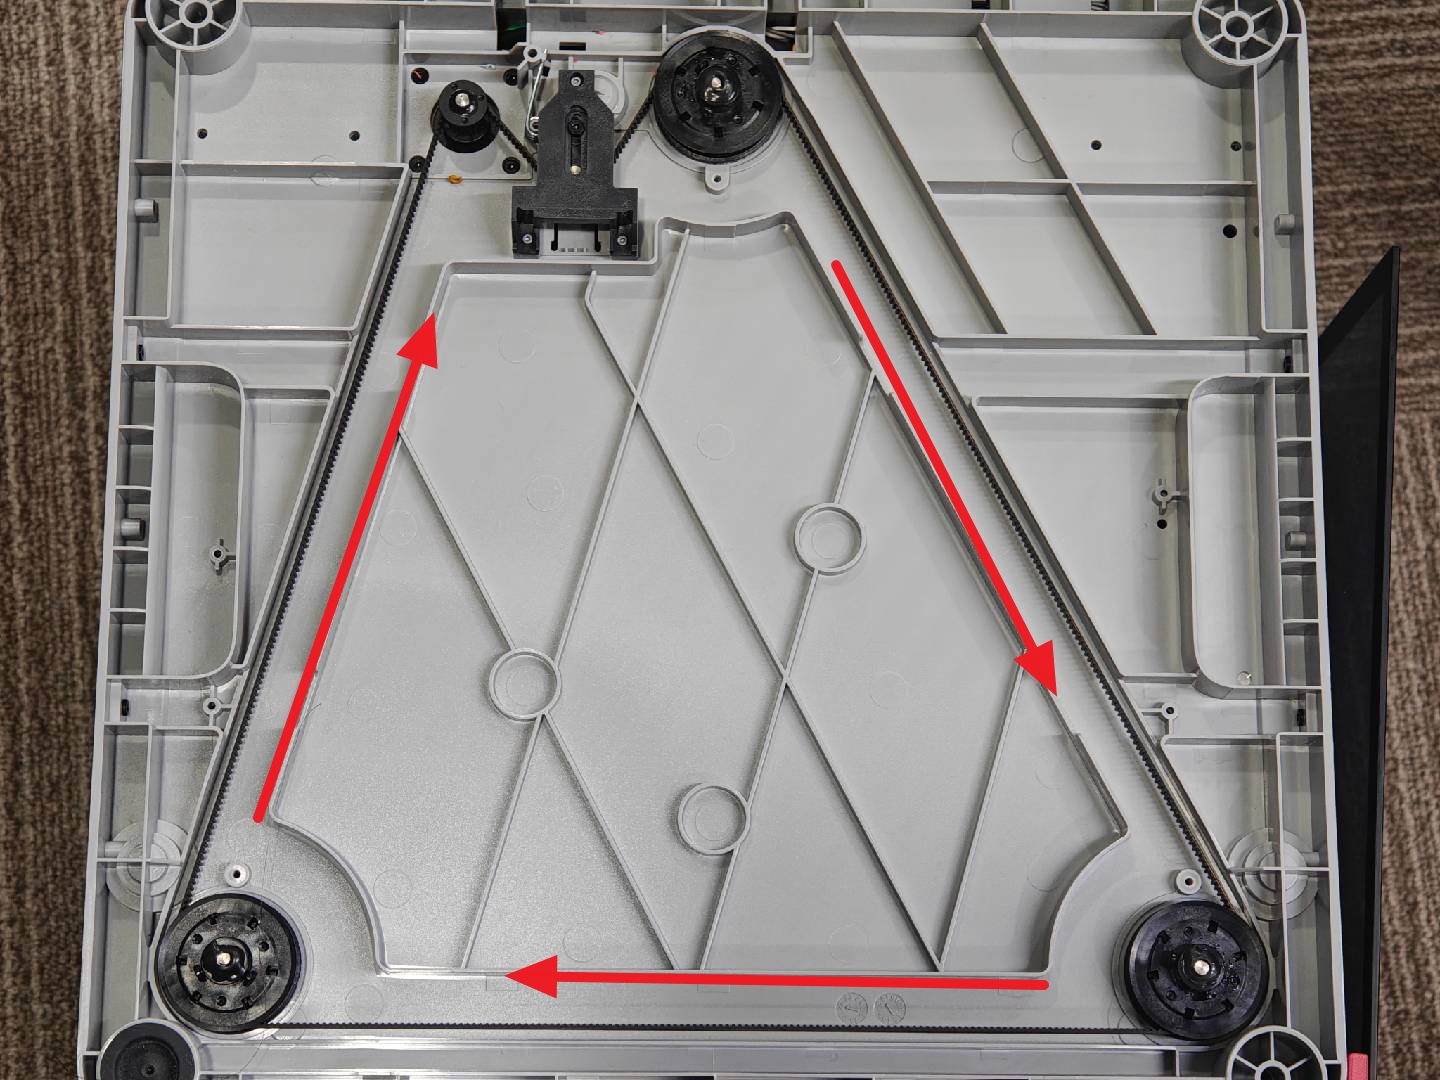
Turn the printer upside down (bottom facing up), then pull the Z-axis belt counterclockwise. The heatbed will descend slowly until it cannot move further.
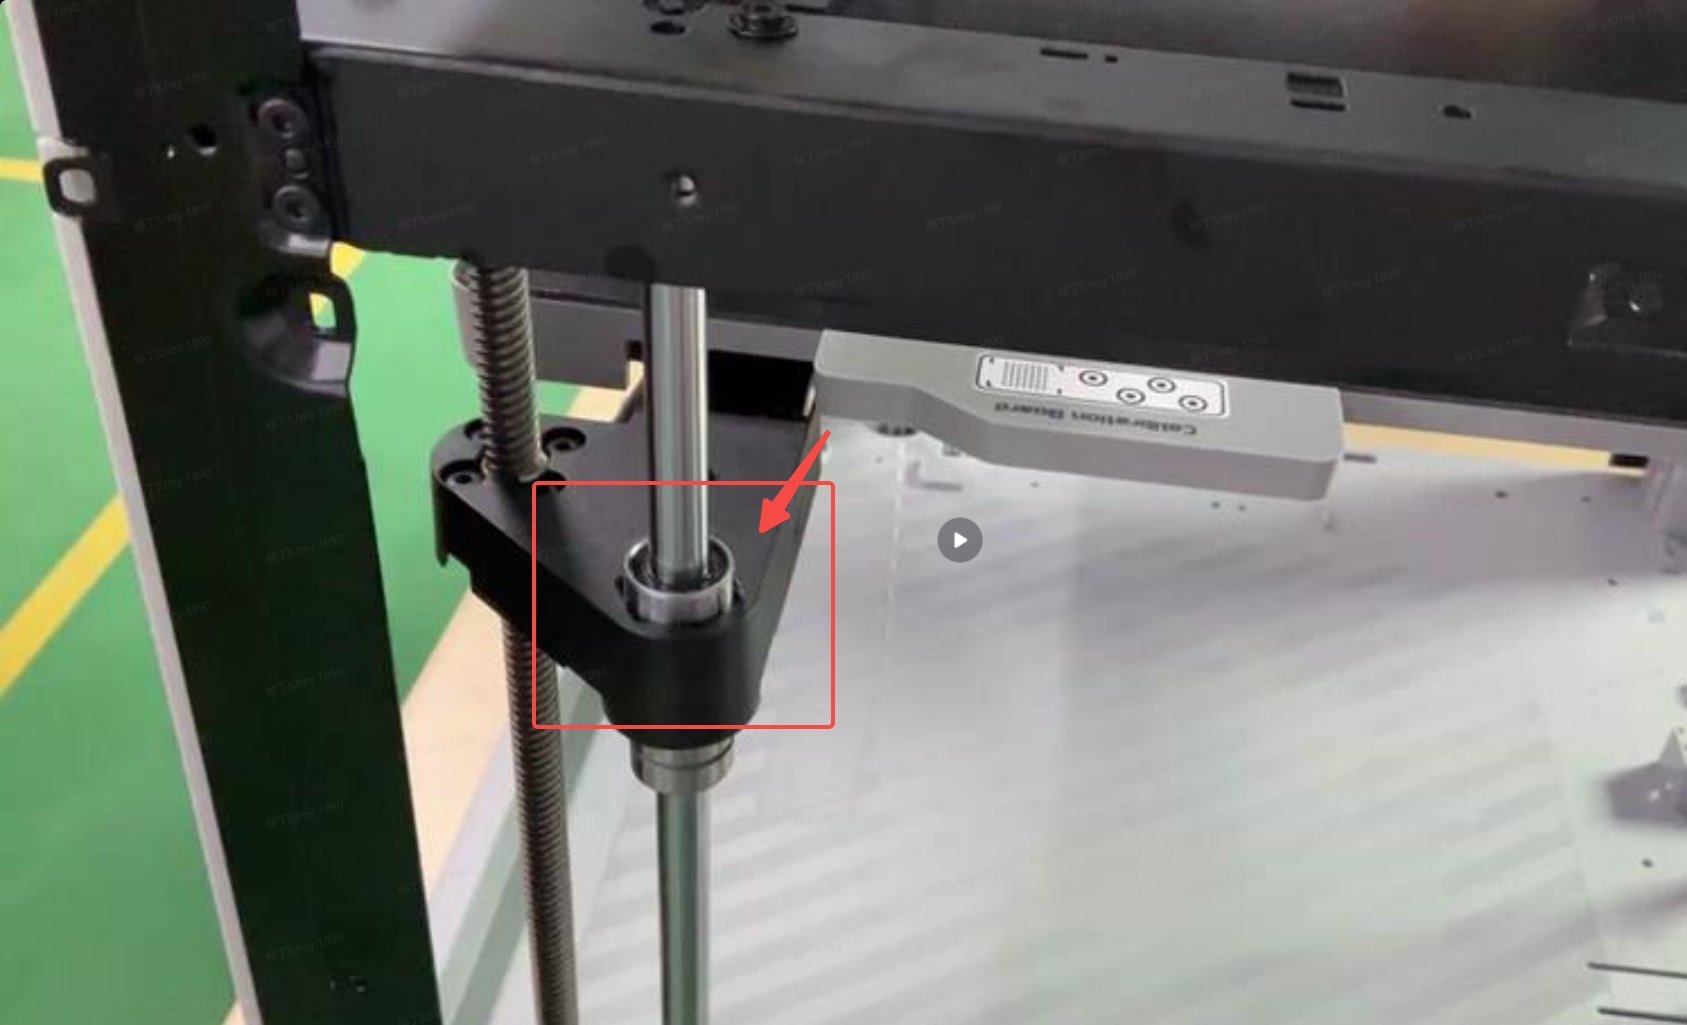
¶ 4. Re-seat the Linear Bearing
At this point, the protruding bearing will press against the top mounting platform of the smooth rod.
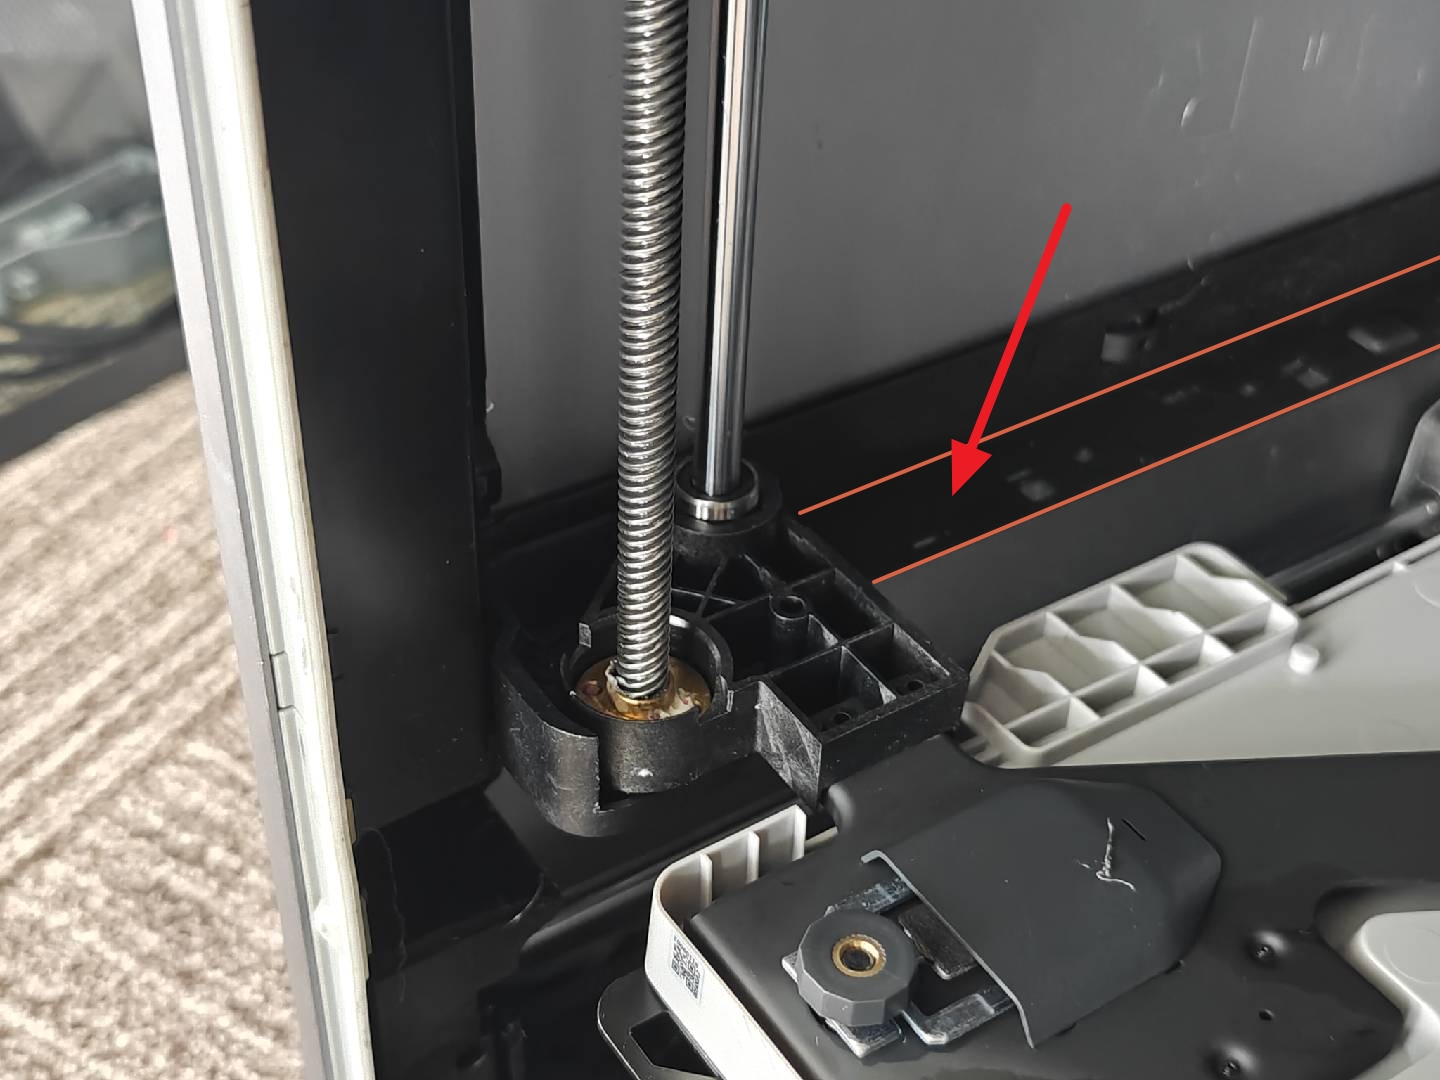
Press firmly on the structural area surrounding the linear bearing to push the dislodged bearing back into place.
If you're having trouble pressing the bearing into place, try pulling the Z-axis belt slightly while pushing down. This can help rotate the lead screws and make it easier to adjust the heatbed position.
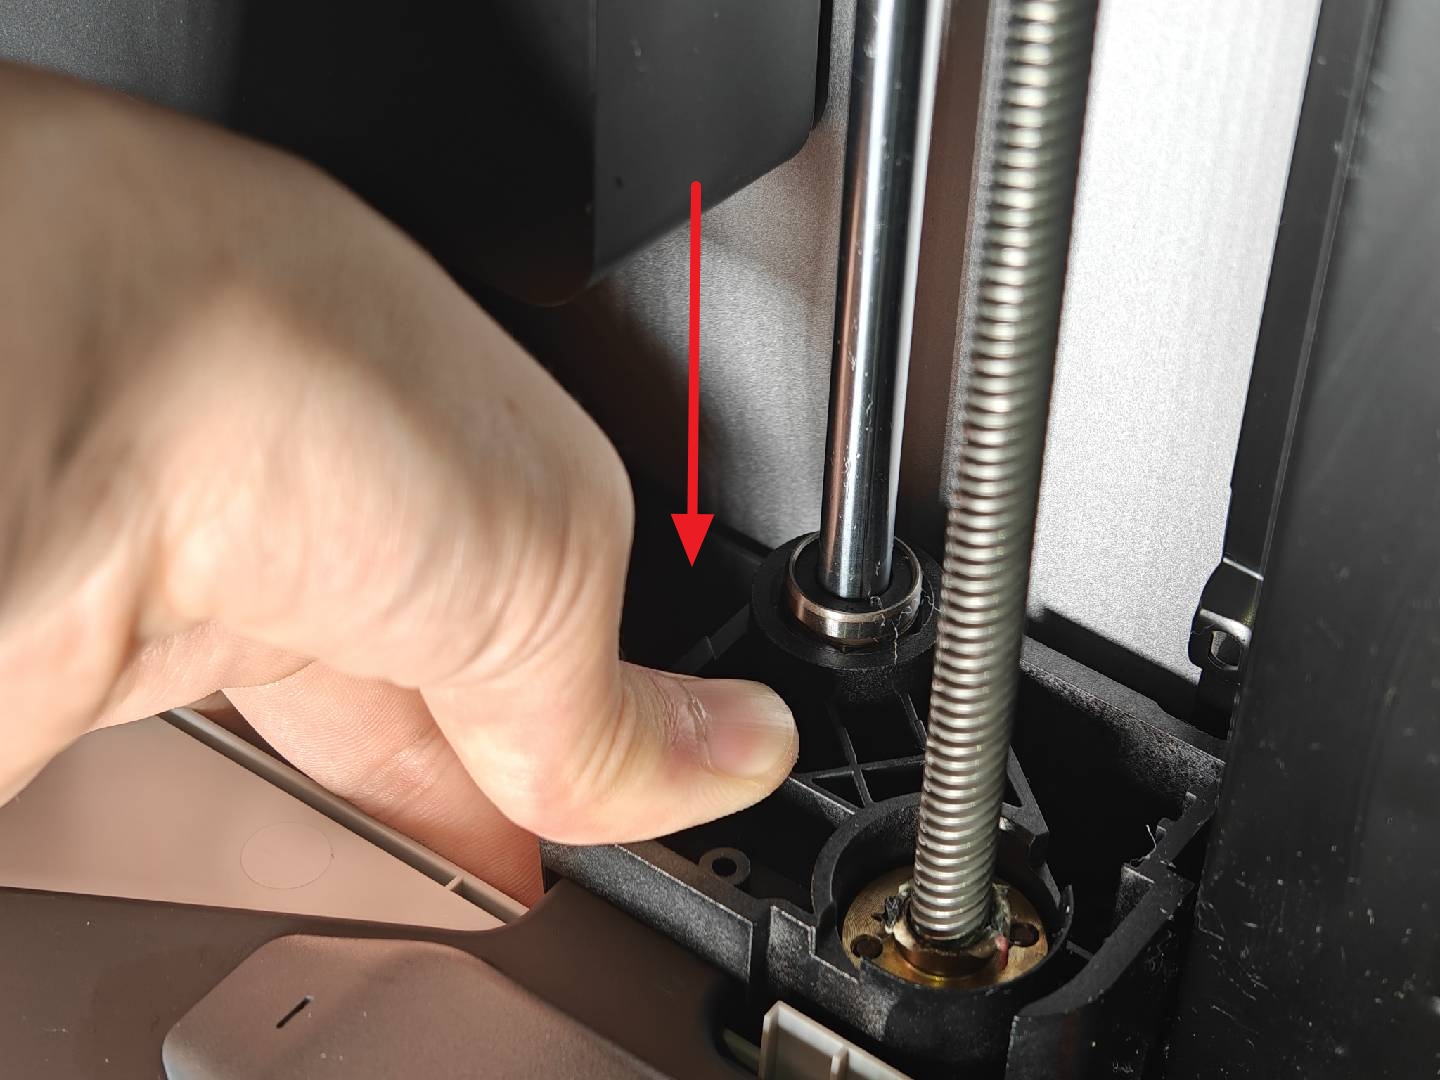
Note: Do not press directly on the bearing itself.
We recommend watching the following video, to better understand the procedure.
https://public-cdn.bblmw.com/wiki/X1/fix_bearing_up.mp4
Once complete, pull the belt clockwise to raise the heatbed to the middle position of the printer.
¶ 5. Restore Printer Position
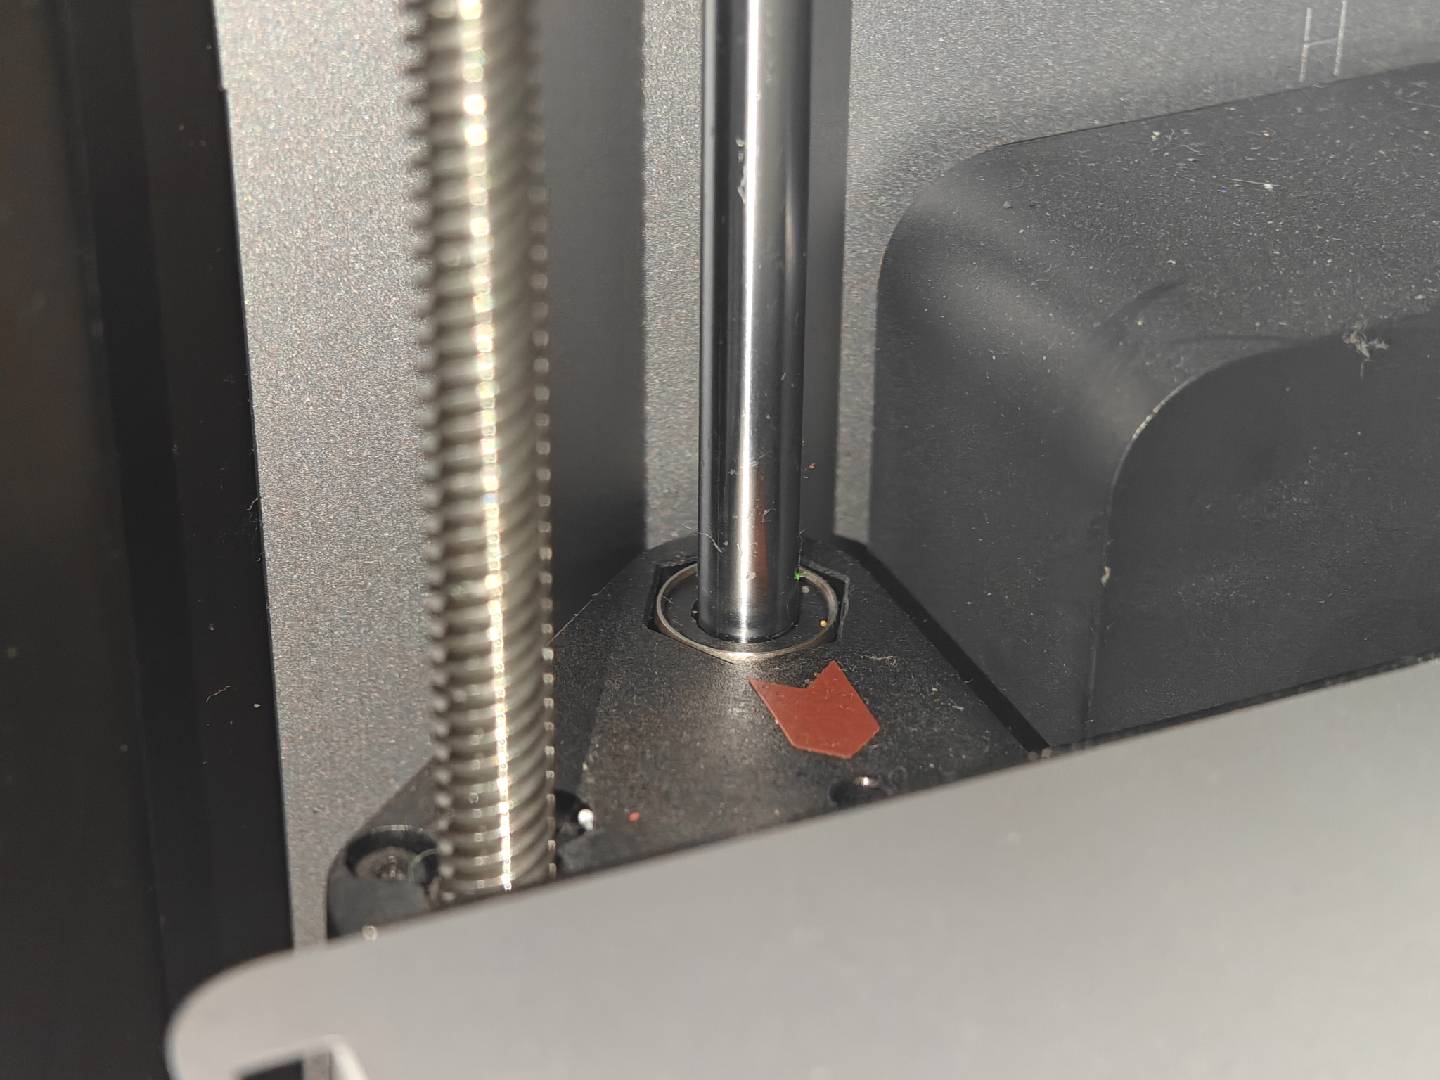
Place the printer back in its upright position and check whether the bearing is now fully seated in the linear guide.
If the bearing is still protruding, repeat Steps 3 and 4.
¶ 6. Reinstall the Hotend Assembly
Once the bearing is reinstalled, reinstall the hotend assembly.

¶ 7. Perform Calibration
Connect the power cord and turn on the printer.
¶ X1 Series
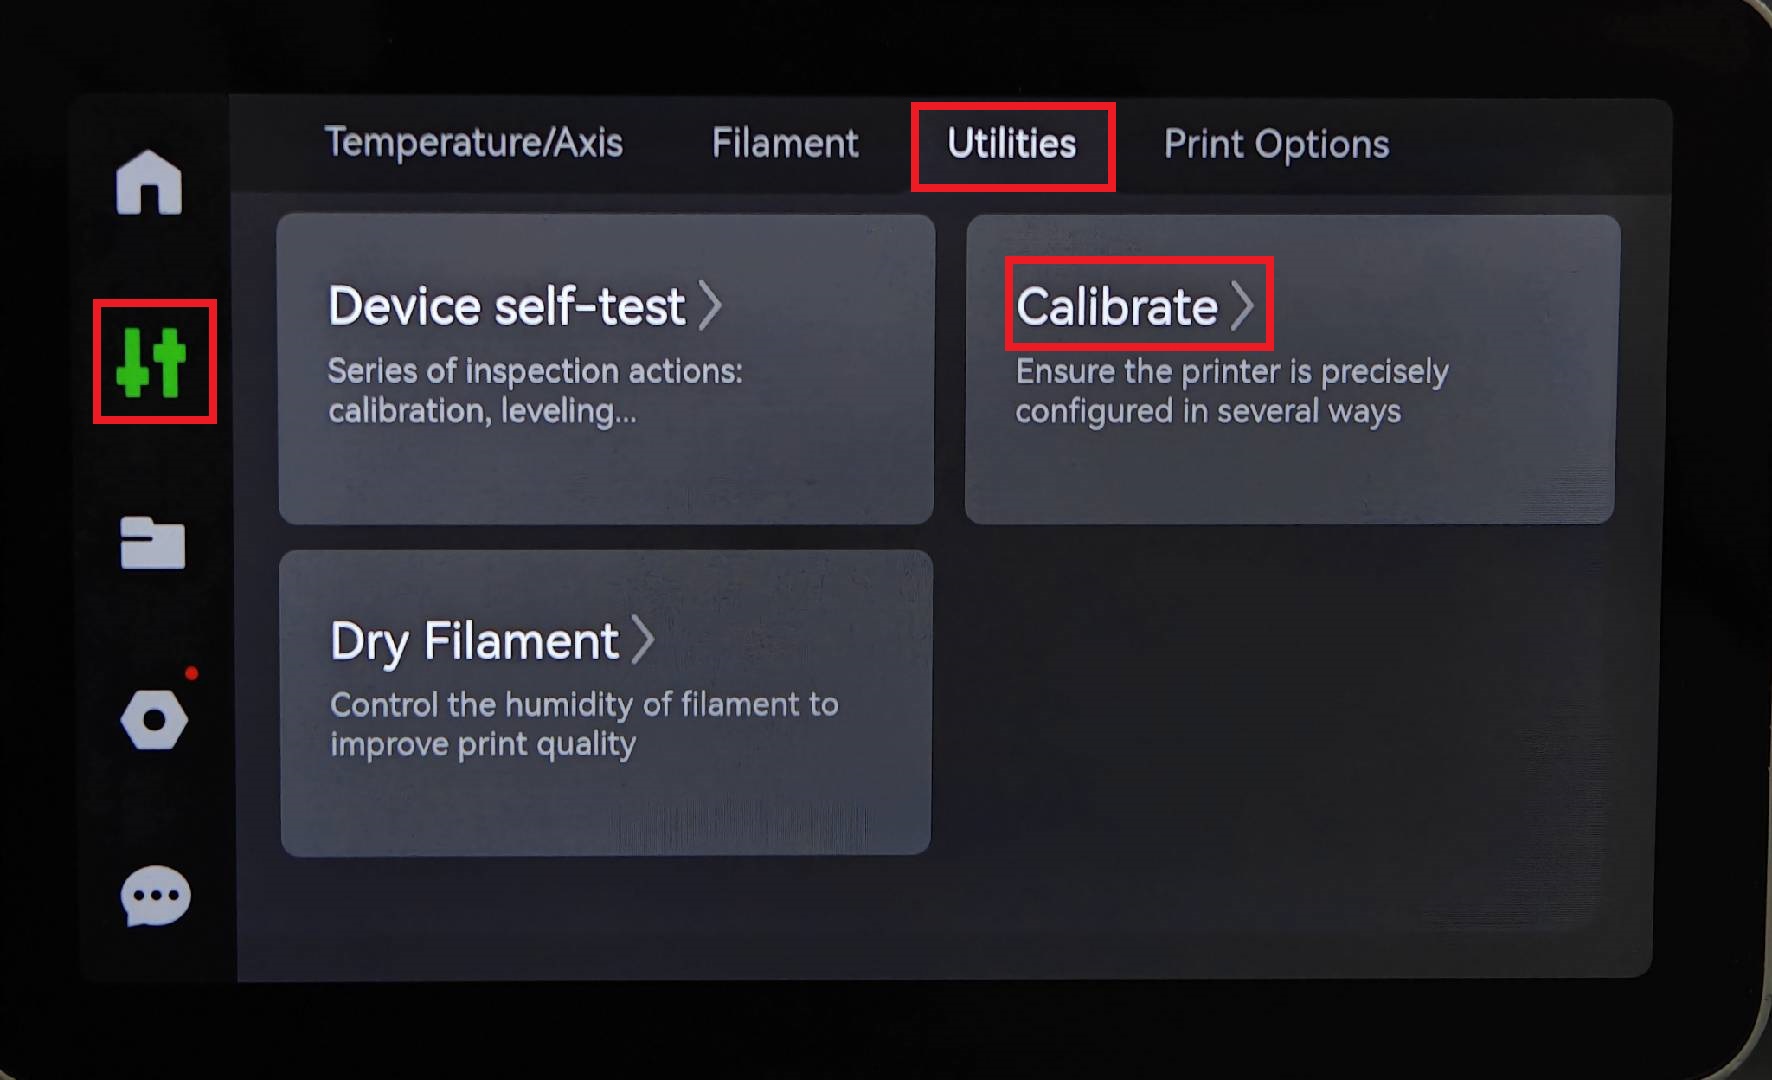
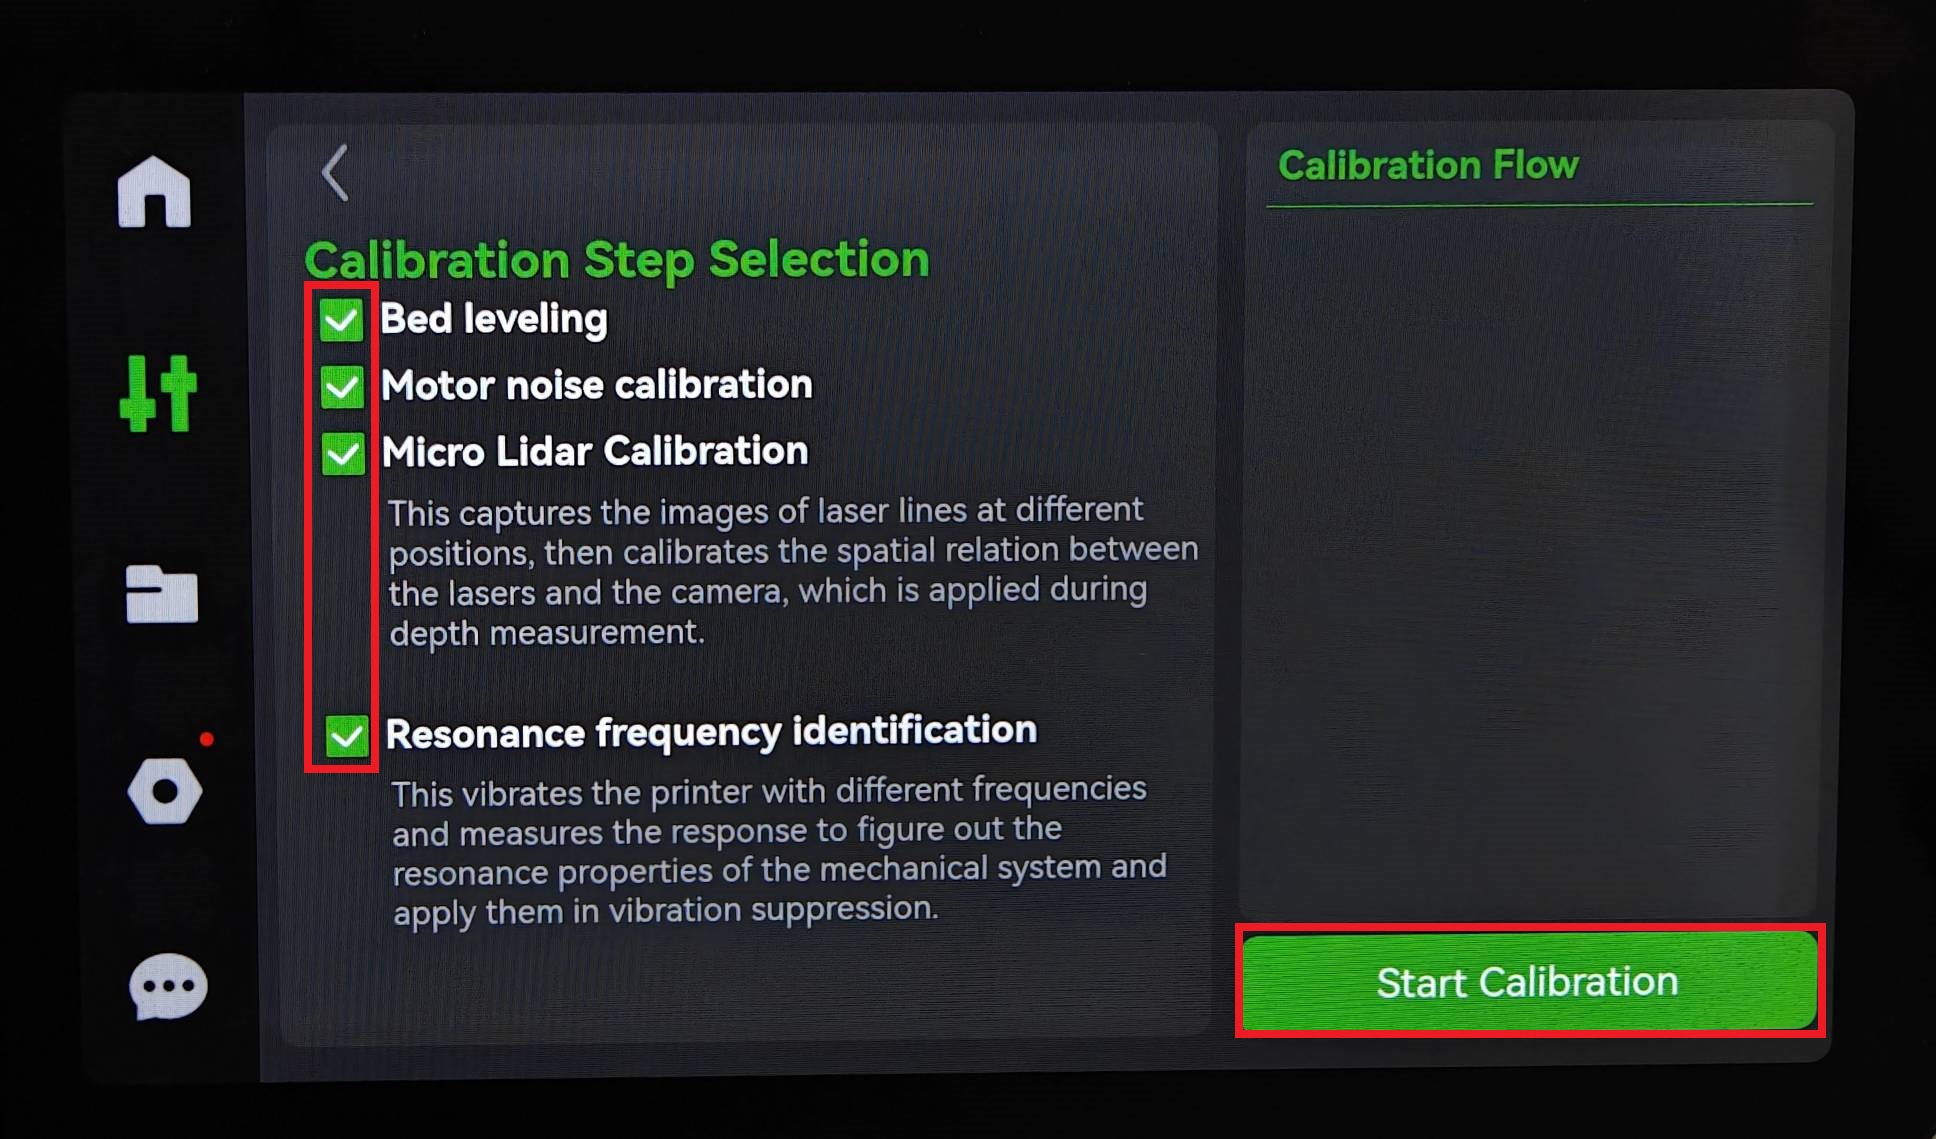
Click the "Control" button on the left side of the screen, then go to the tool interface and click "Calibrate". Four calibration options will pop up. You can select one as needed.
¶ P1 Series
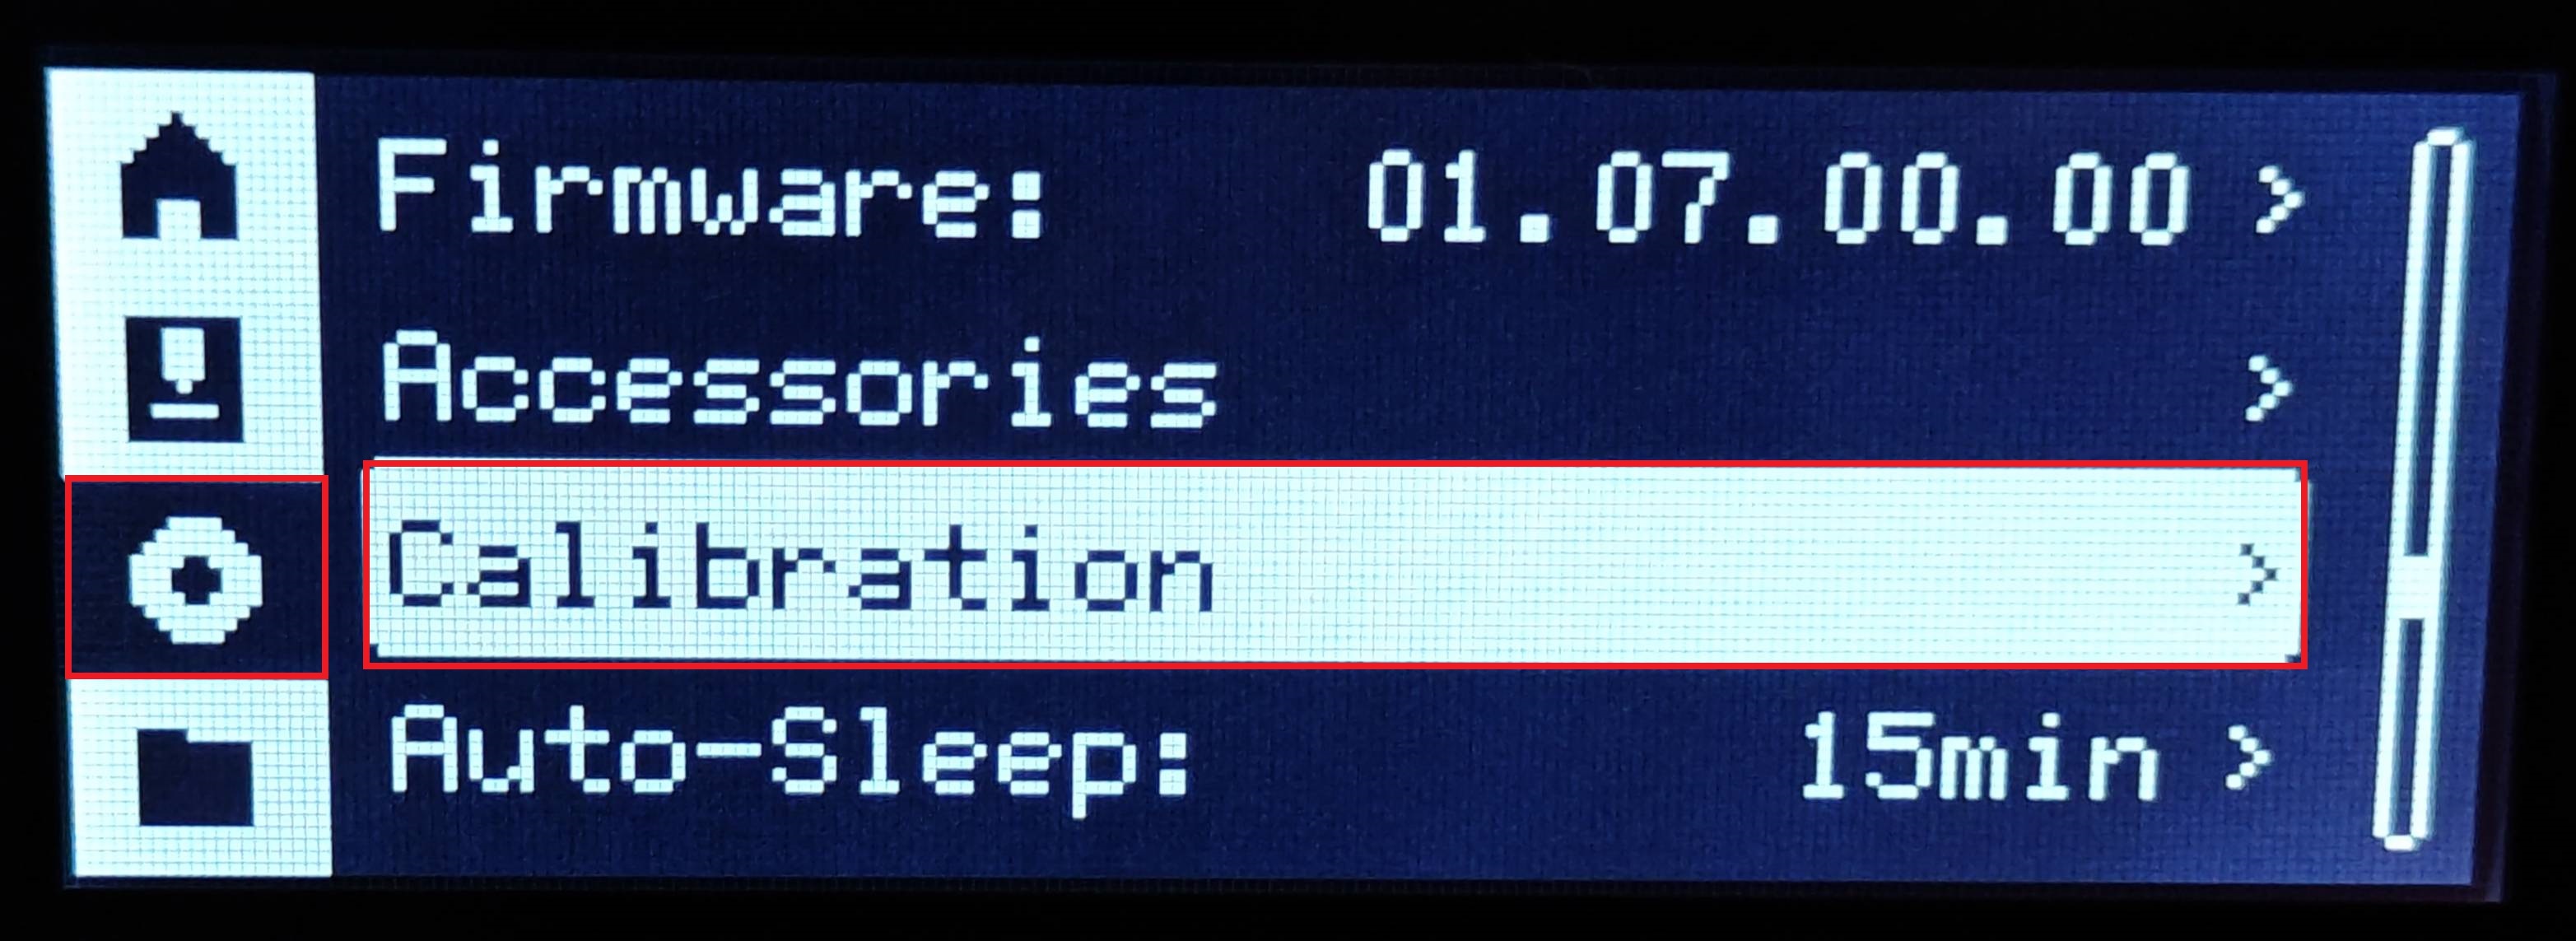
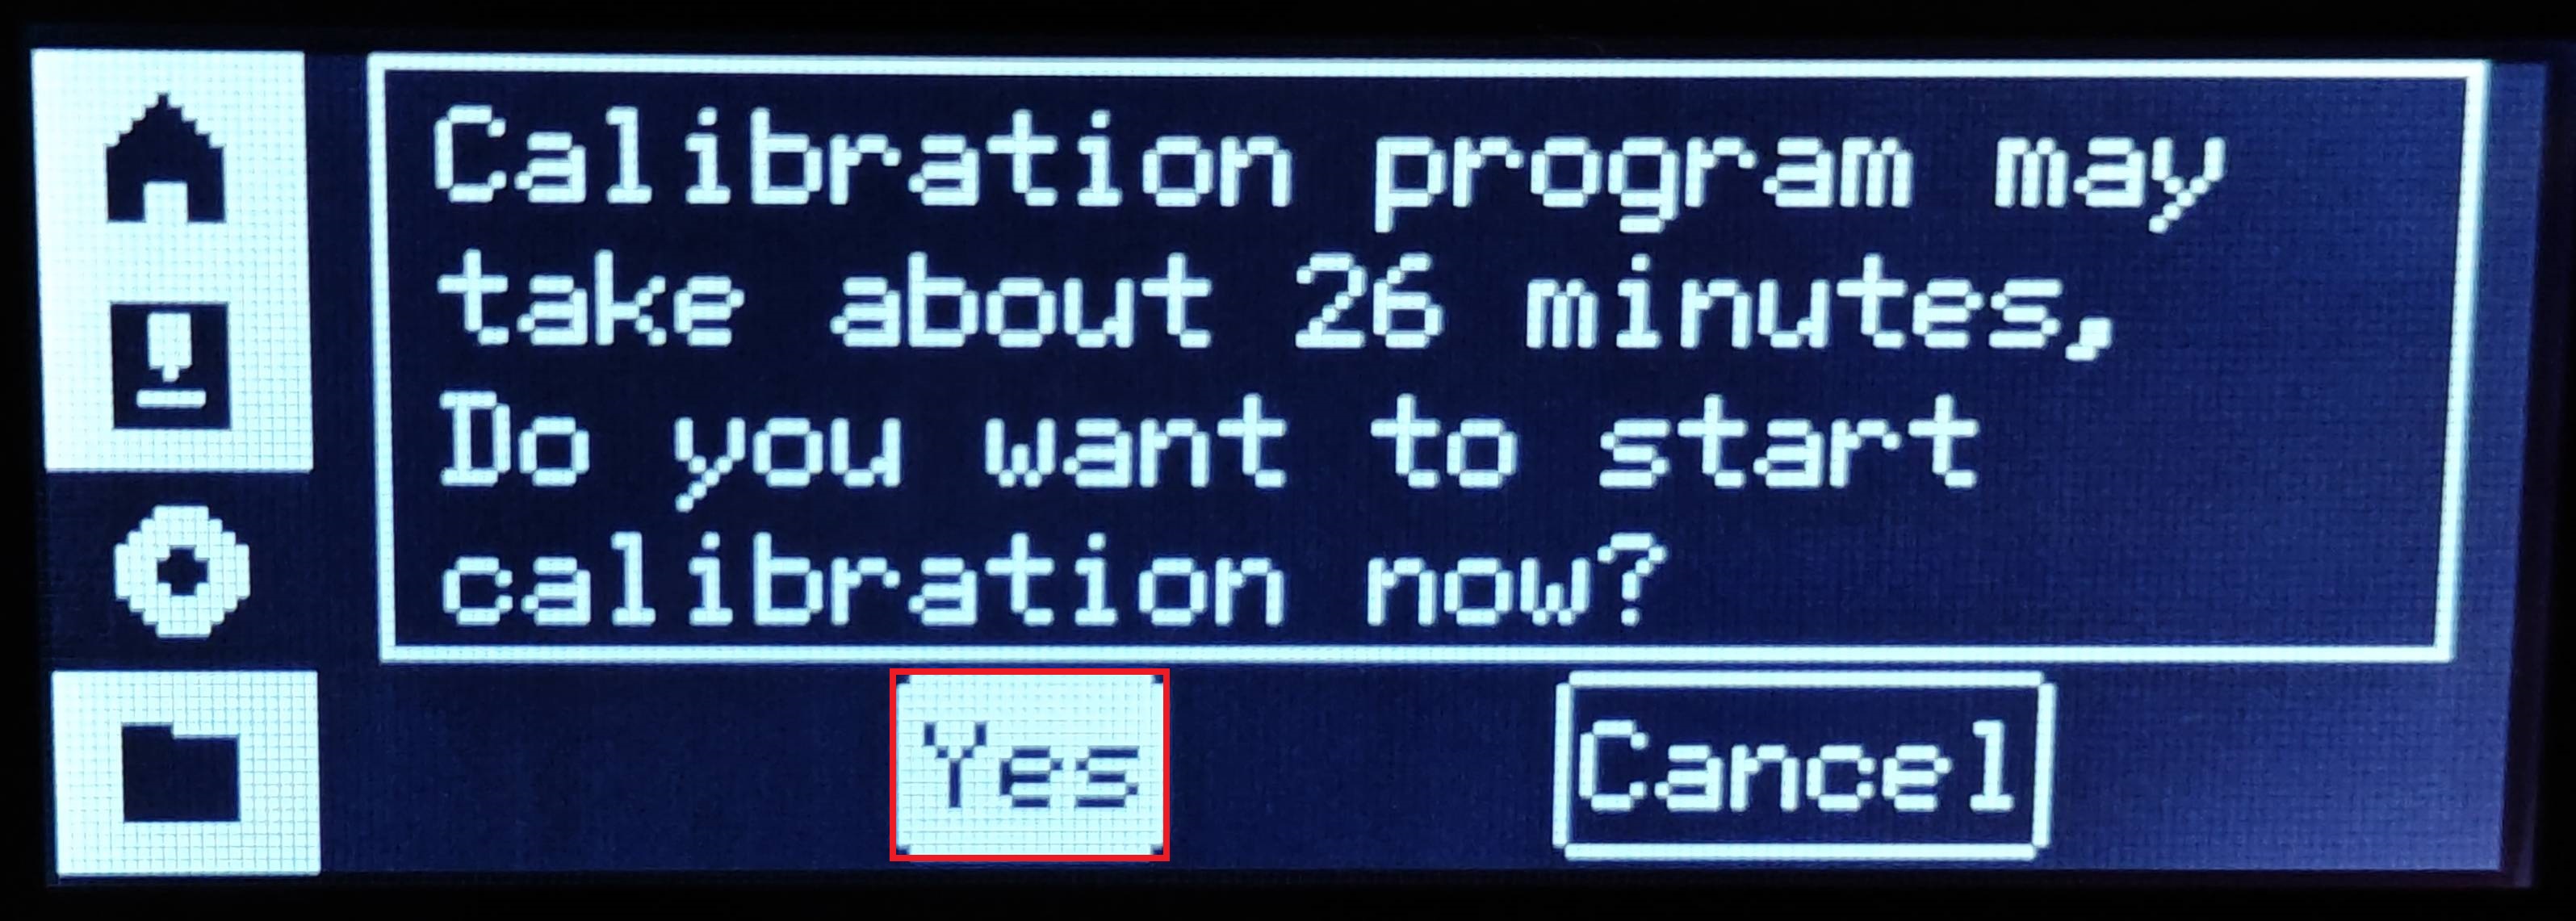
Click the "Settings" button on the right side of the screen, scroll down to find the "Calibration" button, you can choose whether to perform the calibration.
The calibration items include vibration compensation,motor noise cancellation,and auto bed leveling.
¶ Additional Notes
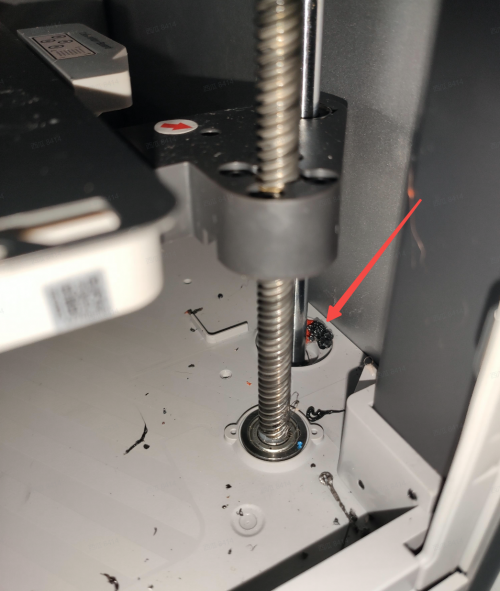
Linear bearing protrusion is often caused by debris lodged in the three shaft holes located at the base of the printer.
Be sure to thoroughly clean out any residual material in these holes to prevent the issue from recurring.
¶ End Notes
We hope the detailed guide provided has been helpful and informative.
If this guide does not solve your problem, please submit a technical ticket, we will answer your questions and provide assistance.
If you have any suggestions or feedback on this Wiki, please leave a message in the comment area. Thank you for your support and attention!