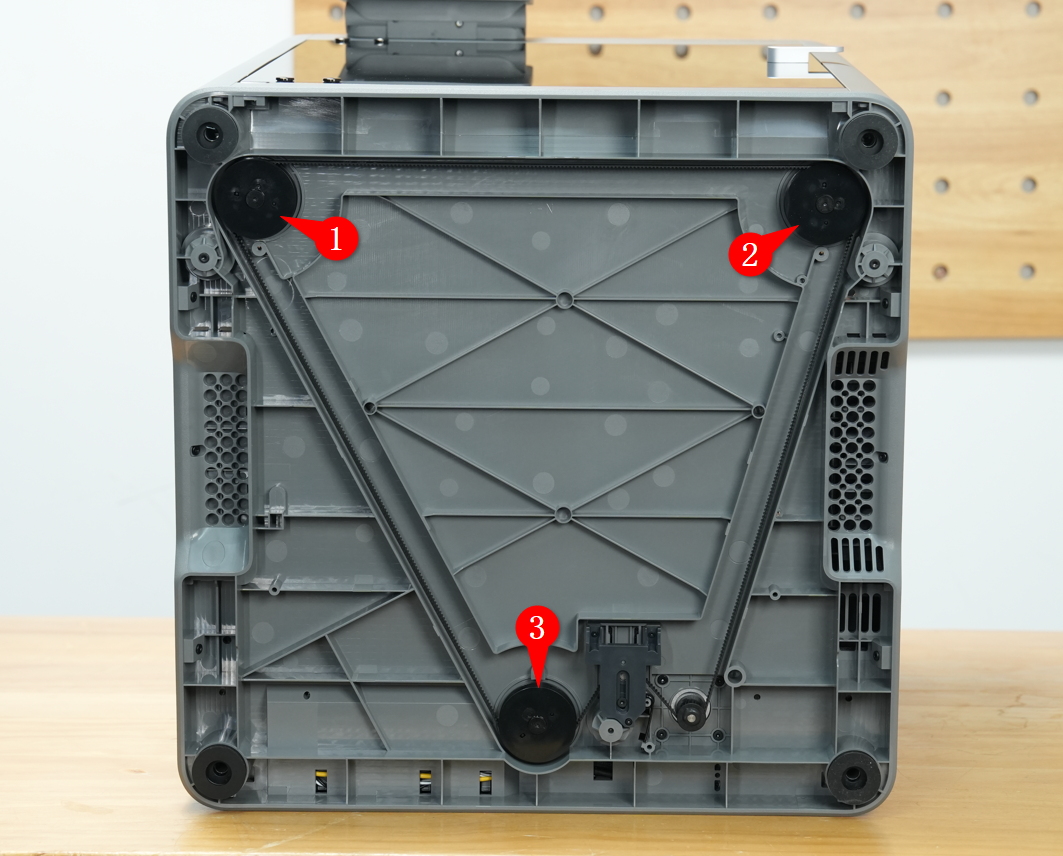
¶ Z-Belt Timing Pulley
The Z-belt timing pulley is a toothed wheel that meshes with the teeth on the timing belt to enable synchronized motion, keeping all three Z-axis lead screws moving together. There are three Z pulleys at the bottom of the machine, and you can replace the one at each position as needed.
¶ When to Use This Guide
- Z-belt timing pulley damage
¶ Required Tools and Materials
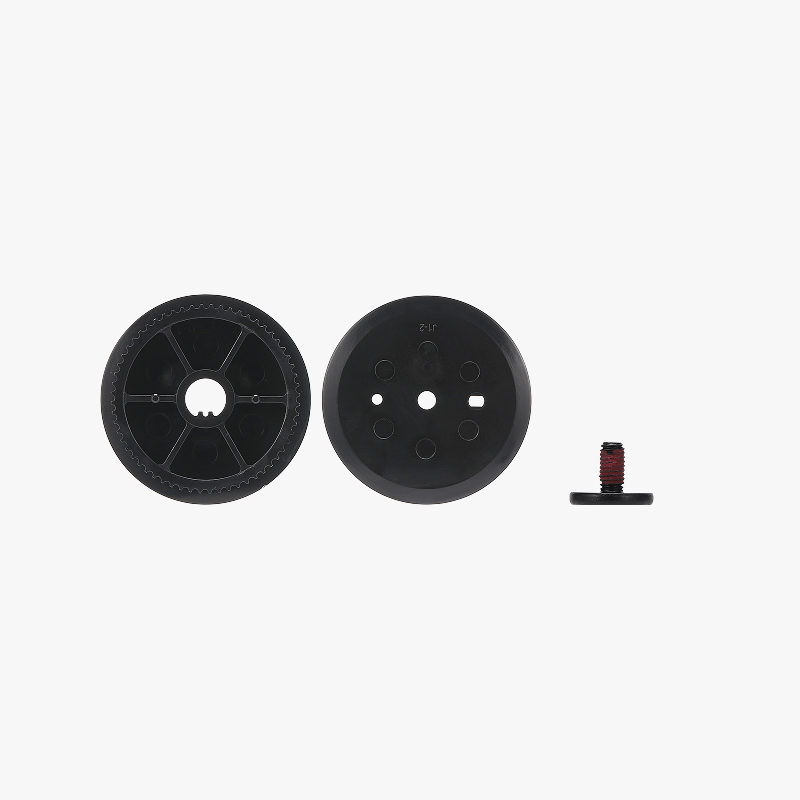
- New Z-belt timing pulley
- H2.0 hex wrench
¶ Safety Warning
IMPORTANT!
Always power off and disconnect power on the printer before performing maintenance work. Not doing so means there is a risk of electric shock, short circuit, and damage to the printer or surrounding area.
When a maintenance task necessitates the printer being powered on, use insulated gloves for safety and pay special care not to pinch, damage, or put pressure on any exposed wires, connectors, or circuit boards. Additionally, the nozzle can be extremely hot so never touch it with exposed skin.
If you have any questions or concerns related to the above or the steps in this guide, please open a new ticket in our Support Page for assistance.
¶ Removing the Z-Belt Timing Pulley
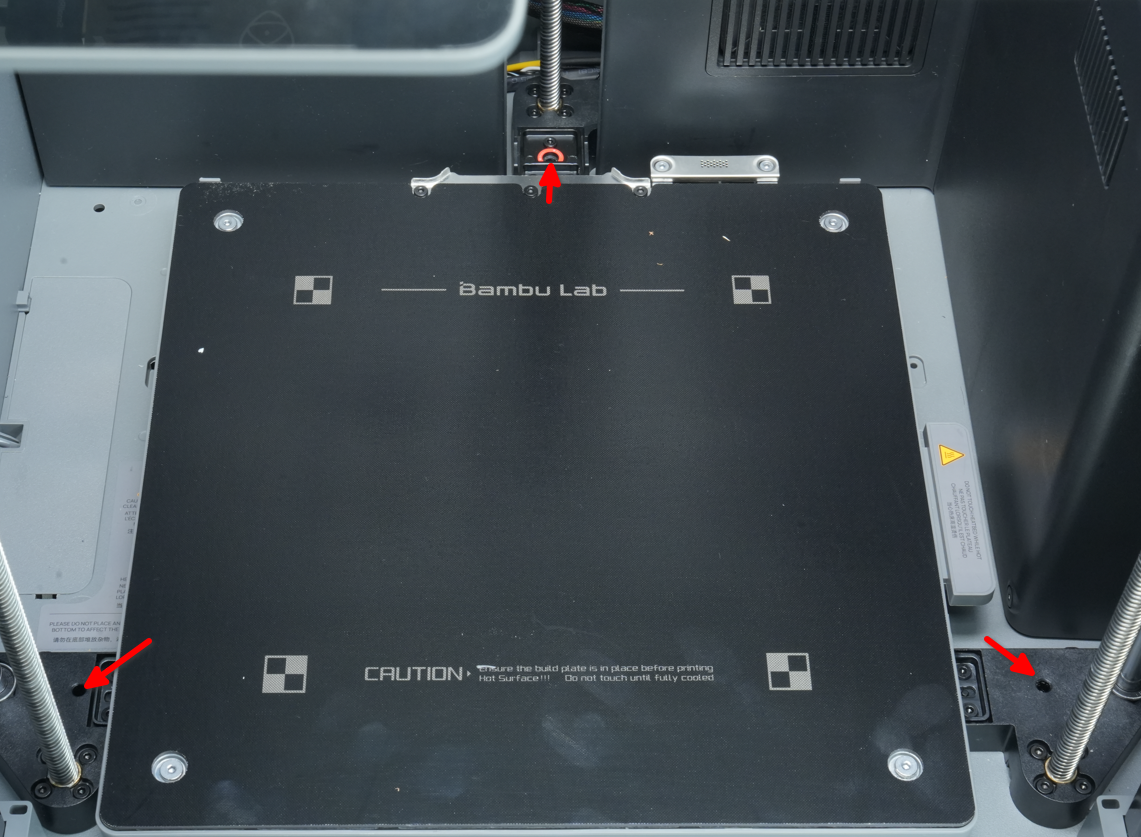
¶ Step 1: Lock the Heatbed
On the display, lower the heatbed to its lowest position. Then use an H2.0 hex wrench to screw the three screws (originally used to secure the heatbed during shipping) into the three Z sliders, securing the sliders to the base. Finally, turn off the printer and disconnect the power.
Locking the heatbed is a key preparatory step. This action secures the relative positions of the three Z-axis lead screws, preventing accidental rotation or displacement caused by external force or the bed’s own weight when the belt is loosened. It maintains the bed’s reference plane, avoiding excessive tilt and ensuring the platform remains level.
¶ Step 2: Remove the Glass Top Cover and Lay the Printer on Its Side
Remove the glass top cover before tilting the printer to prevent damage.
If you need to place the printer upside down, be sure to remove the display screen first to avoid damage. You can refer to the “Screen Replacement” guide for instructions on how to remove it.

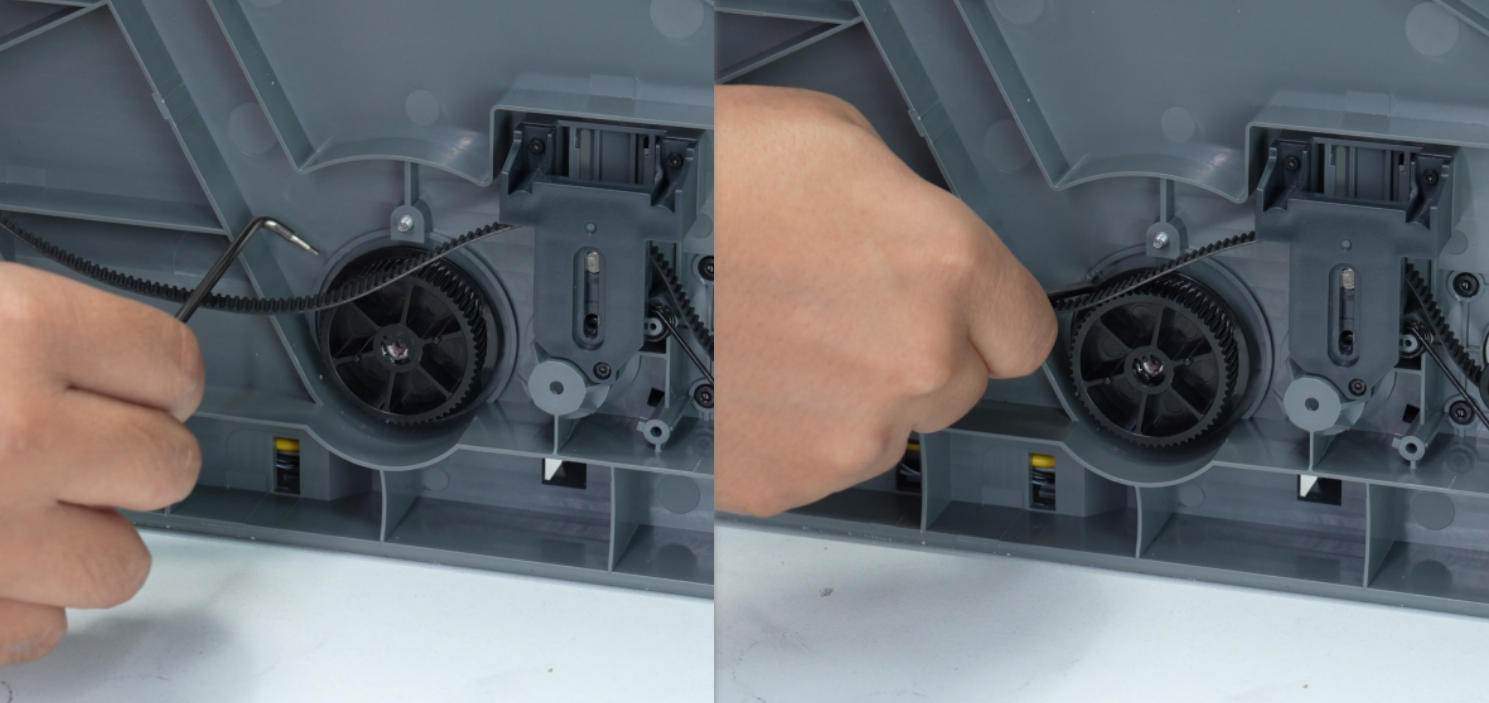
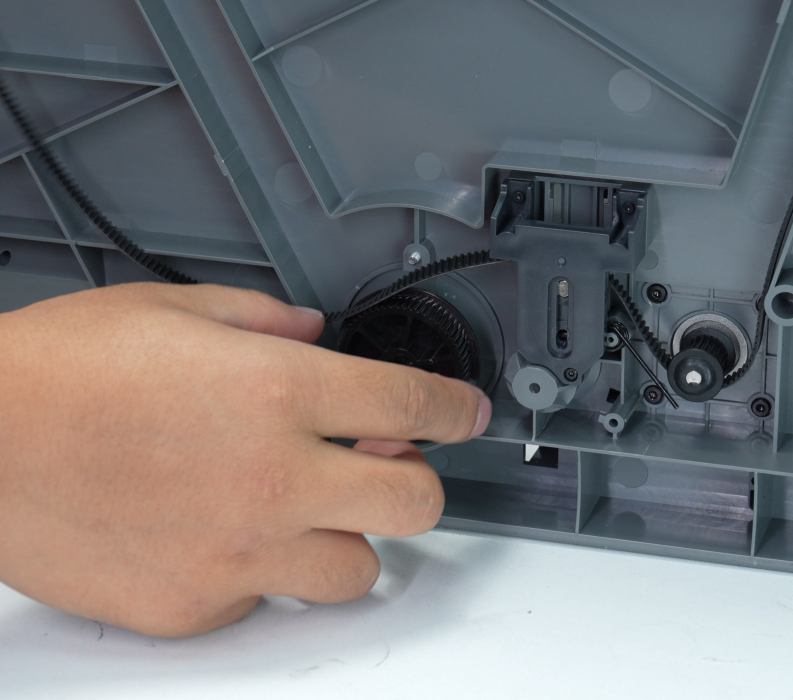
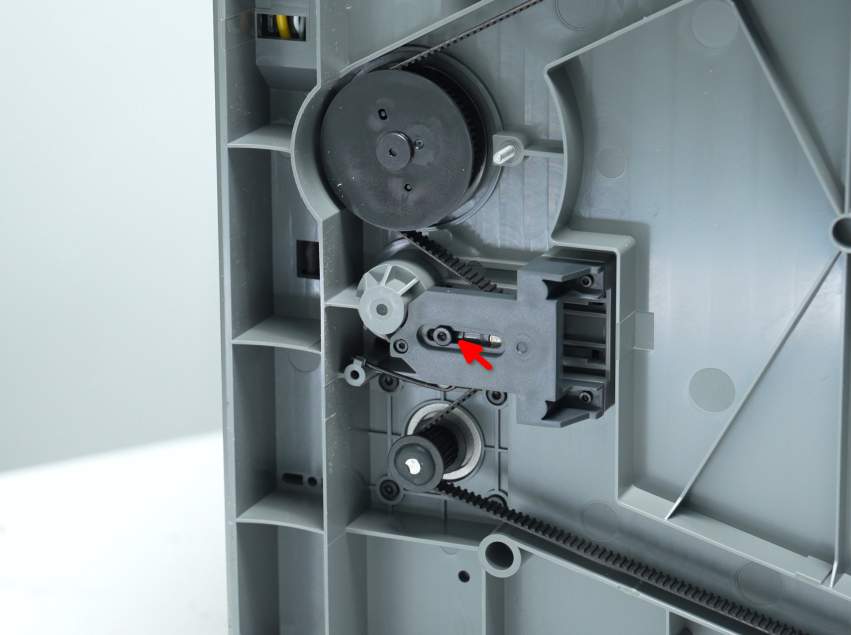
¶ Step 3: Remove the Z Pulley
Since the Z pulley screws are quite tight, hold the belt in place with your hand while loosening the pulley screws to prevent the pulley and screw from rotating together.
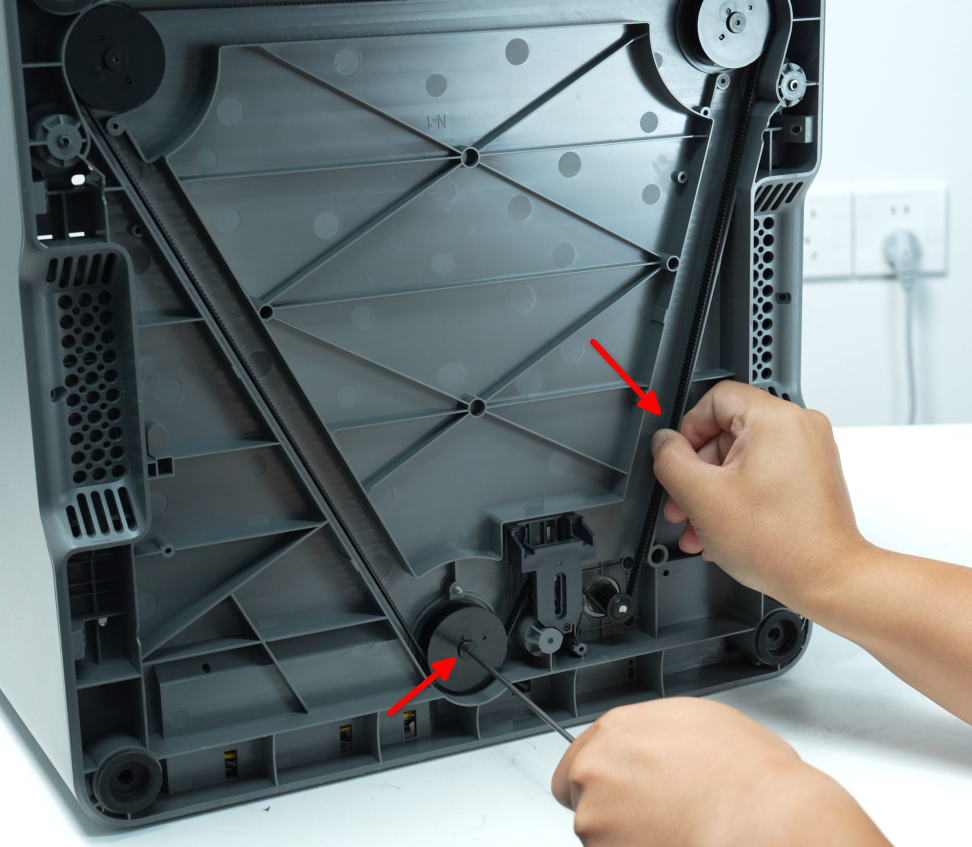
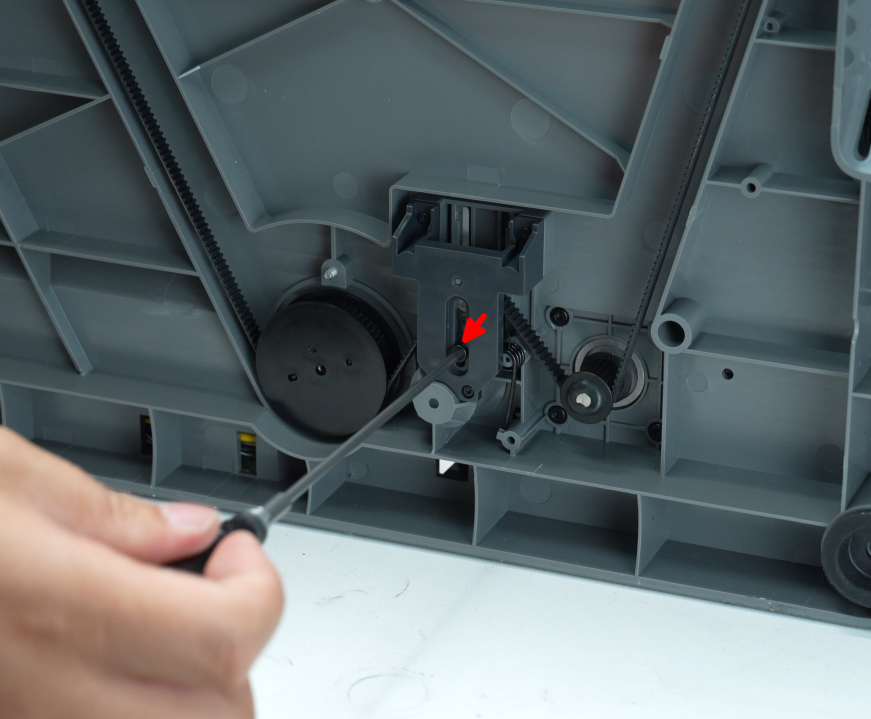
Remove the Z pulley cover. Then use a 2.0 mm hex wrench to loosen the tension screw and release the tension spring.
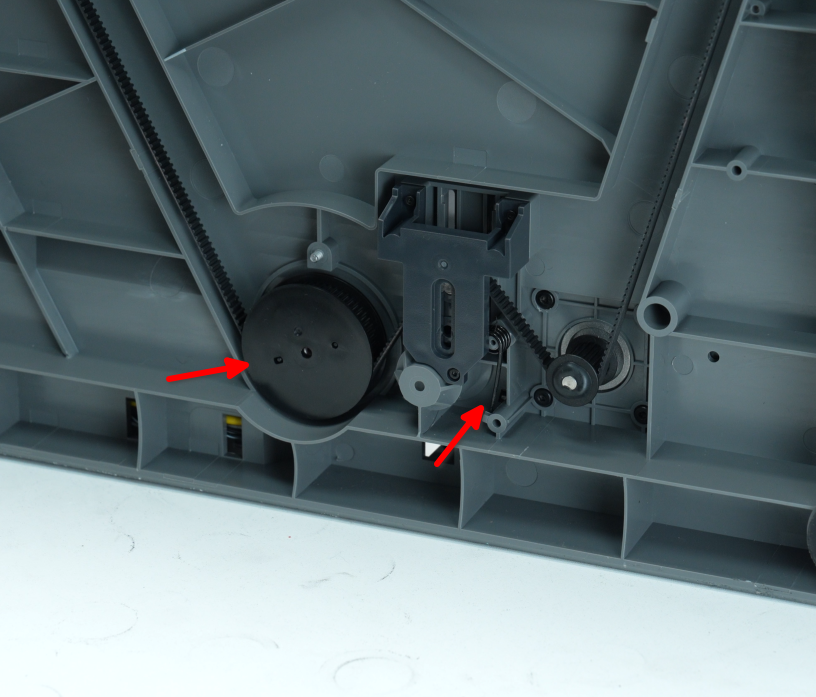
Remove the belt from the Z pulley, then insert a hex wrench under the pulley and pry the Z pulley out.
¶ Installing the Z Pulley
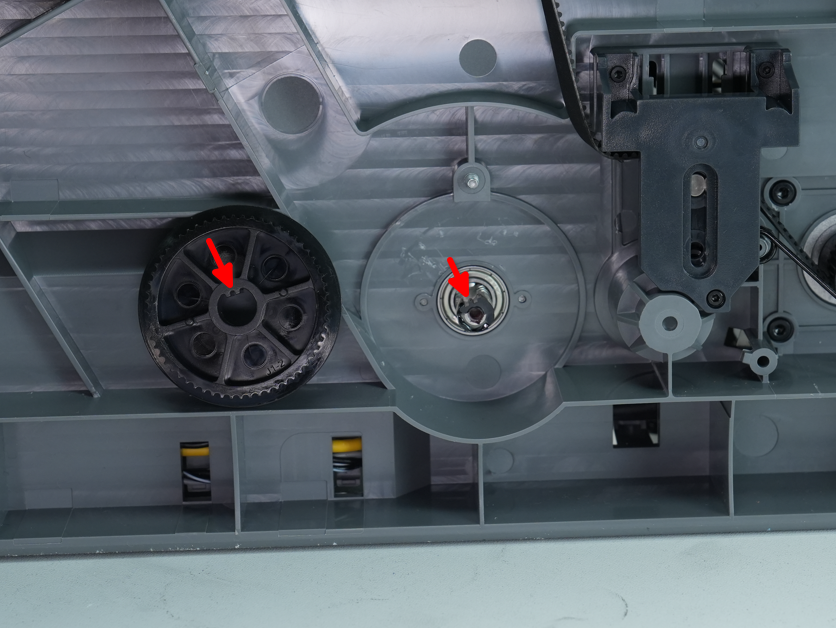
¶ Step 1: Install the Z Pulley
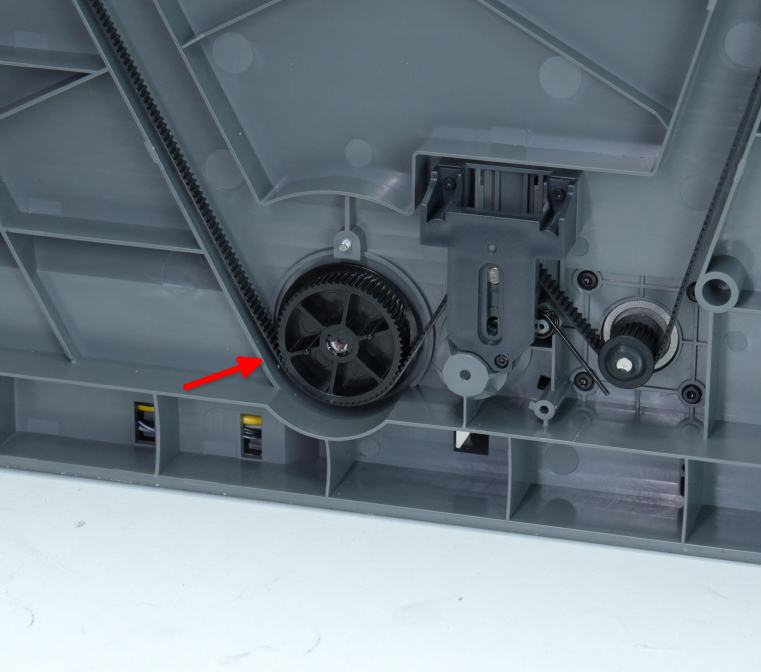
Align the slot of the new Z pulley with the bottom of the lead screw, install the Z pulley into place, then loop the Z belt back onto the pulley.
Reattach the tension spring into place, then install the pulley cover onto the pulley.
Hold the Z belt in place and tighten one screw using a 2.0 mm hex key.
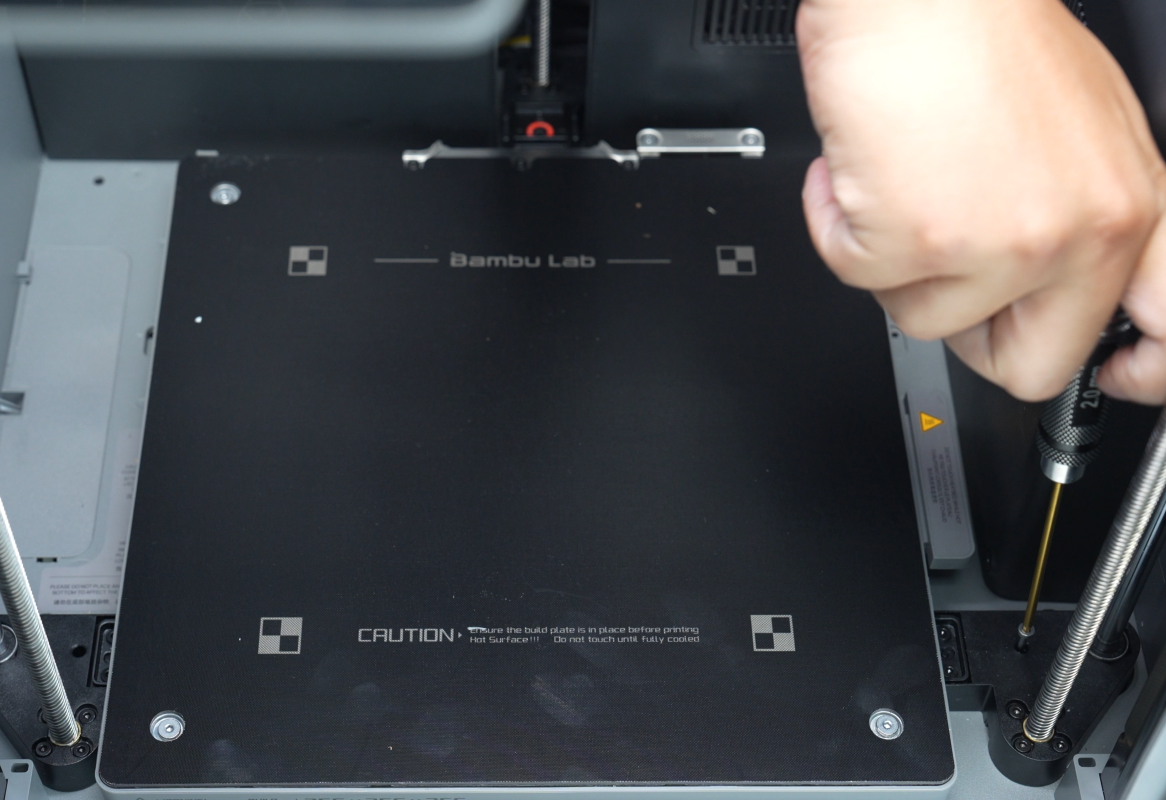
¶ Step 2: Unlock the Z-Axis Sliders
Place the printer upright, then use a 2.0 mm hex key to remove the three screws locking the Z-axis sliders.
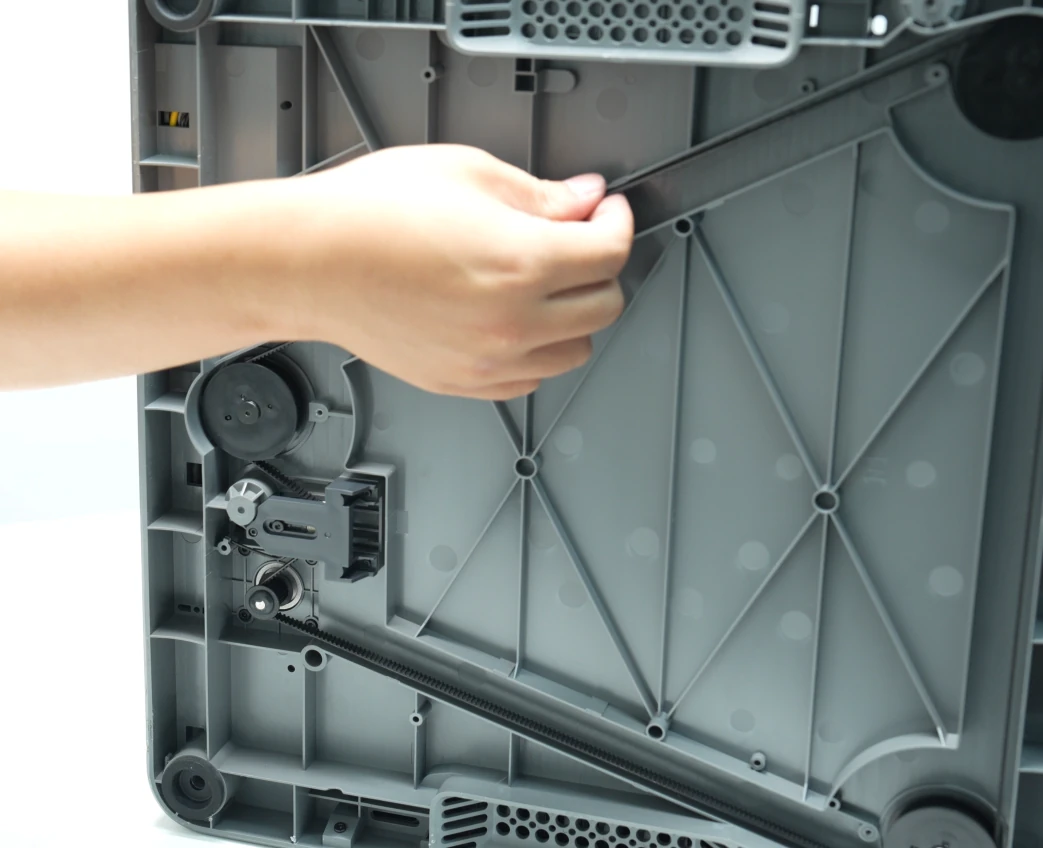
¶ Step 3: Tension the Z-Axis Belt and Tighten the Screw
Lay the printer on its side again, move the Z-axis belt back and forth to ensure smooth motion, then tighten the black screw.
¶ Verifying Success
Connect the power cable and turn on the printer. Run the machine calibration process; if no errors appear, the replacement is complete.
If you encounter any problems, review the steps and check all connections before trying again. If the problem persists, please contact the Bambu Lab customer service team for further assistance.
¶ End Notes
We hope this guide has provided clear and practical support.
If the issue remains unresolved, please submit a support ticket and include your recent printer logs and additional pictures or other details. Our technical team will review your request and provide detailed assistance.
You can also visit Bambu AI, which can instantly answer common questions and provide you with operational guidance.