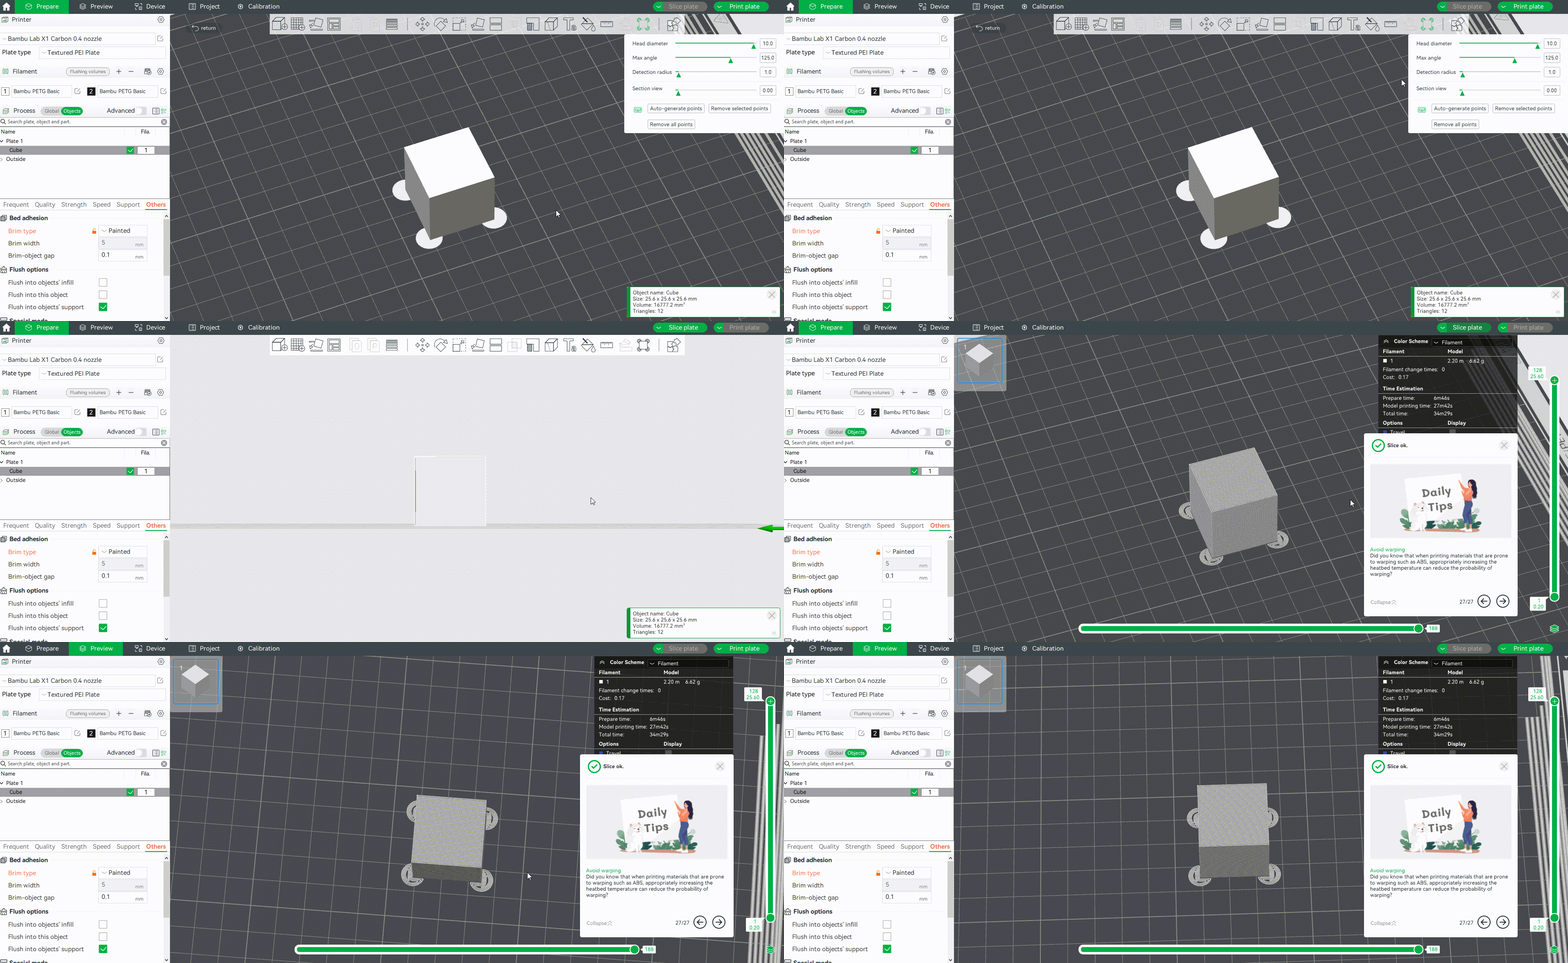
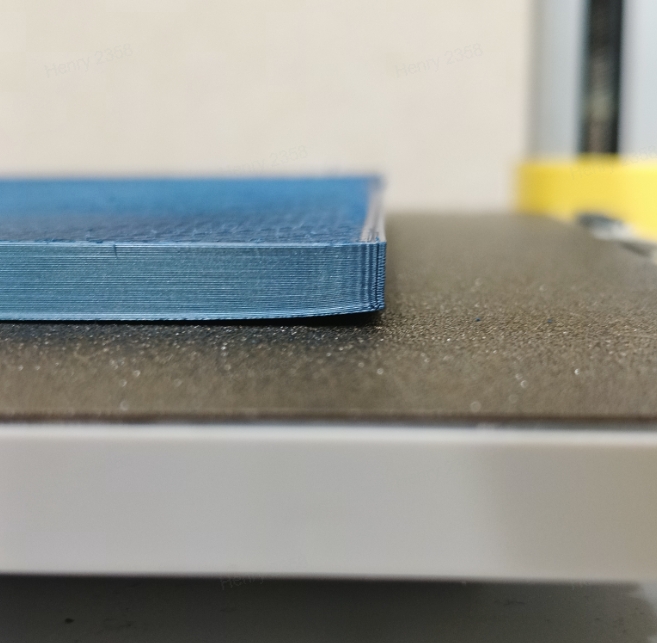
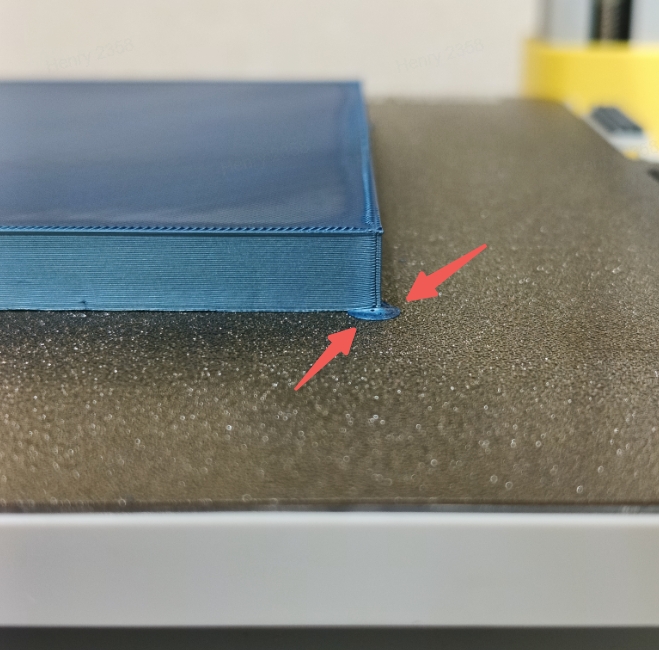
In 3D printing, models often experience warping due to localized material shrinkage or insufficient adhesion to the print bed, especially when using shrink-prone materials like ABS or ASA. To address this issue, you can add a brim in Bambu Studio or increase the bed temperature to improve the adhesion of the model’s first layer see more details in Bambu Lab Wiki’s section on "Model warping, falling off, or collapsing". However, removing the brim can sometimes be troublesome, and certain areas may not require a brim. To address these needs, particularly for sharp corners, the Brim Ears tool offers a more convenient solution.
|
Model warping |
Brim ears pull the object corners to prevent warping |
 |
 |
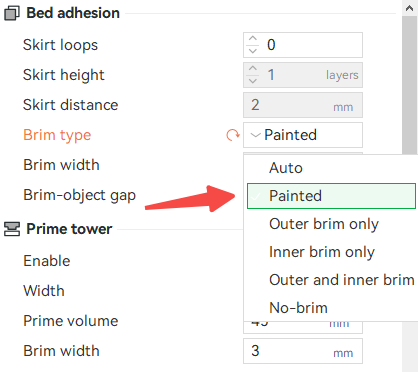
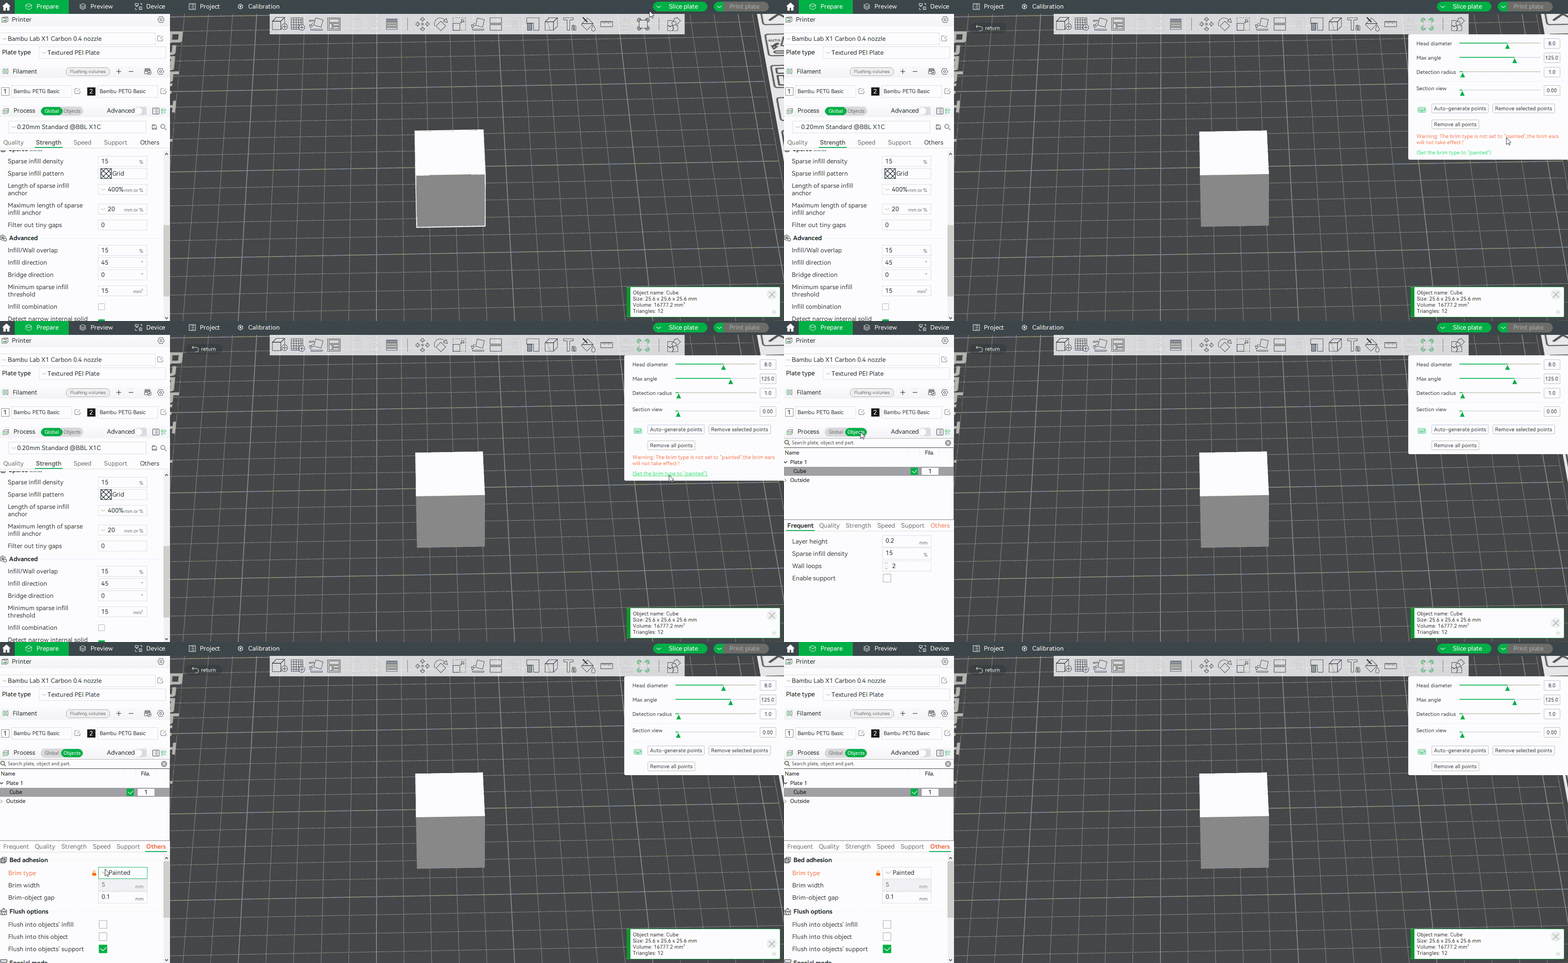
¶ Brim type set to "Painted"
First, ensure that the Brim type is set to "Painted" mode; otherwise, Brim Ears will not be generated. When you select a specific object to set Brim ear, relevant reminders will be on the operation interface. You can directly click “Set Brim type to ‘painted’" to modify the Brim type of the object.
¶ User Interface
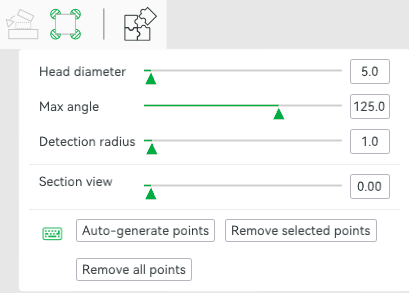
¶ Brim Diameter
This parameter sets the diameter of the Brim Ear, measured in millimeters.
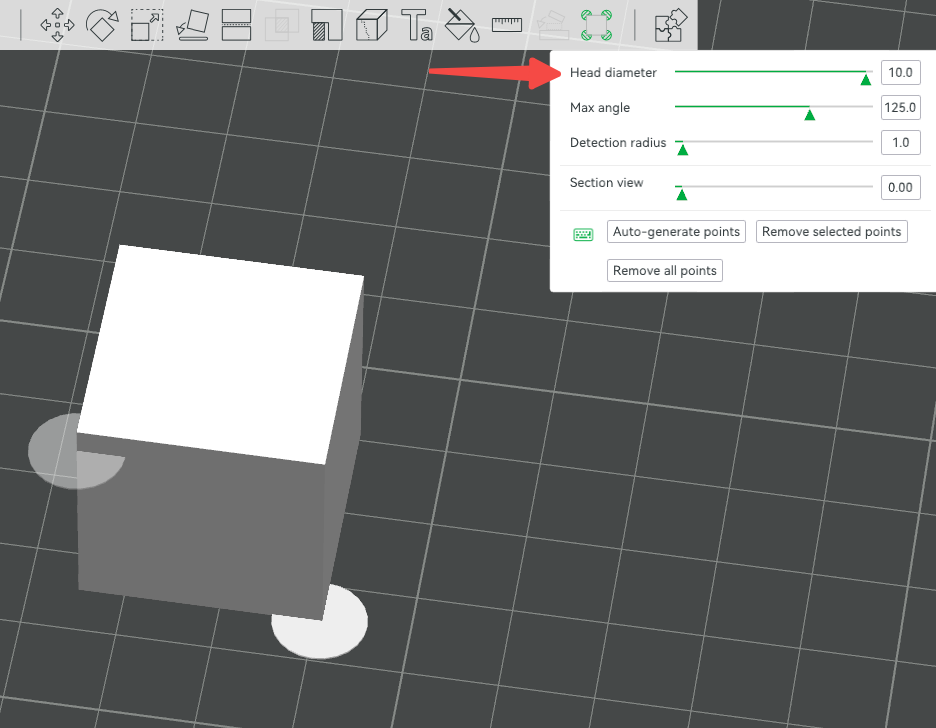
¶ Maximum Angle
When using "Auto Generation Points," the tool detects the contour of the model's first layer, and Brim Ears will be created at corners where the angle is smaller than this value.
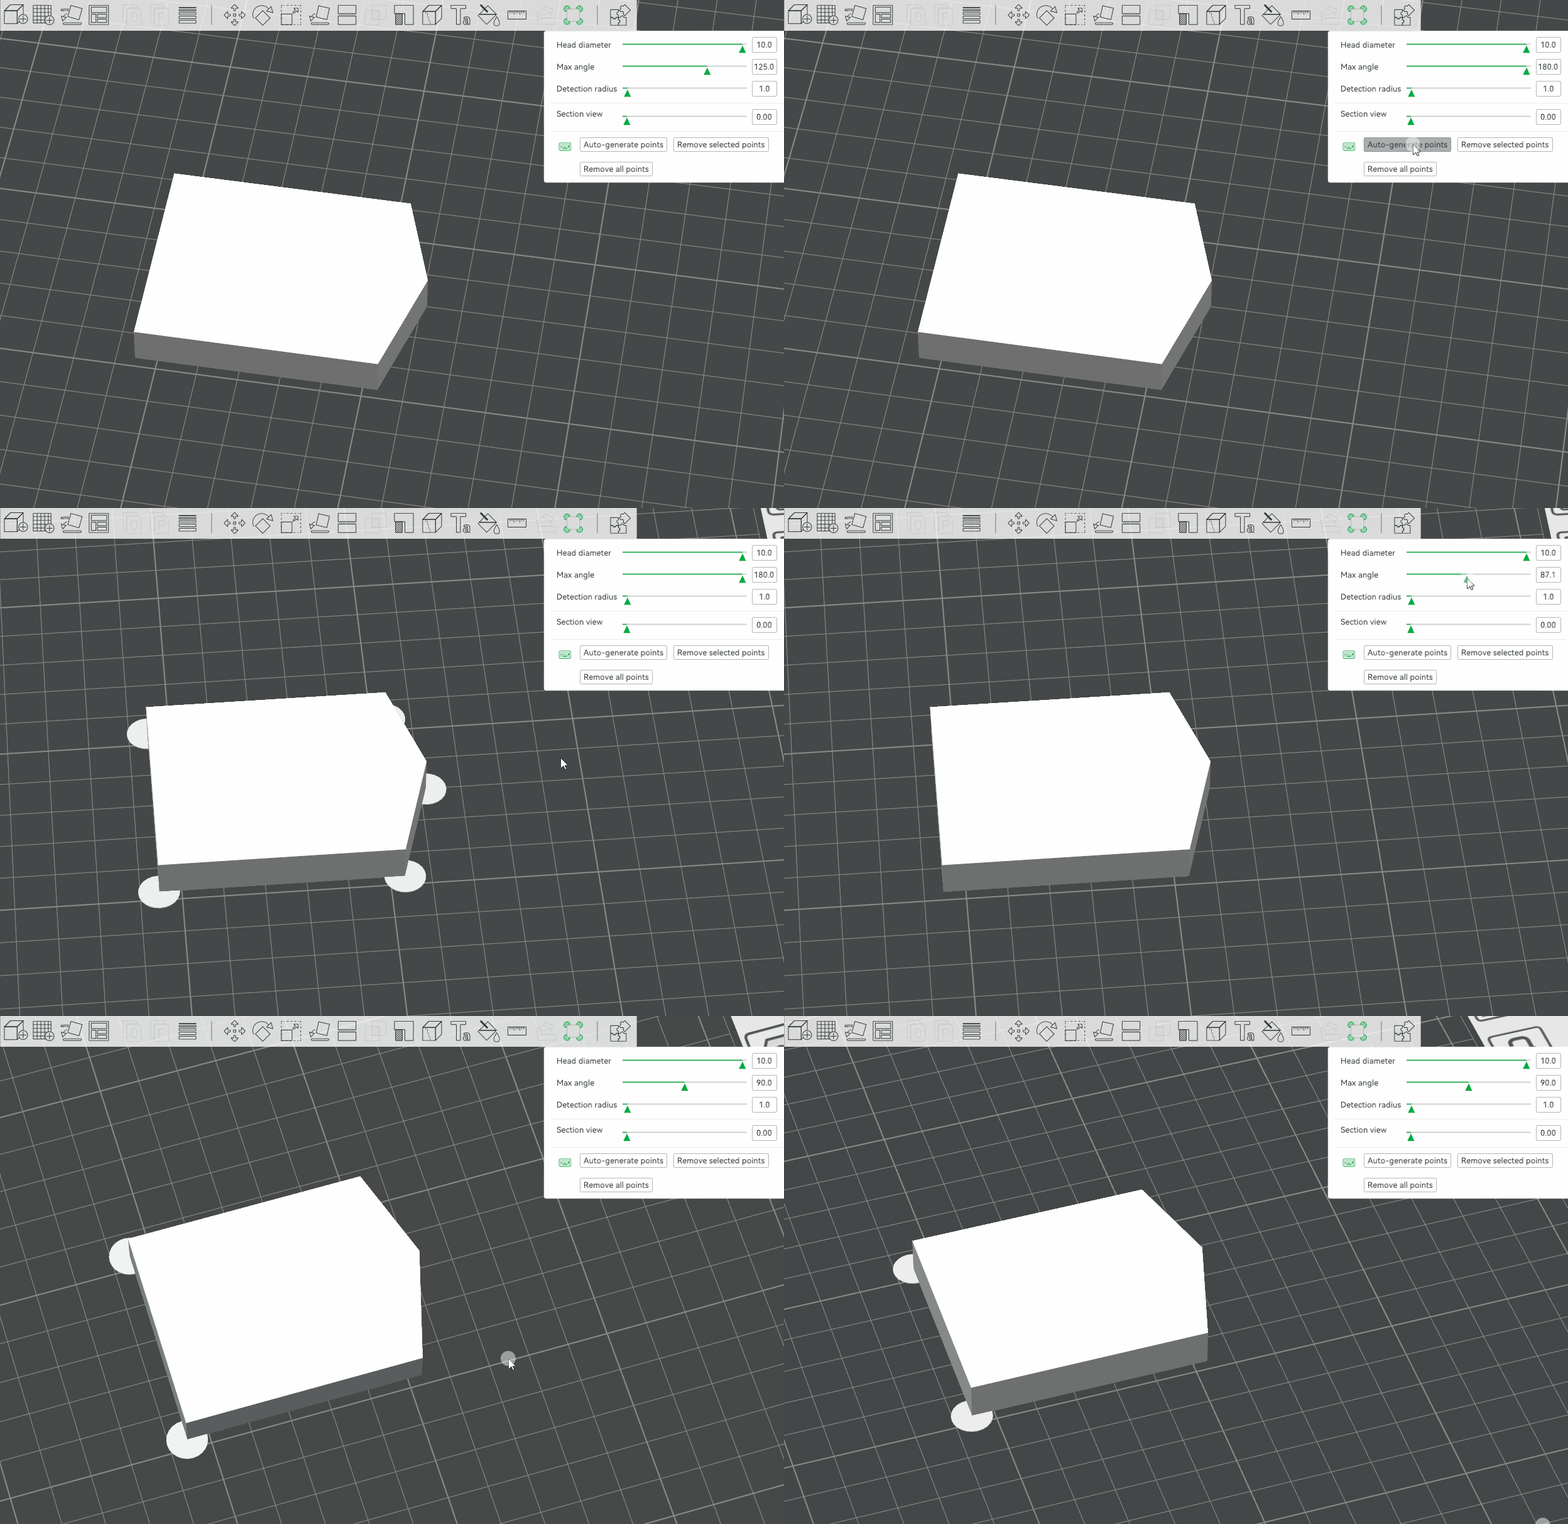
¶ Detection Radius
When using "Auto-generate points," the Douglas–Peucker algorithm is applied to fit and simplify the first layer contour of the model. The larger the value, the fewer Brim Ears are generated.

¶ Manual Painting
You can freely add ear-like Brims directly to the model. Left-click on the model to add, and right-click to delete. You can also left-click + Shift to select multiple Brim ears at the same time, and then click "Remove selected points" to delete multiple Brim ears at once. Click "Remove all points" to delete all added Brim ears.
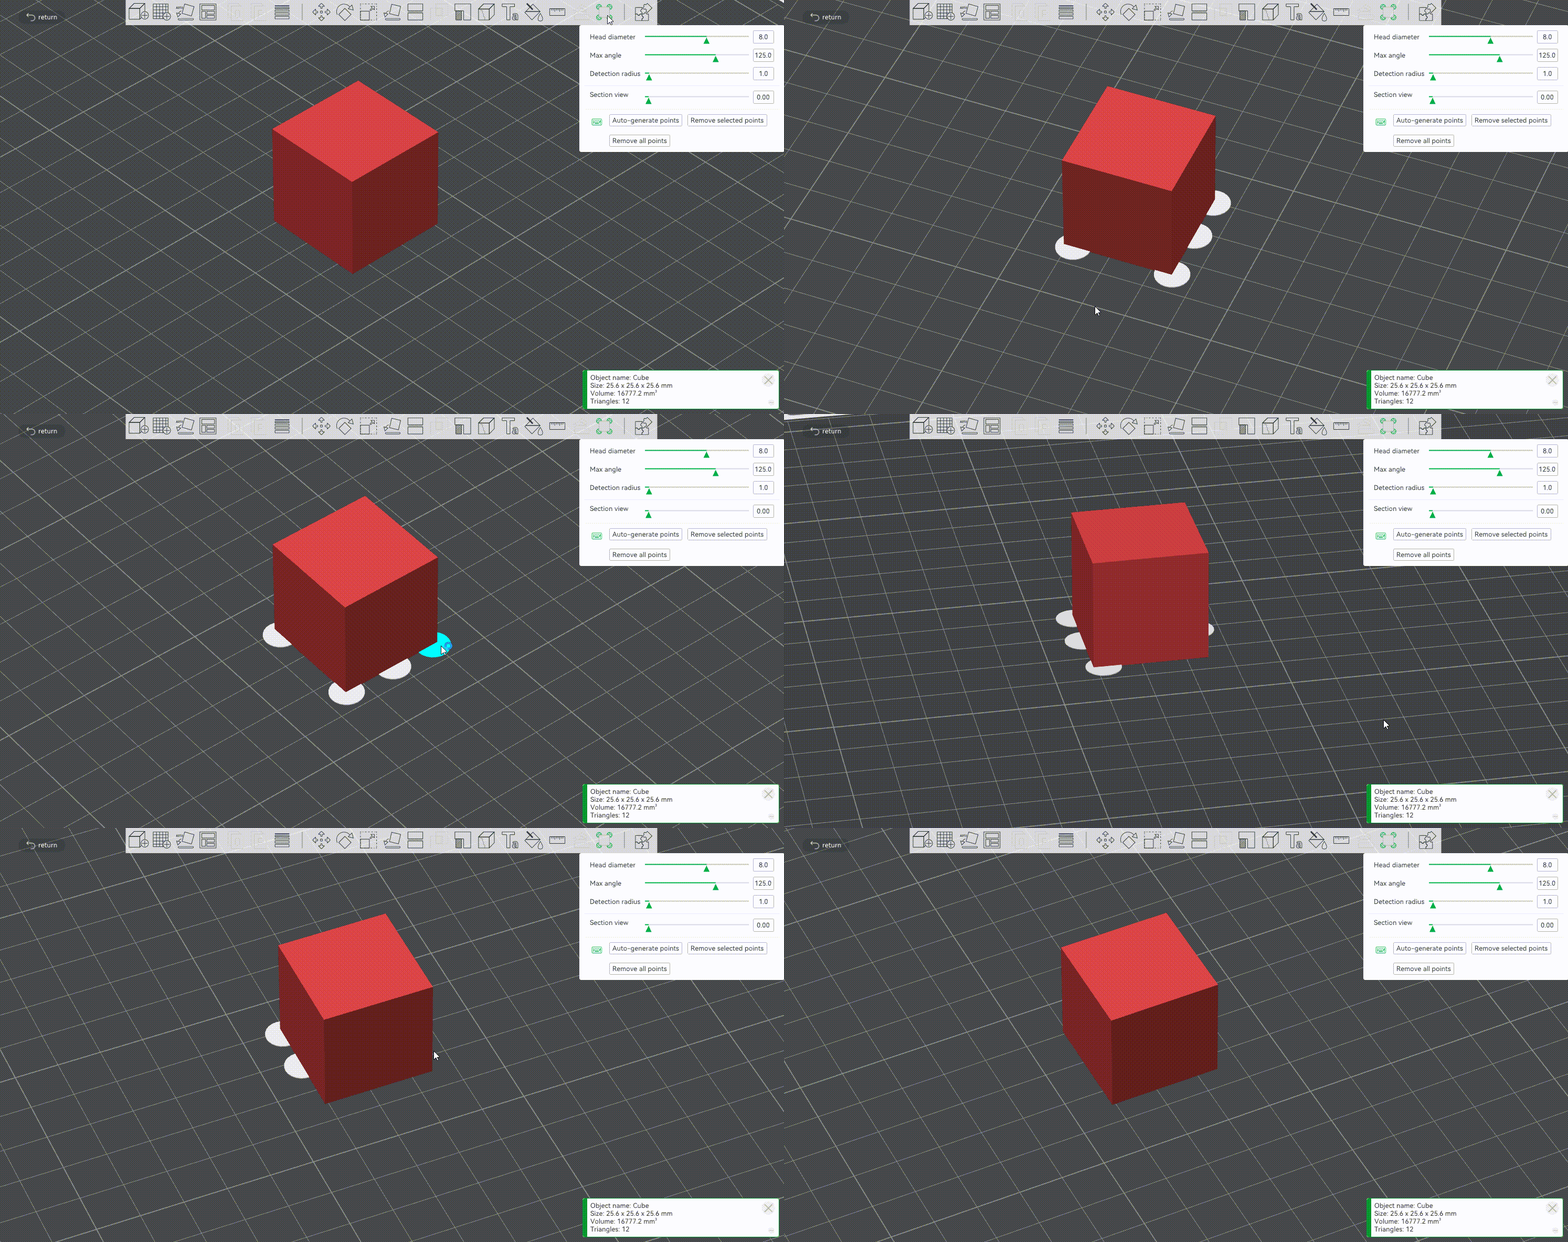
Note: Both automatically generated and manually painted Brim ears will temporarily be invisible after exiting the editing window, and you can only see the effect of adding Brim ears after slicing.
