¶ Where Is the Object List
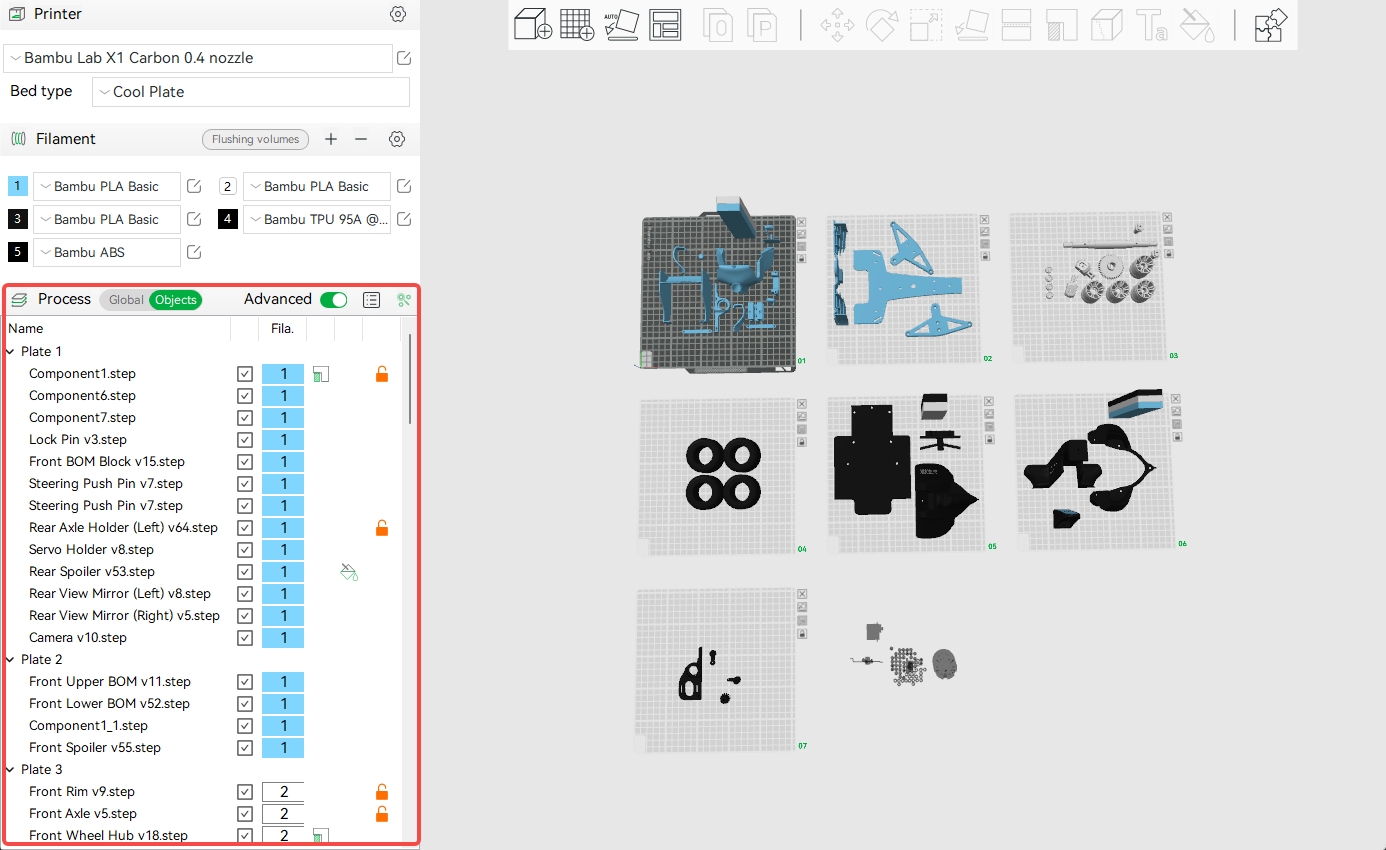
The object list is located in the left panel. You can view the object list by clicking the Global / Objects button and switch to the Objects mode.

The Object List provides a clear view of all the whole project structure by showing a hierarchy of
- Plates
- Objects
- Parts
- Modifiers, Negative Parts, Support blockers and enforcers
- Custom parameters for each object/part
Furthermore, it provides rich functionalities.
¶ Feature Introduction
¶ Customize parameters for selected objects/parts
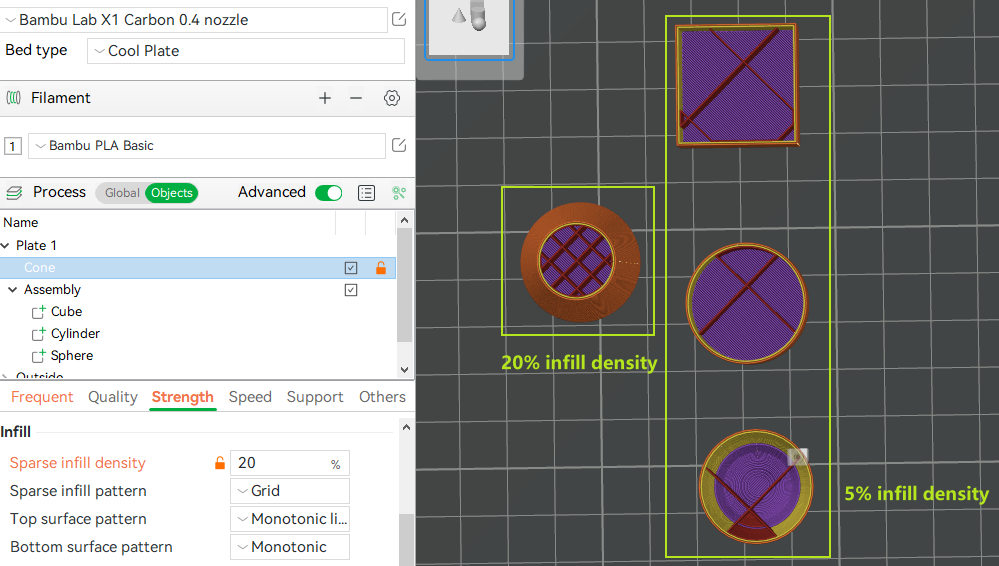
Click one or more objects, the parameter setting panel will auto-display at the bottom-left corner. The parameter values are origin from the global parameters. You may change them for each object according to your requirements. You can also change parameter values for parts in the same way.

If you change the parameter values for an object/part, an orange lock icon will display at the right side of the object/parts. You may reset the changes (restore to the global parameter values) by simply click this icon.
For details, please refer to how-to-set-slicing-parameters.
¶ Status of an object
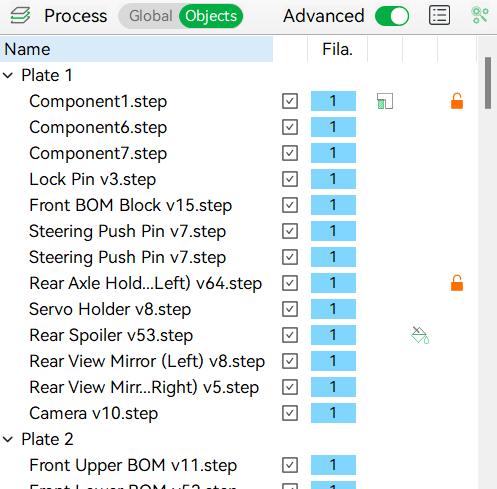
Each column display a specific status of an object/parts.
| Icon | Status | Description |
|---|---|---|
|
|
Printable | Click the icon to toggle its status. If it is toggled on, the object will be sliced for printing. Otherwise, the object will be skipped during slicing. |
 |
Filament | It represents the filament for current object/parts. Click the icon to change the filament. |
|
|
Support Painting | There are support enforcer/blocker painted on this object. Click the icon to edit the painting. |
|
|
Color Painting | The object has been color painted. Click the icon to edit the painting. |
|
|
Customized Parameters | Some slicing parameters have been modified for this object/part. |
Example:

¶ Rename objects/parts
Renaming can be handy when you import dozens of objects/parts with generic names exported from CAD software. There are 2 ways to rename an object/part in the object list.
- Double-click on a object/part name in the Object list to rename it.
- Click on an object/part, then press space key on the keyboard