Before using the laser process for processing, it is necessary to measure the material thickness to ensure the processing effect. Bambu Suite provides two automatic thickness measurement methods (Auto-Measure and Targeted-Measure). This article will introduce how to use the software's automatic thickness measurement function and troubleshoot common issues.

¶ Auto-Measure
Click 'Auto-Measure'. If you haven't taken a background image yet, the printer will measure the center of the processing area. If you've already captured a background image, the software will automatically find the material position, send it to the printer, and use the center of the material shape as the measurement point to check the material thickness.
¶ Possible reasons for measurement failure
-
The material's preset thickness is greatly different from its actual thickness. Please enter a preset thickness closer to the exact thickness and try again.
-
Transparent materials are used, such as transparent acrylic and glass. Transparent materials also do not support laser engraving and cutting. It is recommended that the opaque material be replaced and tried again. If you must use transparent material for processing, please manually measure the thickness and enter the thickness value in the software (note: the laser may not be able to focus on the surface of the transparent material, which may affect the processing effect).
-
The surface of the material is uneven. It is recommended to be replaced with a smoother material and tried again.
¶ Targeted-Measure
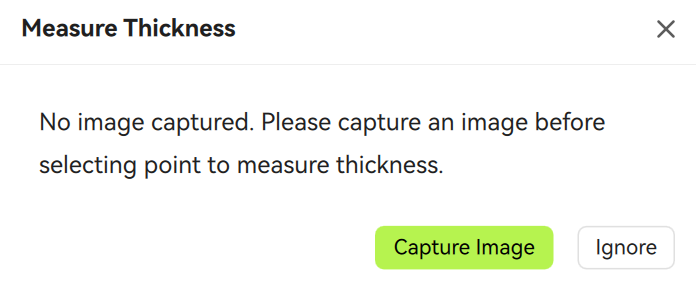
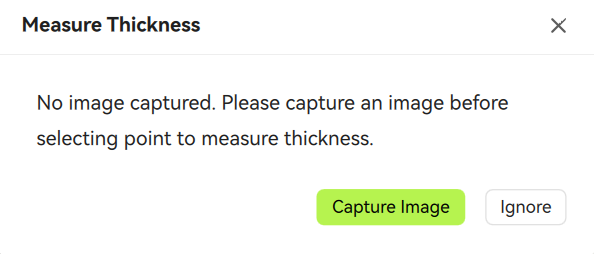
Before targeted measuring, first capture the background image of the processing plane (if not, there will be a corresponding pop-up reminder), then click "Targeted Measure" and select a point on the material surface for thickness measurement according to the prompt.

¶ Matters needing attention
When selecting the Targeted Measure, the following points should be noted:
- Select the center position of the object as the thickness measurement point
Please try to choose the center position of the object as the measurement point to improve the fault tolerance of the thickness measurement.
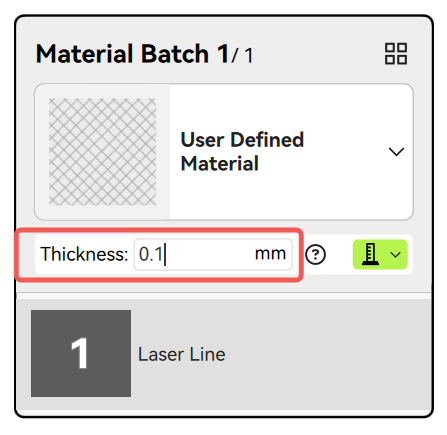
- Adjust the preset thickness of the material properly
A more accurate preset thickness of the material can help the printer measure the material thickness more accurately.
You can:
-Click on 'Select Material' to load preset materials and their corresponding thickness values from the material library.
-If you are using custom materials, please enter a value close to the actual thickness of the material as the preset thickness.
-If you are unsure about the material thickness, you can estimate and enter an approximate value.
- Choose opaque and flat materials for processing
-
Material thickness measurement relies on optical measurement function, and currently does not support thickness measurement of transparent materials.
-
If the object's surface is uneven, thickness measurement may also fail. Do not use materials with severely uneven surfaces in 2D machining mode. We suggest that you replace the opaque and flat surface material and then restart the material thickness measurement on the software.
- There are blind spots in selecting thickness measurement points, so the selected area is smaller than the laser module processing area, and attention should be paid to the placement of materials.
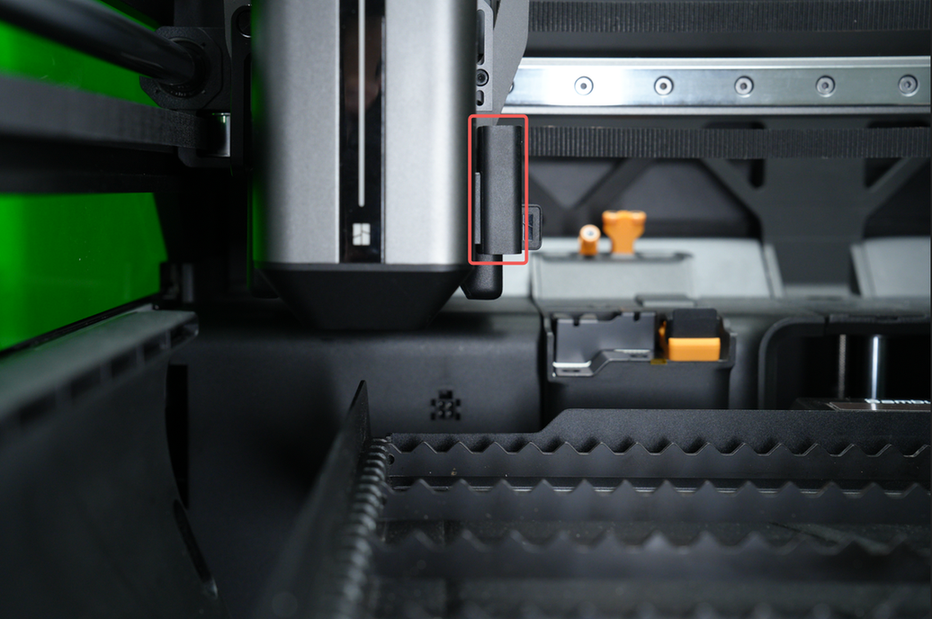
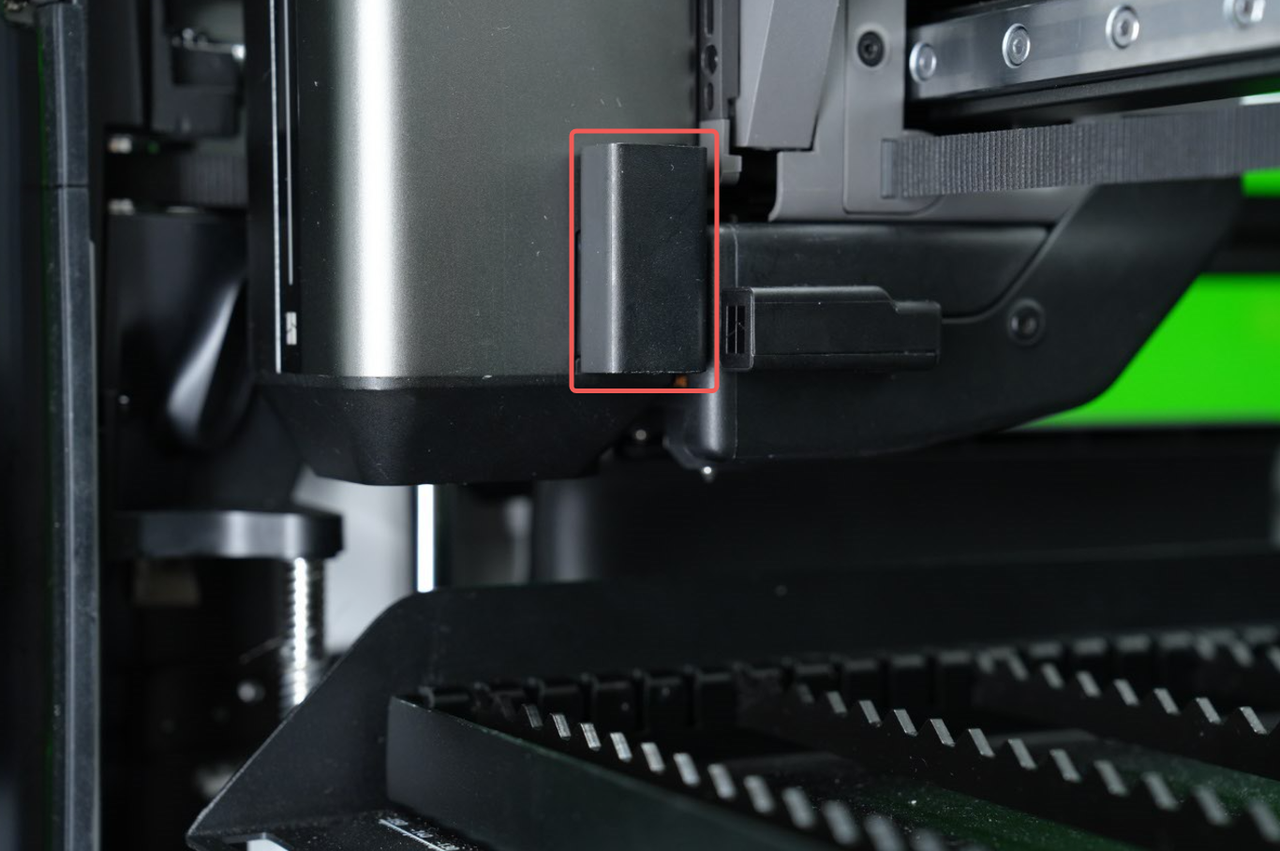
- The premise of thickness measurement is that the toolhead lidar needs to recognize the object, and the area that the lidar can move to is inconsistent with the laser module. When the toolhead is moved to the far left, the lidar position is at X56. When the tool head is moved to the outermost, the lidar position is at Y40. So the overall blind spot range is X<56 and Y<40.
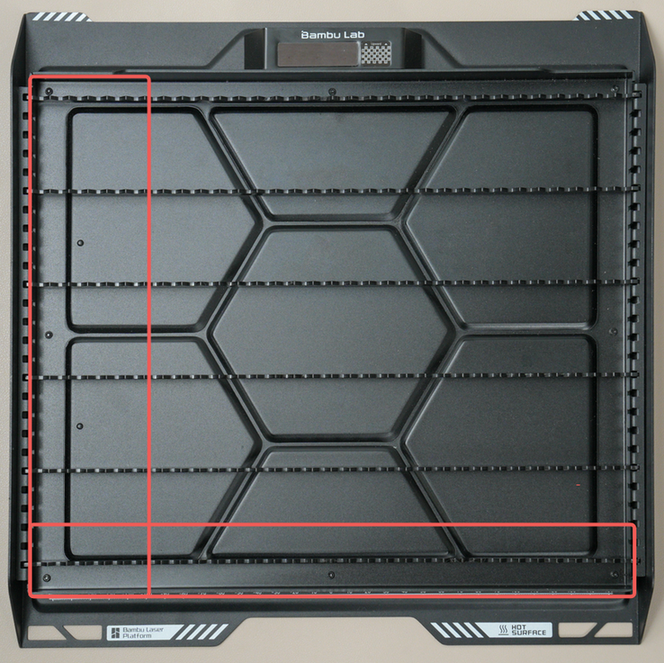
- The green box in the software represents the area that the lidar can recognize, which can be manually selected for measurement. If small pieces of material are found to be placed beyond the selectable area, please readjust the placement of the material.

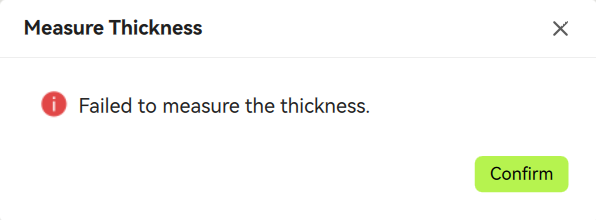
¶ Possible reasons for measurement failure
If the Targeted-measure thickness fails and the corresponding error pop-up or HMS reminder appears, it may be due to the following reasons:
-
The selected measurement point is close to the edge or outside the object's surface. Please select the measurement point to the center of the object surface and try again.
-
The material's preset thickness is greatly different from its actual thickness. Please enter a preset thickness closer to the exact thickness and try again.
-
Transparent materials are used, such as transparent acrylic and glass. Transparent materials also do not support laser engraving and cutting. It is recommended that the opaque material be replaced and tried again. If you must use transparent material for processing, please manually measure the thickness and enter the thickness value in the software (note: the laser may not be able to focus on the surface of the transparent material, which may affect the processing effect).
-
The surface of the material is uneven. It is recommended that it be replaced with a smoother material and tried again.