Bambu Suite's sticker tool allows users to create exquisite stickers with frames based on imported patterns by printing first and then cutting. The original pattern can be a bitmap composed of pixels or a vector image.
¶ The steps for making stickers
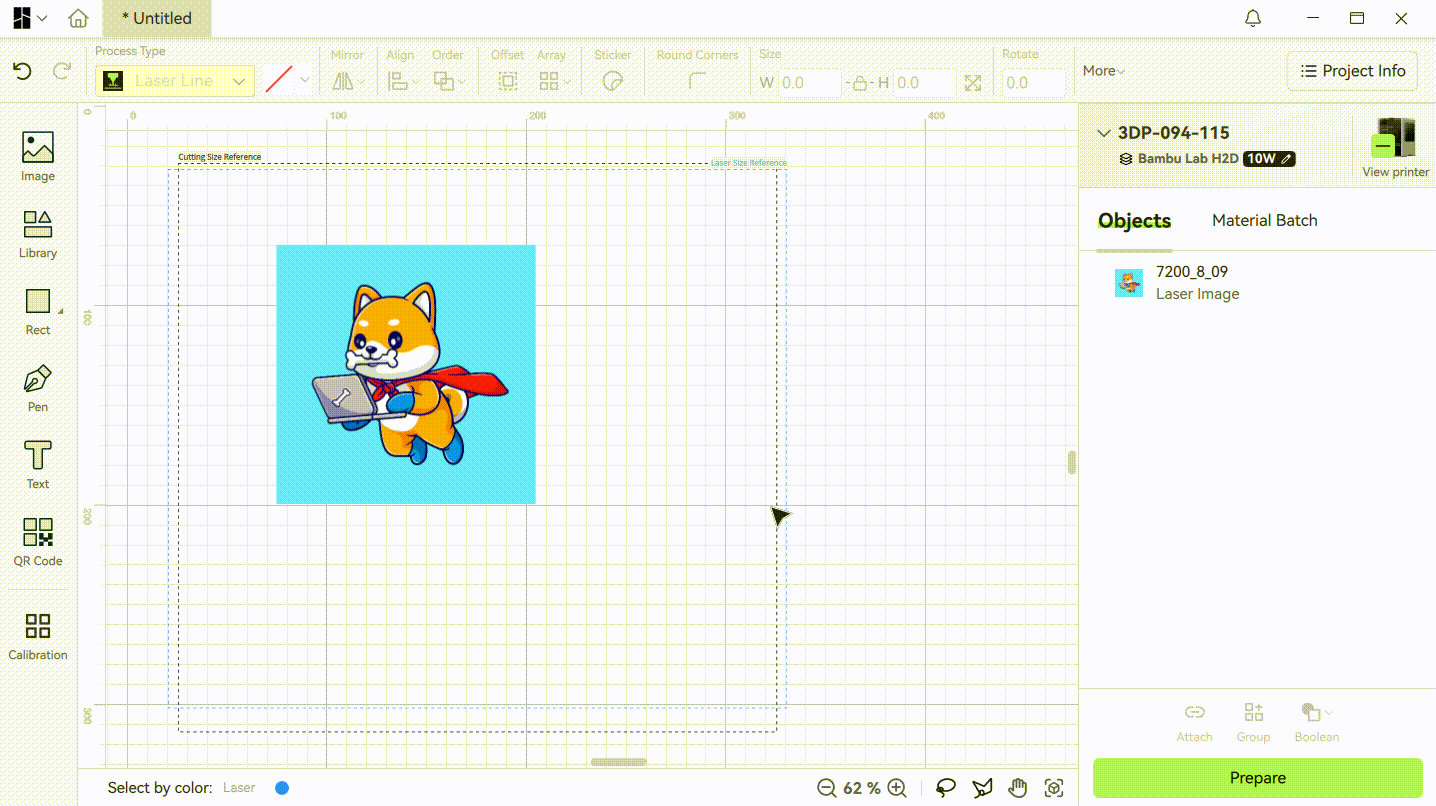
- Importing an image, if you are importing a bitmap, usually requires removing the image's background and preserving the part of the pattern that needs to be made into a sticker. You can refer to the steps in the GIF below to intelligently delete the image's background. Vector graphics are usually background-free, so there is no need for processing. picture from @catalyststuff)
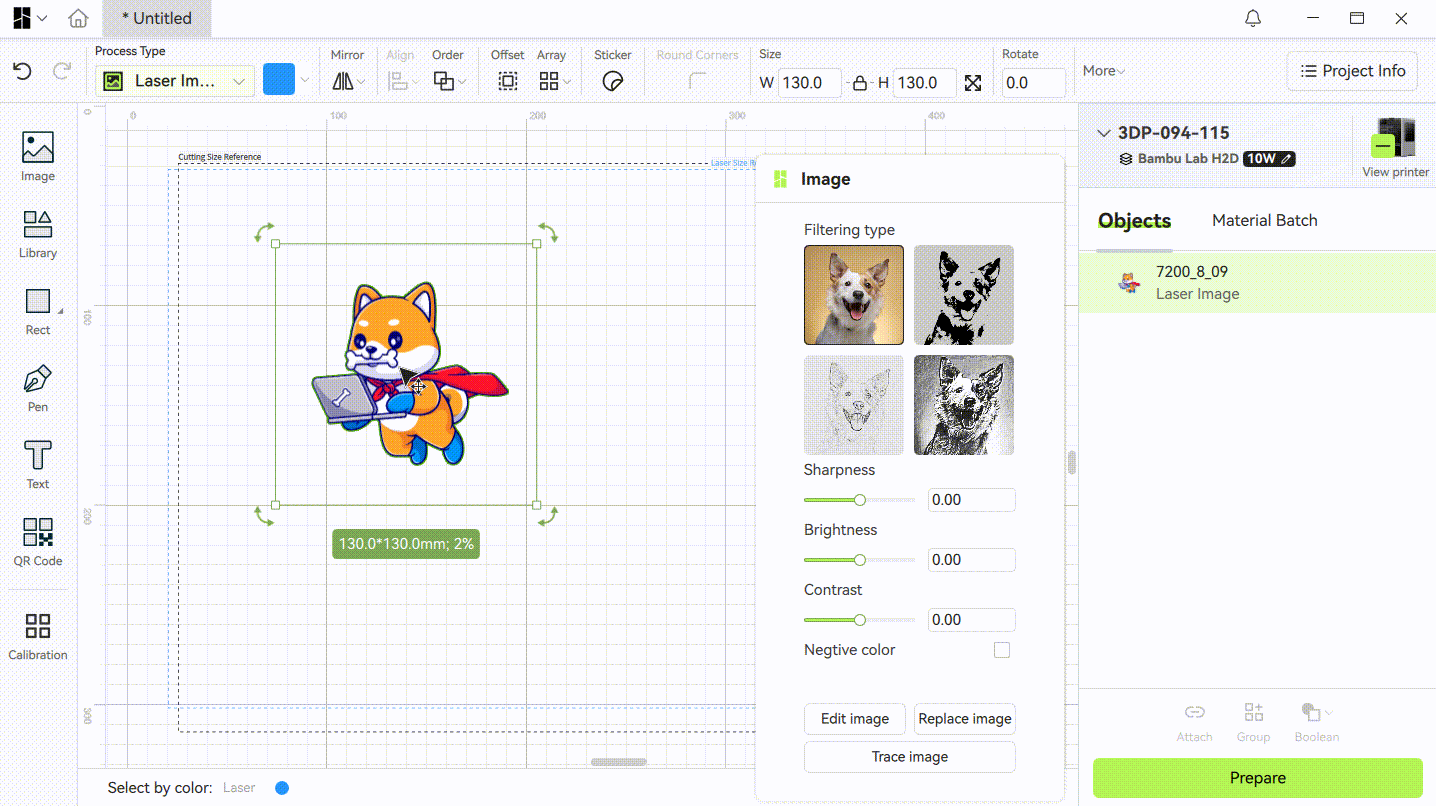
- Select the image, click on the sticker tool, and customize the sticker frame width, color, and other parameters (detailed parameters will be introduced in the following text) to generate sticker objects. The software will automatically set the sticker pattern to the print-then-cut process type.
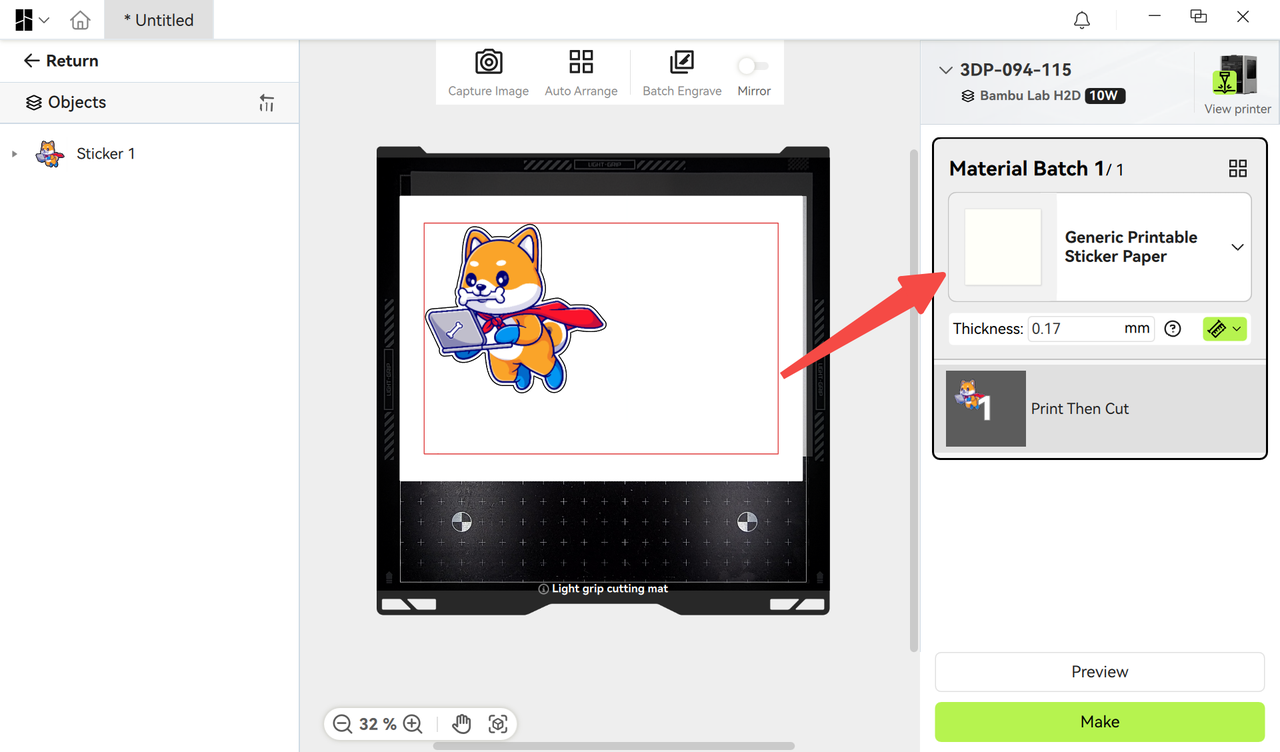
- Prepare for production. Select Generic Printable Sticker Paper rom the material library. And place printable sticker papers in your paper printer in advance for printing sticker patterns.
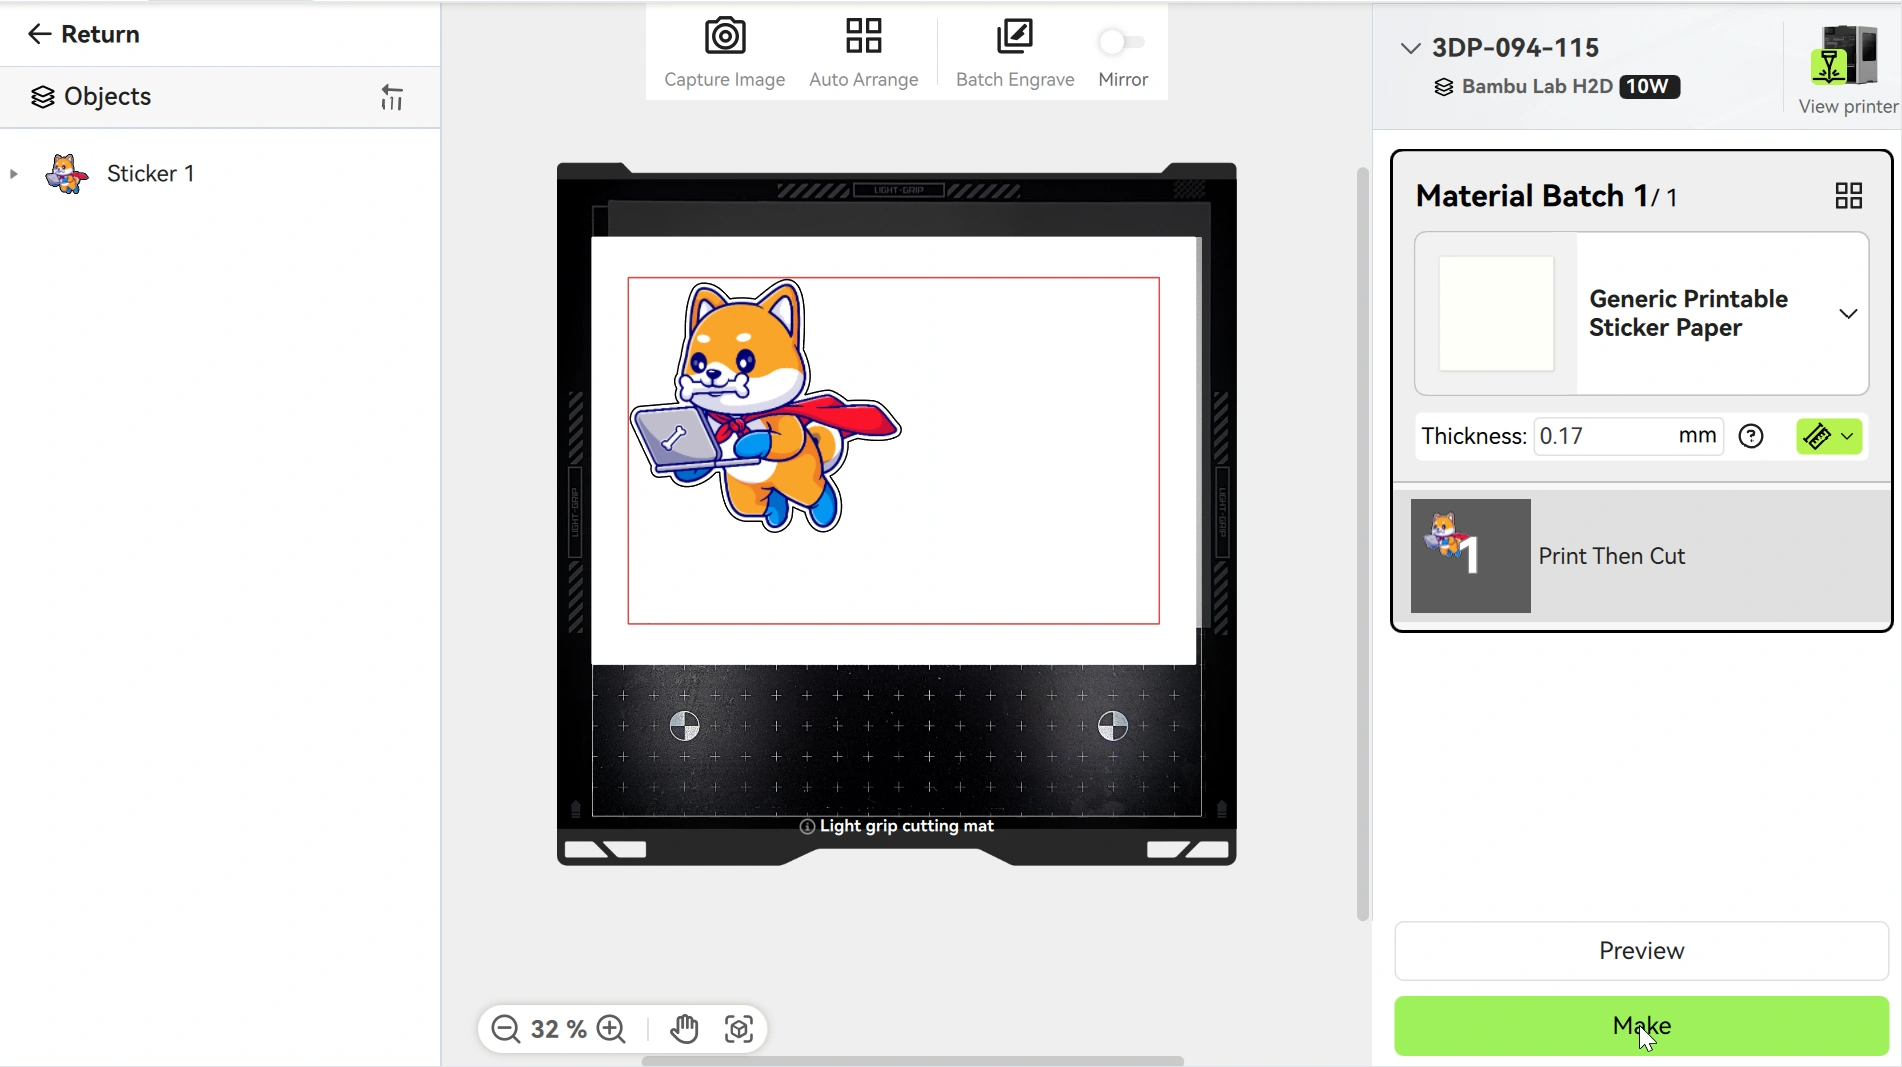
- Click on 'Make', and the software will send the cutting task to the Bambu printer. It will also prompt you to send the paper print file to your paper printer. After printing the relevant patterns on the printable sticker paper, you need to take out the printed stickers from the paper printer, paste them onto the corresponding position of the cutting platform according to the prompts, confirm on the Bambu printer screen, and press the machine's start button to start cutting.
- Wait for the cutting task to be completed to get a beautiful sticker.
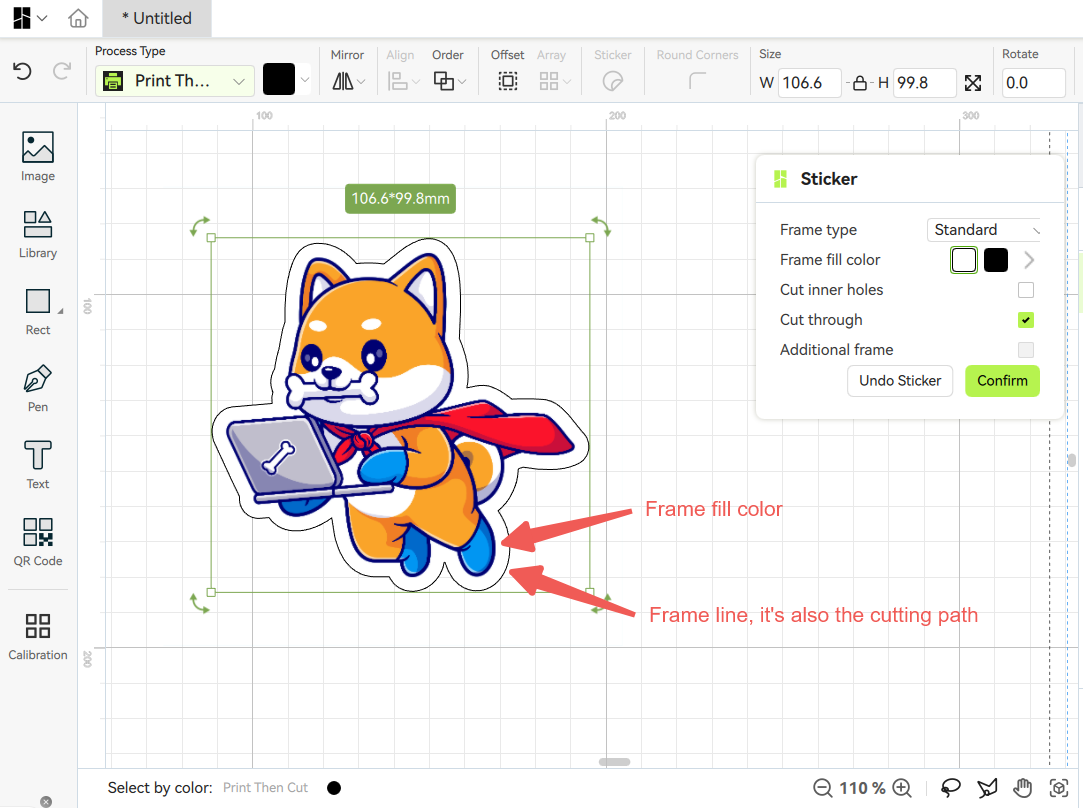
¶ Introduction to the parameters of sticker tools
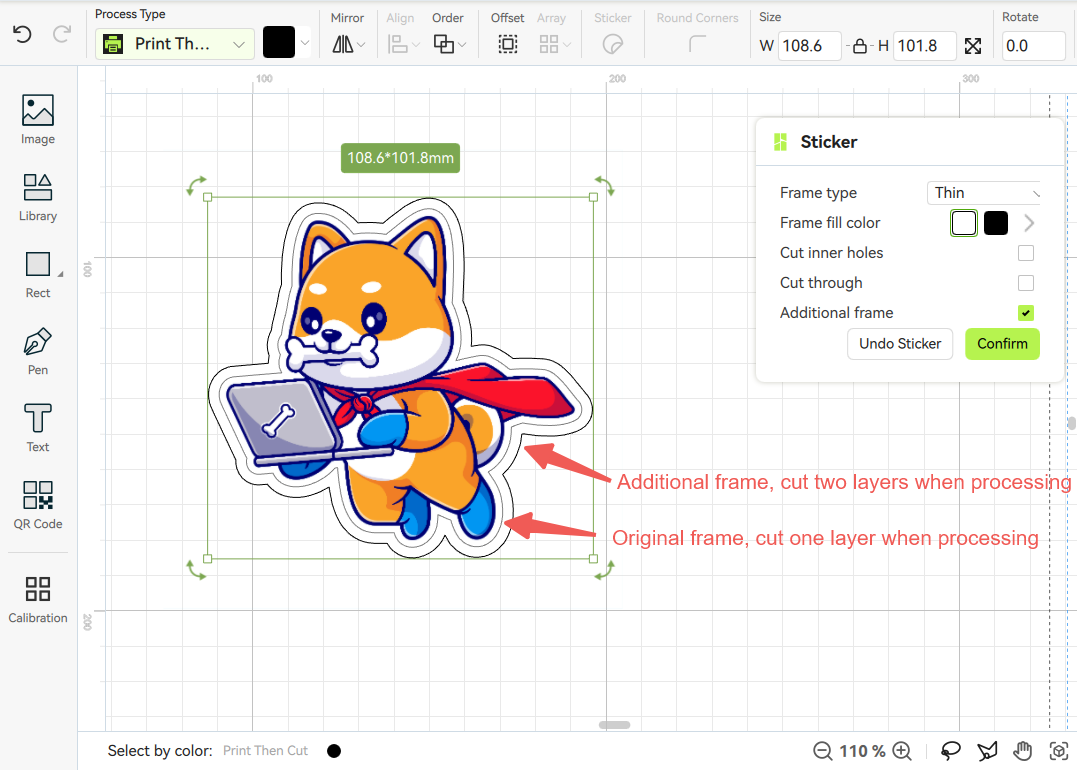
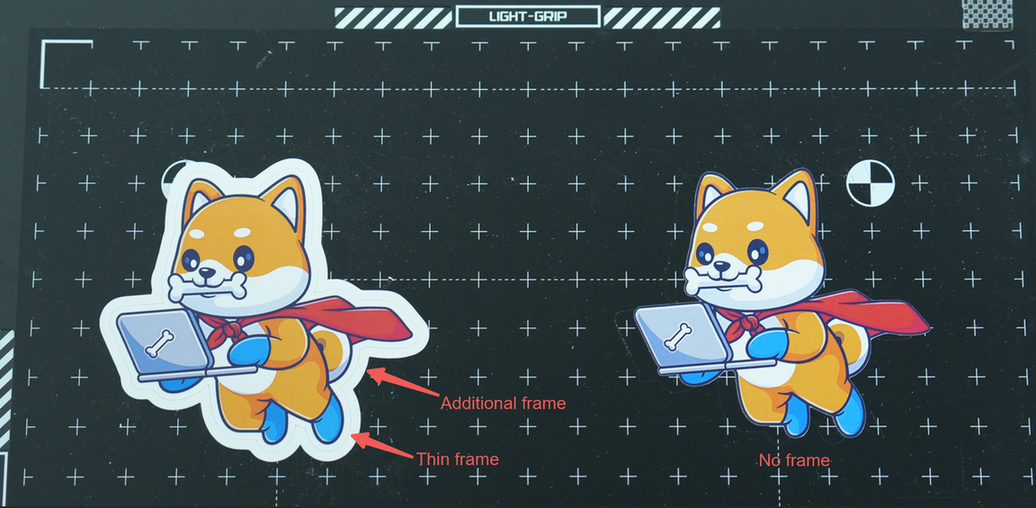
- Set the filling color and width of the sticker frame. If a frame is added, the cutting path will follow the frame during cutting. If the frame type is selected as none, cutting will be done directly along the edges of the pattern. The selectable frame widths include thin (2mm), standard (4mm), wide (6mm), and custom options. You can set the frame width according to your actual needs.
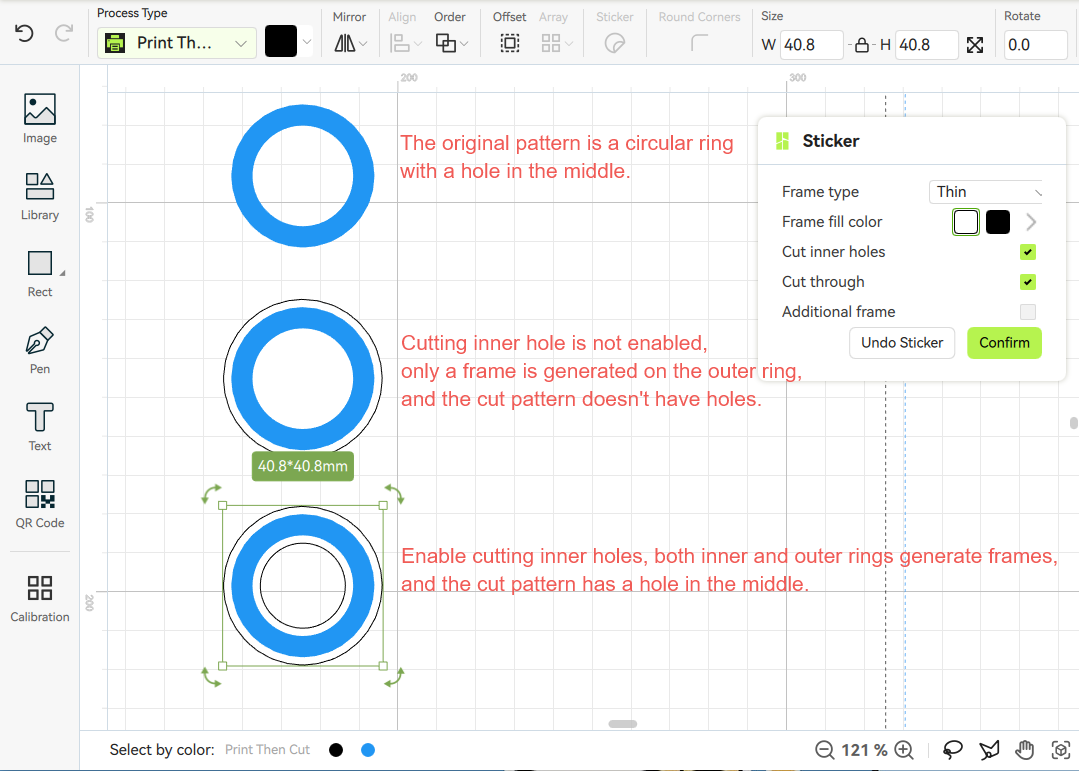
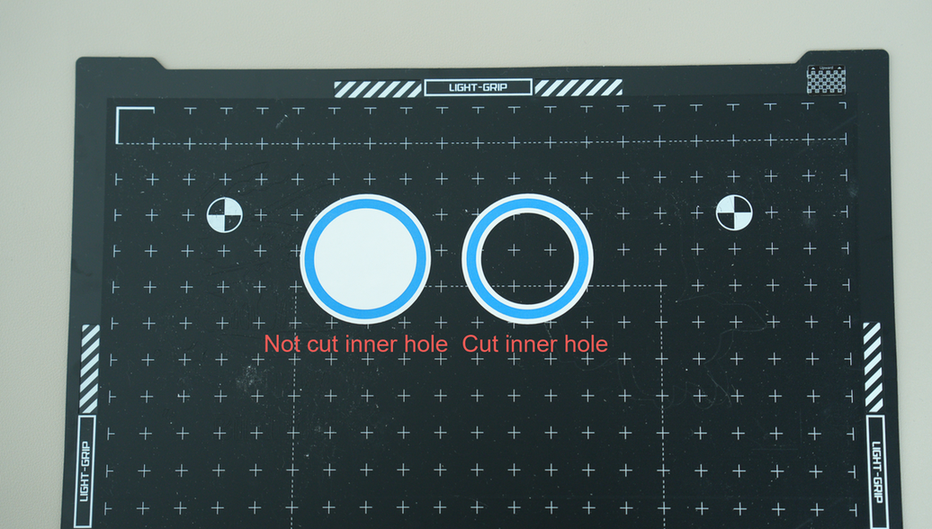
- Cut inner holes. This option controls whether to cut the hollow part of the pattern. The effect of enabling and disabling cutting inner holes is shown in the following image.
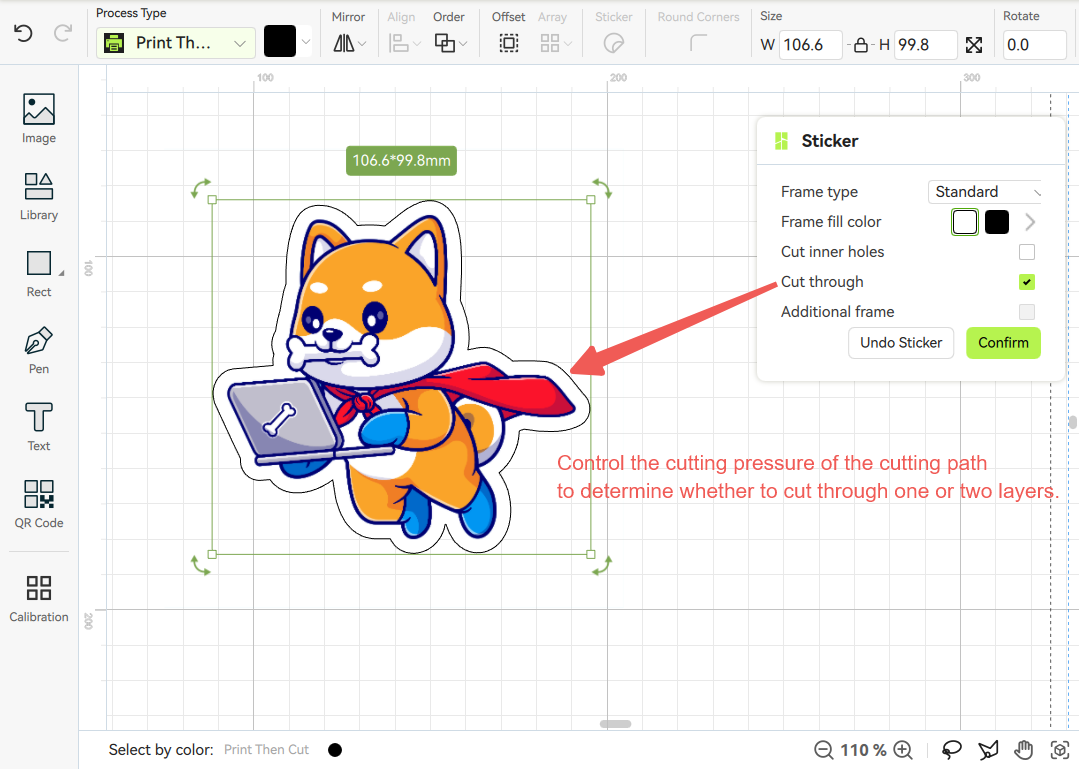
- Cut through. Printable sticker paper usually consists of two layers: the front sticker and the backing paper. Therefore, two types of blade pressure are used during cutting: cutting pressure for cutting one layer and cutting pressure for cutting two layers (also called cutting through pressure). If you choose 'cut through,' both layers will be completely cut through and separated from the printable sticker paper. For stickers, the pattern usually only needs to be cut into one layer, and users can remove it to stick directly.
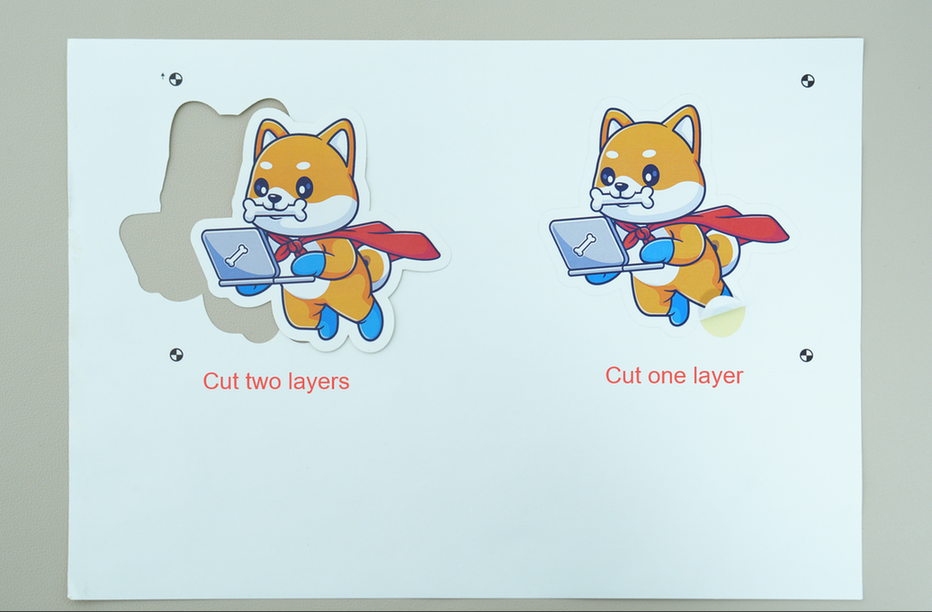
- Create additional frames. Generally used to thoroughly cut stickers from printable sticker paper, the software will generate an additional frame after selection. If you have already enabled frames, two loop frames will be generated on the outside of the pattern. During processing, the outermost frame will be cut through two layers, making it convenient for you to remove the independent small stickers. The inner frame can be cut through one layer and the pattern can be directly peeled off from the printable sticker paper. If you want to enable the additional frame, you need to first disable the 'cut through' function (because after selecting 'cut through,' the inner frame will also cut through two layers, and adding an additional frame will be meaningless).
¶ End Notes
We hope the detailed guide provided has been helpful and informative.
If this guide does not solve your problem, please submit a technical ticket, we will answer your questions and provide assistance.
If you have any suggestions or feedback on this Wiki, please leave a message in the comment area. Thank you for your support and attention!