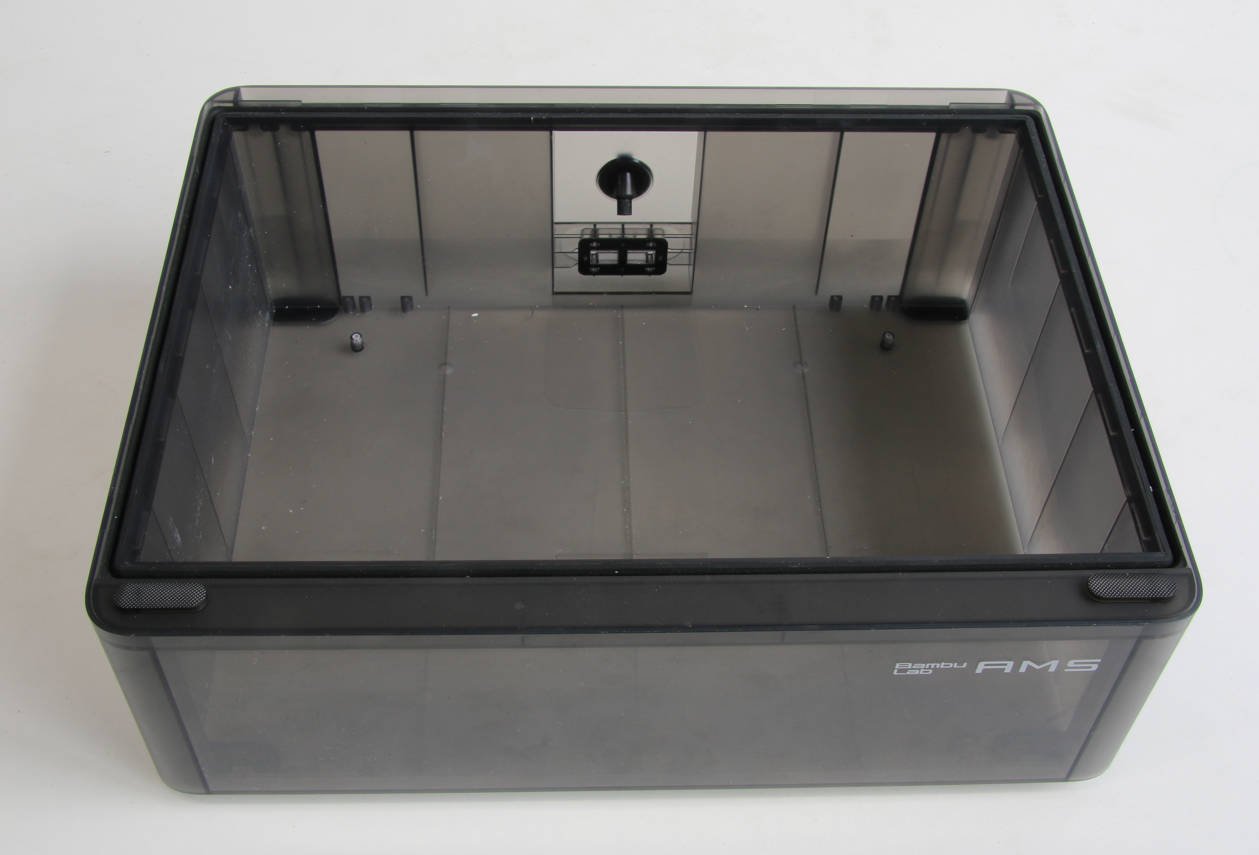
The AMS bottom cover unit is a bottom shell of the AMS with all sealings installed.
Note: Due to differences in production processes for different batches, there are slight differences in the structure, which has no impact on the function.
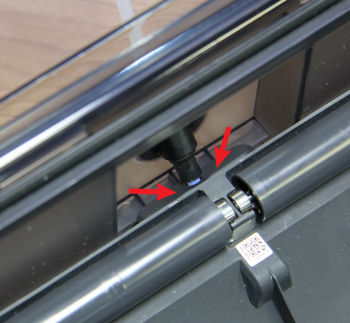
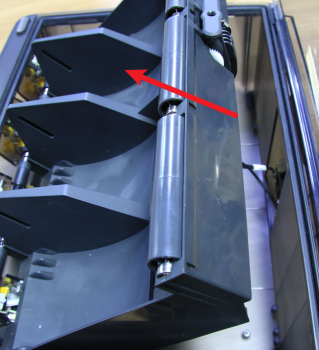
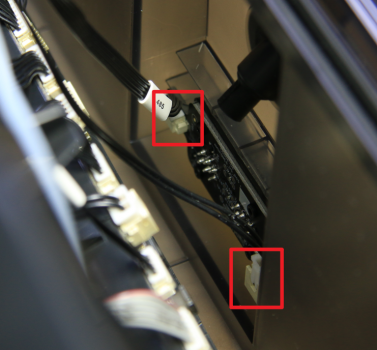
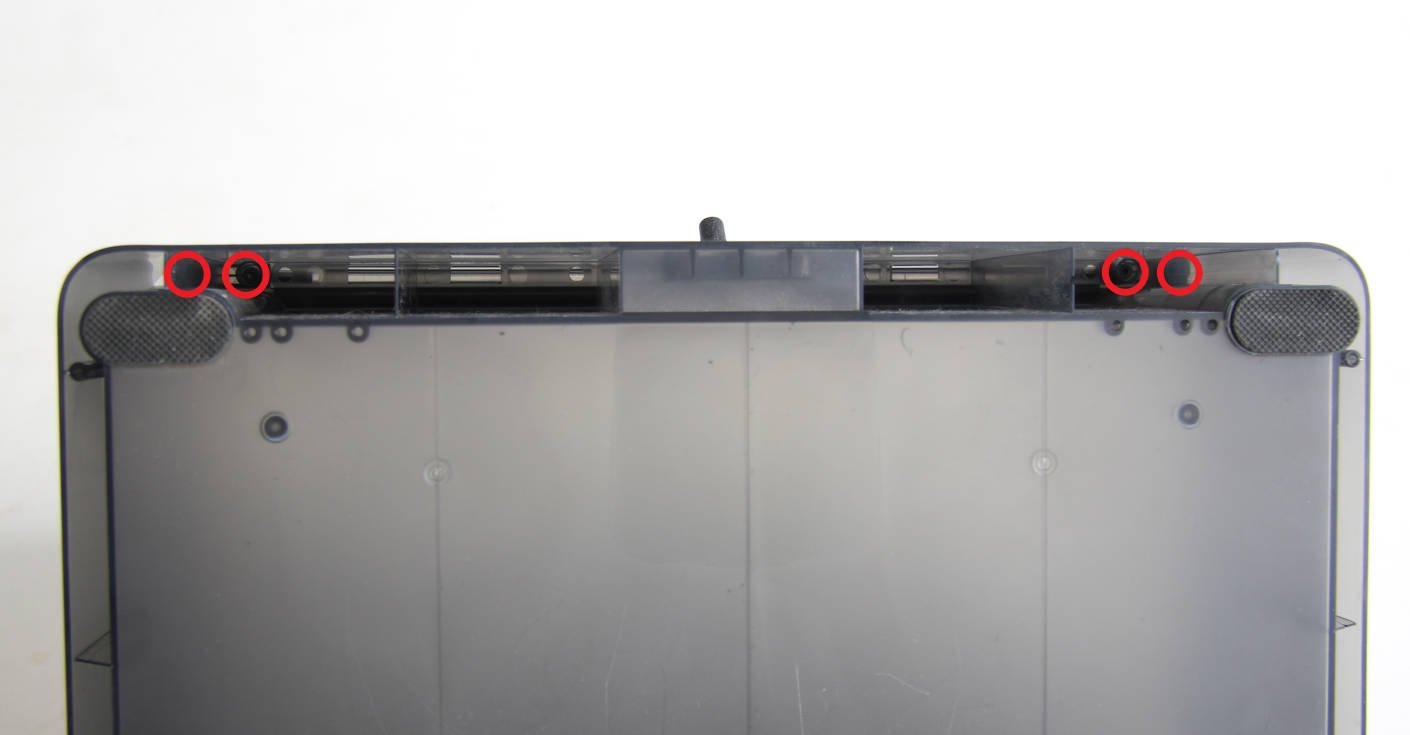
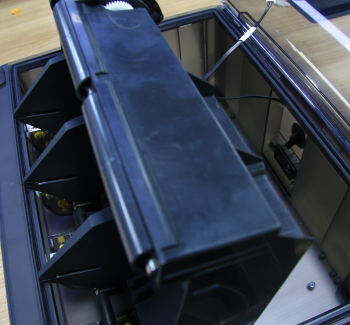
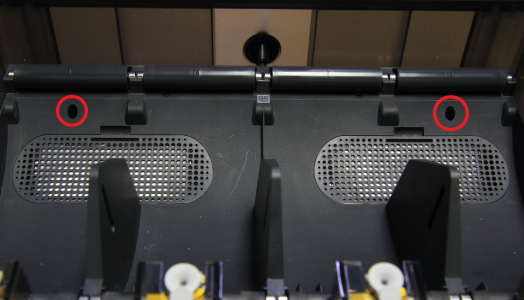
Undo the 2 screws located at the rear as shown below, and then very gently pull the main frame towards you from the back. You might need to press on the PTFE inlet flap to free the frame. Don't pull the main frame all the way out as there are still cables attached to it.
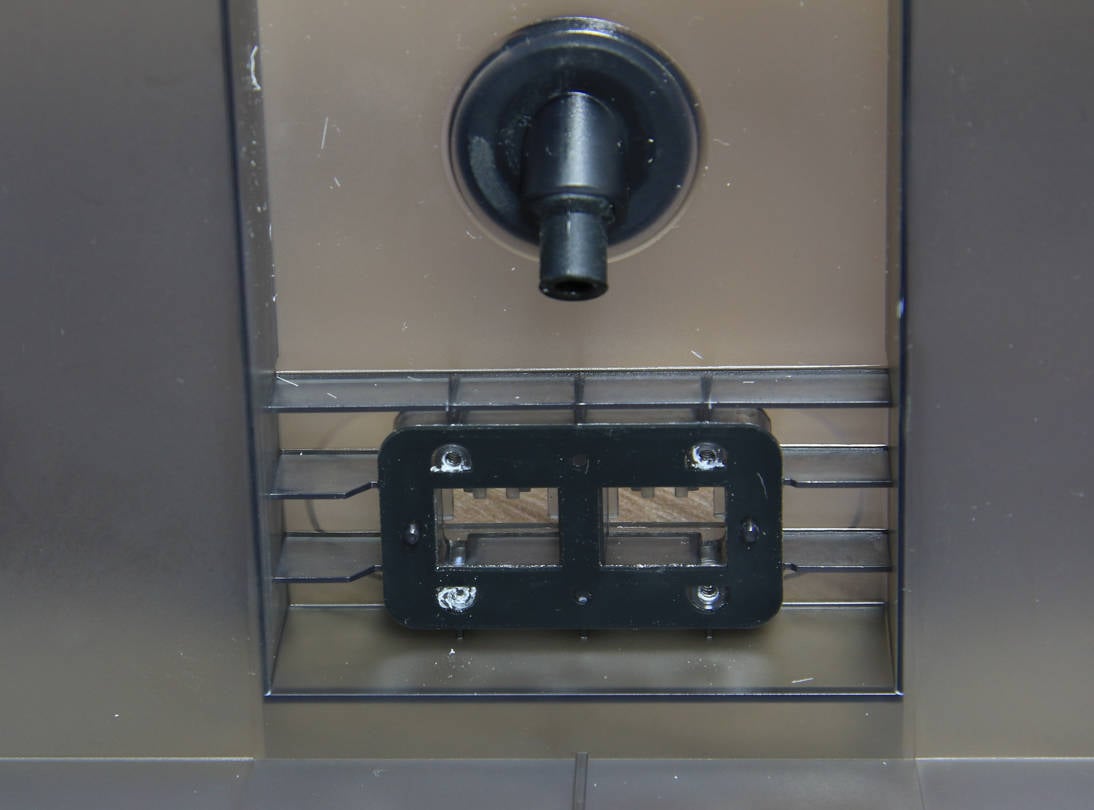
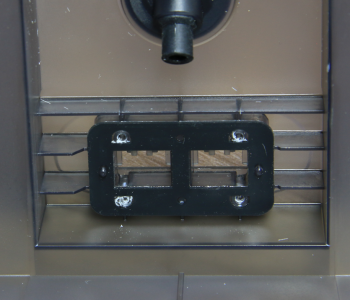
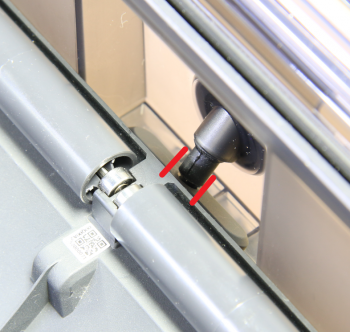
Check the alignment of the tube bracket at the rear of the main frame module, and push in the PTFE tube from the back of the AMS. Push the PTFE until fully secured all the way in.
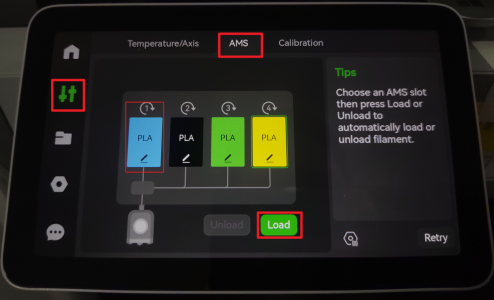
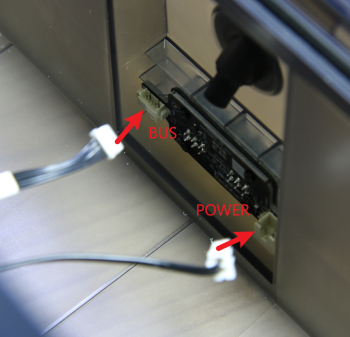
Connect the power cord, connect the AMS to the printer and turn on the power and run the load filament procedure on the AMS menu through the machine display and if no errors occur, the replacement was successful.
Should you come across any issues, first retrace your steps and check all connections to try again. If problems persist, contact the service team for further assistance.
.png)

.png)