¶ What it is
Screen connector cable is a flexible cable connecting the AP mainboard and the LCD display module (LCD High resolution screen).
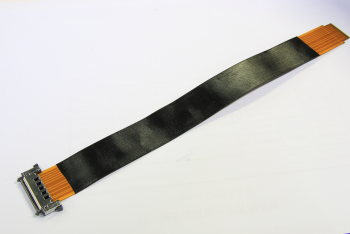
|
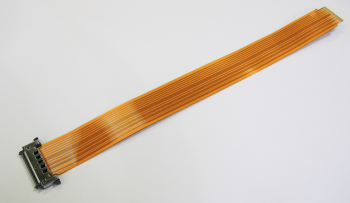
|
¶ When to use
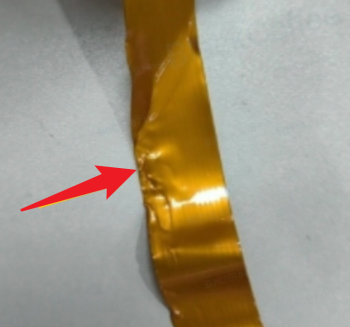
The screen connector cable is broken (old version shown), or the connector is out of shape or broken.
¶ Tools and materials needed
- New screen connector cable
- H2.0 allen key
- hair dryer
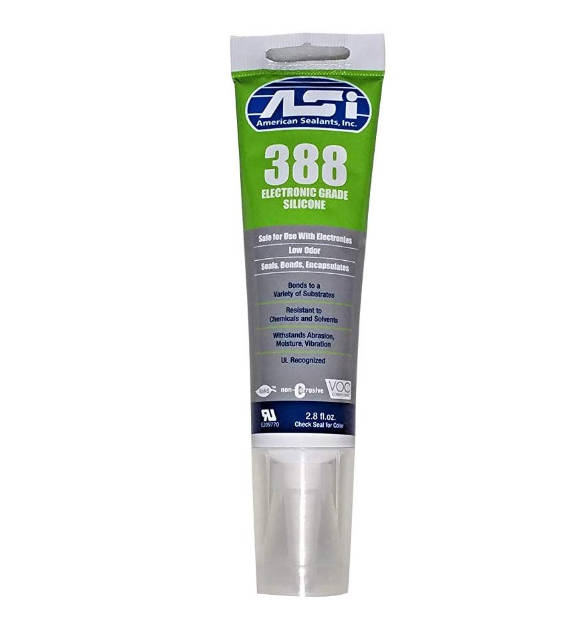
- silicone glue
¶ Safety warning and Machine state before starting operation
Please following the guide steps to do the replacement, power OFF the printer while doing disassembly and assembly work.
¶ Operation guide
¶ Step 1 - Power off
Power off the printer, remove the glass cover plate.
¶ Step 2 - Remove LCD display
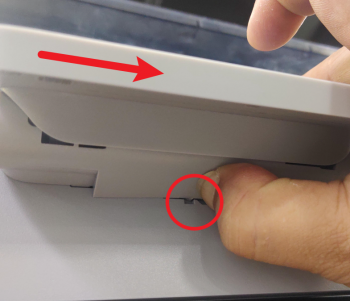
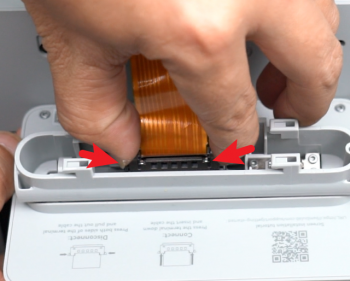
Press to release the buckle and push the display rightward to unlock it, and then disconnect the screen connector cable to remove the display module.
 |
 |
¶ Step 3 - Open AP board cover
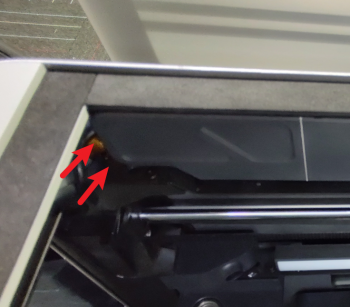
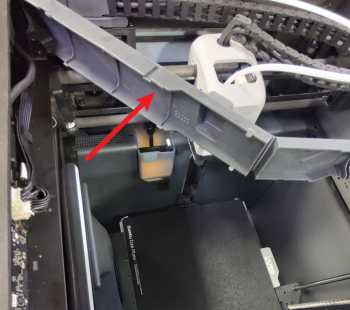
Open the AP board cover as shown in the pictures below.
 |
 |
¶ Step 4 - Disconnect cables
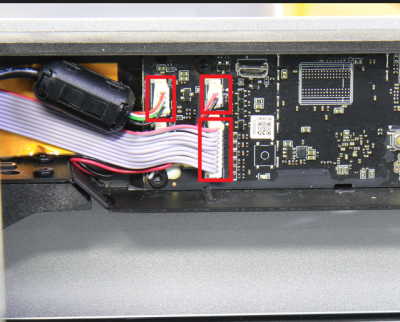
Use hair dryer to heat up the silicon glue on the connectors, and then disconnect the chamber camera cable, the chamber LED cable and the button board cable.
¶ Step 5 - Pull back the screen connector cable
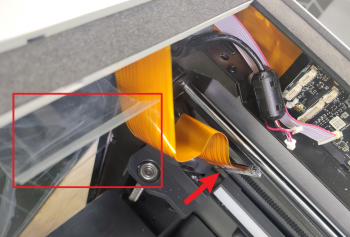
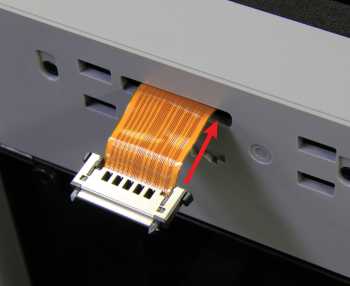
Remove the clear fixing tape, pull back the screen connector cable through the square hole.
 |
 |
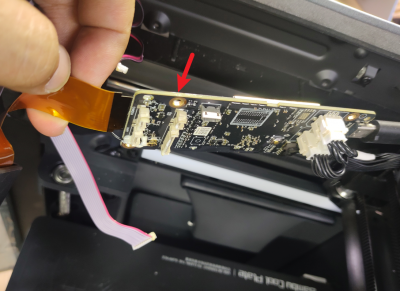
¶ Step 6 - Unlock the AP board
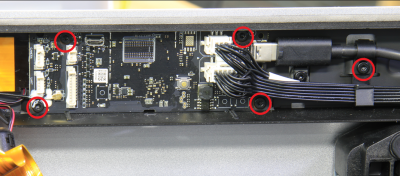
Remove 5 screws as shown in the picture below and separate the AP mainboard from the chamber.
 |
 |
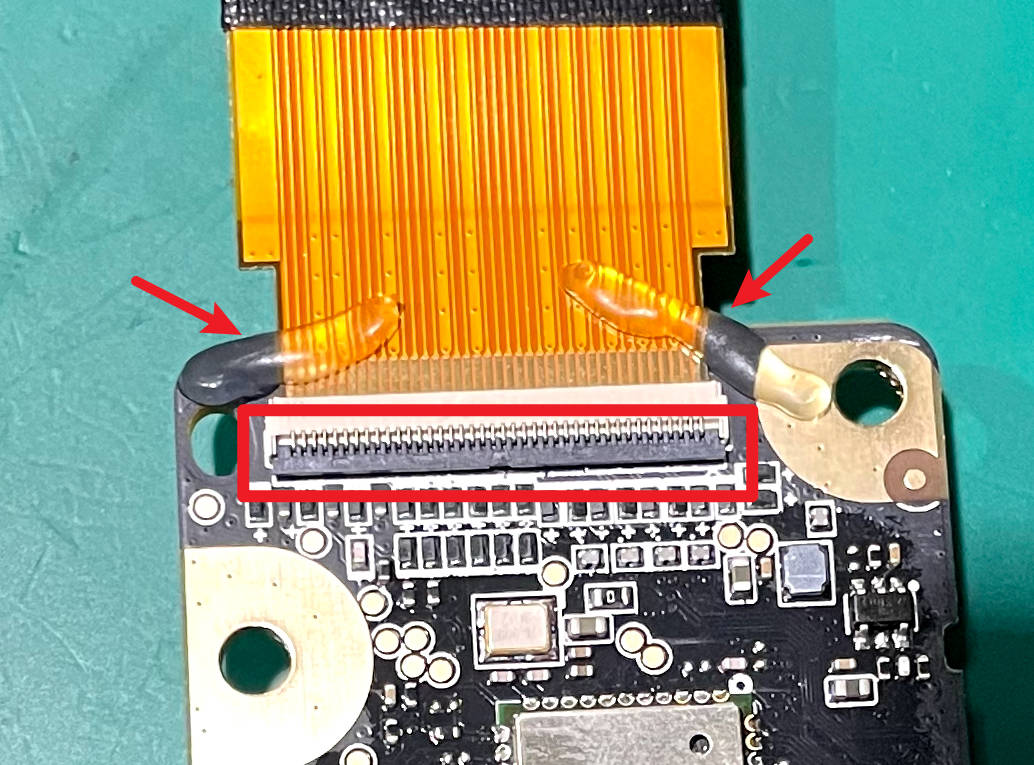
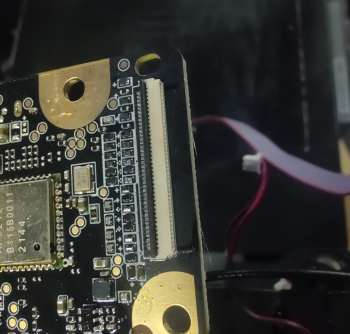
¶ Step 7 - Disconnect the screen connector cable
Heat up the glue with a hair dryer, unlock the connector and remove the screen connector cable, clean up the glue.
 |
 |
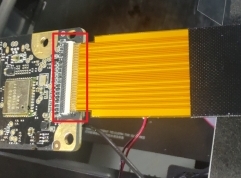
¶ Step 8 - Connect the screen connector cable
Connect the connection screen connector cable to AP main board.
NOTE: Pay attention to the direction of the screen connector cable, the connecting pins face upside as the pictures shown below.
¶ Step 9 - Apply glue or tape
Apply glue on the connector, or you can use a strong tape to cover the connector, just in case the screen connector cable lose connection during the assembly.
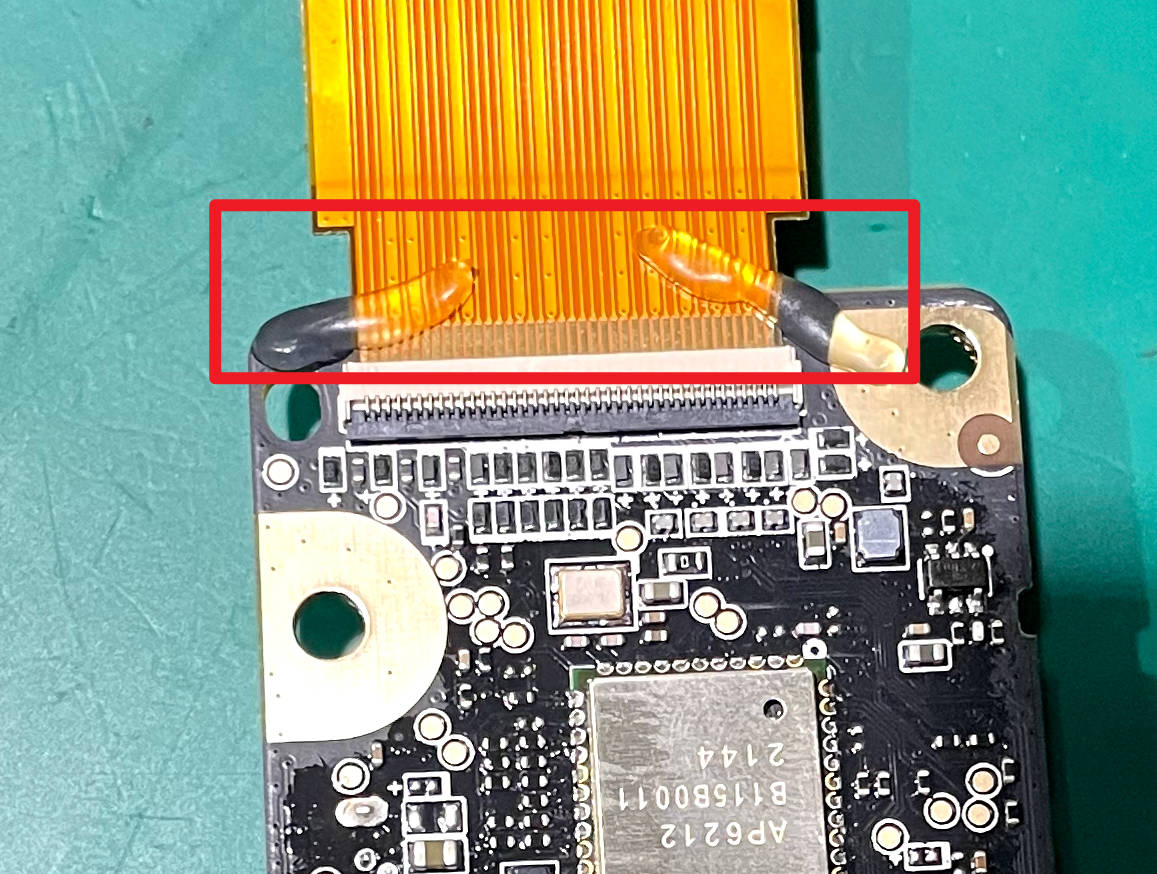
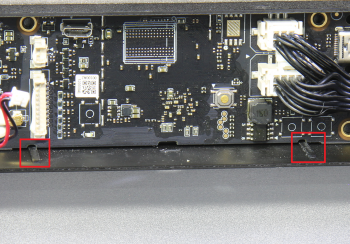
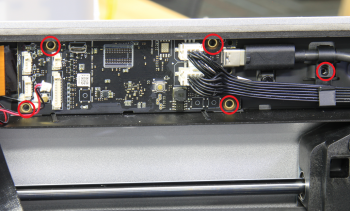
¶ Step 10 - Install the AP board
(After the glue solidifies) Align the slots and limit block to install the AP board, lock in 5 screws.
 |
 |
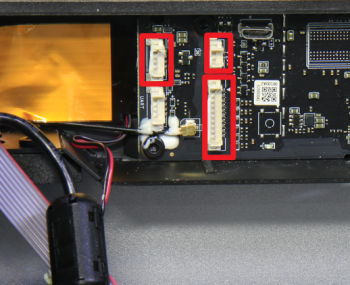
¶ Step 11 - Connect cables
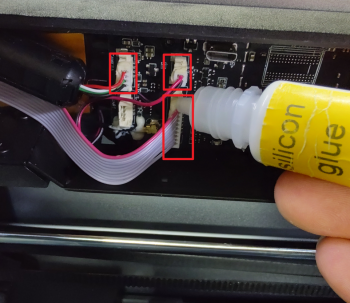
Connect the button board cable, the LED cable and the camera cable, apply silicone to the 3 connectors, let them stand for at least 30 minutes.
 |
 |
¶ Step 12 - Pass through the FPC
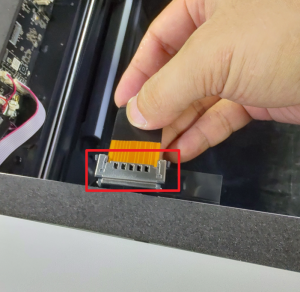
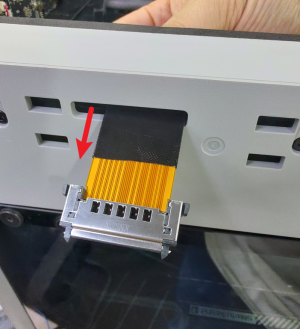
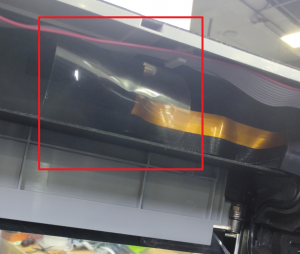
Fold the connection FPC and pass it through the square hole, arrange the cables and attach the clear fixing tape.
 |
 |
 |
¶ Step 13 - Install the display module
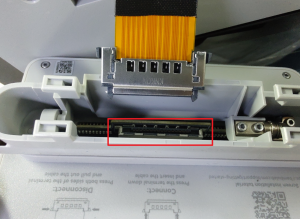
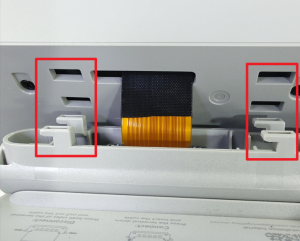
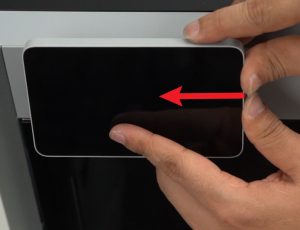
Connect the screen connector cable to the connector on the display, retract the screen connector cable to make the length suitable and mount the display module, push the display module leftward to install it in place.
 |
 |
 |
¶ Step 14 - Close AP cover
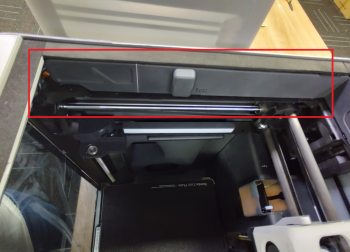
Close the AP board cover, install the glass cover plate.
¶ How to verify completion/success
Power ON the printer. If the LCD screen lights up and displays without errors, and when touching the screen, the touch screen response is normal, then the replacement is complete and successful.
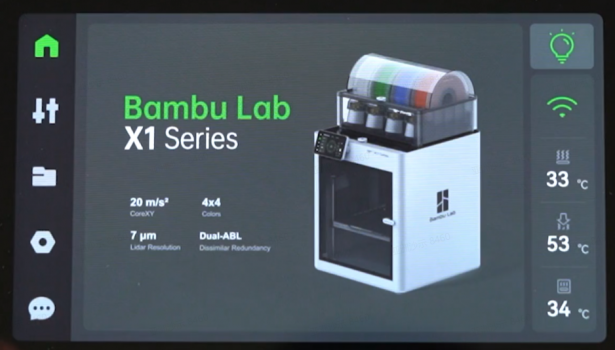
Otherwise, check the connections and retry. If problems still persist, contact the Bambu Lab service team for further assistance.