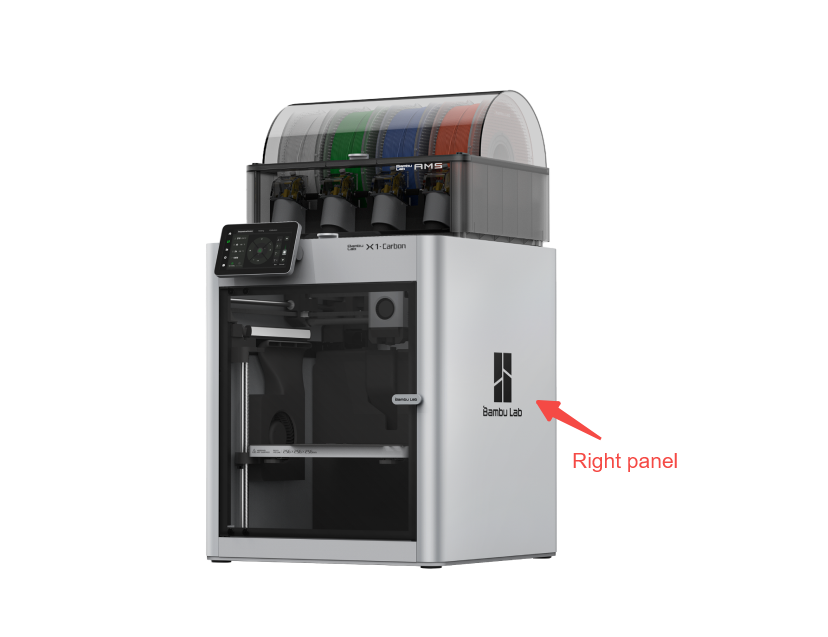
¶ Right Panel (new version)
Facing the front door of the printer, the side cover on the right side is the right panel. In addition, due to the improvement of workability, the number of screws securing the metal right panel has been reduced to only 11.
¶ When to use?
There is significant deformation or damage on the right panel.
¶ Tools and Materials Needed
- Right panel
- H2.0 Allen key
¶ Preliminary Operation
Before replacement, power off the printer power. If an AMS is connected, remove the PTFE tube and the filament buffer first.
¶ Disassembly Guide
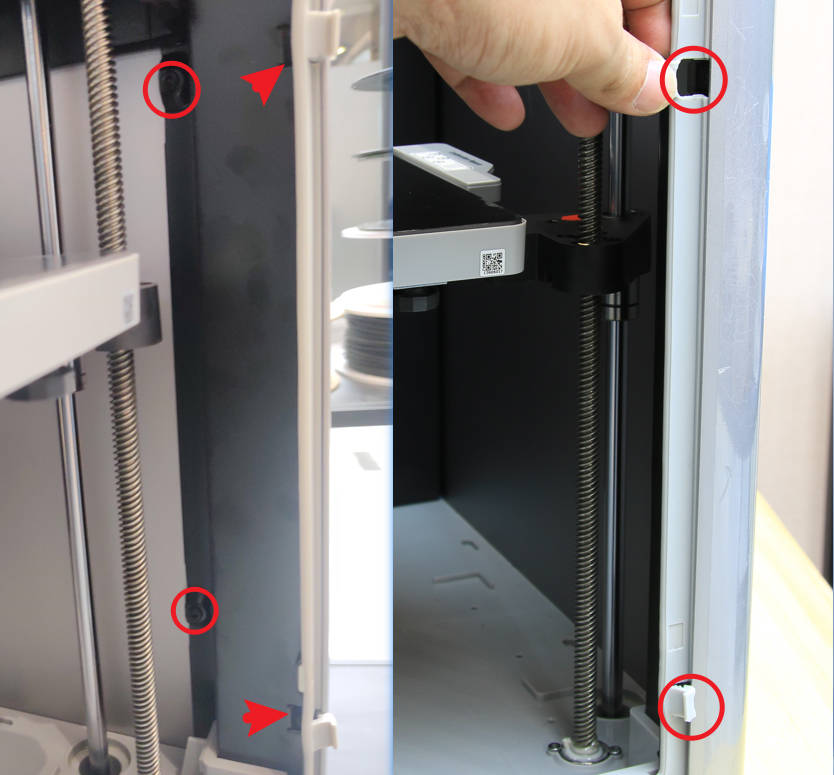
¶ Step 1 - Remove the Front Pillar Screws
Remove the glass cover, open the front door, and use an H2.0 Allen key to remove the 4 screws on the front pillar.
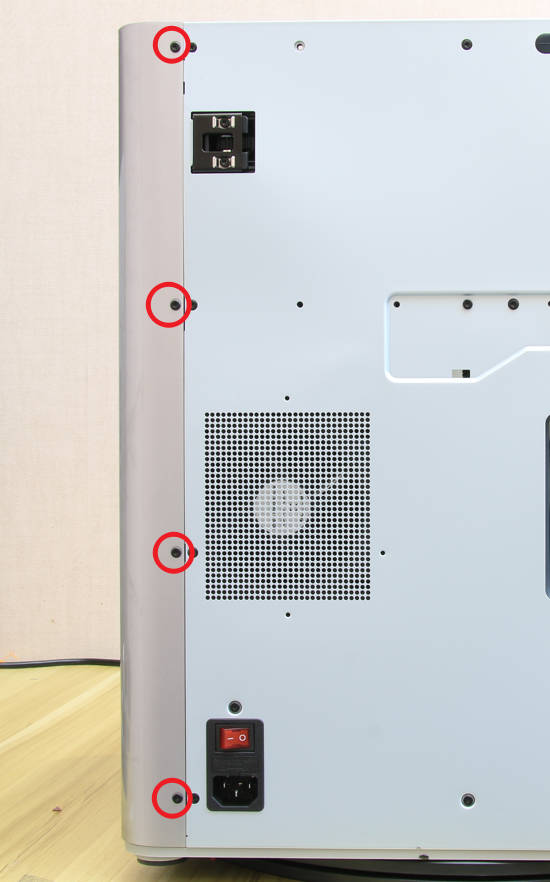
¶ Step 2 - Remove the Rear Screws
Use an H2.0 Allen key to remove the 4 screws on the rear of the panel.

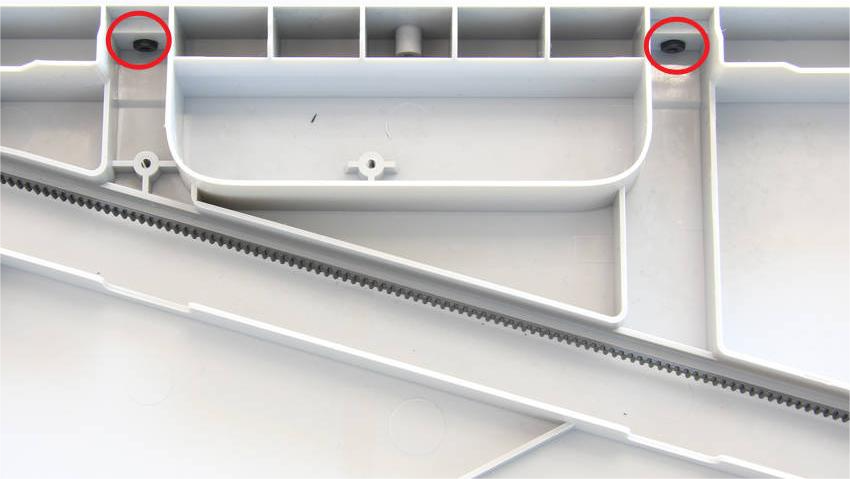
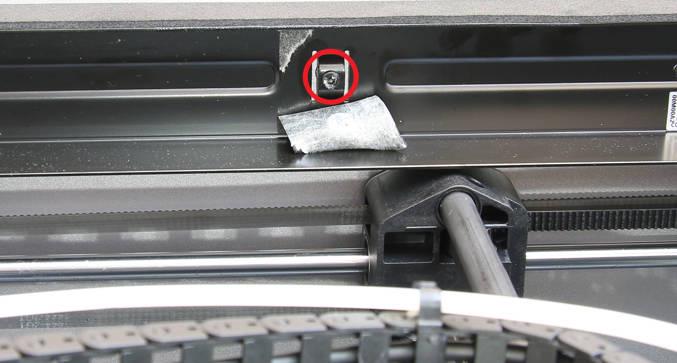
¶ Step 3 - Remove the Upper Beam Screw
Tear off the EVA pad in the middle of the upper beam and remove 1 screw with an H2.0 Allen key.

¶ Step 4 - Remove the Bottom Screws
Lay the printer on its side with the right side panel facing upwards, and remove the 2 screws using an H2.0 Allen key.

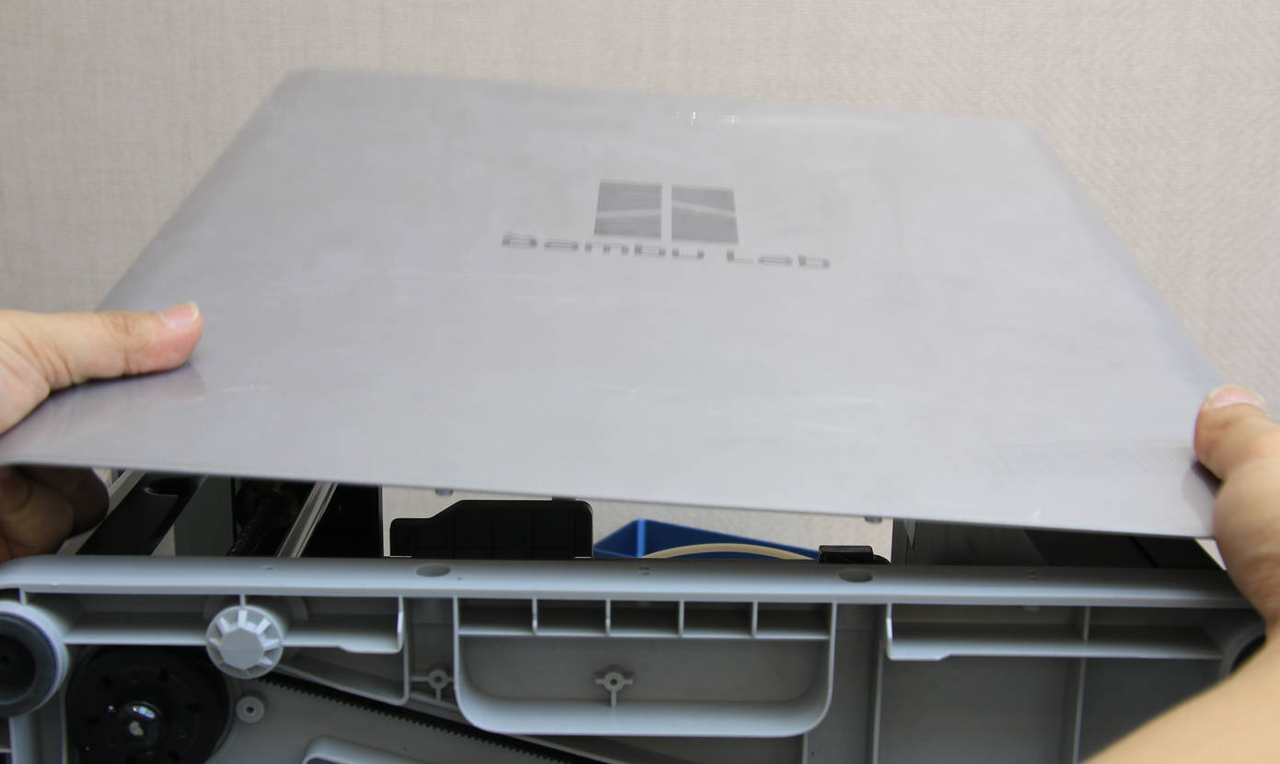
¶ Step 5 - Remove the Right Panel
A small foam pad is attached to the upper-middle area of the right panel to prevent noise caused by contact with the printer’s right beam. The back of the foam pad is lined with double-sided adhesive, which creates some resistance when removing the right panel. Simply apply moderate force to detach the panel smoothly.
¶ Assembly Guide
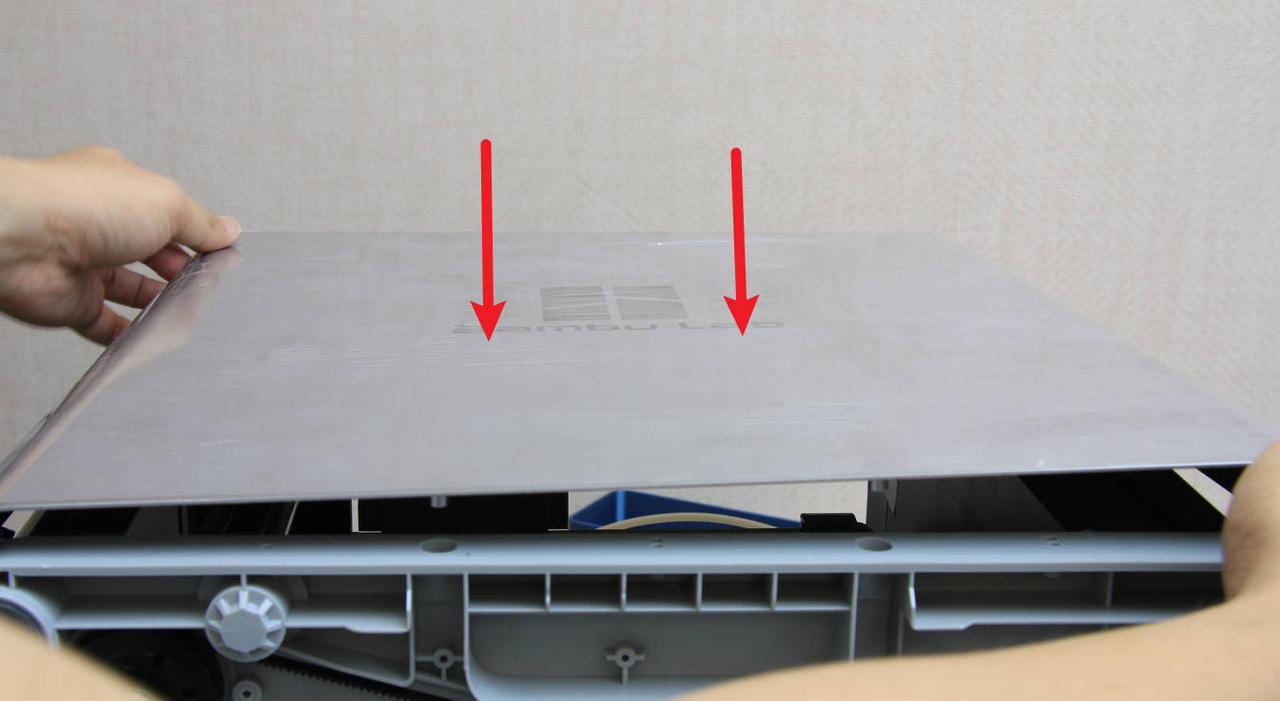
¶ Step 1 - Install the New Right Panel
Install the new right panel onto the printer and make sure it is firmly seated.
¶ Step 2 - Tighten the Bottom Screws
Tighten the 2 screws at the bottom and place the printer upright.
¶ Step 3 - Tighten the Upper Beam Screw
Install a screw in the middle of the upper beam.
¶ Step 4 - Install the Screws on the Rear of the Right Panel
Install the 4 screws on the rear of the right panel.
¶ Verifying Functionality
Visually inspect the appearance and confirm that the right panel is installed in place.
¶ End Notes
We hope the detailed guide provided has been helpful and informative.
If this guide does not solve your problem, please submit a technical ticket, we will answer your questions and provide assistance.
If you have any suggestions or feedback on this Wiki, please leave a message in the comment area. Thank you for your support and attention!