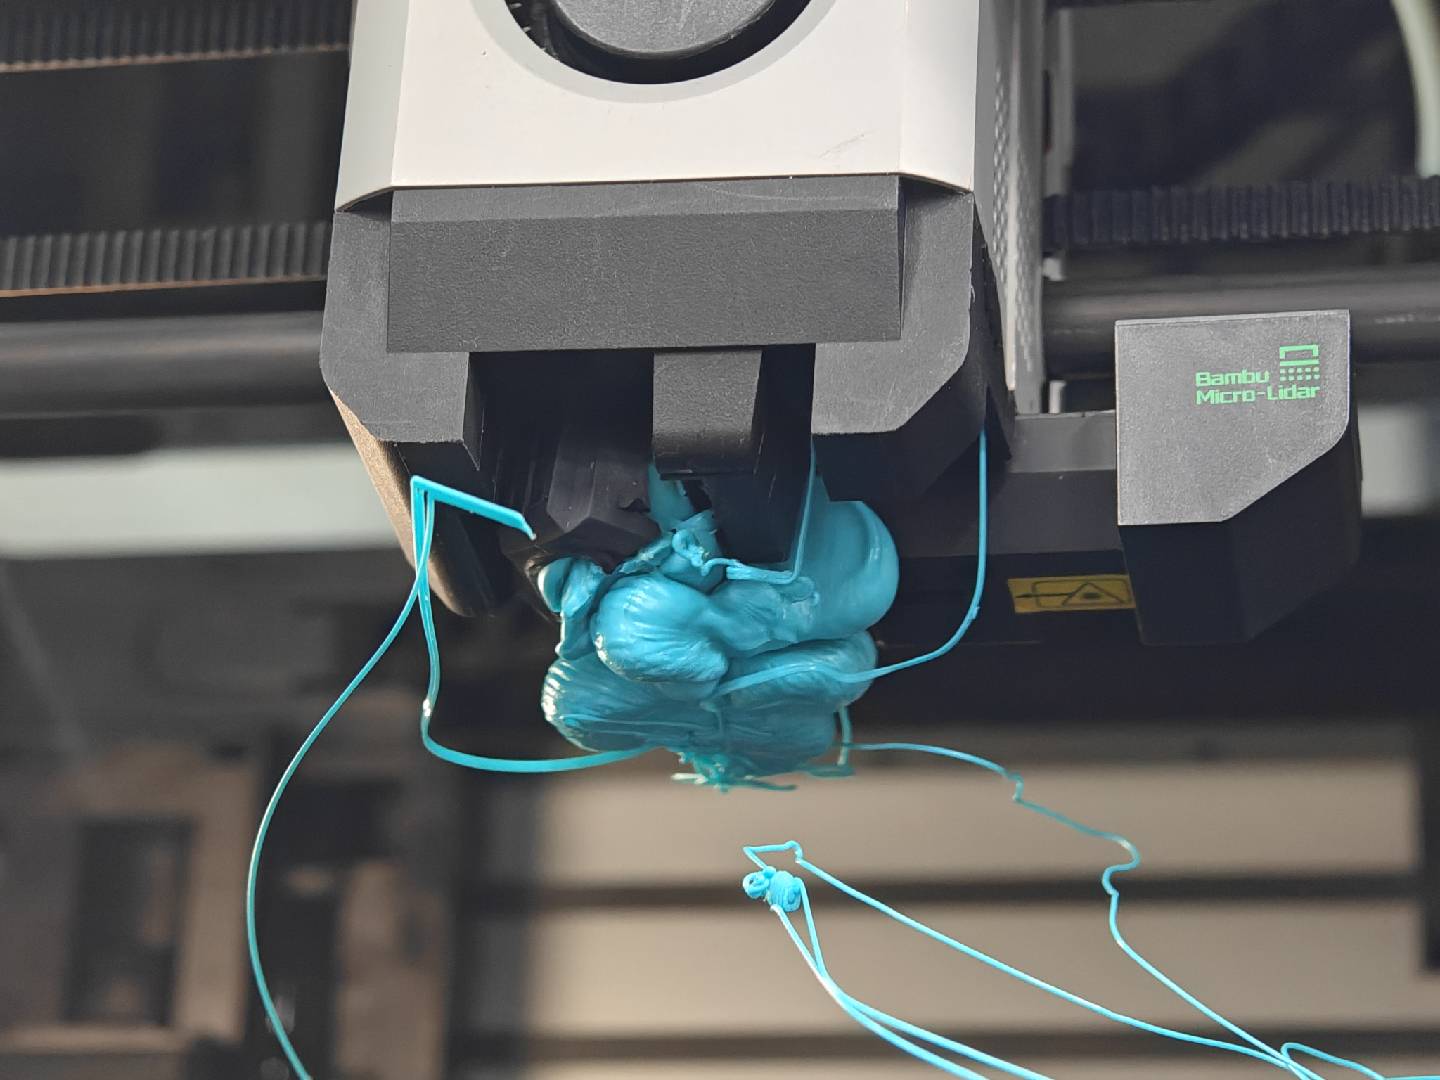
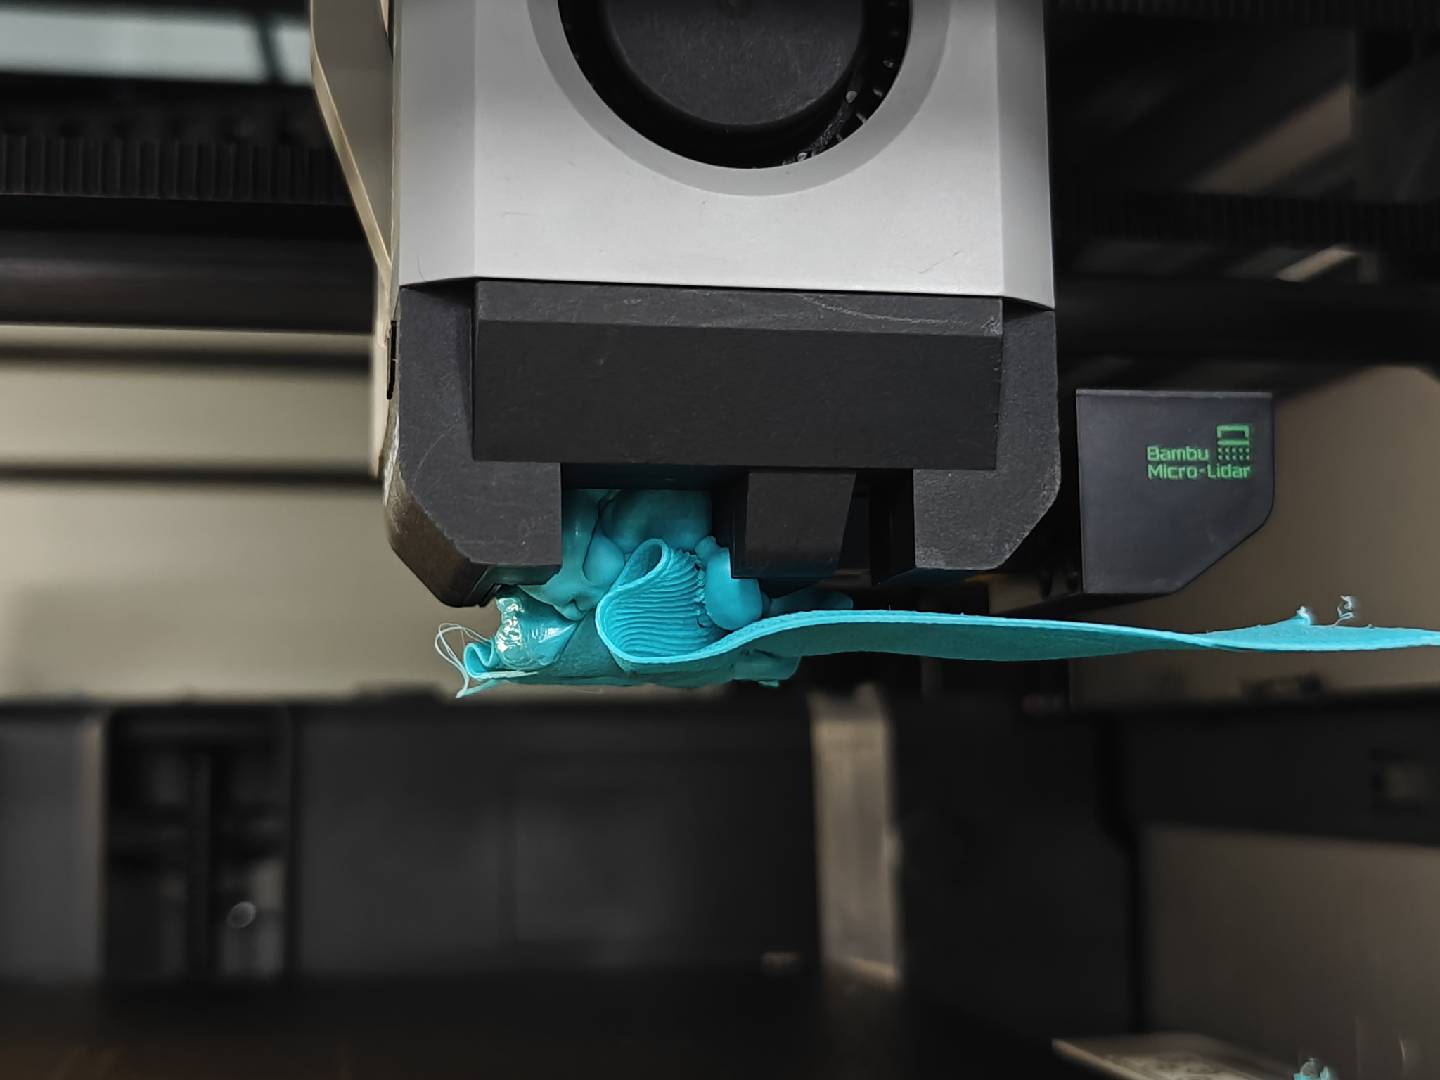
¶ Hotend Clumping
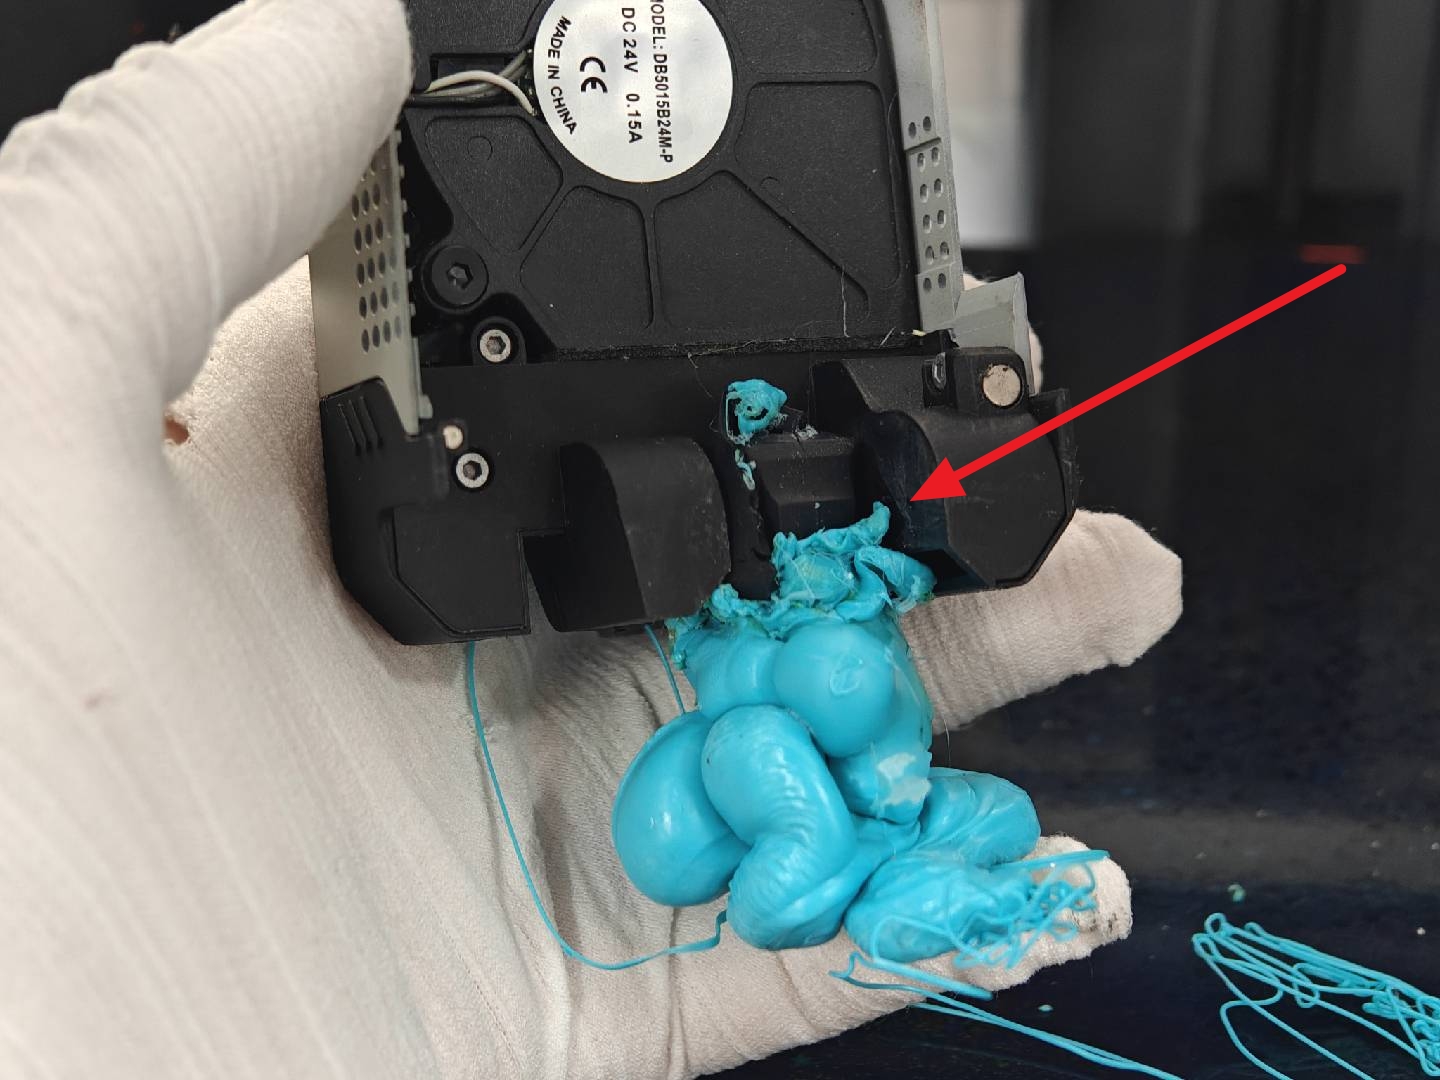
Hotend Clumping refers to the accumulation of a large amount of filament around the hot end. When a print detaches from the build plate during the initial layers due to various issues, the detached model may adhere to the nozzle. As the nozzle continues to extrude filament, this can eventually lead to severe "clumping."
While hotend clumping is one of the more disastrous printing failures in 3D printing, it is not impossible to resolve. To assist users in safely cleaning the clump and minimize secondary damage to components, we have prepared this article to help confirm the extent of damage and guide you through the repair process.
 |
 |
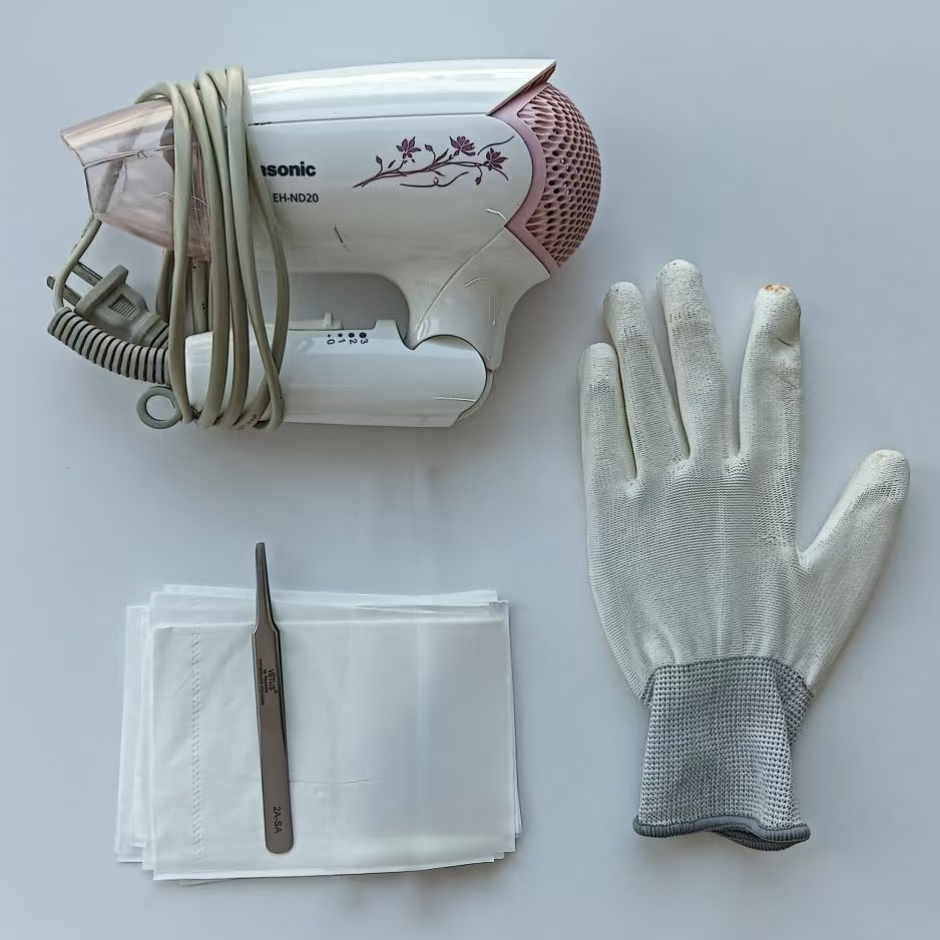
¶ Tools and materials needed
- Hair dryer (High-temperature setting)
- Flat head tweezers
- Tissue paper
- Heat resistant gloves
¶ Safety Warning
IMPORTANT!
When you perform maintenance or troubleshooting on the printer, please first confirm the temperature of the hot end and hot bed to avoid operating at high temperatures. If you must operate at high temperatures, please wear heat-insulating gloves to ensure safe and effective execution.
If you have any concerns or questions about following this guide, open a new ticket in our Support Page and we will do our best to respond promptly and provide you with the assistance you need.
¶ Clear the Clumping/Blob
¶ 1.Set the printer status
Click the button on the screen to lower the height of the hotbed to increase the operation space.
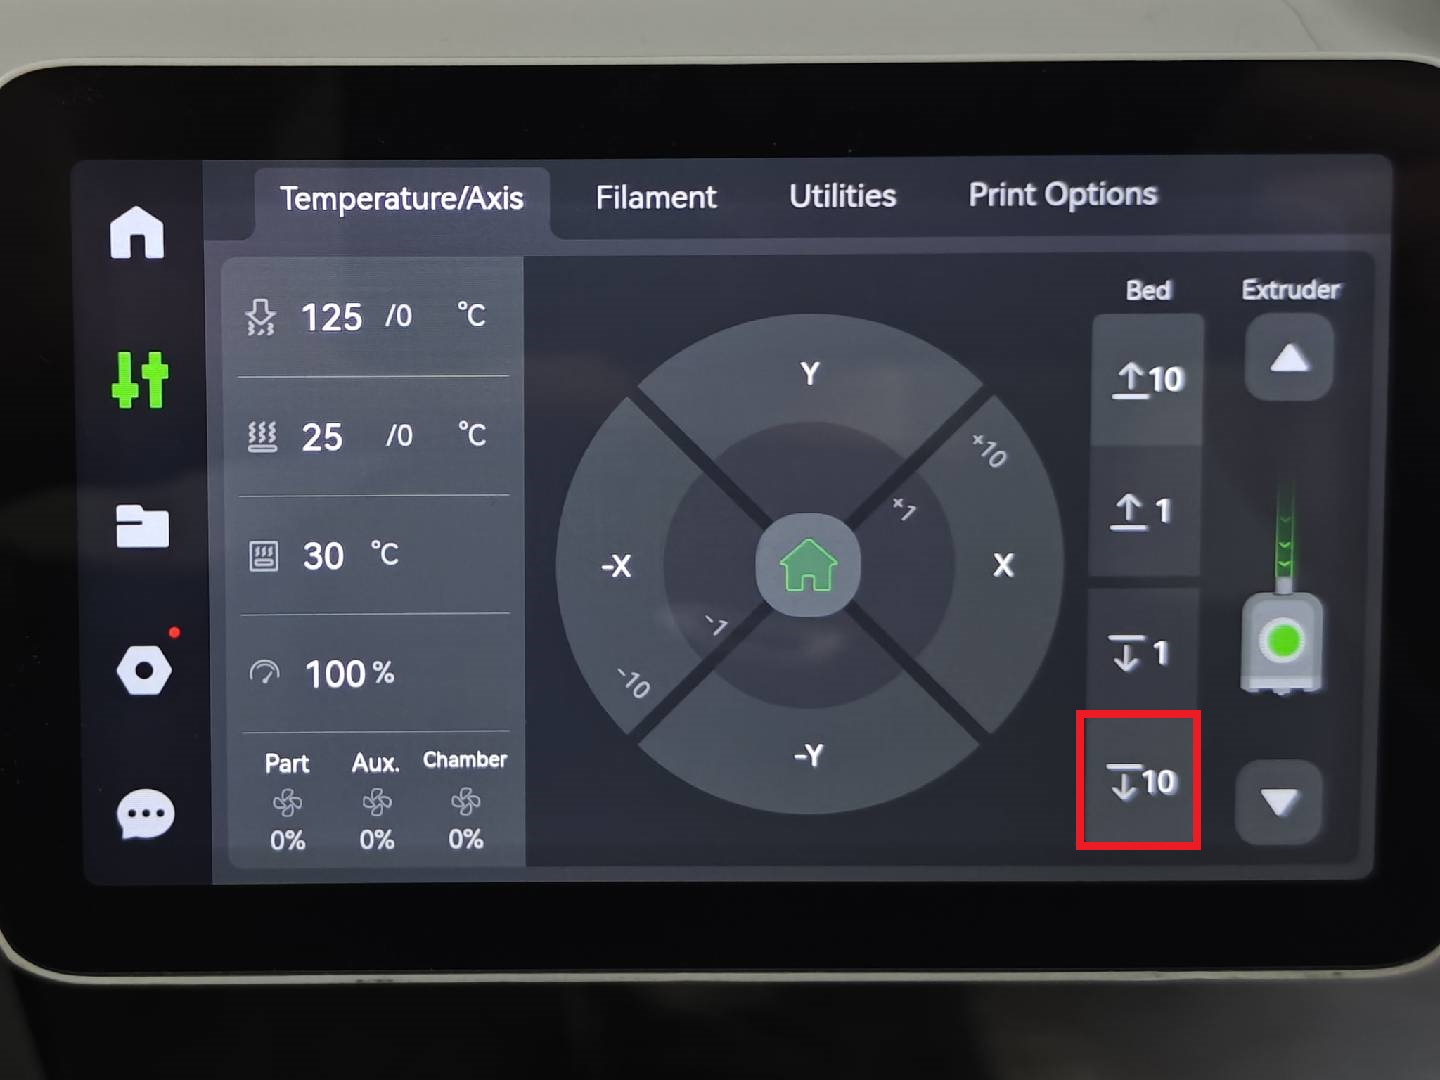
Note: Do not click the Home button to avoid collision and potential secondary damage.
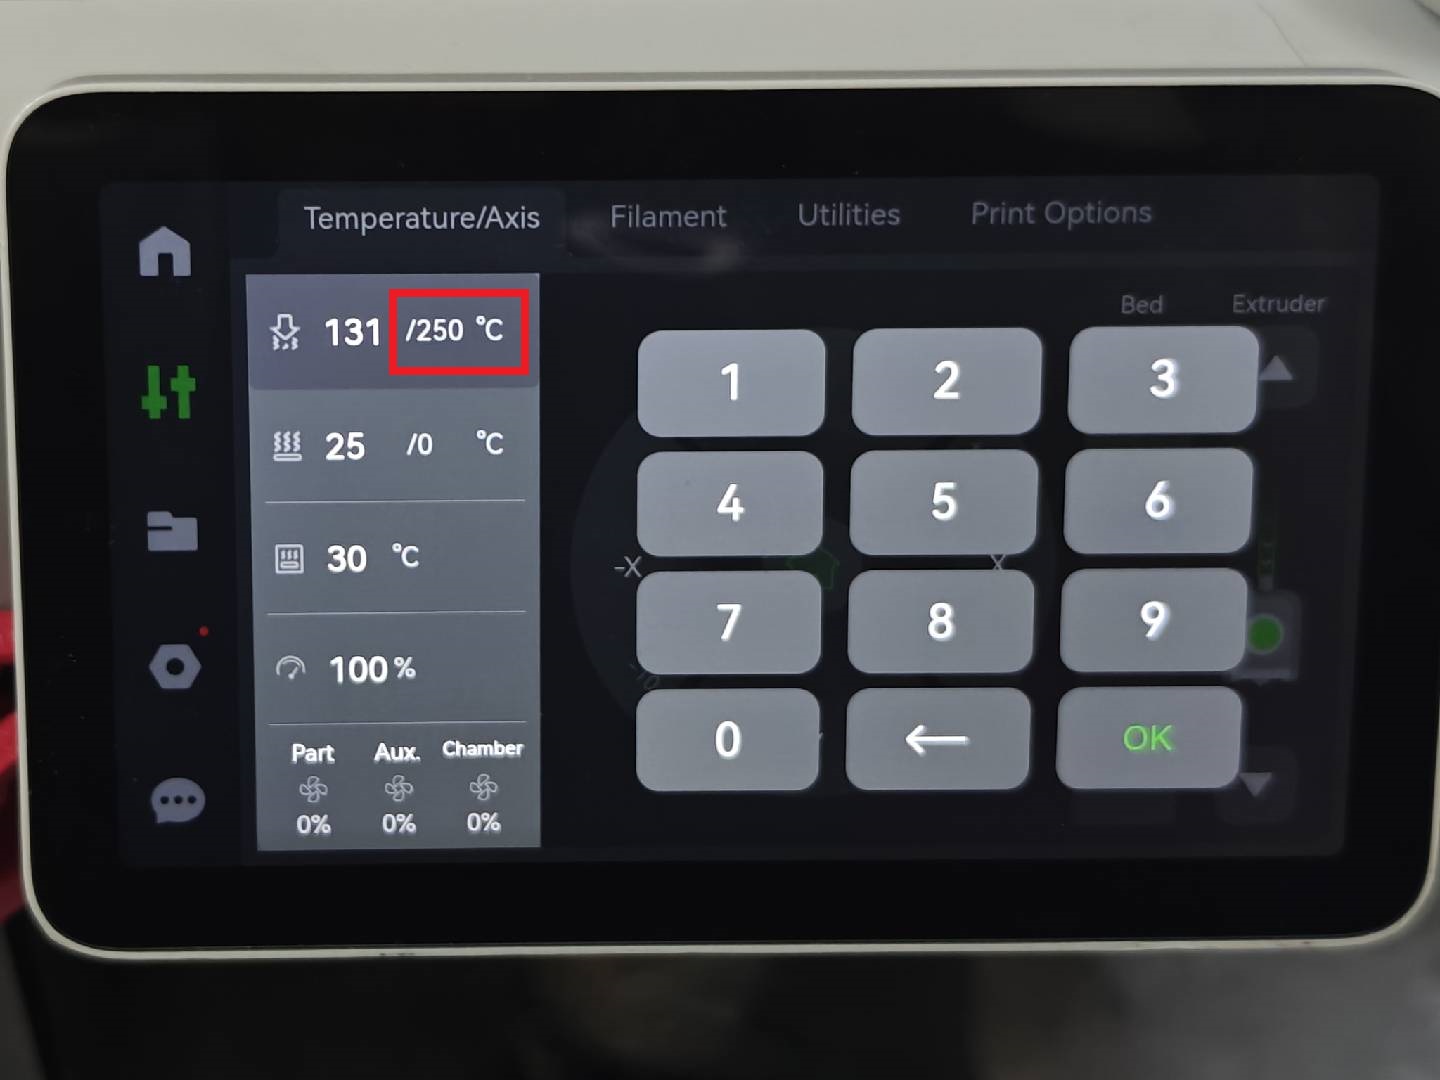
Set the hotend temperature slightly higher than the printing temperature of the filament to soften it.
For example, with PLA material, heat the hotend to 240°C. Once the temperature stabilizes, wait for 1 minutes before proceeding to the next step.
Note:For safety reasons, when the printer is not in its normal working condition, the hotend will automatically stop heating after being maintained at a high temperature for a certain period of time. If you have not completed the necessary processing within this time, please remember to reheat the hotend.
¶ 2.Remove the front housing assembly
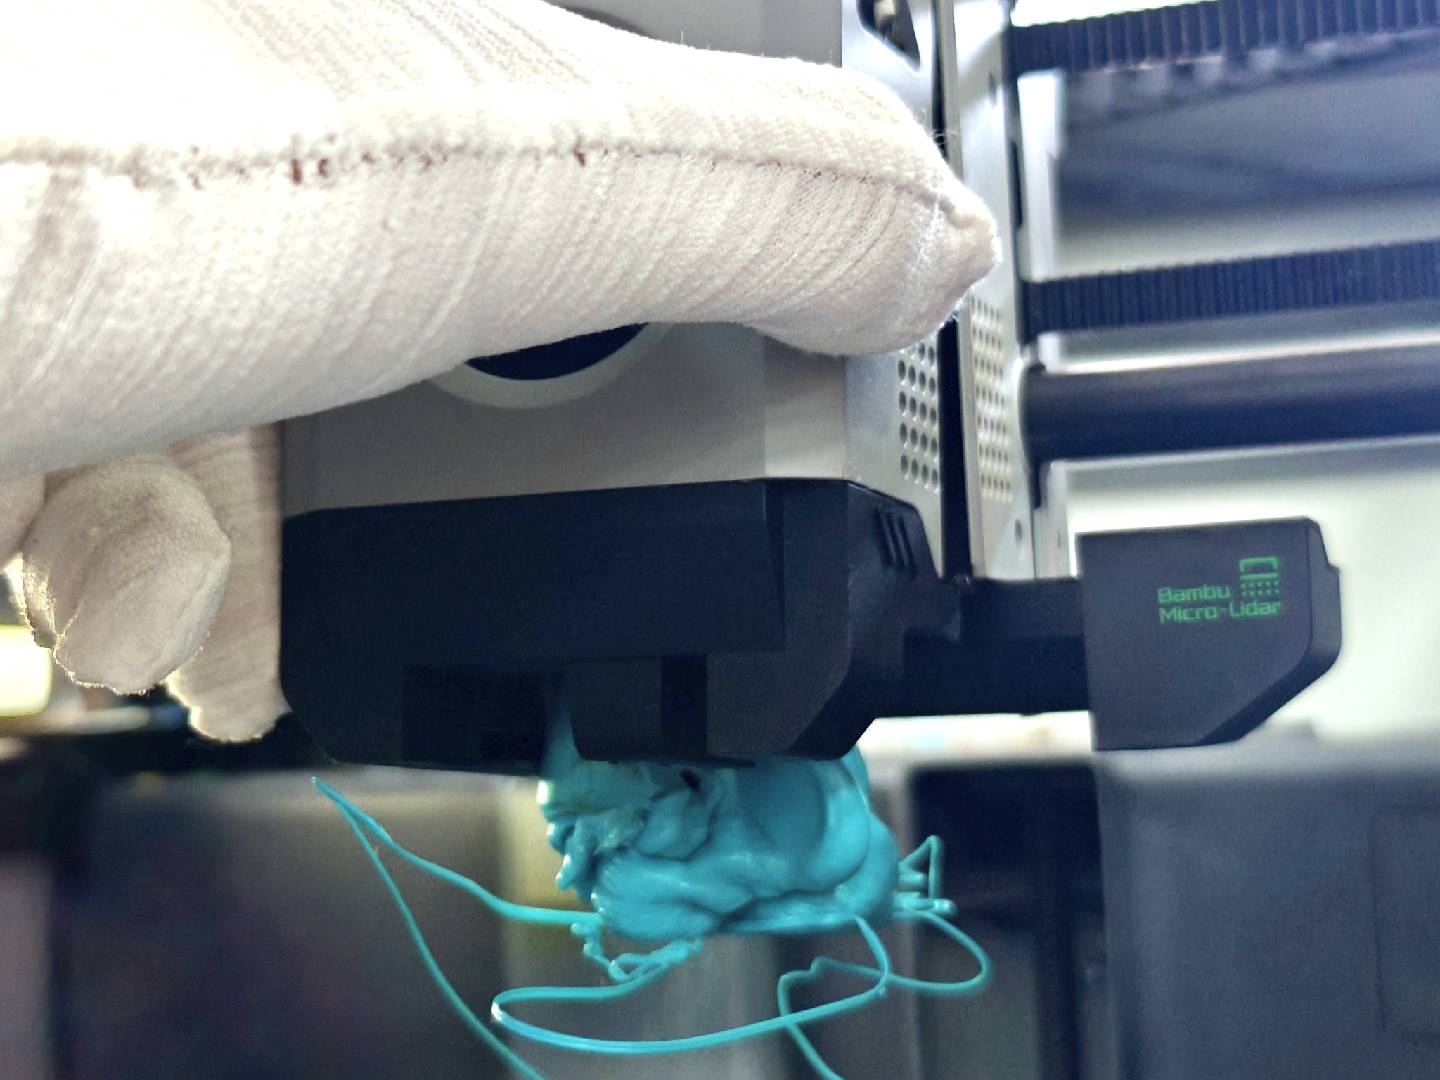
The material around the hotend has now fully softened, and you can carefully remove the front housing assembly.
 |
 |
After opening the front housing assembly, the material is soft enough to attempt removing larger chunks of plastic from it. If it cannot be removed easily, proceed to the next step and use a hairdryer to apply high heat for further softening, then try removing it again.
¶ 3.Hotend cleaning
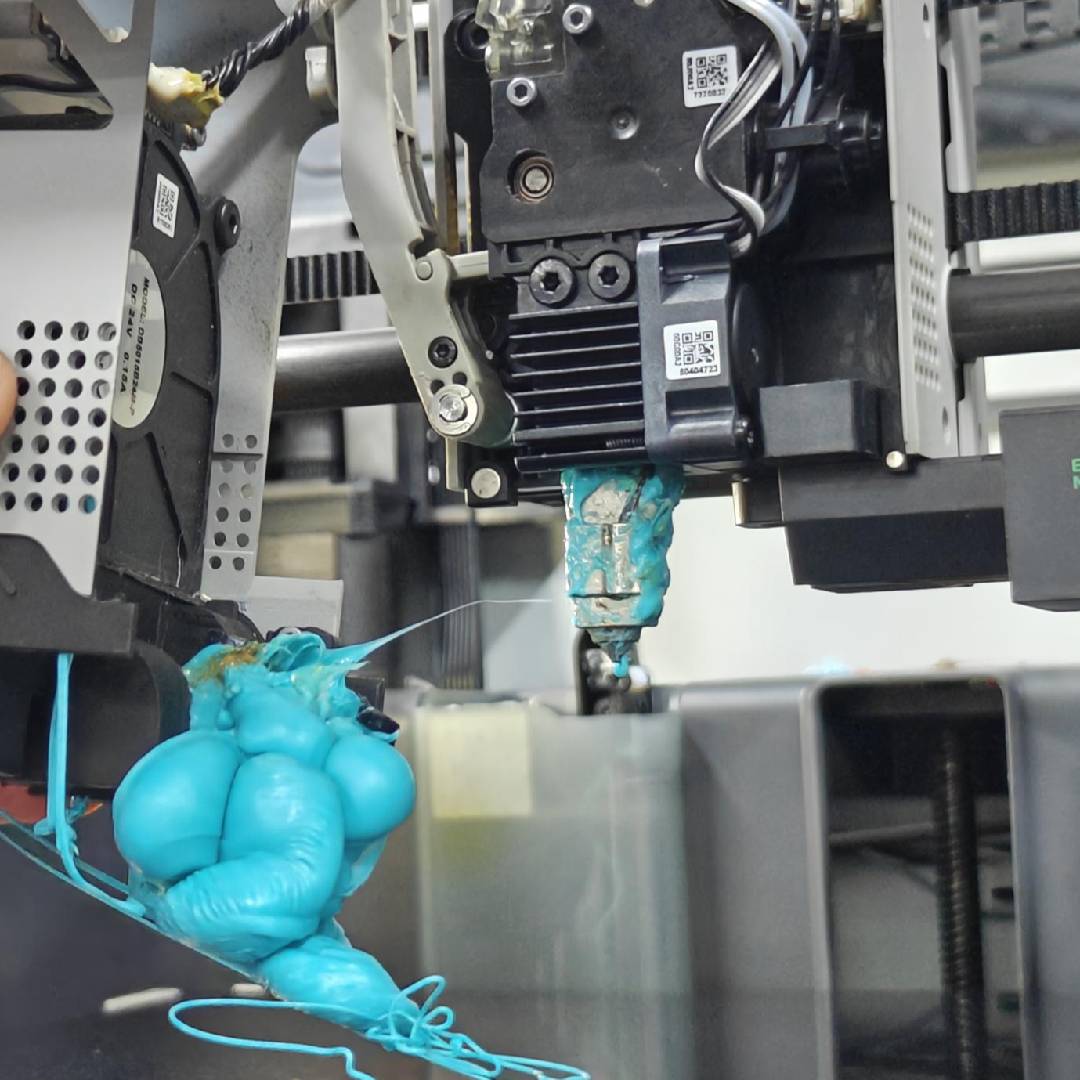
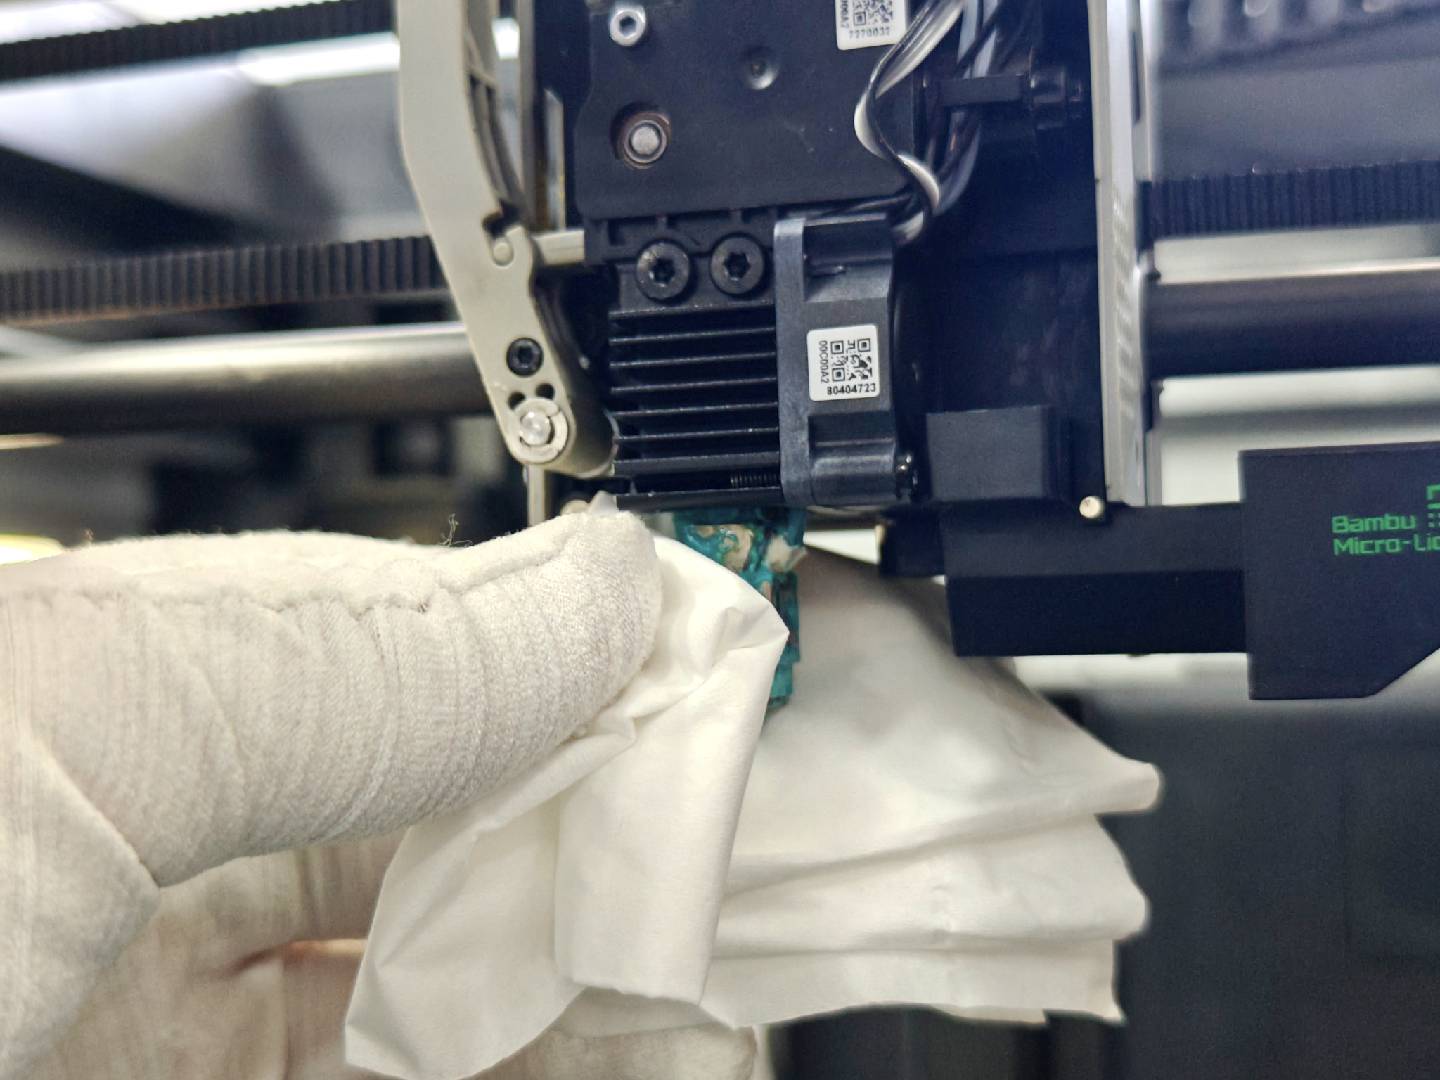
While the hotend is still at a high temperature and the material remains in a molten state, you can use a paper towel to wipe away the majority of the plastic.
 |
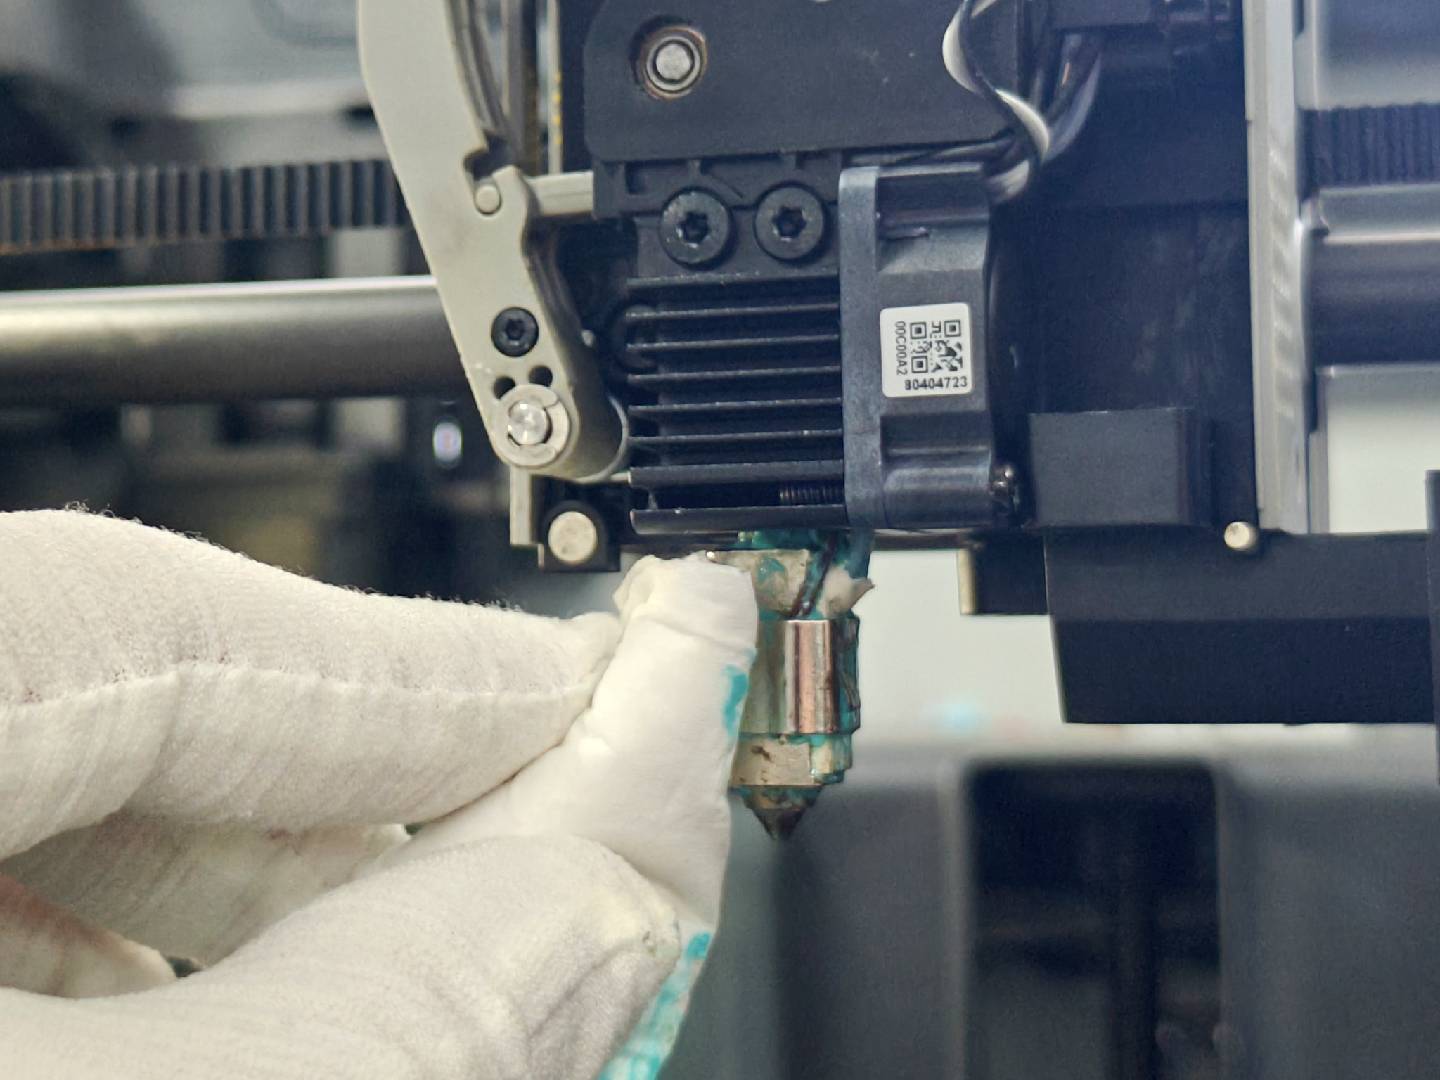 |
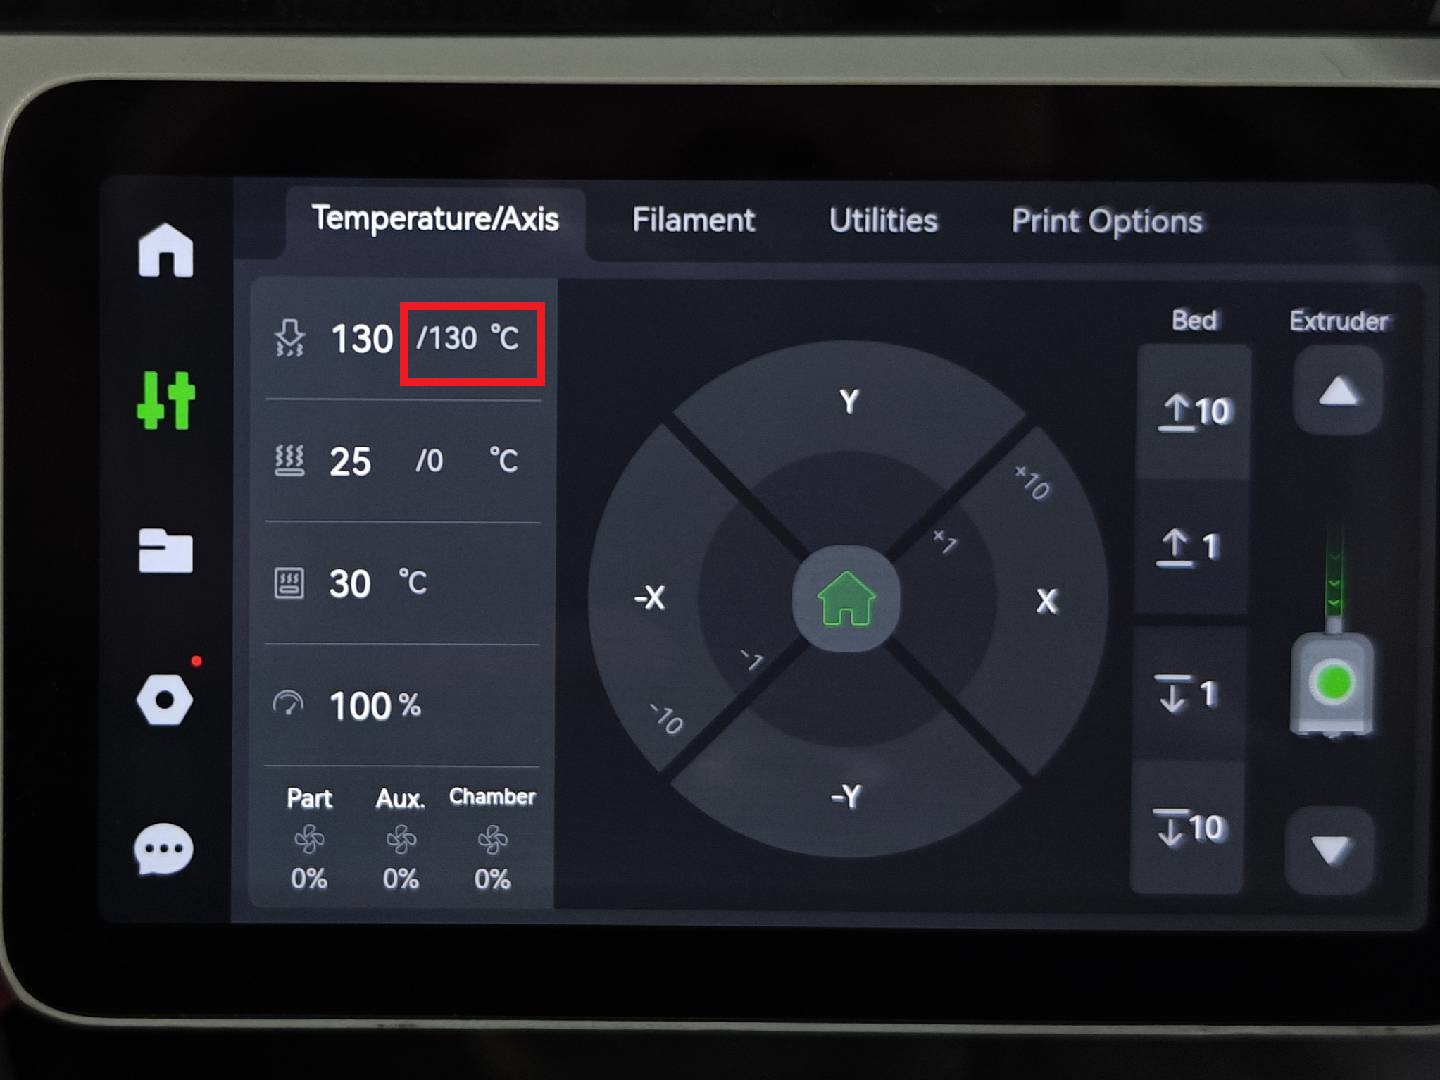
After completing the initial cleaning, reduce the temperature to around 130°C to allow the remaining material to slightly solidify, then use tweezers to remove it completely. If carbonization appears on the surface of the hotend, gently scrape it off with the tweezers as well.
 |
 |
Note:When cleaning the hot end in this area, proceed with gentle care to avoid pulling or breaking the hotend wires.
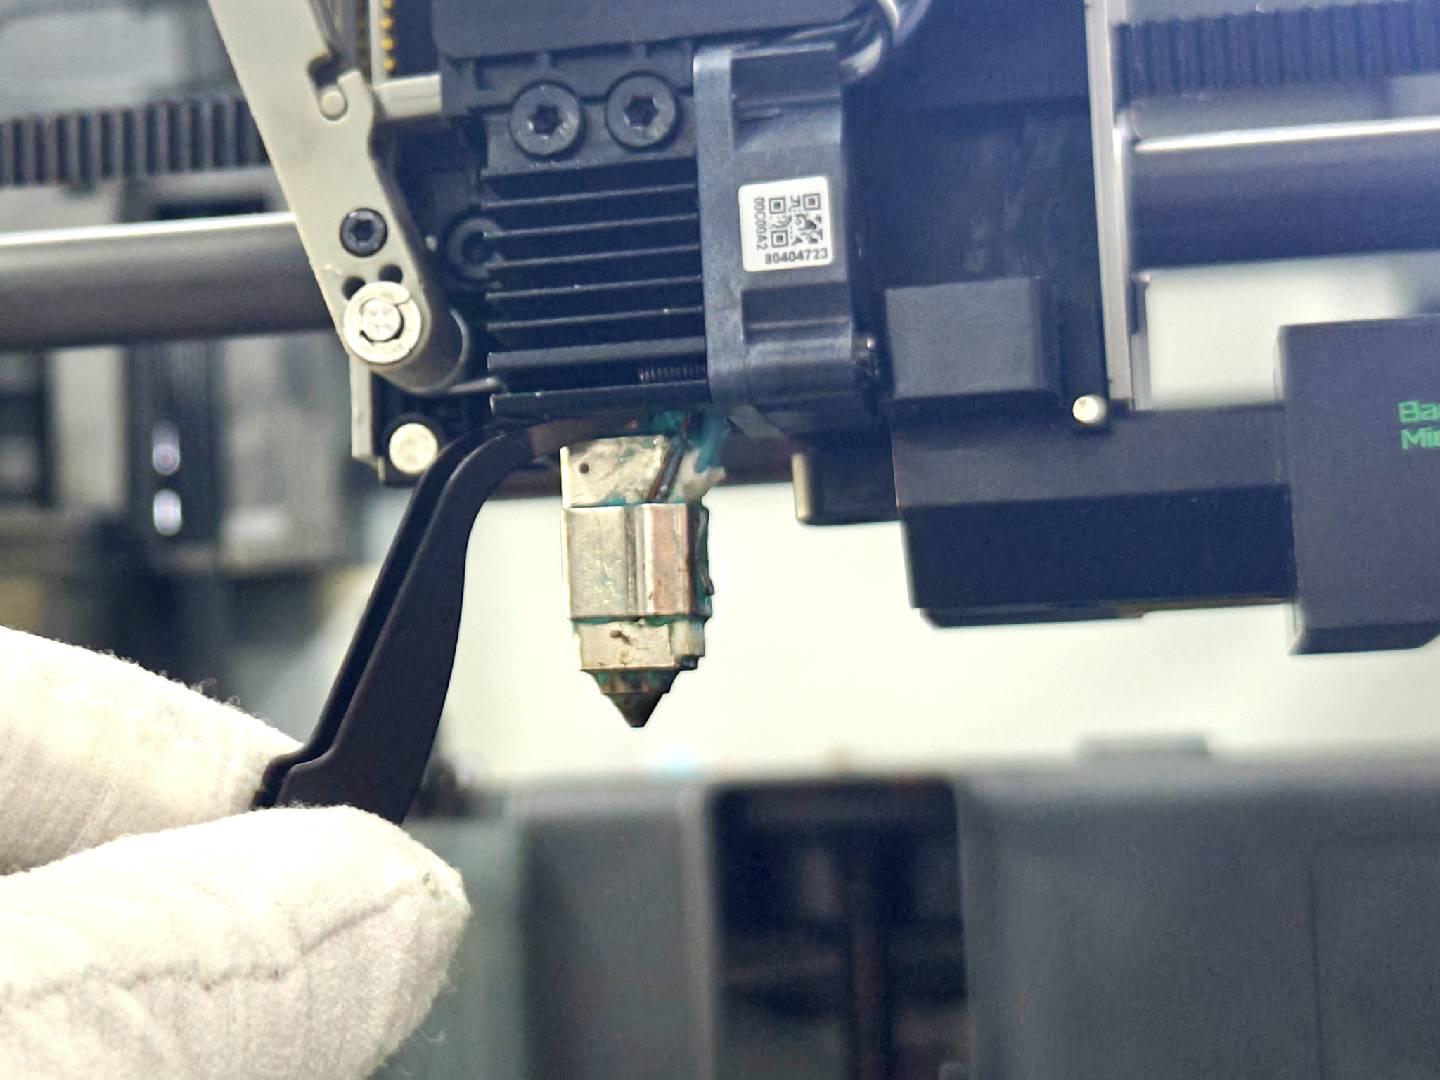
At this point, the cleaning of the hotend is complete.
Note:At this point, you can stop heating the hotend to avoid prolonged exposure to high temperatures.
¶ 4.Cleaning the front housing assembly
Use the high-temperature setting of a hairdryer to soften the residual plastic on the front housing assembly, then attempt to remove it completely once again.
Note: When using a hairdryer to heat plastic components, avoid prolonged and concentrated heating at close range, as this may cause the front housing assembly to soften and deform. According to the warranty policy, such cases are not eligible for replacement of this component.
Next, use tweezers to clean any residual plastic inside the silicone sock.
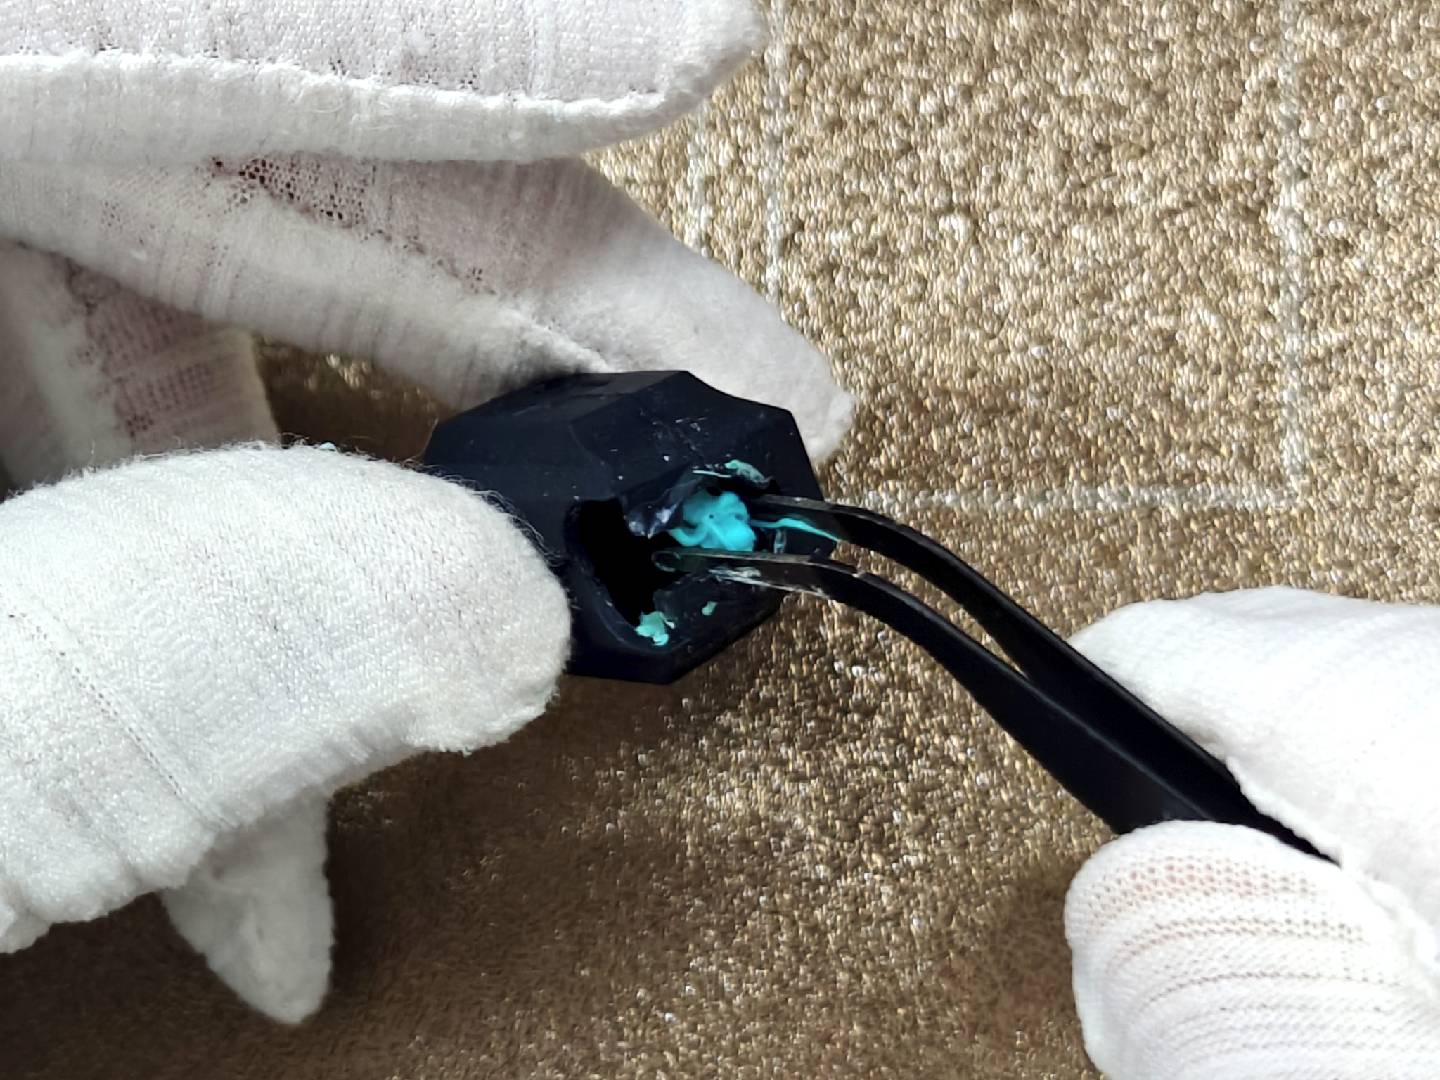
Note: If any damage occurs during the cleaning process, please purchase the relevant parts through the official store or contact technical support by clicking the link at the end of the article.
¶ 5.Assembly
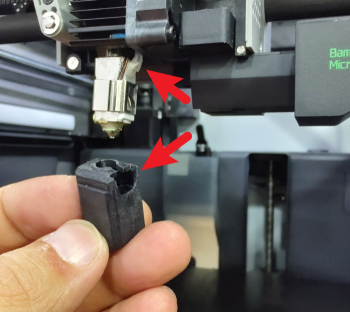
When installing the silicone sock, ensure that the notch of the silicone sock is oriented correctly. Push the silicone sock upward to the top of the nozzle and confirm it is properly installed.
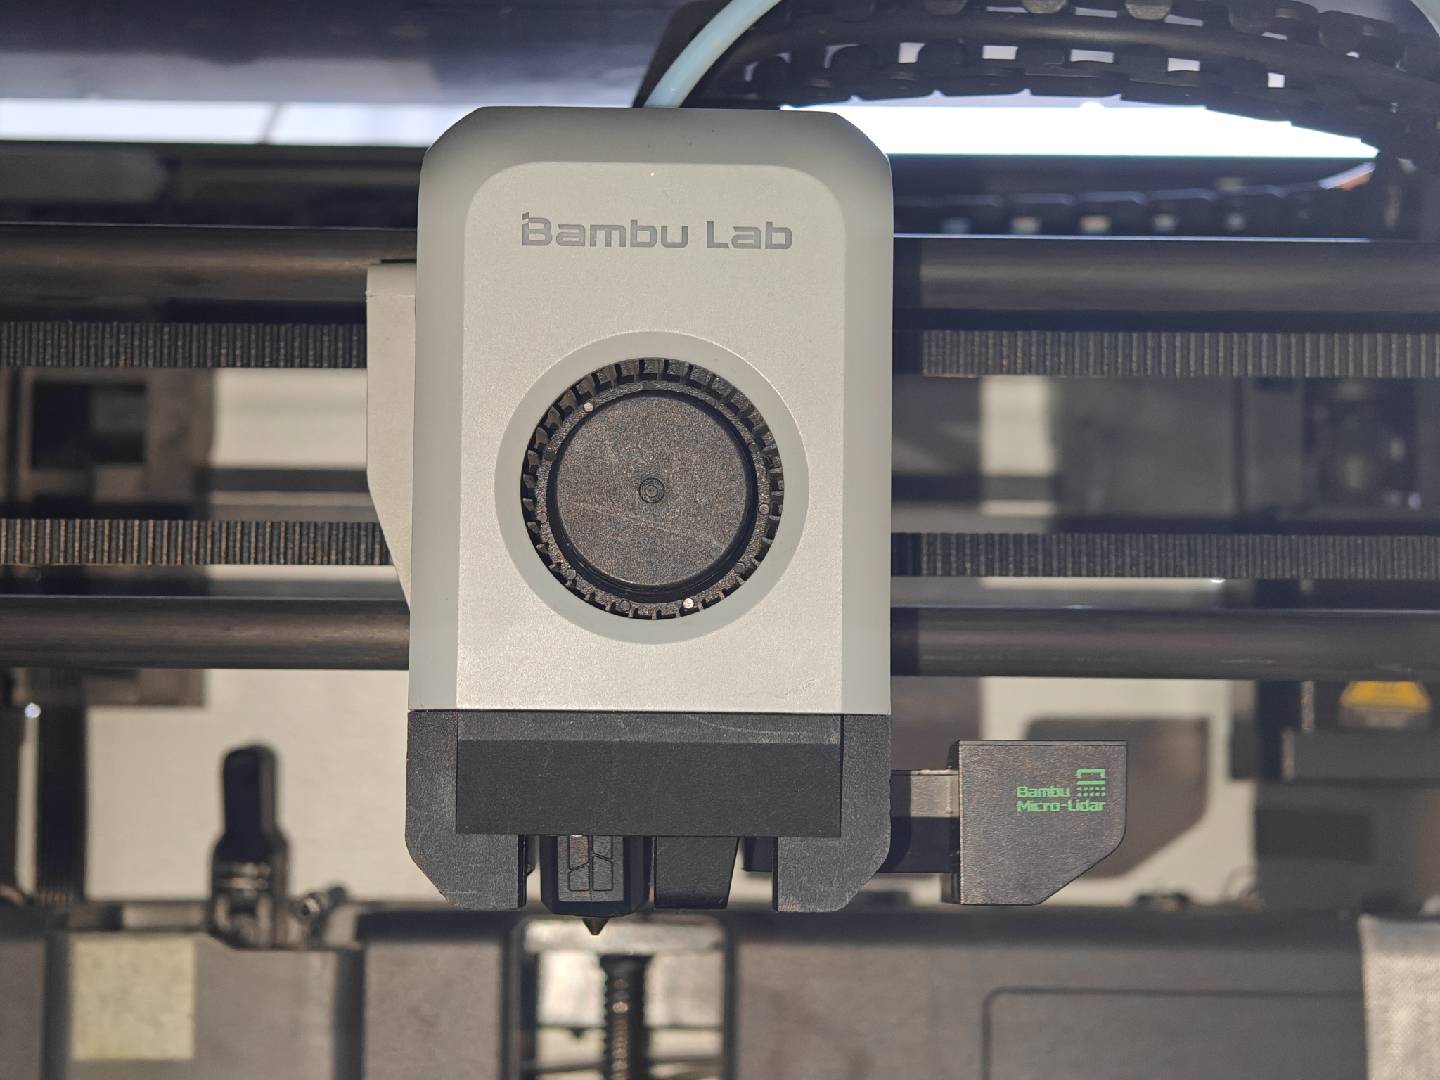
Next, install the front housing assembly. After connecting the joints, tuck the toolhead LED cable into the clip, then close the toolhead front housing assembly.
 |
 |
In this way, we have completed the cleaning of the clumping.
¶ Function Test
Try selecting the "Load!" option on the screen and observe whether the material extrudes normally. If there are no abnormalities during the extrusion process, you can proceed with a print test.
 |
If abnormal extrusion occurs in this step, it may be caused by nozzle clogging. You can refer to this wiki for instructions on how to clean clogged nozzle.
¶ End Notes
We hope the detailed guide provided has been helpful and informative.
If this guide does not solve your problem, please submit a technical ticket, we will answer your questions and provide assistance.
If you have any suggestions or feedback on this Wiki, please leave a message in the comment area. Thank you for your support and attention!