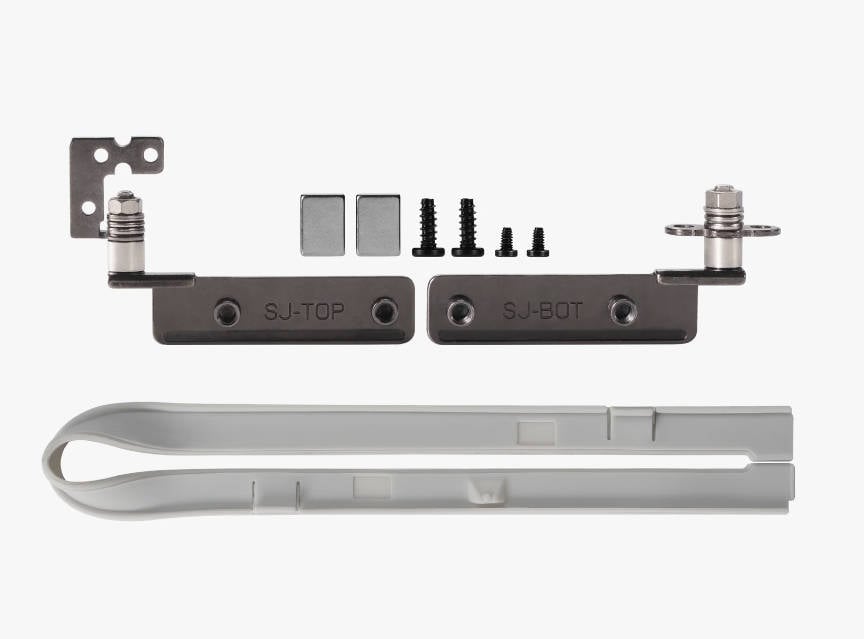
¶ What is the front door mounting kit
The front door mounting kit includes essential accessories for installing the glass front door of X1 and P1 series printers. It comprises 1 pair of upper and lower hinges, 2 magnets, 4 screws of two types, and 1 front door rubber strip.

¶ When to use
Generally, the front door mounting kit is required only if the hinges become deformed. For the X1 series, usually, only the upper and lower hinges need replacement, while the magnets and rubber strips do not require replacement.
¶ Tools and materials needed
- Front door mounting kit
- H1.5/2.0 hex key
¶ Safety warning and machine state before starting operation
The glass is fragile, so handle it with care during removal and installation to prevent it from falling. If the glass is damaged, take precautions to avoid injuring your hands.
¶ Operation
For detailed instructions, please refer to the replacement video. The main steps are outlined below:
1. Remove the glass front door, screen, and glass cover plate.
2. Unscrew the 3 screws securing the front cover. Remove the 3 screws fixing the metal panel on the right side. Loosen the cables attached to the front cover, and then remove the front cover.
3. Remove the upper and lower hinges. When removing the lower hinge, use a wrench to slightly bend the edge of the vertical beam to expose the screw.
4. Install the upper and lower hinges.
5. To install the front cover, you may need to break off a portion of the right side panel for easier installation.
6. Install the glass front door and screen, then replace the glass cover plate.
¶ How to verify completion/success
Visually inspect the screws to ensure they are securely tightened and not protruding. Operate the glass door manually, opening and closing it to verify smooth movement and proper alignment when closed.