Note: Currently, there are two versions of the A1 packaging. This version does not separate the heatbed and the printer frame. There is also a version that needs to be separated (link provided here). Please pack according to the condition of the printer when it was received.
¶ Video guide
¶ Operation steps
¶ Turn off the power and roll up the cable
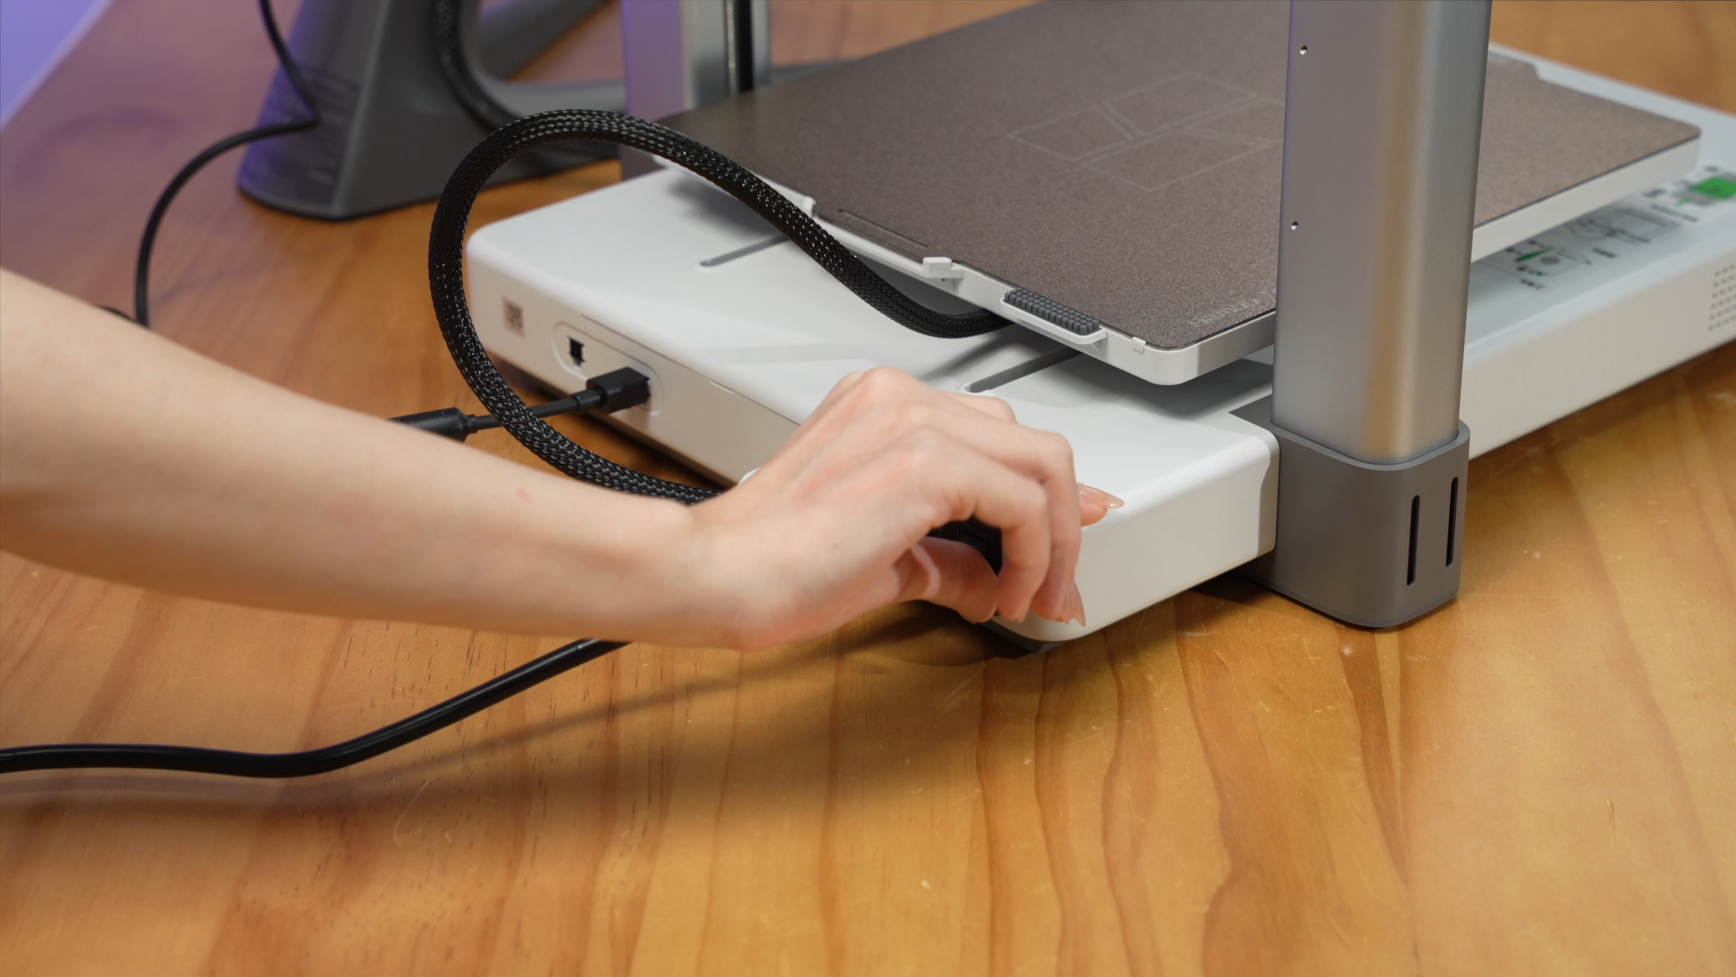
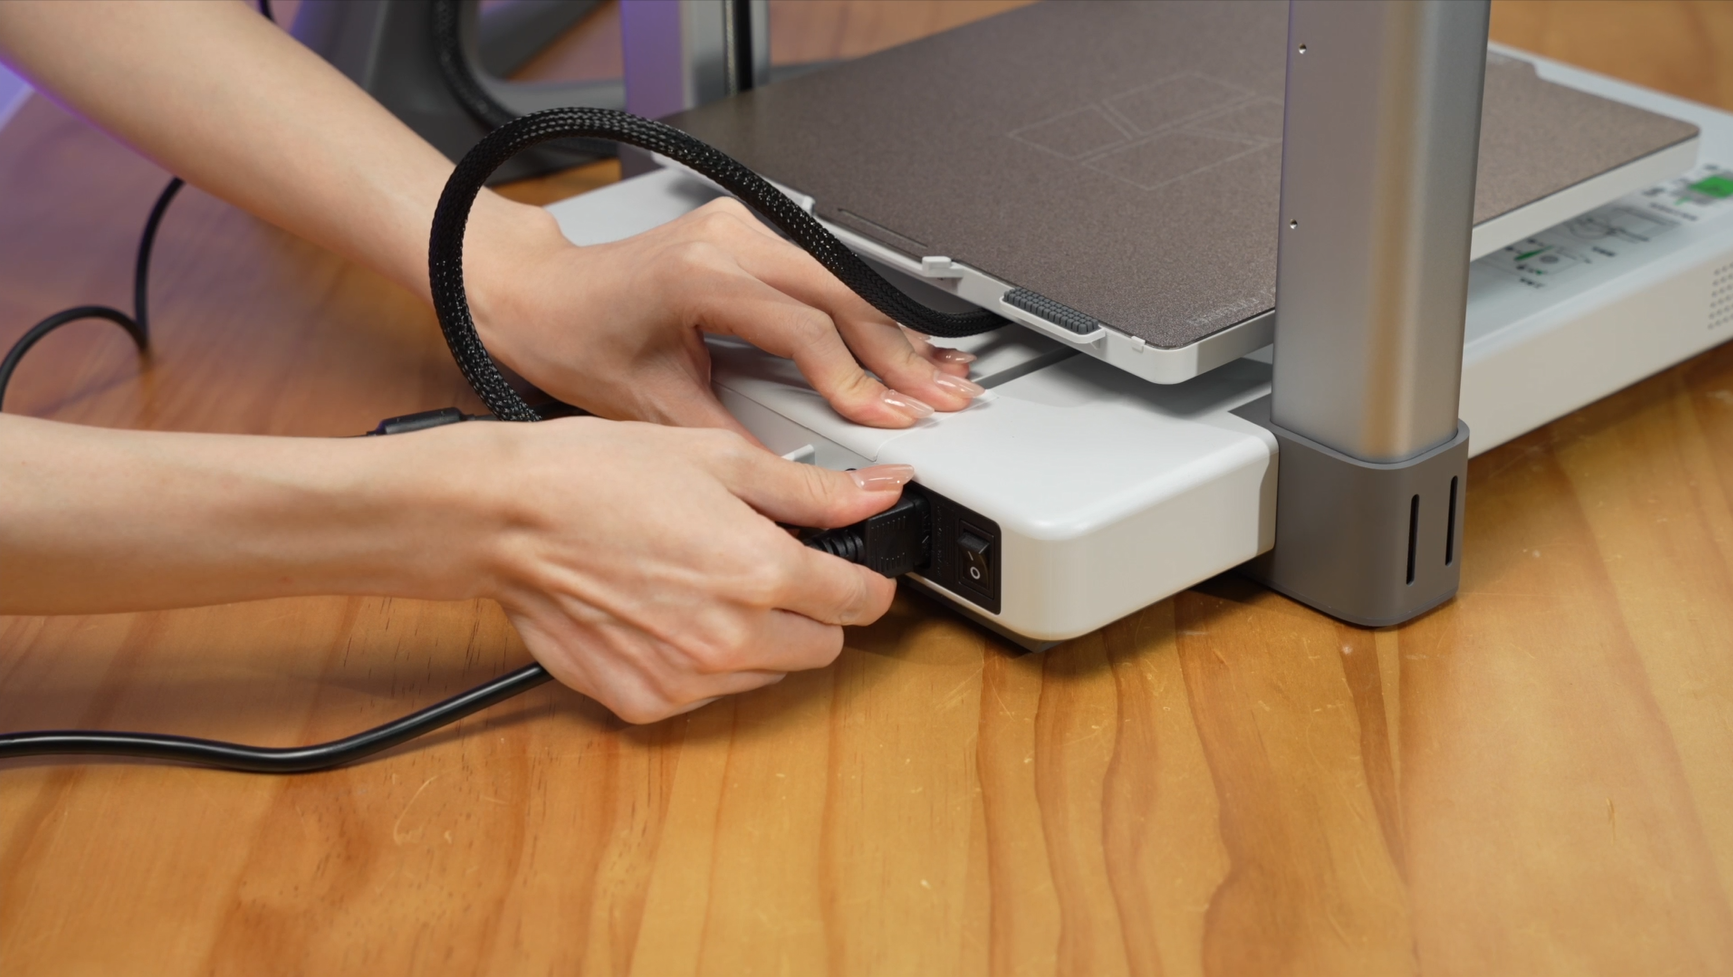
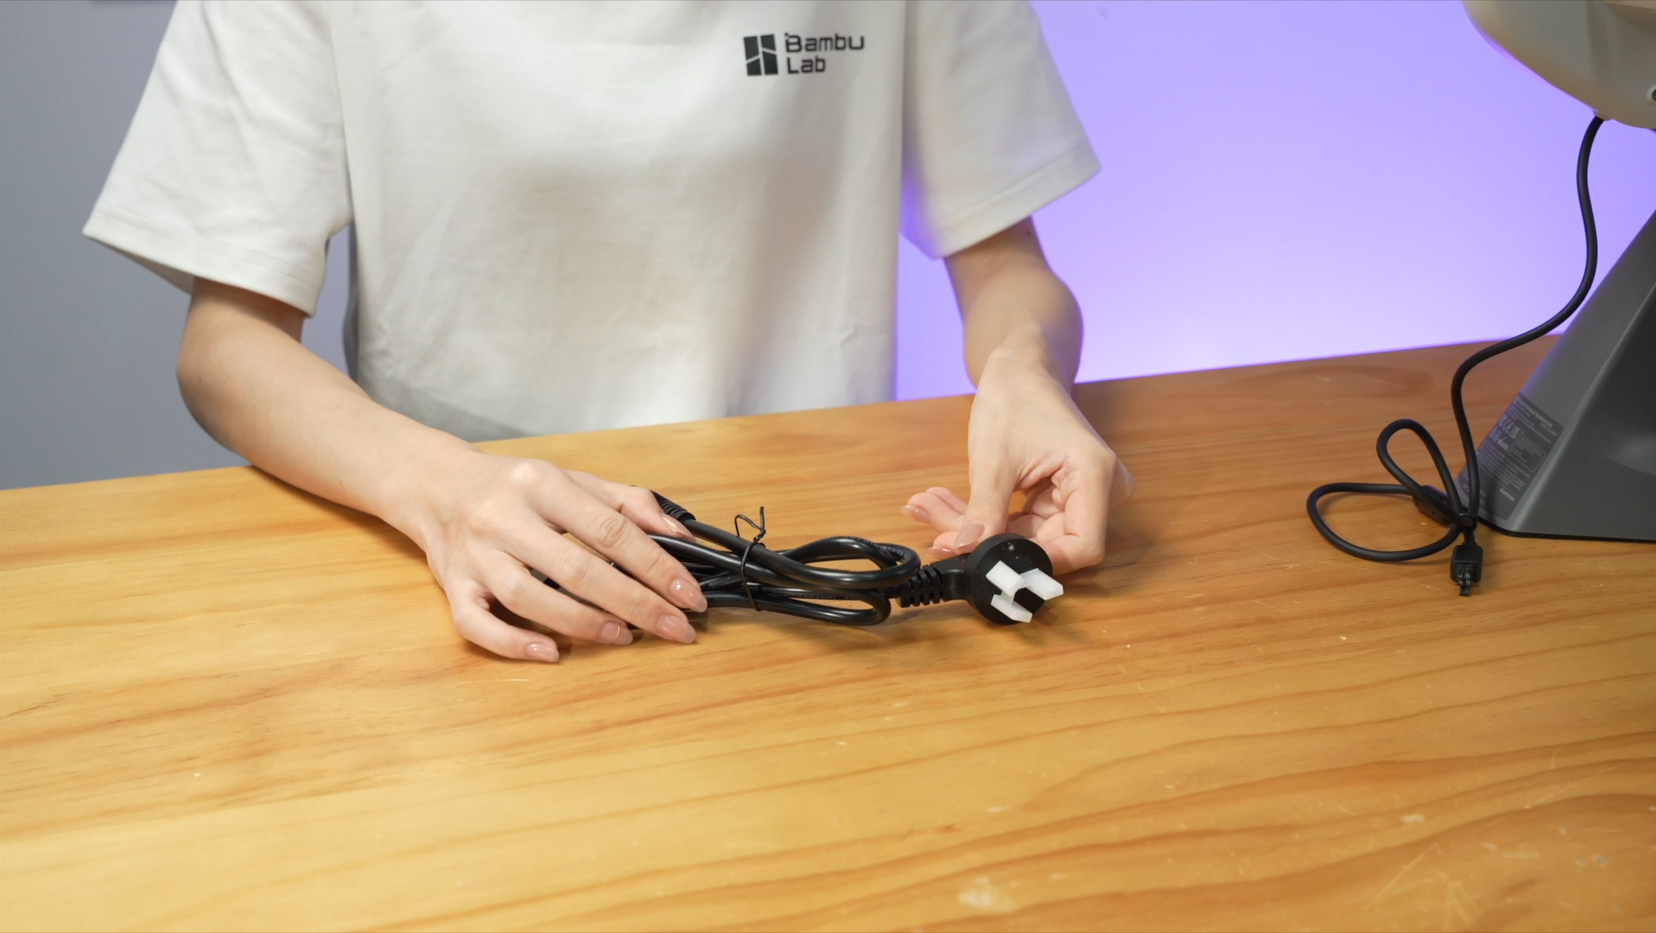
Step 1. Turn off the printer and disconnect the power cord.
 |
 |
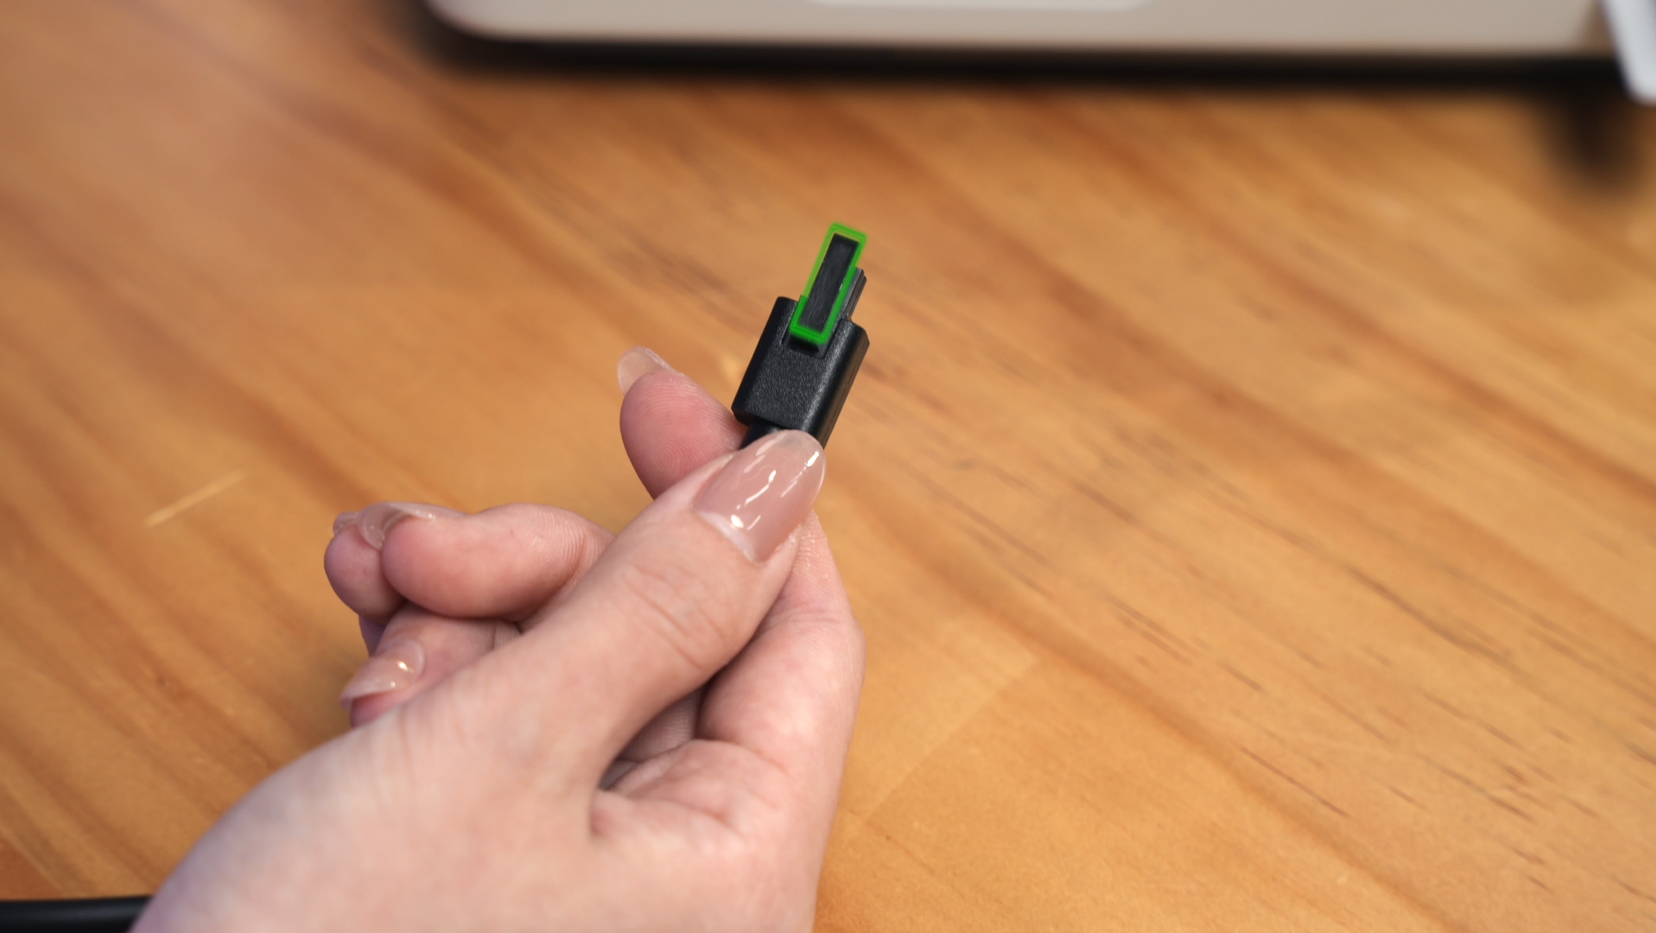
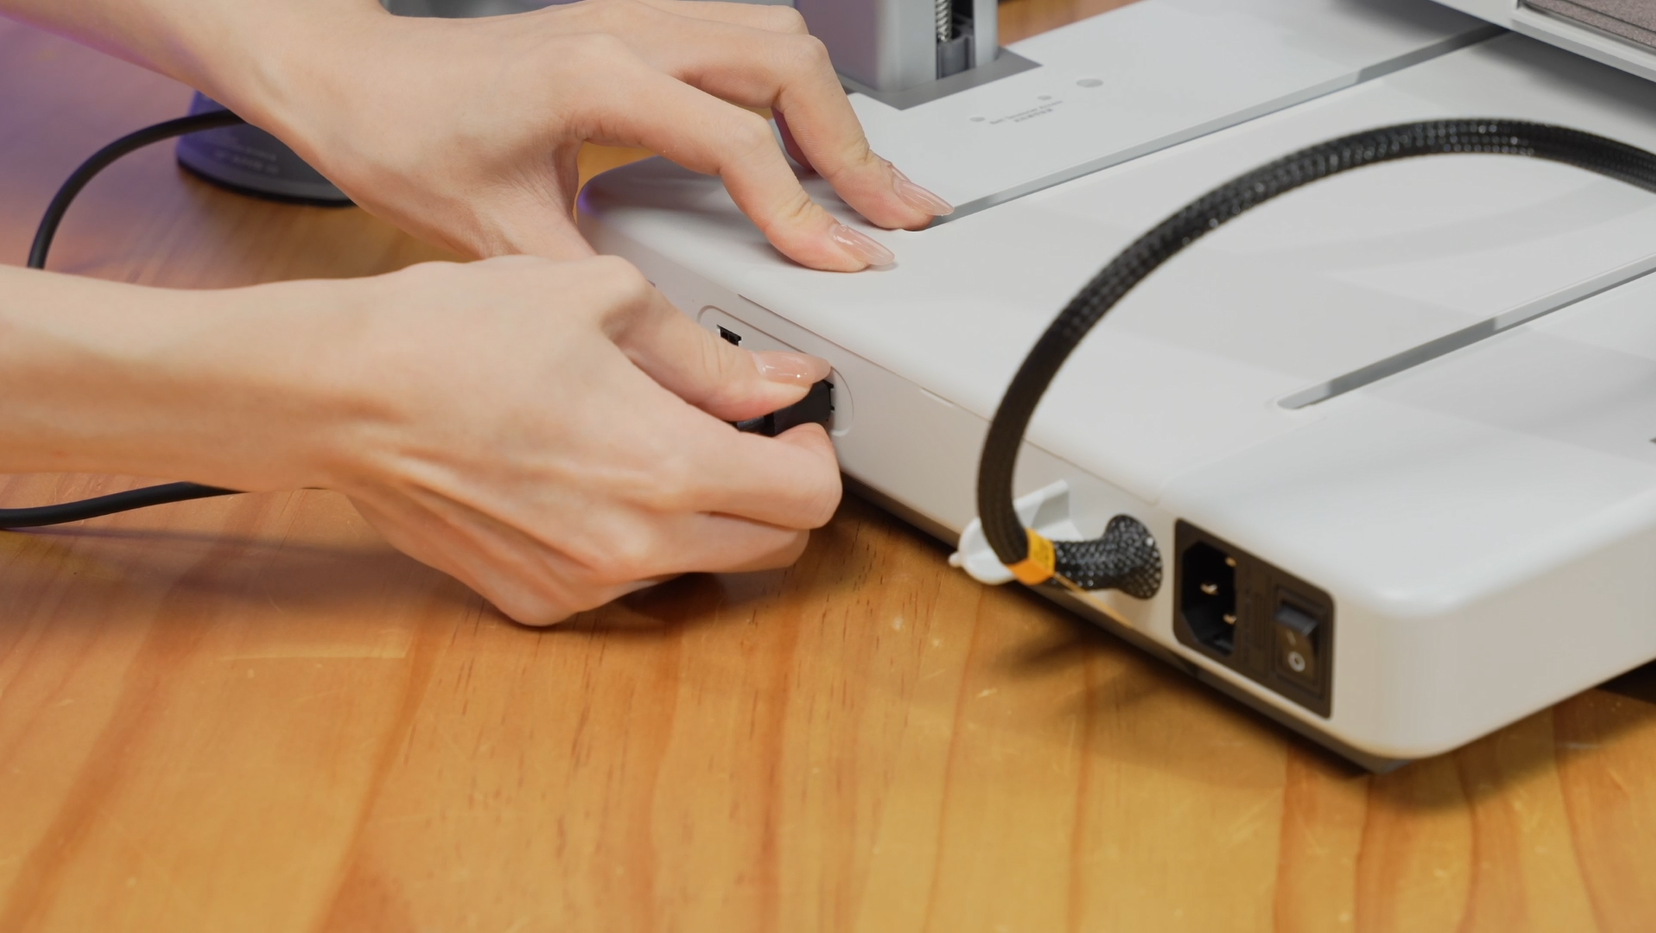
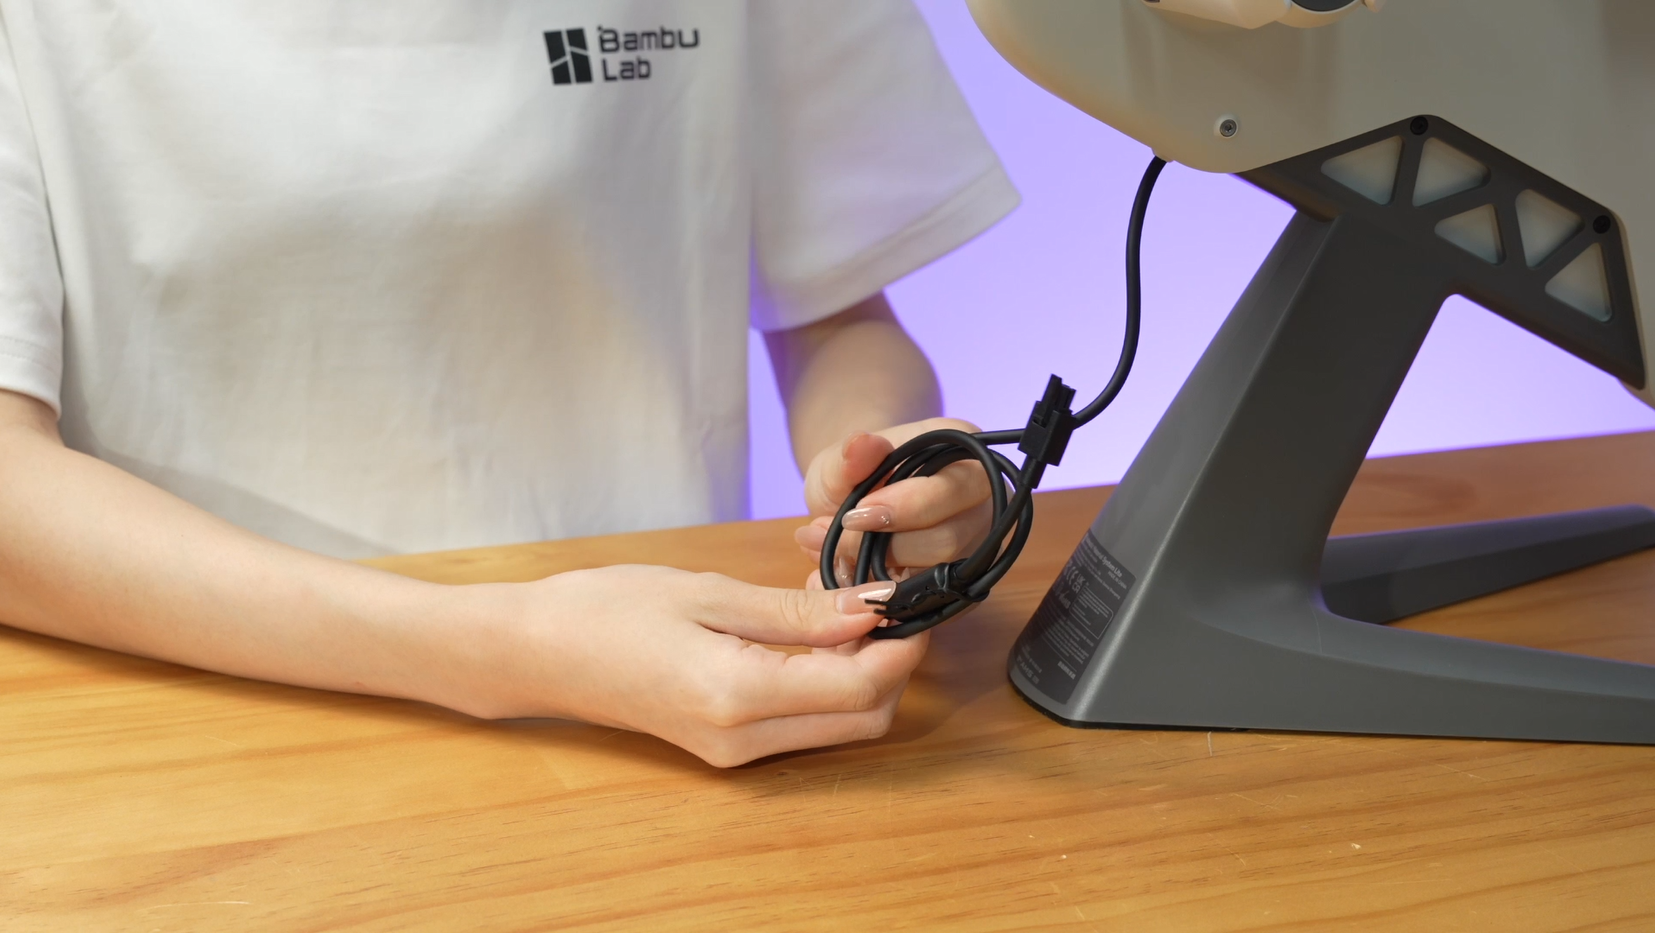
Step 2. Press the bottom of the cable connector to disconnect the 4-pin cable of AMS lite.
 |
 |
Step 3. Use black fine wire to roll up the 4-pin wire and power cord.
 |
 |
¶ Remove the PTFE tube
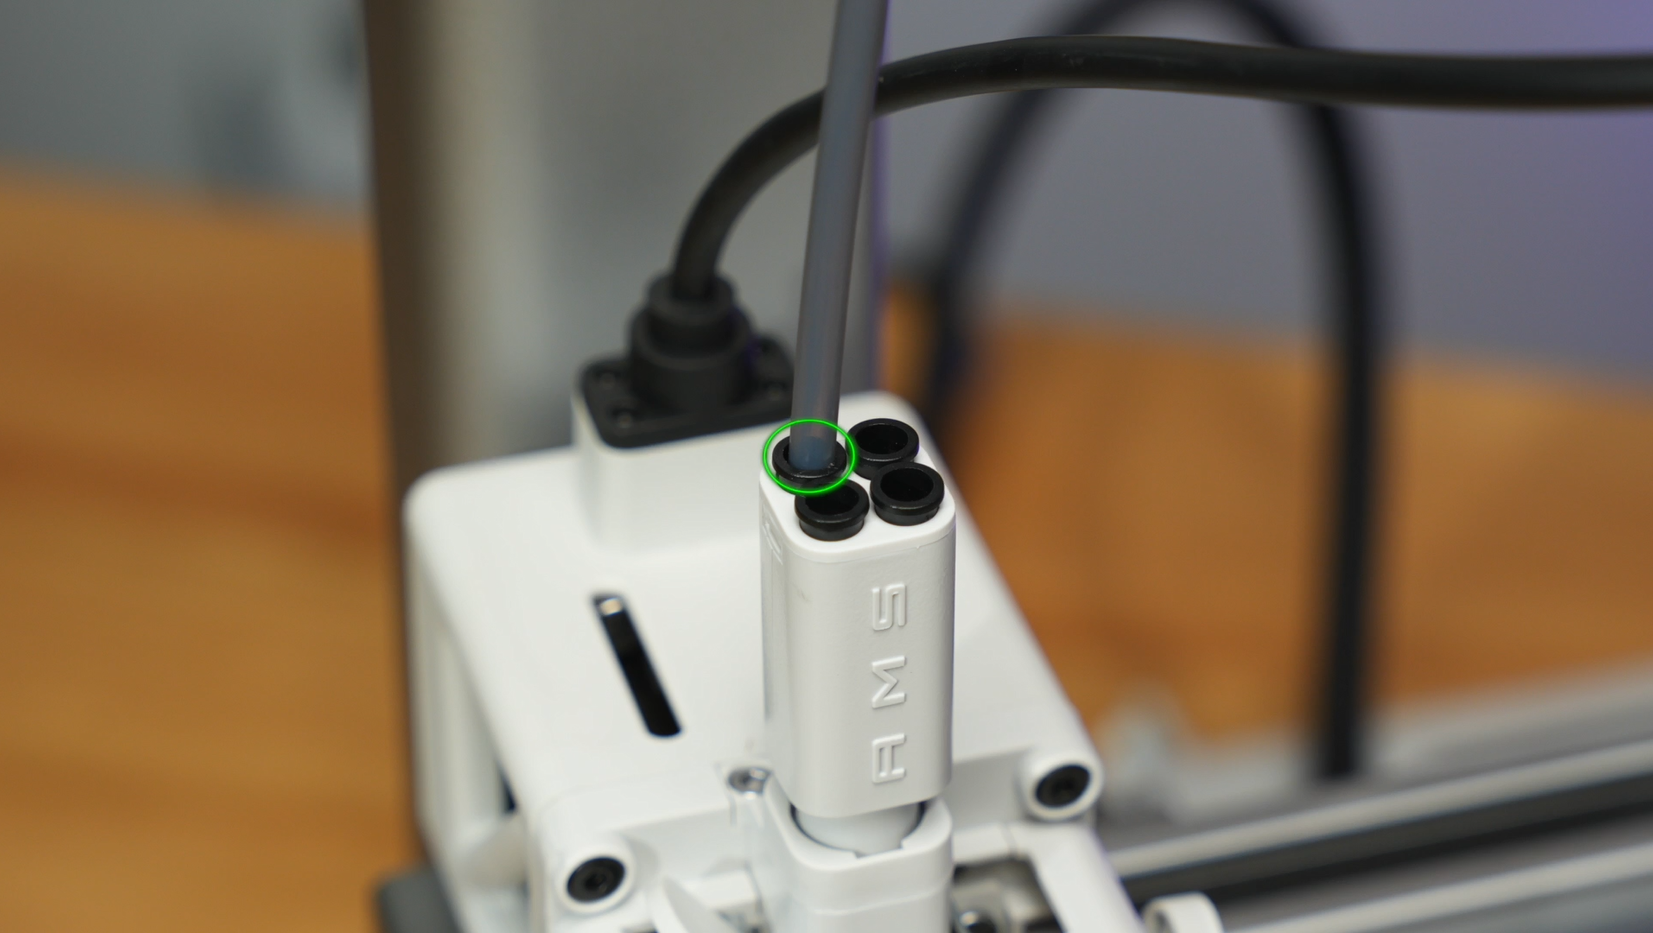
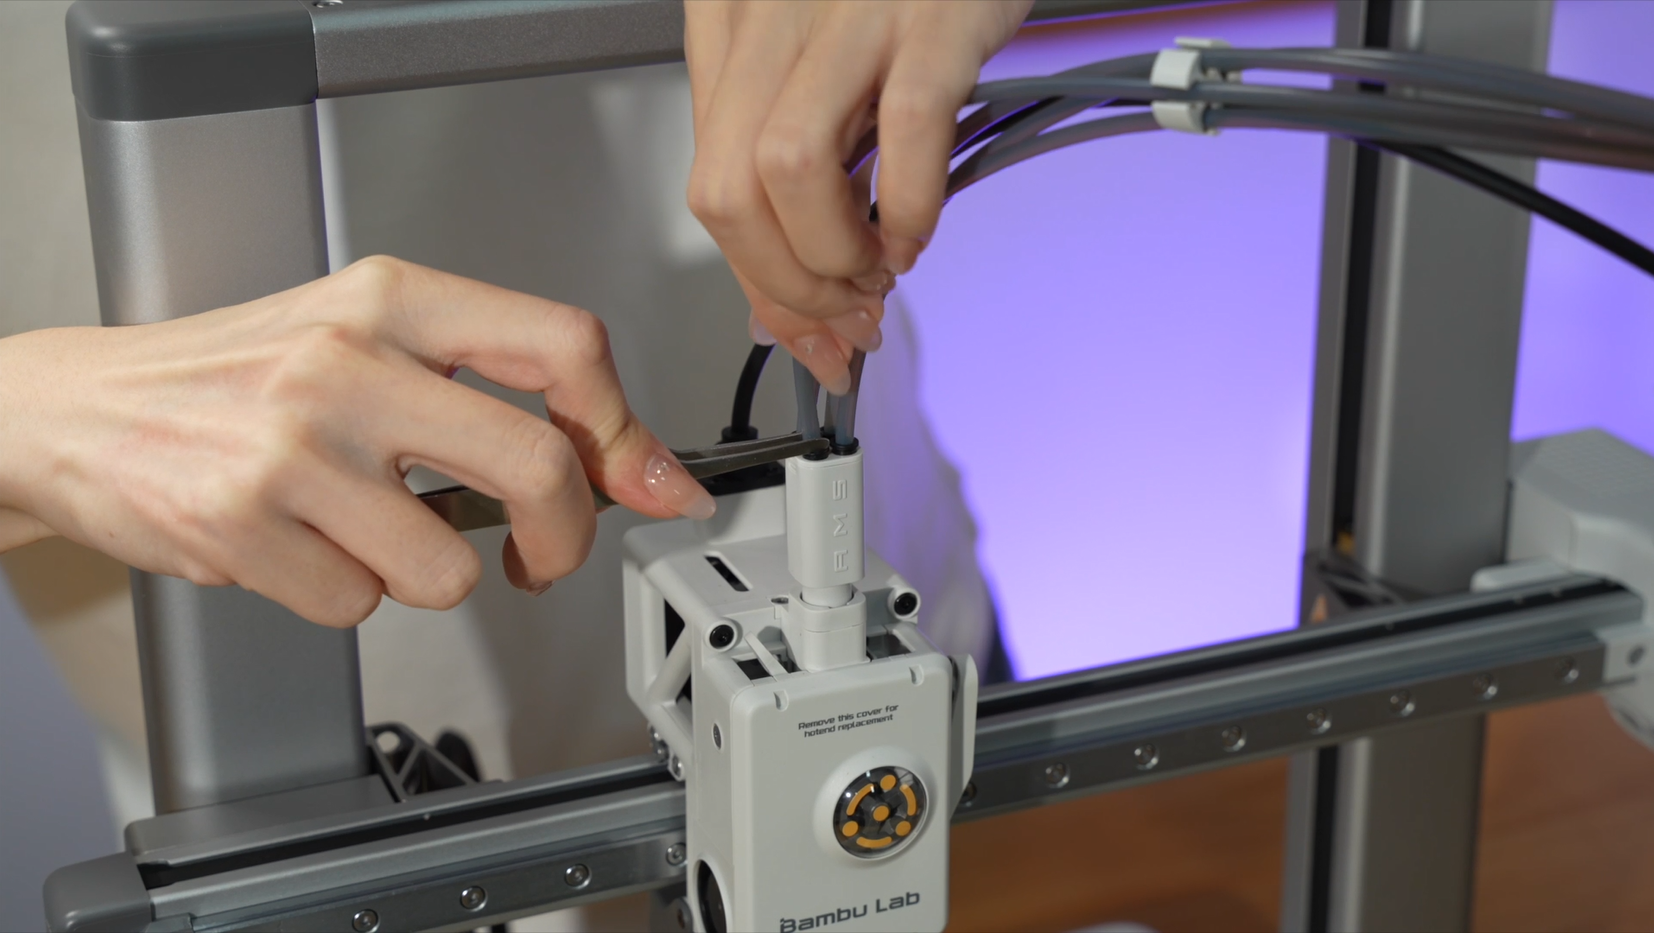
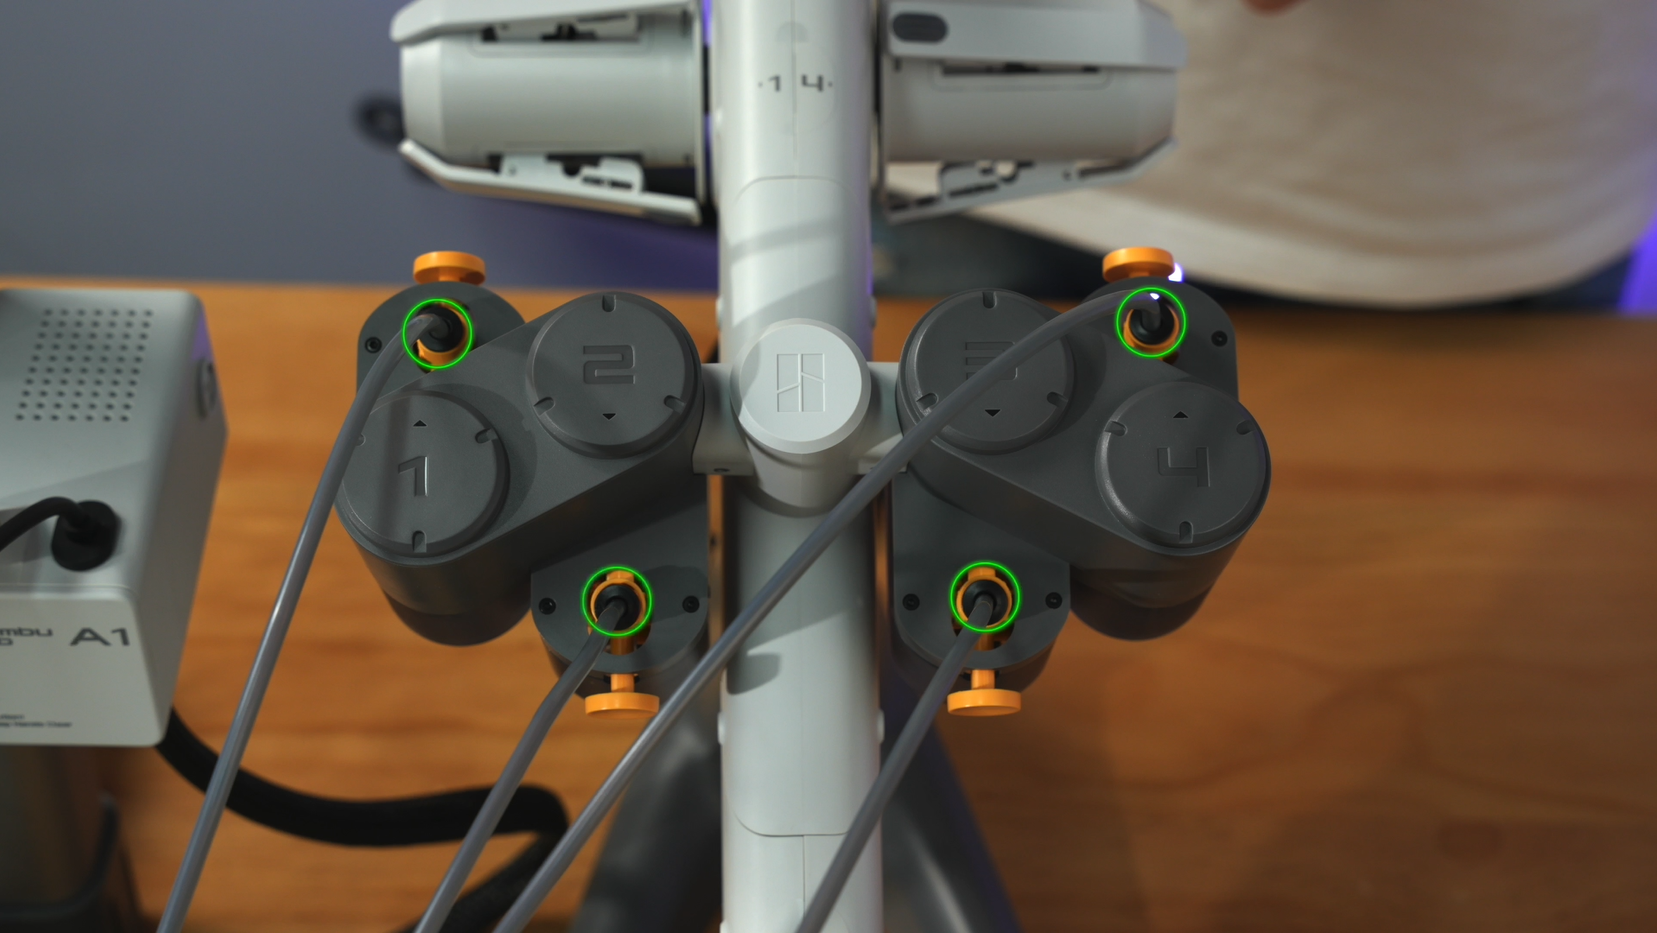
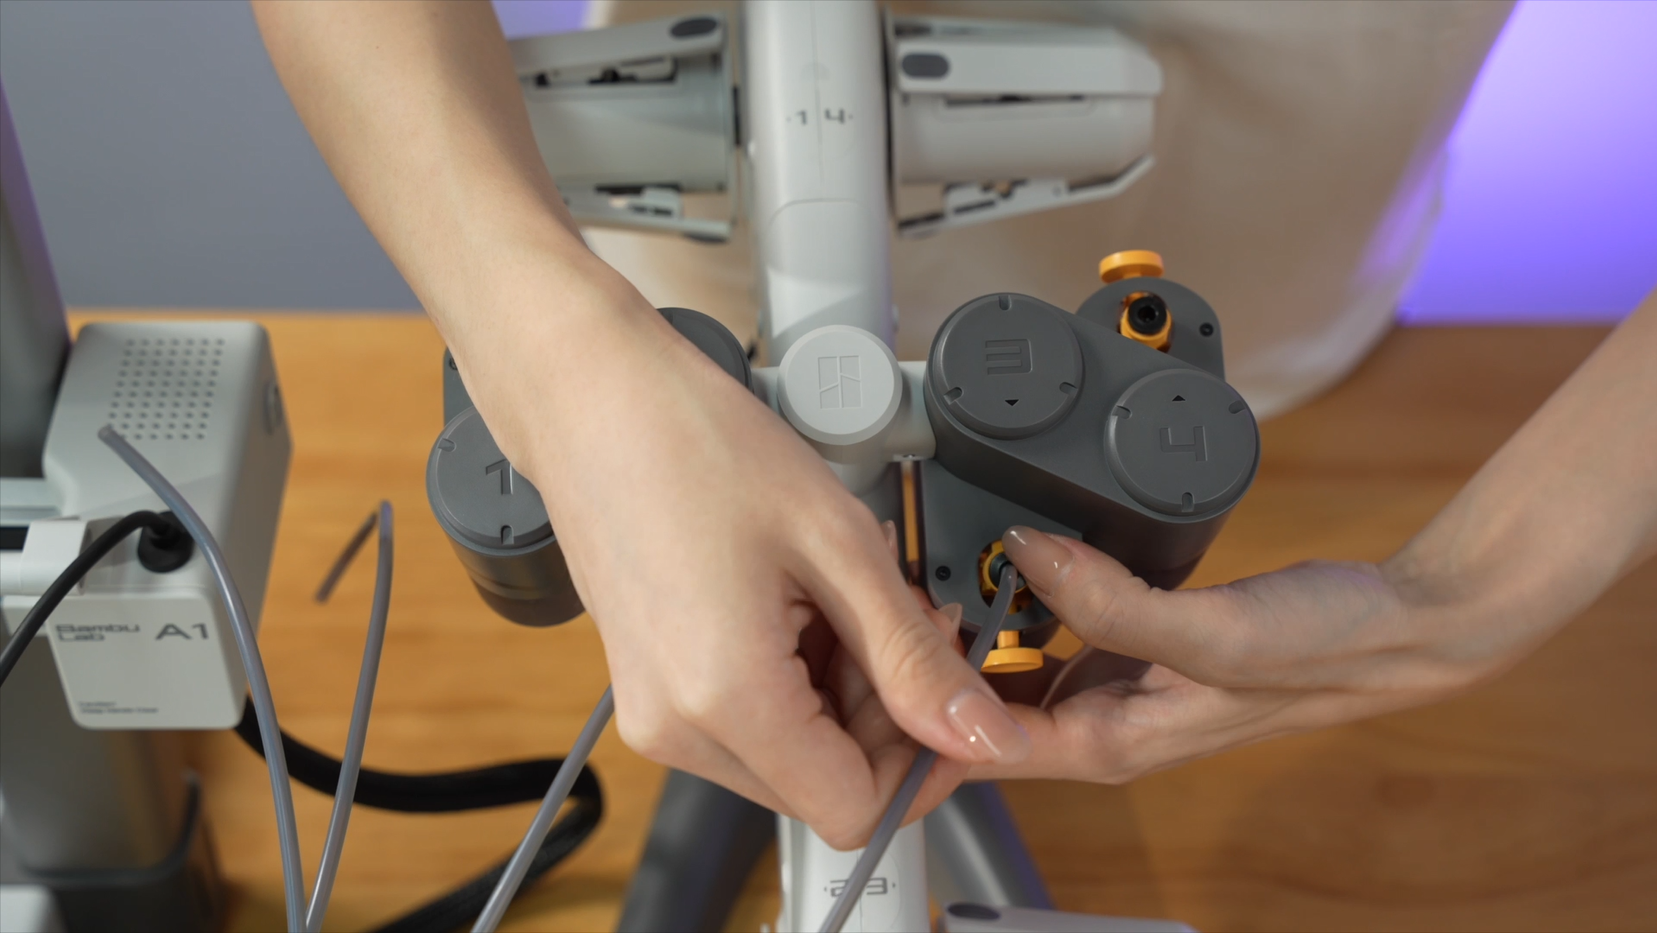
Step 1. Press the toolhead PTFE tube interface green-marked in the figure below(tweezers are recommended) and pull out the four PTFE tubes.
 |
 |
Step 2. Press the PTFE tube interface on two feeder unit to remove the PTFE tube.
 |
 |
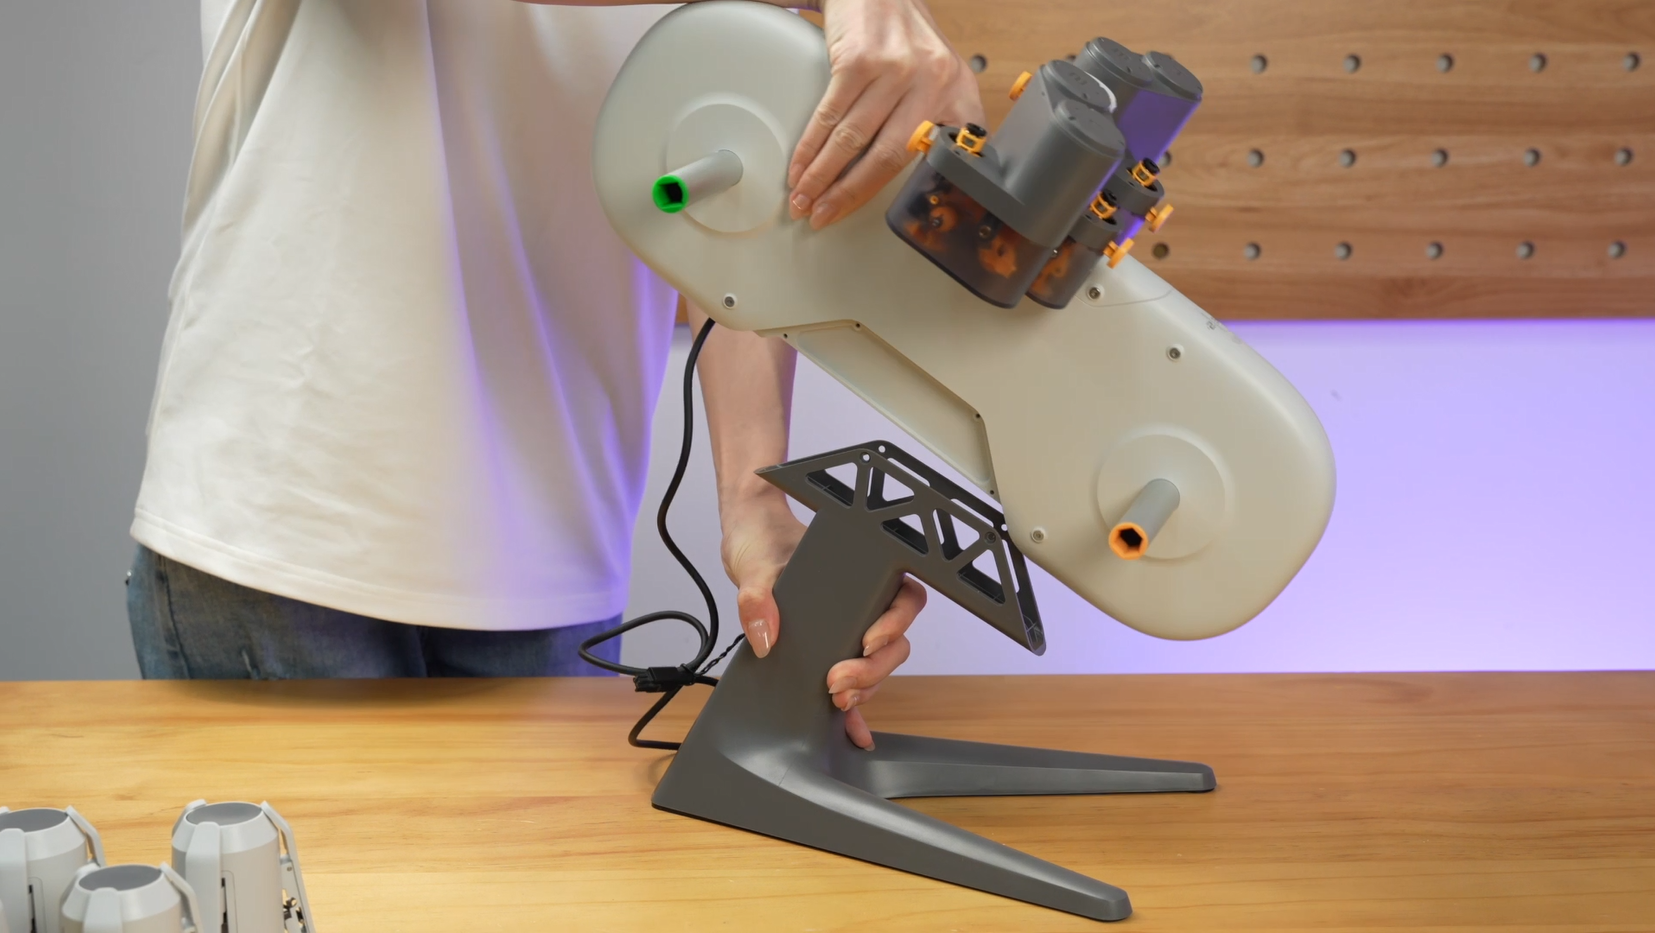
¶ Disassembling AMS lite
Step 1. Pull out the AMS lite rotary axis.
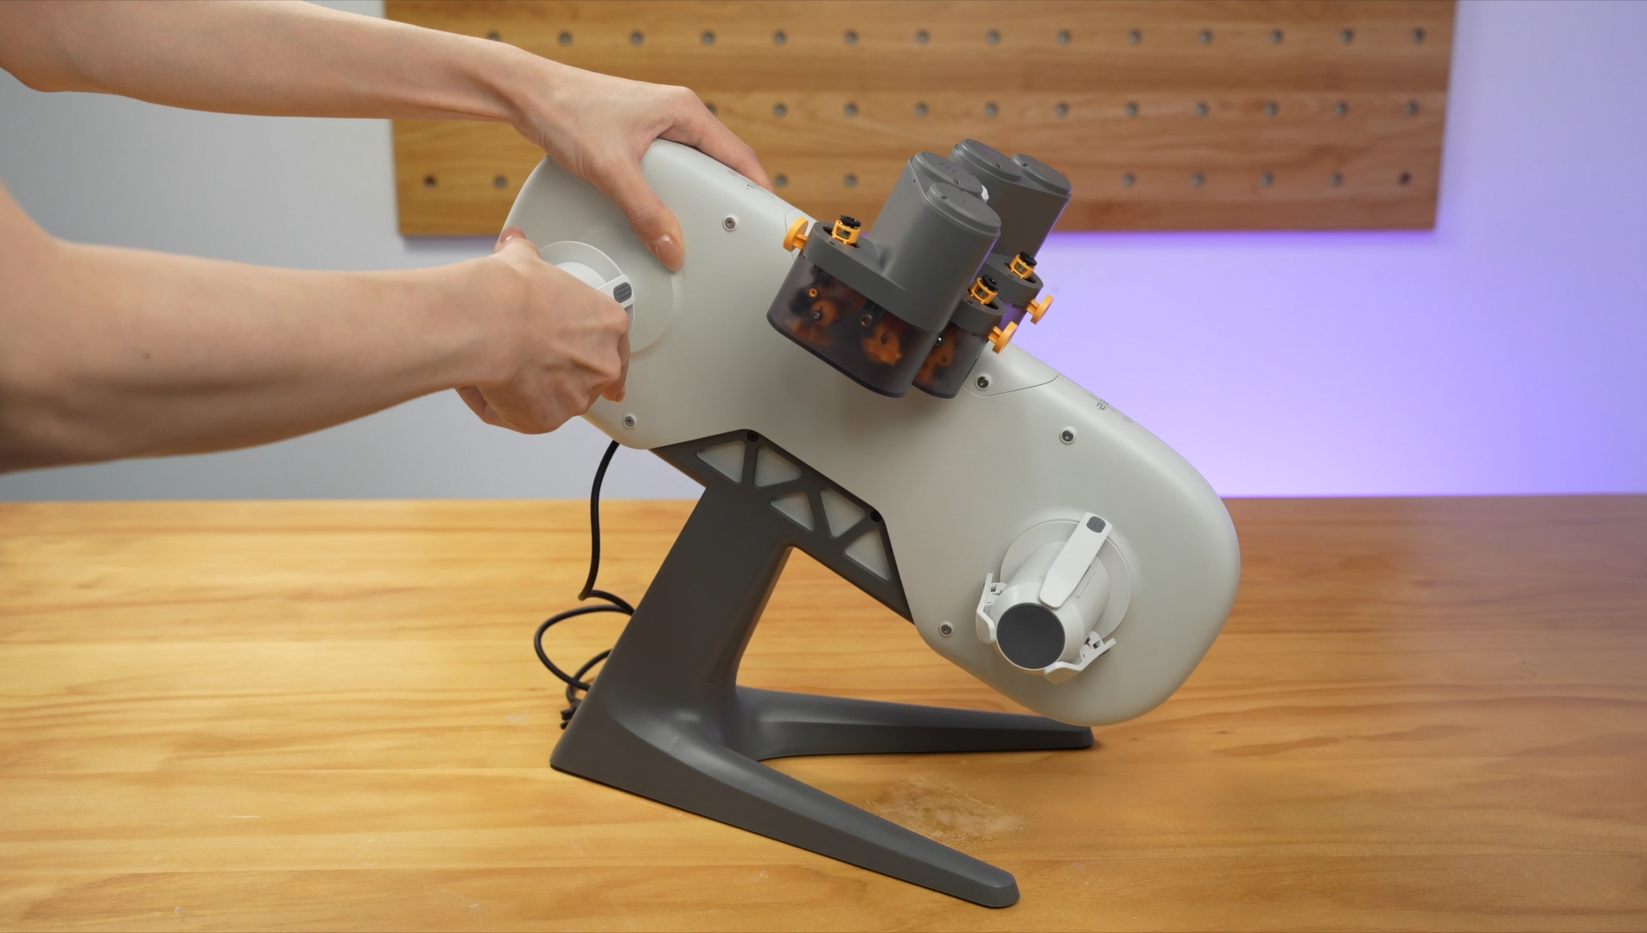
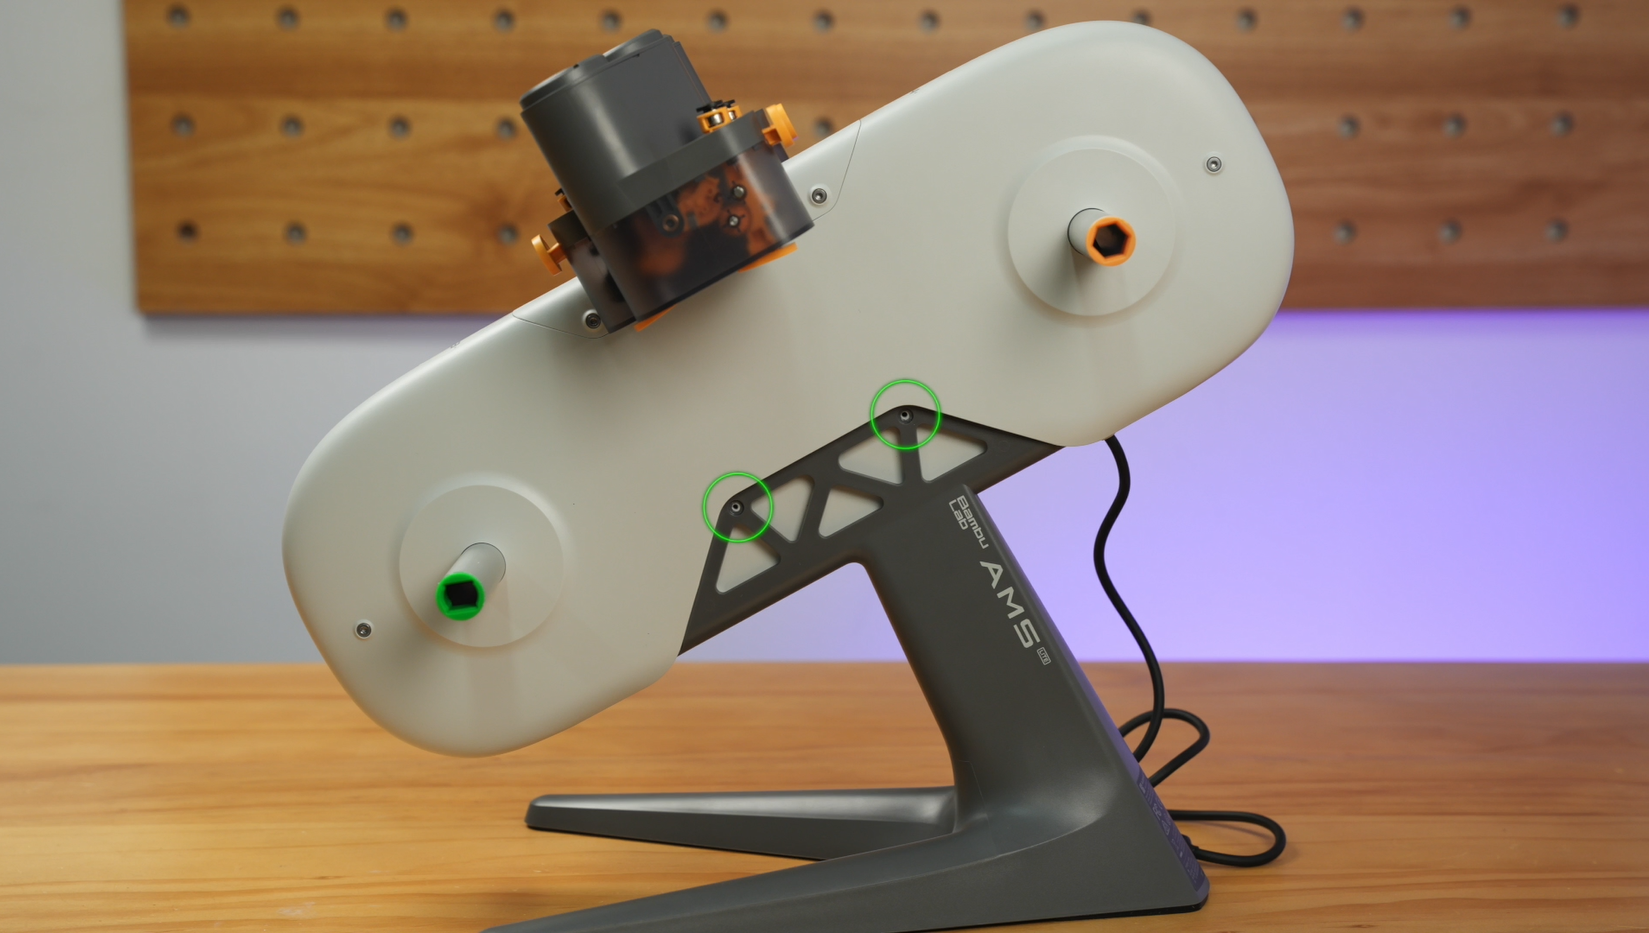
Step 2. Remove the four screws connecting the AMS lite body and the stand.
 |
 |
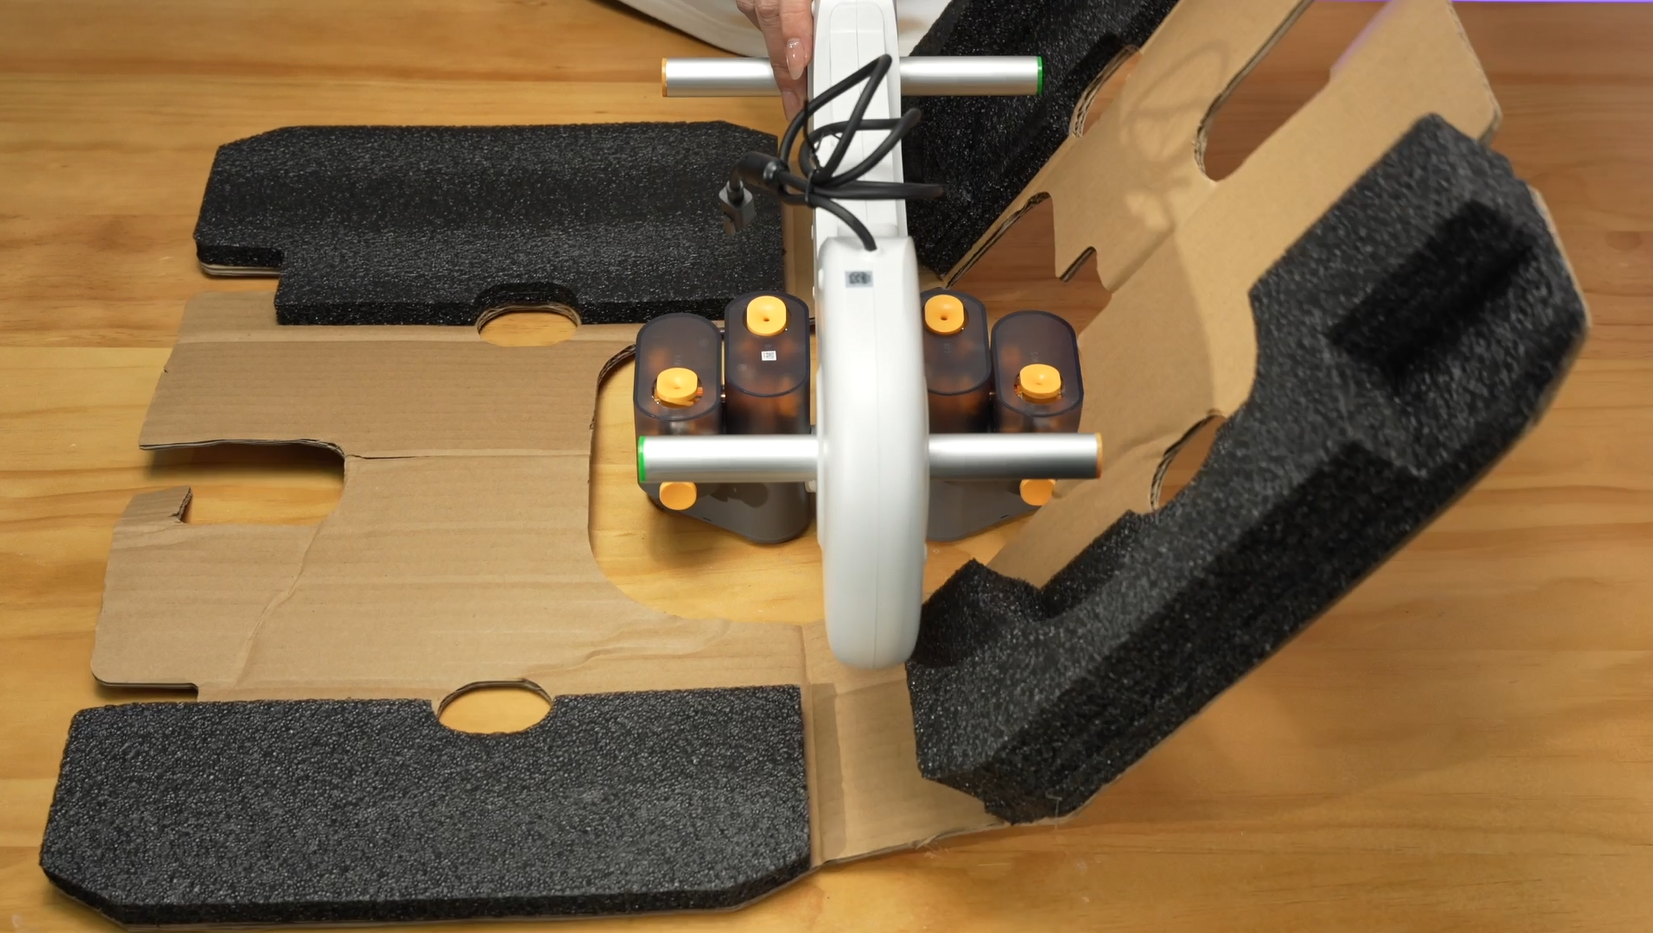
Step 3. Remove the AMS lite body and put the AMS body and the stand back into the foam cardboard.
 |
 |
 |
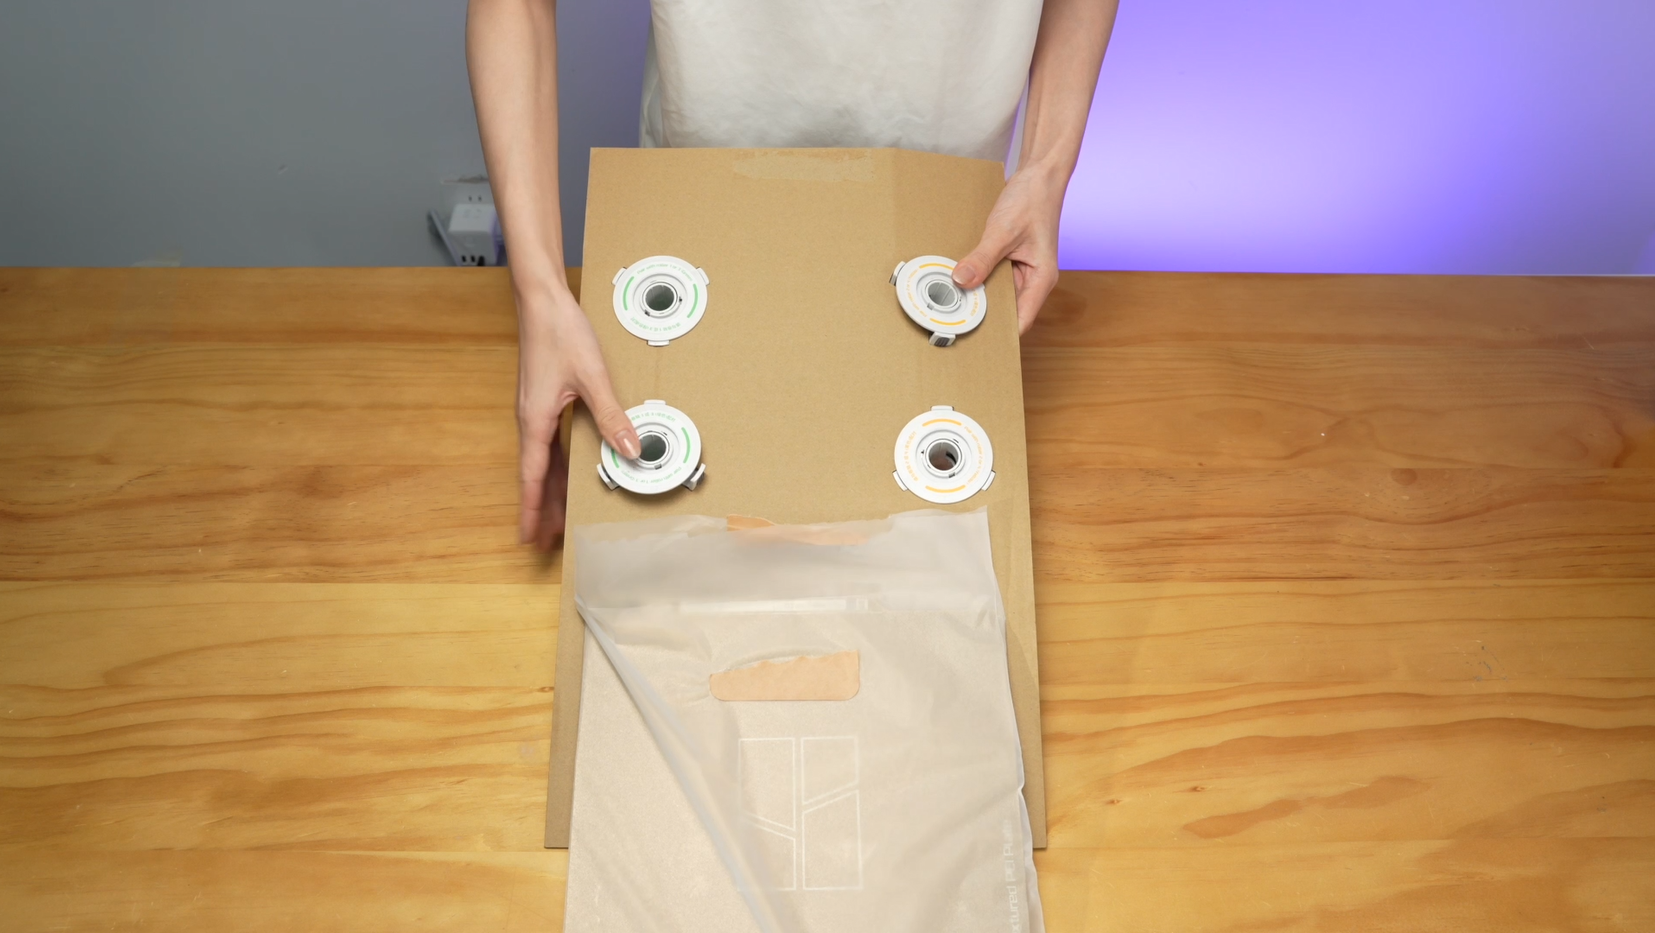
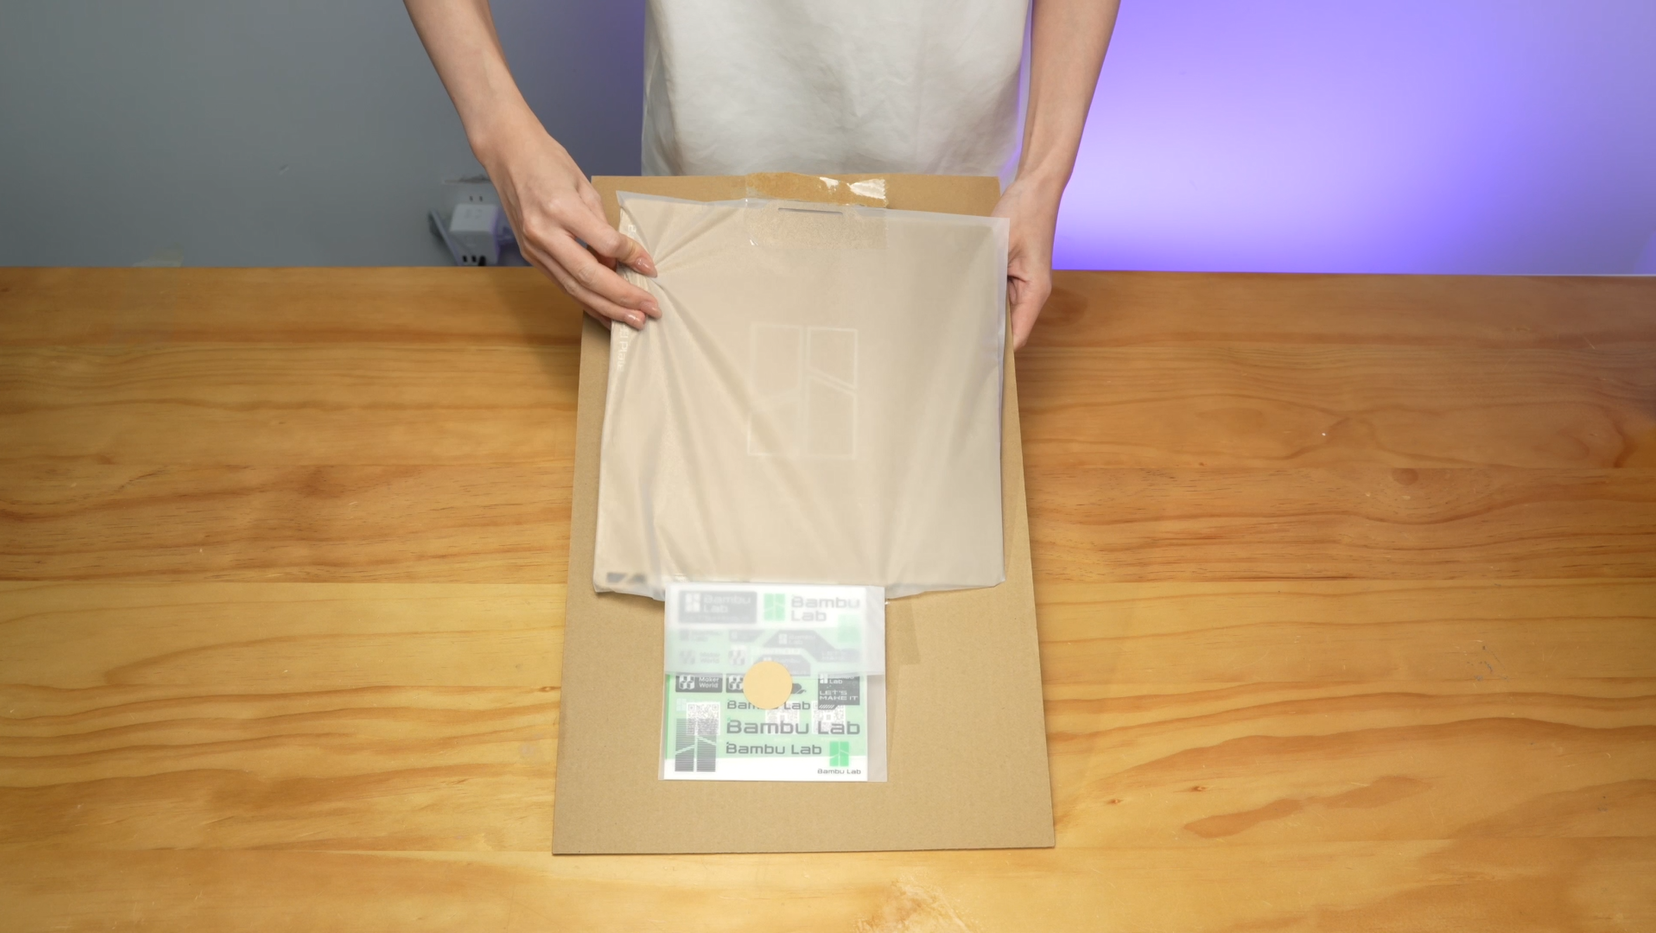
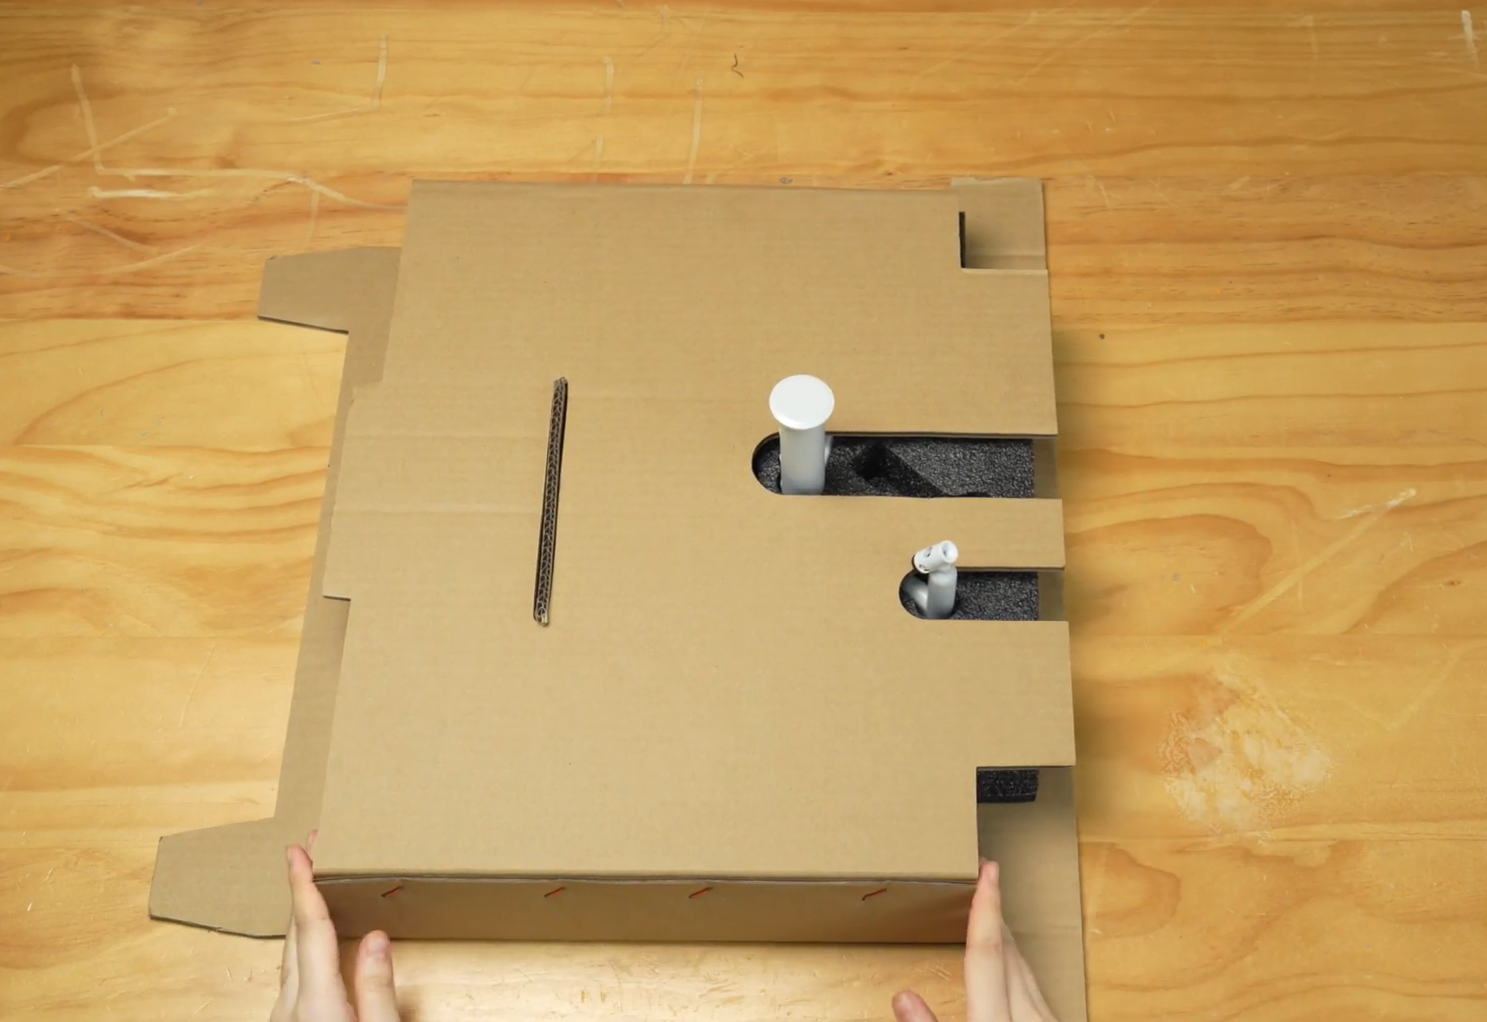
Step 4. Put the AMS lite Rotary Spool holder back into the cardboard and cover the print plate and secure it with tape.
 |
 |
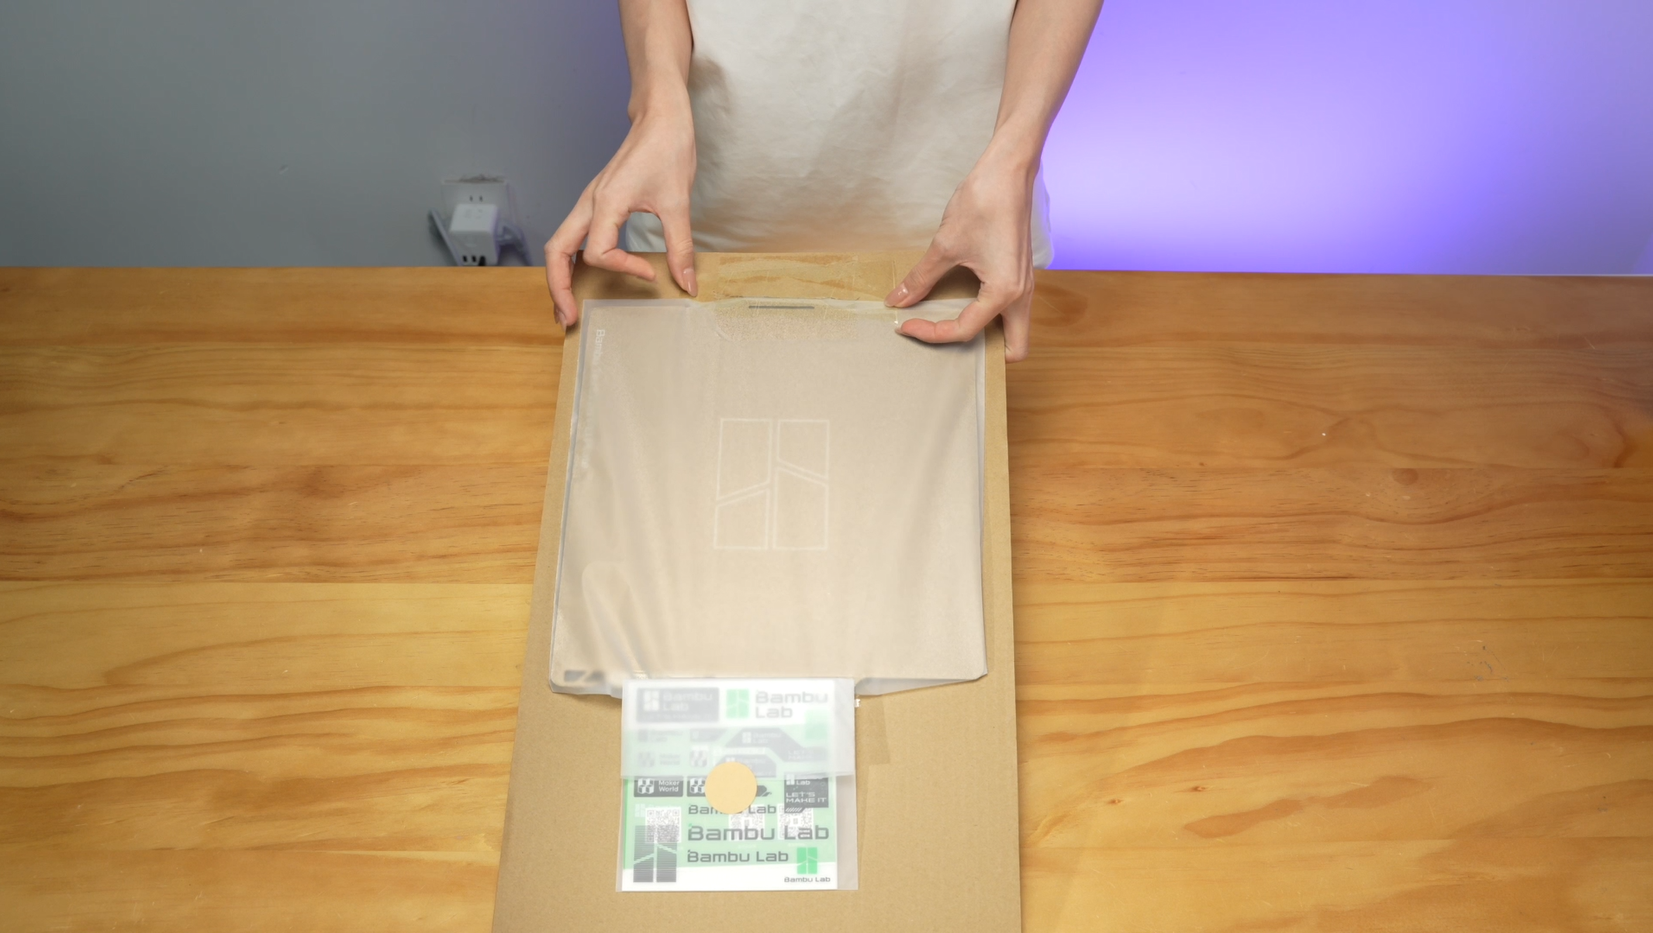 |
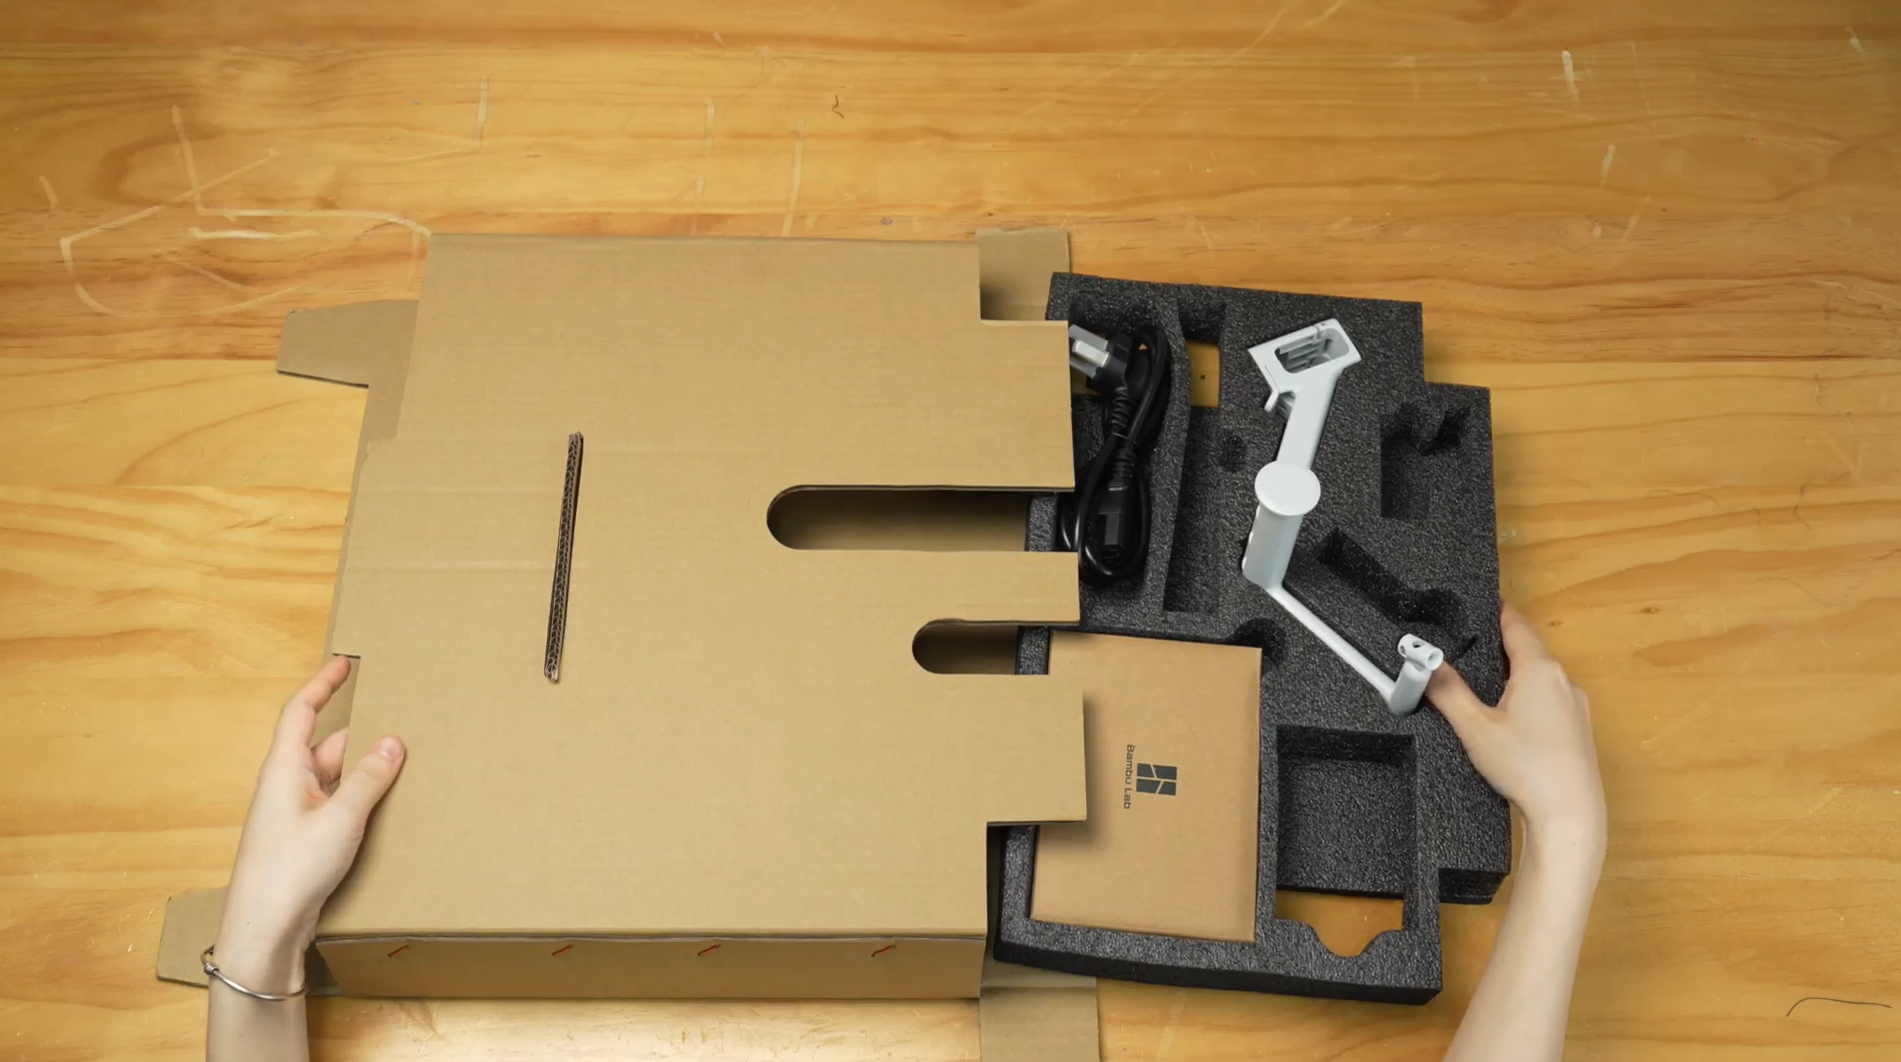
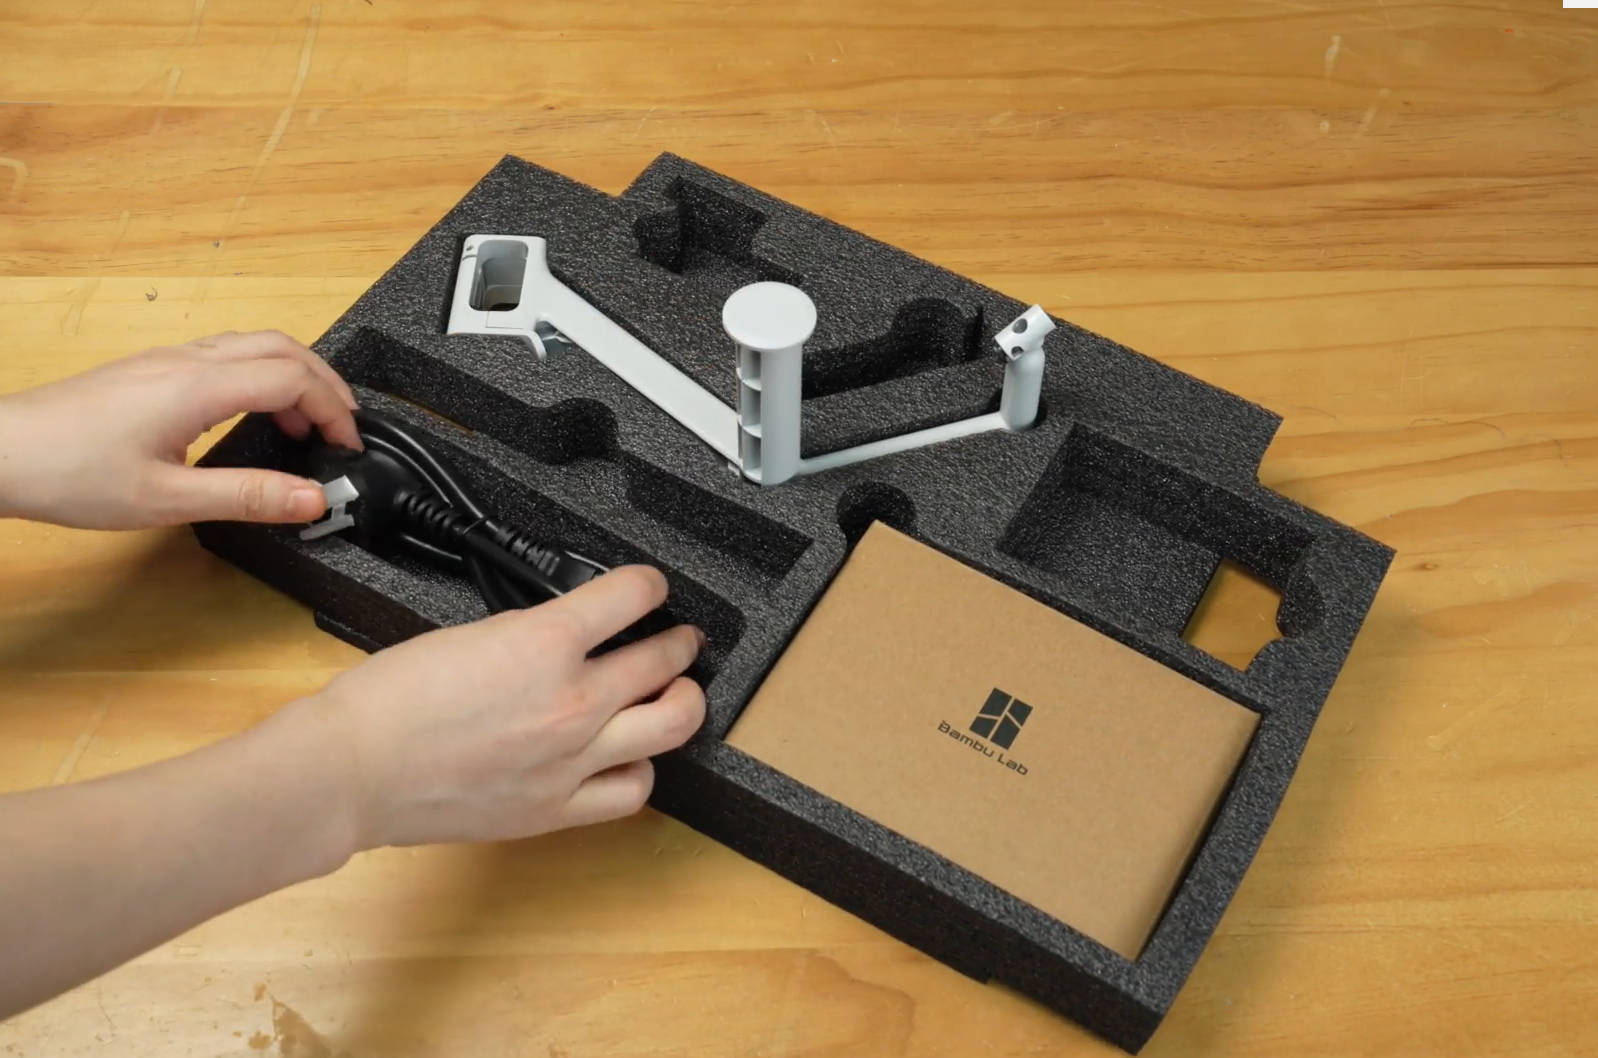
Step 5. Replace the accessories.
 |
 |
 |
¶ Fix the Z-axis, tool head, and X-axis
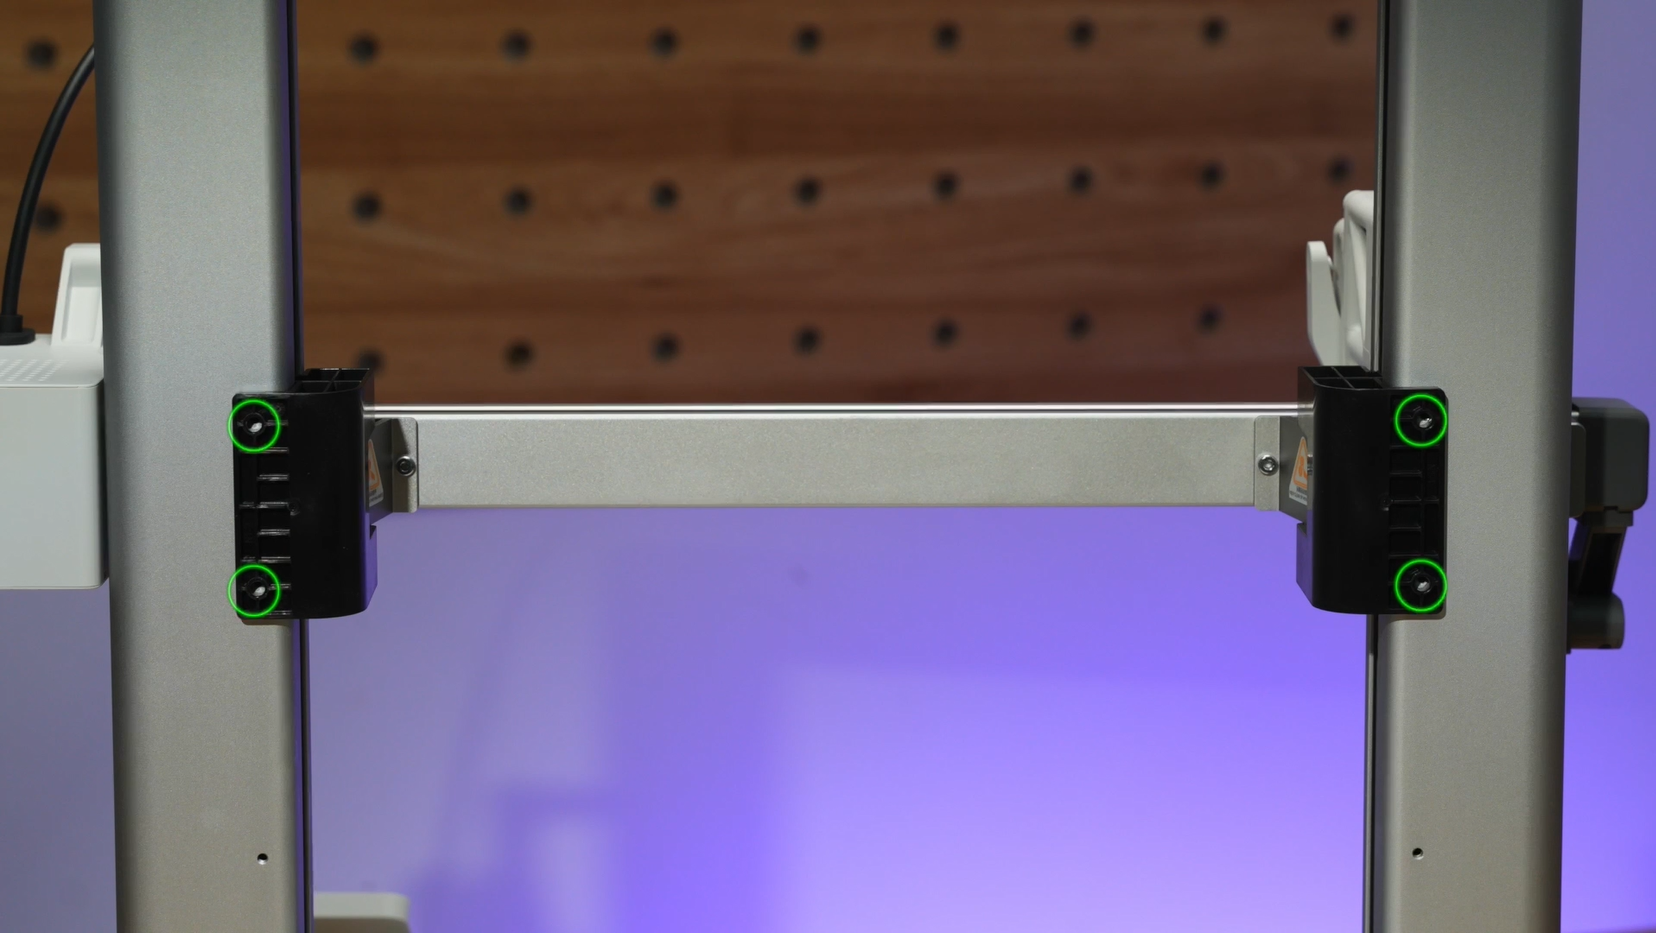
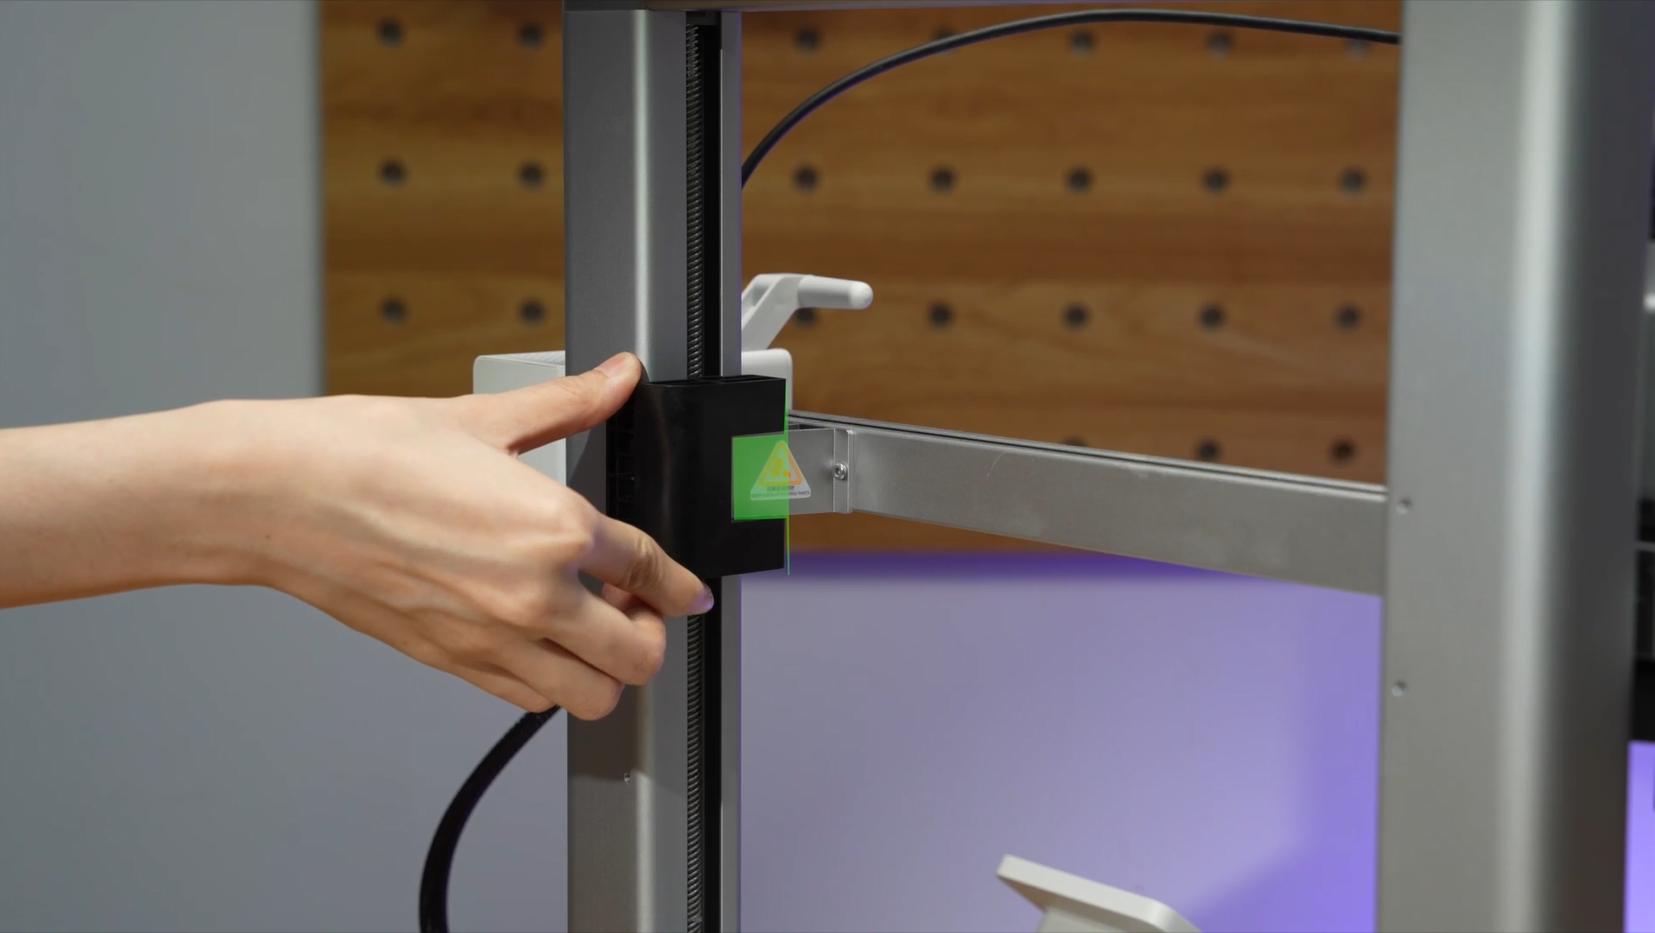
Step 1. Install the Z-axis limiter and tighten the four screws. The Z-axis limiter position must be accurate.
 |
 |
Note: In the early version of the machine, there are no holes on the Printer Frame, so you can use cable ties to fix the X-axis when packing.
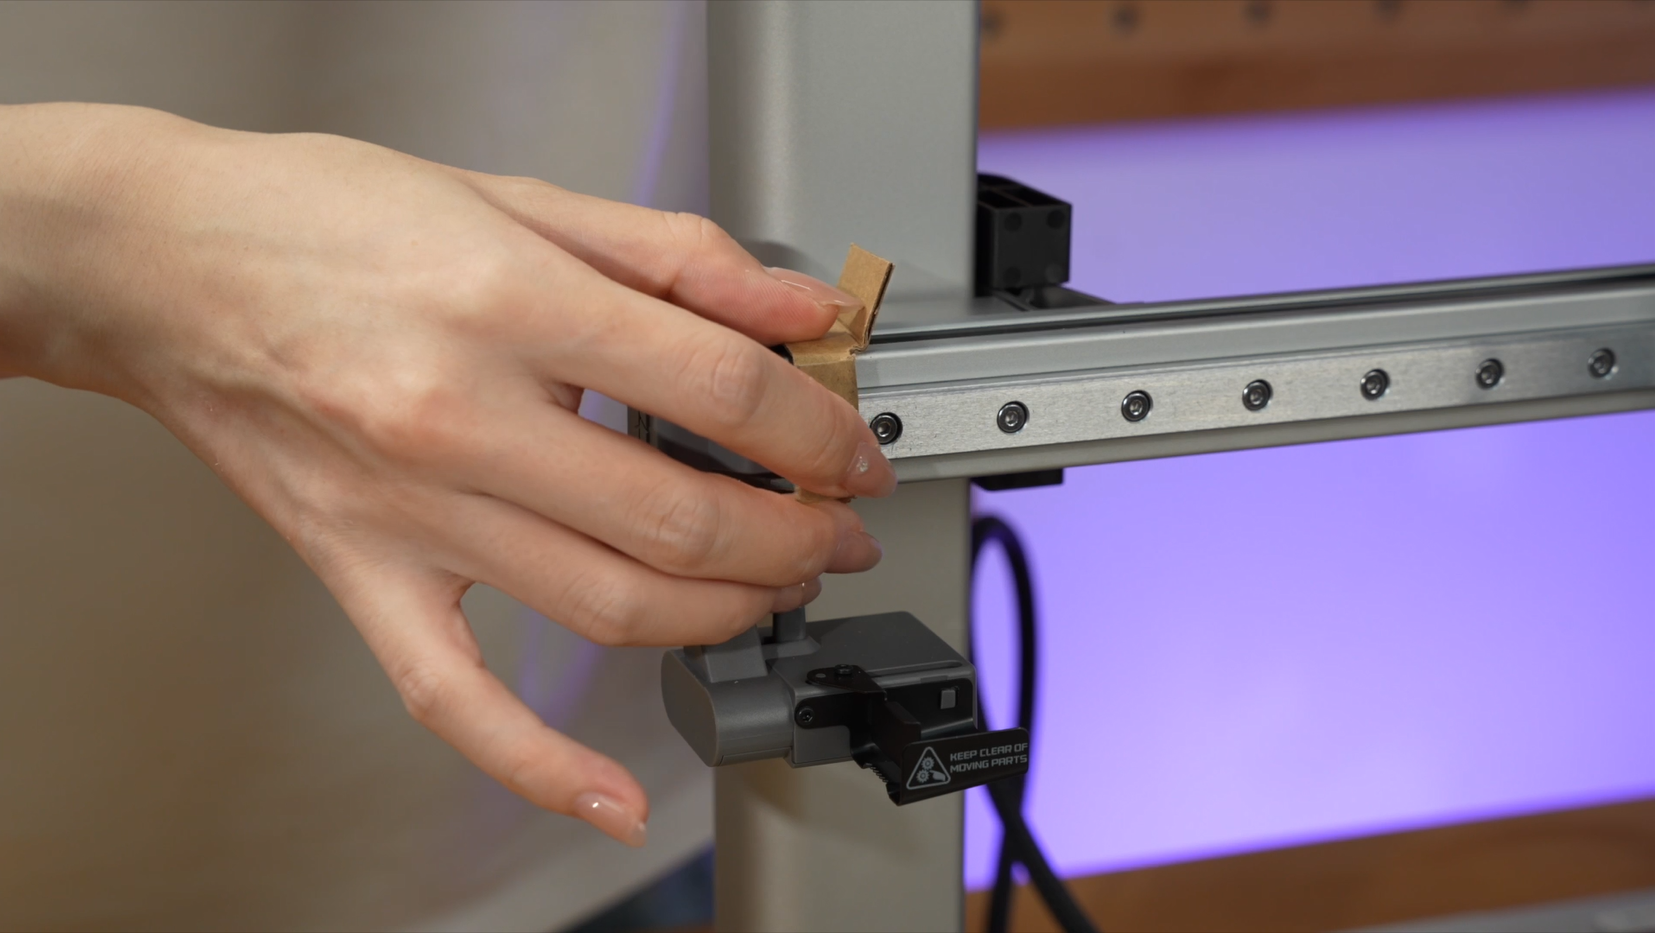
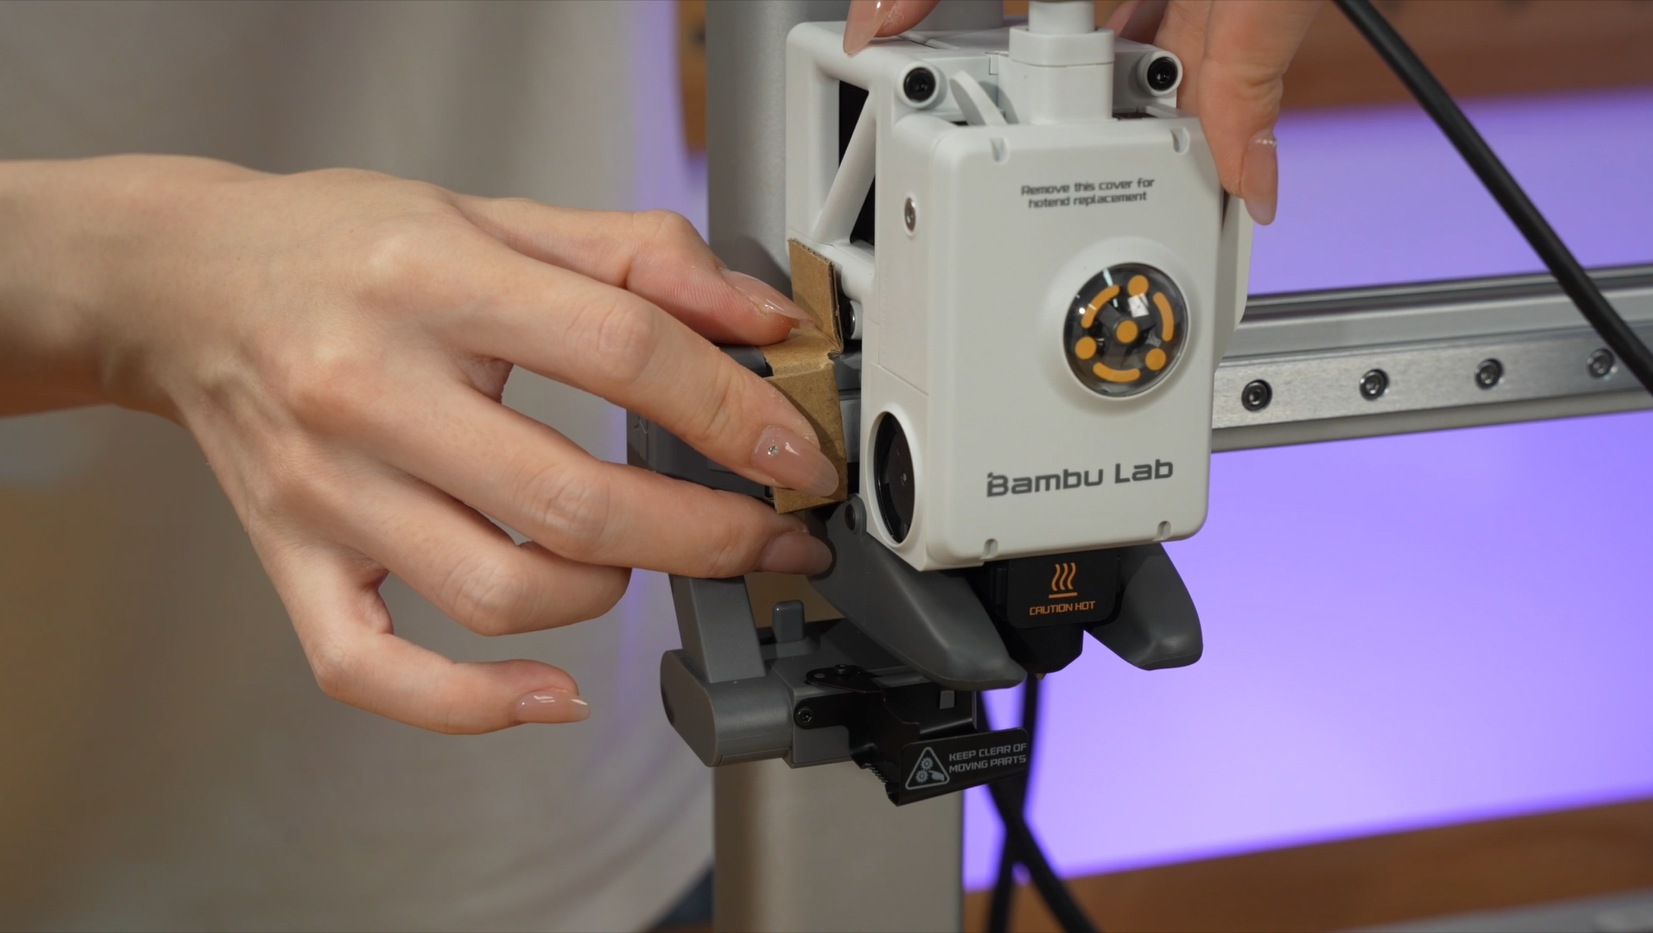
Step 2. Use cardboard to withstand the tool head, move the tool head to the far left, and fix it with a cable tie.
 |
 |
 |
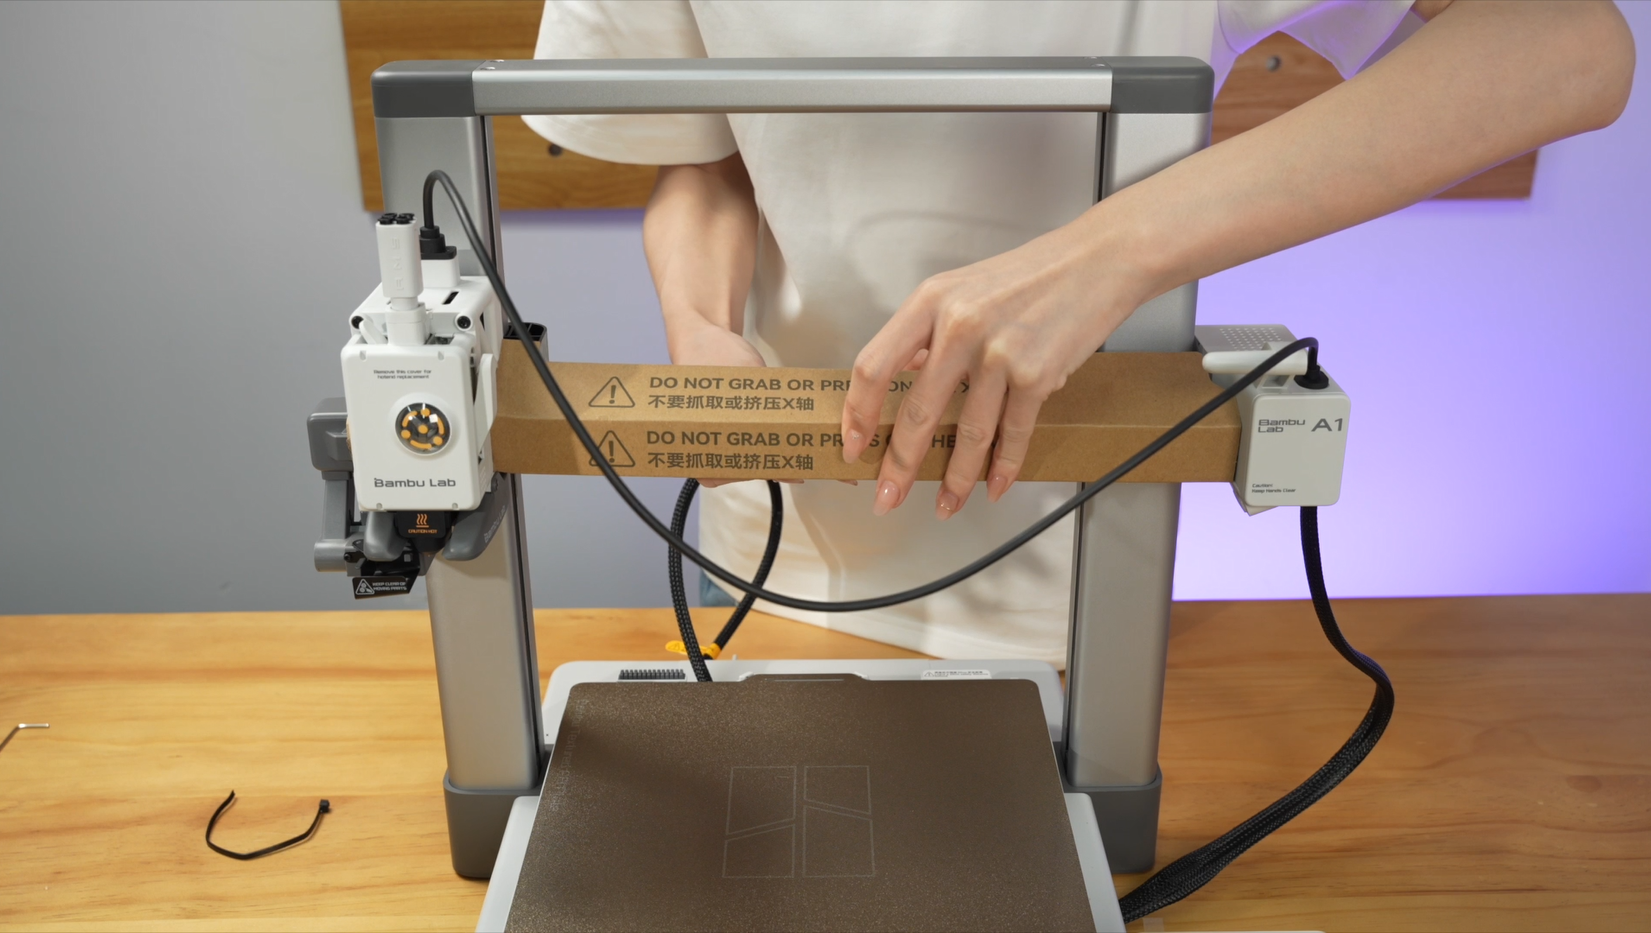
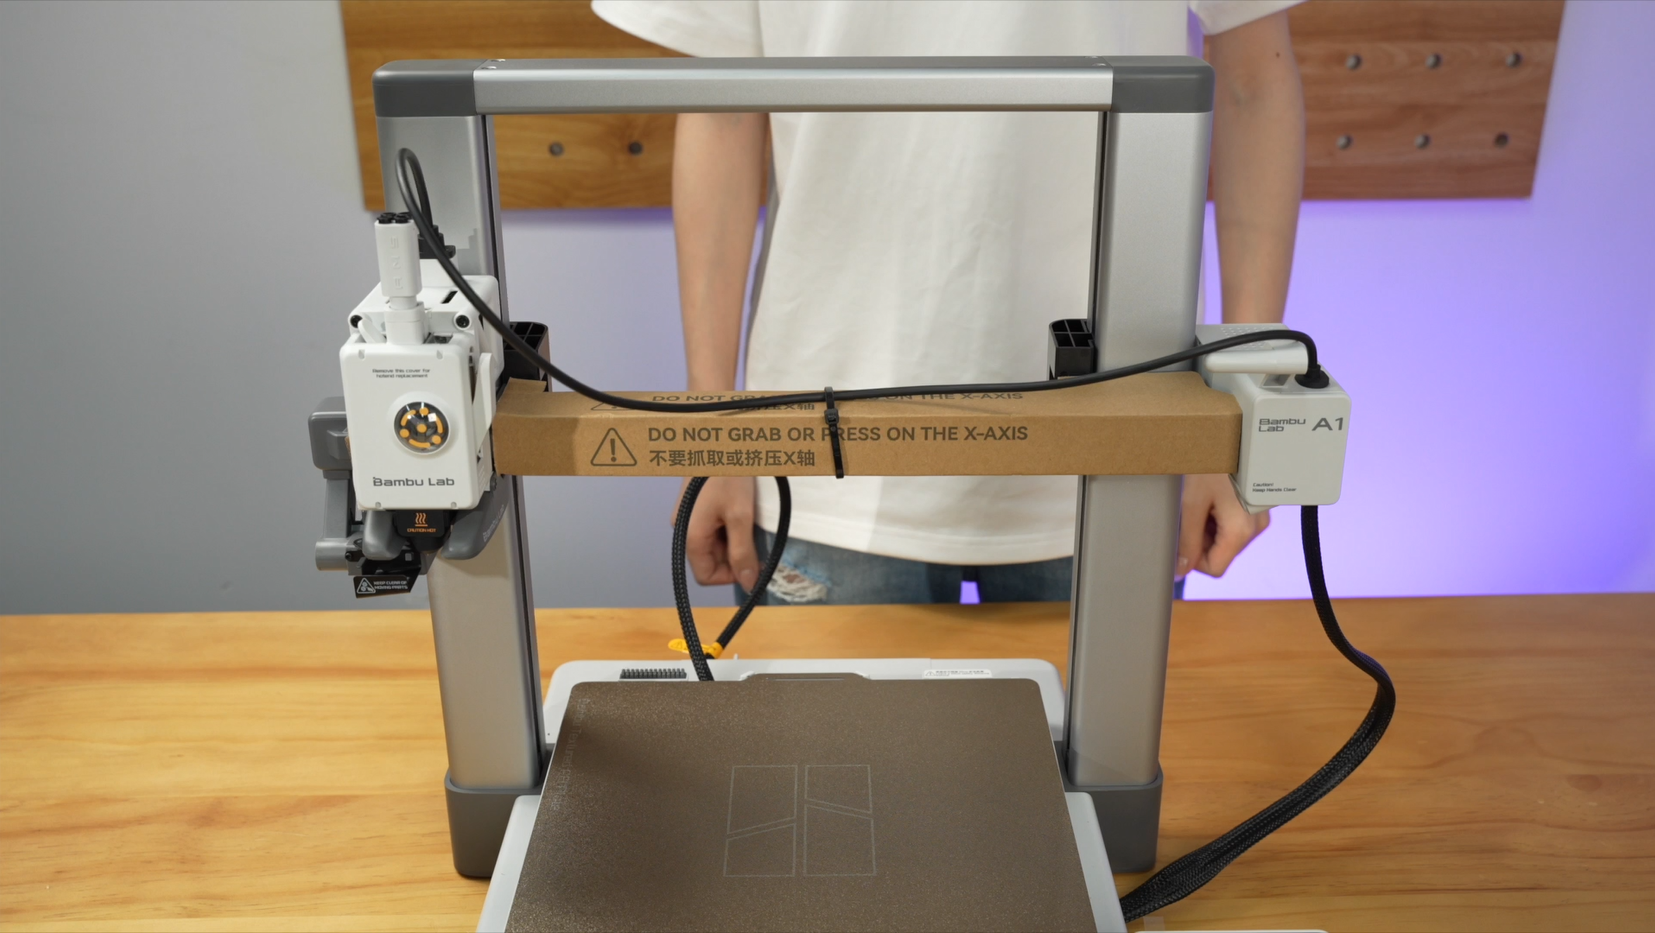
Step 3. Replace the X-axis cardboard and secure the cardboard and cables with cable ties.
 |
 |
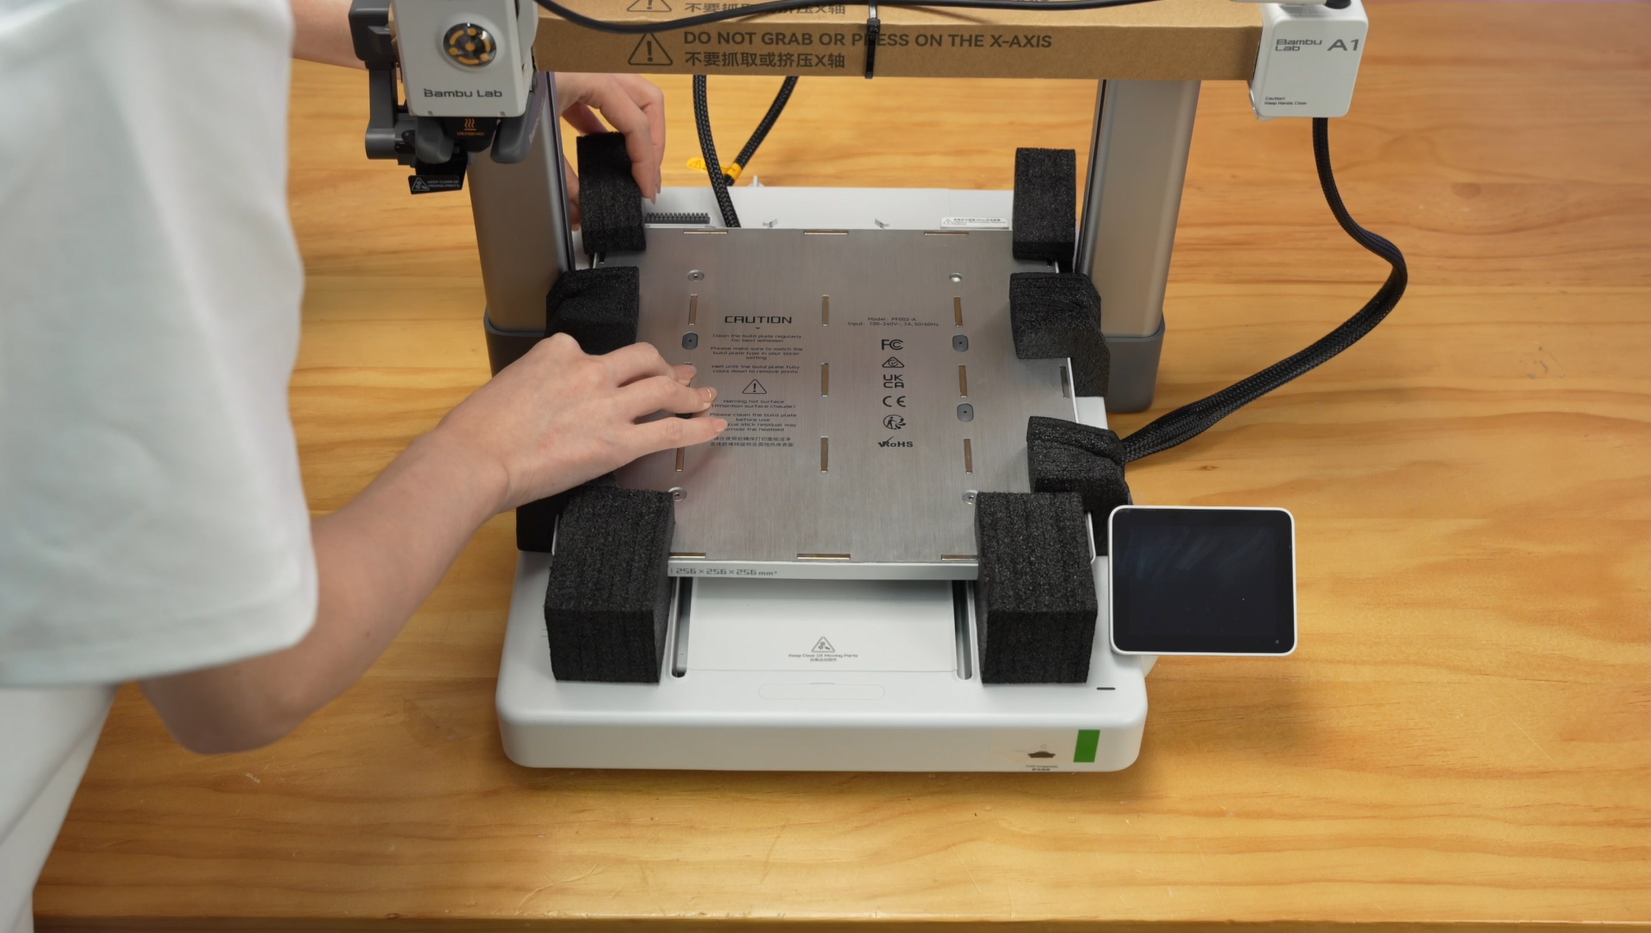
¶ Remove the build plate and secure the heatbed
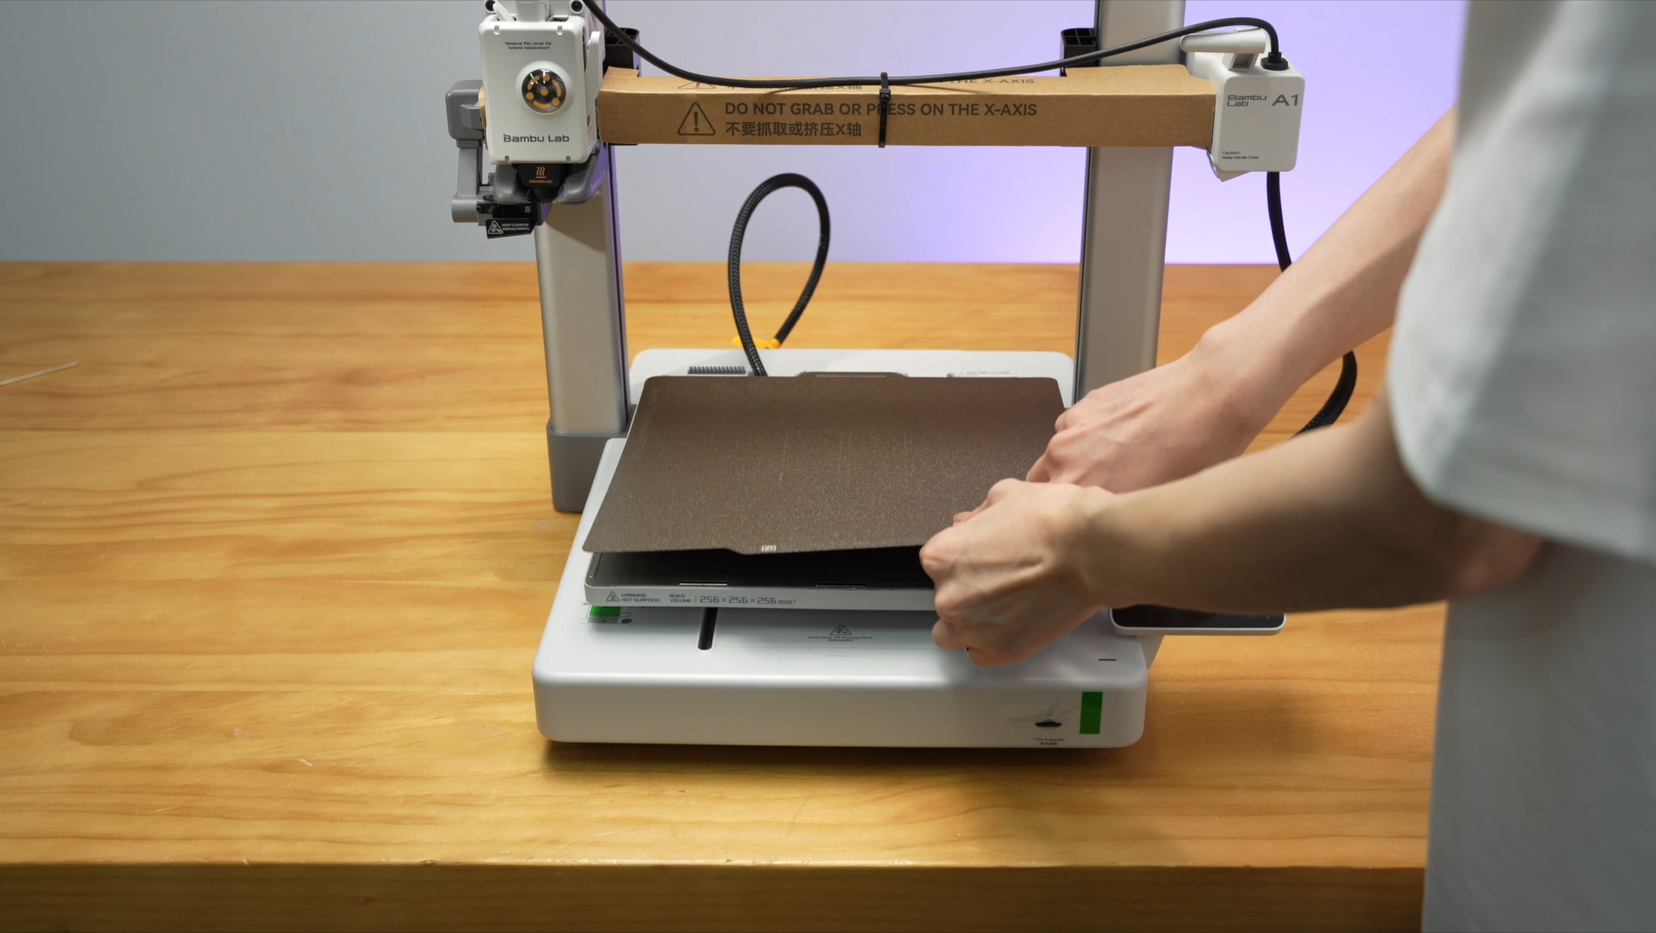
Step 1. Remove the build plate.
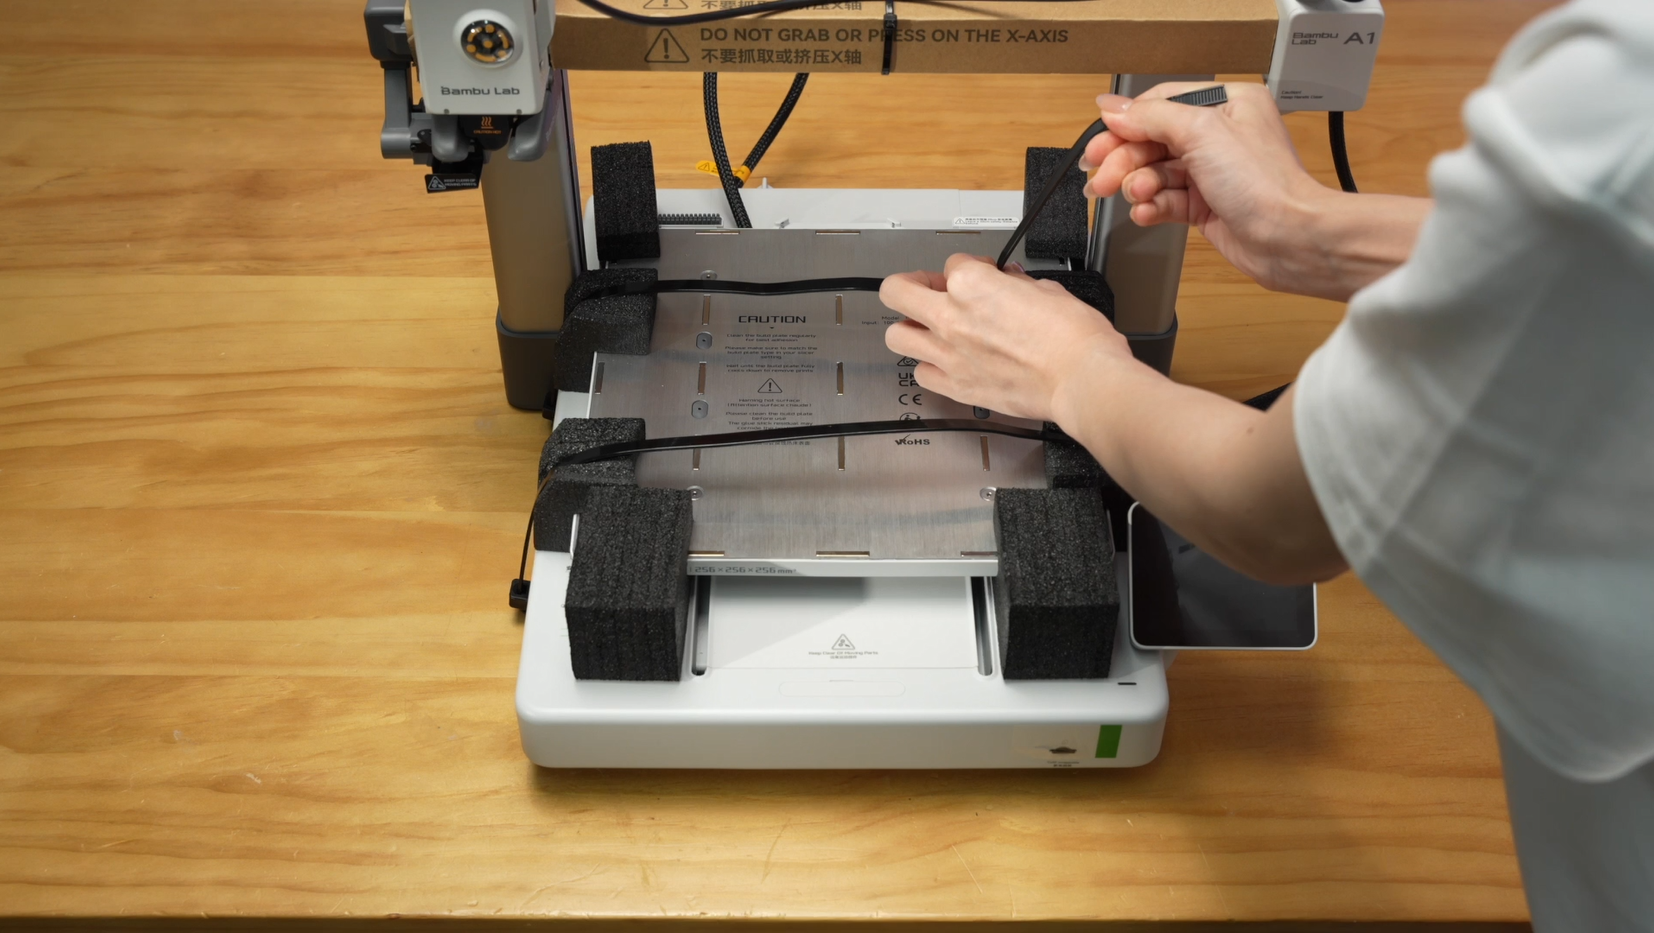
Step 2. Place the heatbed protective foam and secure it with cable ties.
 |
 |
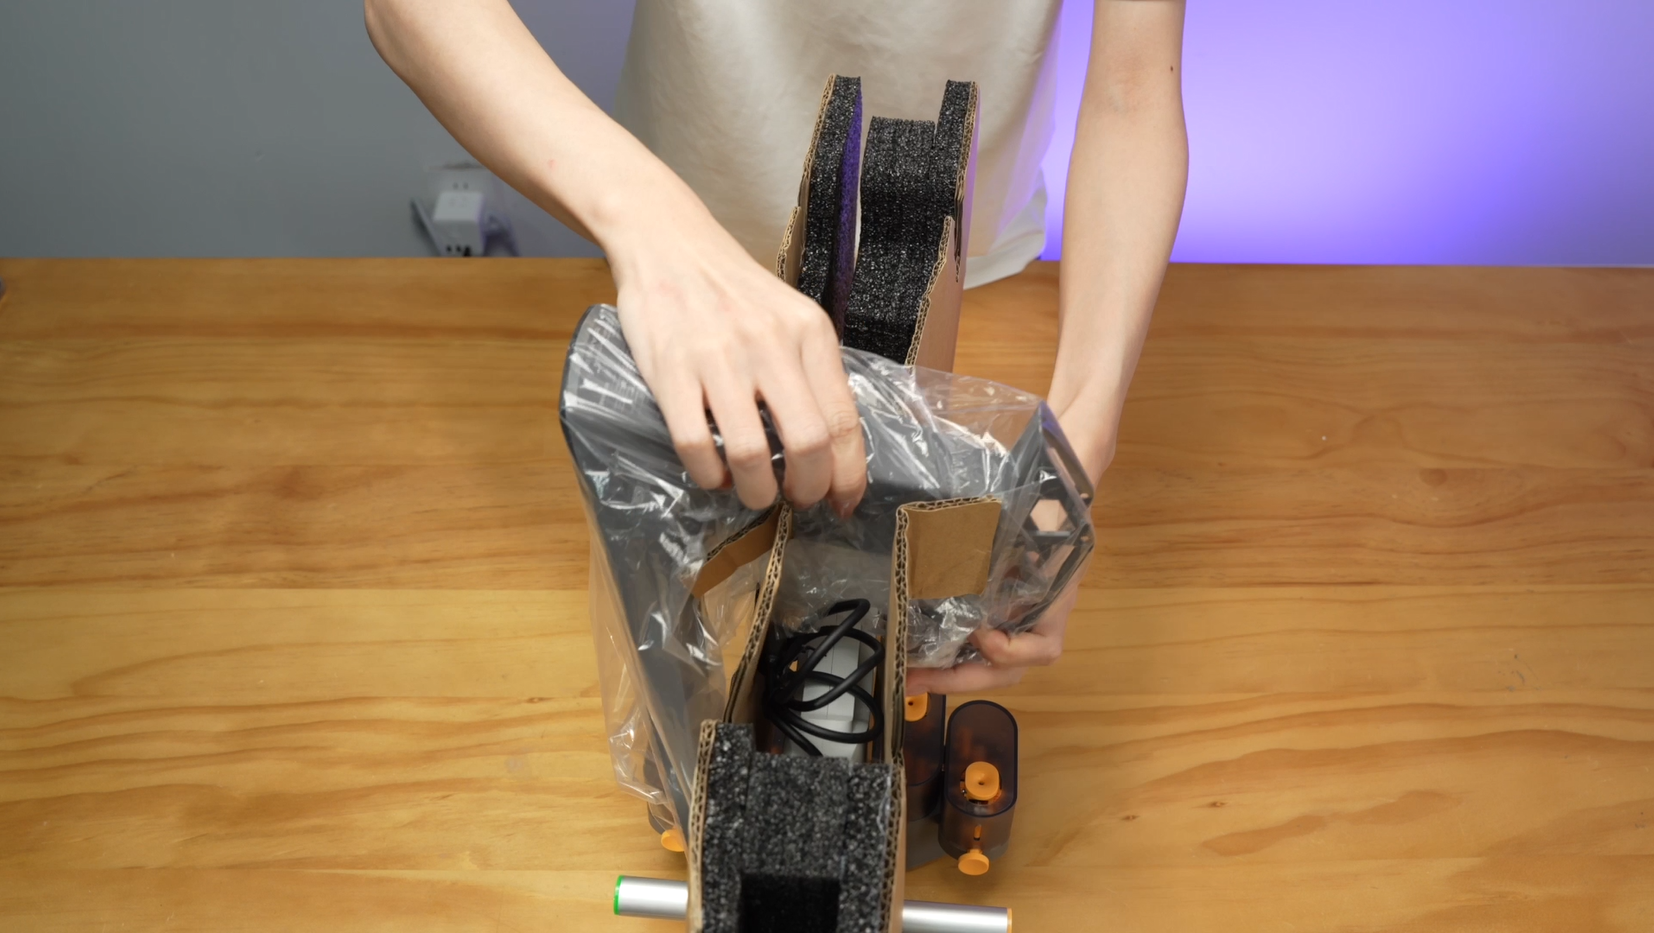
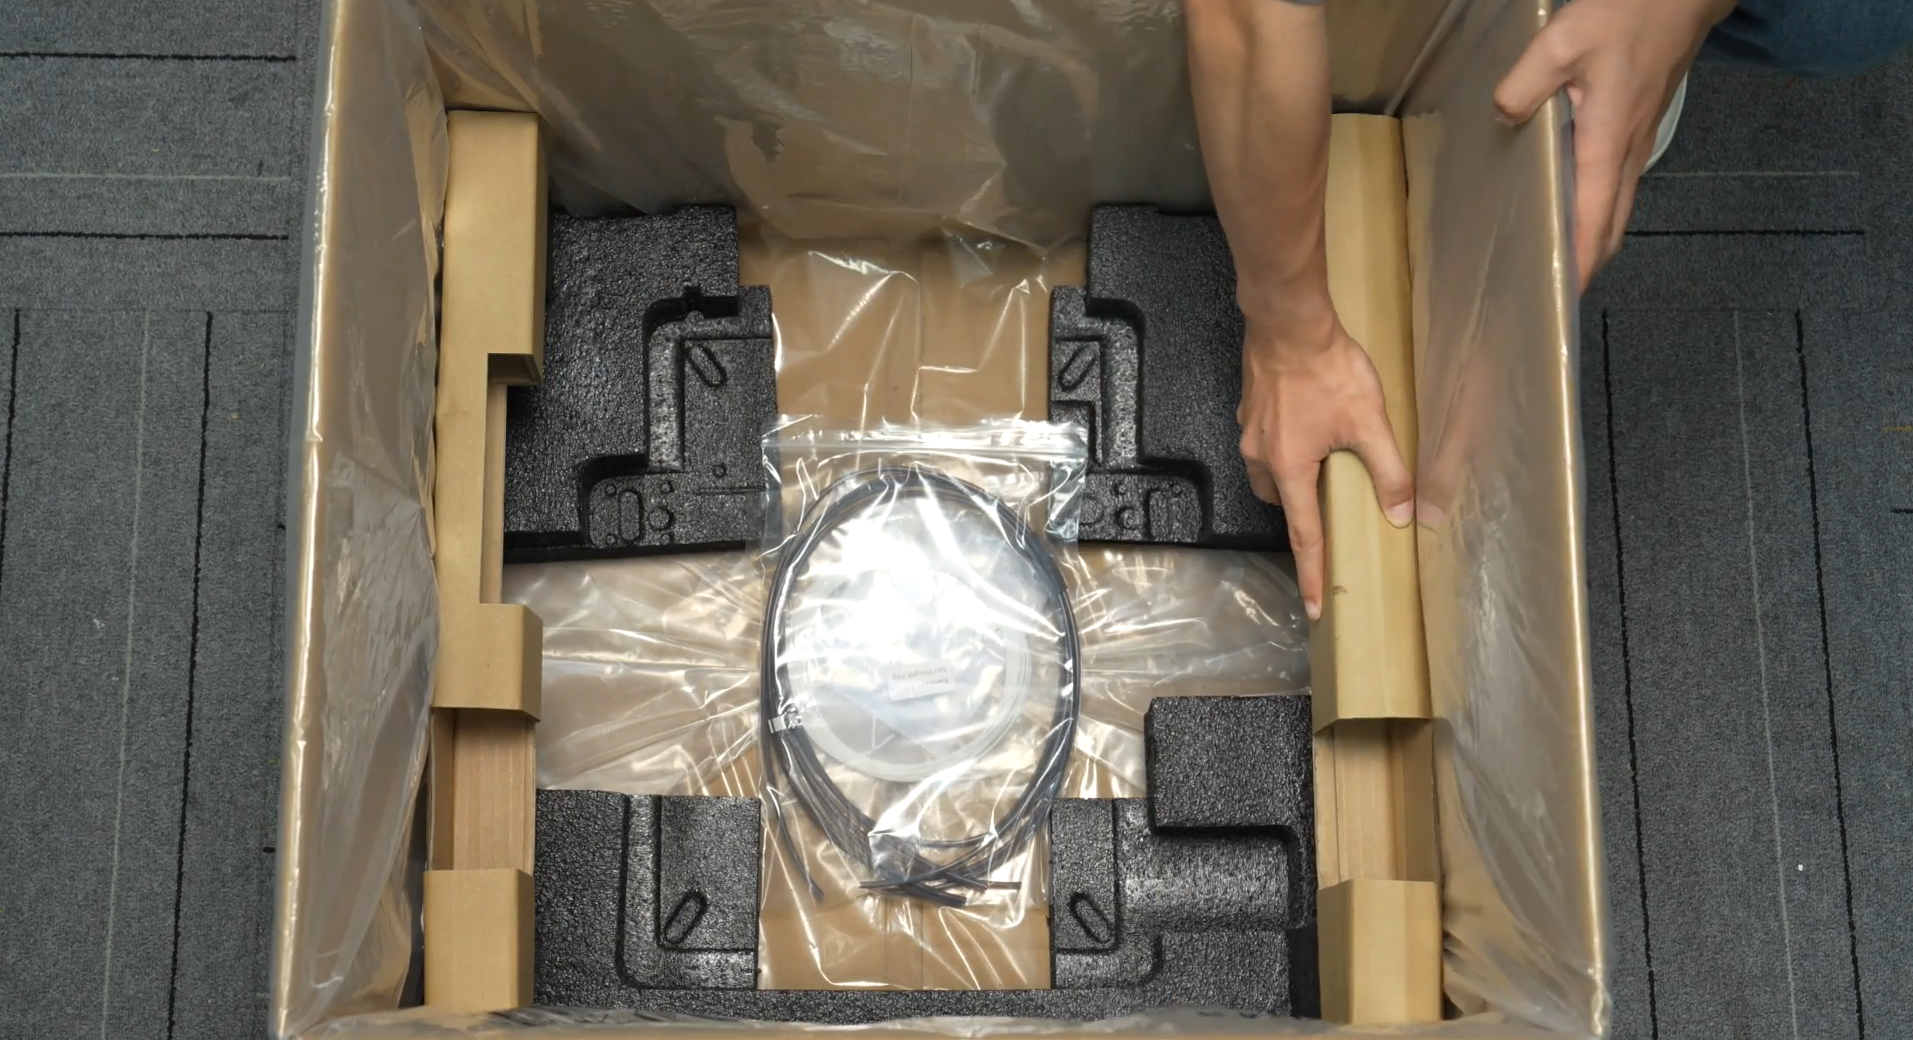
¶ Packing
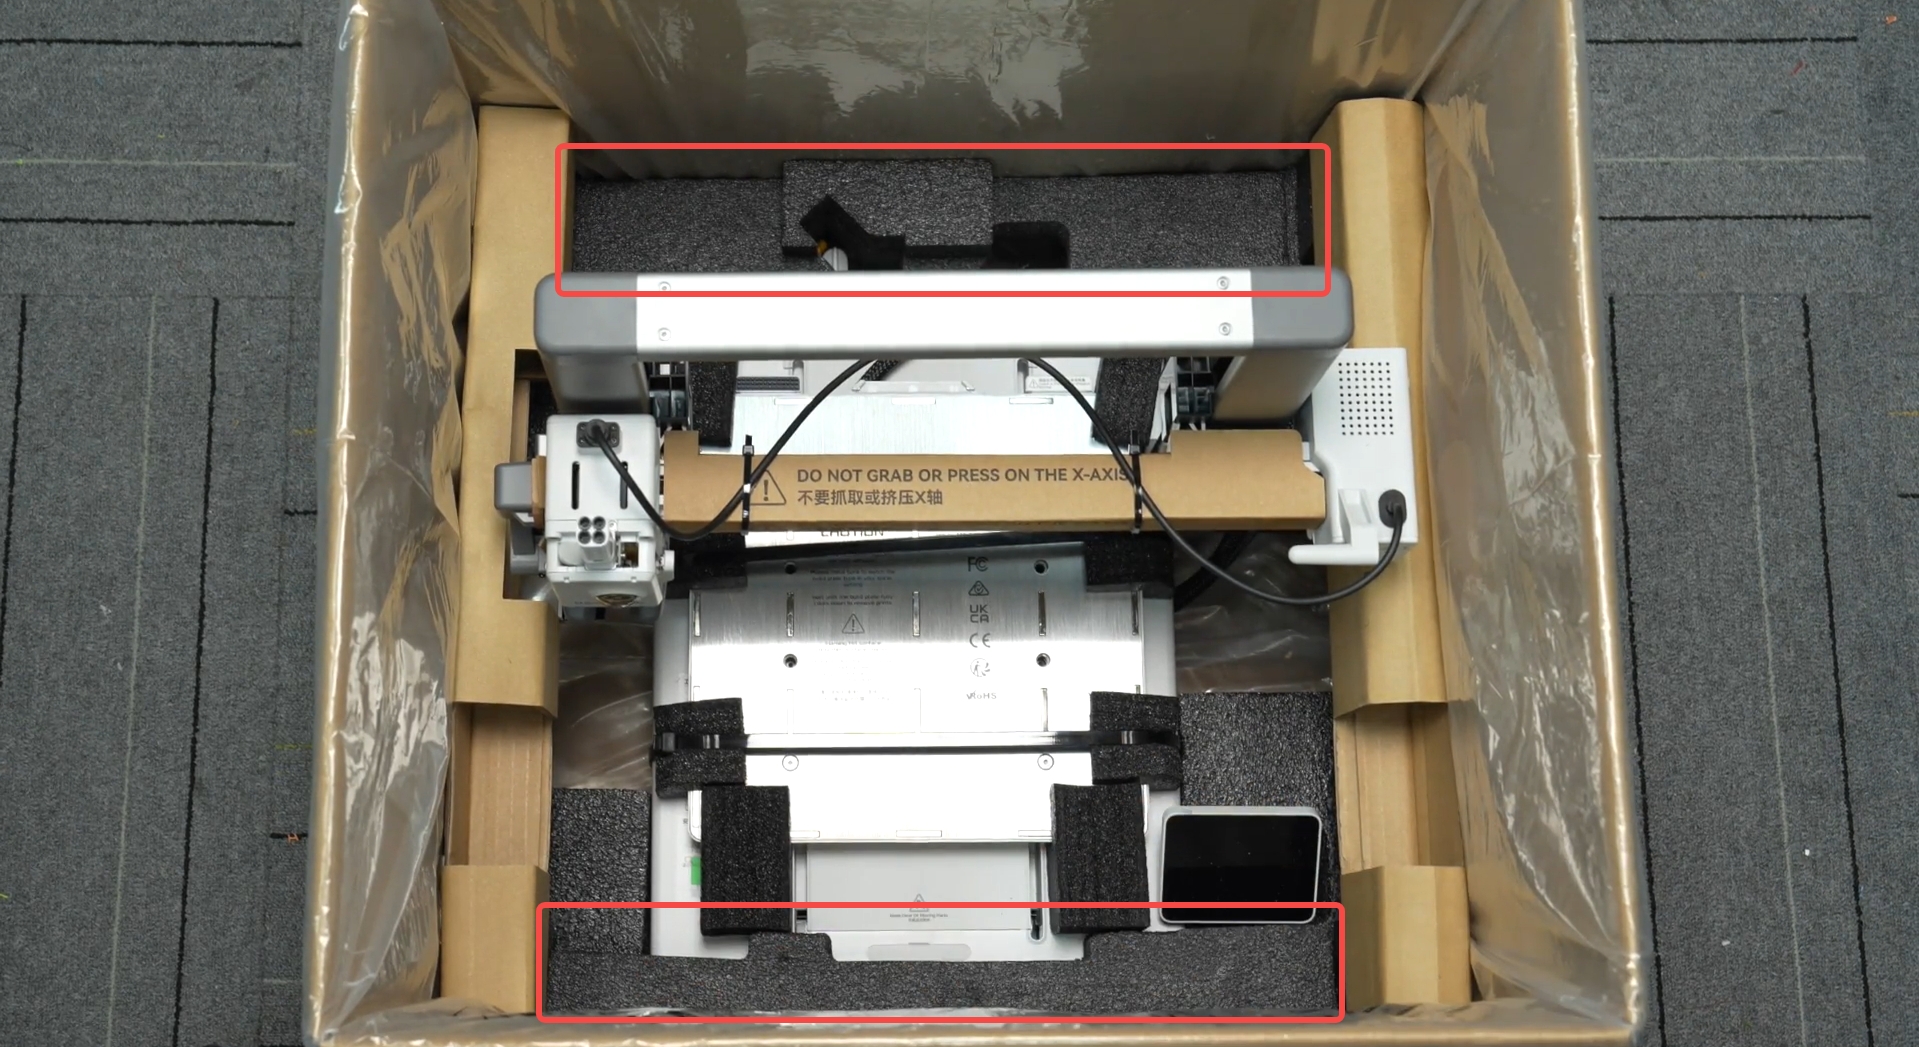
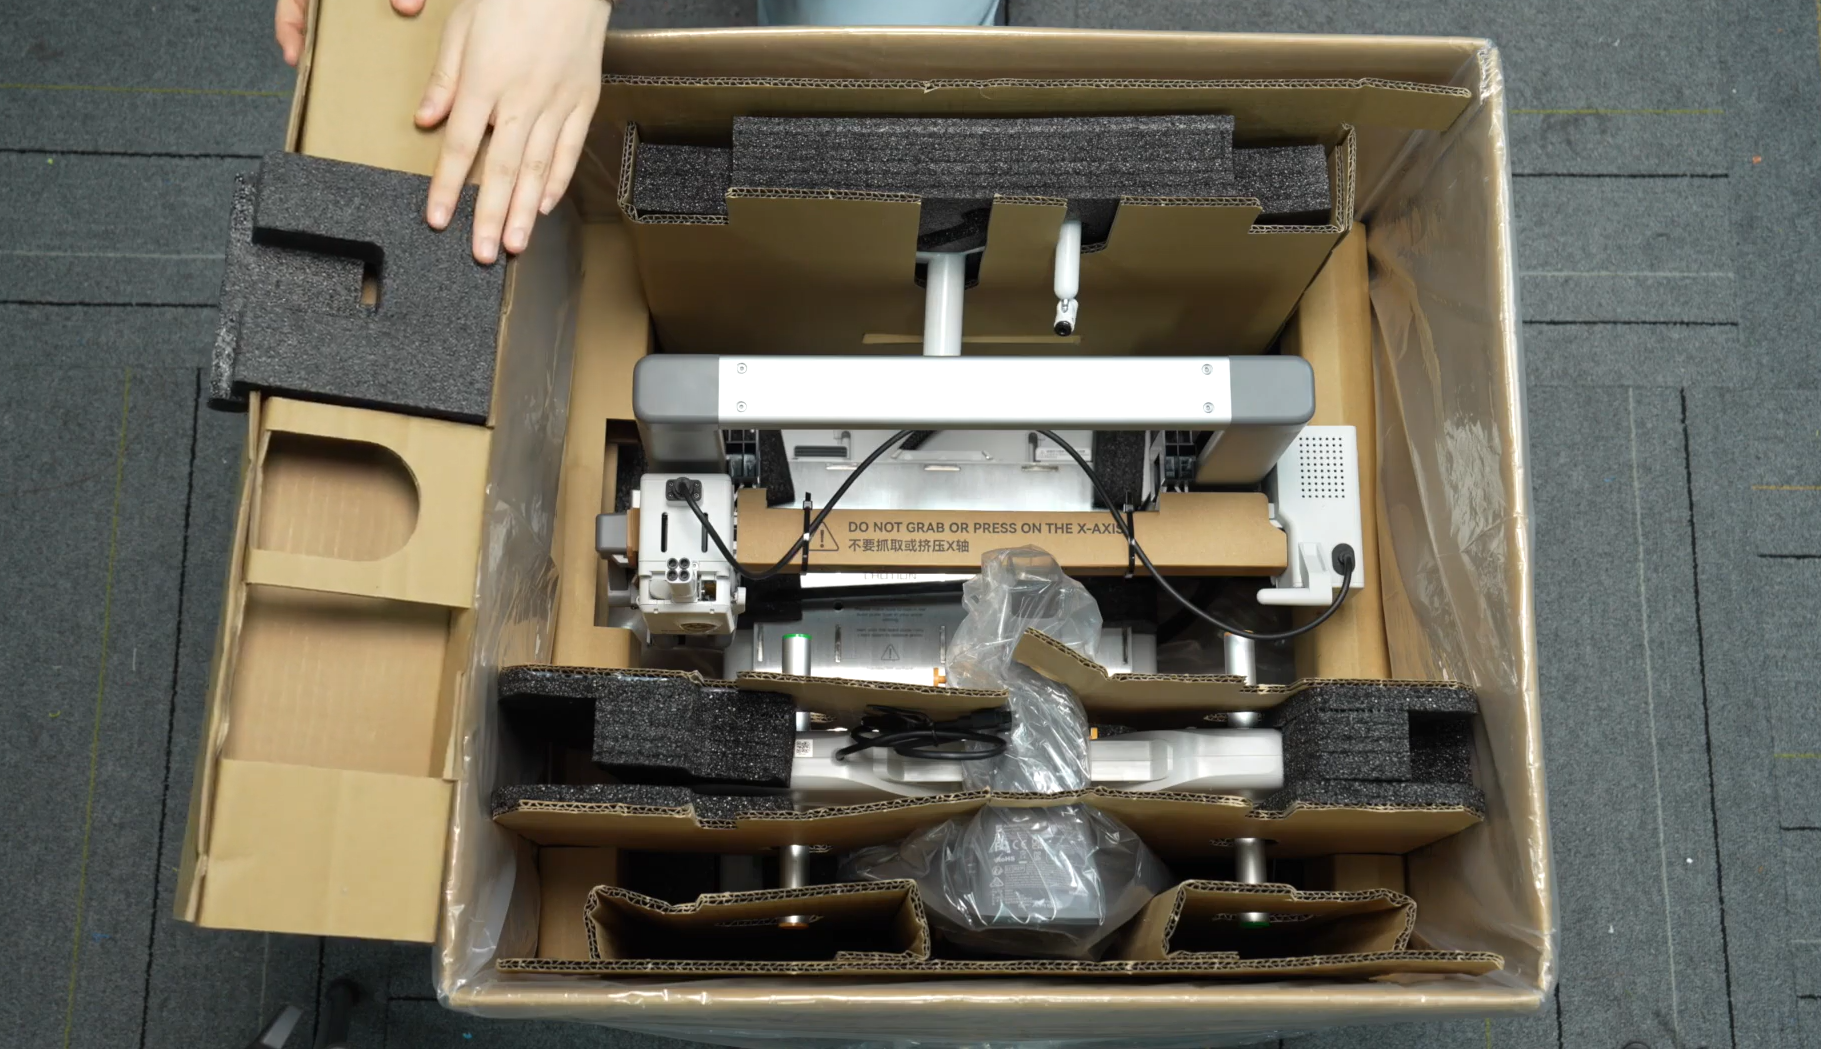
Step 1. Prepare the carton, put the foam and the cardboard on both sides back in order (PTFE tube and filament can also be placed at the bottom).
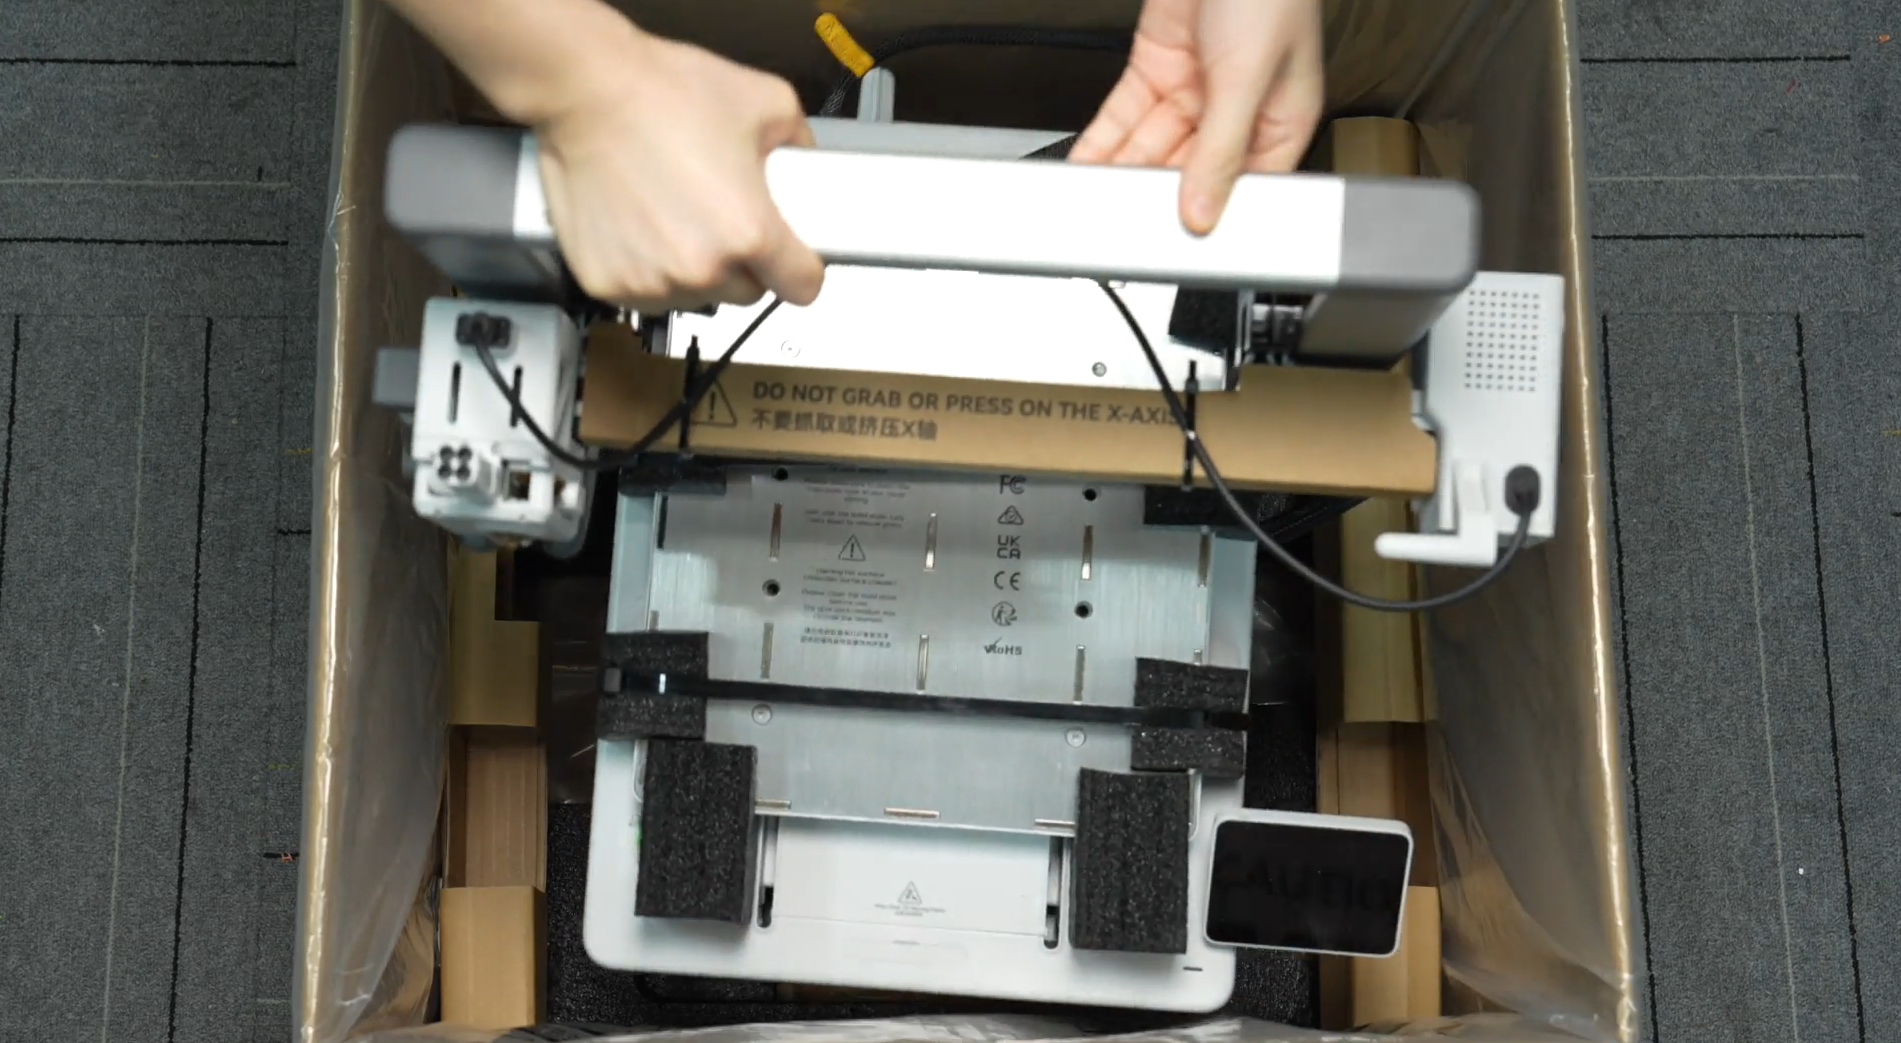
Step 2. Place the printer (need to align the recess of the foam to fix and protect the printer).
 |
 |
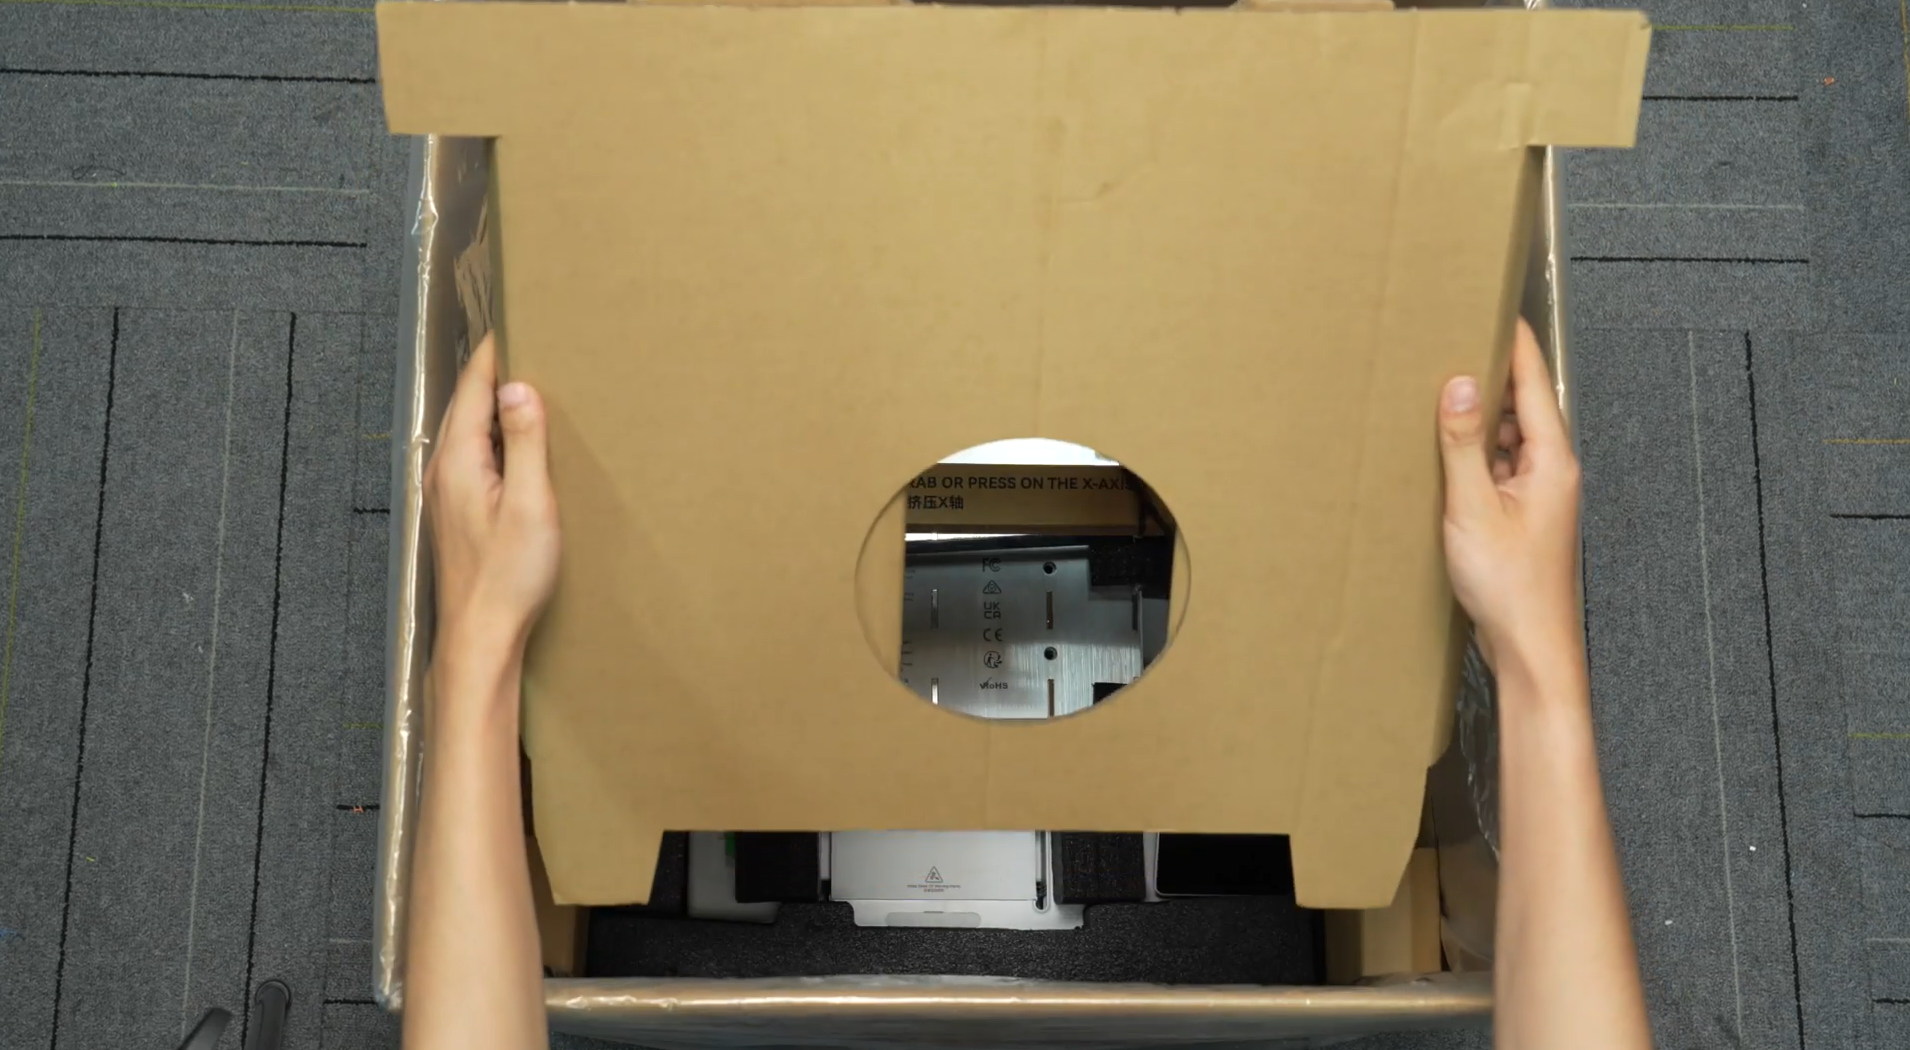
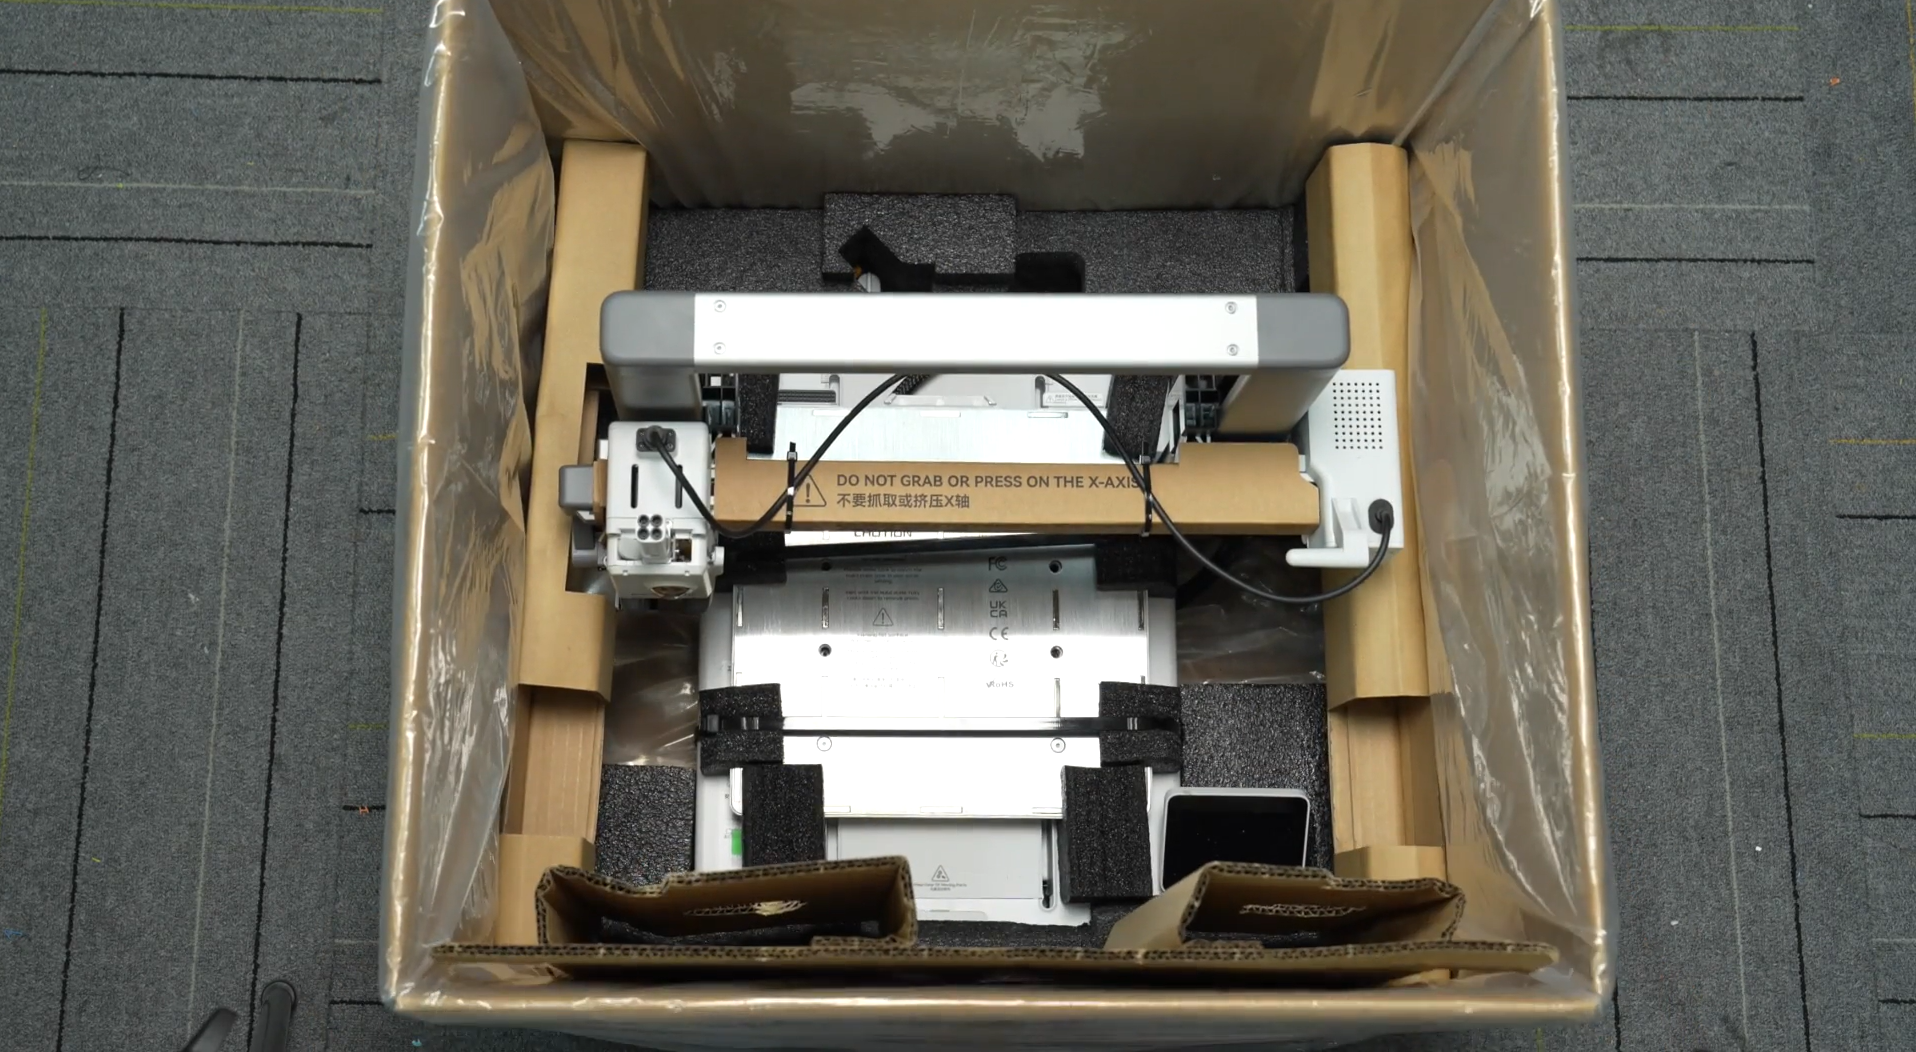
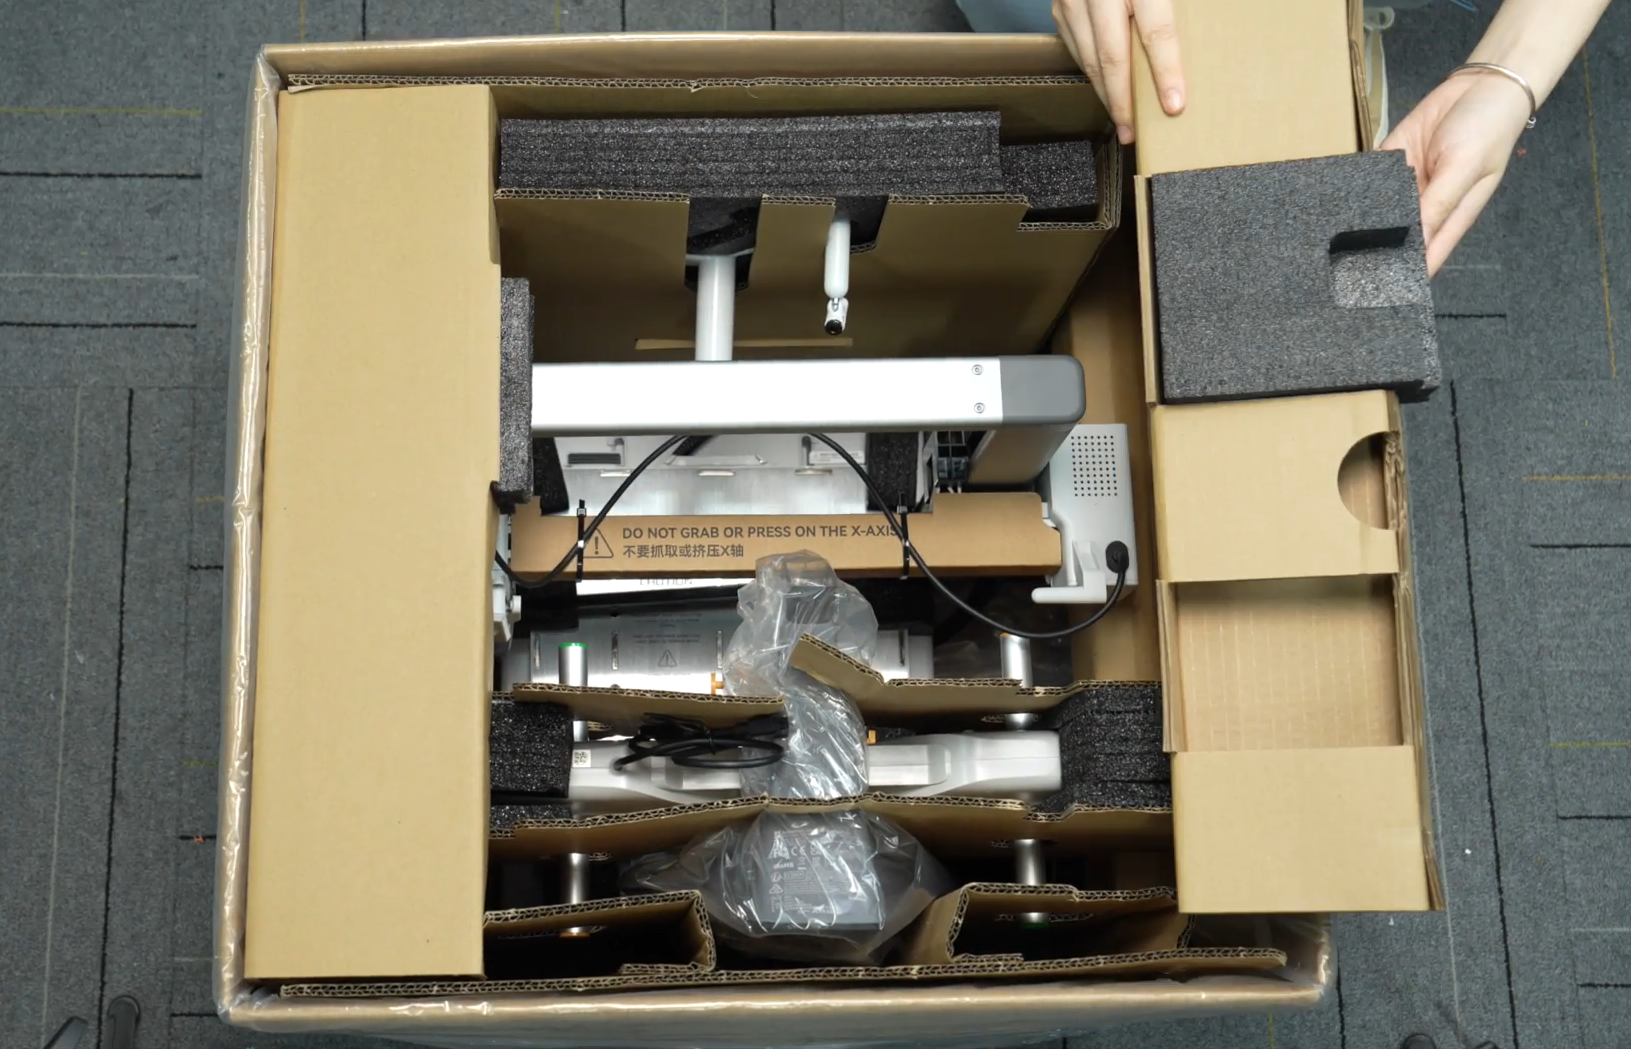
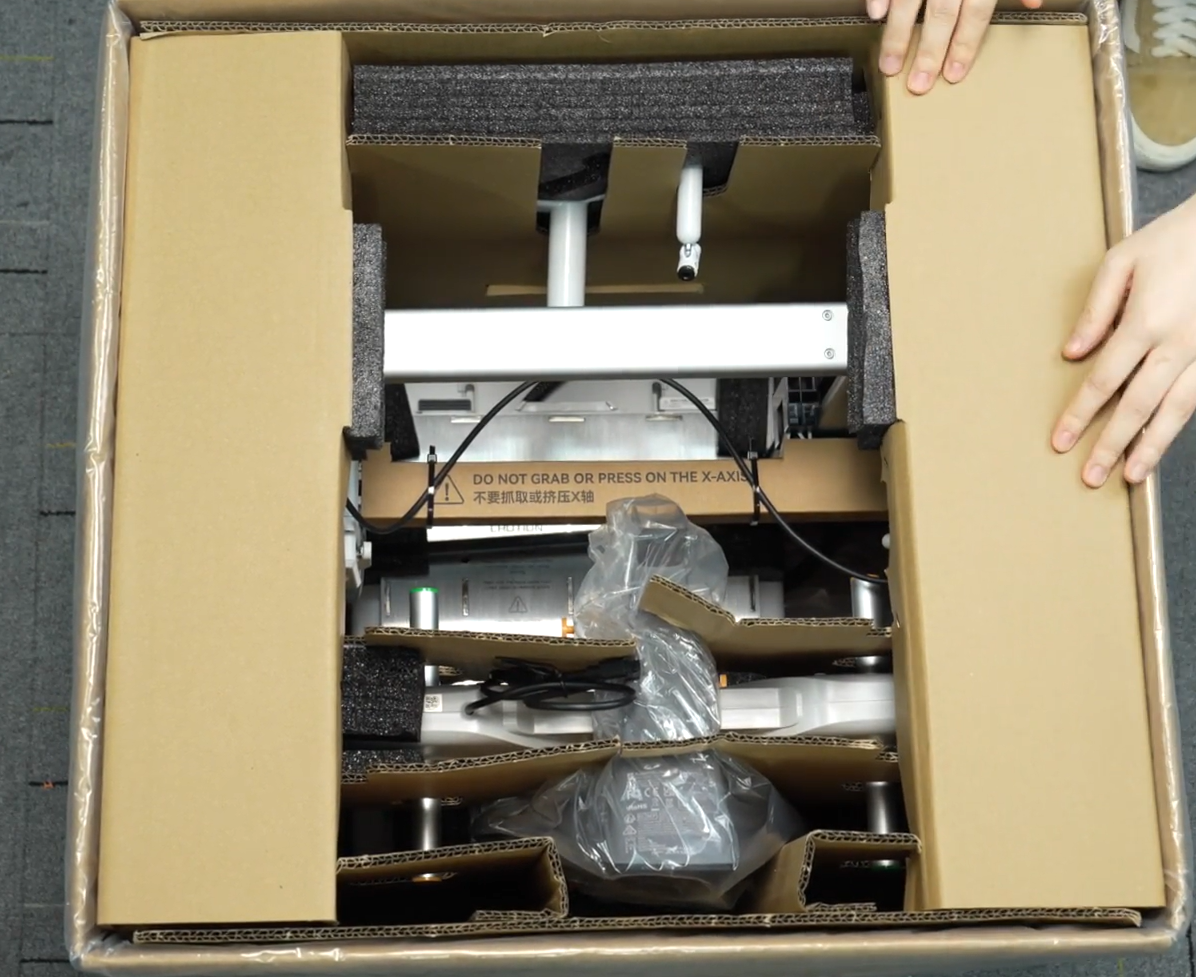
Step 3. Place the upper and lower foam and the cardboard on the side.
 |
 |
 |
Step 4. Place AMS lite.
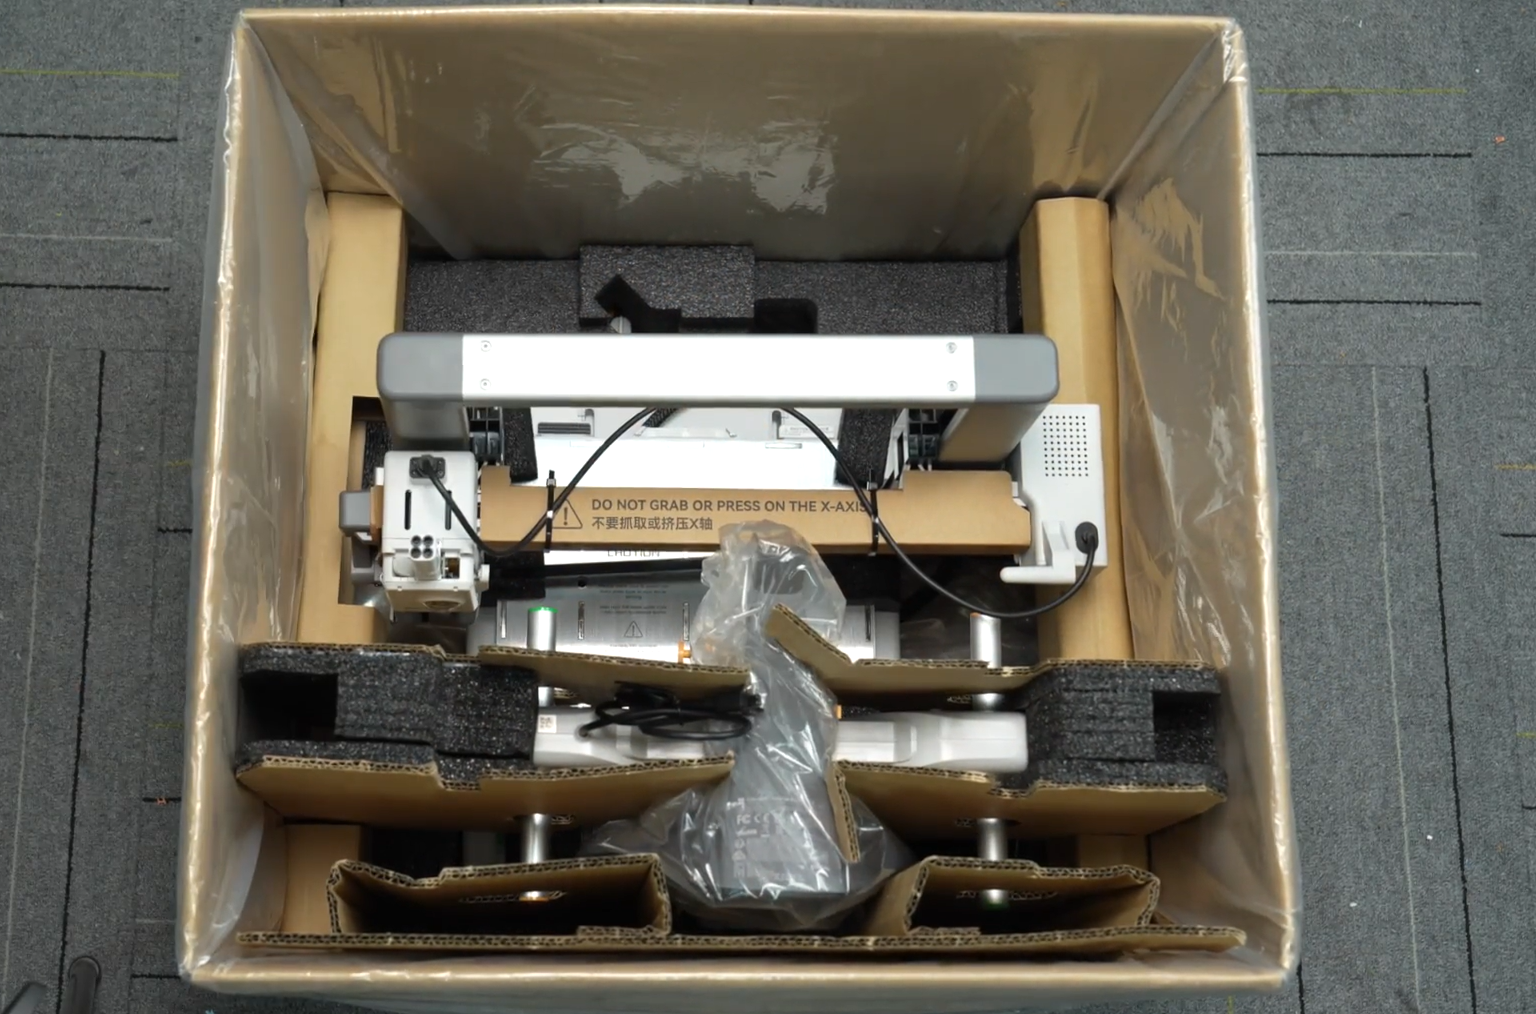
Step 5. Place the accessory box.

Step 6. Place the fixed cardboard on the top left and right sides and accessories.
 |
 |
 |
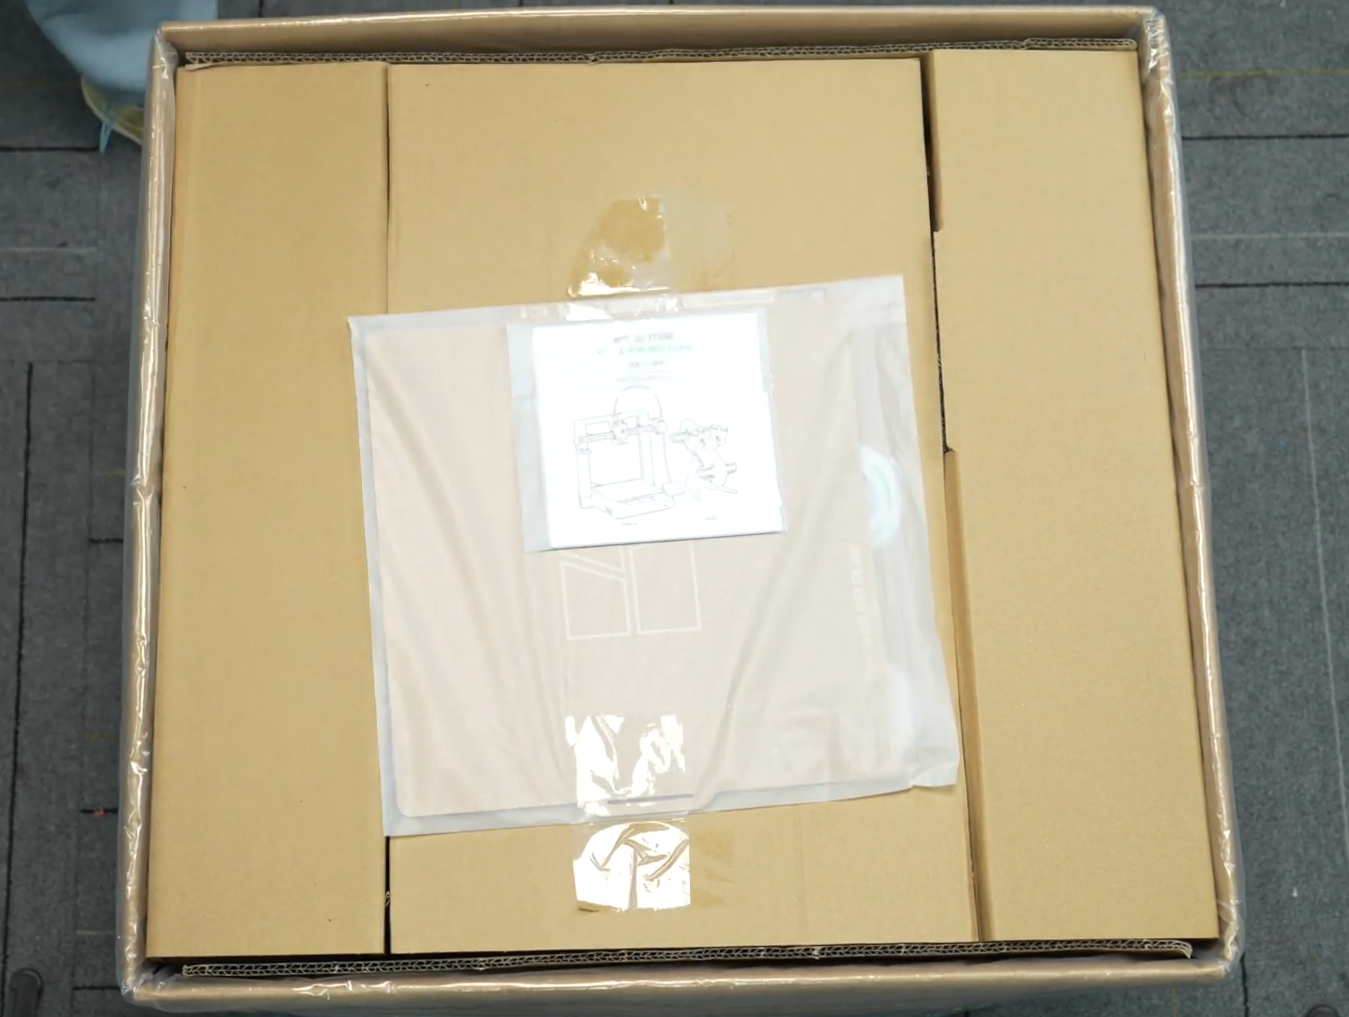 |
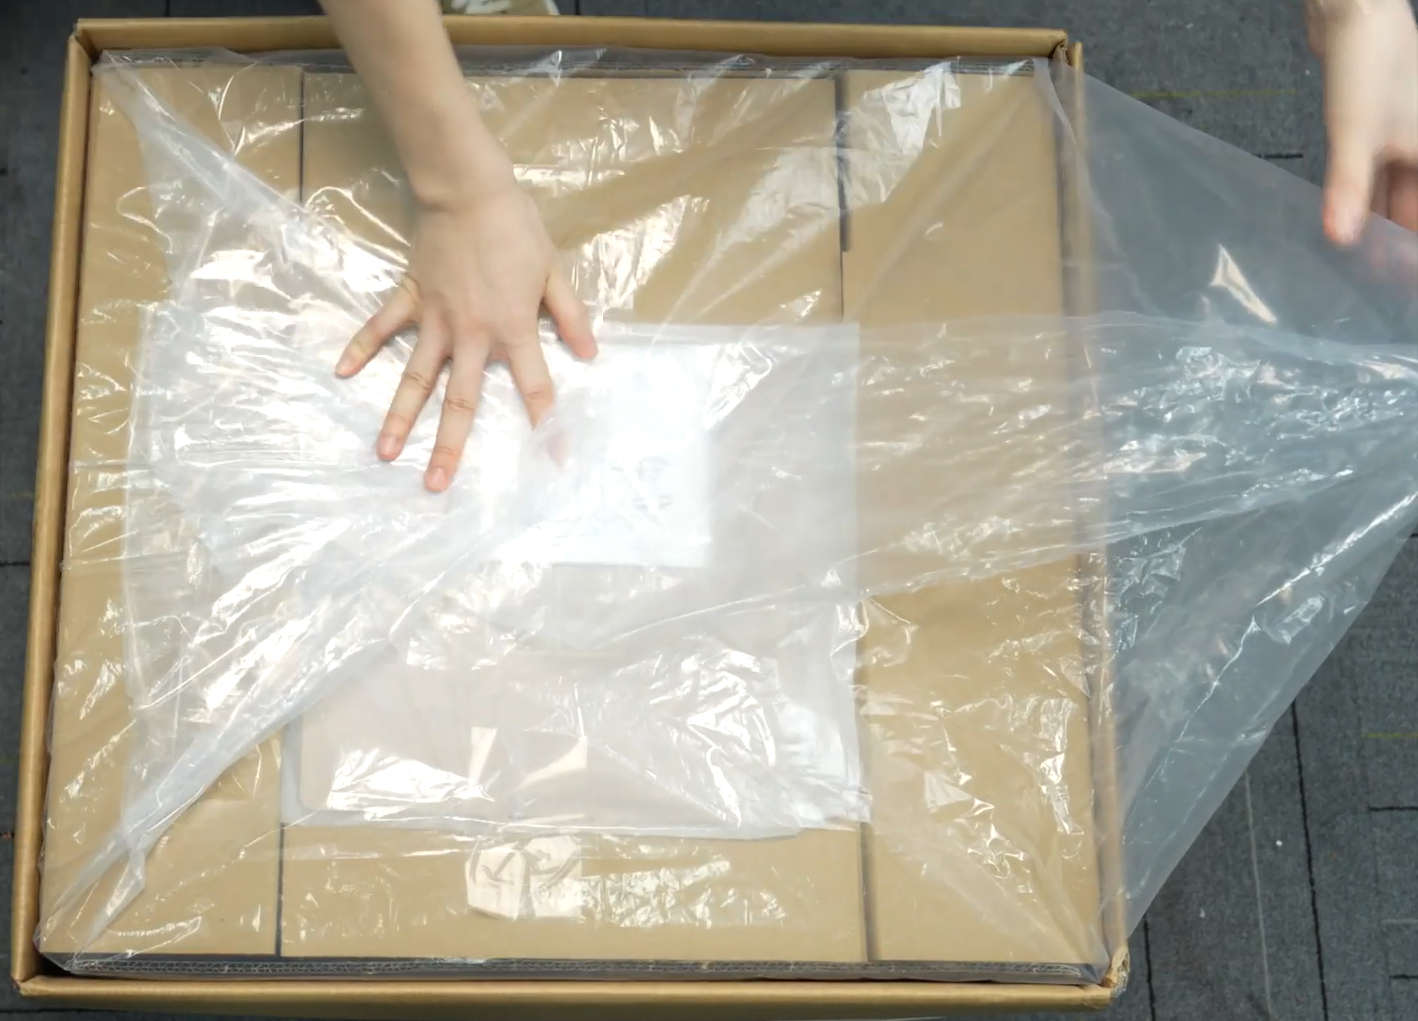
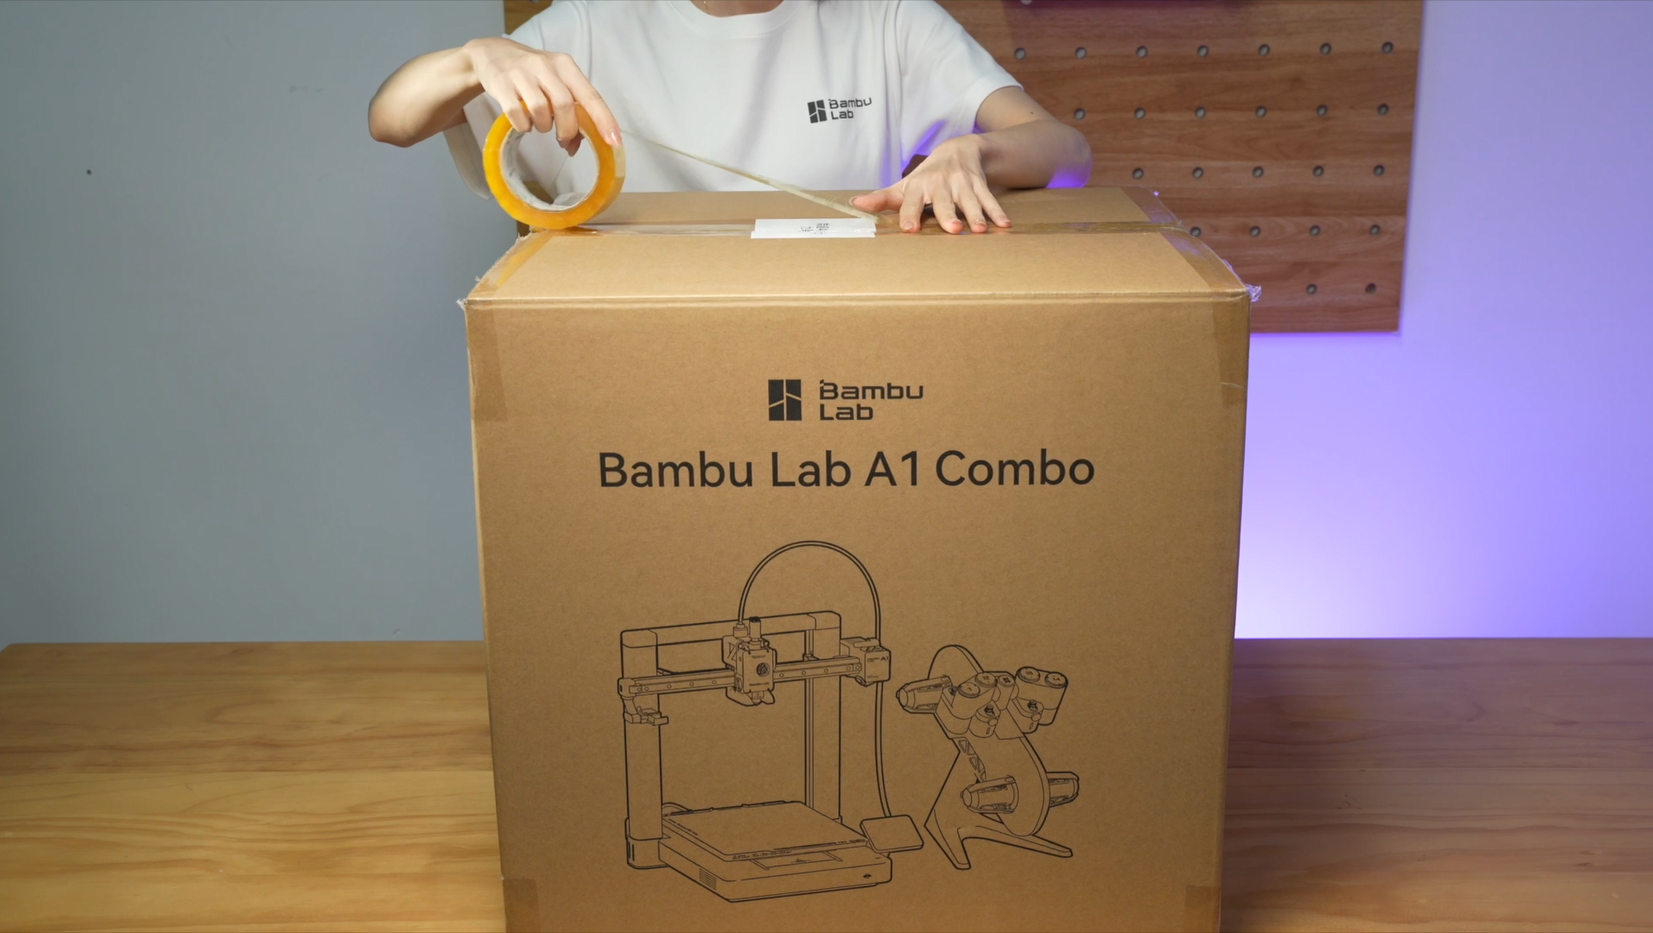
Step 7. Arrange the plastic bag for packing, seal the box and stick it with tape.
 |
 |
¶ End Notes
We hope the detailed guide provided has been helpful and informative.
If this guide does not solve your problem, please submit a support ticket. We will answer your questions and provide assistance.
If you have any suggestions or feedback on this Wiki, please leave a message in the comment area. Thank you for your support and attention!