Note:Currently, there are two versions of the A1 packaging. This version is the one where the heatbed and printer frame are separate. There is also a version that does not require separation (link provided here). Please pack according to the condition of the printer when it was received.
¶ Video guide
If your printer is an A1 standalone unit, rather than an A1 combo, you can refer to this wiki article for instructions on packaging the printer.
https://wiki.bambulab.com/en/a1/manual/pack-a1
¶ Printer
¶ Step 1: Remove the filament spool from AMS lite
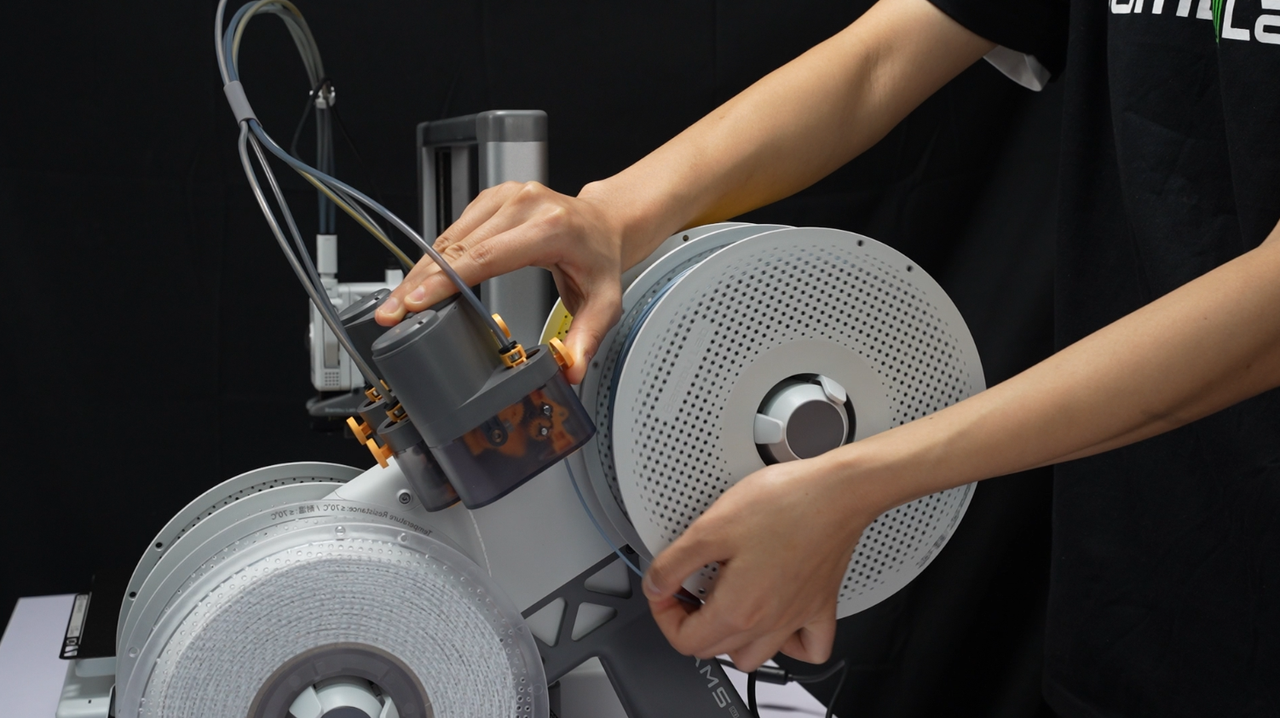 |
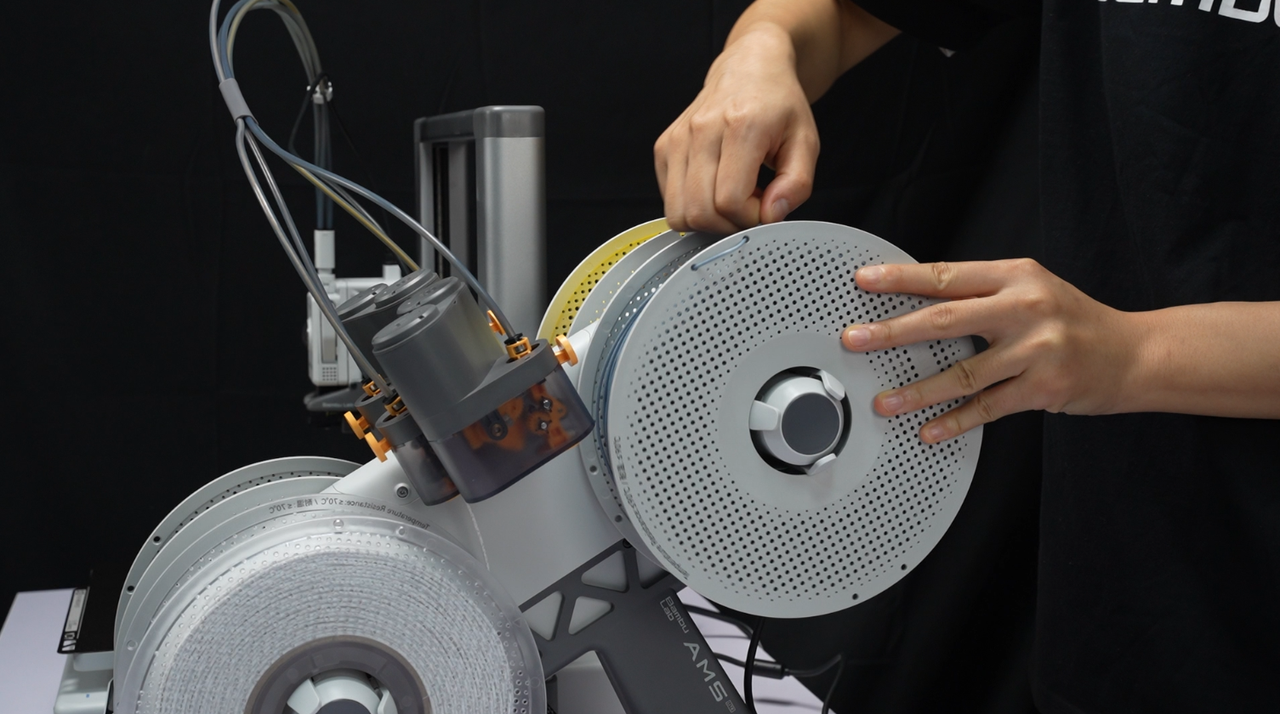 |
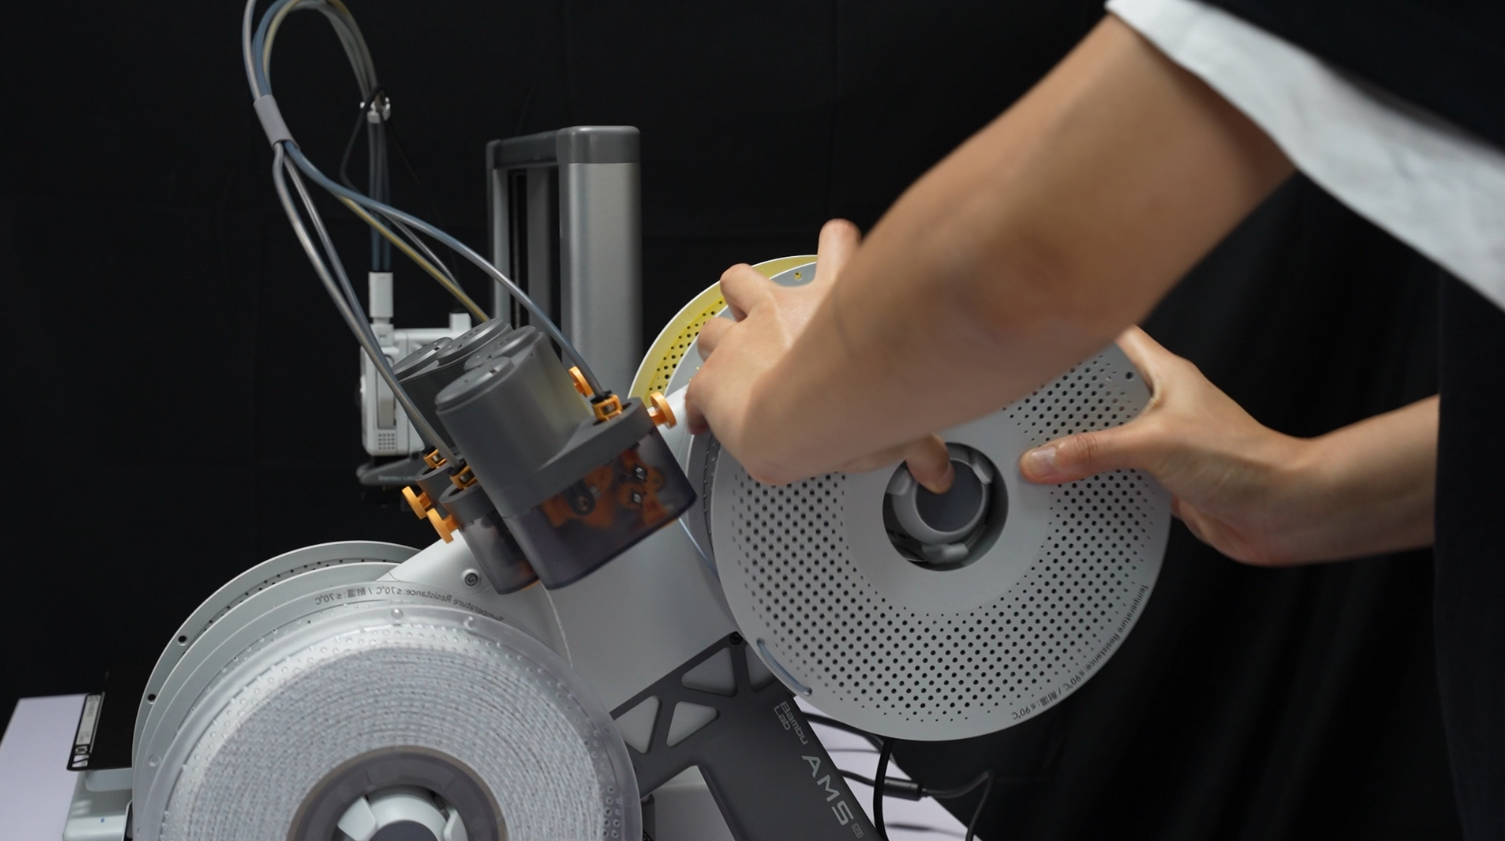
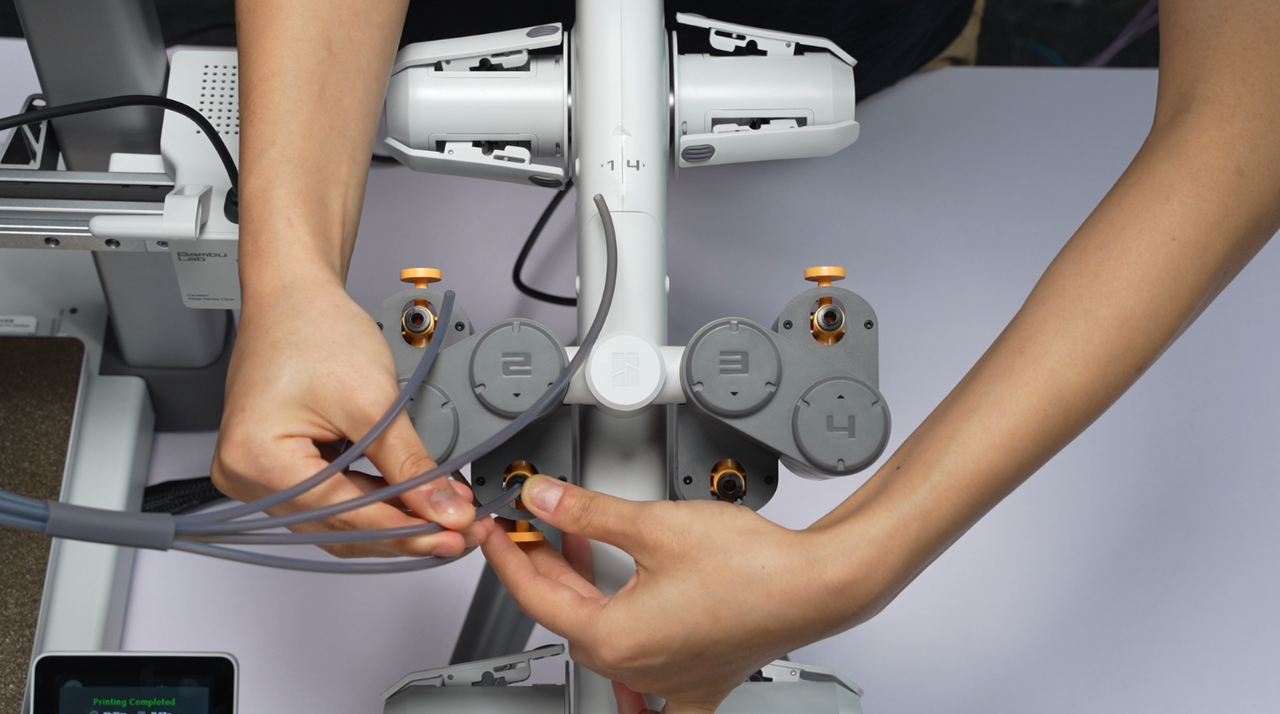
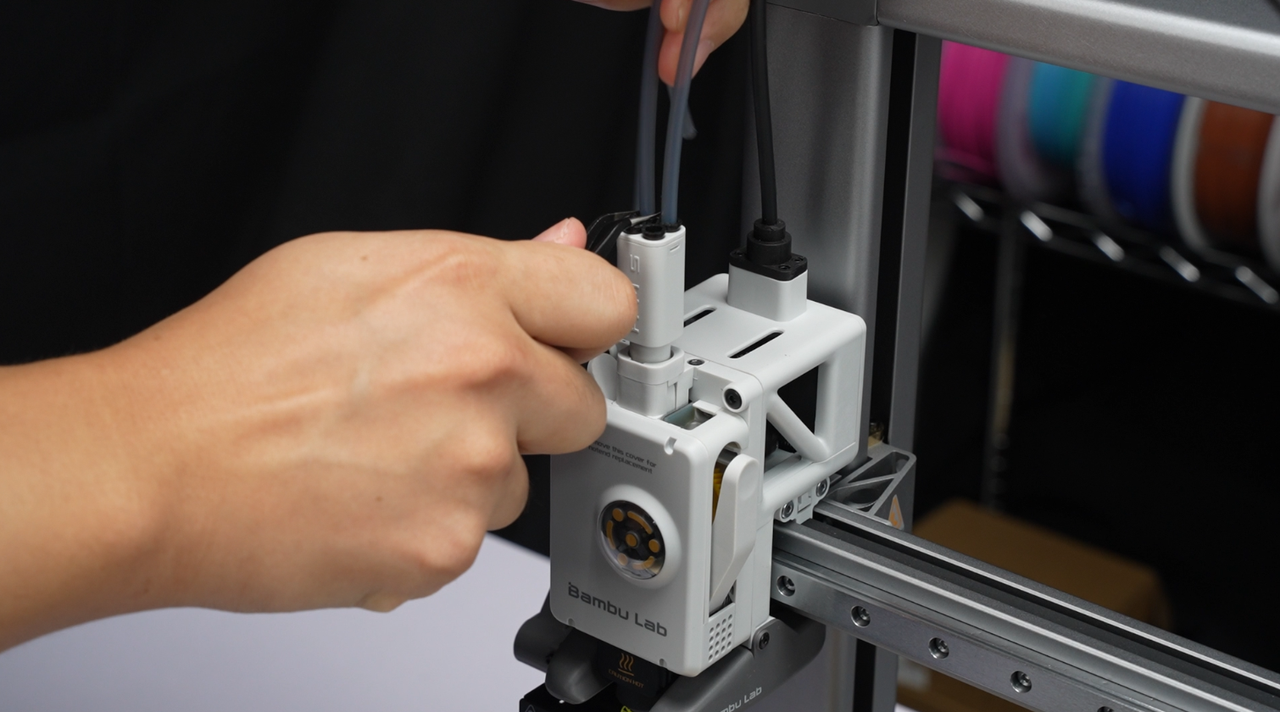
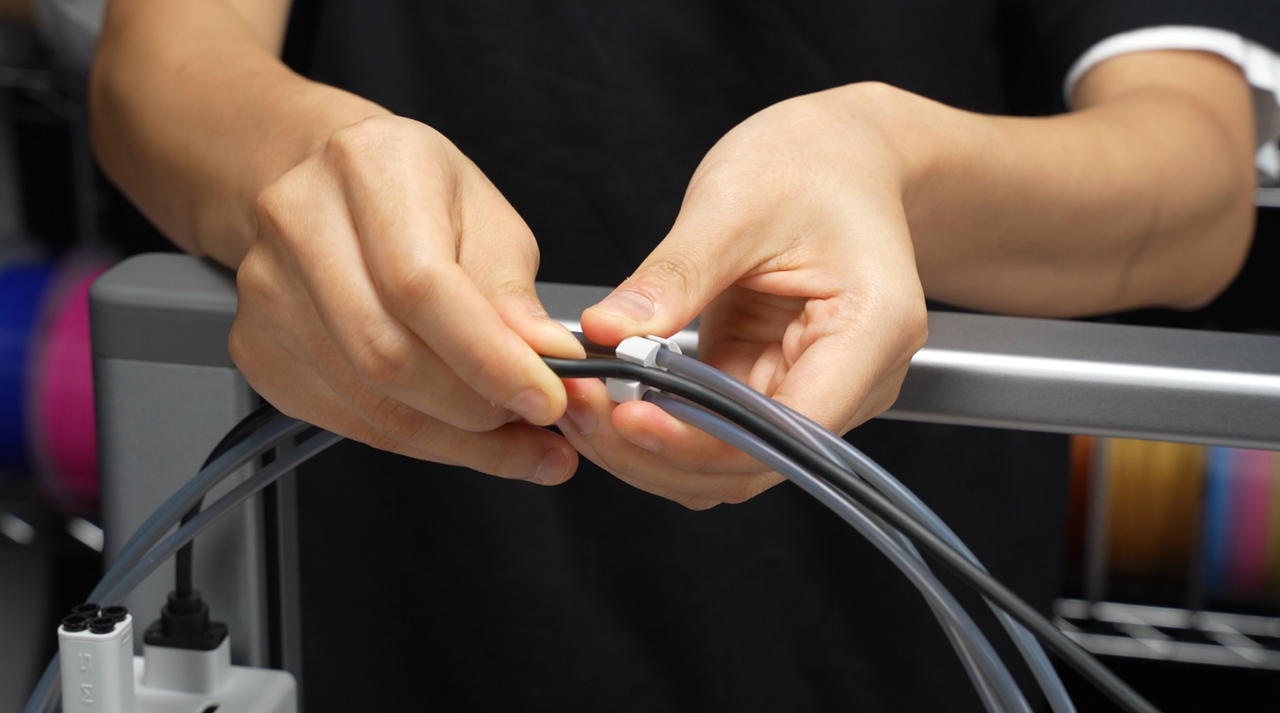
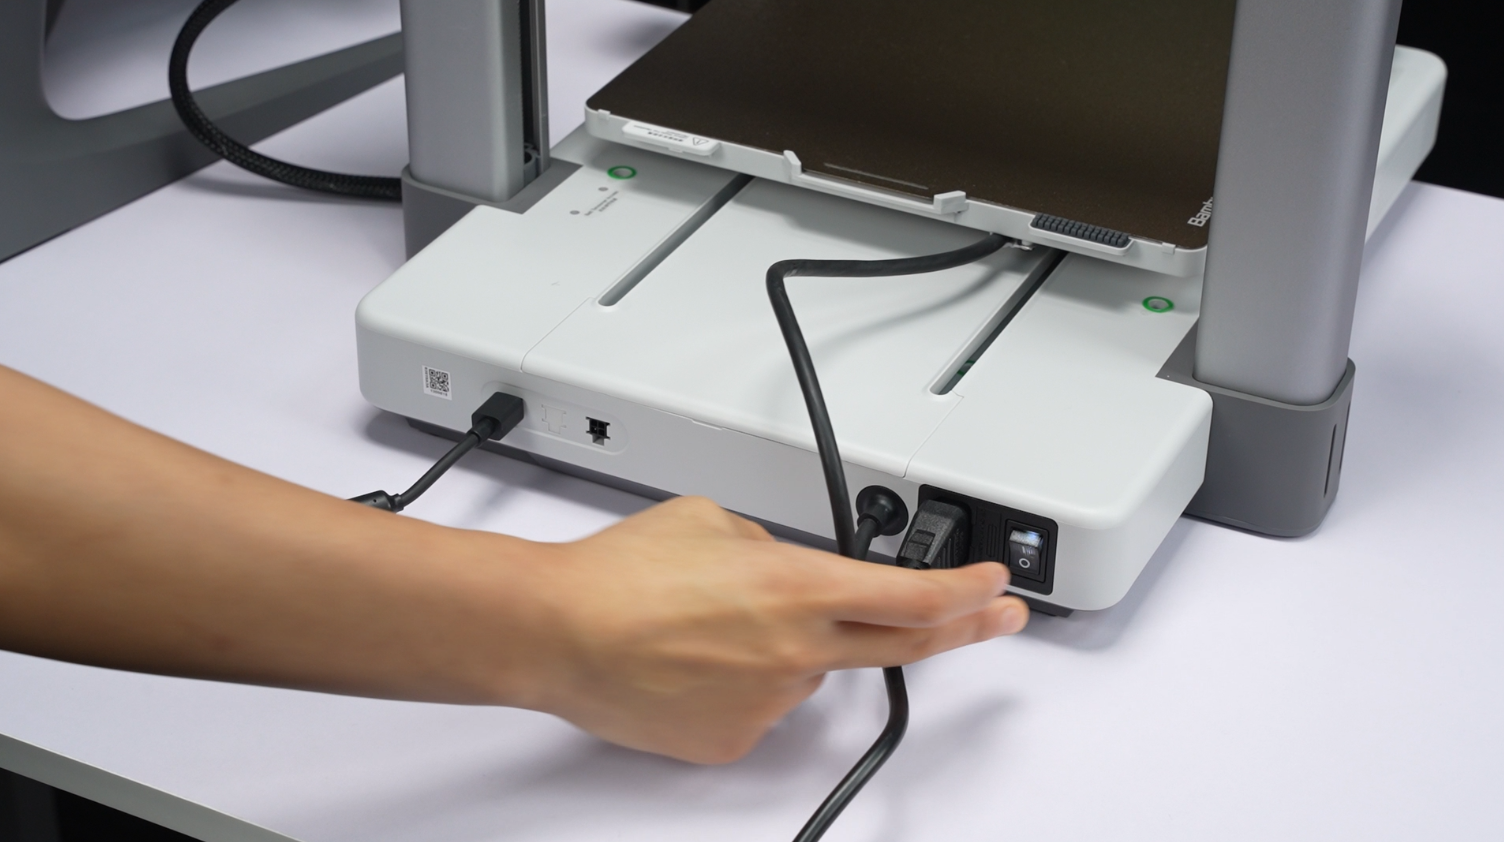
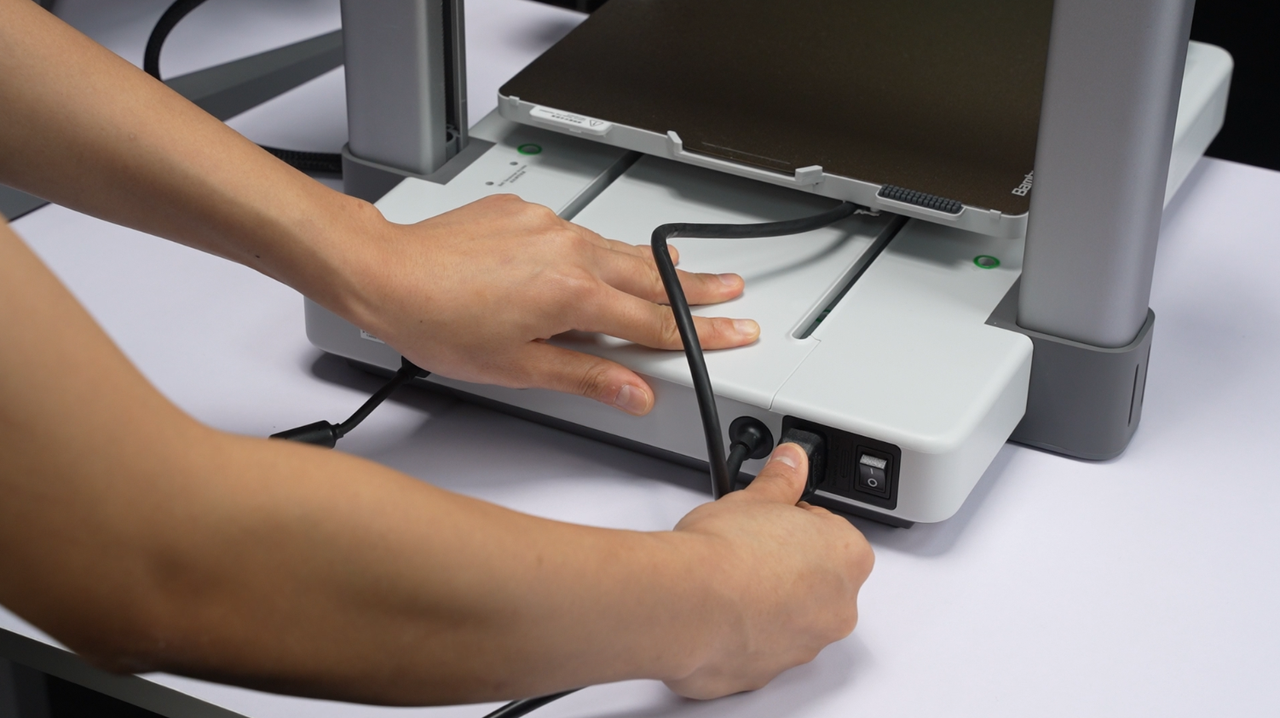
¶ Step 2: Remove the PTFE tubes from both AMS lite and the printer and disconnect the power supply.
 |
 |
 |
 |
 |
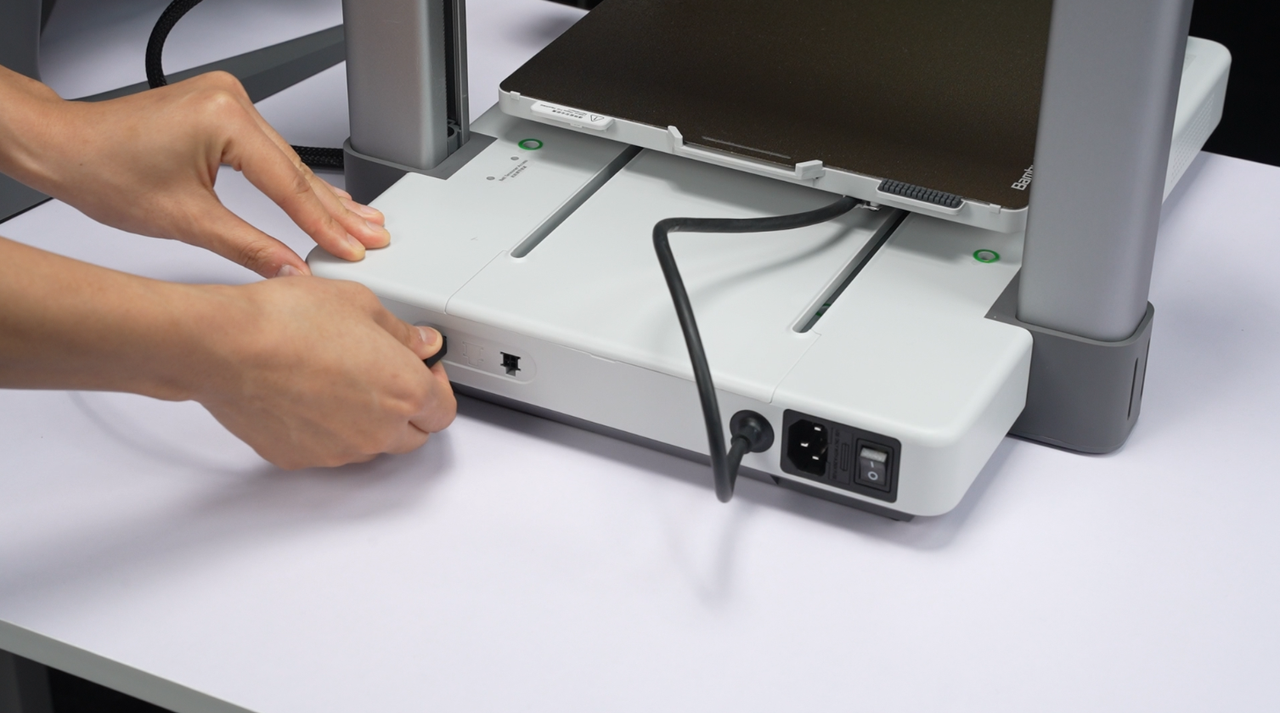 |
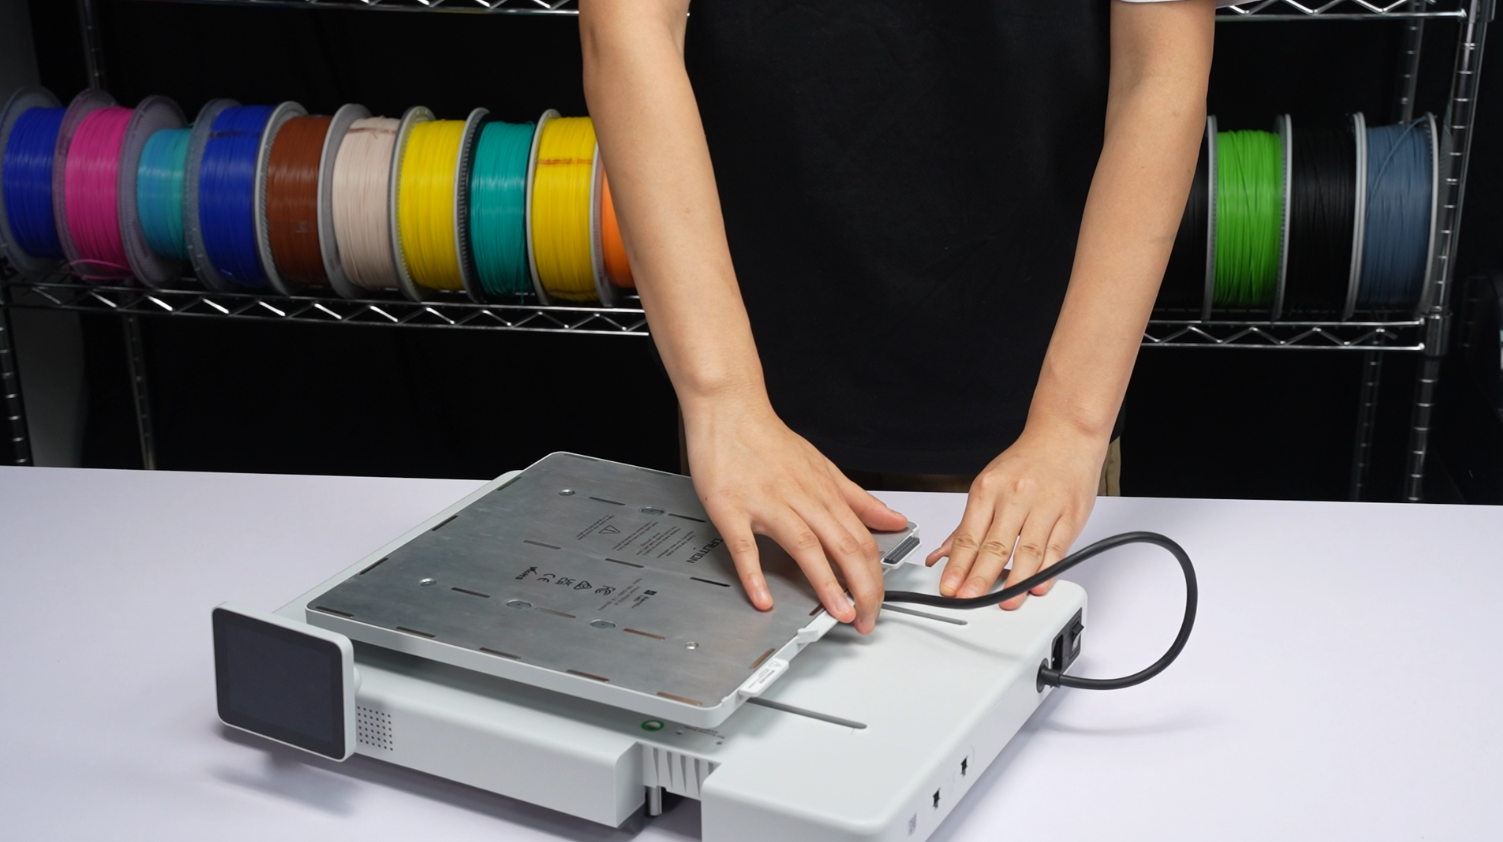
¶ Step 3: Remove the purge wiper, take off the build plate, fold the screen, and uninstall the external spool holder (if already installed).
Unscrew the screw of the purge wiper and remove the purge wiper
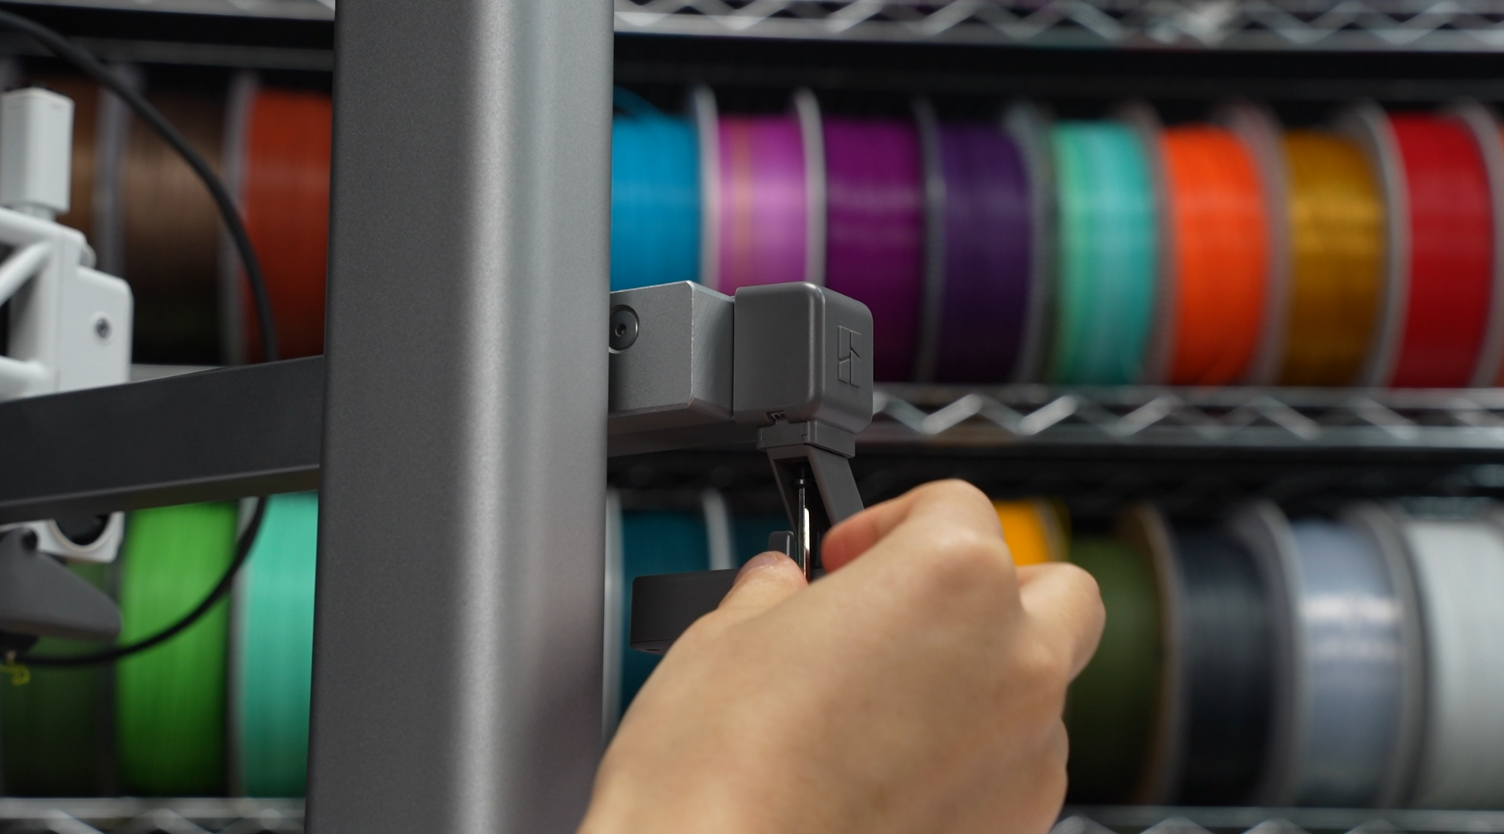 |
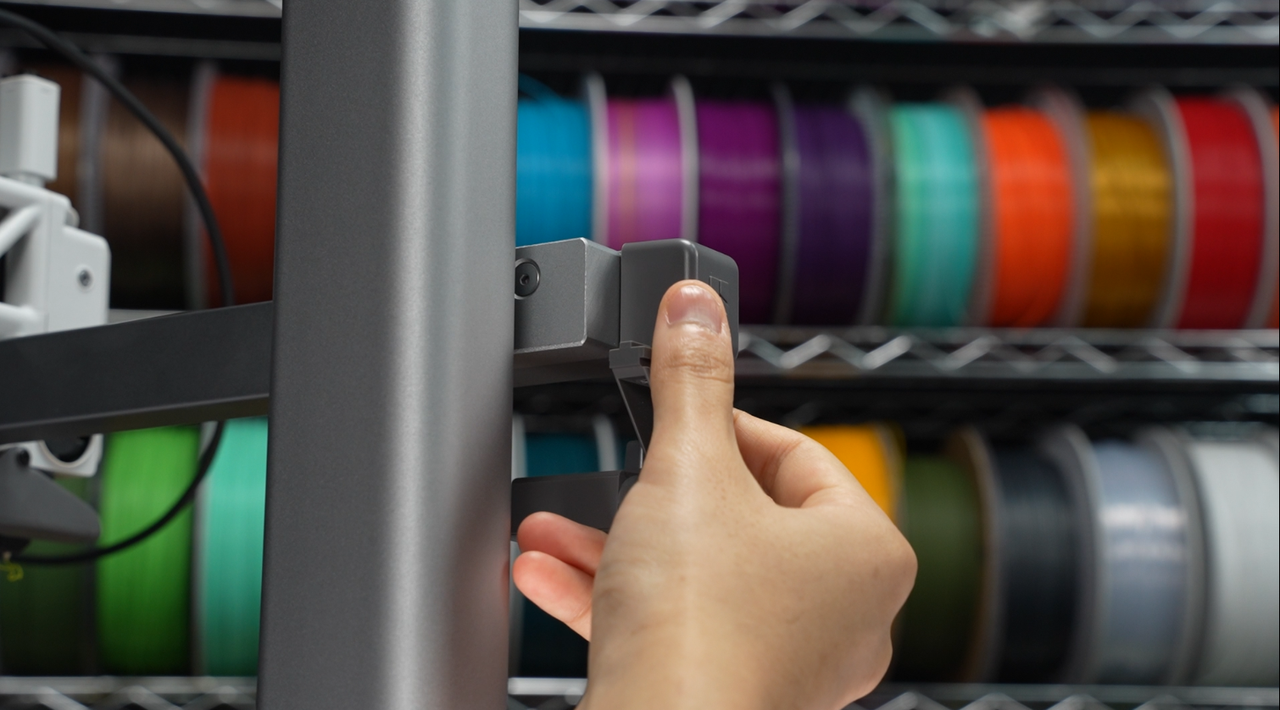 |
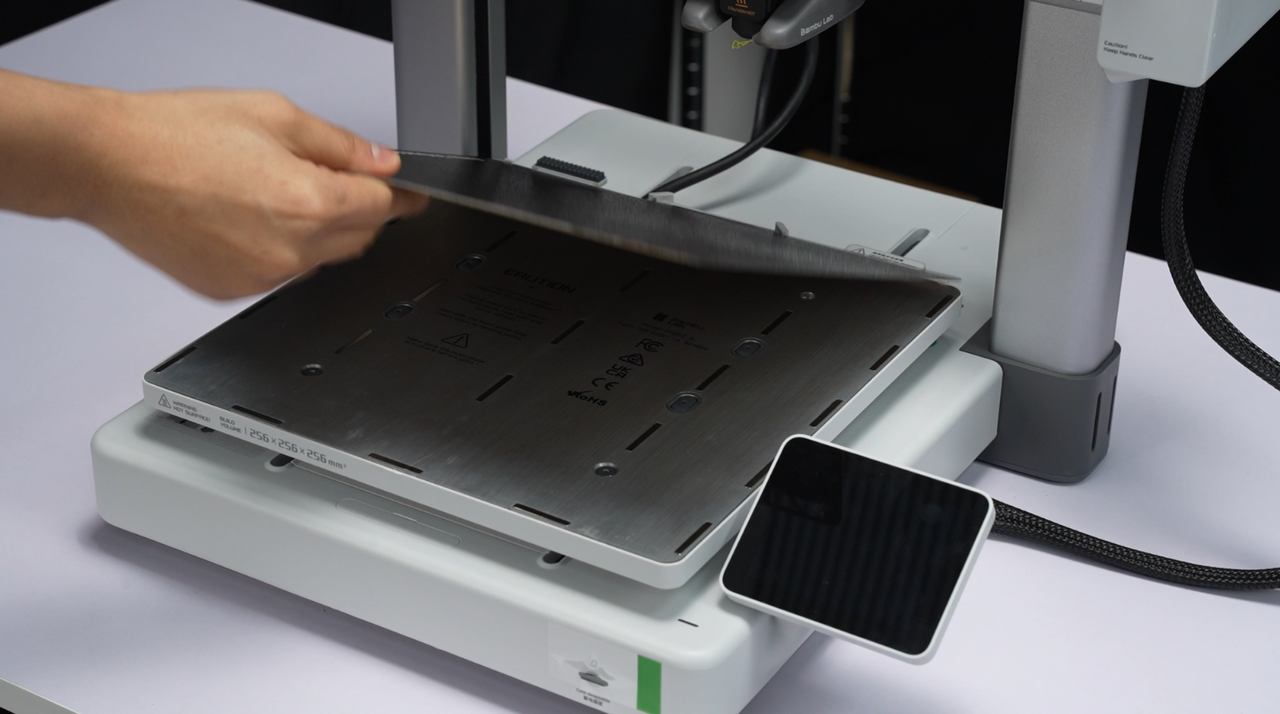 |
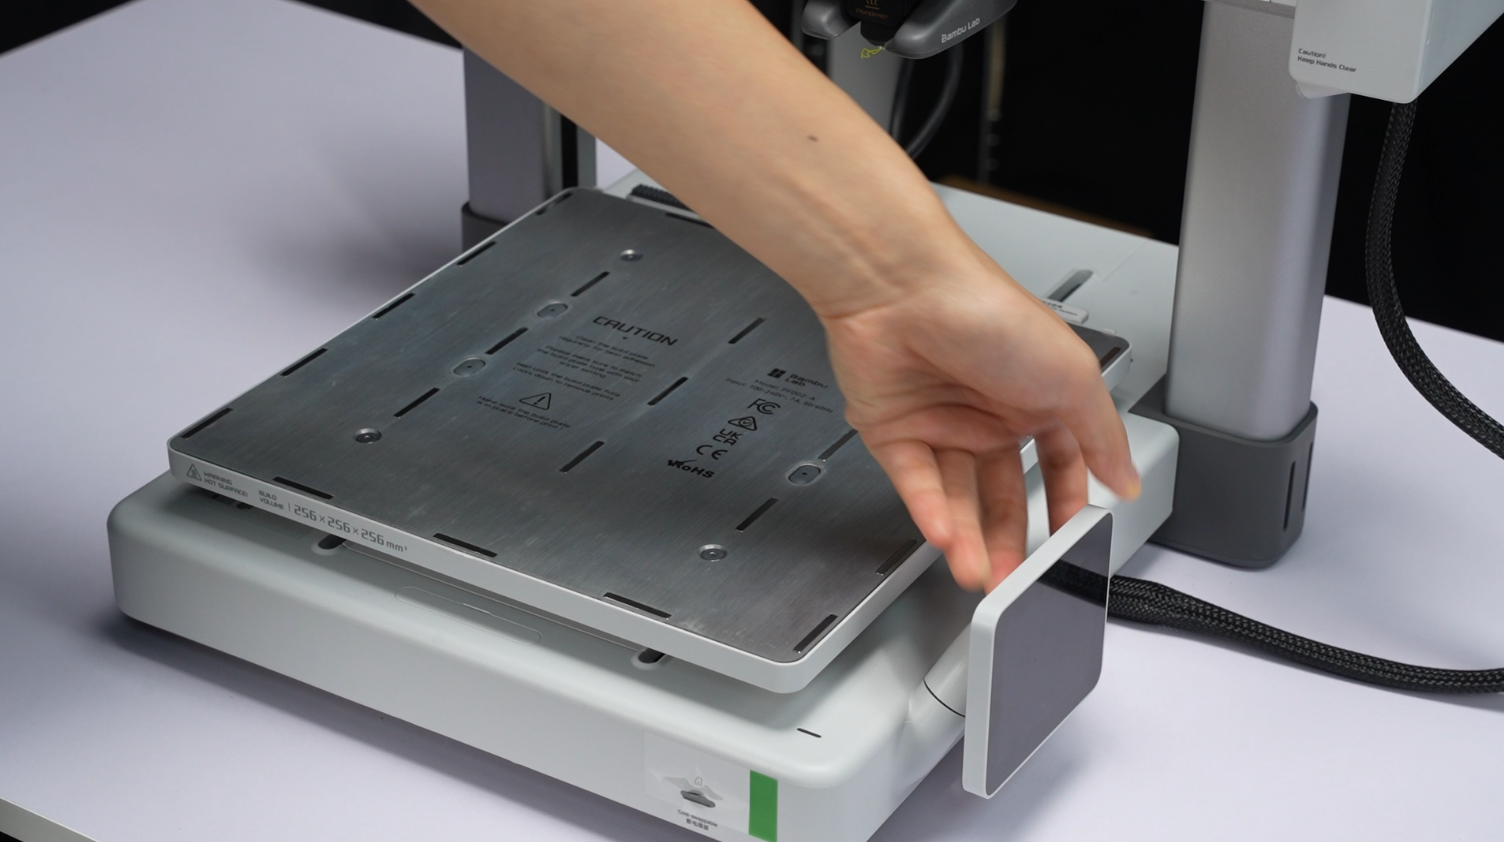 |
¶ Step 4: Uninstall the cable box and unplug the 3 connectors
¶ 1. push the heatbed to the other end of the screen.
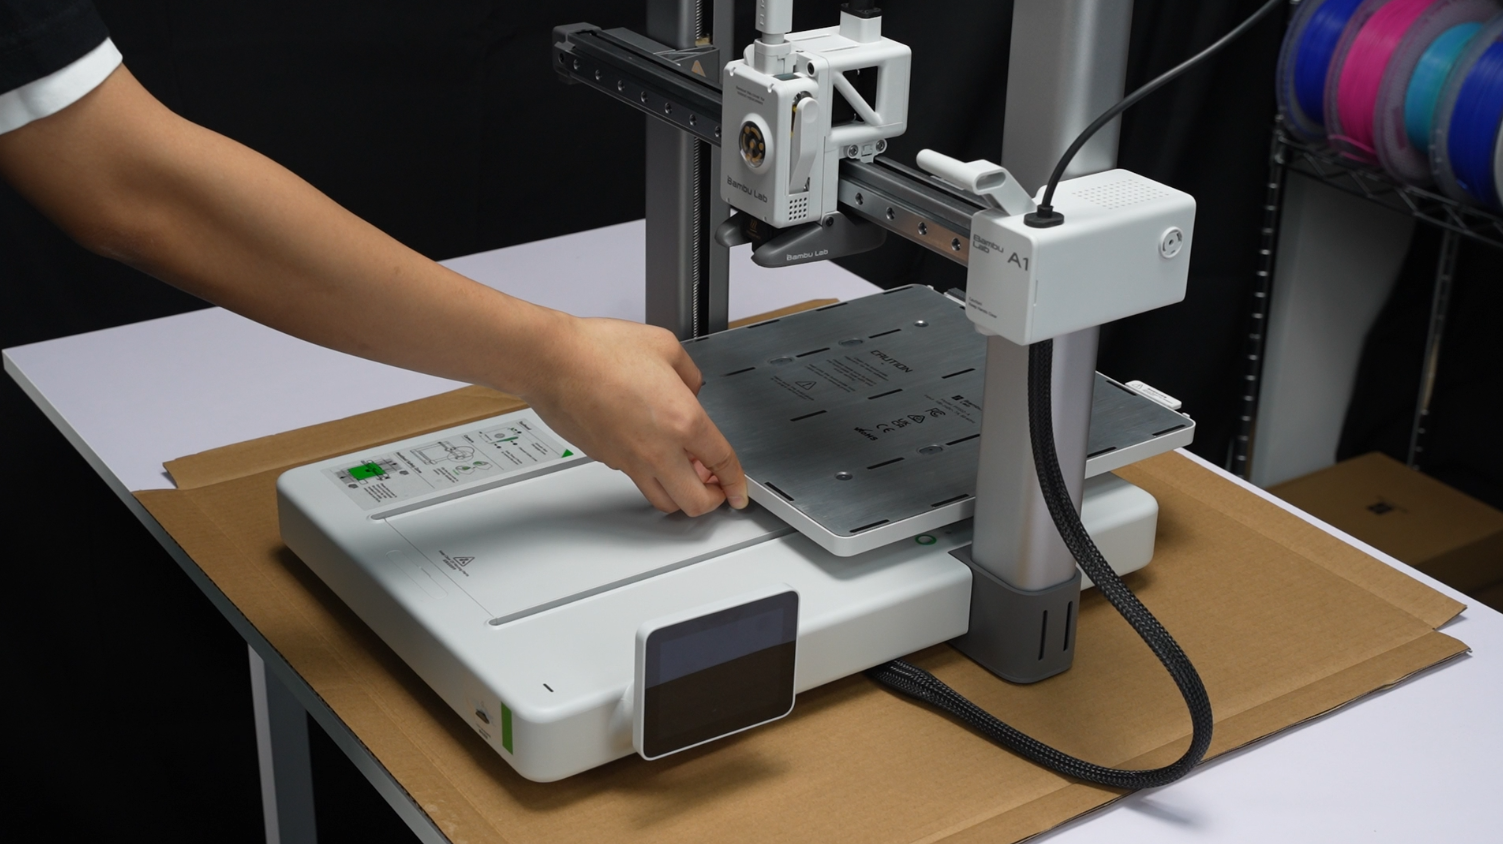
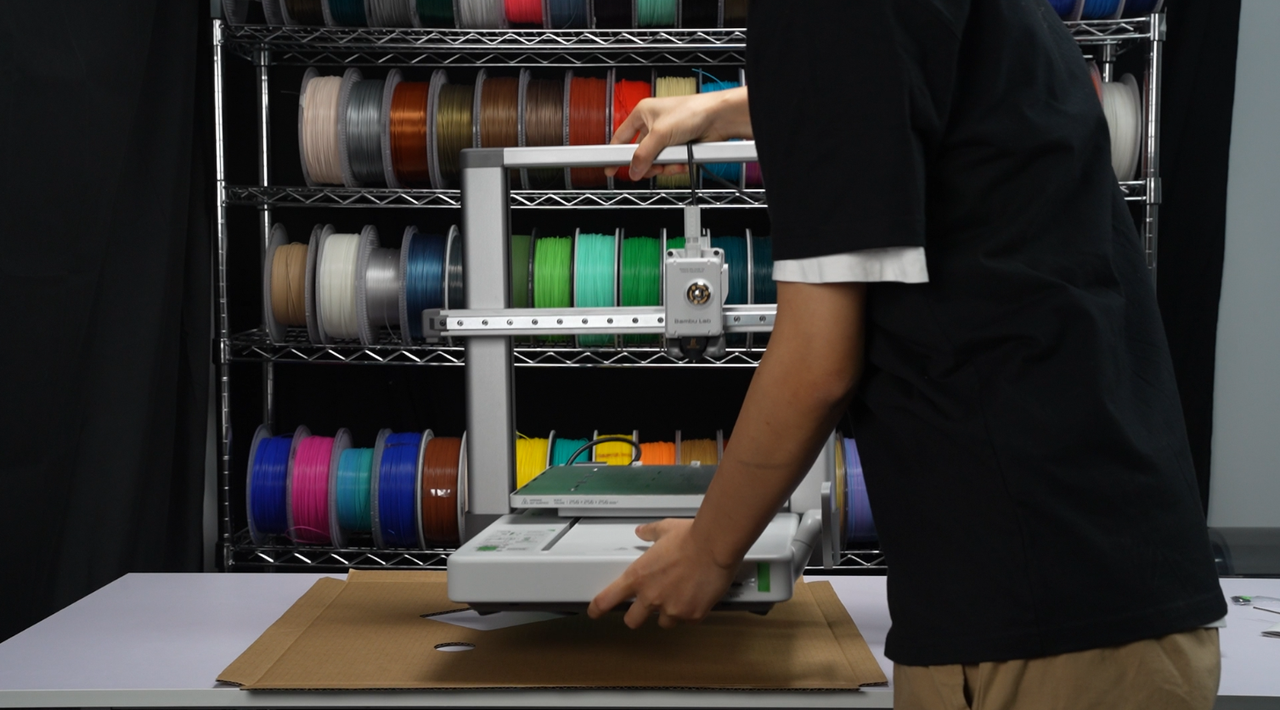
¶ 2. Rotate A1 90 degrees backward and place it upside down on the edge of the table (it is recommended to cover the table with a hardboard to protect the printer), with the printer base facing towards yourself, to proceed with removing the cable box.
Please note that before proceeding with the following steps, ensure the printer is stable on the tabletop and support the printer base with your hands.
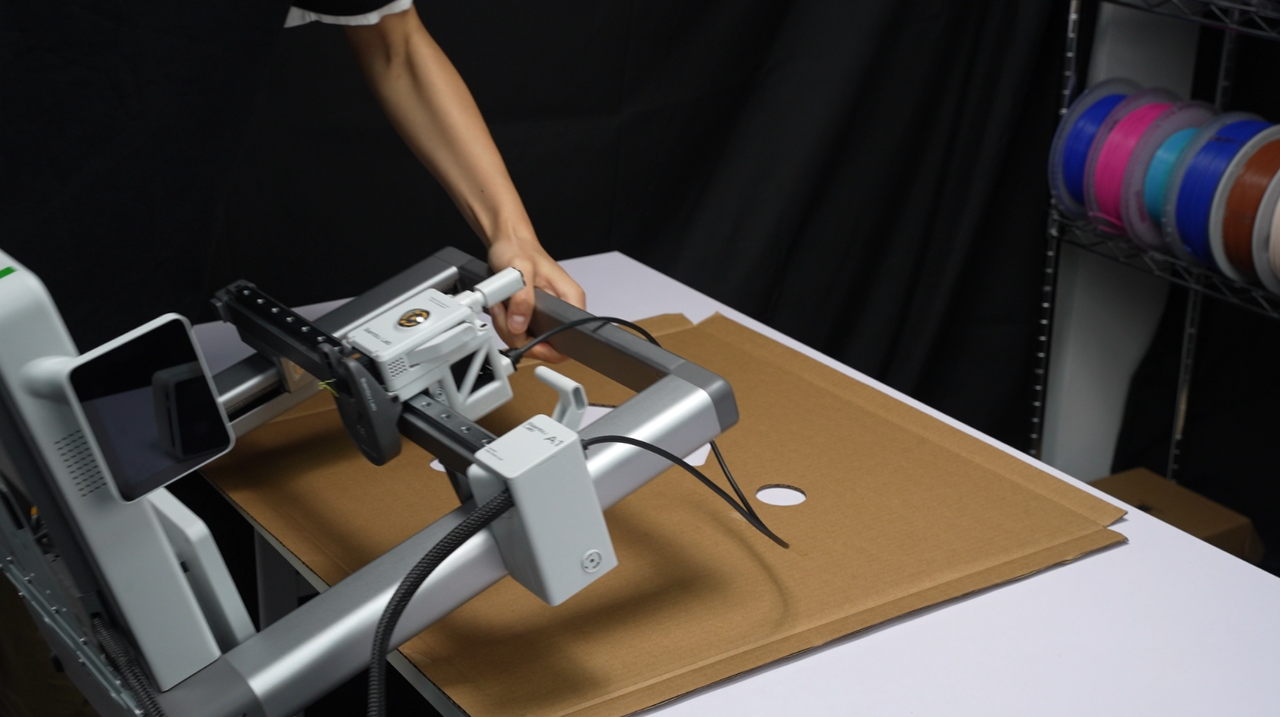 |
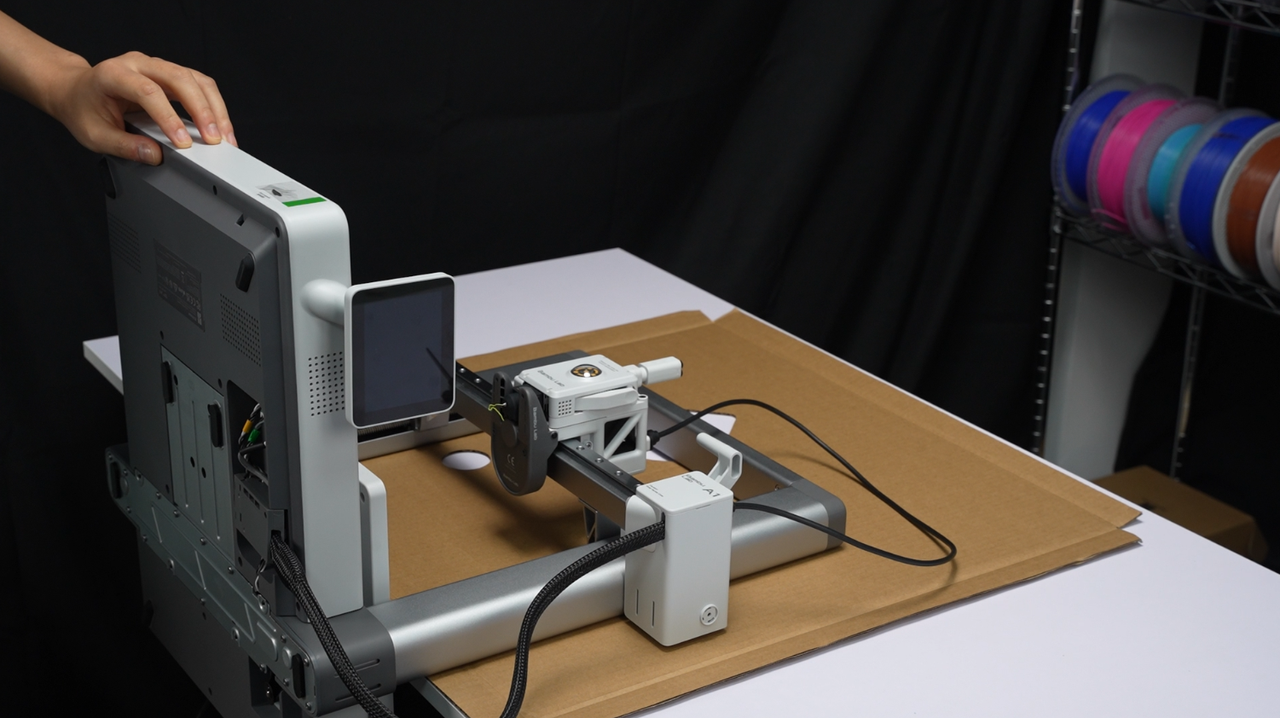 |
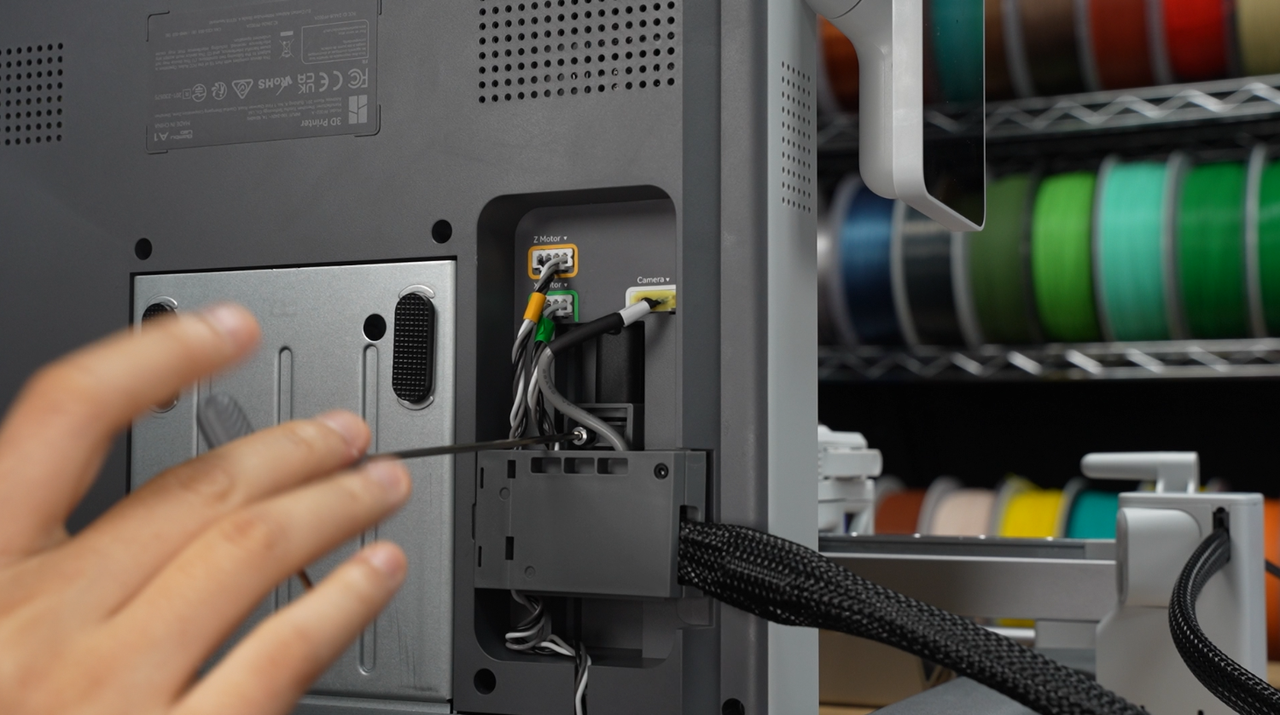
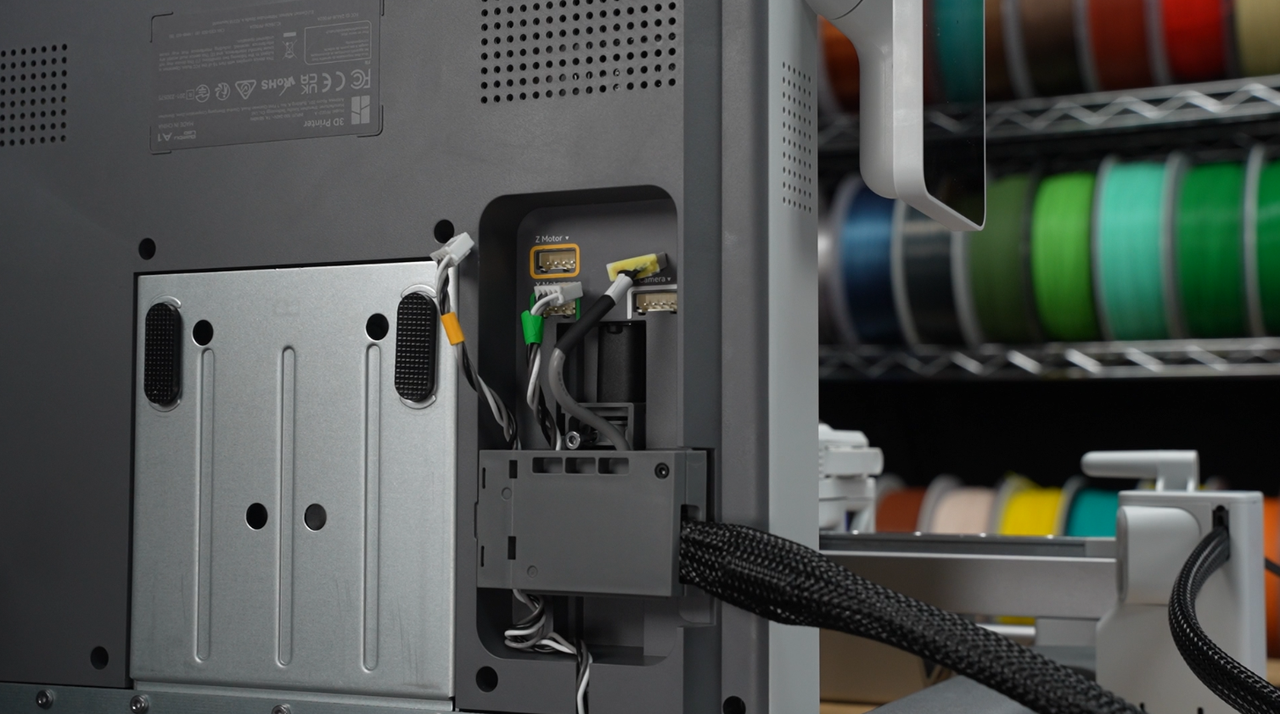
¶ 3. Loosen the pre-installed screws on the cable box at the indicated positions and disconnect the three connectors.
 |
 |
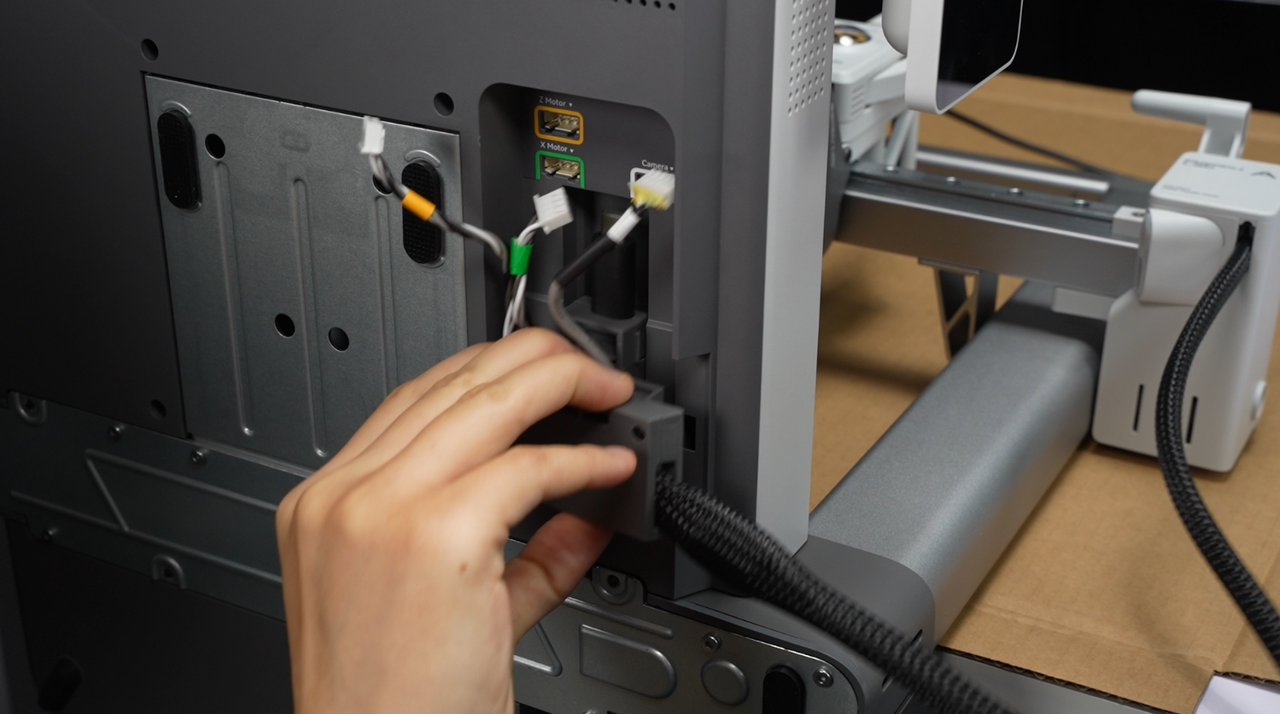
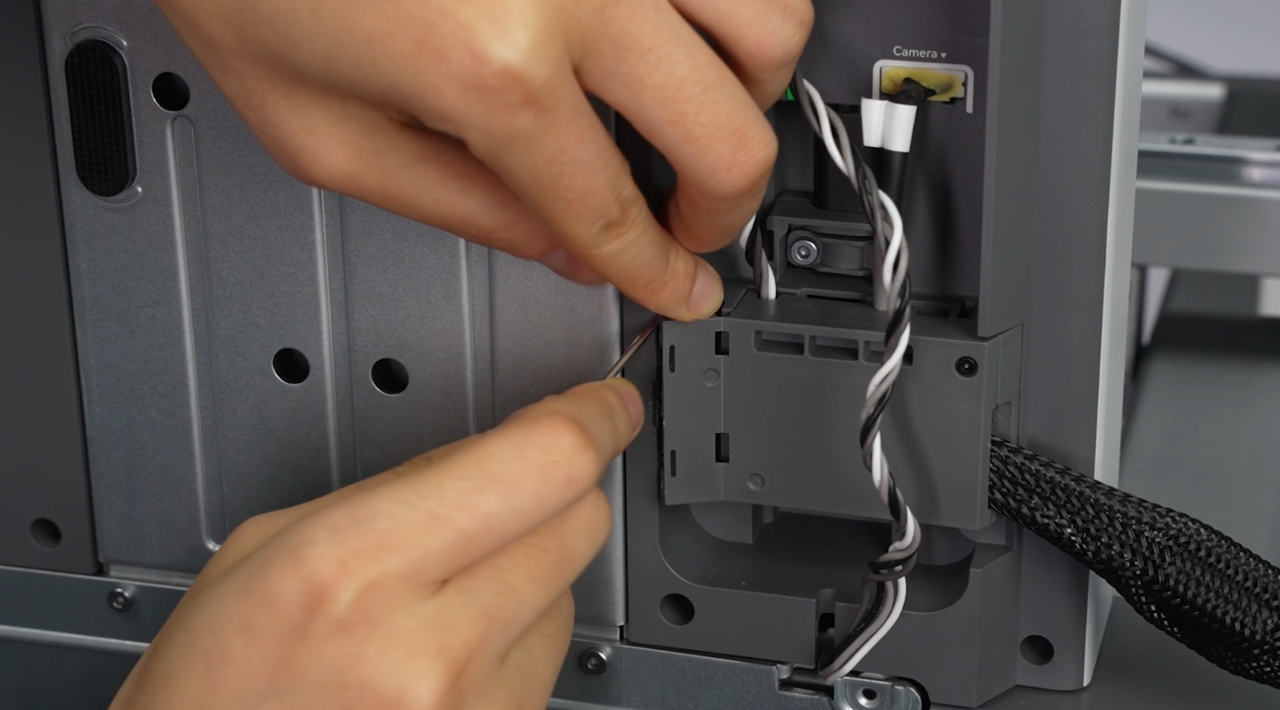
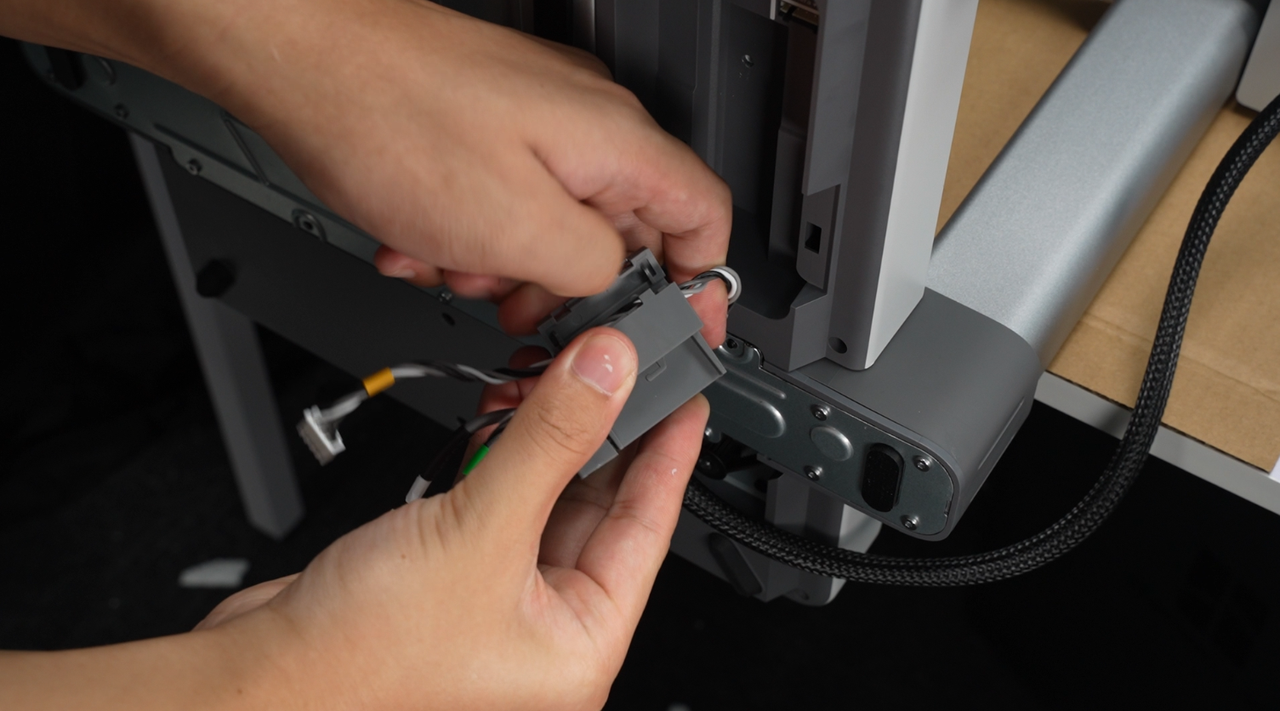
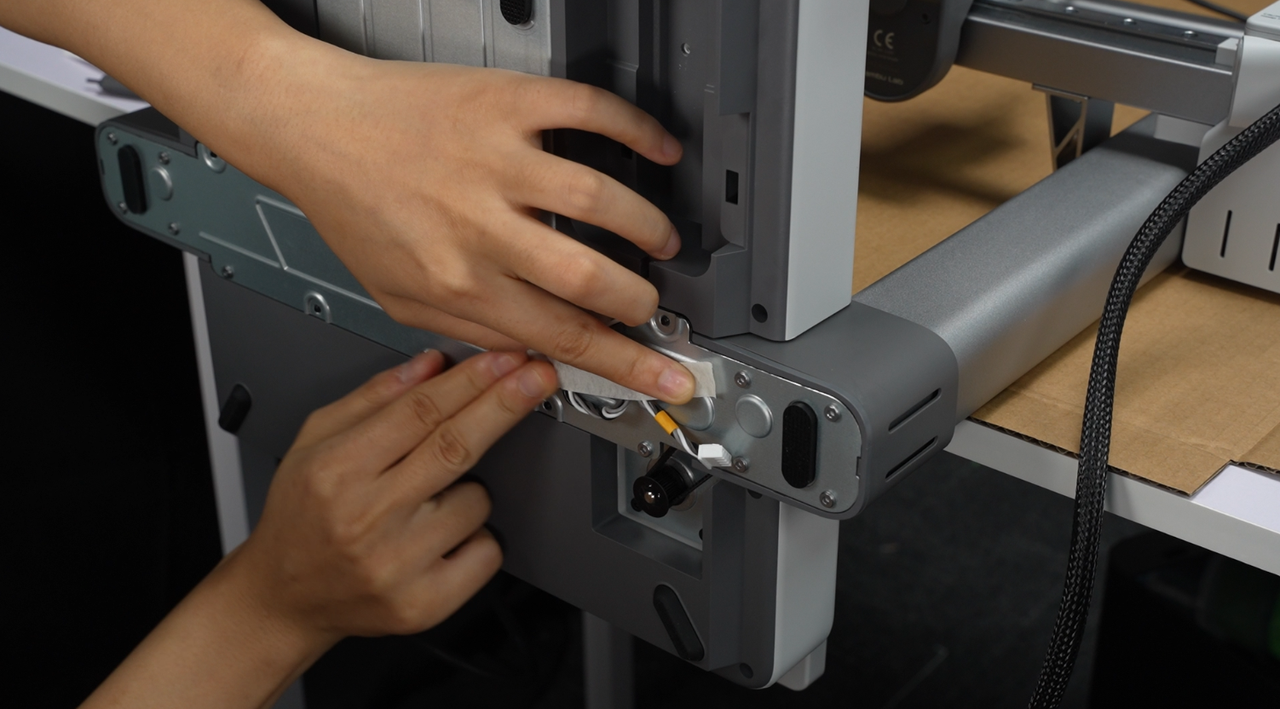
¶ 4. After pulling down the cable box, remove the Type-C connector.
Gently pry open the yellow cable card slot and uninstall the cable box. If you encounter any difficulties during the process, please refer to the operation instructions in the unboxing video. You can use an H1.5 Allen hex to pry open the cable slot to avoid damaging your nails.
 |
 |
 |
 |
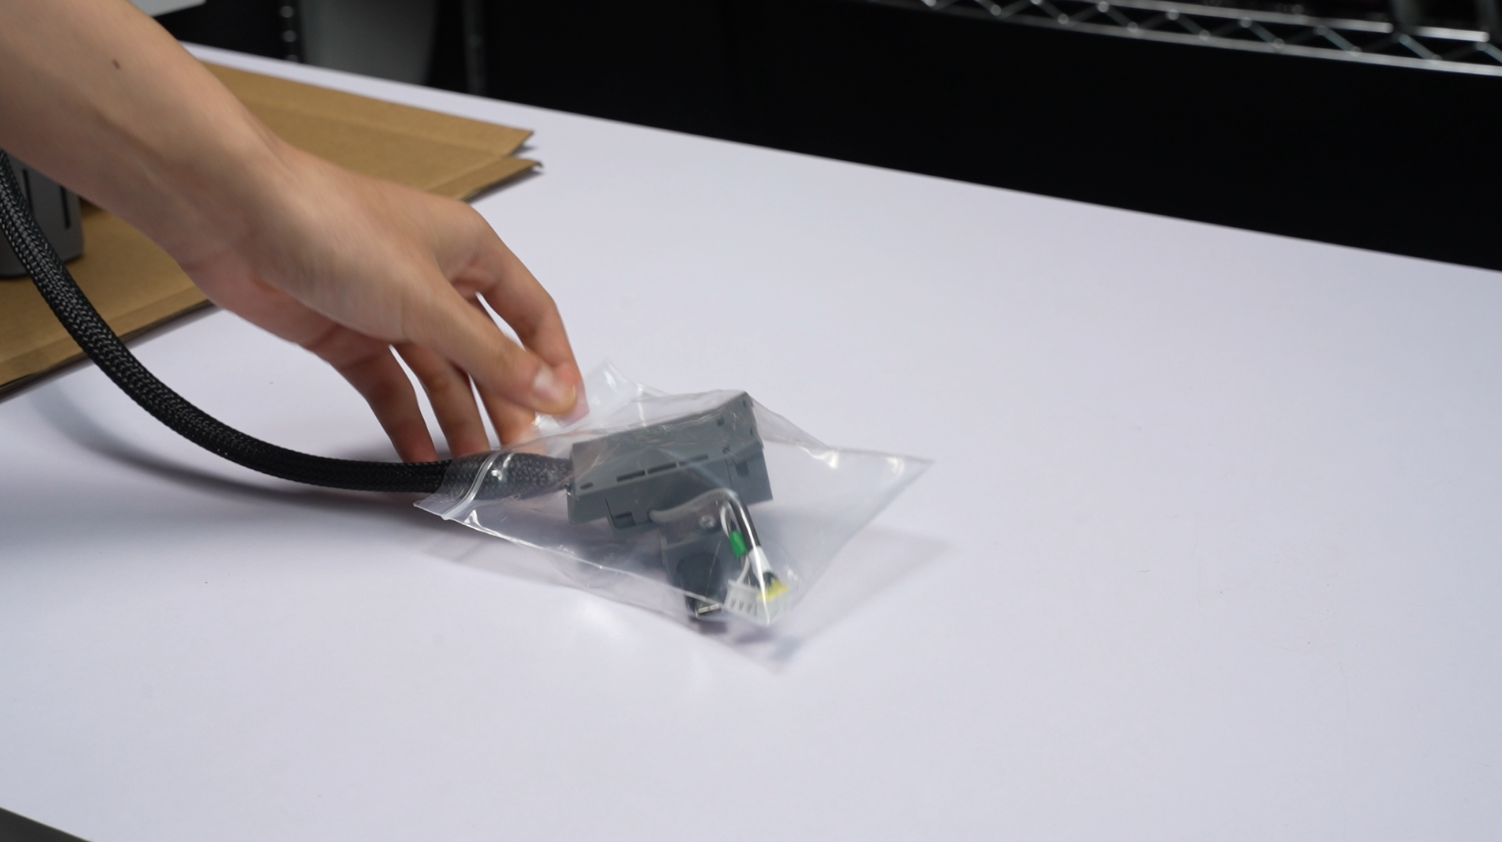
¶ 5. Wrap the cable box with a self-sealing bag.
 |
 |
¶ Step 5: Remove the 12 fixed screws between the printer base and gantry frame
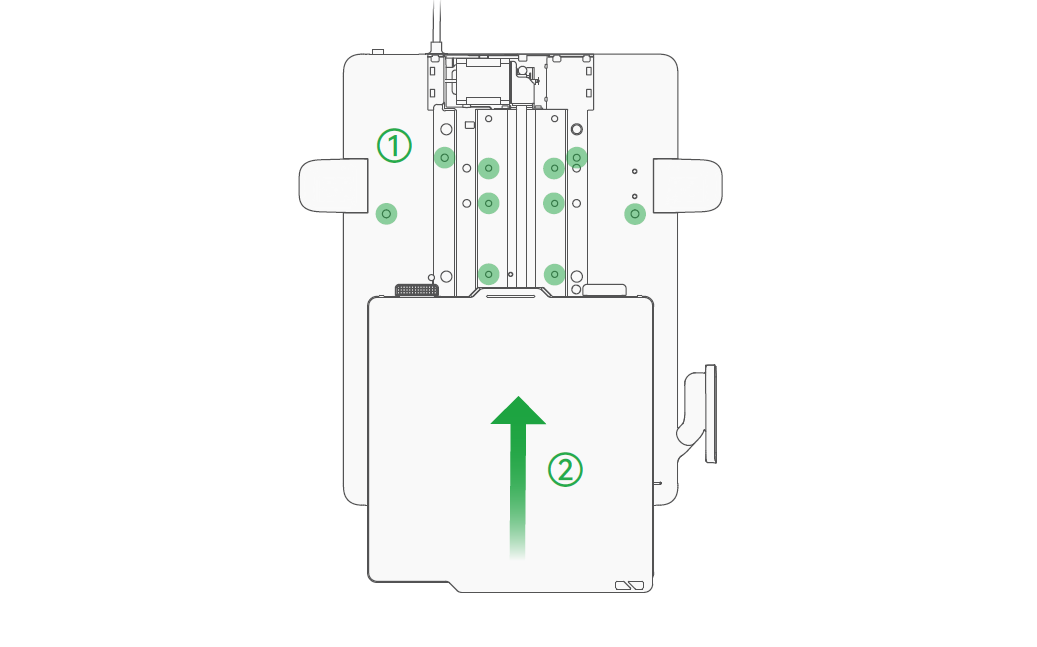 |
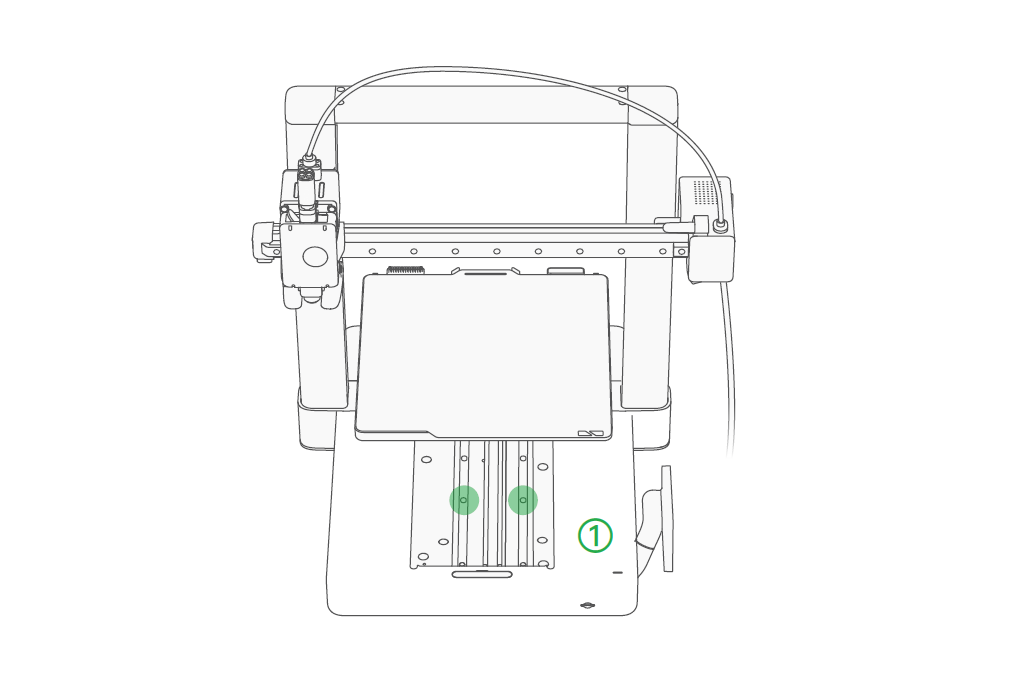 |
¶ 1. Push the heatbed way to the end in the direction of the screen, and remove the Y-axis rail cover.
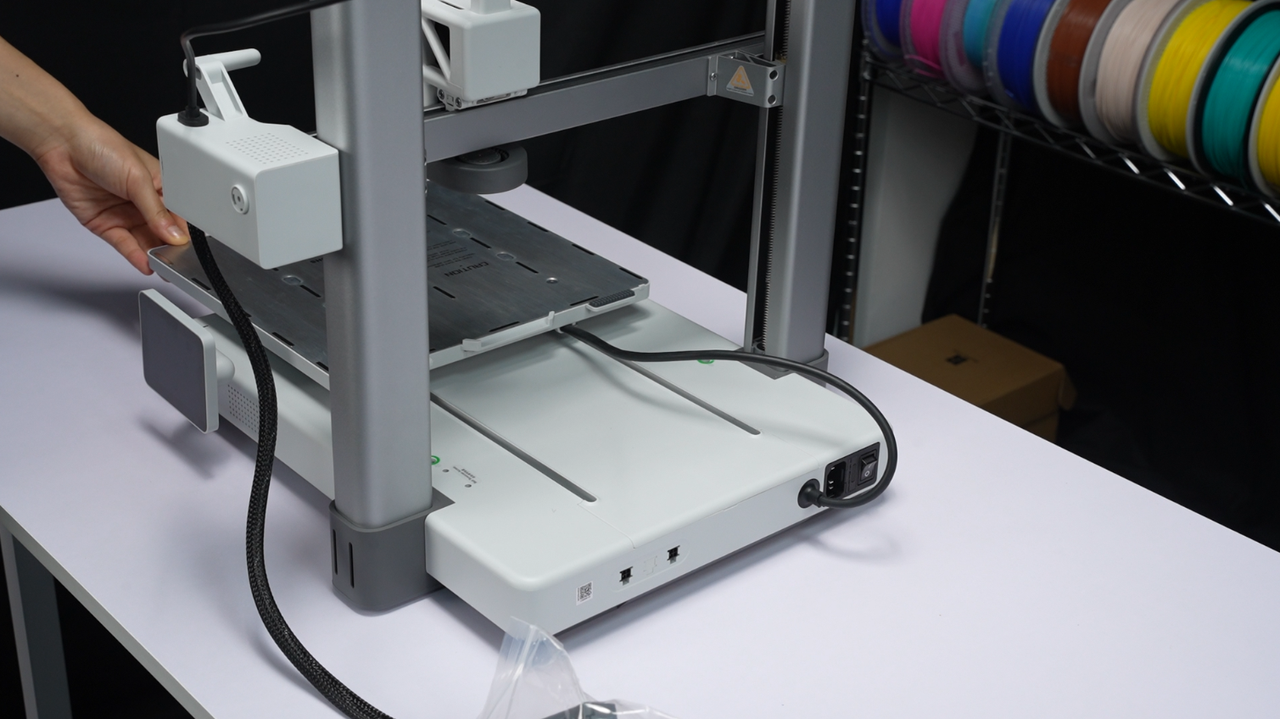 |
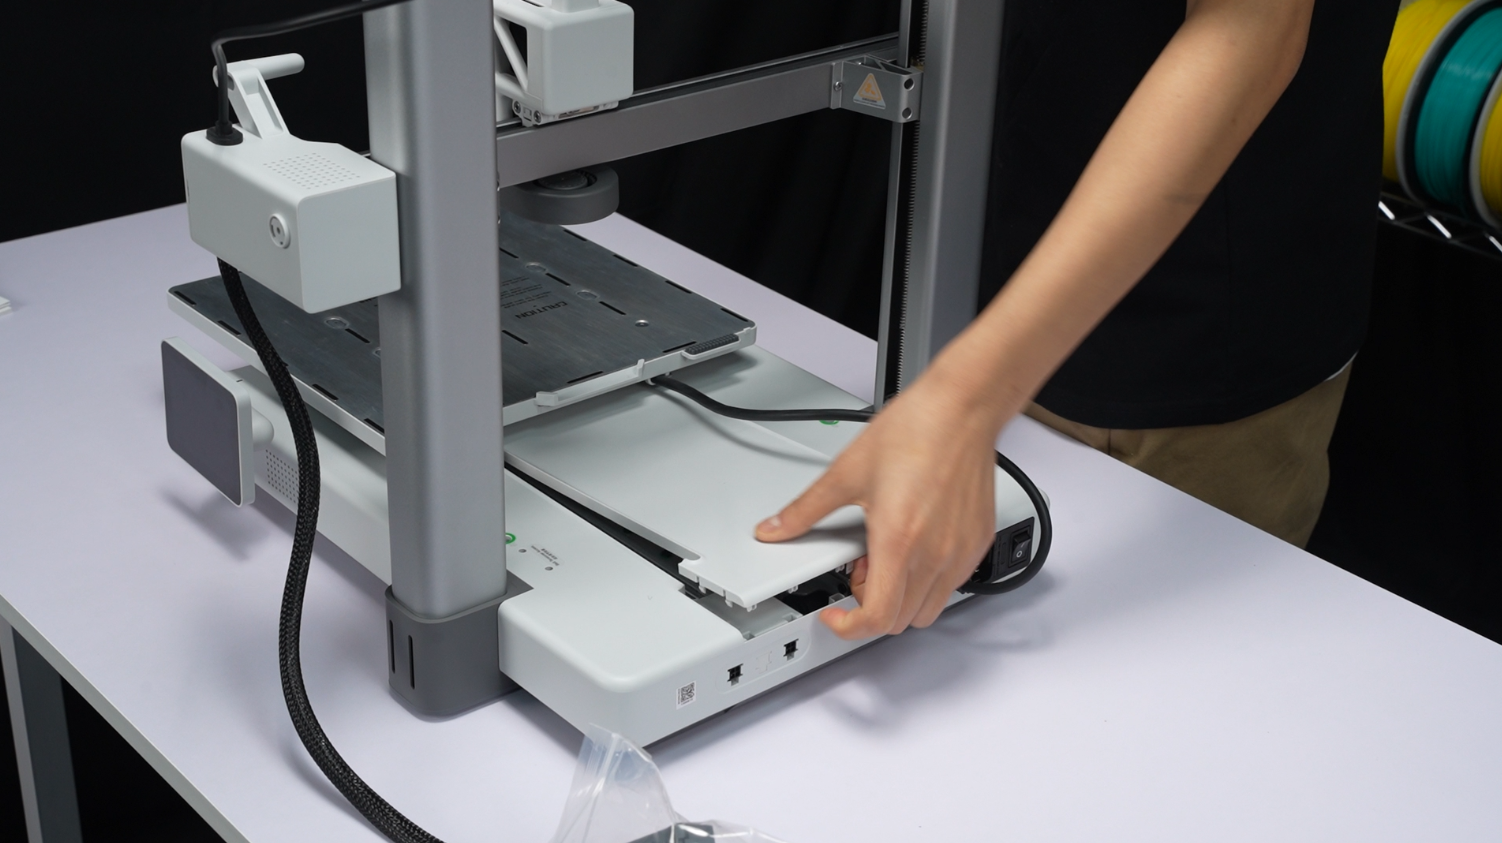 |
¶ 2. Remove the 12 screws, during which you may need to push the heatbed once to locate the positions of the last 2 screws.
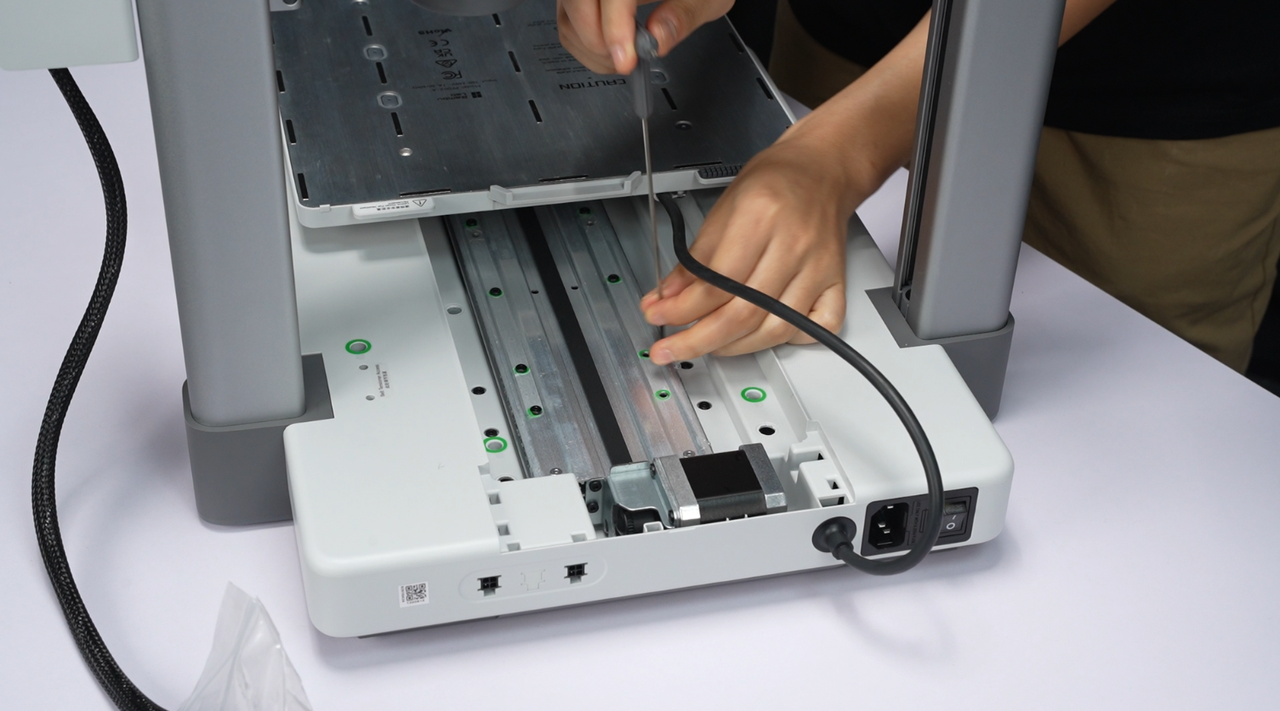 |
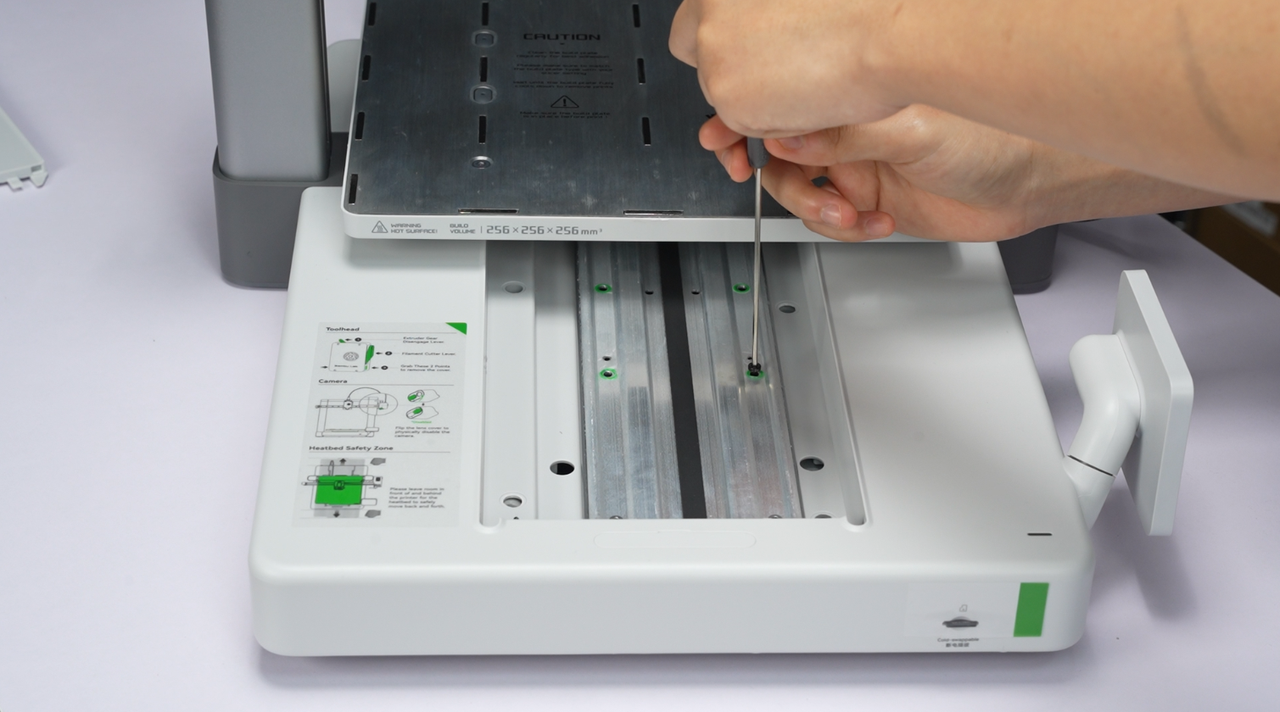
|
¶ 3. Push the heatbed to the end in the direction of the screen, and then slide the Y-axis rail cover back into place.
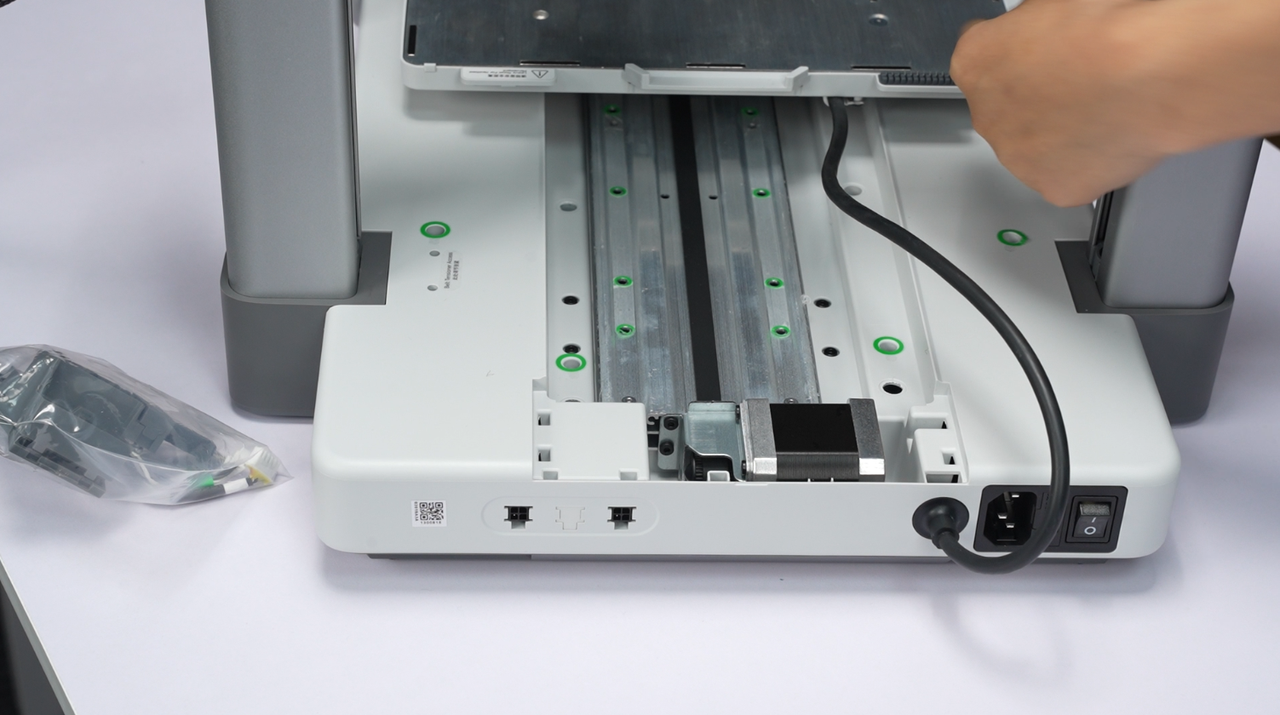 |
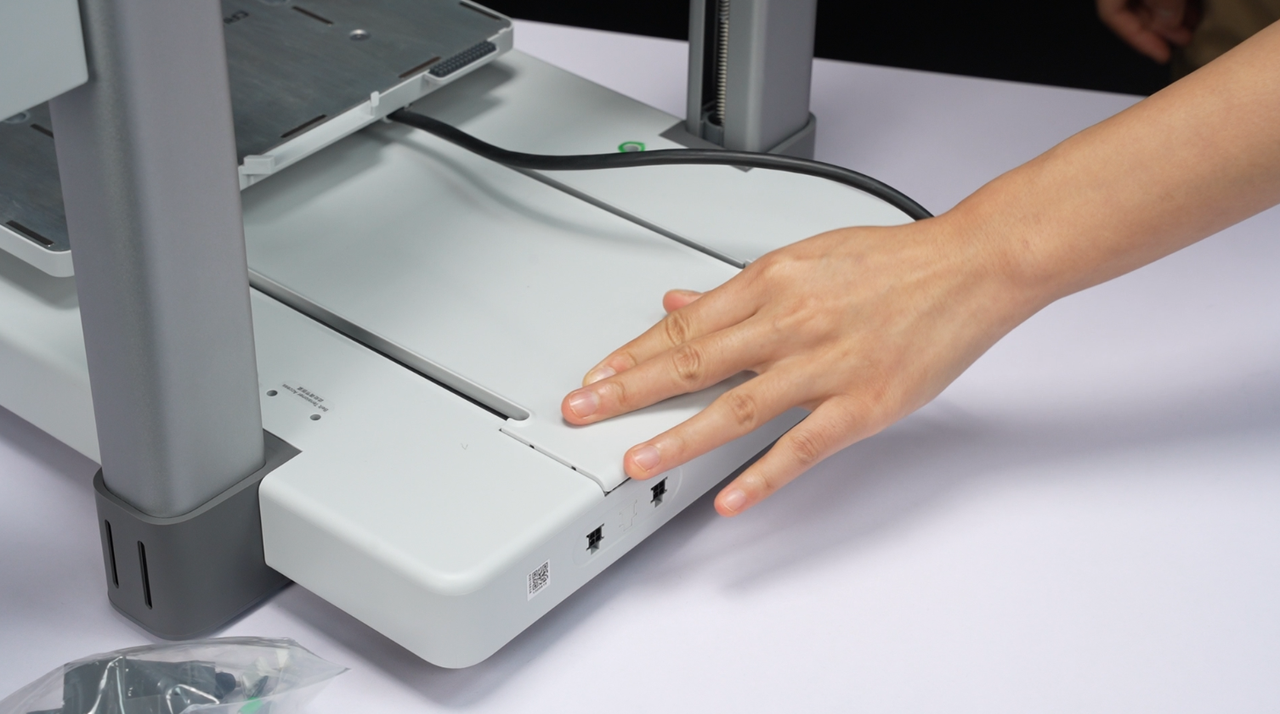 |
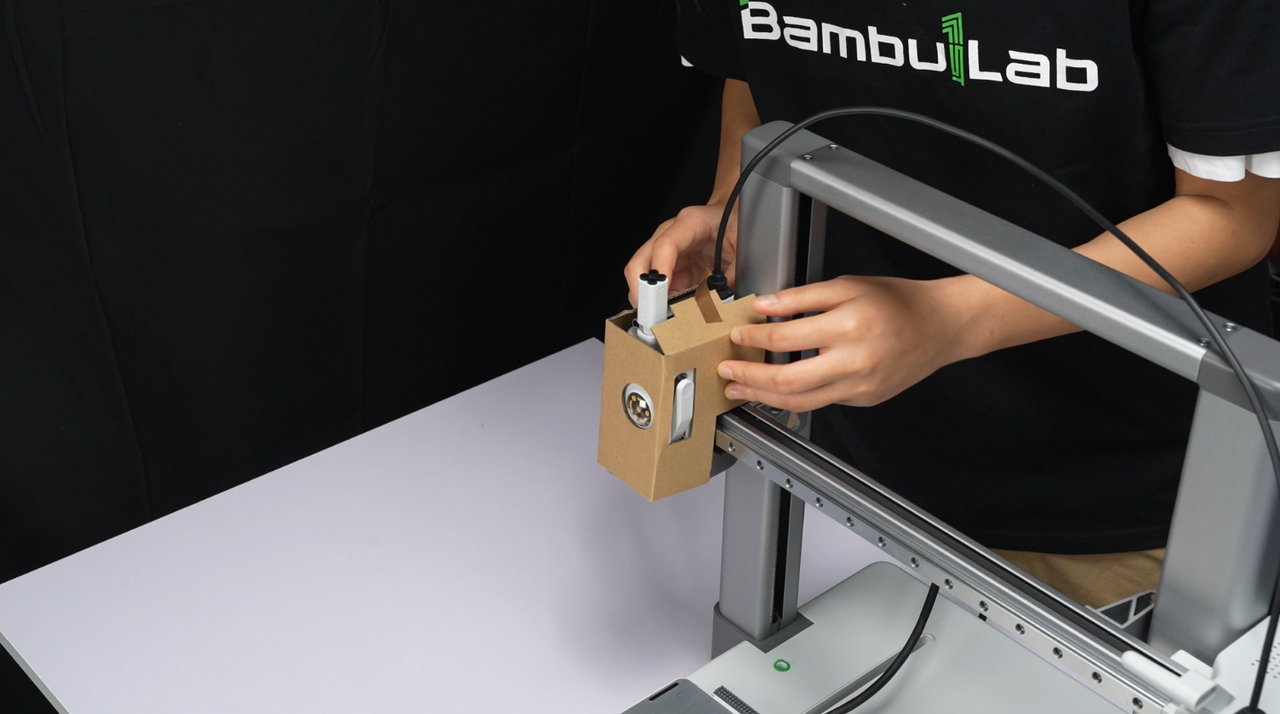
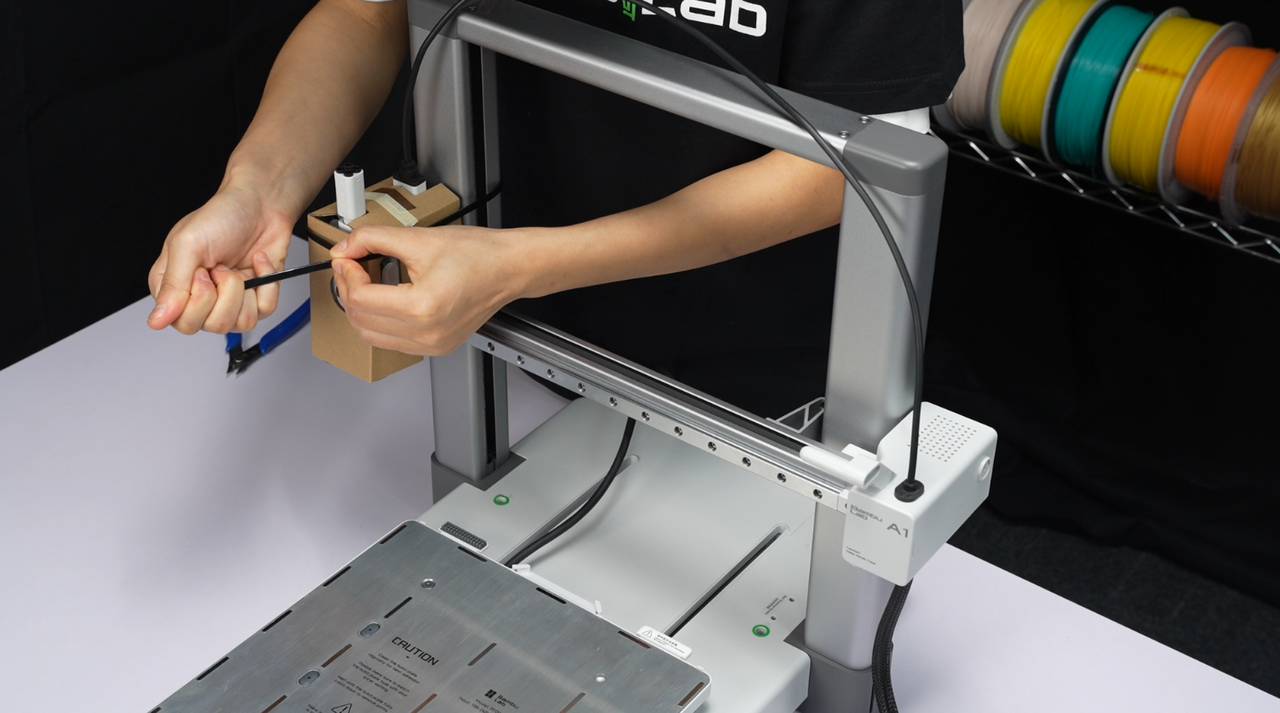
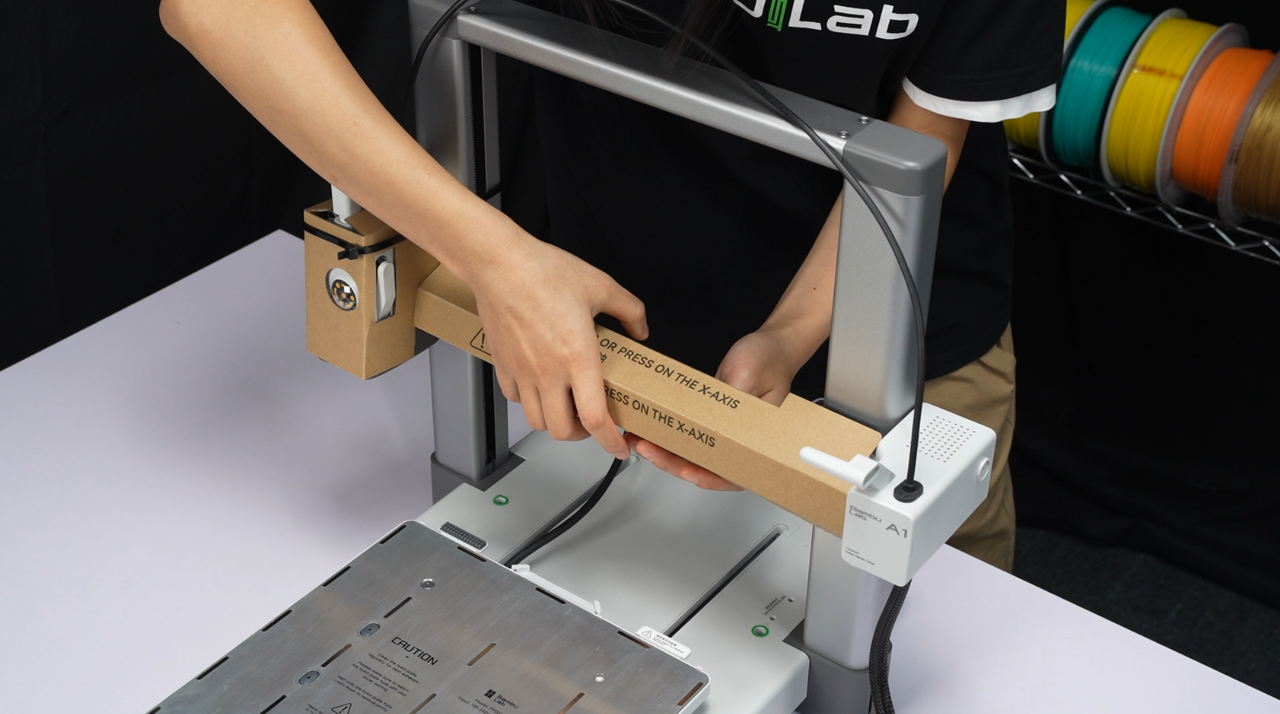
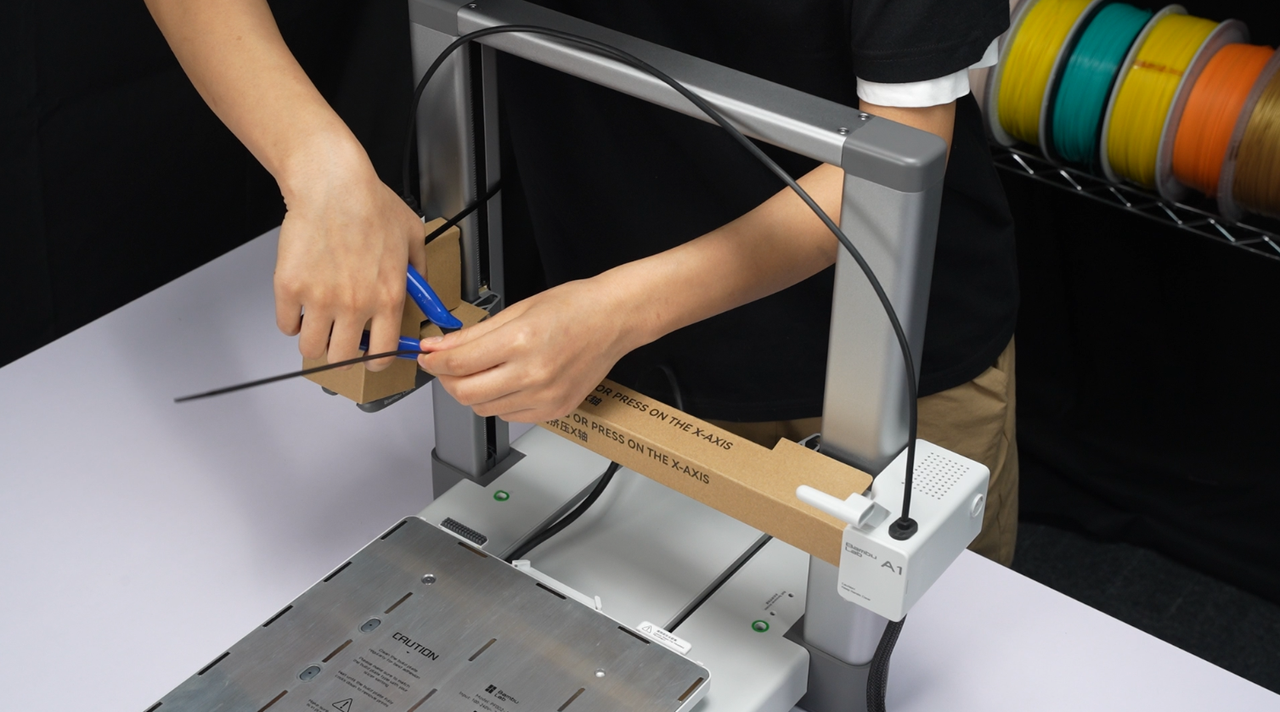
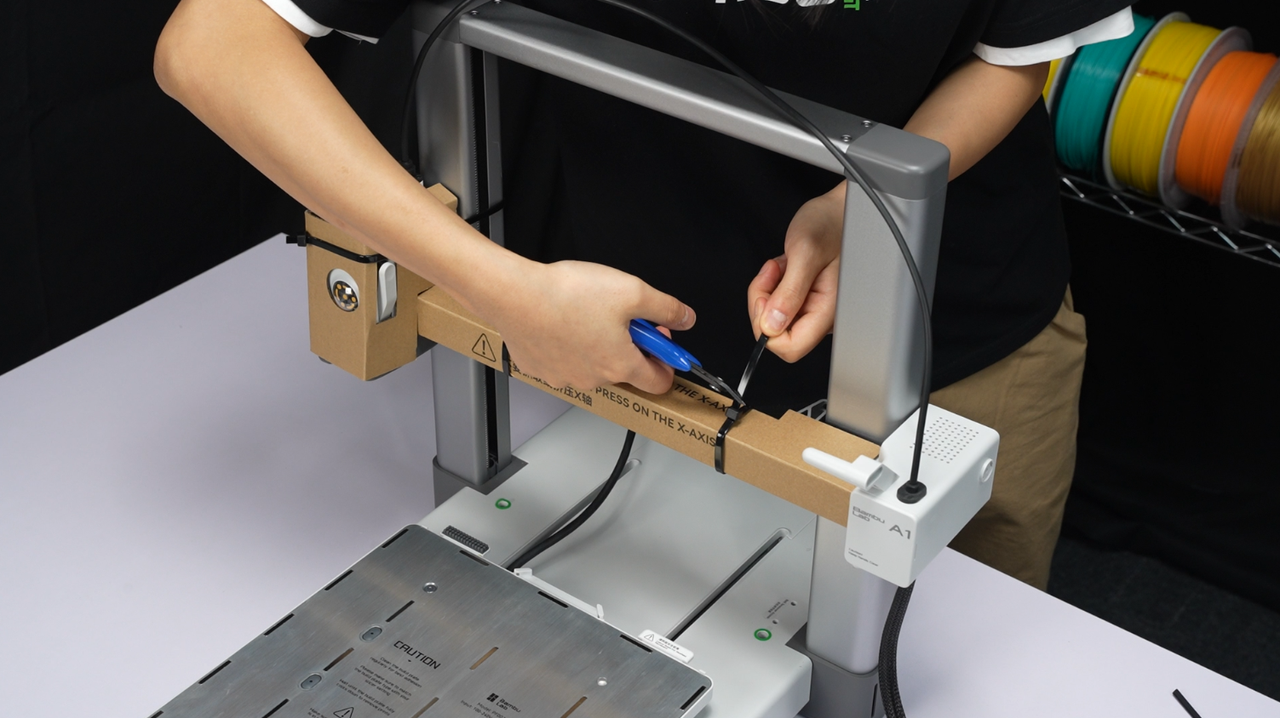
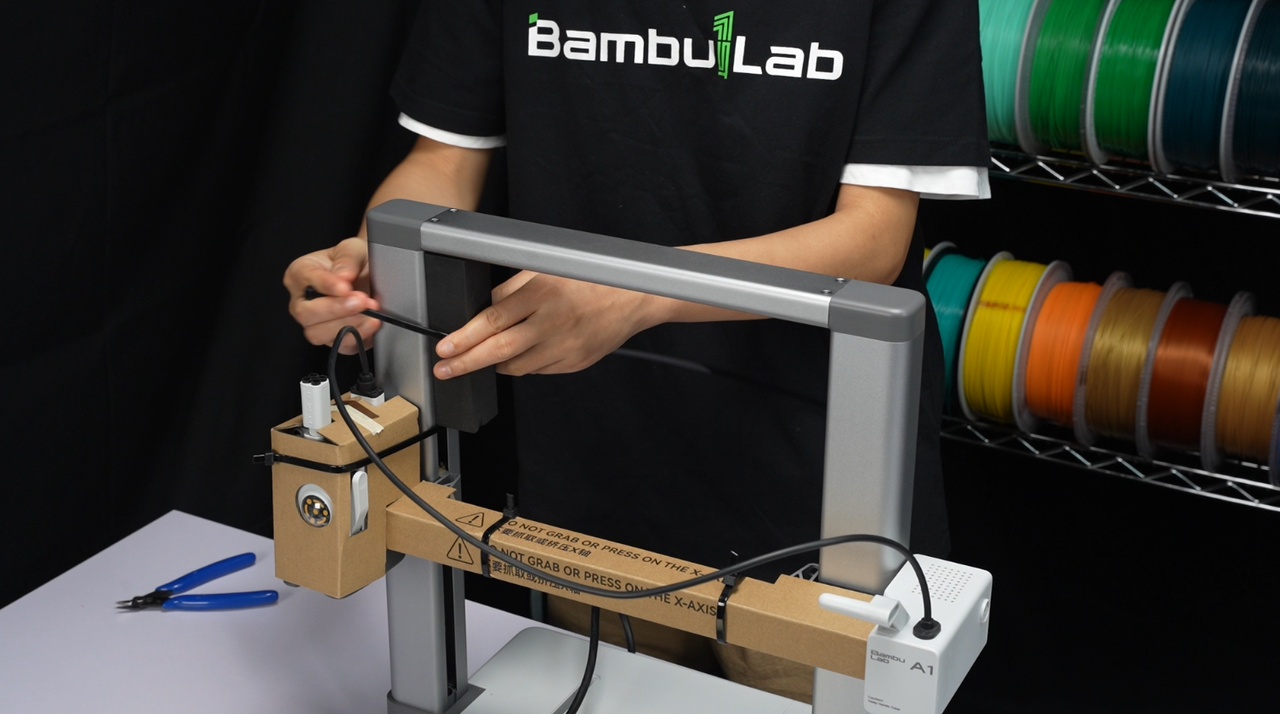
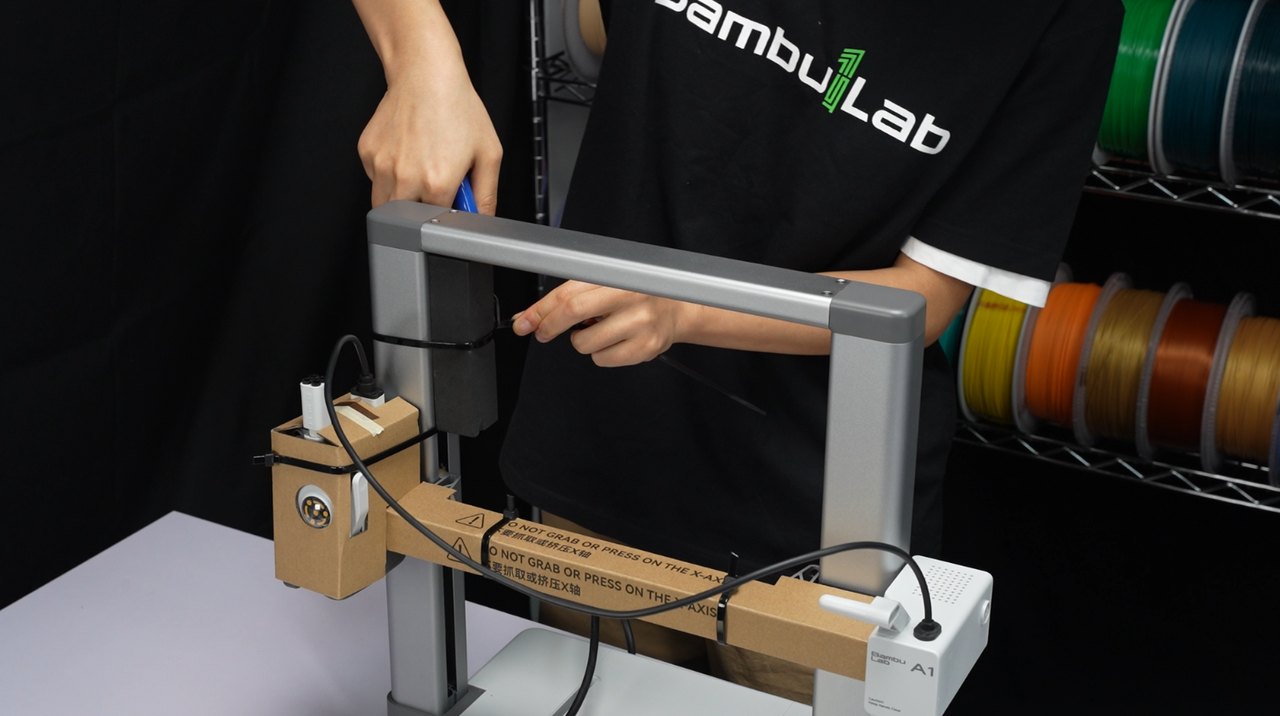
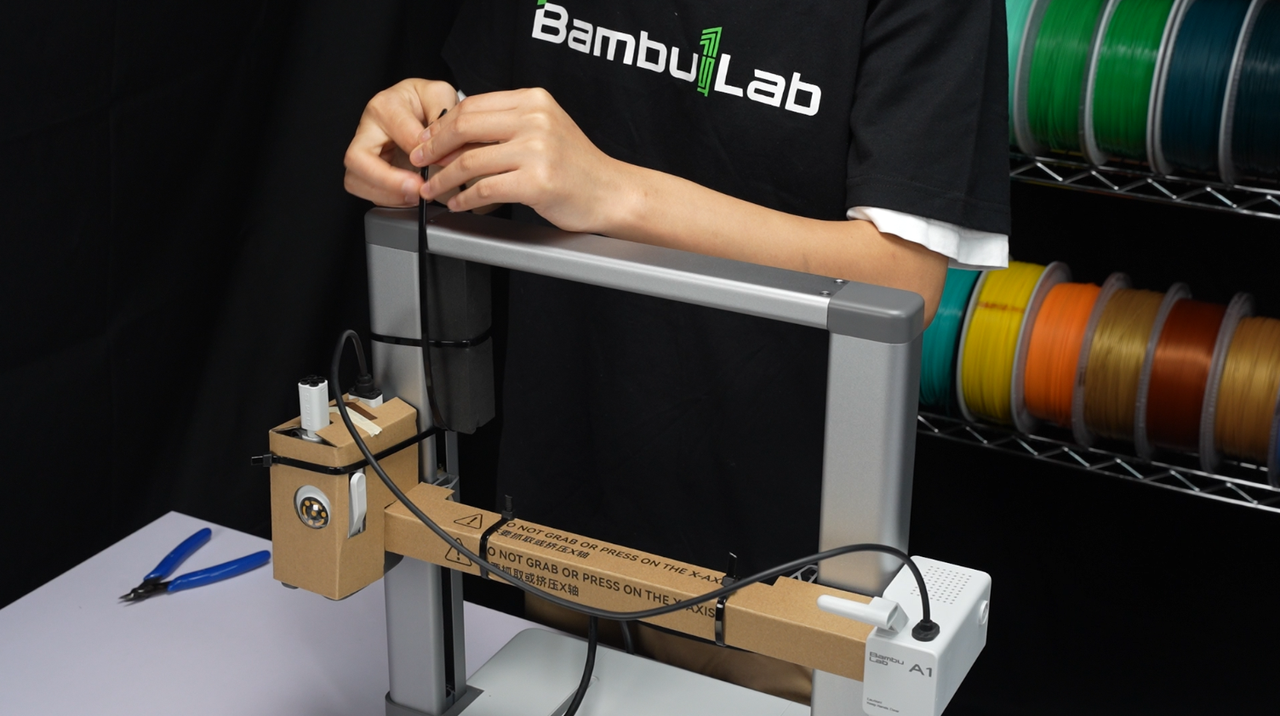
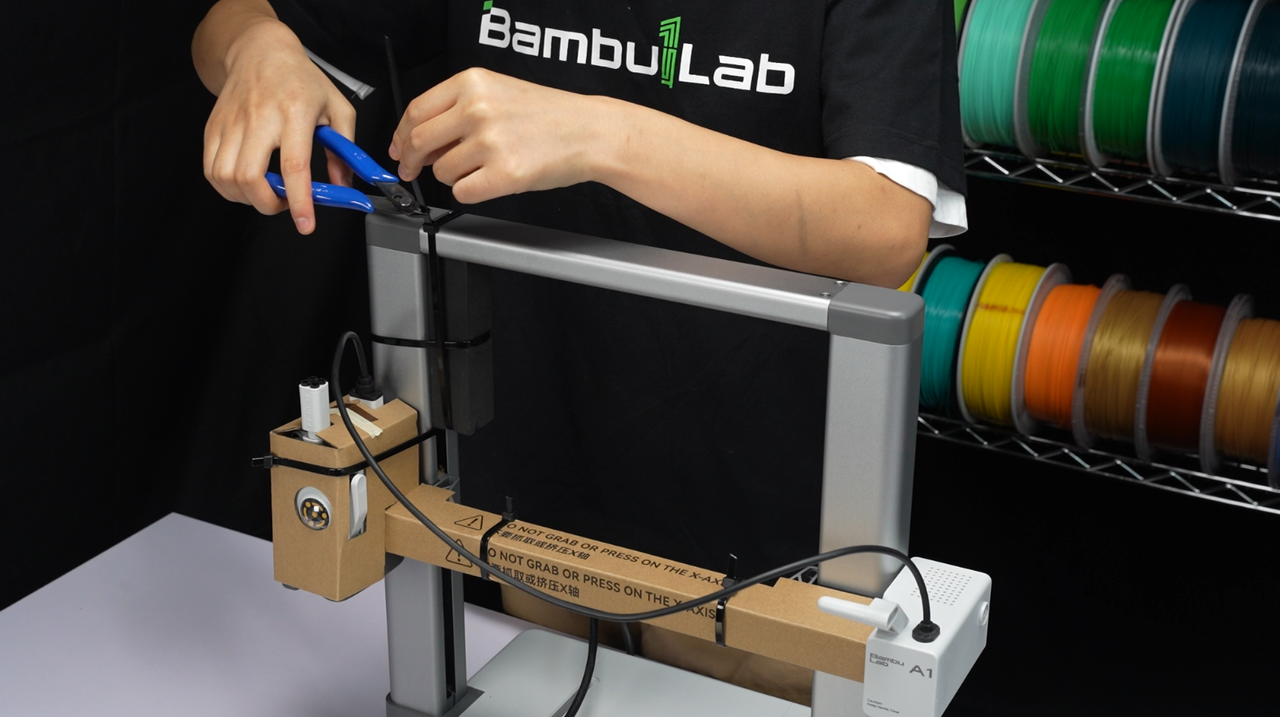
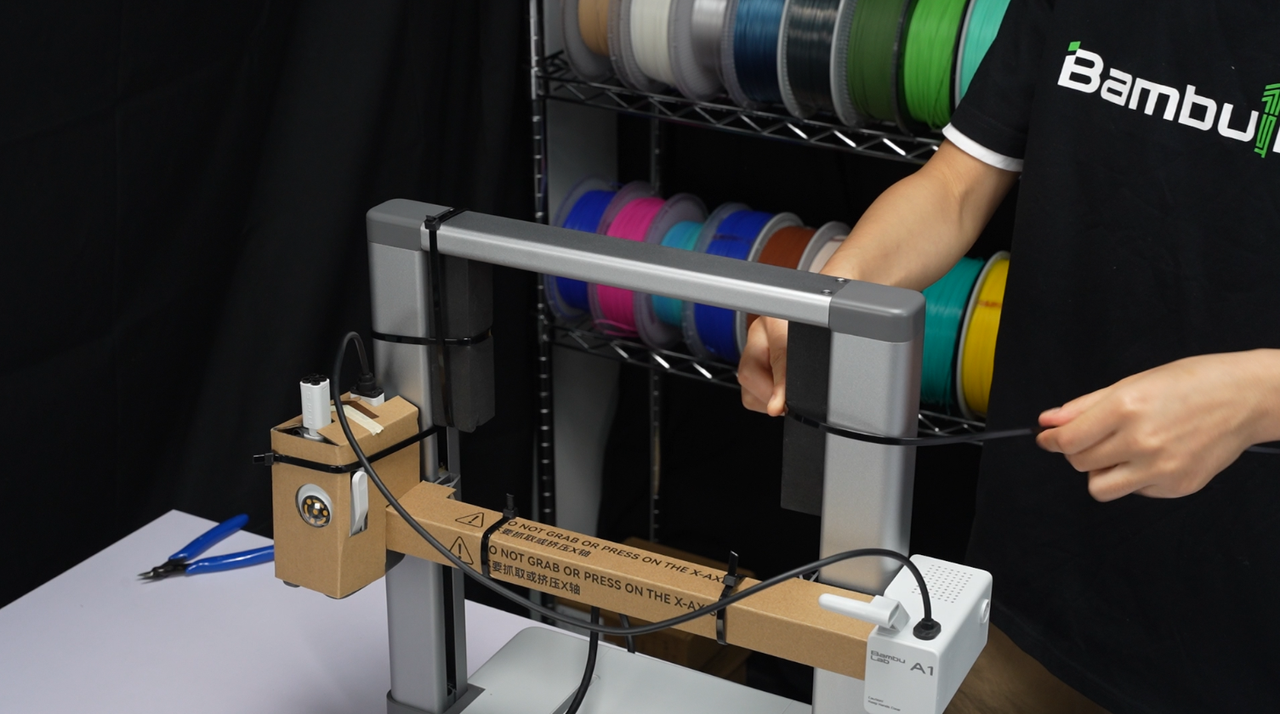
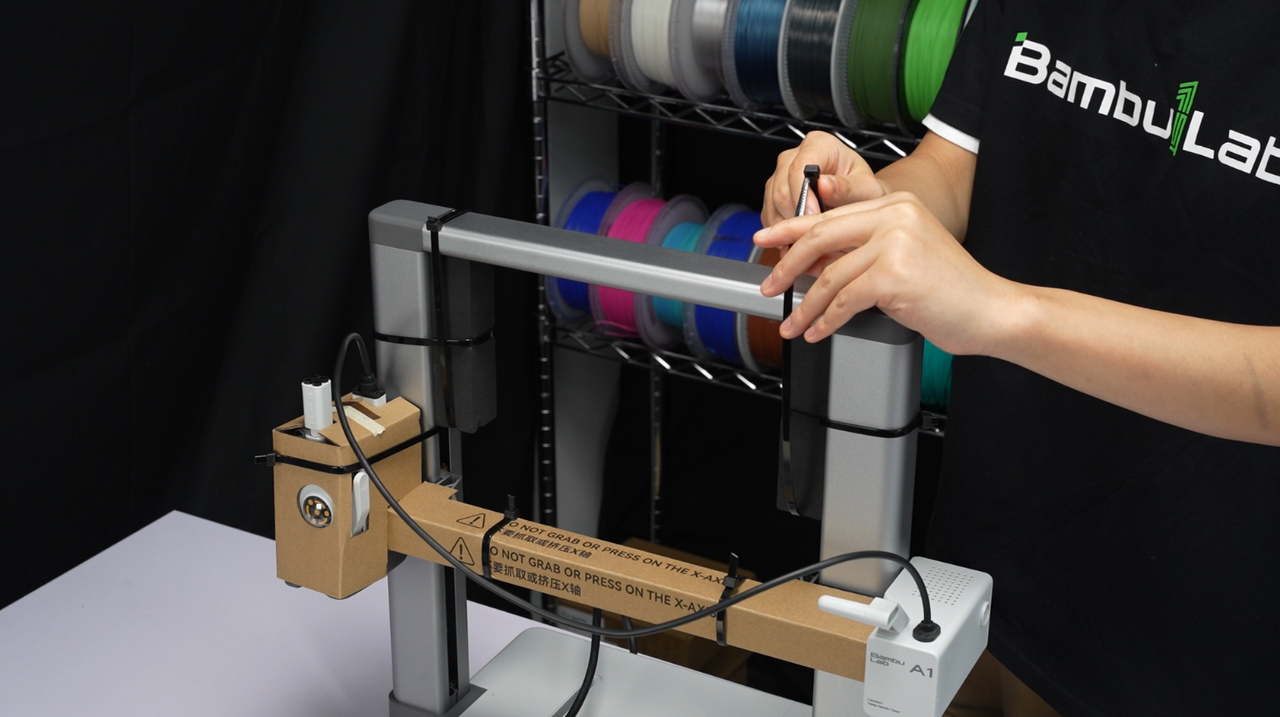
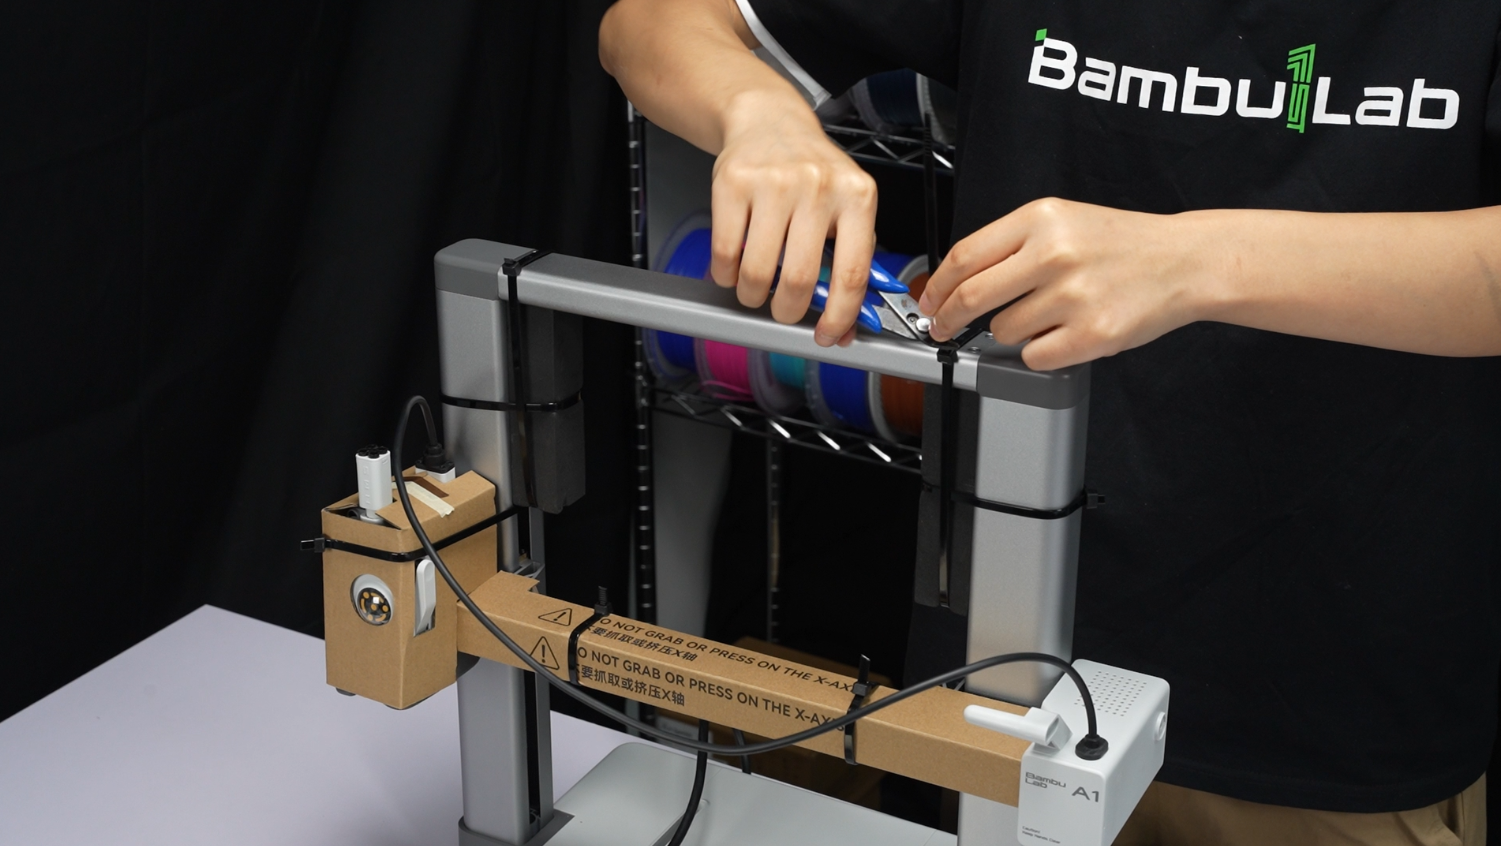
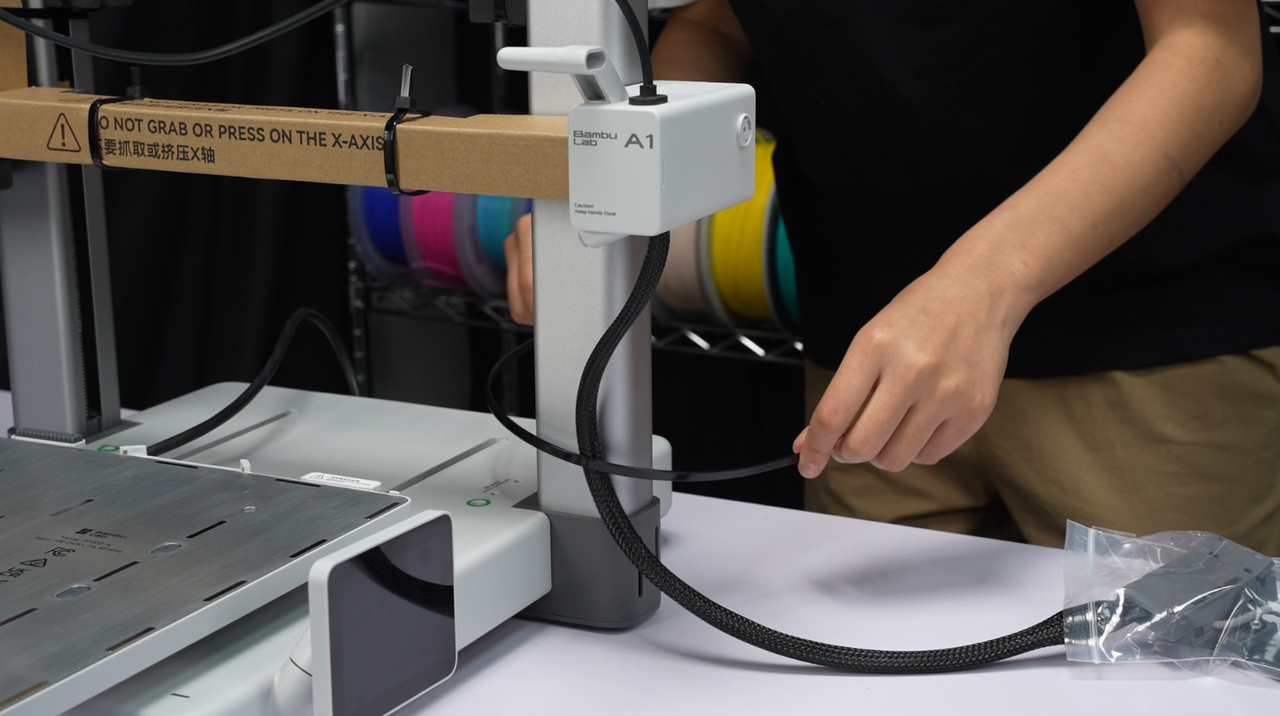
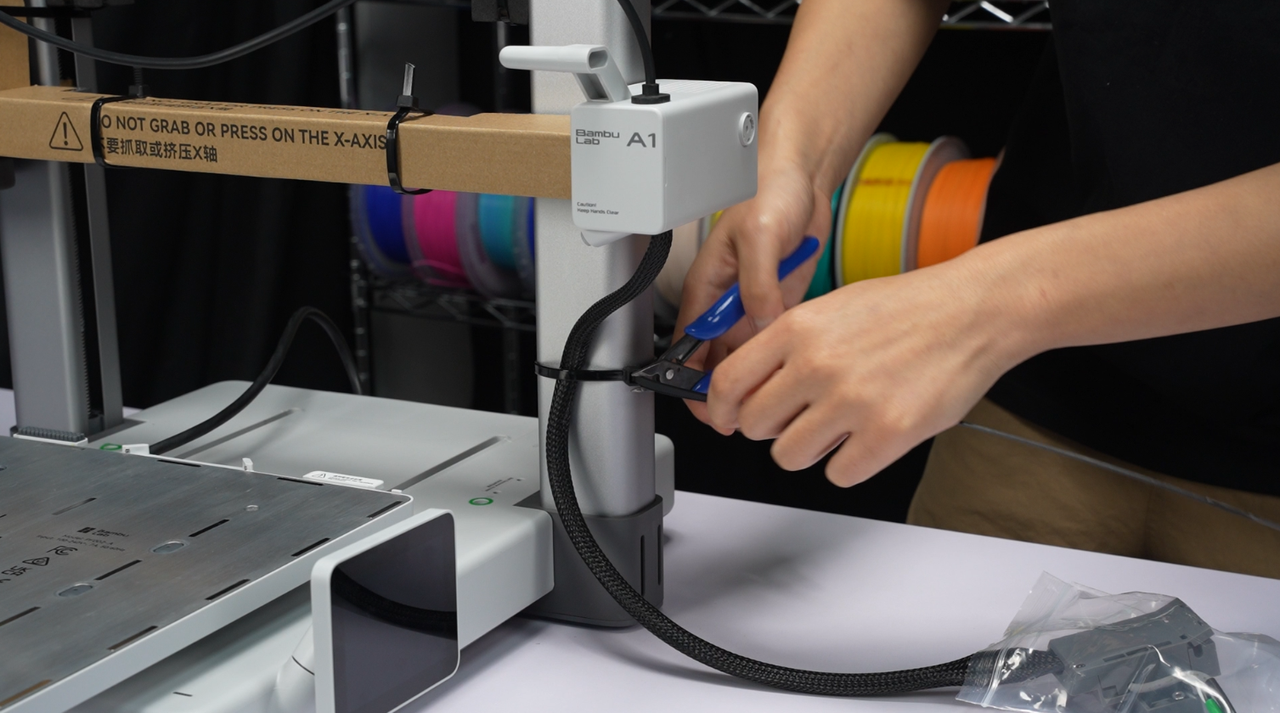
¶ Step 6: Secure the tool head with zip ties and install protective foam and cardboard.
 |
 |
 |
 |
 |
 |
 |
 |
 |
 |
 |
 |
 |
 |
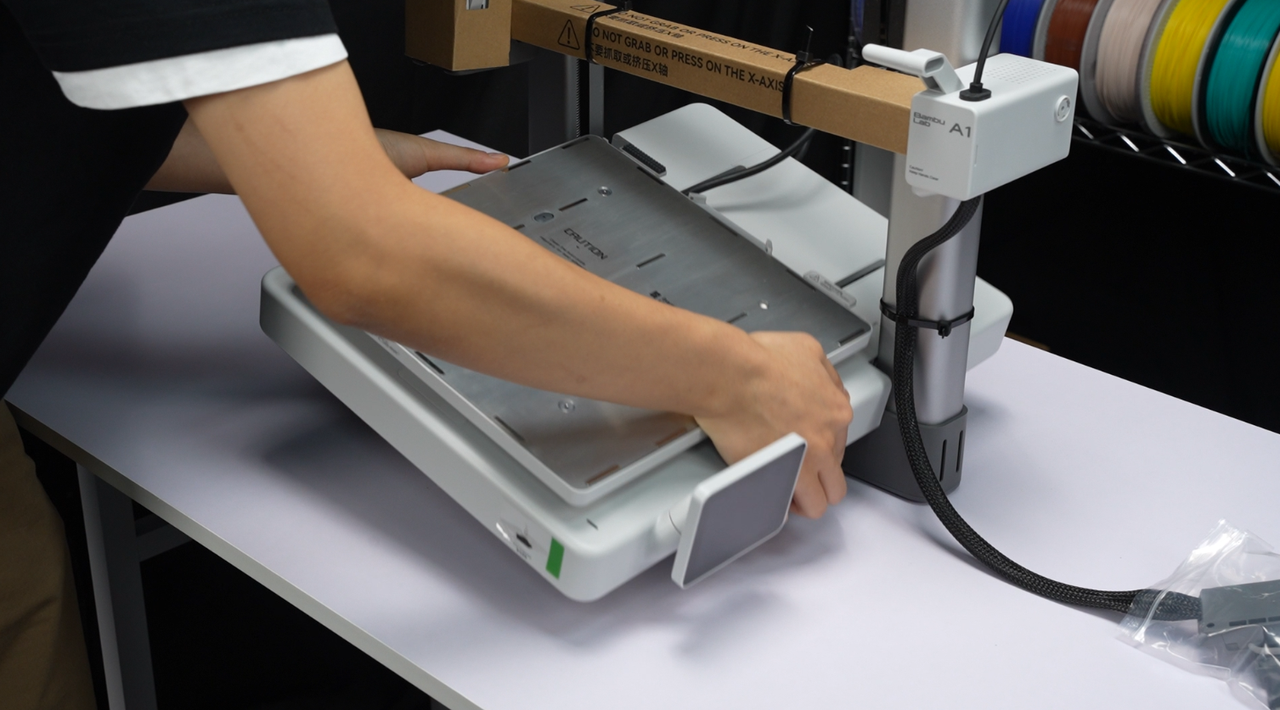
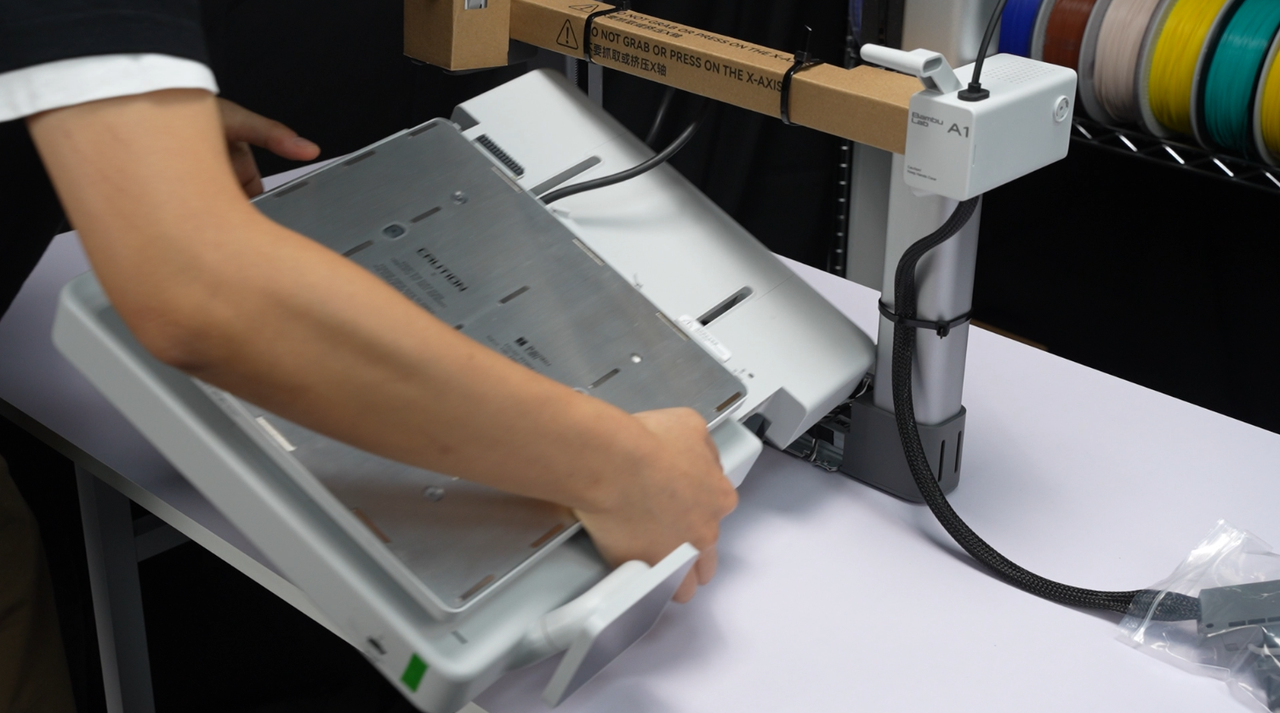
¶ Step 7: Separate the printer gantry frame from the printer base.
 |
 |
¶ Step 8: Tighten the four screws on the heatbed to prevent damage to the heated bed unit during transportation.
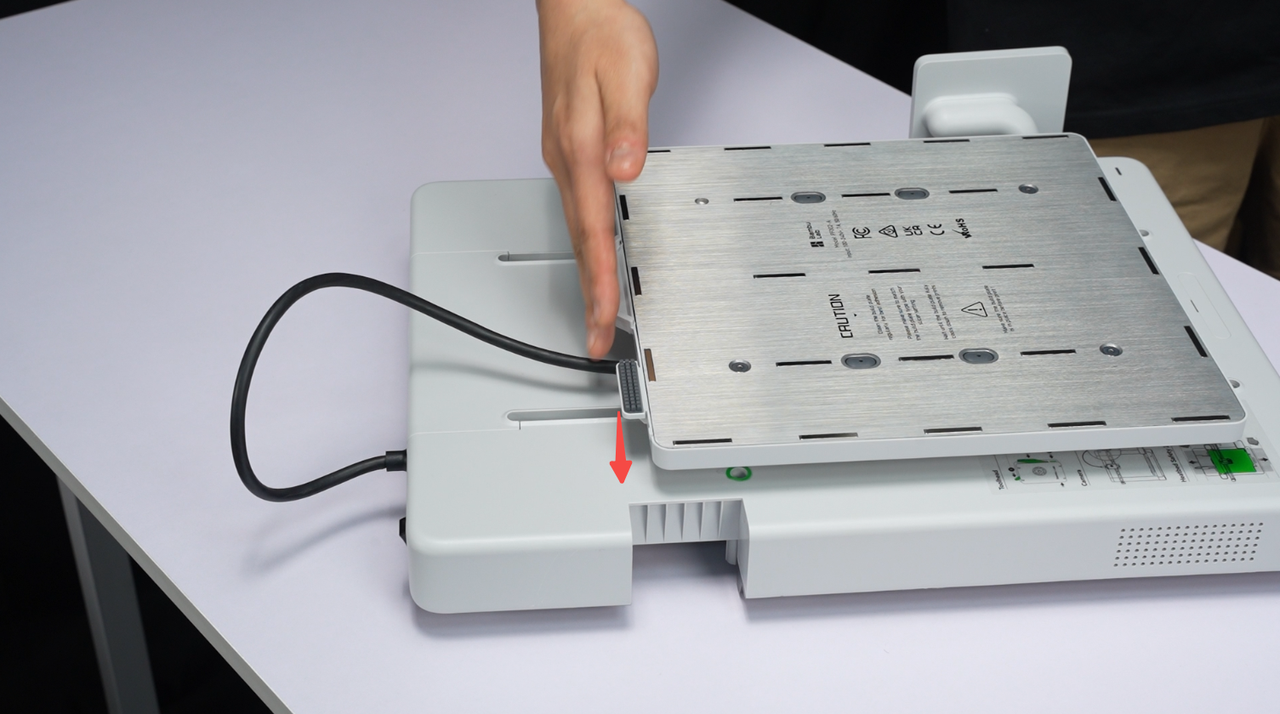
¶ 1. Push the heatbed to align the edge of the nozzle wiper approximately with the groove on the printer base. This will roughly align the four screw holes on the heatbed with the printer base for the next step of screwing them in.
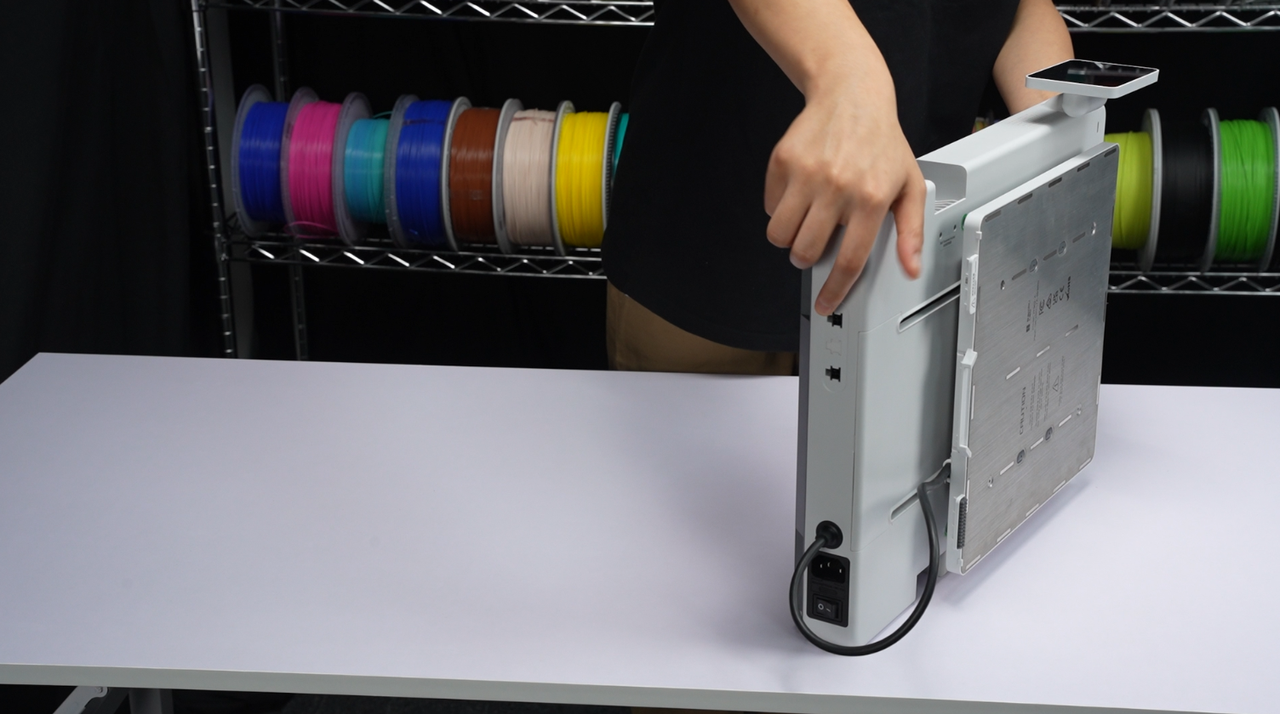
¶ 2. Rotate the base 90 degrees so that the screen is positioned directly above.
 |
 |
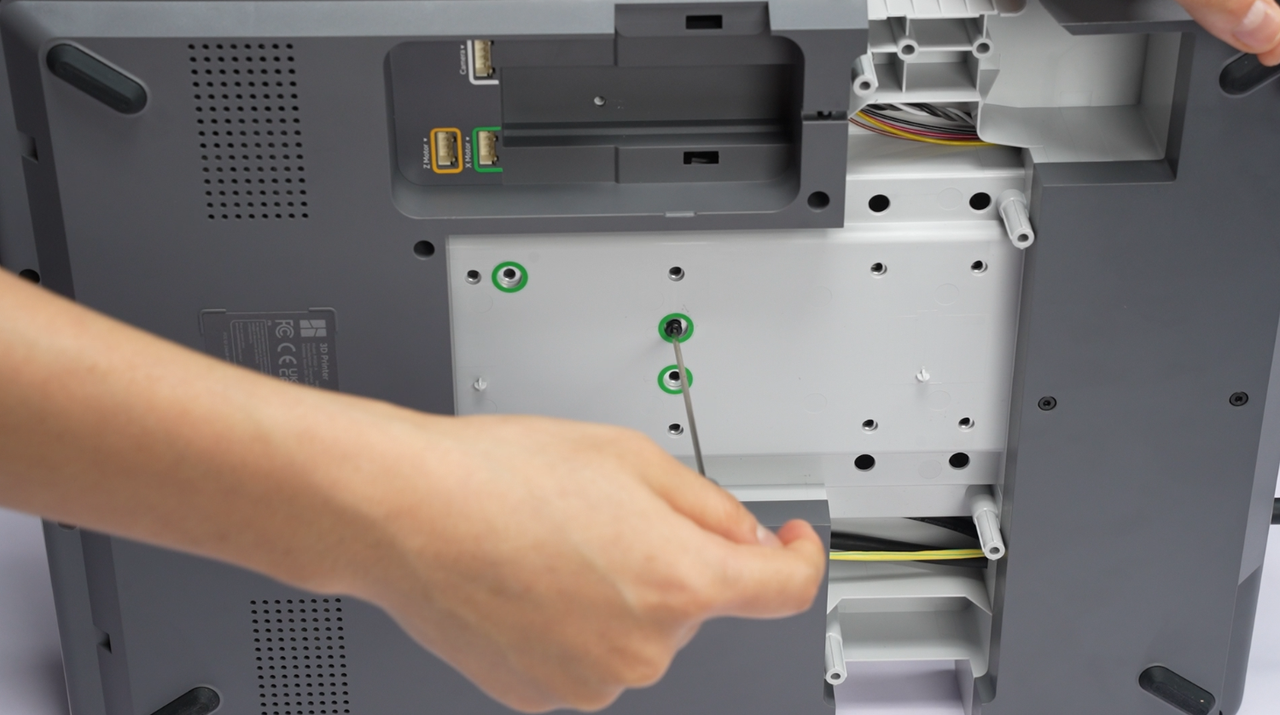
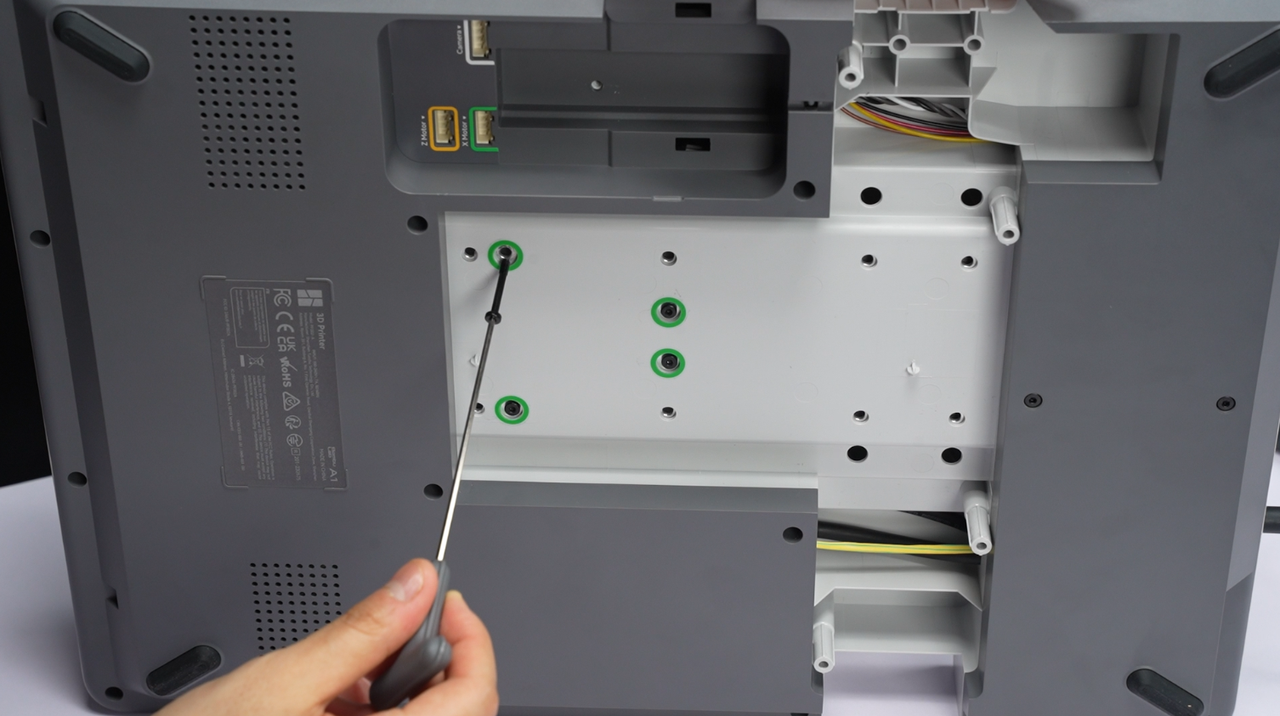
¶ 3. Tighten the four screws to secure the heatbed. If the screws cannot be tightened, make slight adjustments to align the holes on the heatbed with the corresponding holes on the base.
 |
 |
¶ 4. Check the status of the heatbed and ensure that it is securely fixed and can not be moved after tightening the screws.
¶ AMS lite
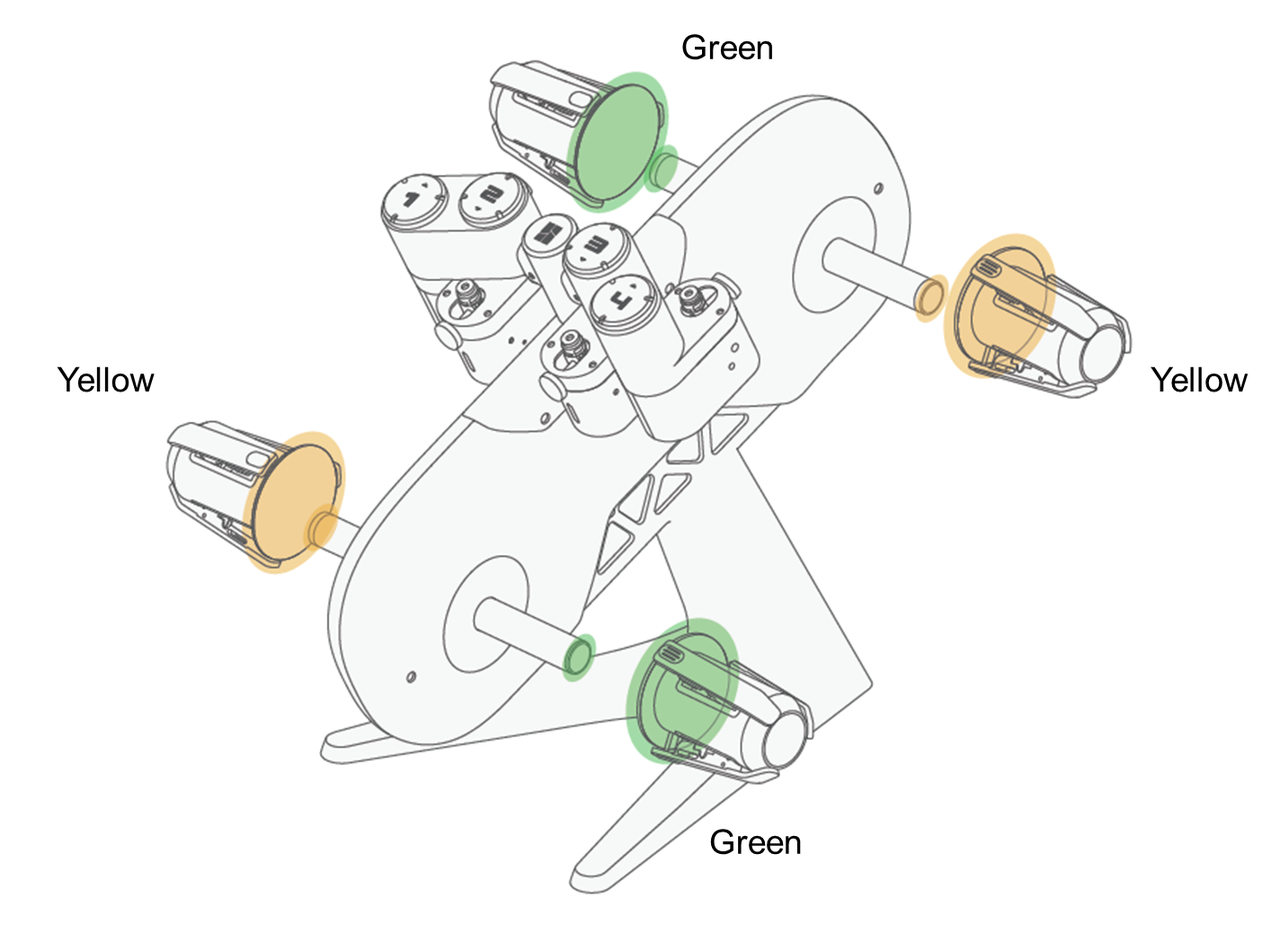
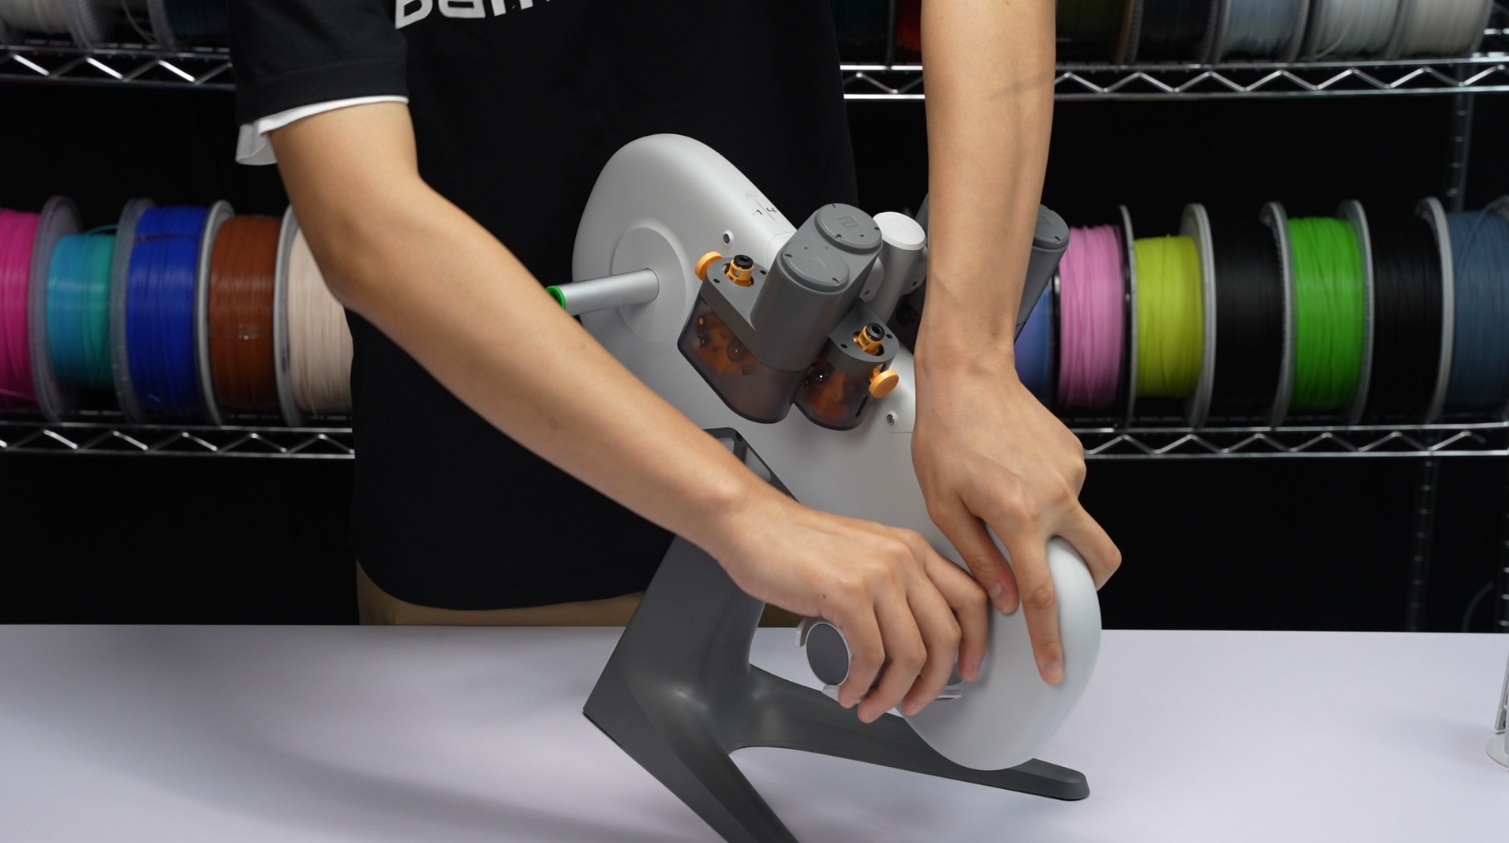
¶ Step 1: Pull out the rotary spool holders
 |
 |
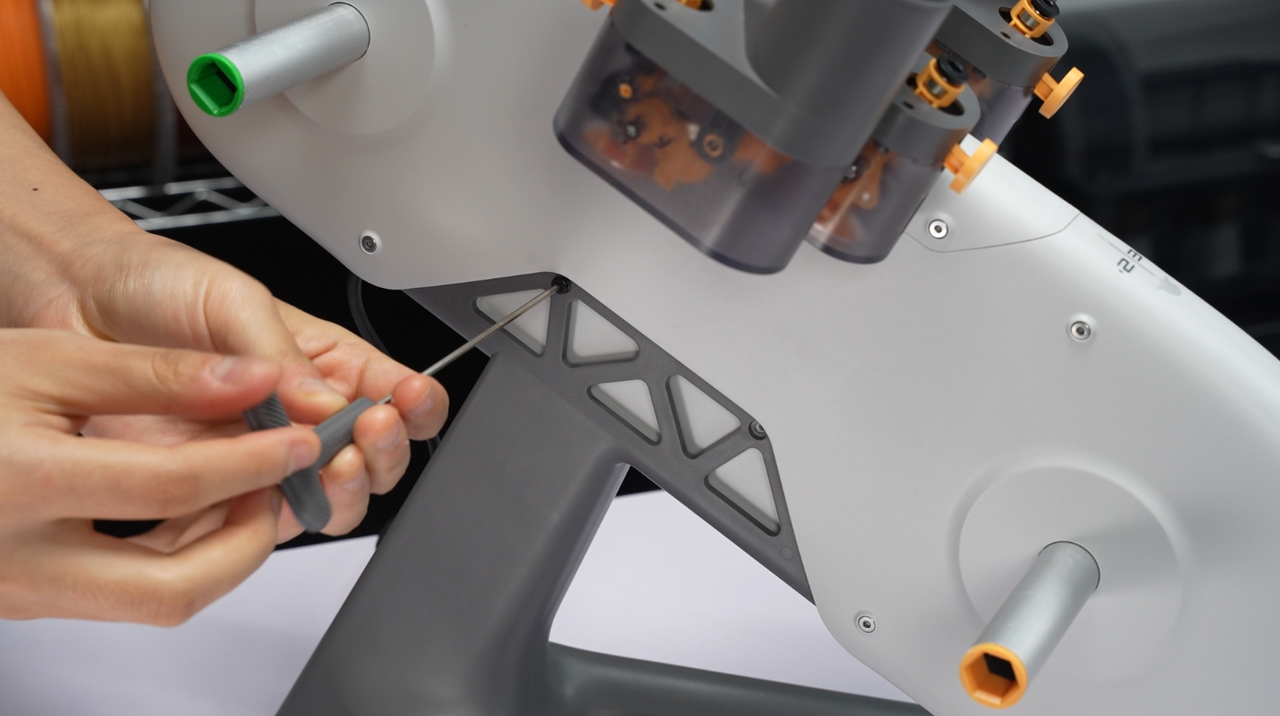
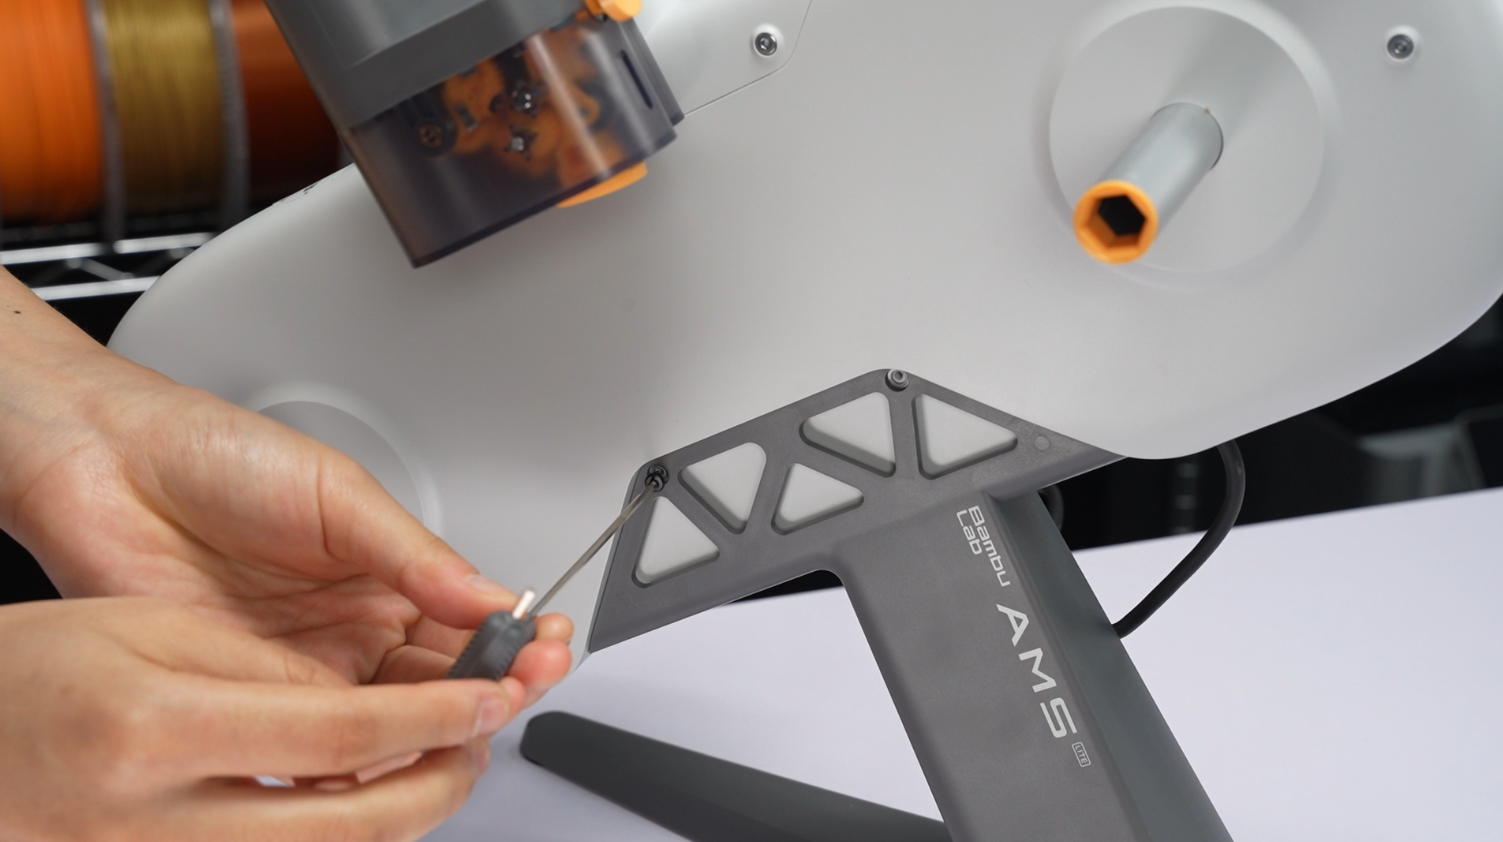
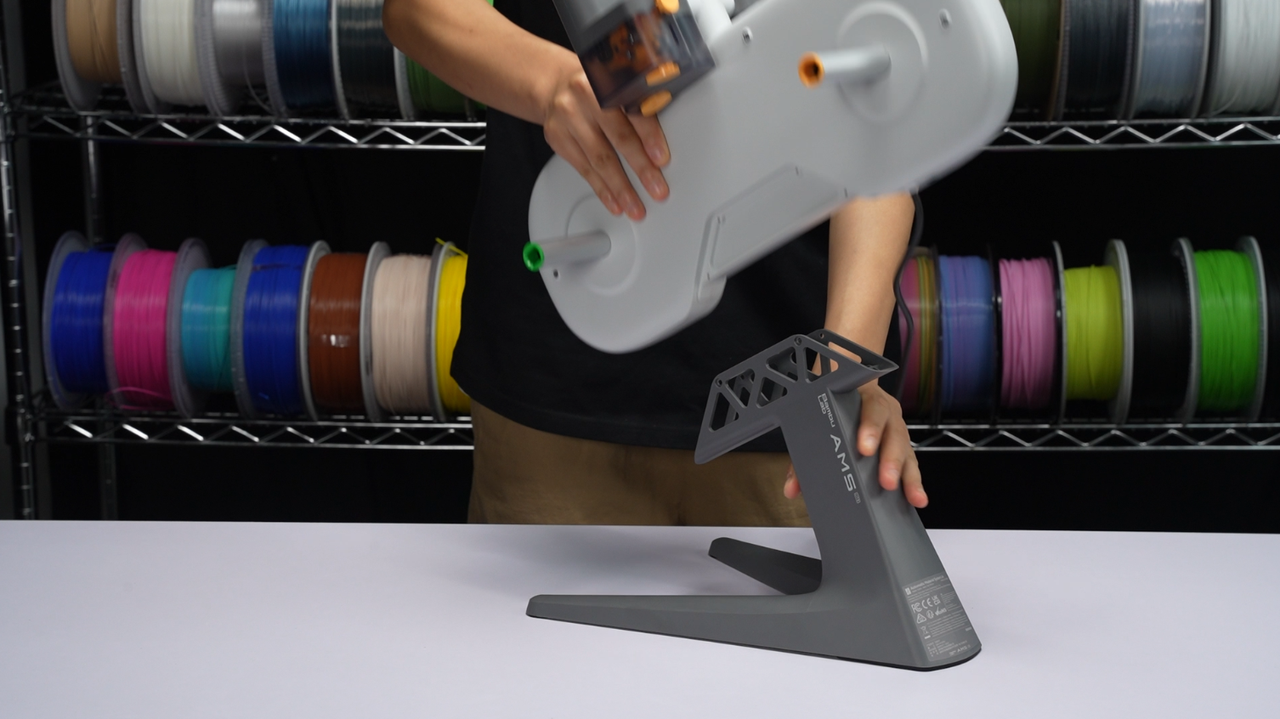
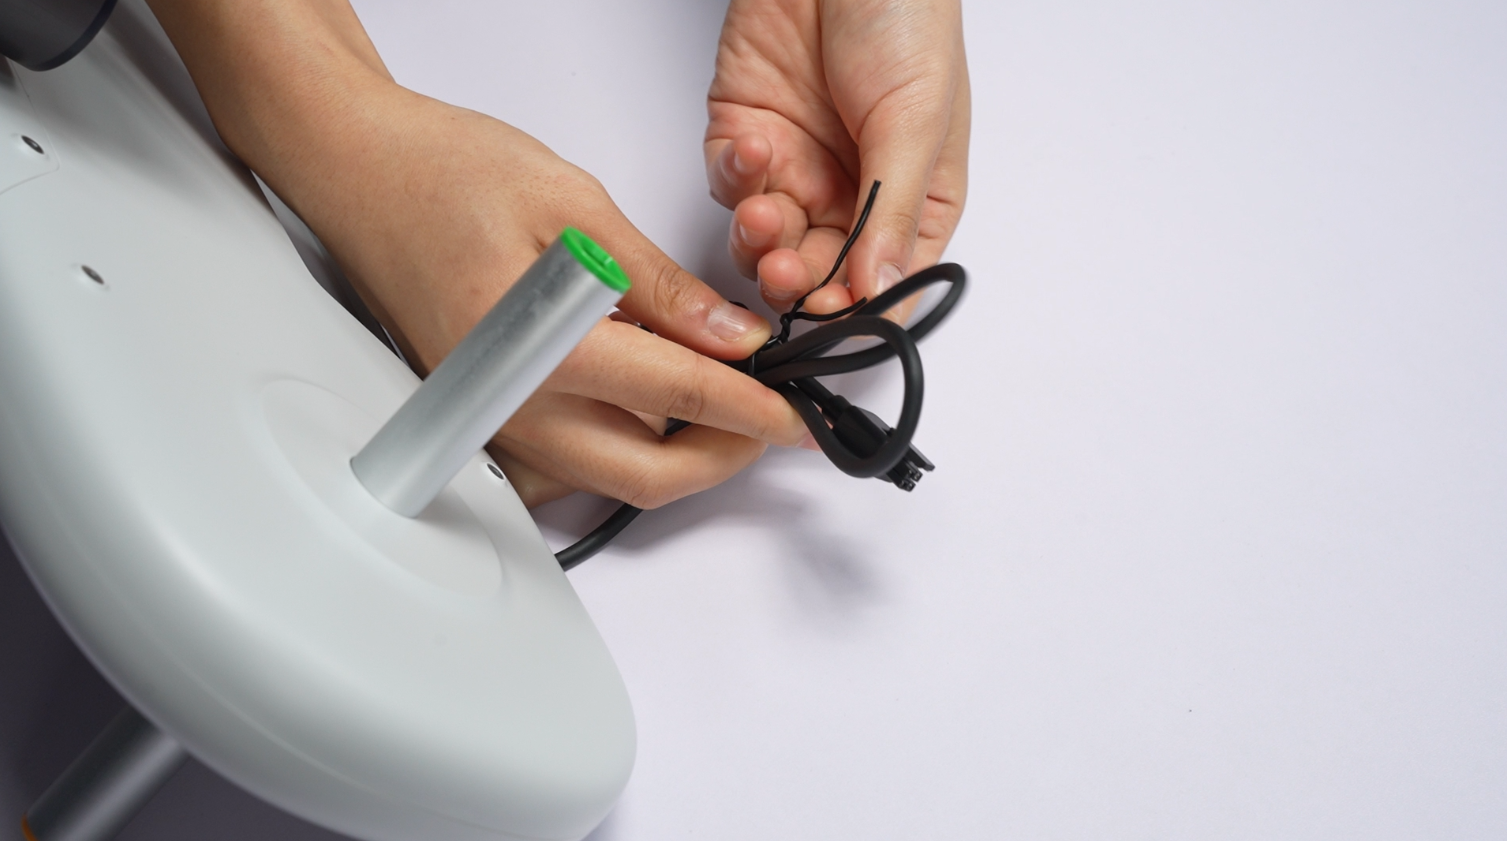
¶ Step 2: Remove the 4*BT3-6 screws connecting the AMS lite and the stand
 |
 |
 |
 |
¶ Packing
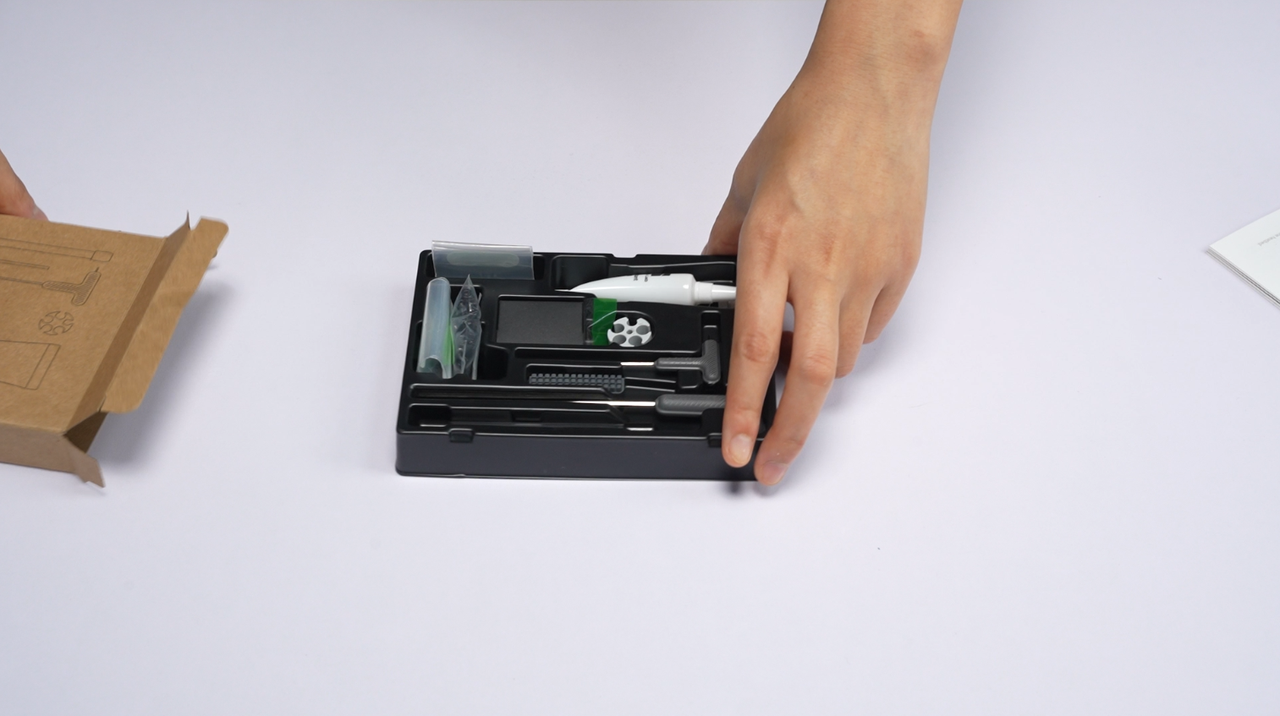
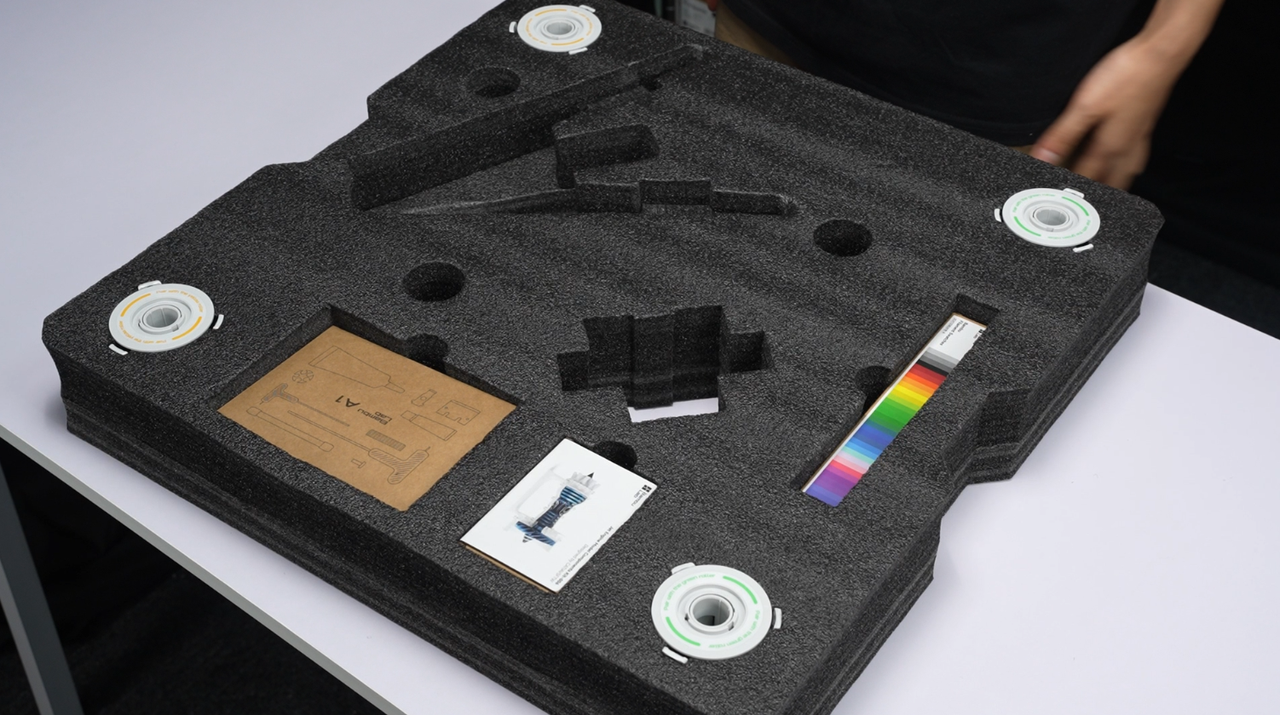
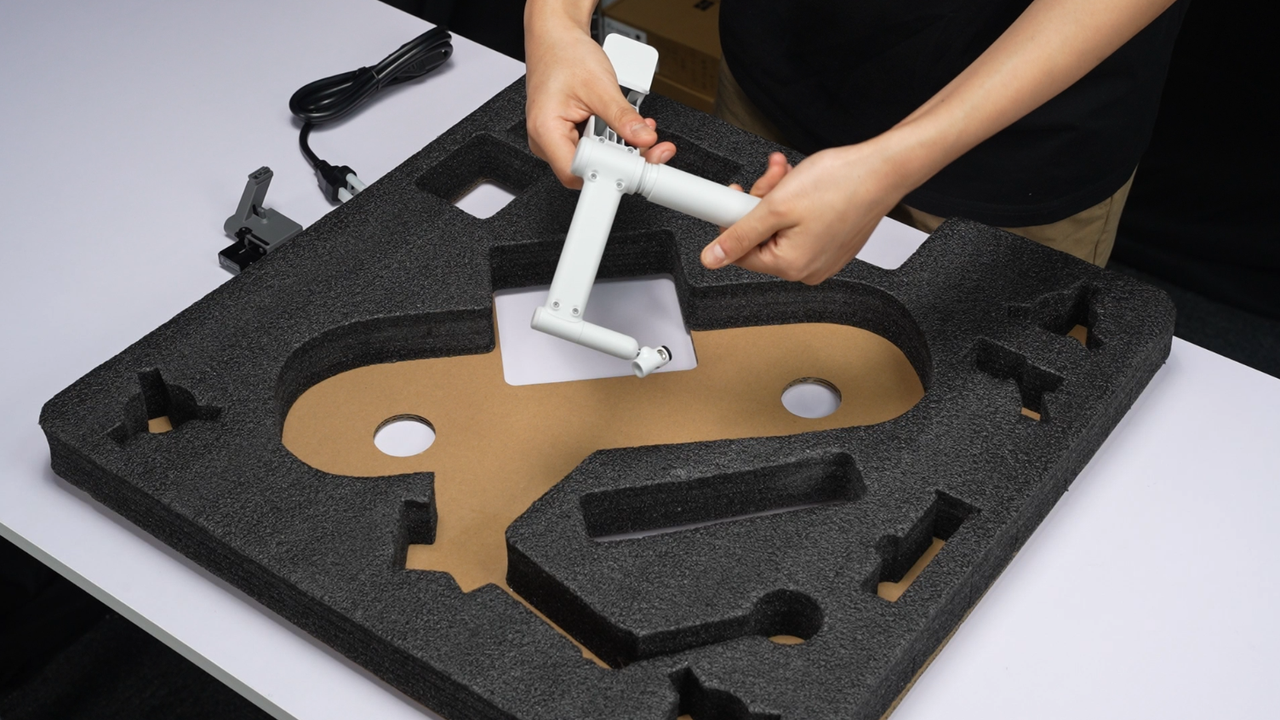
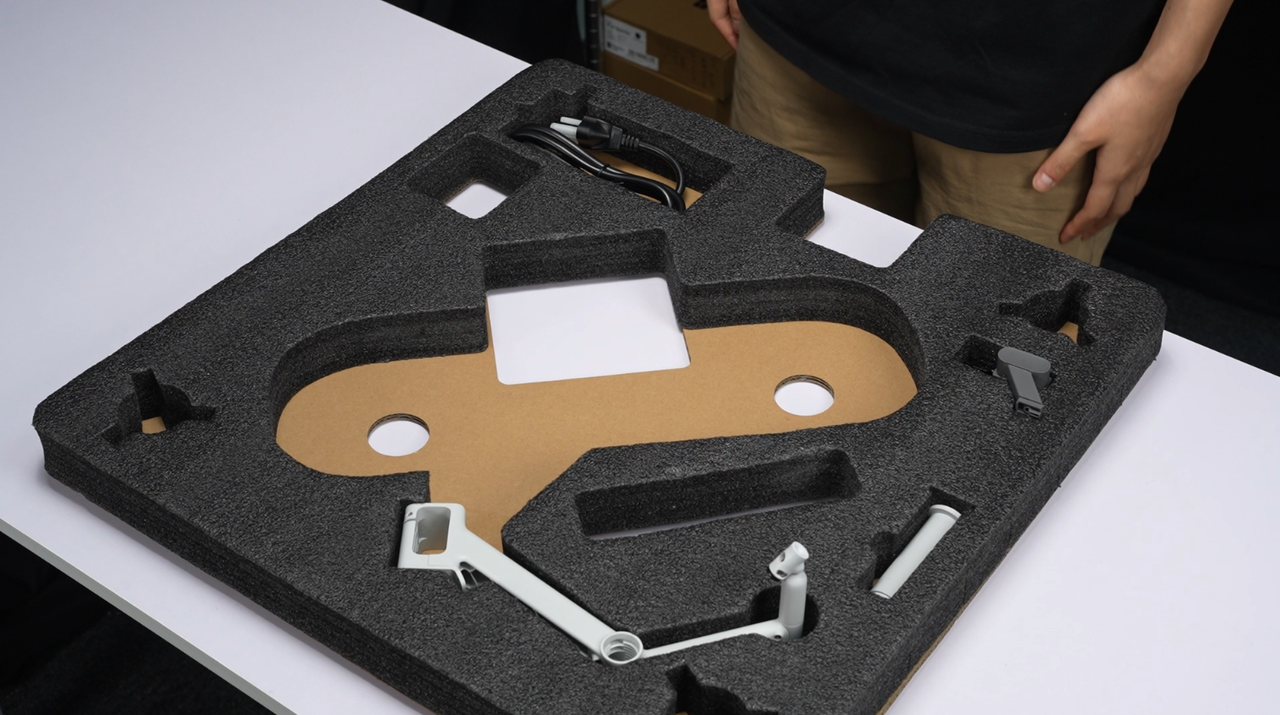
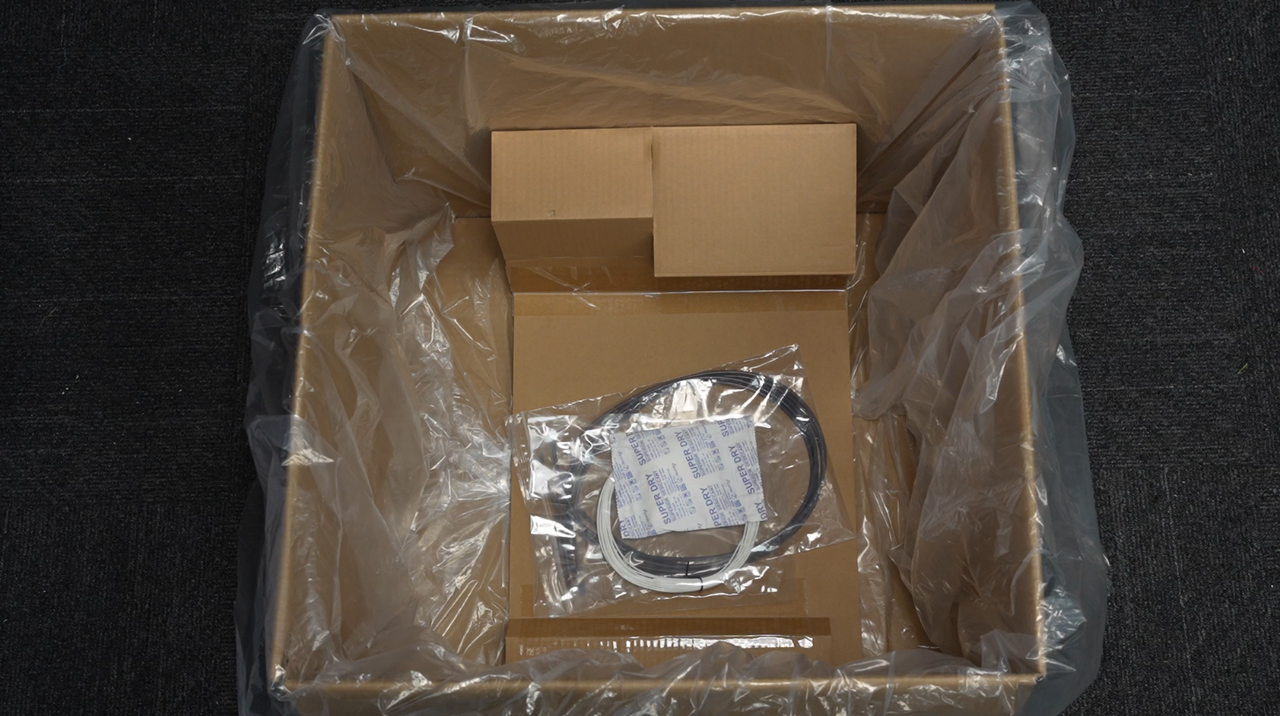
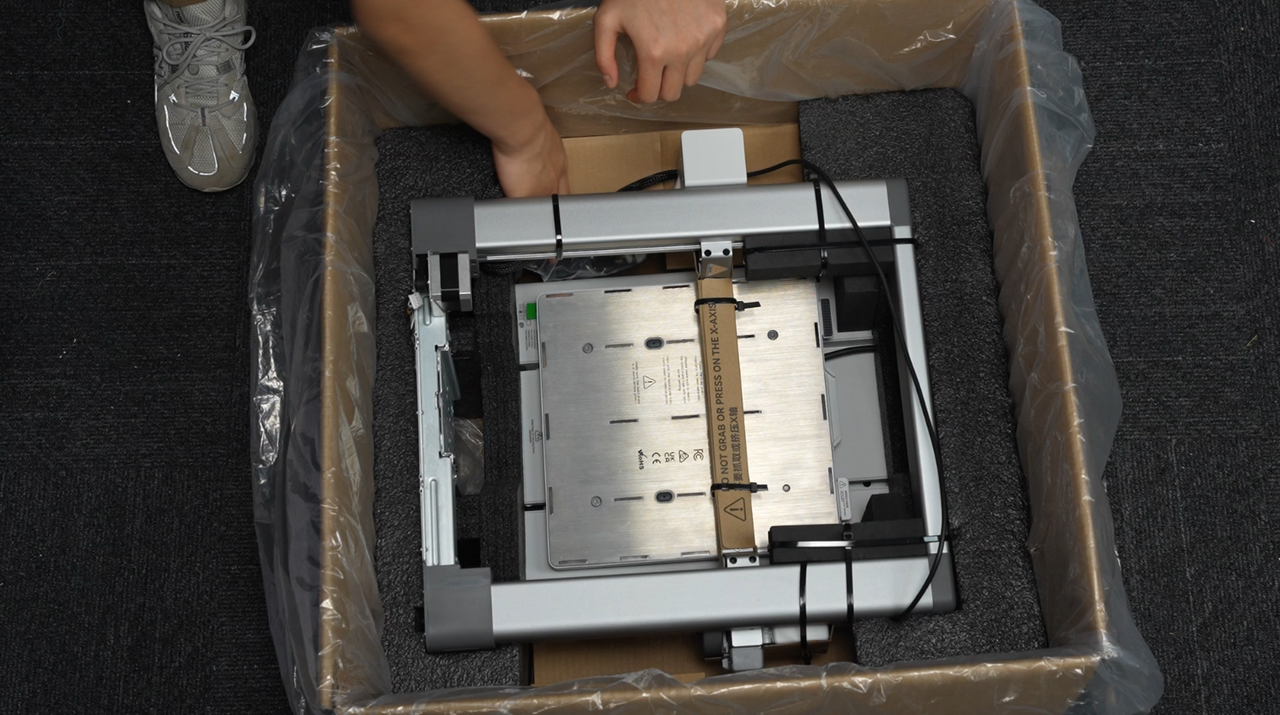
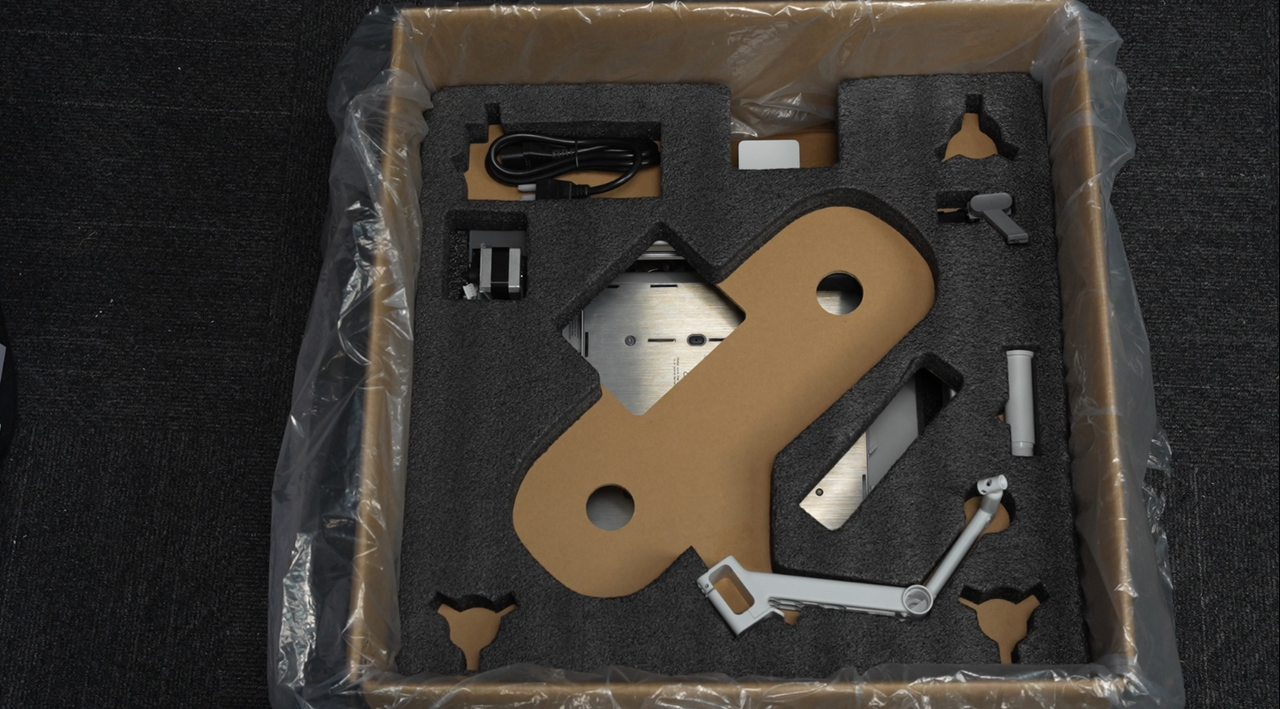
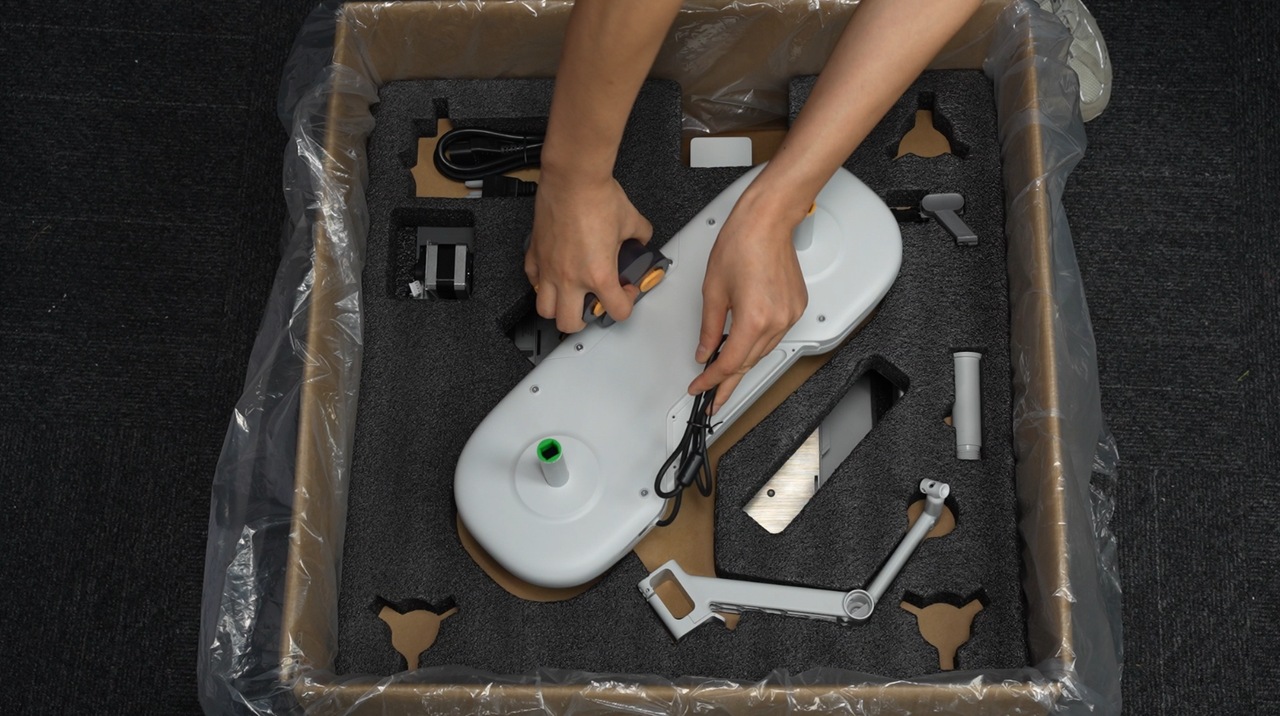
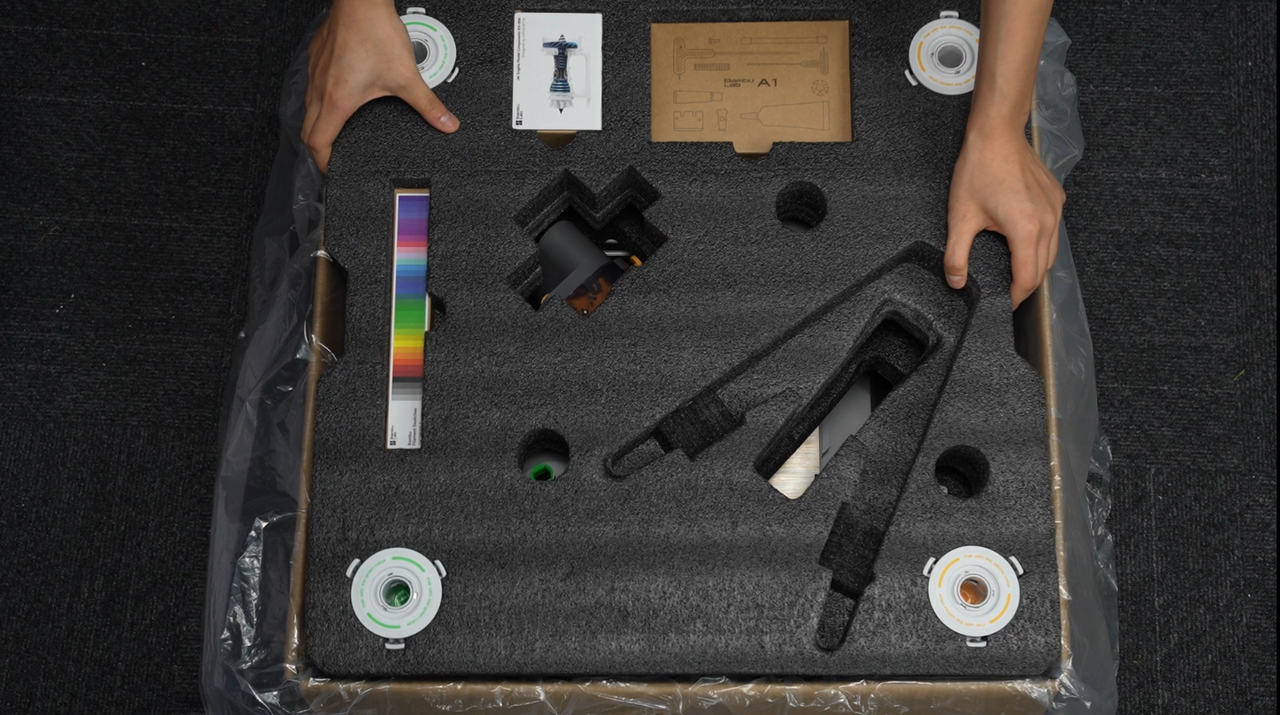
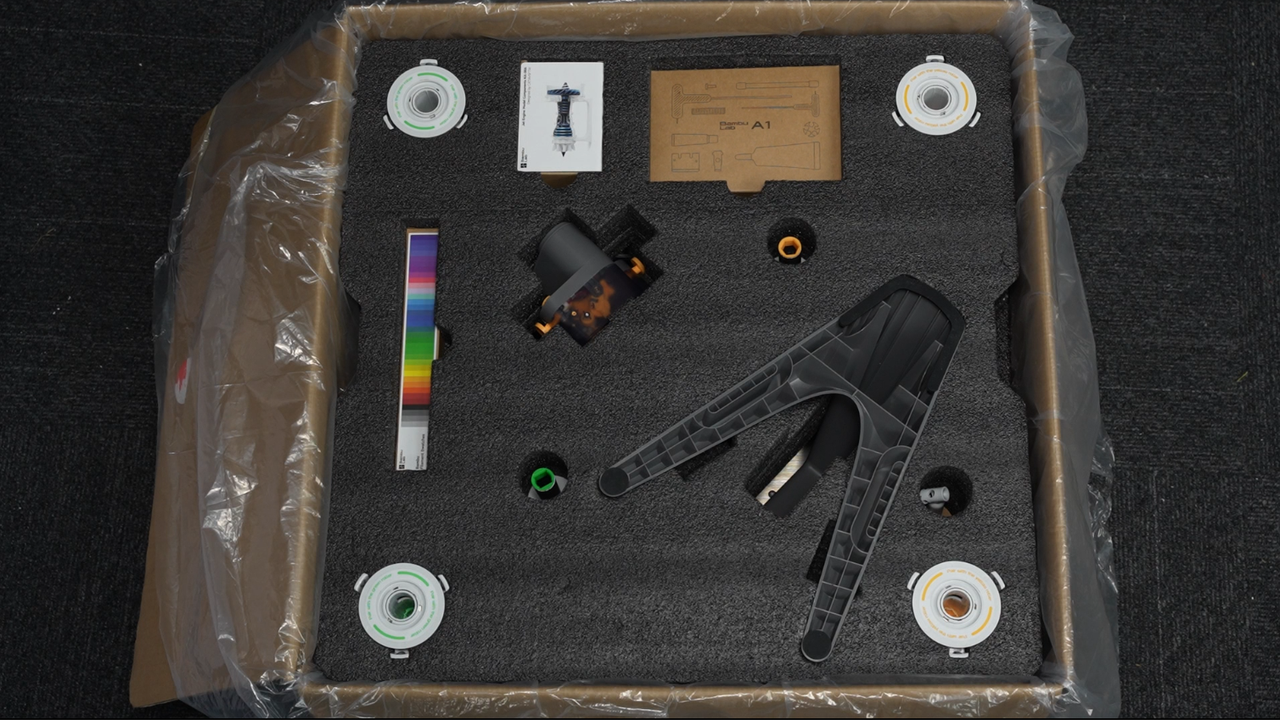
¶ Step 1: Install the accessories box, and if present, rotate and unscrew the external filament spool holder.
 |
 |
 |
 |
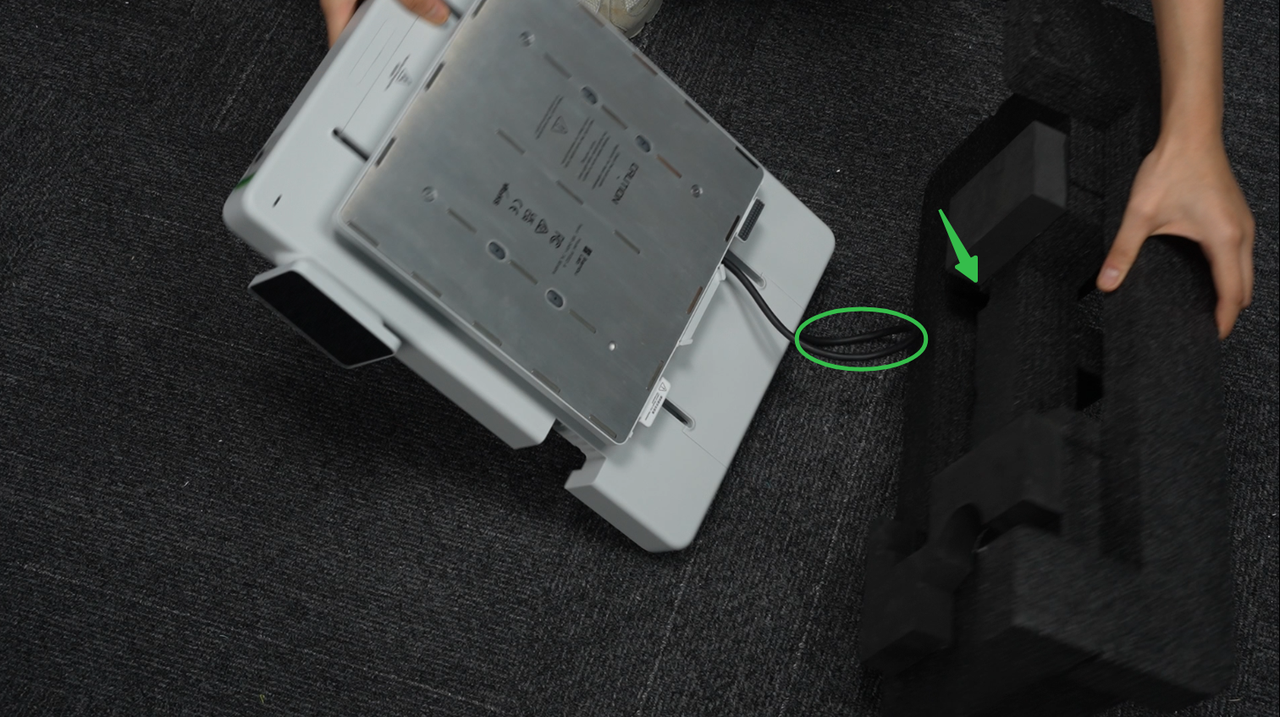
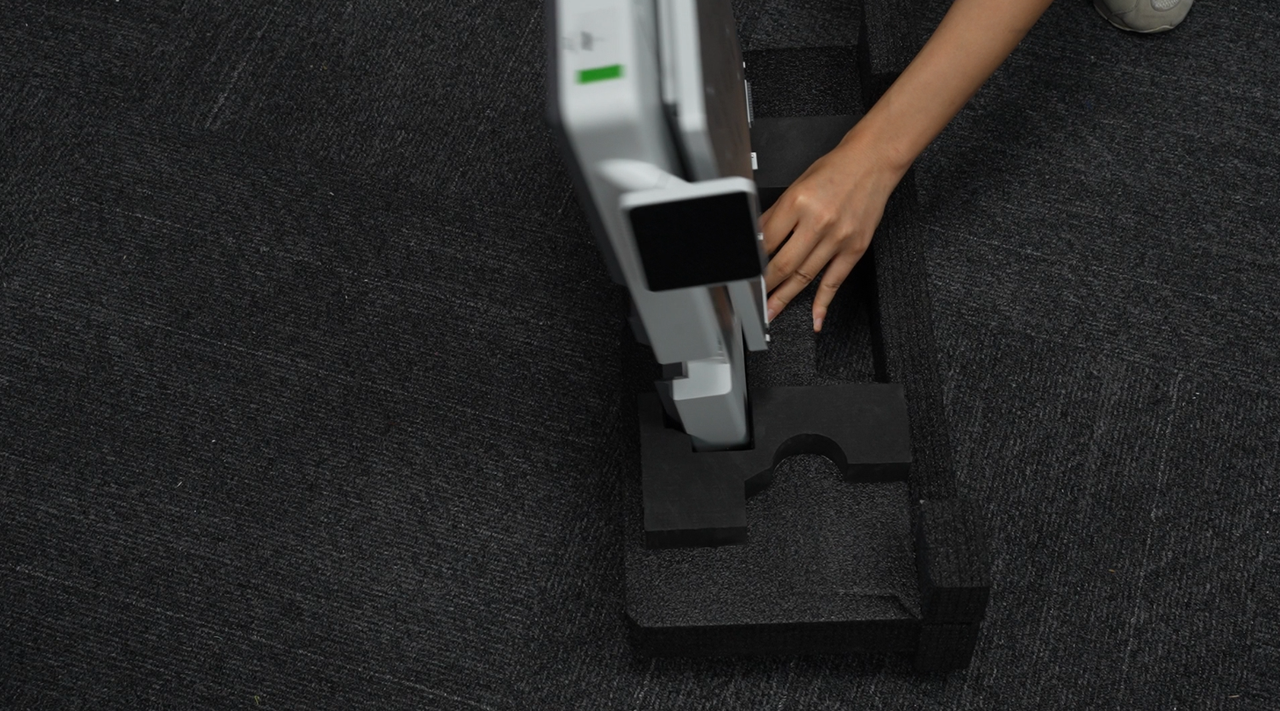
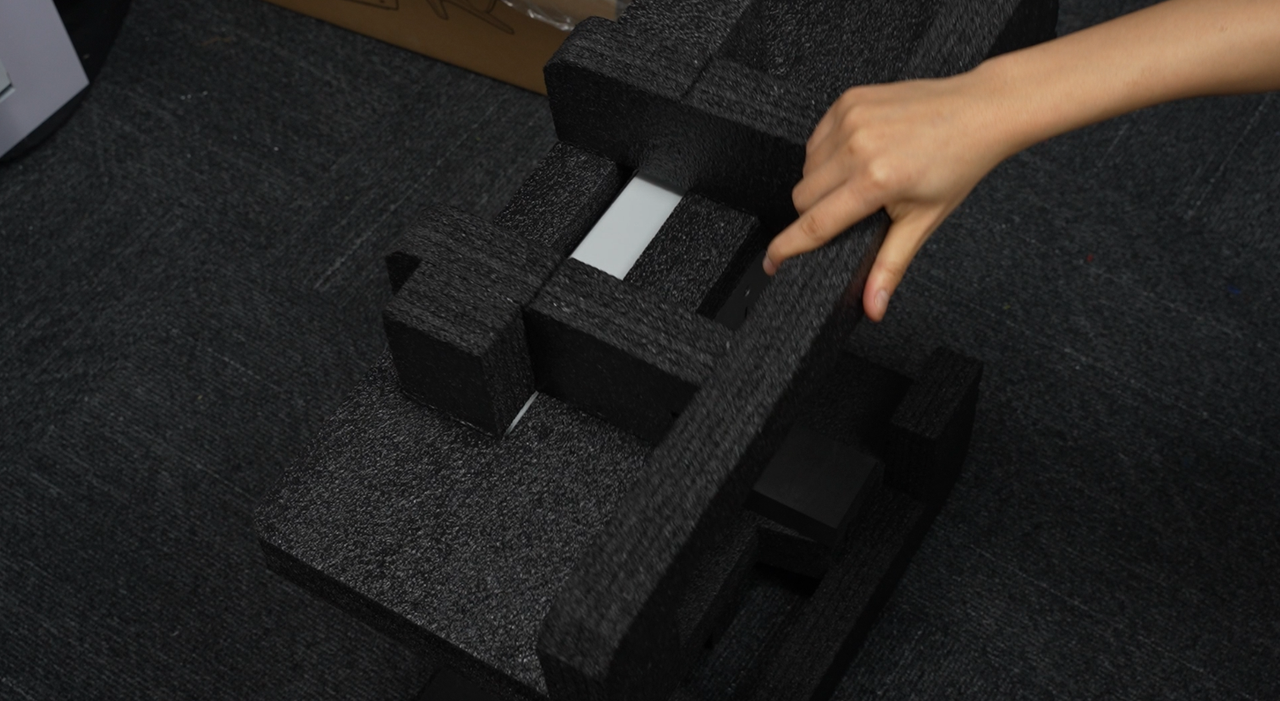
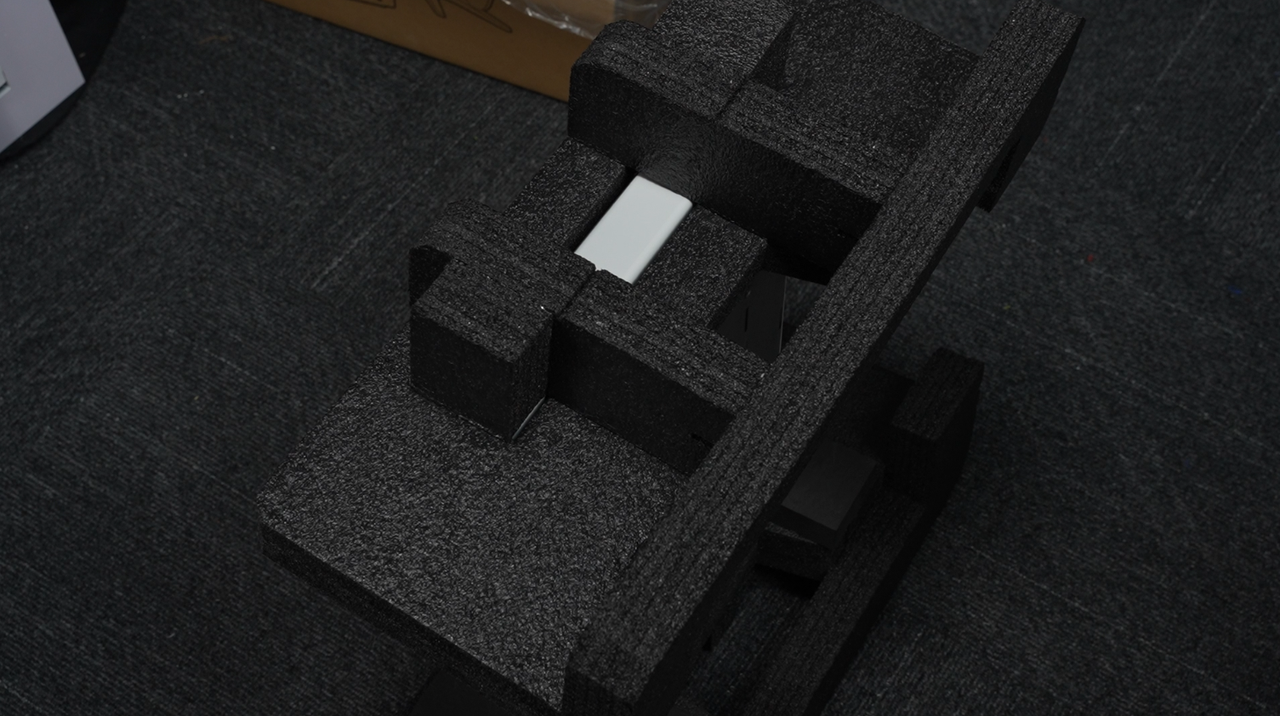
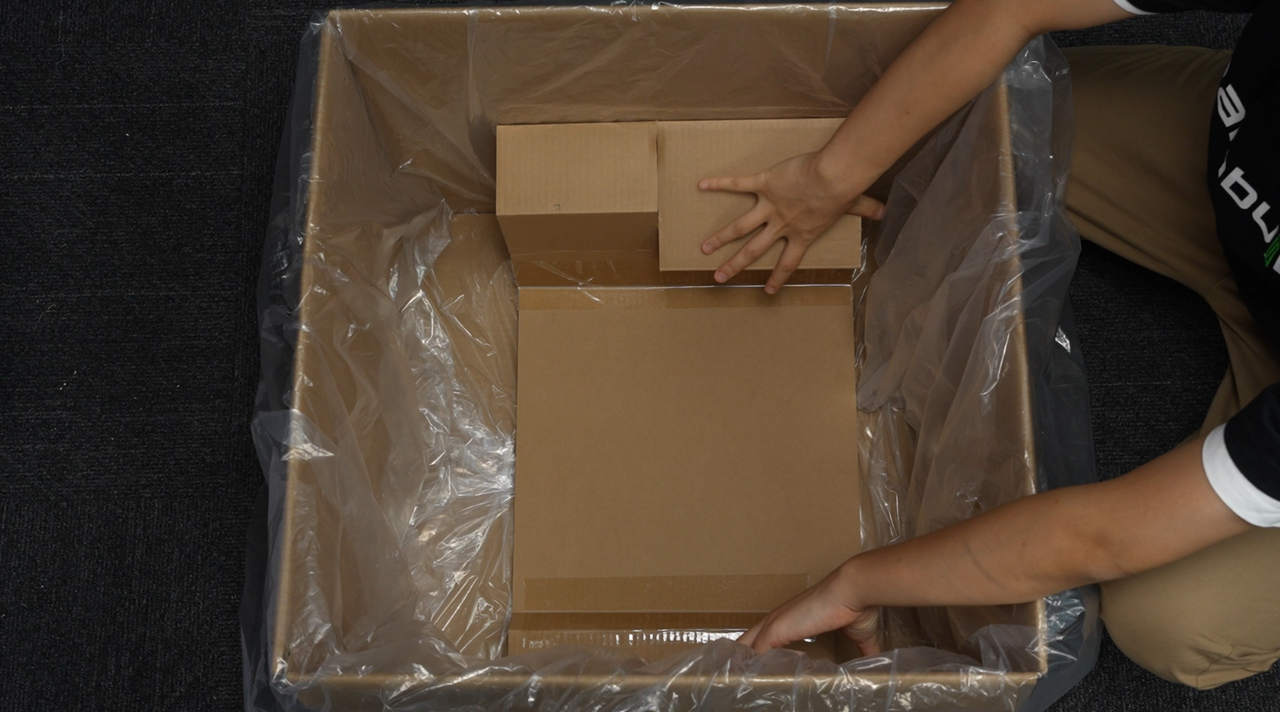
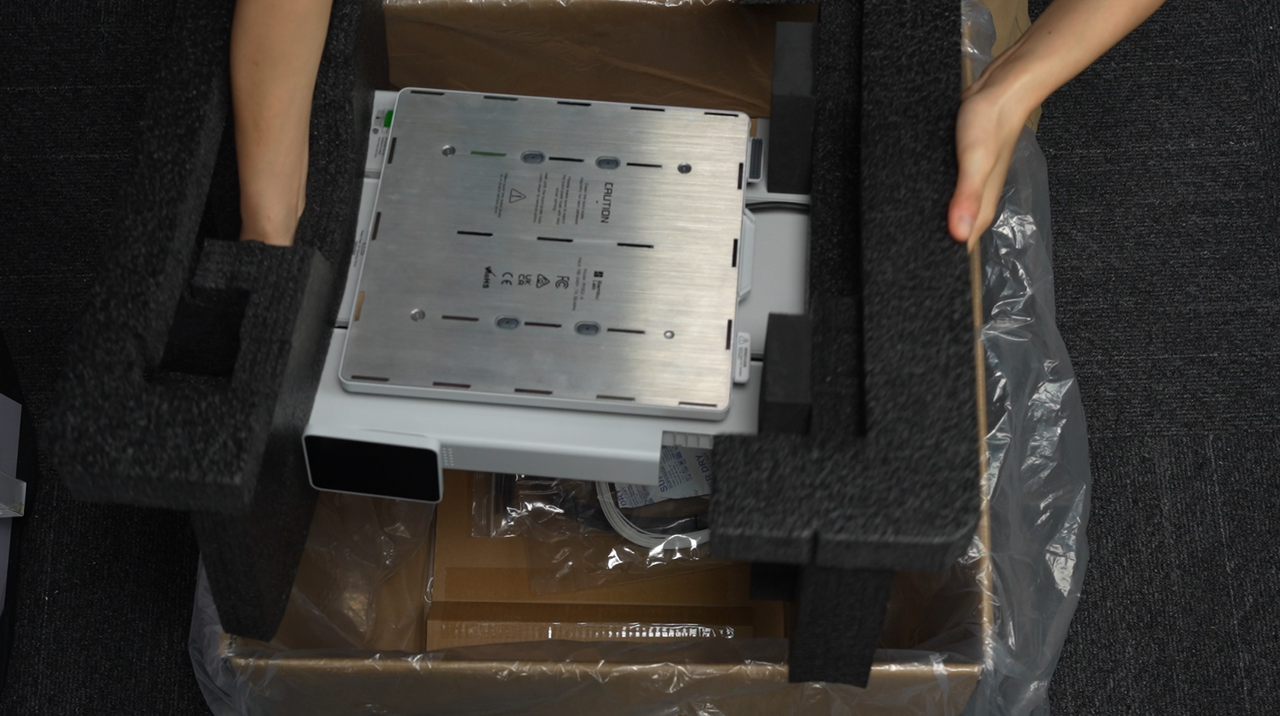
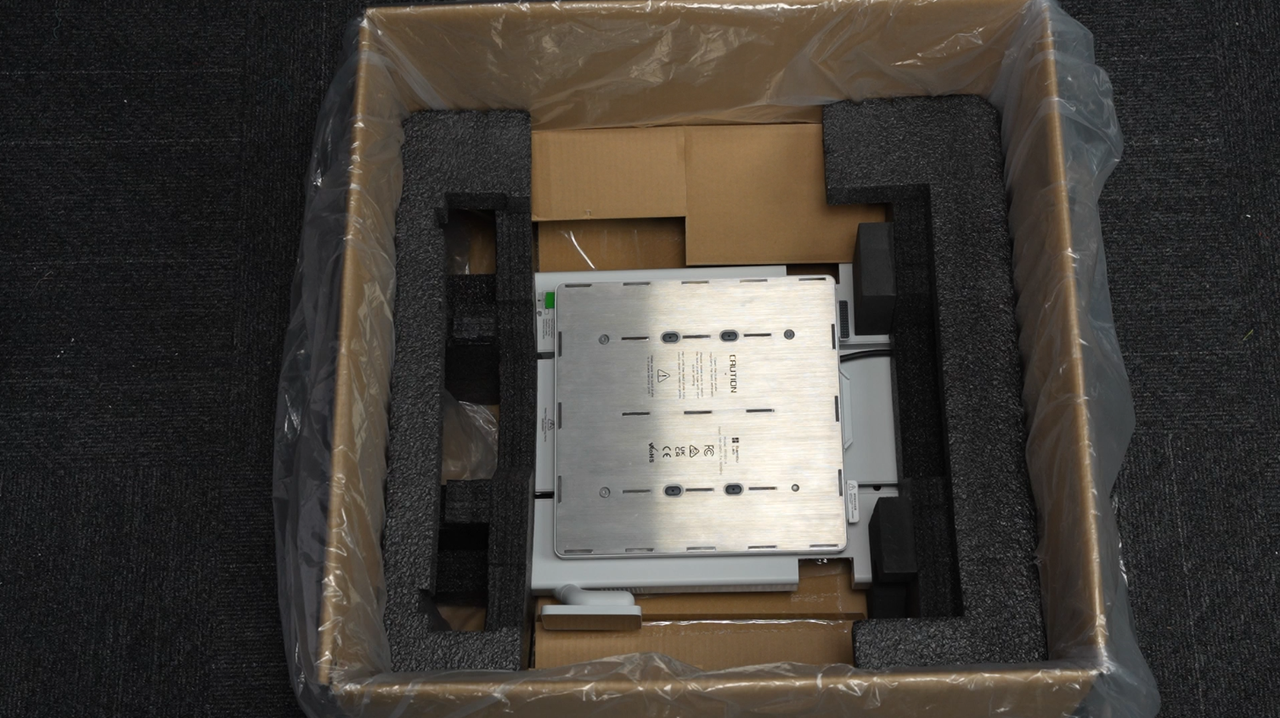
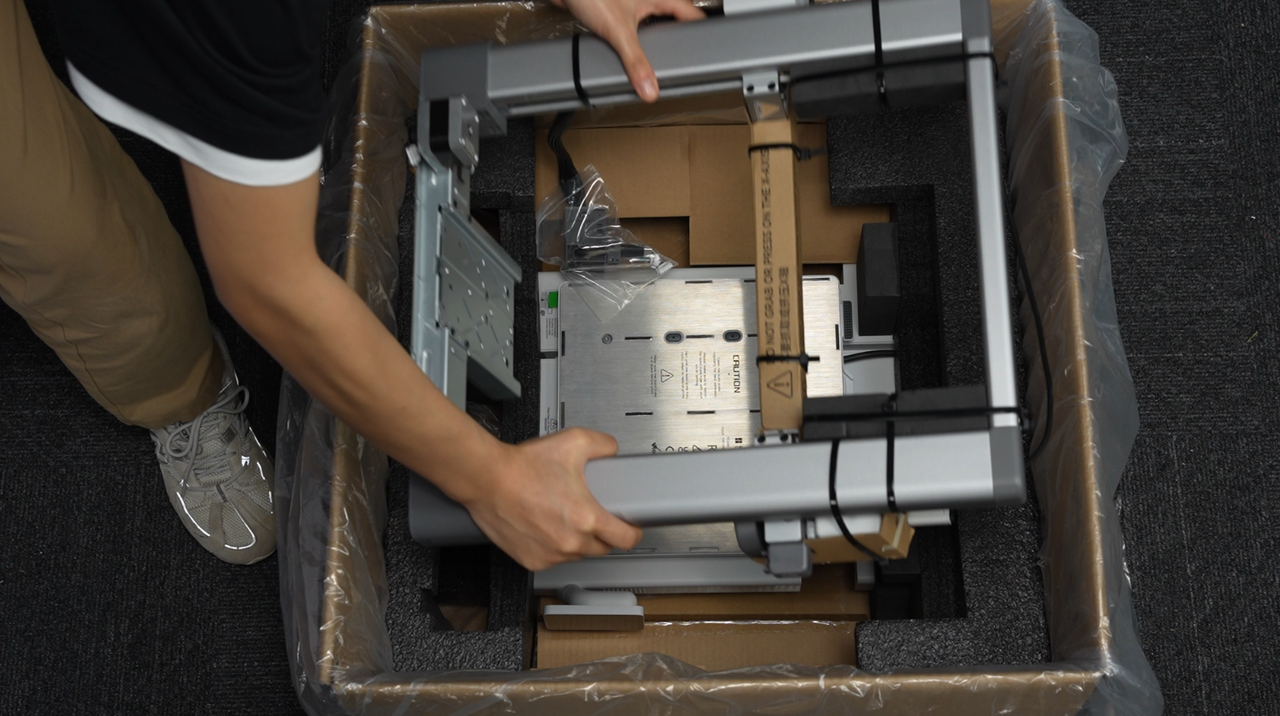
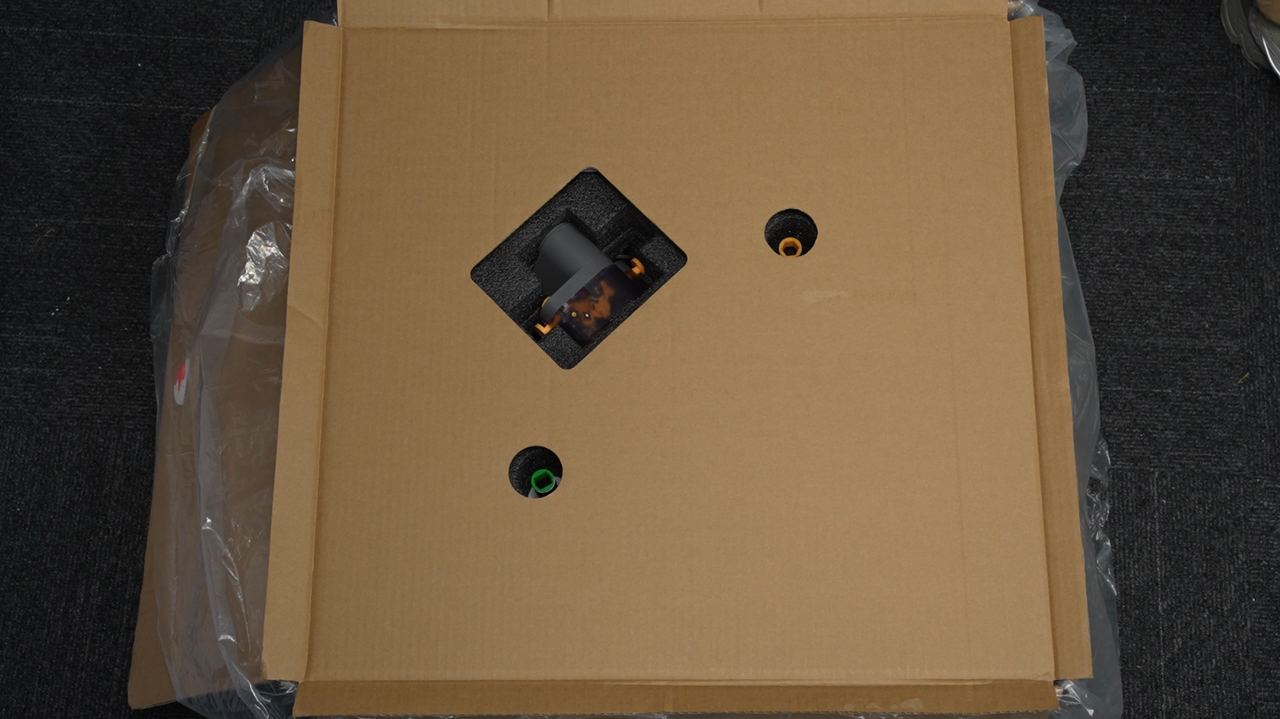
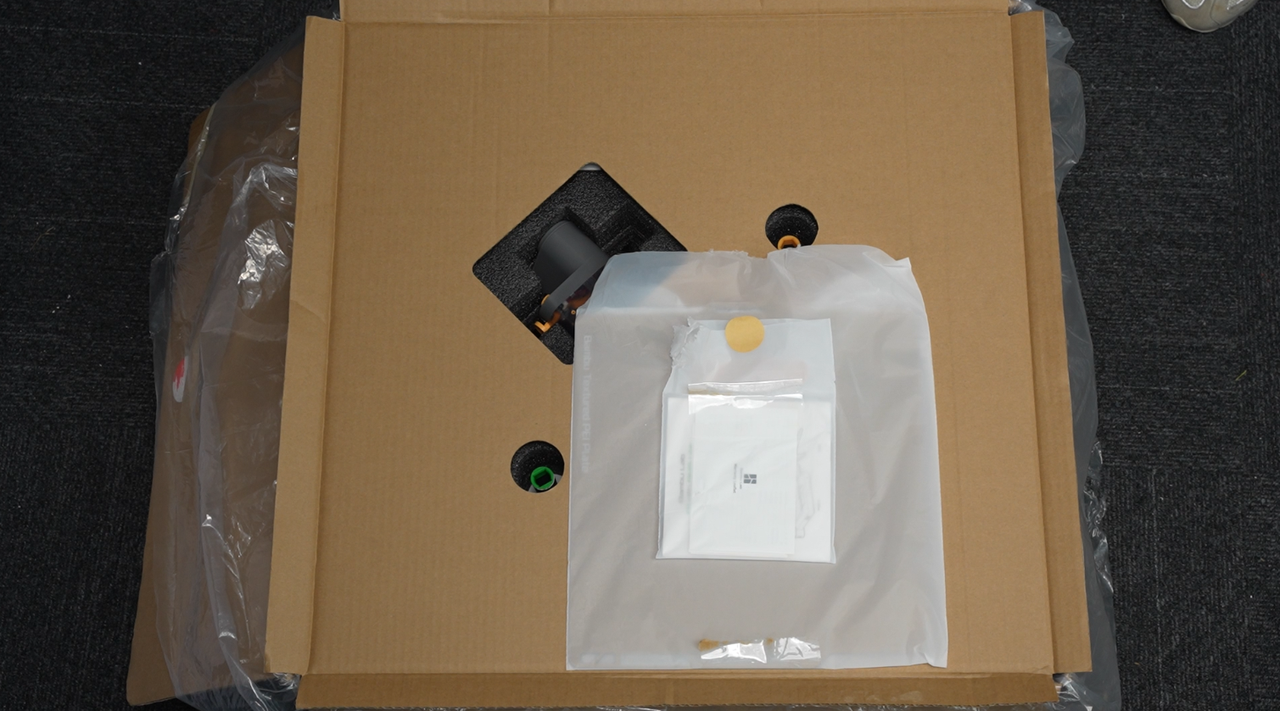
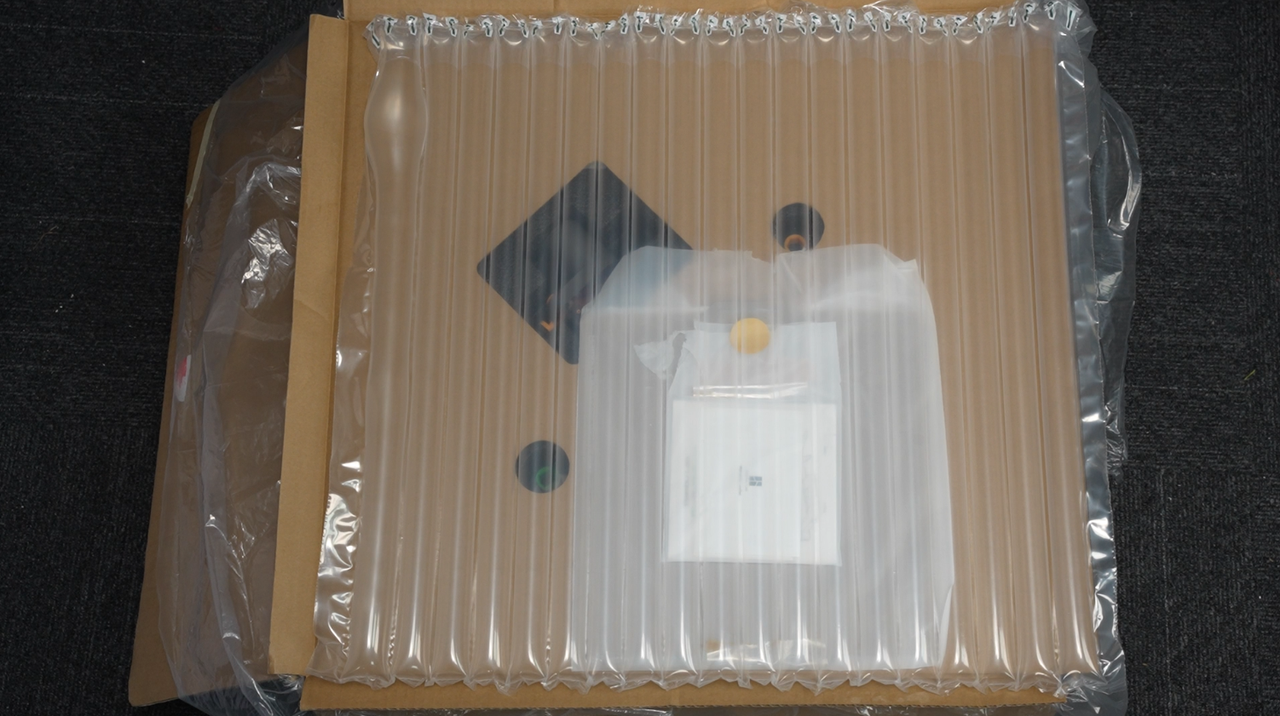
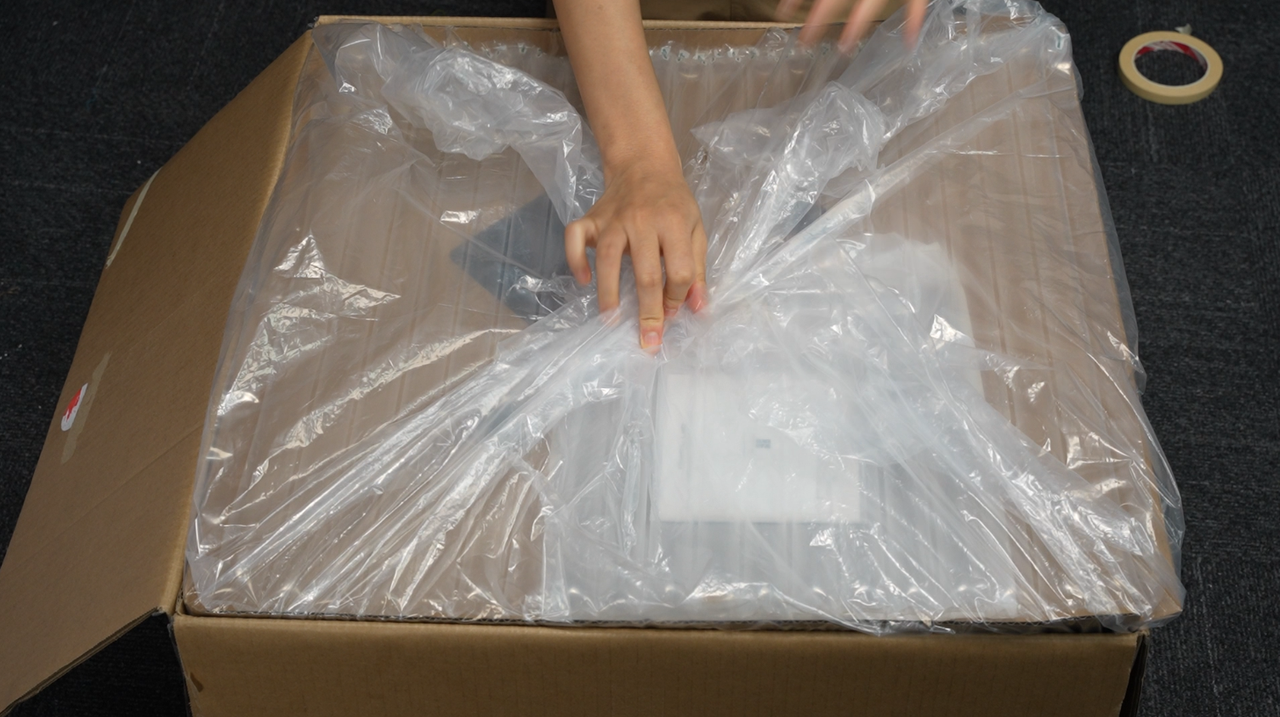
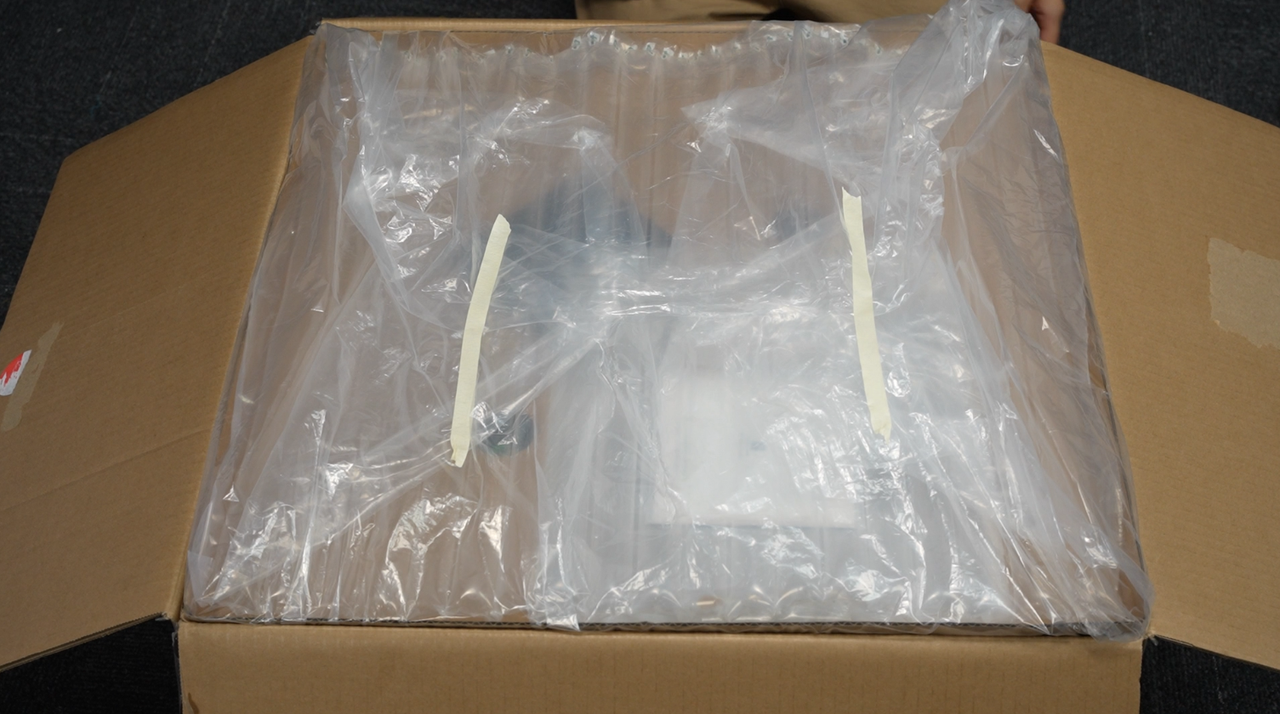
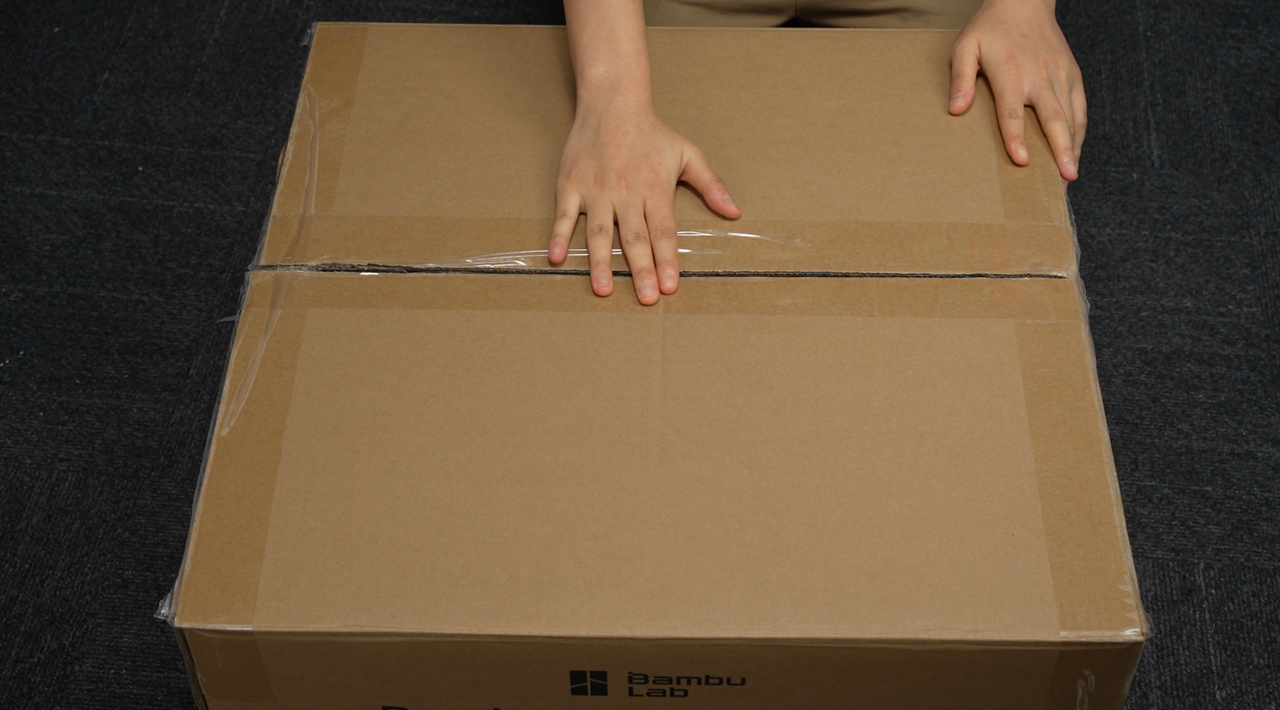
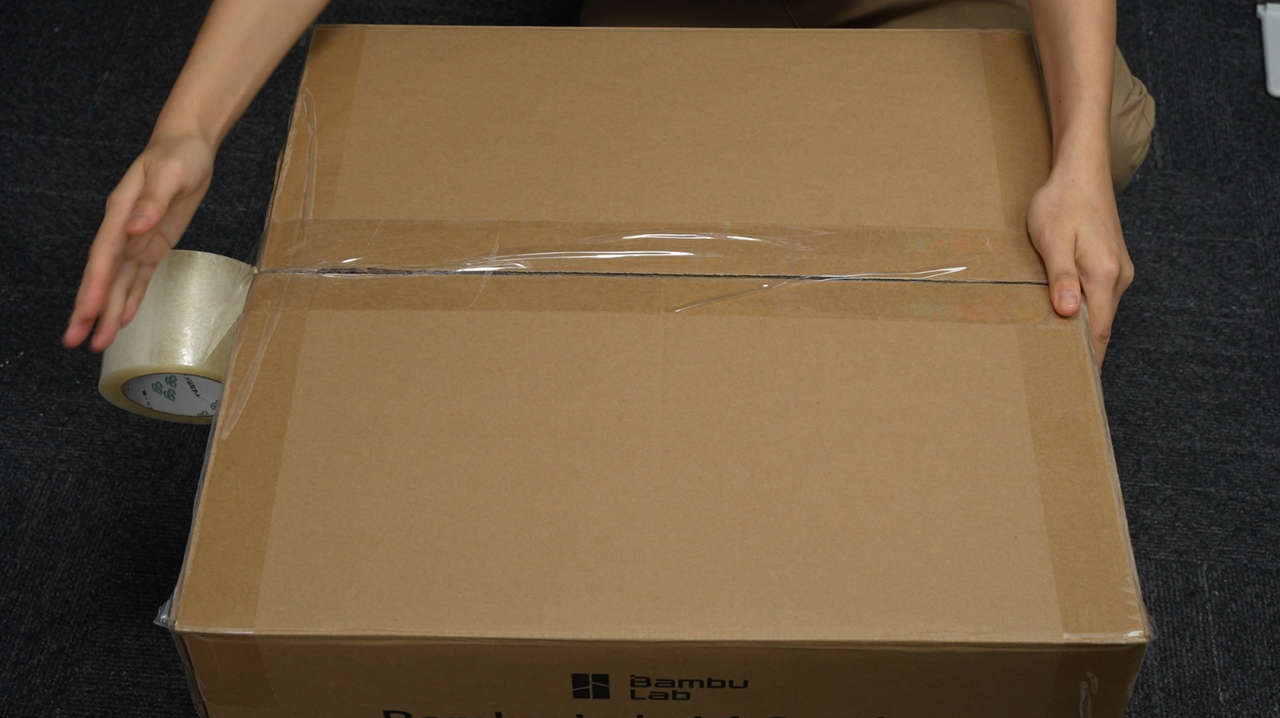
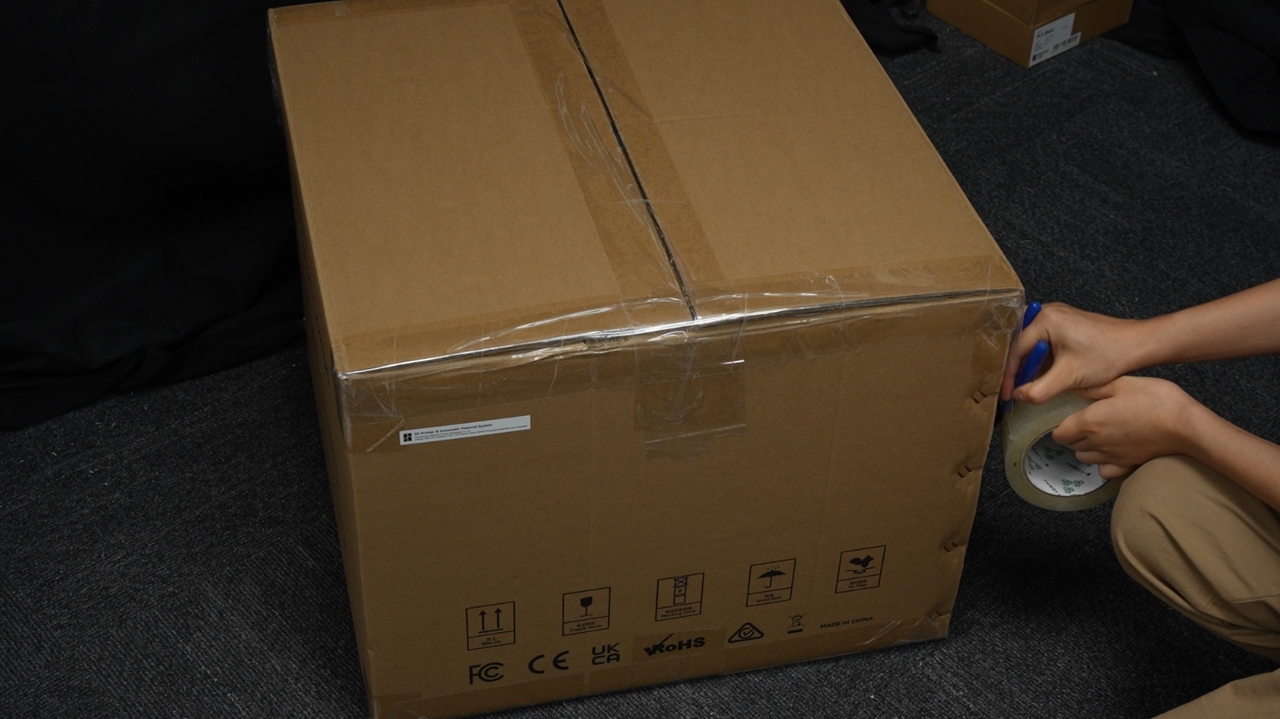
¶ Step 2: Install the protection foam, and tape the box
 |
 |
 |
 |
 |
 |
 |
 |
 |
 |
 |
 |
 |
 |
 |
 |
 |
 |
 |
 |
 |
 |
¶ End Notes
We hope that the detailed guide we shared with you was helpful and informative.
We want to ensure that you can perform it safely and effectively. If you have any concerns or questions regarding the process described in this article, we encourage you to reach out to our friendly customer service team before starting the operation. Our team is always ready to help you and answer any questions you may have.
Click here to open a new ticket in our Support Page.
We will do our best to respond promptly and provide you with the assistance you need.