This guide covers the steps for connecting the A1 series printer to the AMS and provides a detailed explanation of the AMS hub functions.
Note: Please join the Beta Firmware Program to upgrade your printer to version 01.06.10.33.
¶ Tools and Materials Needed
-
A1 Series AMS Hub (Purchase link: AMS Hub - A1 Series)
-
Printed AMS Hub bracket (Model link: Step 2: Assemble the bracket)
- AMS/AMS 2 Pro/AMS HT
-
4-pin, 6-pin cable
-
PTFE Tube
¶ Why is AMS hub needed?
The A1 series printers were originally compatible with AMS lite. When using AMS lite for printing, it doesn't participate in the filament feeding assistance function and relies solely on the printer's extruder to actively pull the filament for filament loading. Therefore, an AMS hub wasn't required.
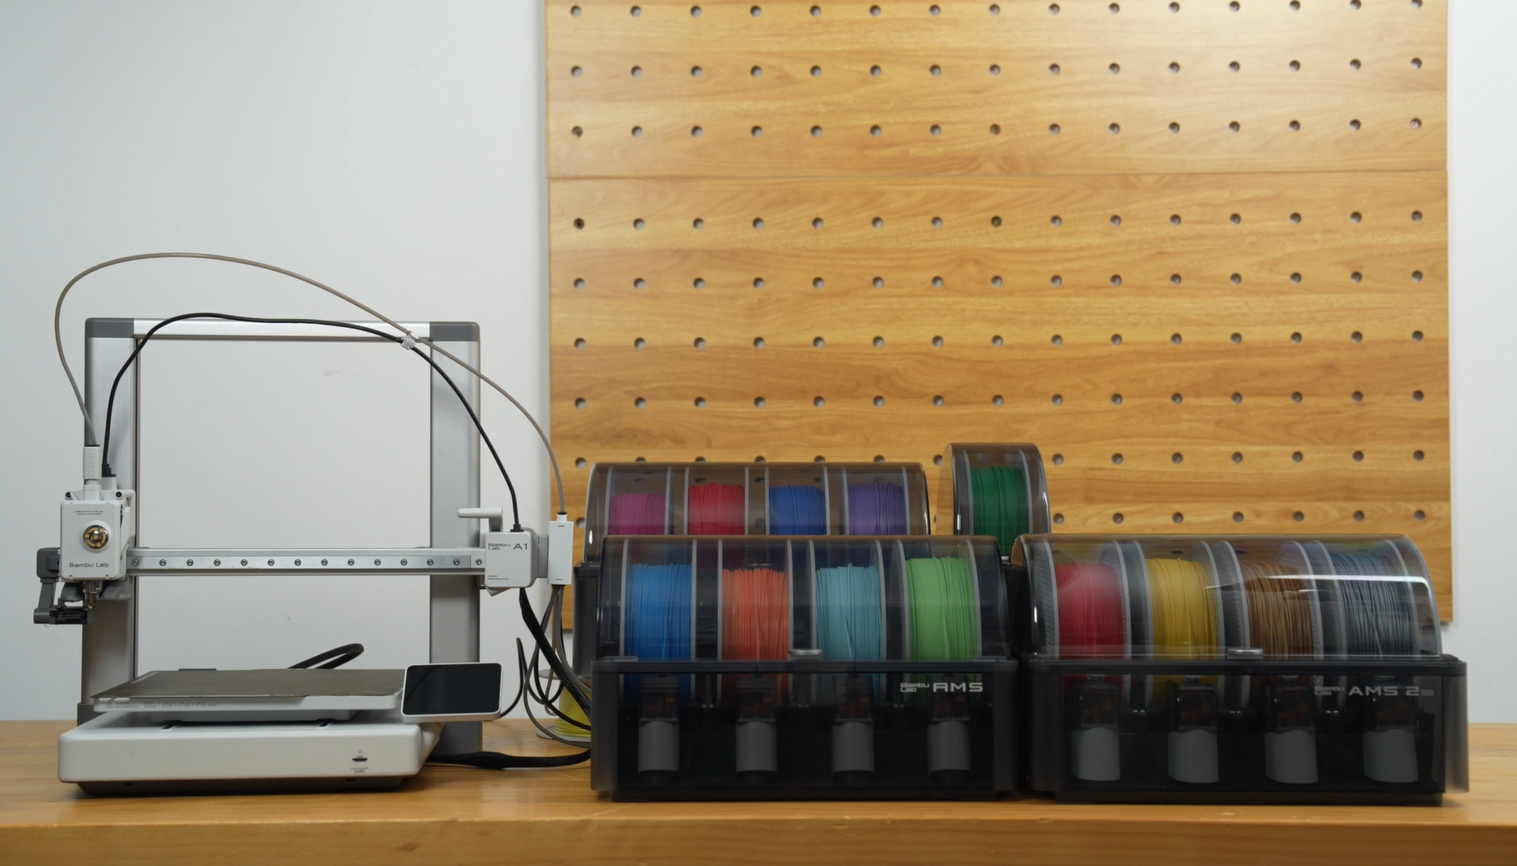
To accommodate AMS, AMS 2 Pro, and AMS HT - all of which have assisted feeding functionality during printing - we have specifically launched this AMS hub accessory for the A1 series. Since these AMS units involve internal assisted feeding motors that push filament during printing, the purpose of this hub is to regulate the resulting filament tension, maintaining it within an appropriate range to ensure the extruder can work accurately and smoothly.
This AMS hub can connect up to four AMS units simultaneously. It supports any combination of AMS, AMS 2 Pro, and AMS HT, but doesn't support mixed use of AMS lite with AMS, AMS 2 Pro, or AMS HT.
¶ Video Guide
¶ Connection Guide
This guide uses the A1 mini as an example; the connection method for the A1 printer is identical.
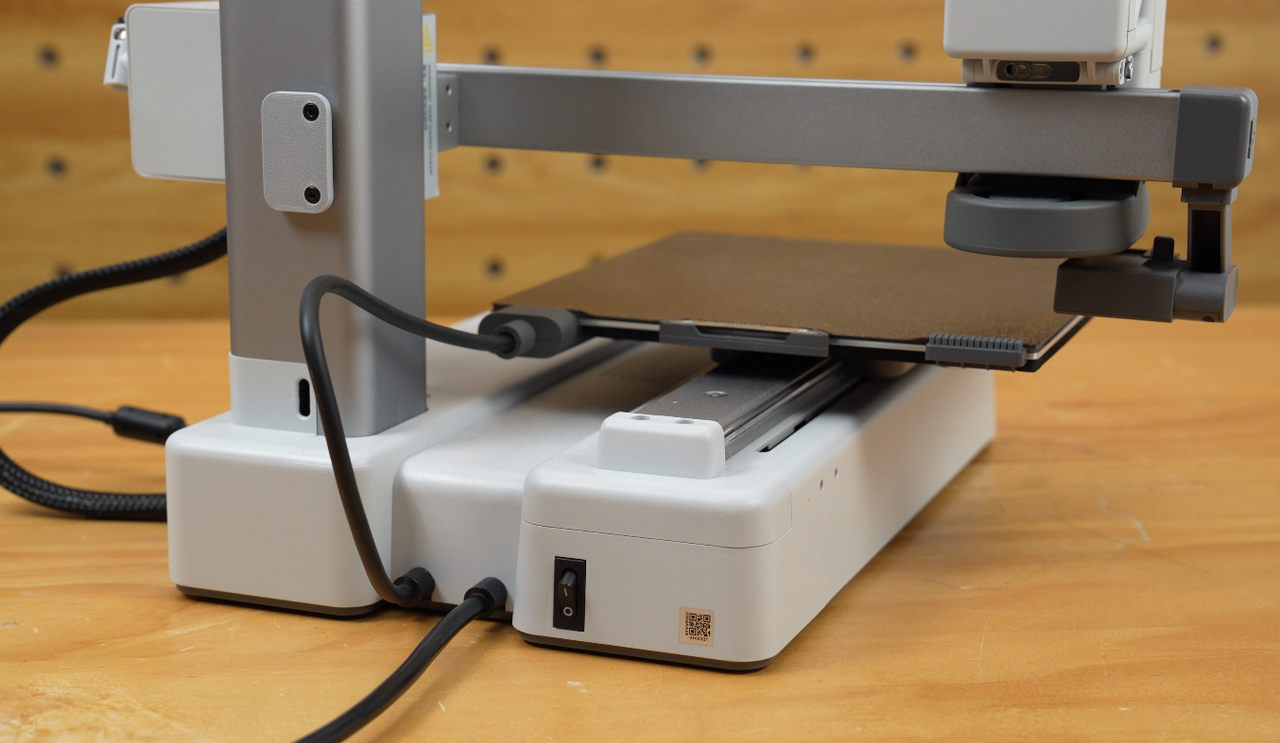
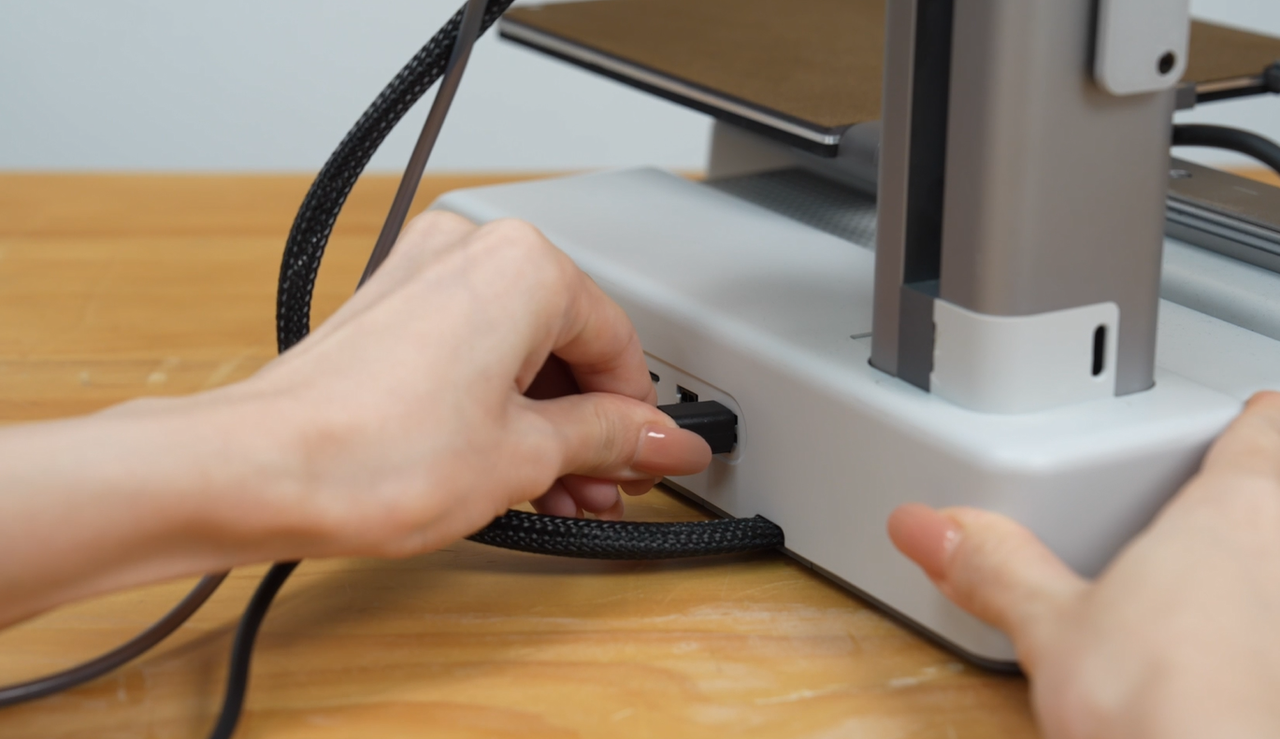
¶ Step 1: Disconnect AMS lite
- Turn off the printer power.

- Disconnect the 4-pin cable from AMS lite.
- Disconnect the four PTFE tubes from the filament hub.
 |
 |
¶ Step 2: Assemble the Bracket
Please download the AMS hub bracket model and print it first.
-
A1 mini: A1 mini AMS Hub Bracket
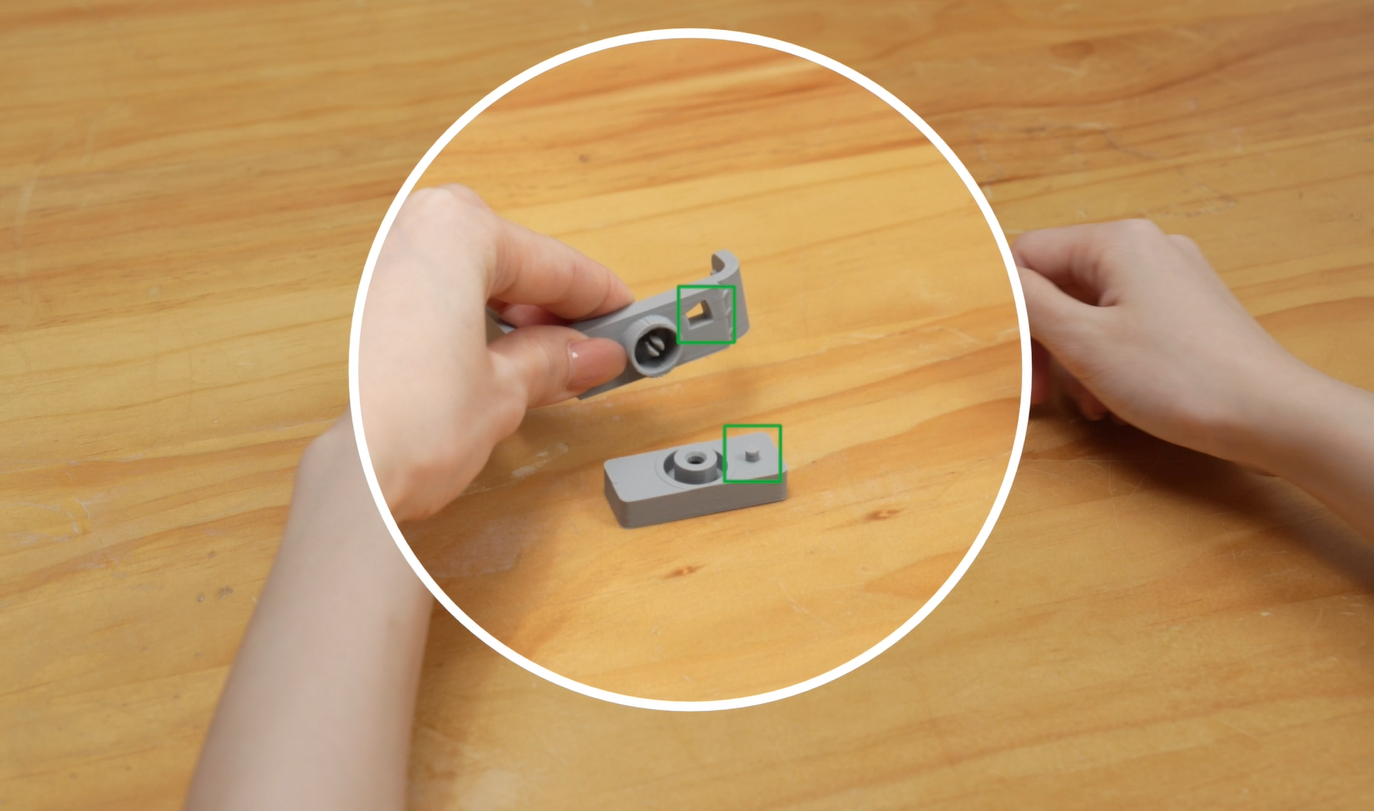
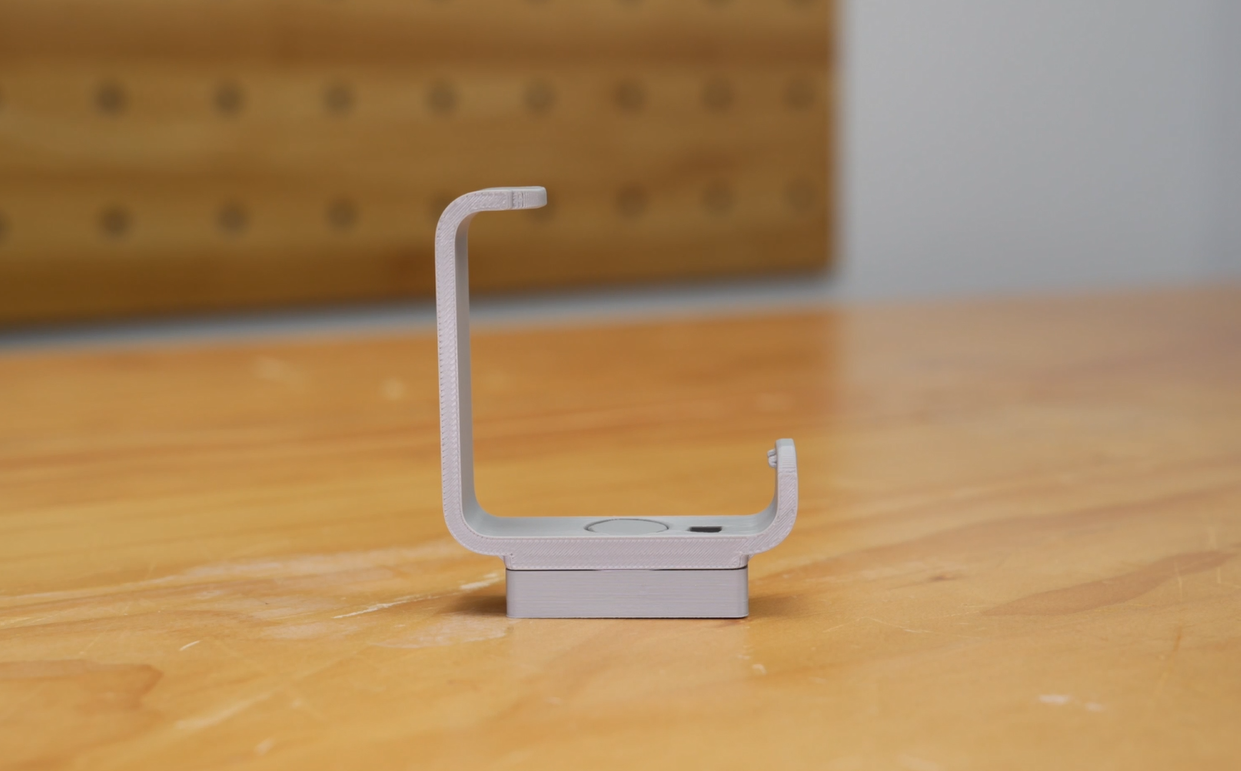
The printed bracket consists of three parts (from left to right): L-shaped bracket, connector, and knob.
- Snap the knob into the hole on the L-shaped bracket.
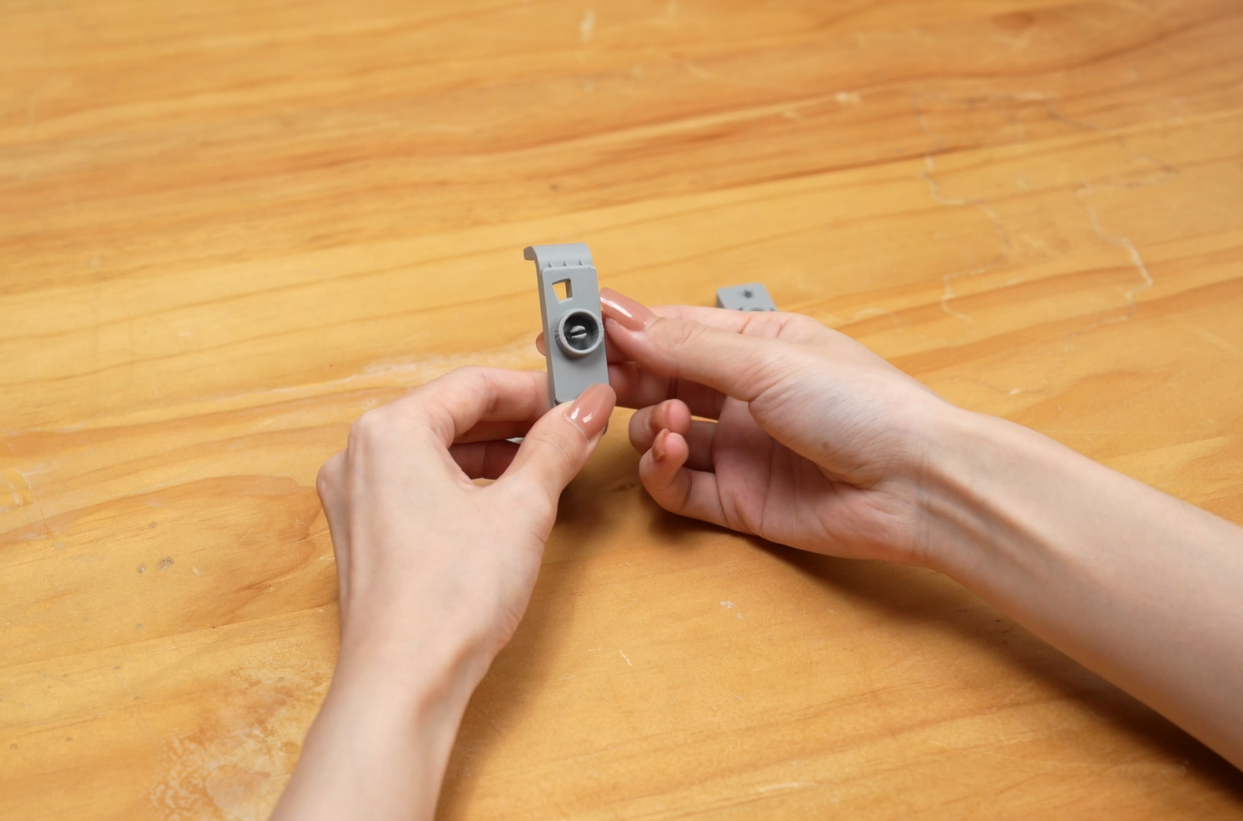
- Align the protrusion and ring of the connector with the hole on the L-shaped bracket, then install the connector.
 |
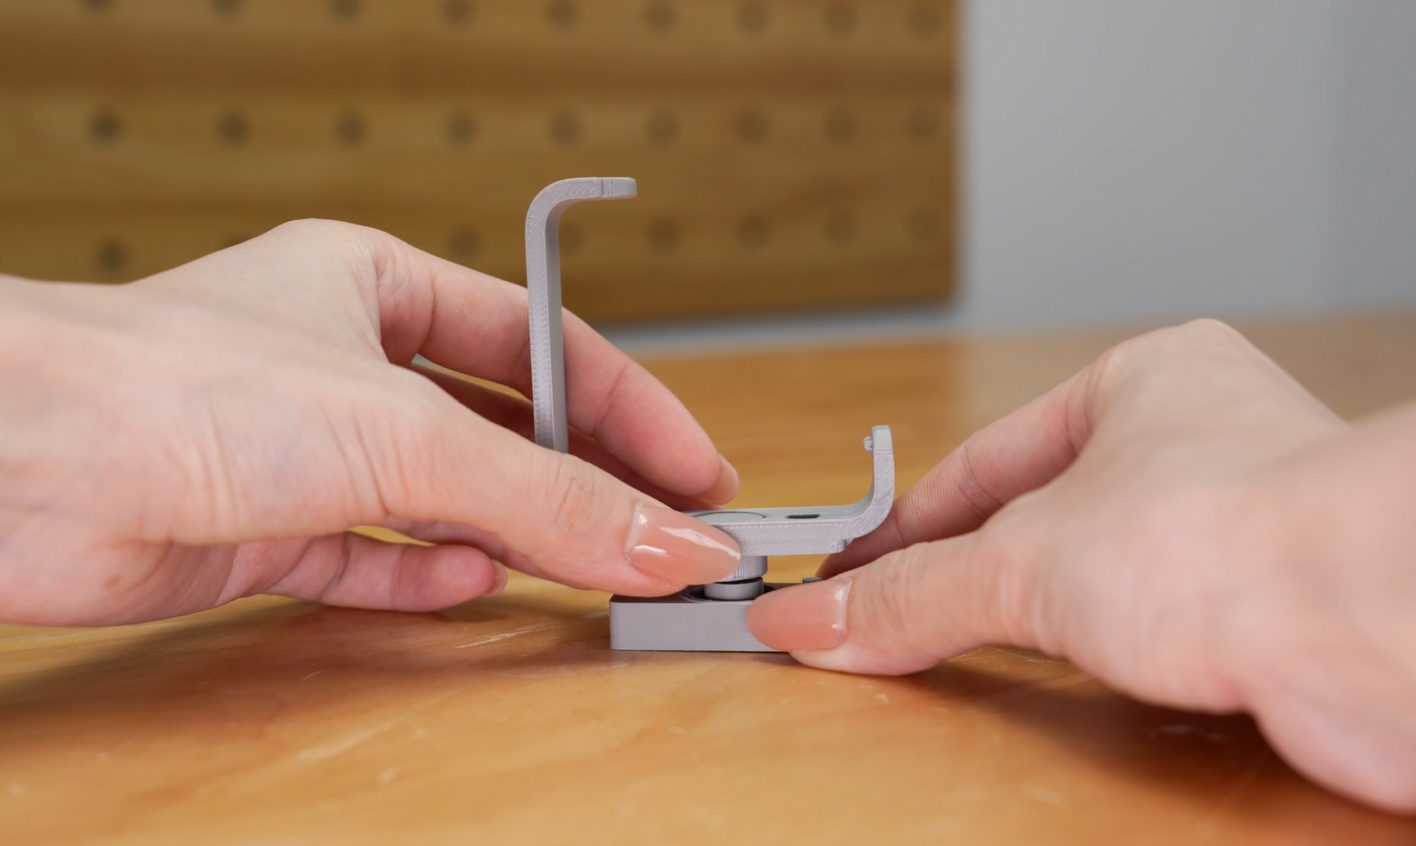 |
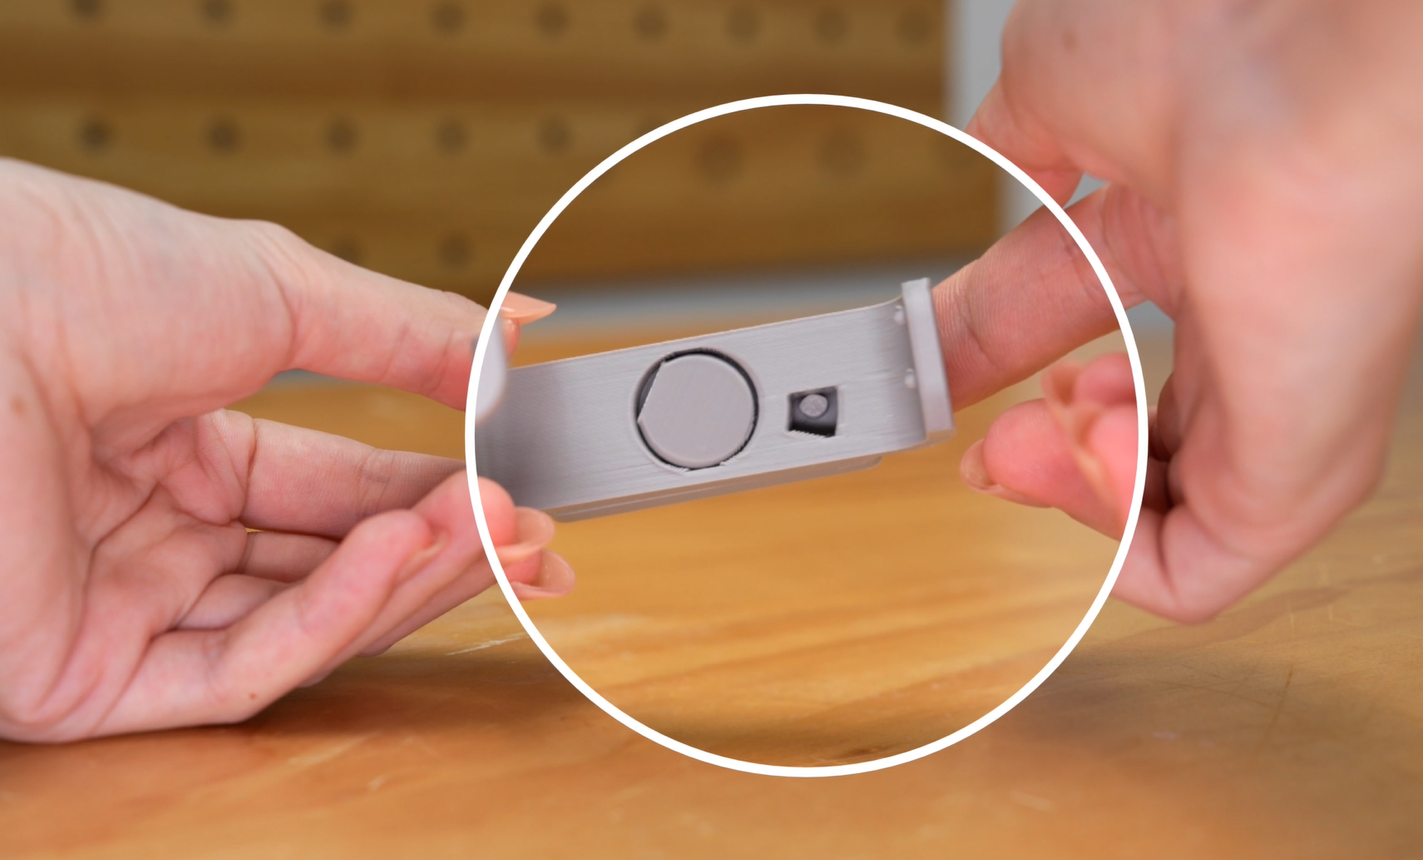
- Press the two parts firmly together to complete assembly.
- After assembly, there will be a small angular range of movement between the connector and the L-shaped bracket.
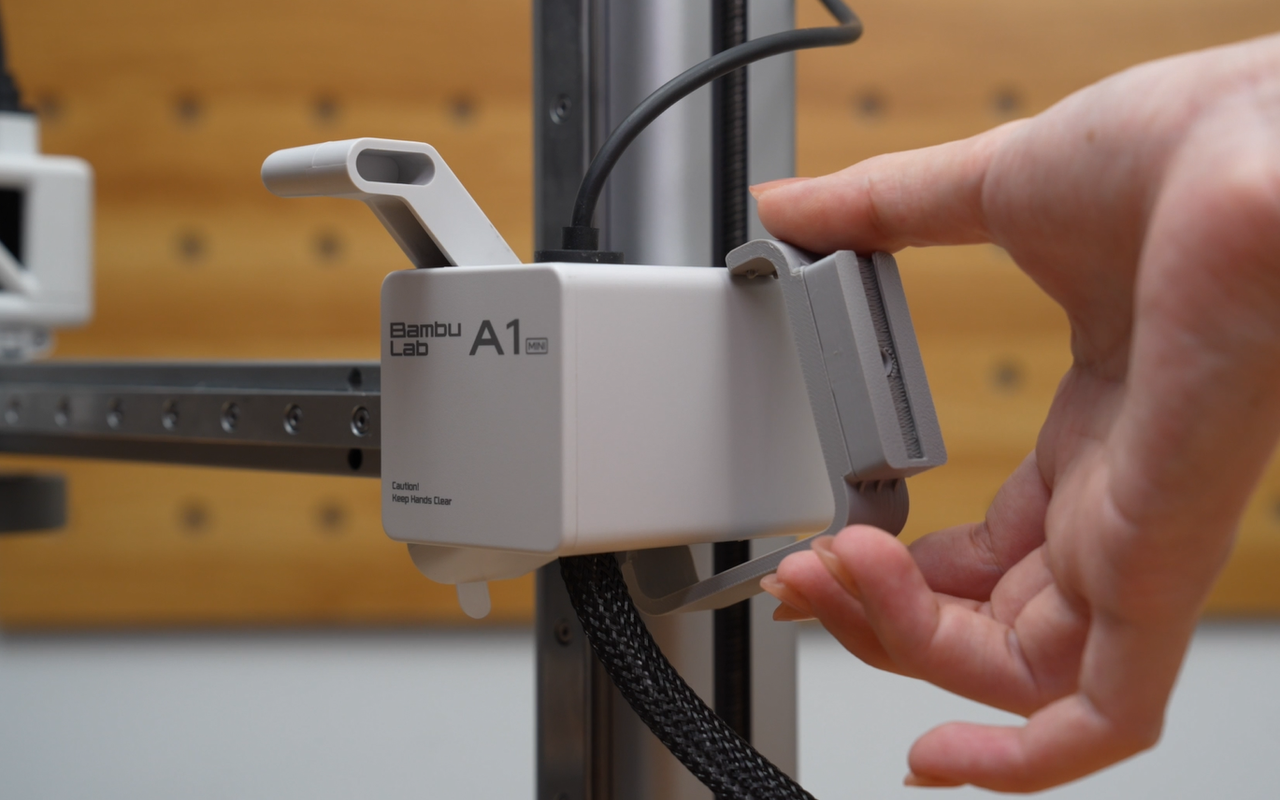
¶ Step 3: Install the Bracket and AMS Hub
- Mount the assembled AMS hub bracket onto the X-axis motor cover.
 |
 |
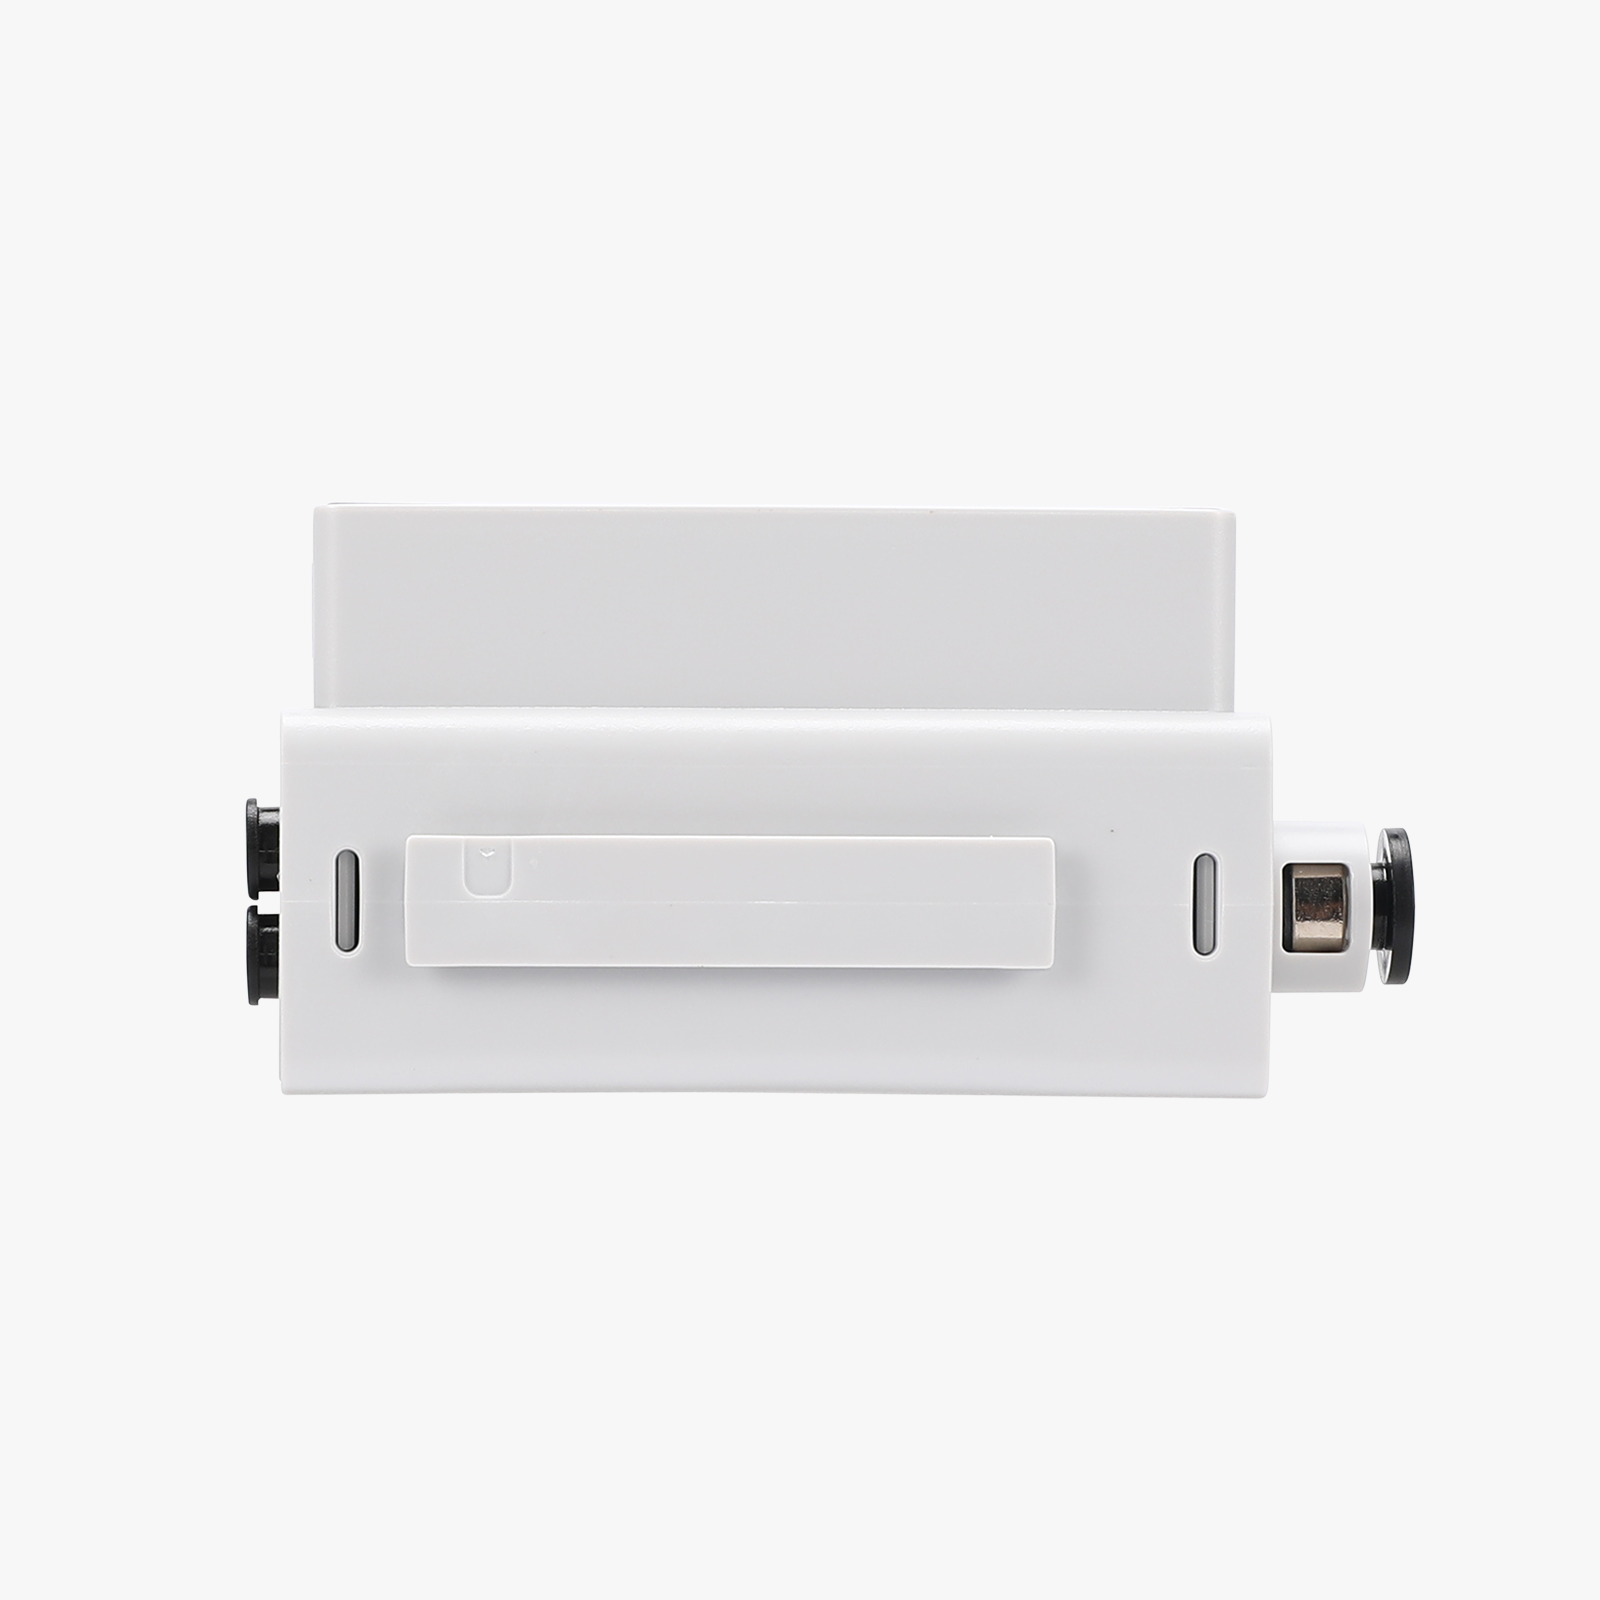
- Remove the AMS hub, cables, and PTFE tubes from the AMS hub packaging.
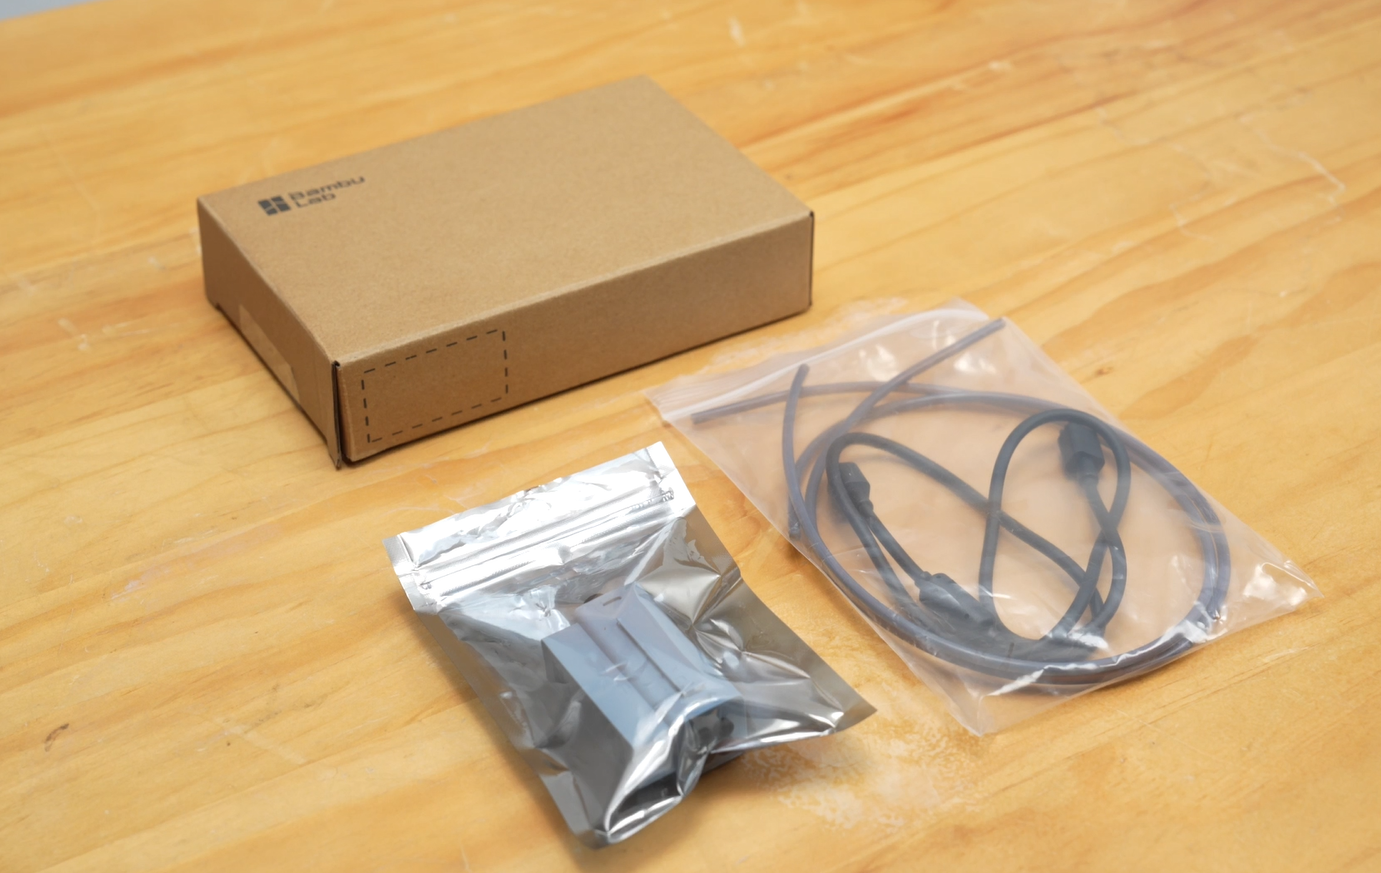
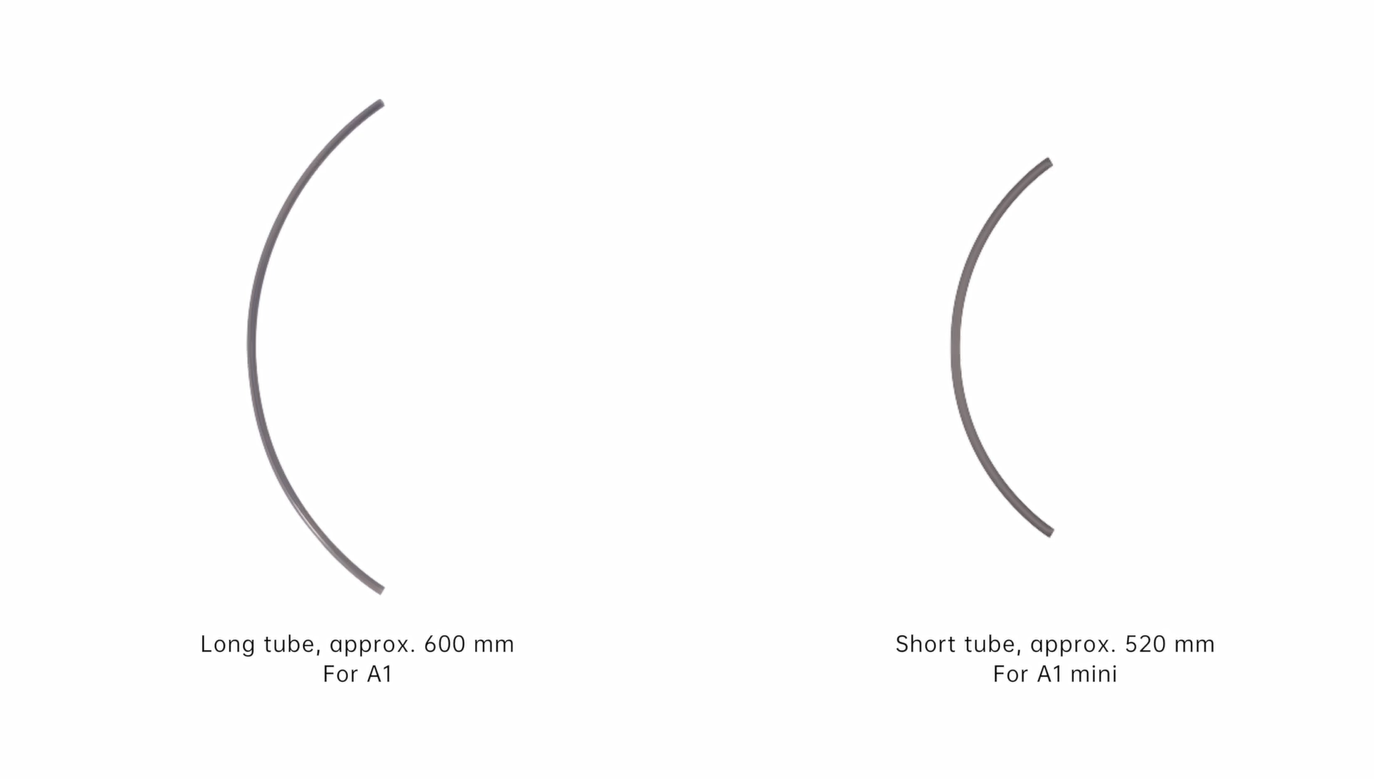
Note: The long PTFE tube (about 600mm) is for A1, and the short PTFE tube (about 520mm) is for A1 mini.
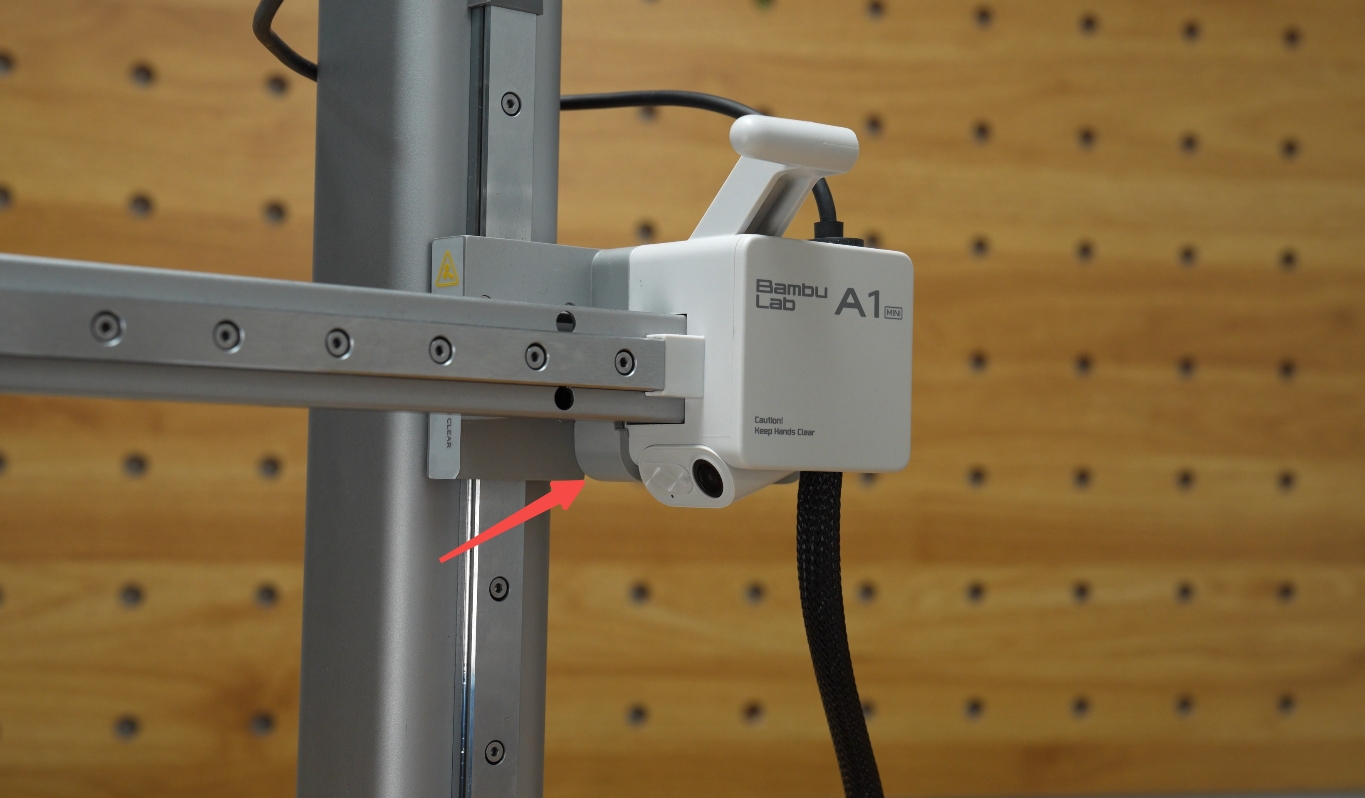
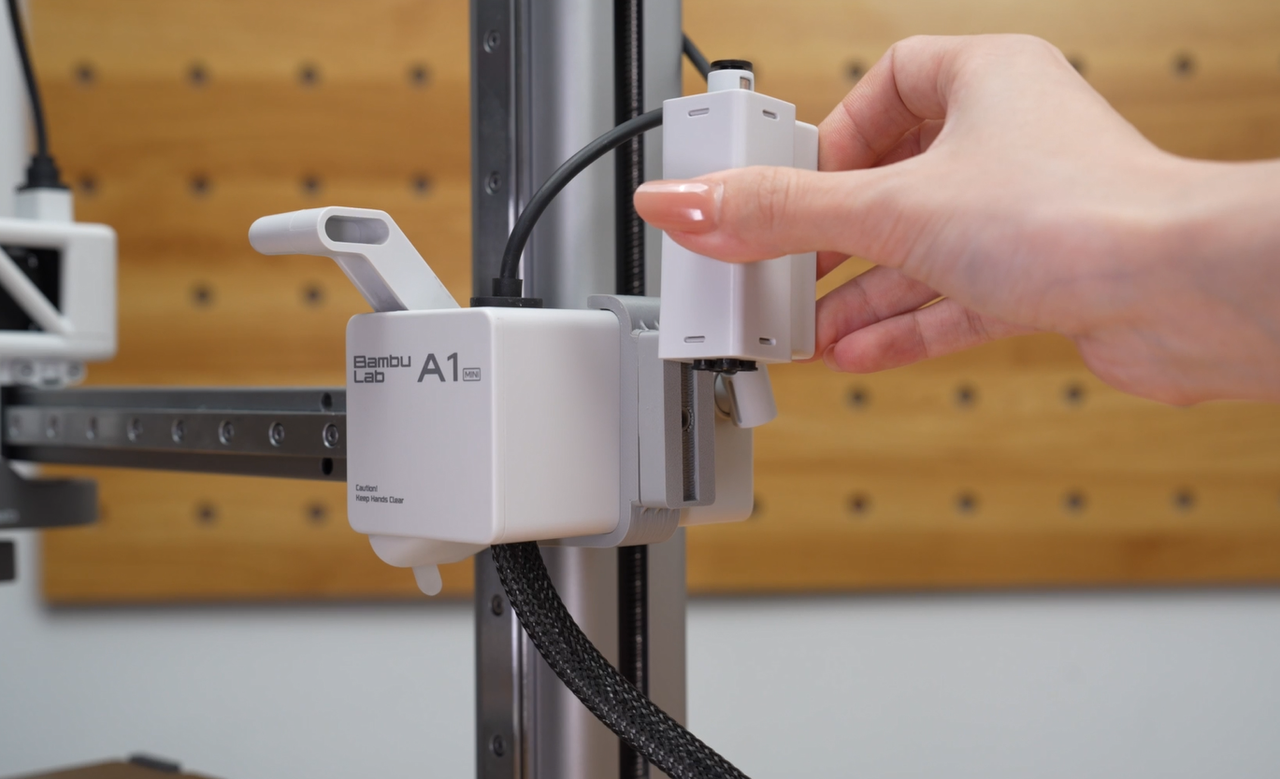
- Position the AMS hub with its outlet facing upward, then slide the raised part on the side of the hub along the groove of the bracket until it clicks into place.
 |
 |
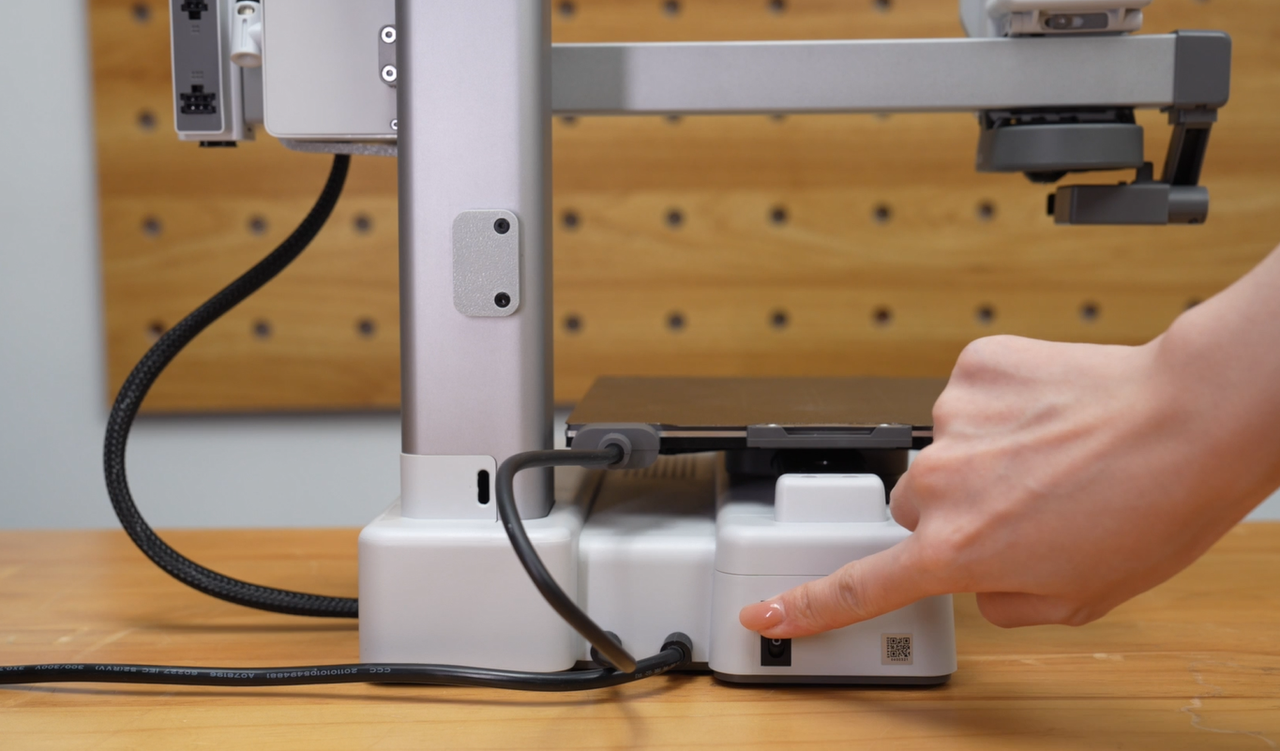
- Turn on the printer.
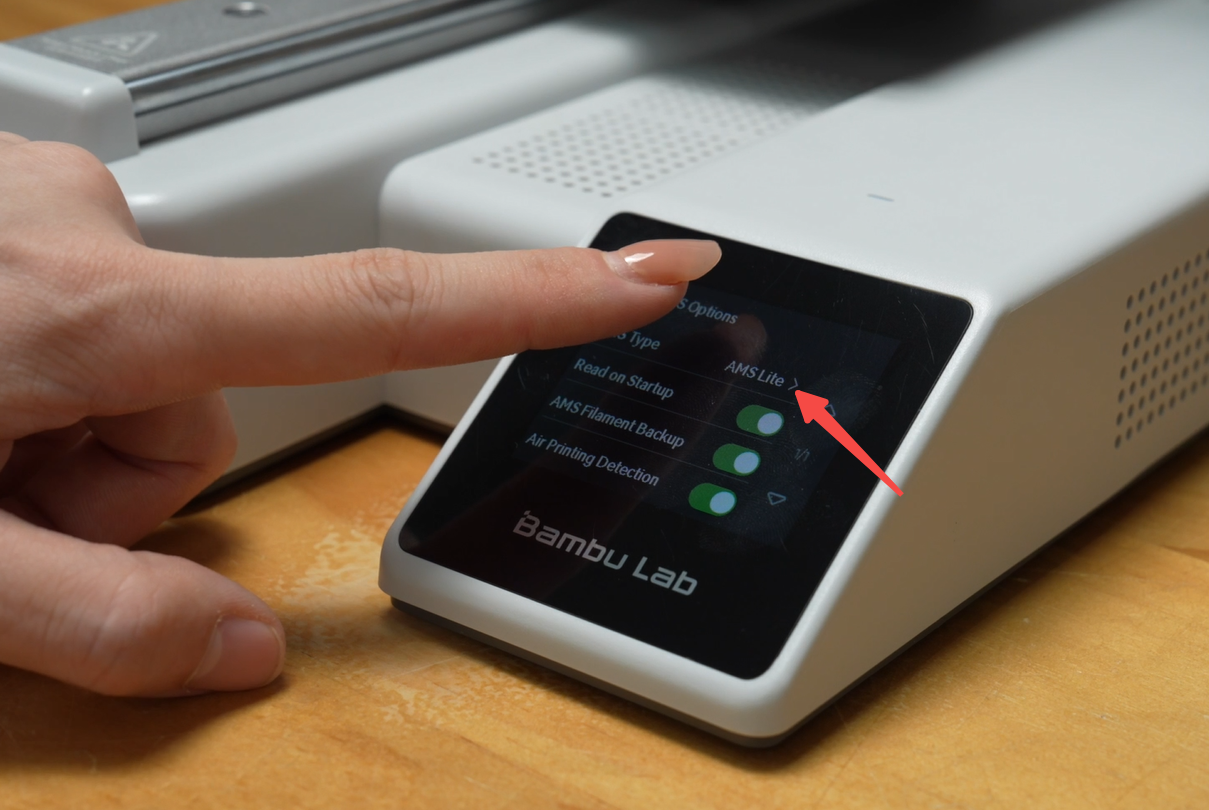
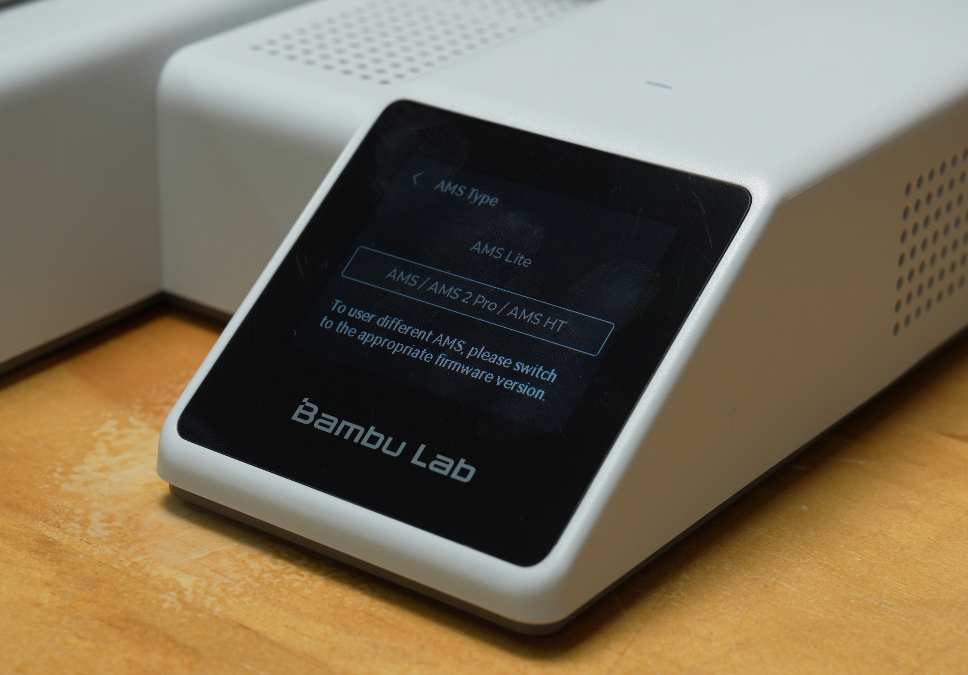
¶ Step 4: Switch the AMS Type
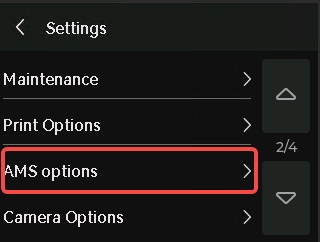
- On the printer screen, tap “Settings > AMS Options > AMS Type”, then select the AMS type you need to switch to.
Or, go to the Device page in Bambu Studio, click the AMS Settings button, and switch the AMS type;
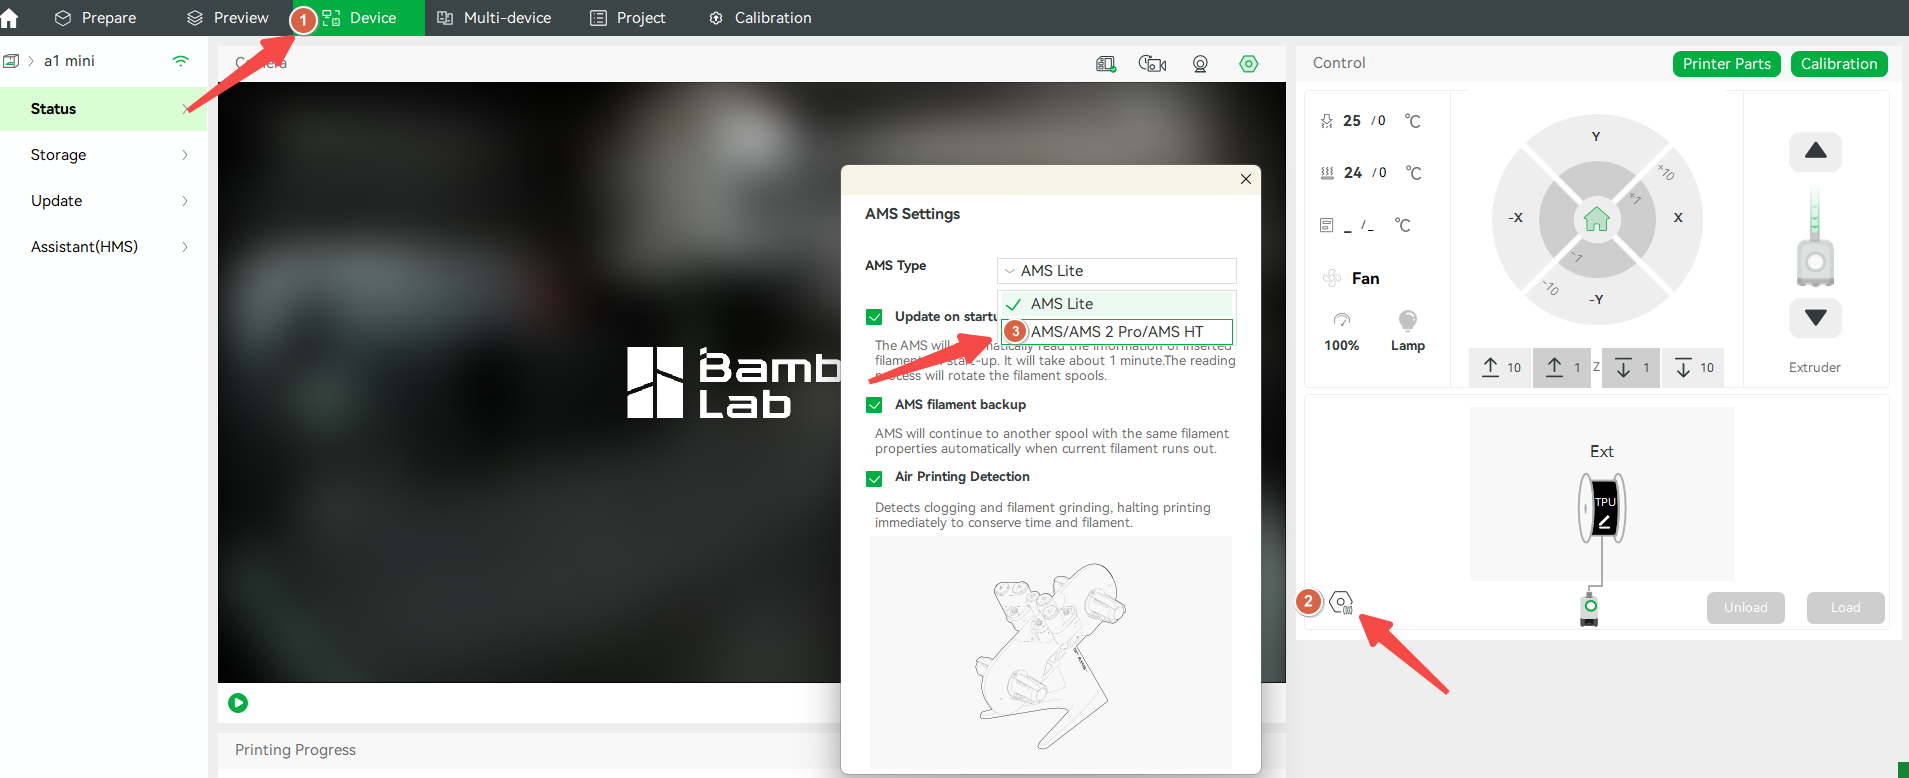
- After confirmation, the device will switch to the corresponding AMS type;
 |
 |
Note:
- The AMS hub for the A1 series does not support mixed use of AMS lite with AMS/AMS 2 Pro/AMS HT. If you need to switch between different AMS types, you must first disconnect the original AMS device, otherwise errors may occur.
- Connecting to an AMS device before switching the AMS type may cause communication loss and errors, requiring you to reconnect the AMS cable.
- We recommend that you follow the steps below: Unplug the original AMS device → Switch the AMS type → Connect the new AMS device to ensure a smooth device connection.
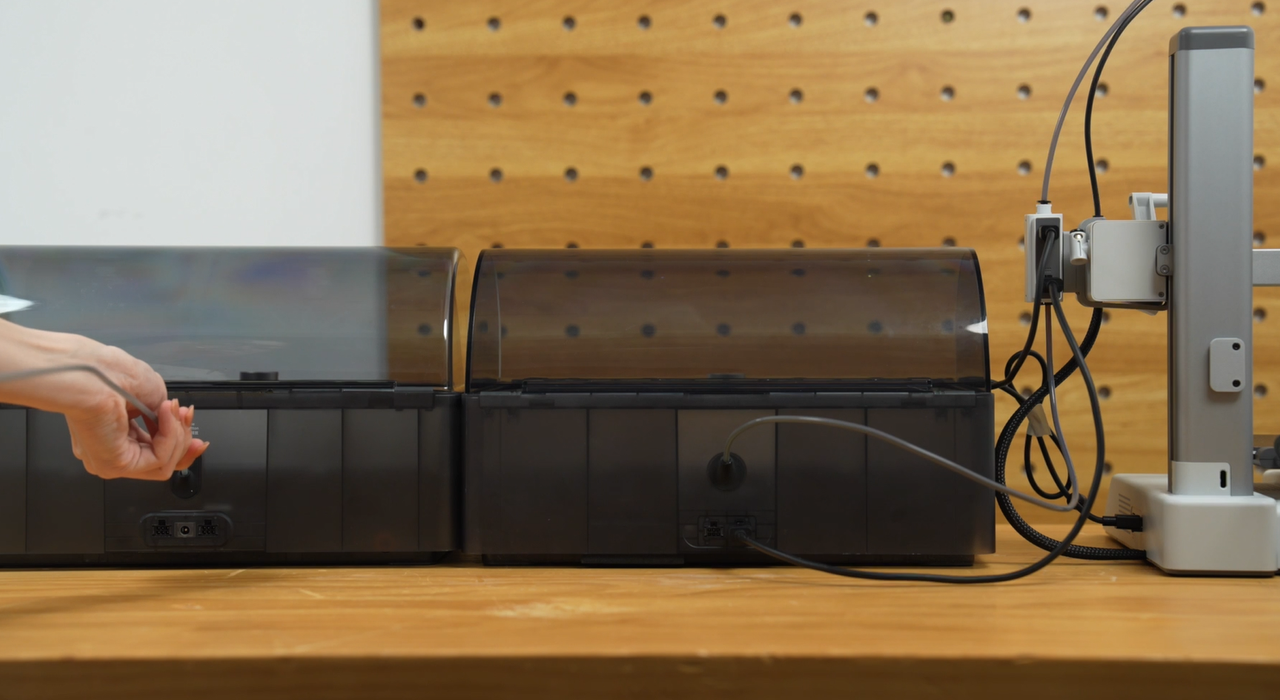
¶ Step 5: Connect the Printer to a single AMS
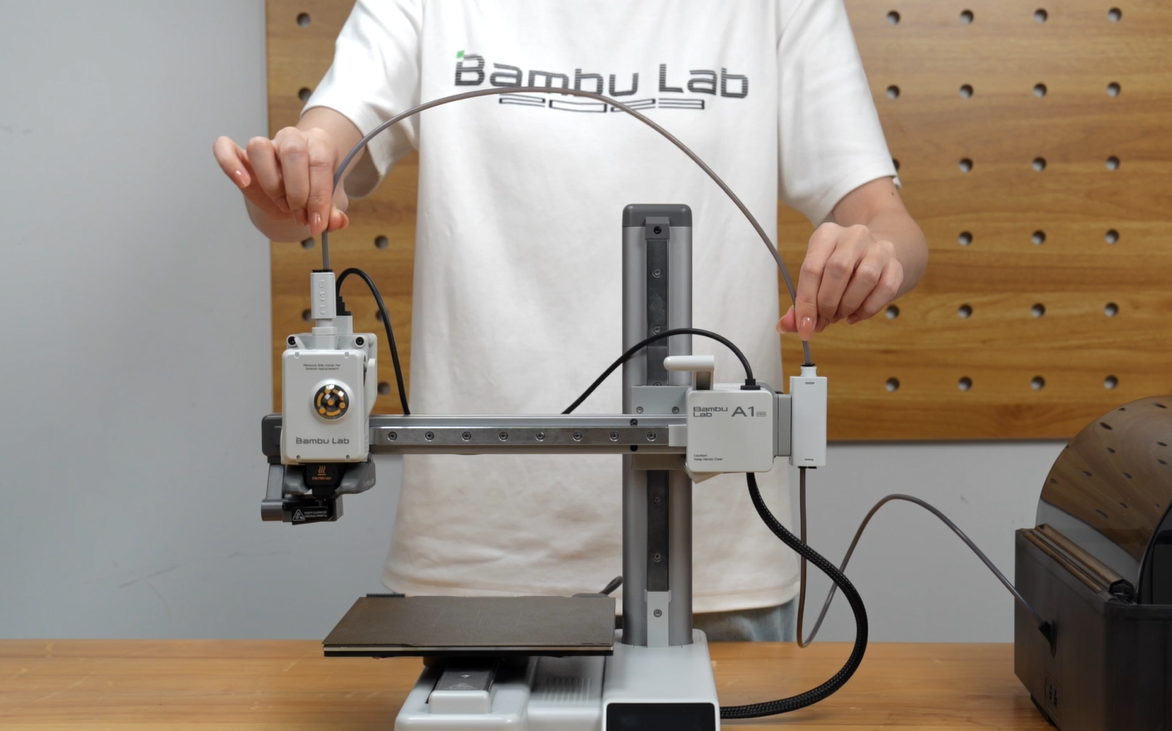
- Use one PTFE tube to connect the AMS to the AMS hub.
 |
 |
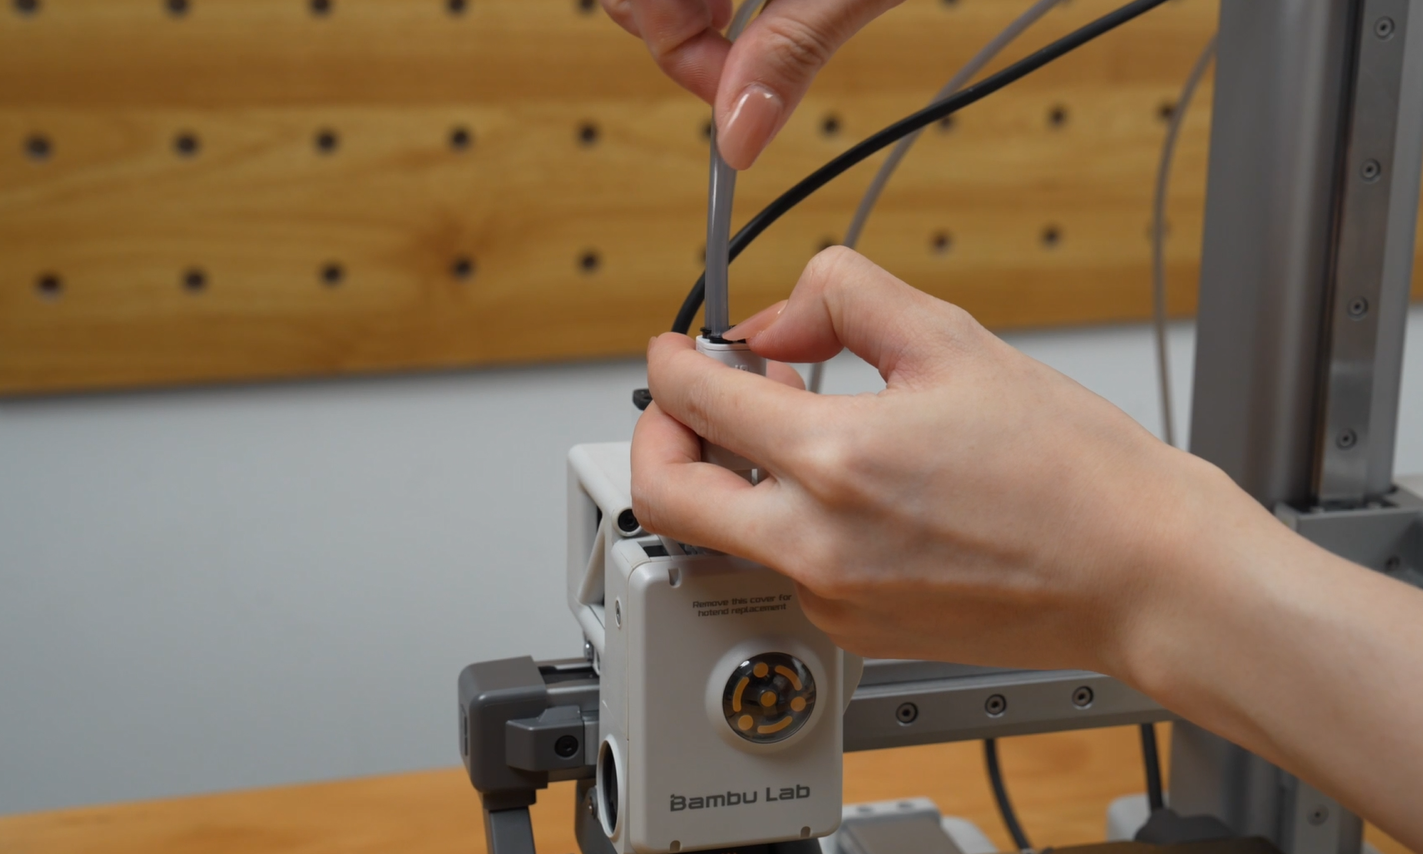
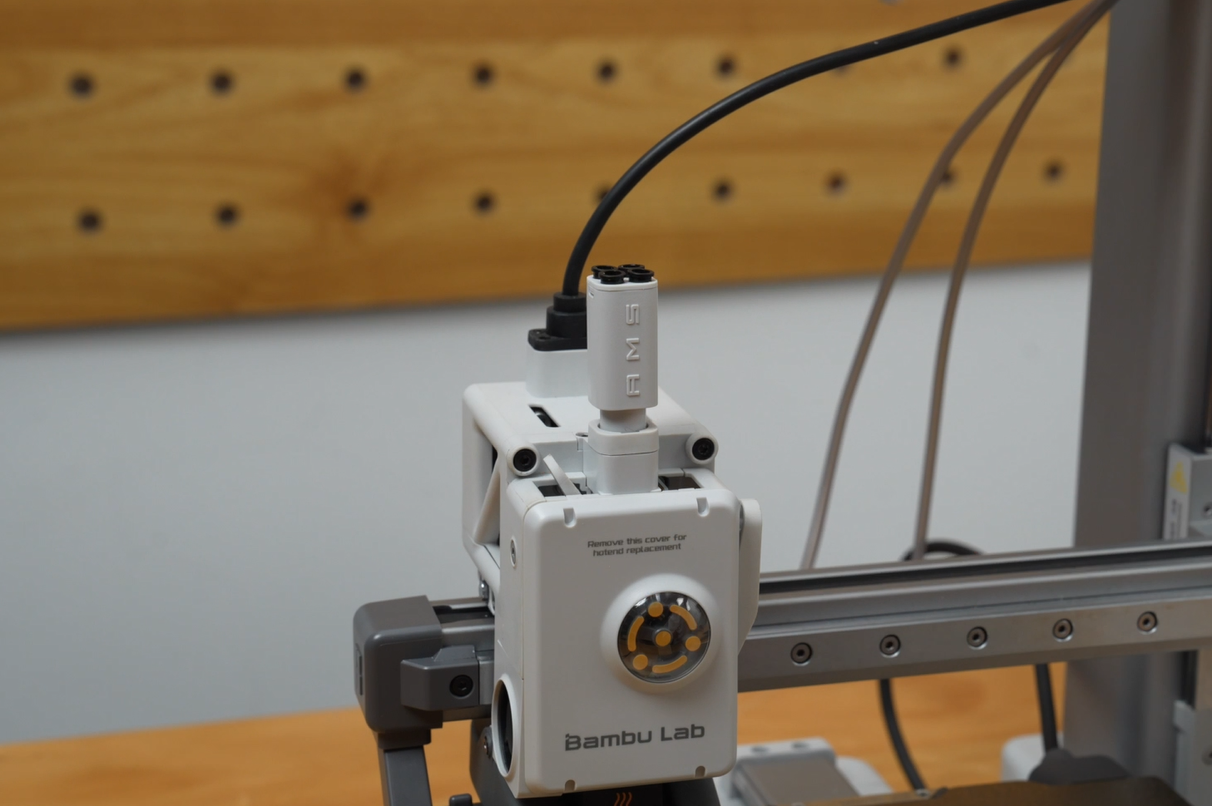
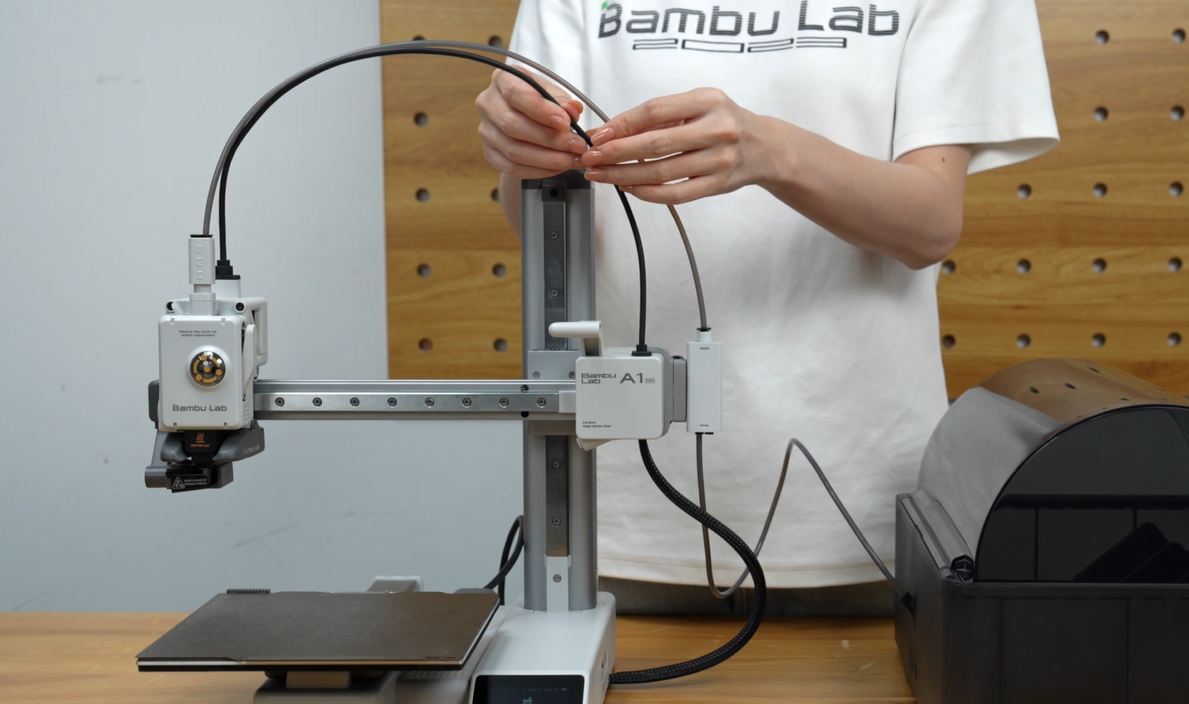
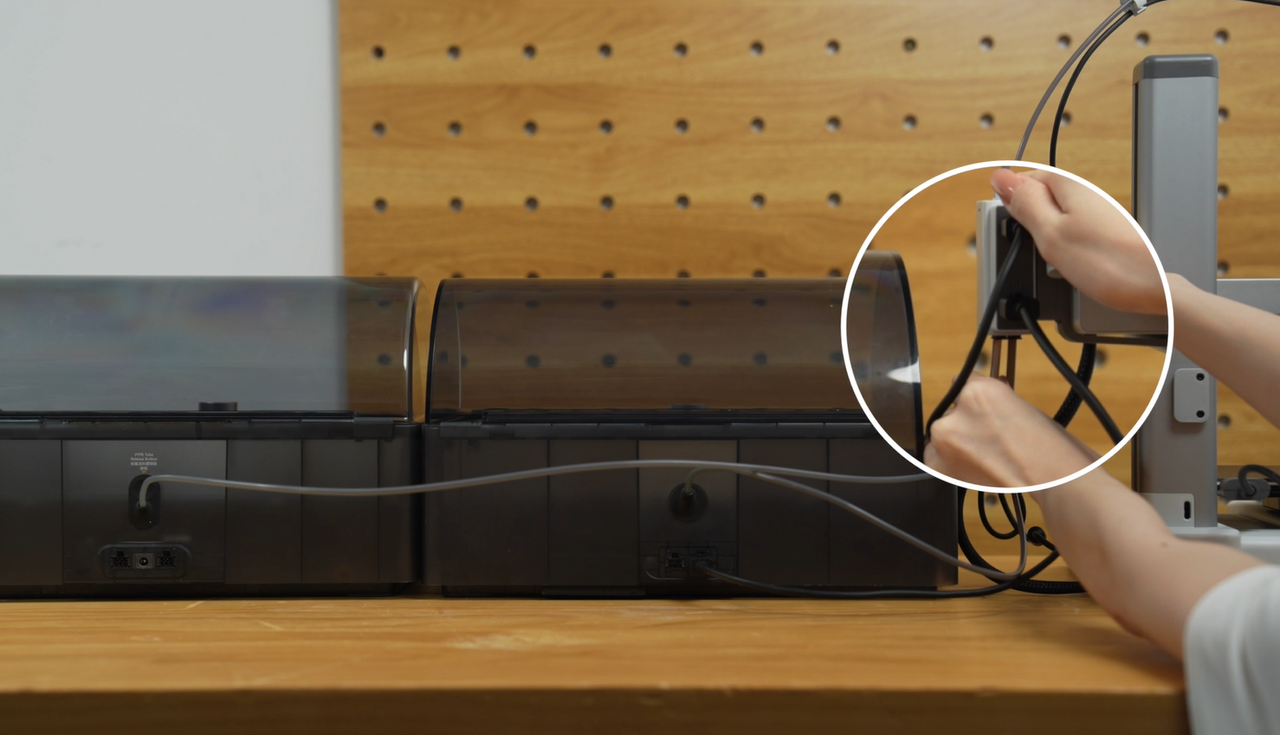
- Use another PTFE tube to connect the AMS hub to the filament hub above the toolhead.
- Use a cable organizer to secure the cable and PTFE tube.
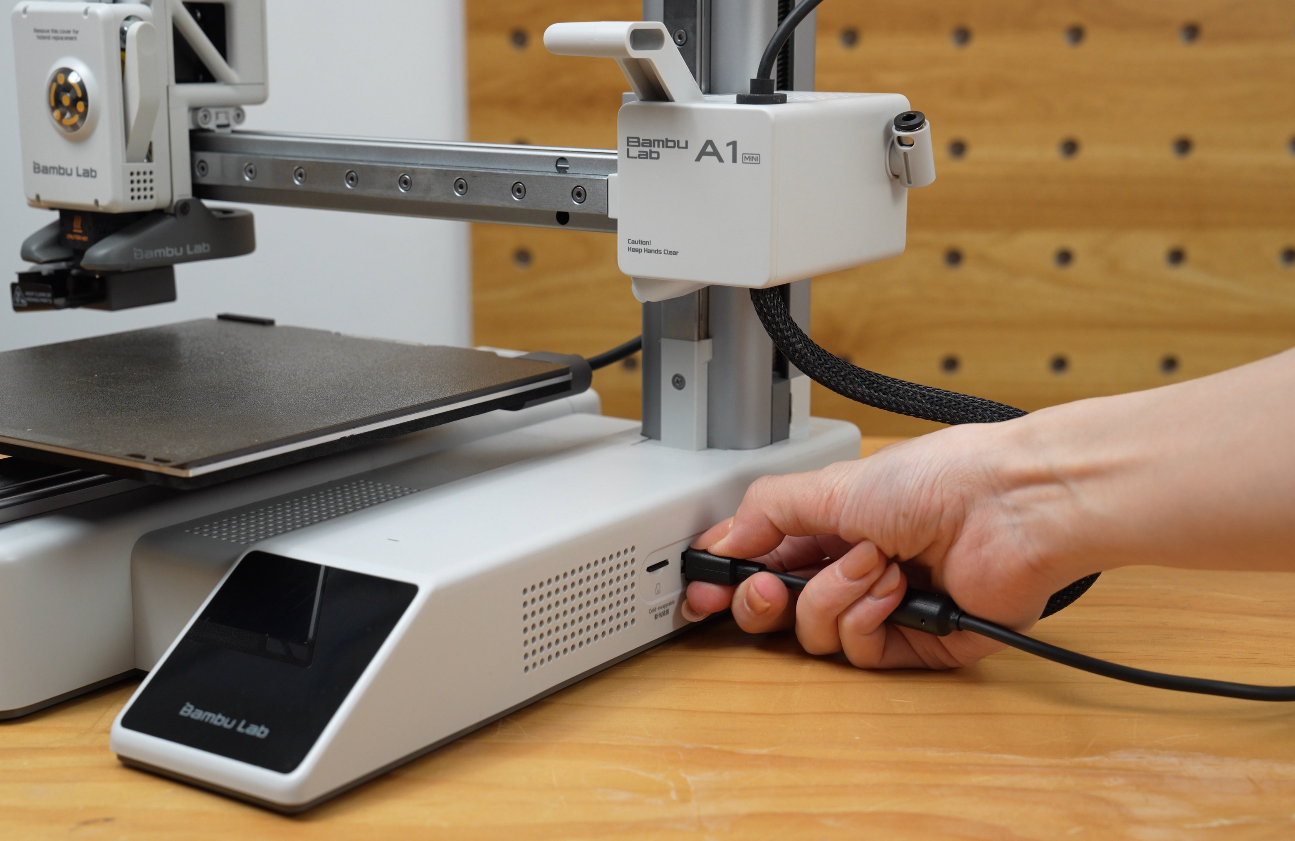
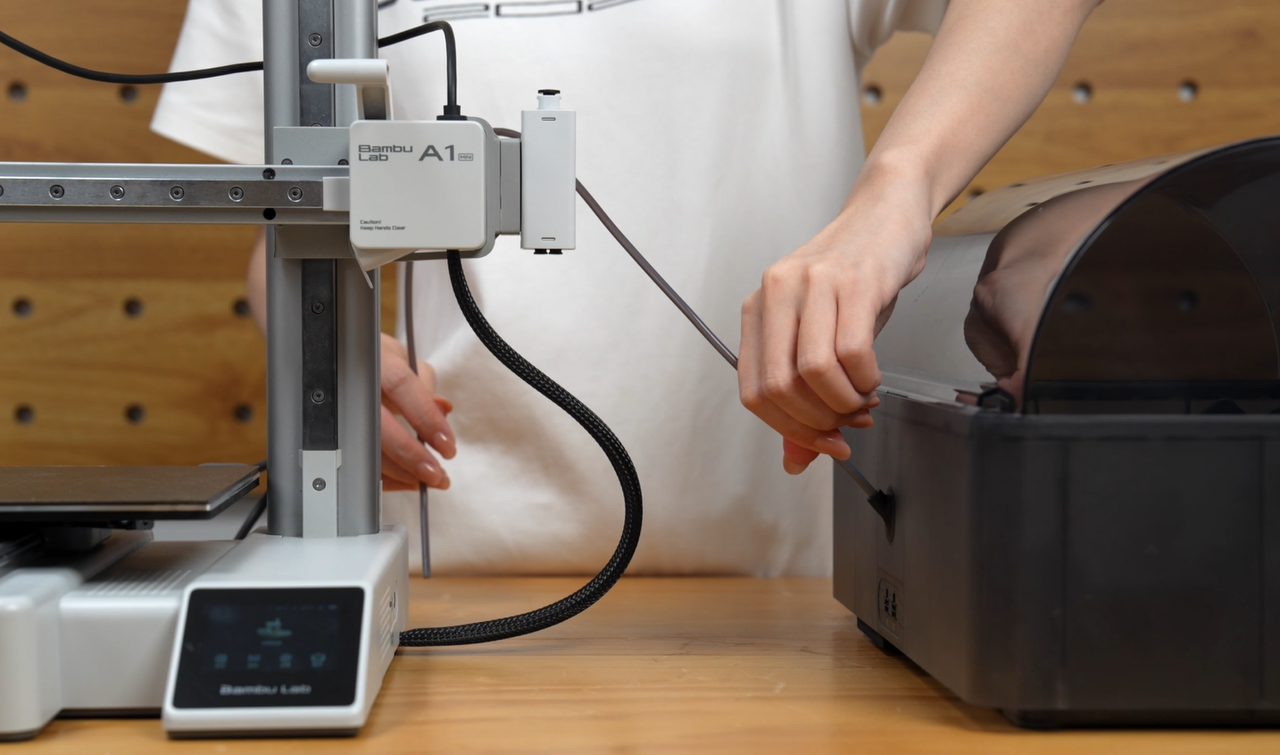
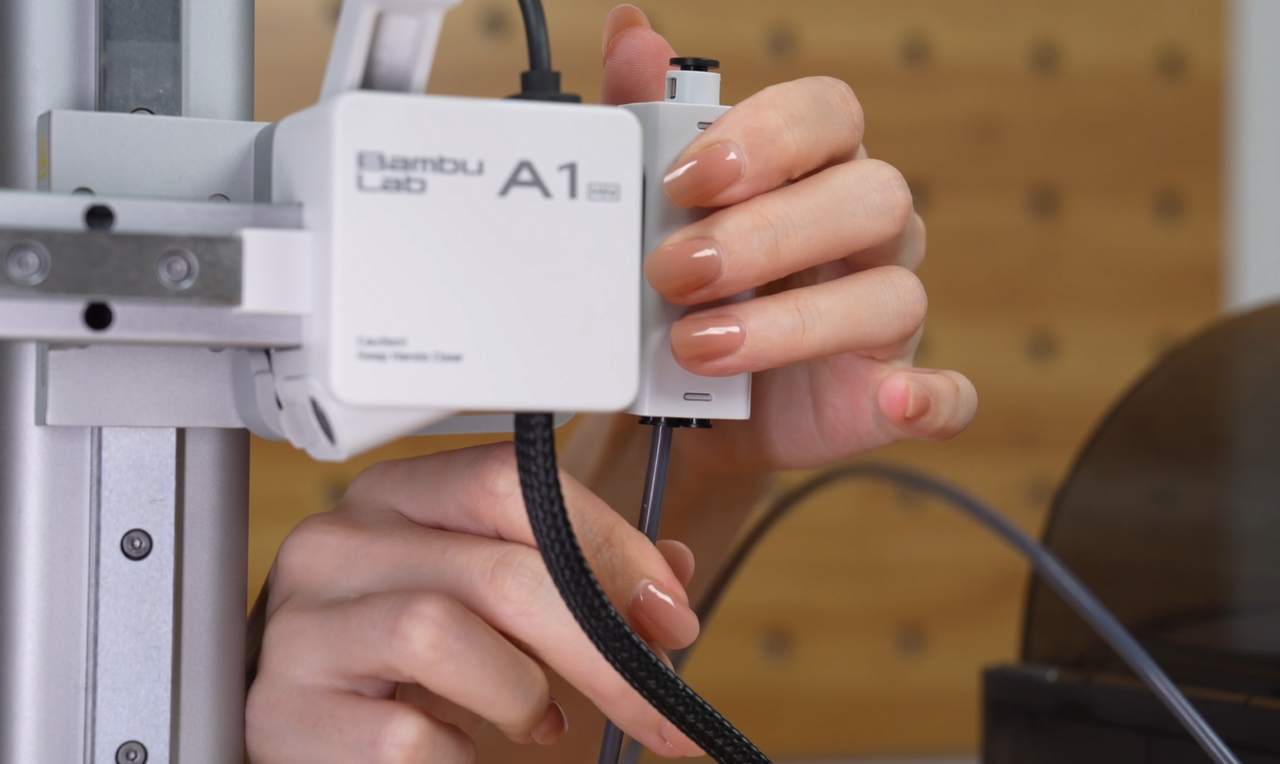
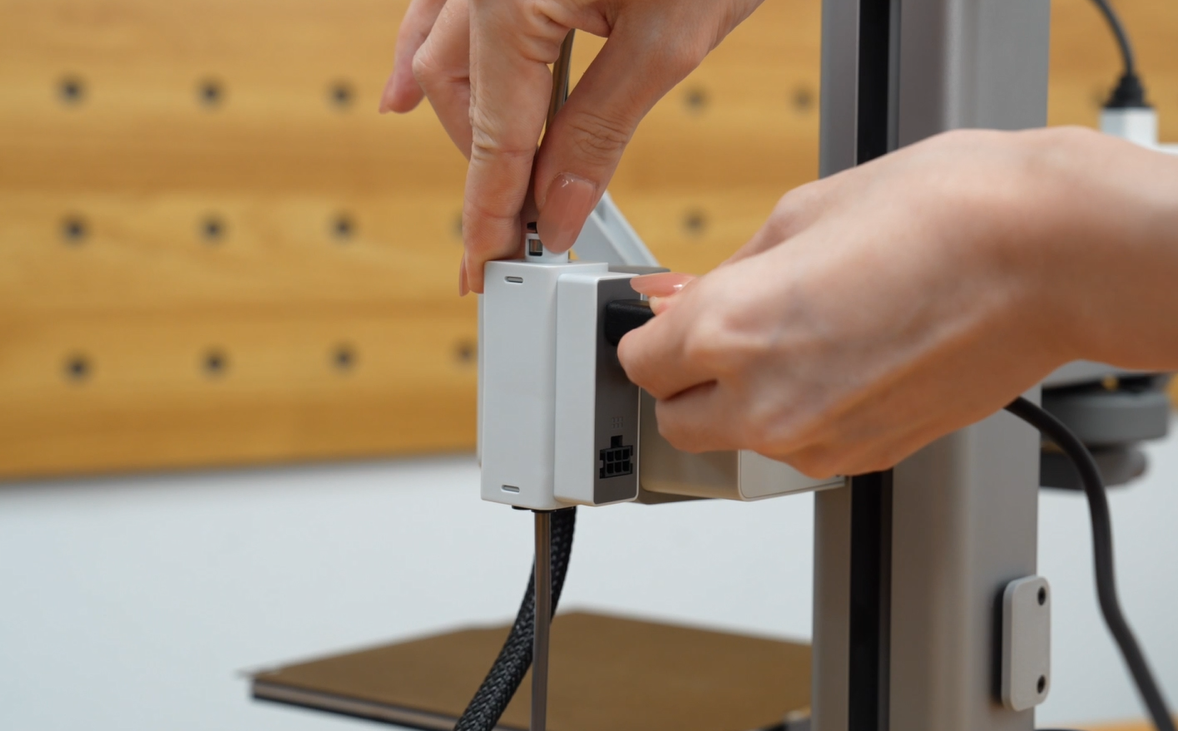
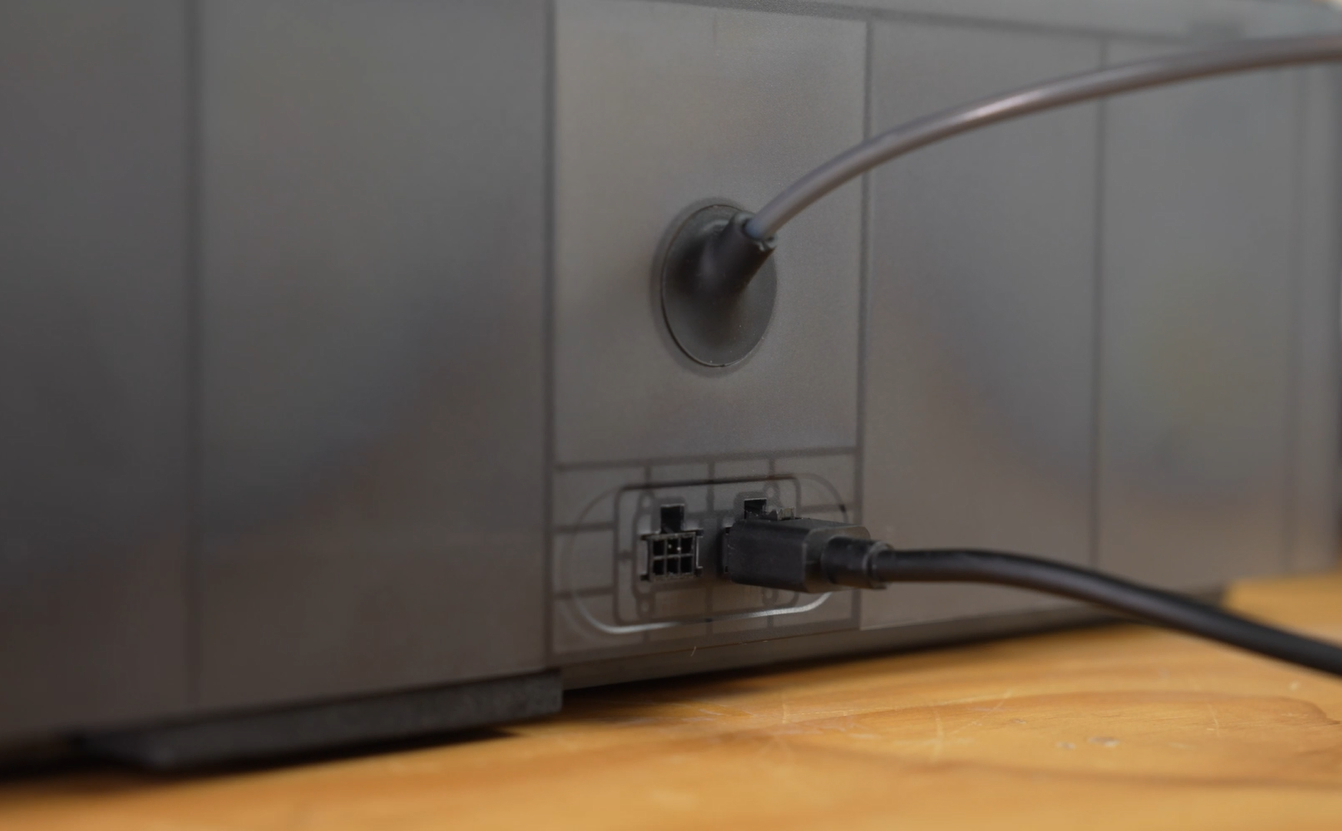
- Use the 4-pin cable to connect the printer to the AMS hub.
 |
 |
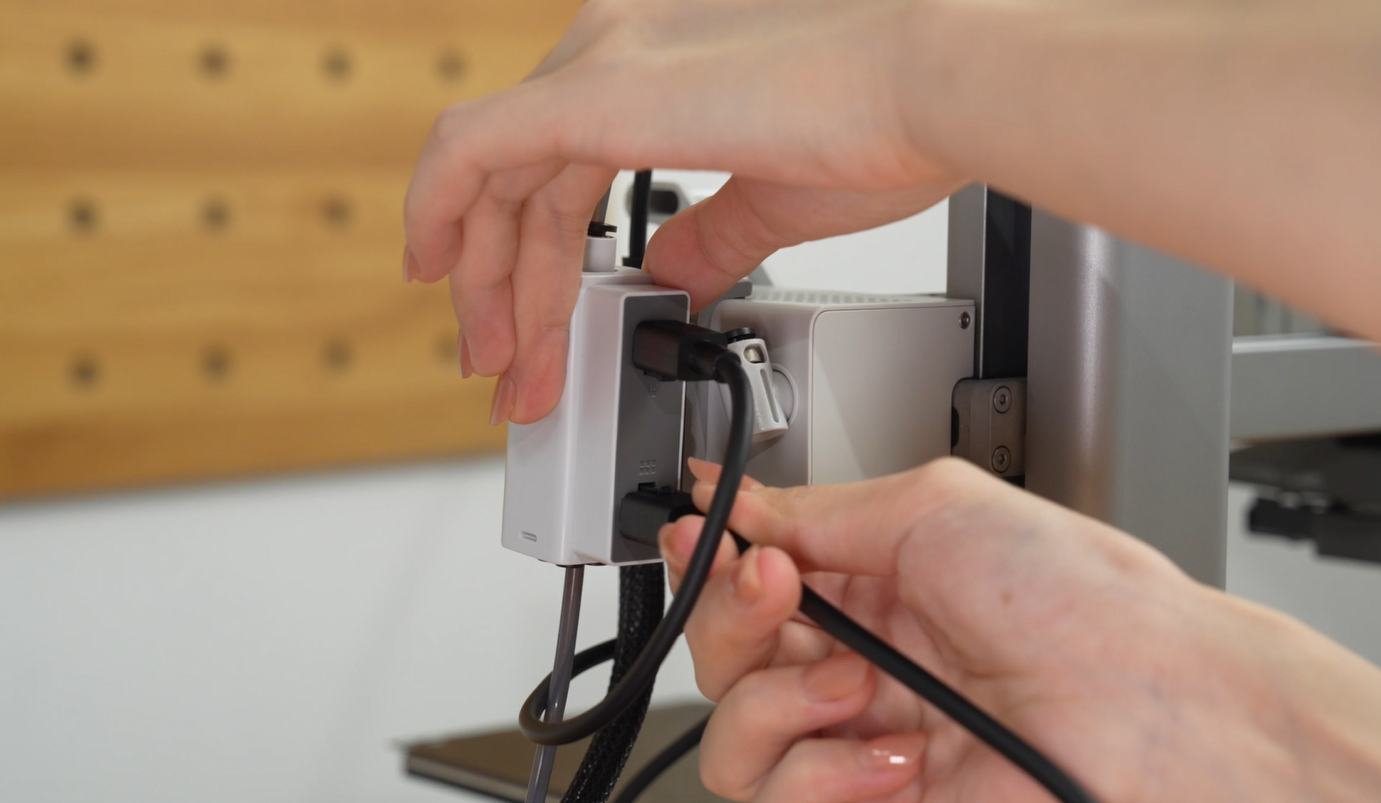
- Use the 6-pin cable to connect the AMS hub to the AMS.
 |
 |
¶ Step 6: Connect Multiple AMS Units
- Use a 6-pin cable to connect the second AMS to the first AMS.
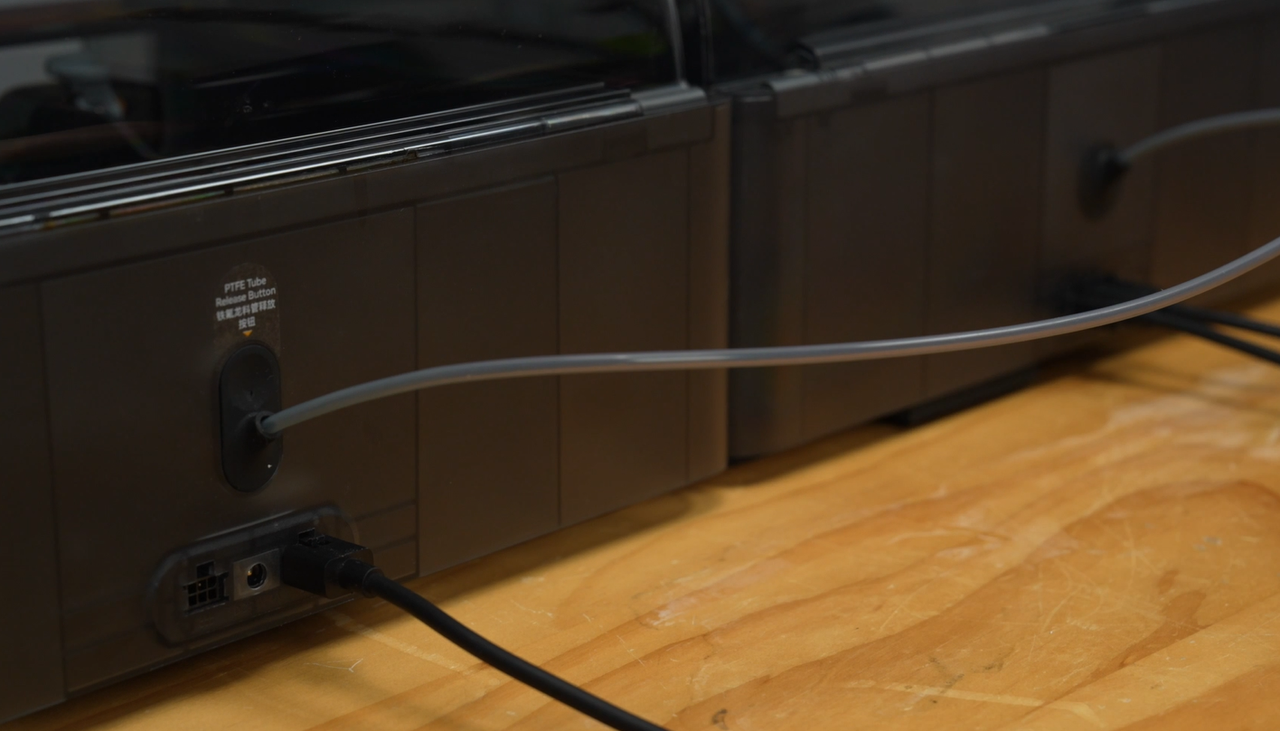
- Use a PTFE tube to connect the second AMS to the AMS hub.
 |
 |
- Repeat the same steps to connect additional AMS units (up to 4 total).
Note: To avoid dragging of the filament, please make sure that the tube is not excessively bent; at the same time, the cables must be tidied to ensure a smooth printing process.
- Once all 4 AMS units are connected, insert the filament.

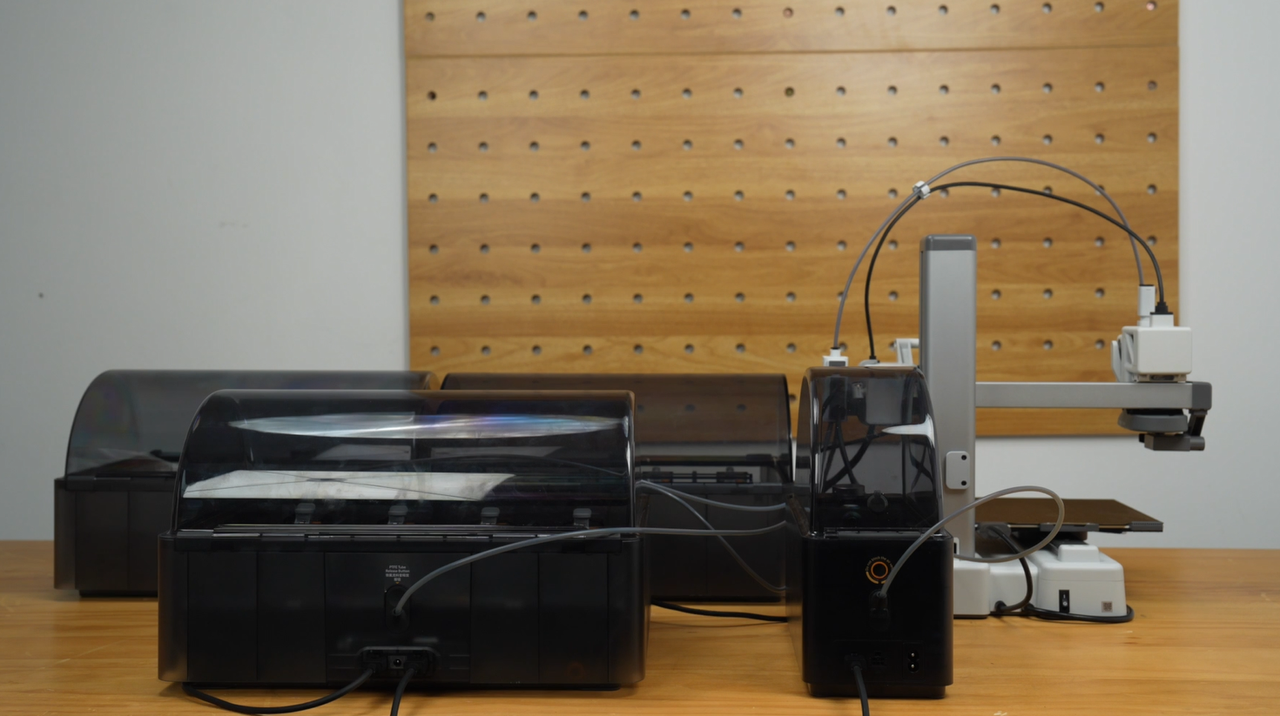
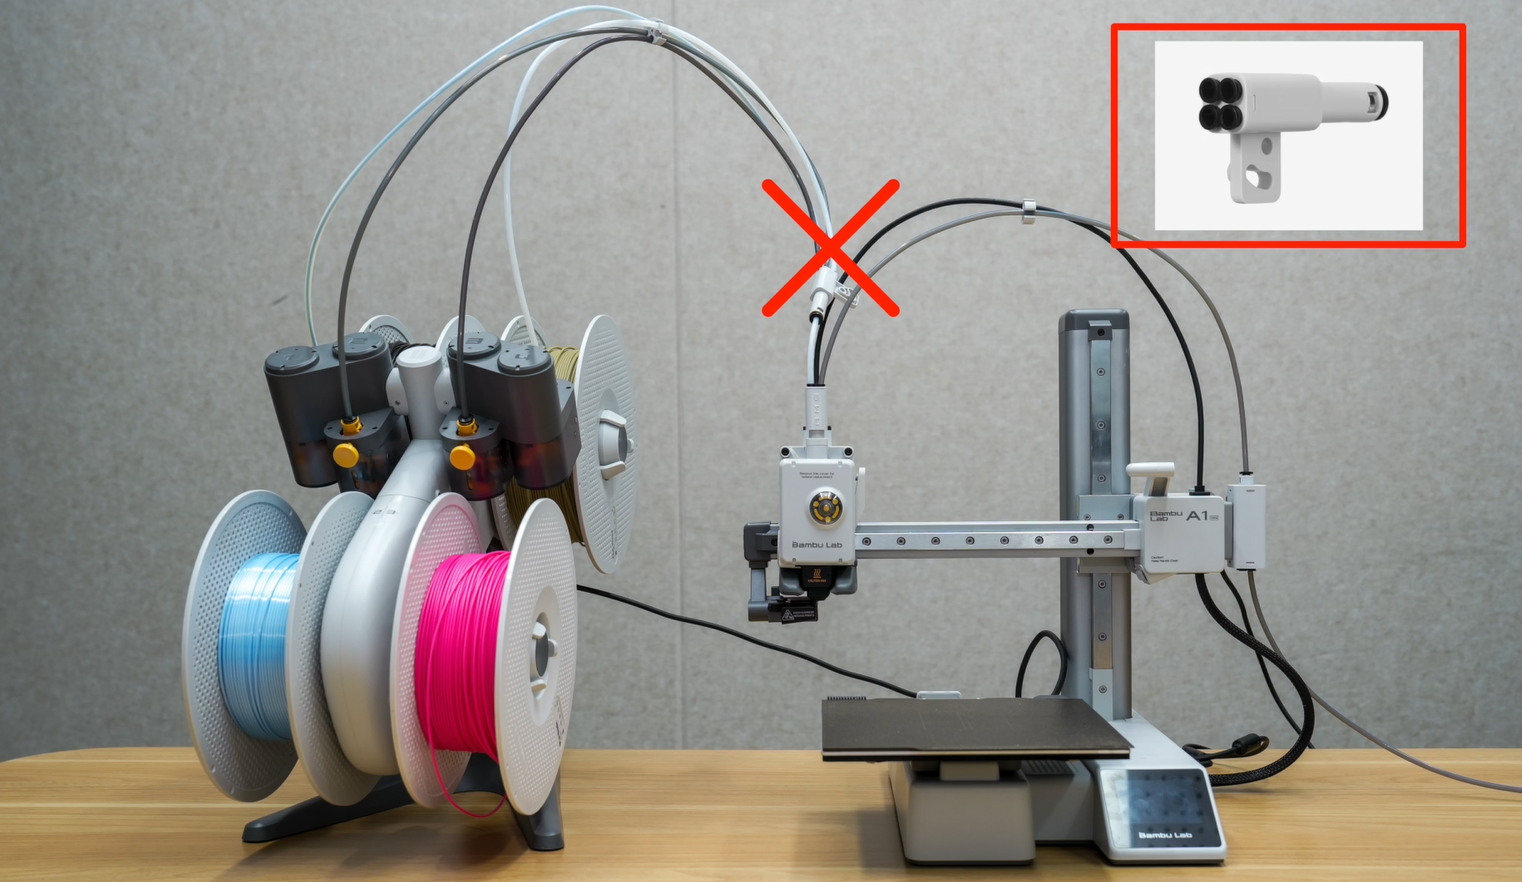
- The A1 connection diagram is as follows:
Note: When switching from AMS/AMS 2 Pro/AMS HT to AMS lite, disconnect the existing cables and tubes before connecting AMS lite. Do not connect AMS lite to the filament hub/AMS hub through the 4-in-1 PTFE adapter. Mixing AMS lite with other AMS will result in loading failure.

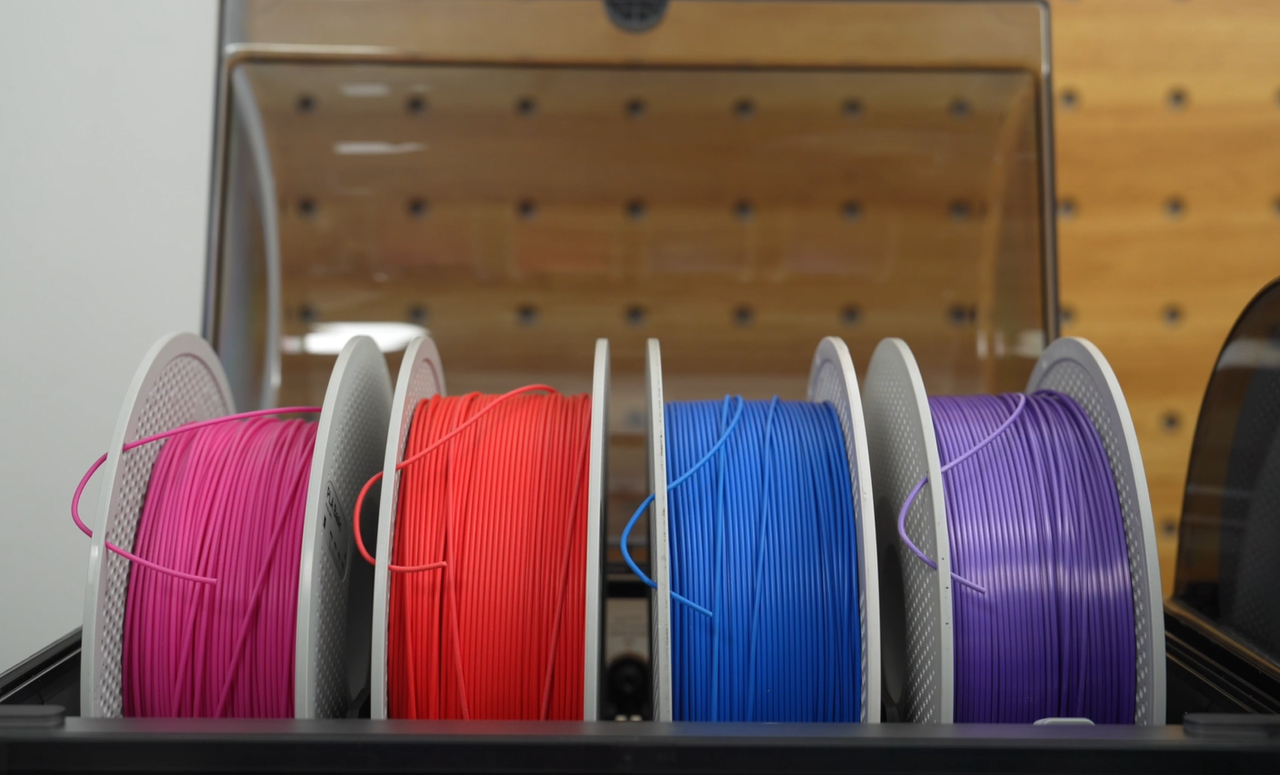
¶ Step 7: Filament Loading and Drying
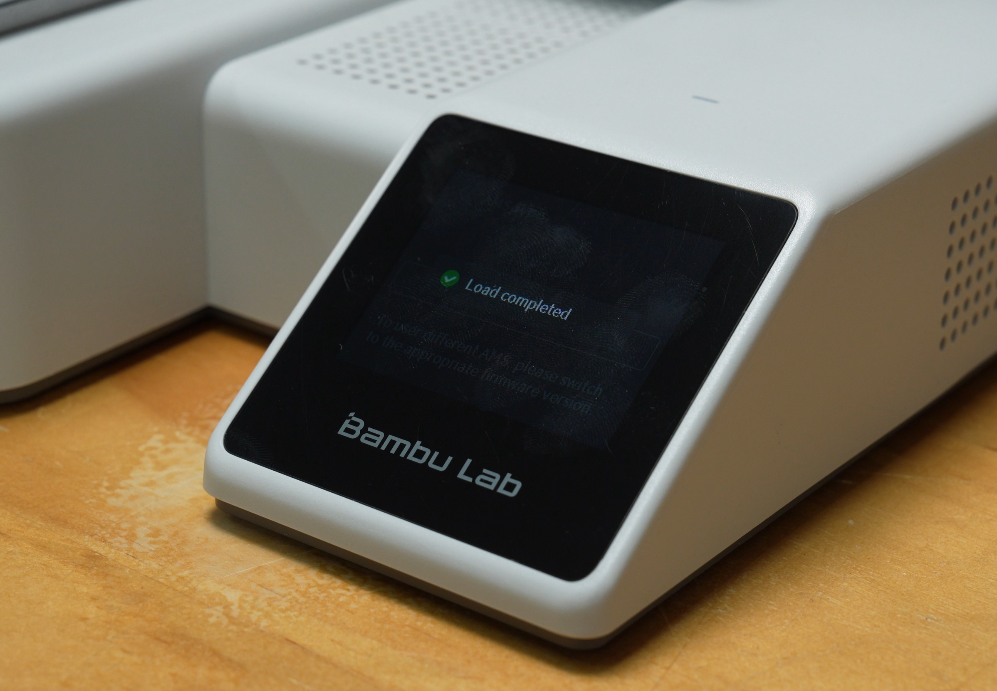
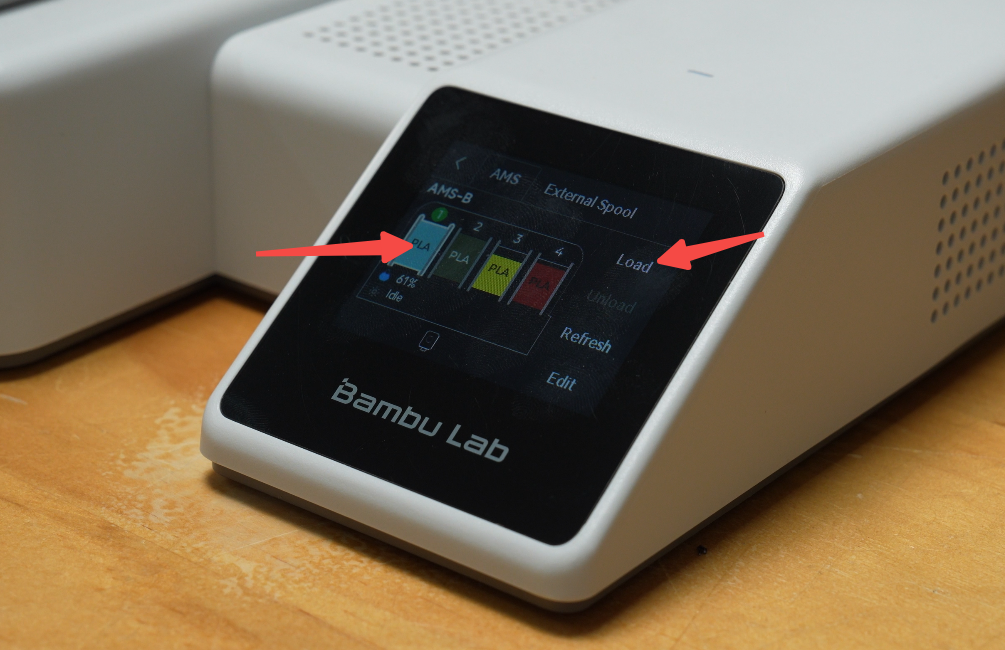
- On the printer screen, navigate to the Filament page, select the filament you want to load, and tap Load.
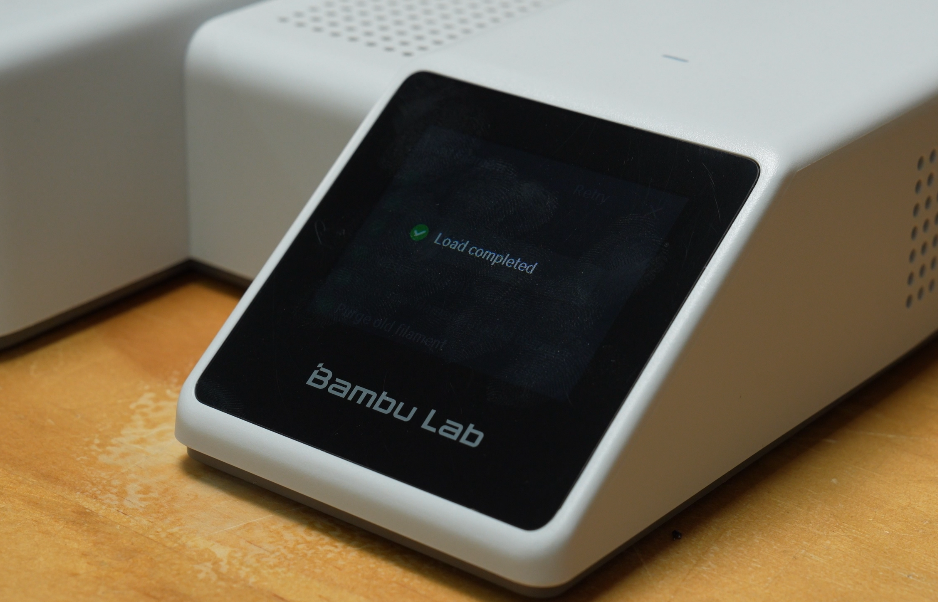
- Filament loading is complete.
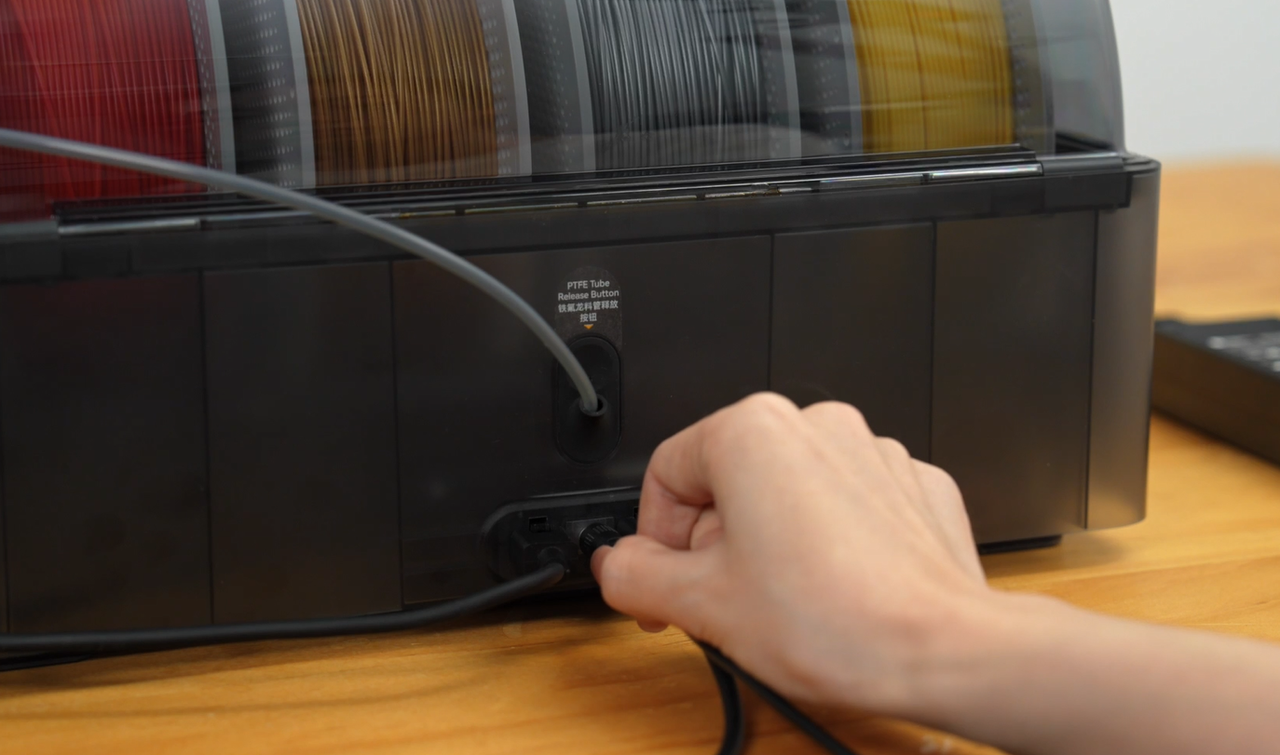
- If filament drying is required, plug the power adapter into the AMS 2 Pro that needs drying.
Note: To use AMS HT for drying, plug in its power cable.
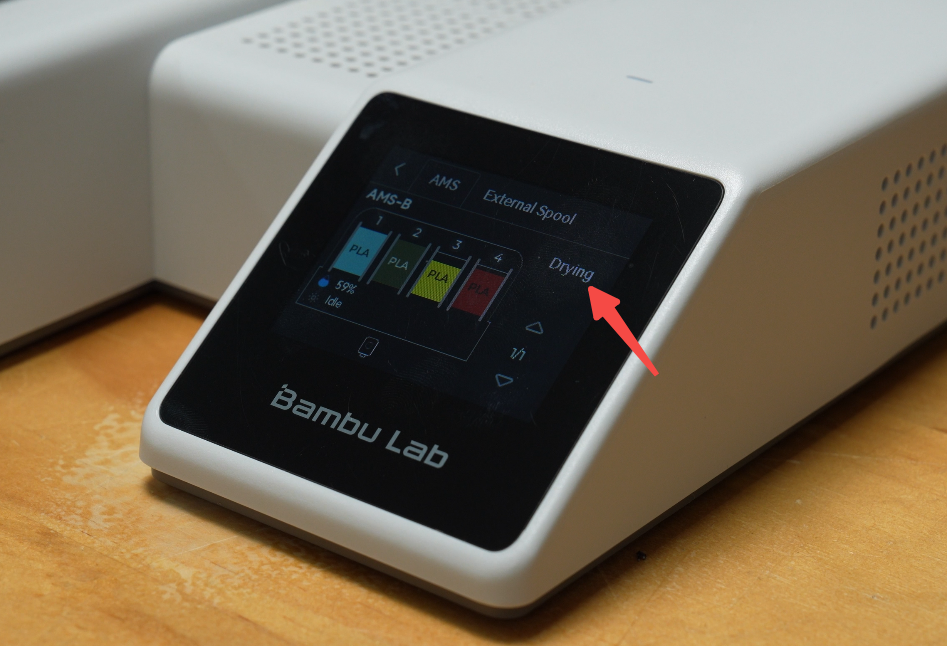
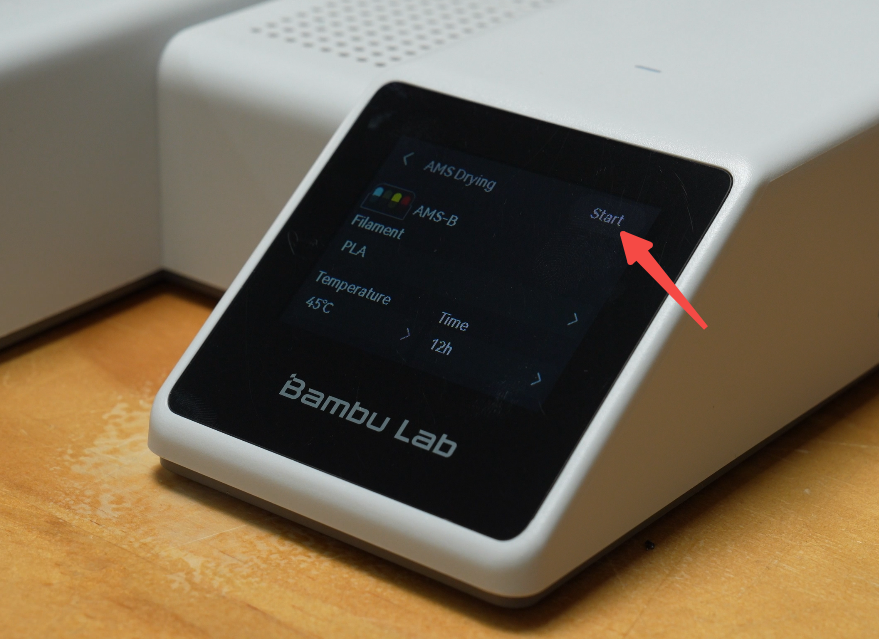
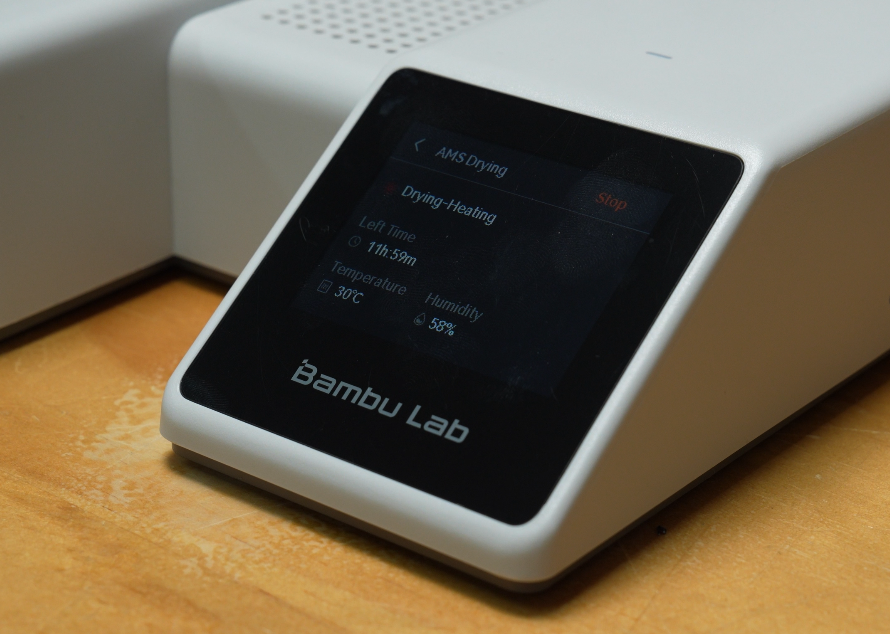
- On the printer screen, navigate to the Filament page, select the AMS unit to dry, then tap Drying > Start.
 |
 |
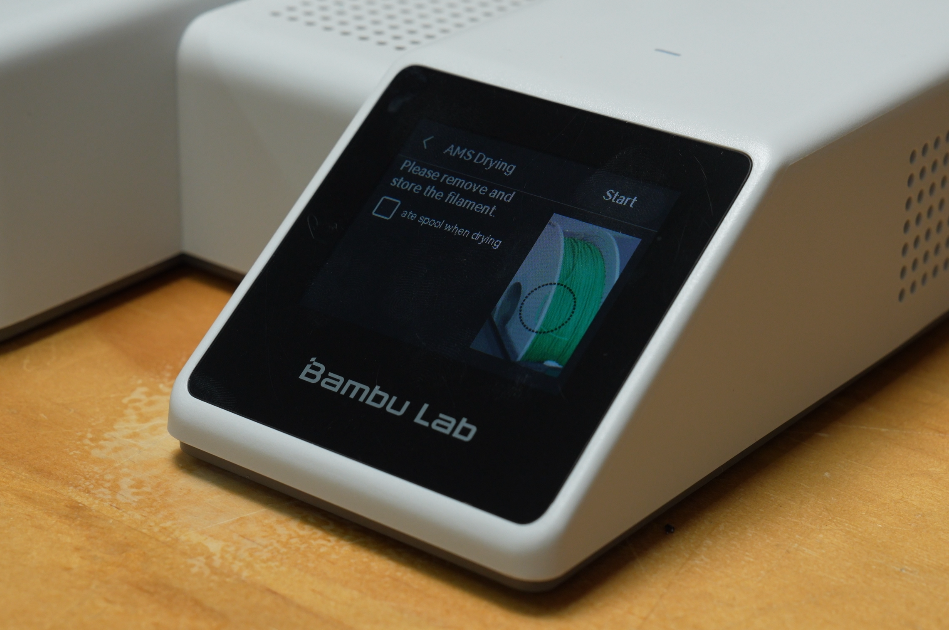
- Follow the on-screen prompts to place the filament onto the spool.
 |
 |
- Drying starts.
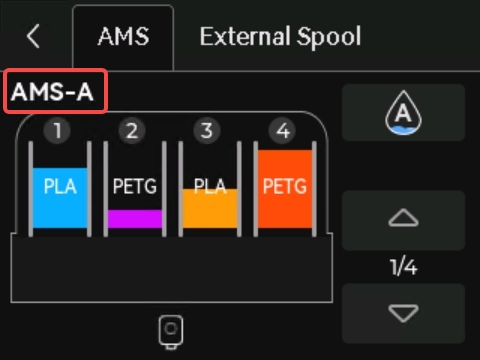
¶ AMS ID Assignment
When the printer is connected to AMS/AMS 2 Pro/AMS HT, each AMS unit is automatically assigned a unique ID, which is displayed on the screen. This allows users to easily identify the connection relationship between devices.
¶ Operation Steps
- Ensure the printer is powered on.
- Connect the AMS units one by one—for example, first connect the first AMS to the AMS hub, then connect the second AMS to the first AMS, and so on.
¶ Assignment Logic
- AMS/AMS 2 Pro Sorting:
-
An AMS connected directly to the AMS hub is assigned the ID "AMS-A" by default.
-
An AMS connected to AMS-A is assigned the ID "AMS-B".
-
Subsequently connected AMS units are assigned IDs sequentially in the order of "AMS-C", "AMS-D", and so on.
- AMS HT Sorting:
- The printer only begins sorting AMS HT units after completing the ID allocation for all AMS/AMS 2 Pro units.
- The first AMS HT is assigned the ID "HT-A" by default, with subsequent units assigned IDs sequentially as "HT-B", "HT-C", etc.
¶ How to reset AMS ID
- On the printer screen, navigate to Settings > AMS Settings > Arrange AMS Order.
 |
 |
-
Disconnect all cables and then reconnect them in your desired physical order.
-
Check the Filament page on the printer screen or the Device page in Bambu Studio to check if the AMS ID sequence is updated.

¶ FAQs
¶ Q: Can the A1 series connect AMS lite and AMS/AMS 2 Pro/AMS HT simultaneously?
Via the AMS hub, the A1 supports any combination of AMS, AMS 2 Pro, and AMS HT units, but does not support mixed use of AMS lite with AMS, AMS 2 Pro, or AMS HT.
¶ Q: Will mixed connection of AMS lite with AMS/AMS 2 Pro/AMS HT be supported in the future?
There are currently no plans to support this.
¶ Q: Can the A1 series connect both an AMS and an external spool simultaneously?
No.
¶ Q: Can the 4-in-1 PTFE adapter be used to connect AMS lite?
No. When the A1 series is connected to either AMS lite or AMS/AMS 2 Pro/AMS HT, the PTFE tube must be connected directly to the filament hub on the toolhead. It cannot be connected via the 4-in-1 PTFE adapter.
¶ Q: When using the AMS hub, what is the maximum number of AMS units the A1 series printer can connect?
It can connect up to four AMS units simultaneously, supporting any combination of AMS, AMS 2 Pro, and AMS HT.
¶ Q: Can the 6-pin cable be shared when connecting AMS/AMS 2 Pro/AMS HT to the A1 series?
When connecting AMS 2 Pro or AMS HT to the A1 series printer, the 6-pin cable provided with the device must be used. Using the 6-pin cable from a first-generation AMS with AMS 2 Pro or AMS HT may cause communication issues. The 6-pin cable of the second-generation AMS can be used for the first-generation AMS.
¶ Q: Can the A1 series use AMS 2 Pro/AMS HT for drying?
Yes. However, to use the drying function, the AMS 2 Pro requires connection to its power adapter, and the AMS HT requires connection to its power cable. The power supplied by the printer itself is insufficient to support the drying function.
¶ Q: Does the A1 series support printing and drying simultaneously?
Yes. When the printer is using some of the AMS 2 Pro/AMS HT units for a print job, the AMS 2 Pro/AMS HT units not involved in the current task can be used for drying.
¶ End Notes
We hope the detailed guide provided has been helpful and informative.
If this guide does not solve your problem, please submit a technical ticket, we will answer your questions and provide assistance.
If you have any suggestions or feedback on this Wiki, please leave a message in the comment area. Thank you for your support and attention!