¶ The particularity of H2D time-lapse
For the introduction to the time-lapse function of X1/P1/A1 series printers, you can refer to the wiki: Timelapse Functionality Introduction
When taking time-lapse snapshots, it is necessary to keep the position of the heatbed fixed in the XY direction. Due to different structures, the X1/P1 series printers do not change the position of the heatbed in the XY direction during time-lapse photography; The A1 series printer needs to move the heatbed in the Y direction to a fixed position when taking snapshots. H2D is a dual nozzle printer with the Core xy structure. Like X1/P1 series printers, the heatbed only moves up and down in the Z direction and remains fixed in the XY direction. There is a height difference of about 5mm between its left and right nozzles. When the left and right nozzles switch, the hot bed will also rise/fall by 5mm accordingly (as shown in Figure 1 below). Therefore, when taking snapshots, if the nozzles used are not consistent, it will cause the height of the heatbed to be inconsistent, and the heatbed in the time-lapse video will shake, as shown in GIF 2. It shows when using left and right nozzles to print two cubes of different colors layer by layer. The time-lapse snapshot is taken at the end of each layer, and the nozzle used at the time of taking the snapshot is different, causing the position of the heatbed to shake up and down.
 |
 |
¶ Solution for the time-lapse of dual nozzle printing
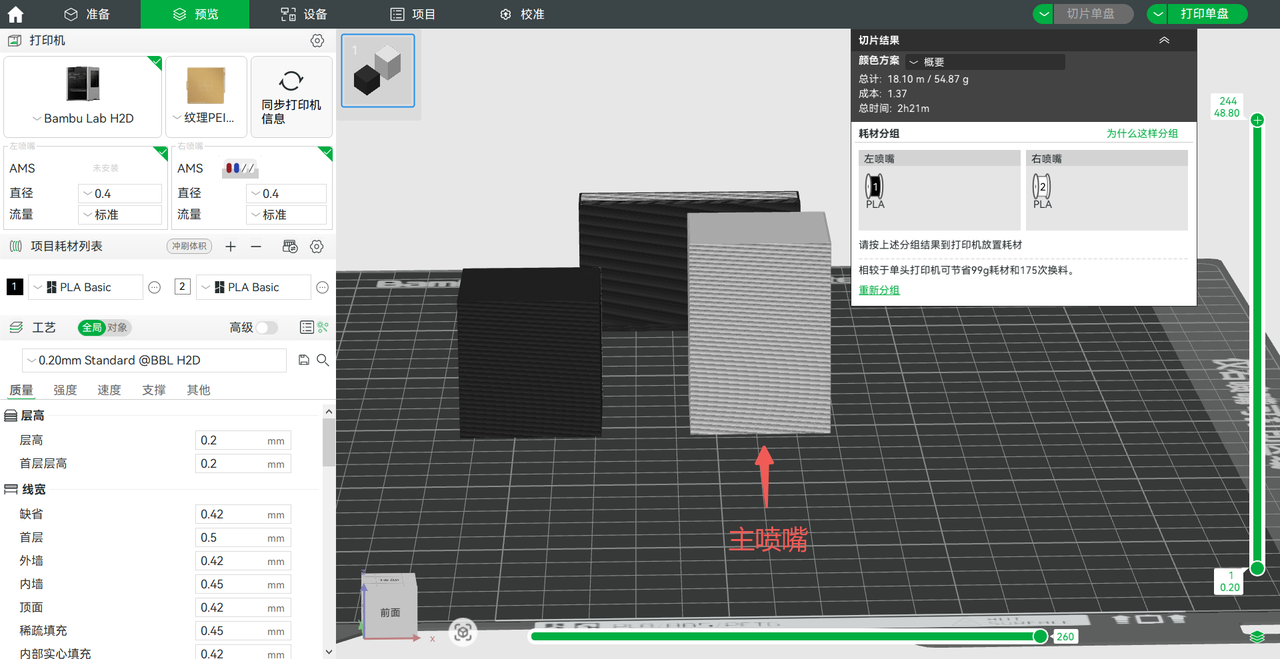
The processing solution for H2D is to switch the heatbed to the height corresponding to the same nozzle during time-lapse photography, and minimize unnecessary nozzle switching as much as possible. The main logics are:
-
Calculate the most commonly used nozzle (defined as the "main nozzle") for the printing task of this plate by object and layer. Each time the time-lapse takes a snapshot, check whether the current nozzle is consistent with the "main nozzle." If they are not, it will move the toolhead to the purge chute and adjust the height of the heatbed to the corresponding height of the "main nozzle" before taking the snapshot.
-
The time of taking snapshots should be separated from the time of changing layers. If the "main nozzle" is used for printing on this layer, the time of taking snapshots should be consistent with that when the "main nozzle" is being used.
Here are some examples:
-
If only one nozzle is used for printing, both modes of time-lapse are the same as single-nozzle printing of X1/P1 series printers;
-
If the printing uses both nozzles and each layer uses the main nozzle, the two modes of time-lapse photography are the same as the single nozzle of the X1/P1 printer. In the following figures, the two-color cube printing task, since the right nozzle is the main nozzle, the time-lapse photography will take snapshots when printing with the right nozzle, rather than at the end of each layer of printing.
 |
 |
-
If both nozzles are used for printing but only one nozzle is used for some layers, the toolhead will be moved to the purge chute and the height of the heatbed will be adjusted to the corresponding height of the "main nozzle" and take snapshots when printing these layers. For smooth mode, the video effect is the same as X1/P1, but for traditional mode, these layers become "smooth mode", and the entire timelapse video is a mixture of traditional mode and smooth mode.
-
For printing by object, the "main nozzle" will be updated when printing each object, and the time-lapse photography of each object will be processed according to the above three situations. For example, in the following GIF, printing two cubes with different colors by object, the traditional mode has a similar effect to X1/P1, and there is no need to adjust the height of the heatbed when printing each object for photography.
¶ External accessory support
Makerworld has added a time-lapse photography kit that connects to the AMS interface and transfers to the camera device via Bluetooth for external time-lapse photography.
When the user initiates printing and selects time-lapse, the firmware will automatically send a photography command to the external accessory when executing time-lapse photography. (KOL first version already supports)
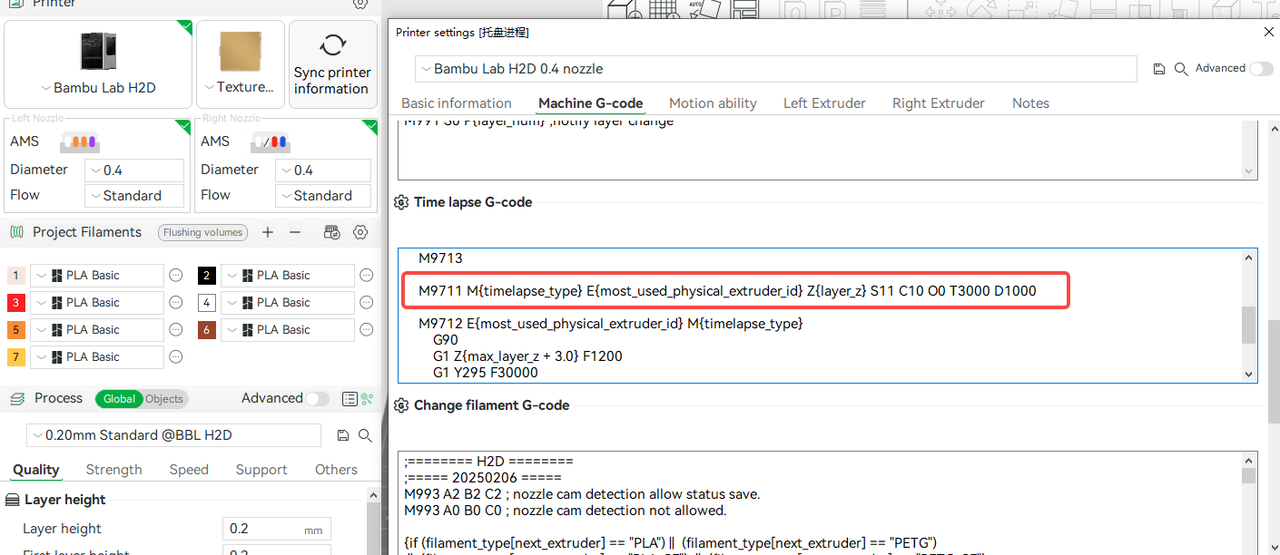
Due to the long process of sending instructions from MC to the camera for taking photos and the large number of camera models on the market, the time from triggering the photo to completing it is prone to fluctuations. In smooth mode, the MC firmware defaults to a delay of 500ms after sending instructions. If a longer delay needs to be specified, it can be set using the M9711 D parameter (in milliseconds). The delay time set to 1s is shown in the following figure:
¶ Known issues
-
When taking snapshots, the nozzle used for printing is inconsistent with the "main nozzle." Currently, only the height of the heatbed will be adjusted, and the toolhead will not switch the nozzle. In the smooth mode time-lapse video, you can see the left hotend moving up and down and the toolhead light switching between left and right.
-
When the toolhead moves to the purge chute to take snapshots, it will push up the cutter rod, making some noise.
-
Some built-in models (such as Benchy) do not have gcode with time-lapse.
¶ End Notes
We hope the detailed guide provided has been helpful and informative.
If this guide does not solve your problem, please submit a technical ticket, we will answer your questions and provide assistance.
If you have any suggestions or feedback on this Wiki, please leave a message in the comment area. Thank you for your support and attention!