¶ Issue Description
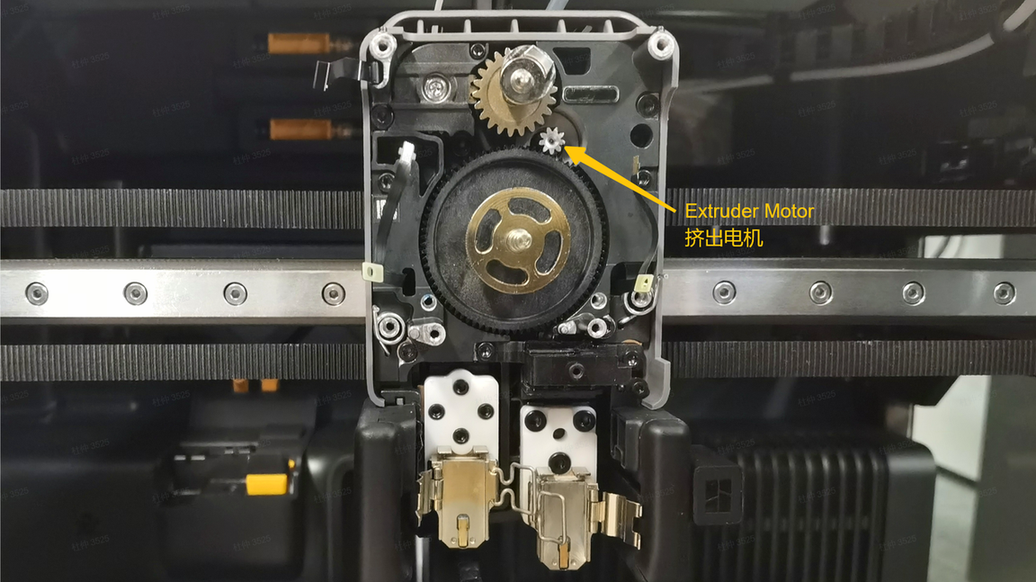
The extruder servo motor is a motor mounted at the center of the toolhead, used to drive the extruder gears for extrusion. It contains a position sensor.
The printer checks the extruder servo motor's sensor status during startup and throughout the printing process.
-
If an anomaly is detected during startup: The print task cannot be initiated until the issue is resolved.
-
If an anomaly is detected during printing: The print task will pause and can only resume after the issue is resolved and the printer is restarted.
Possible causes of this issue include:
-
Loose connection between the extruder servo motor's FPC and the TH board.
-
Loose connection between the extruder servo motor's FPC and the extruder servo motor.
-
Damage to the sensor inside the extruder servo motor.

¶ Troubleshooting
Before disassembling the toolhead, ensure the printer is powered off.
¶ Tools, Equipment, and Materials
-
H2.0 Allen key
-
H1.5 Allen key
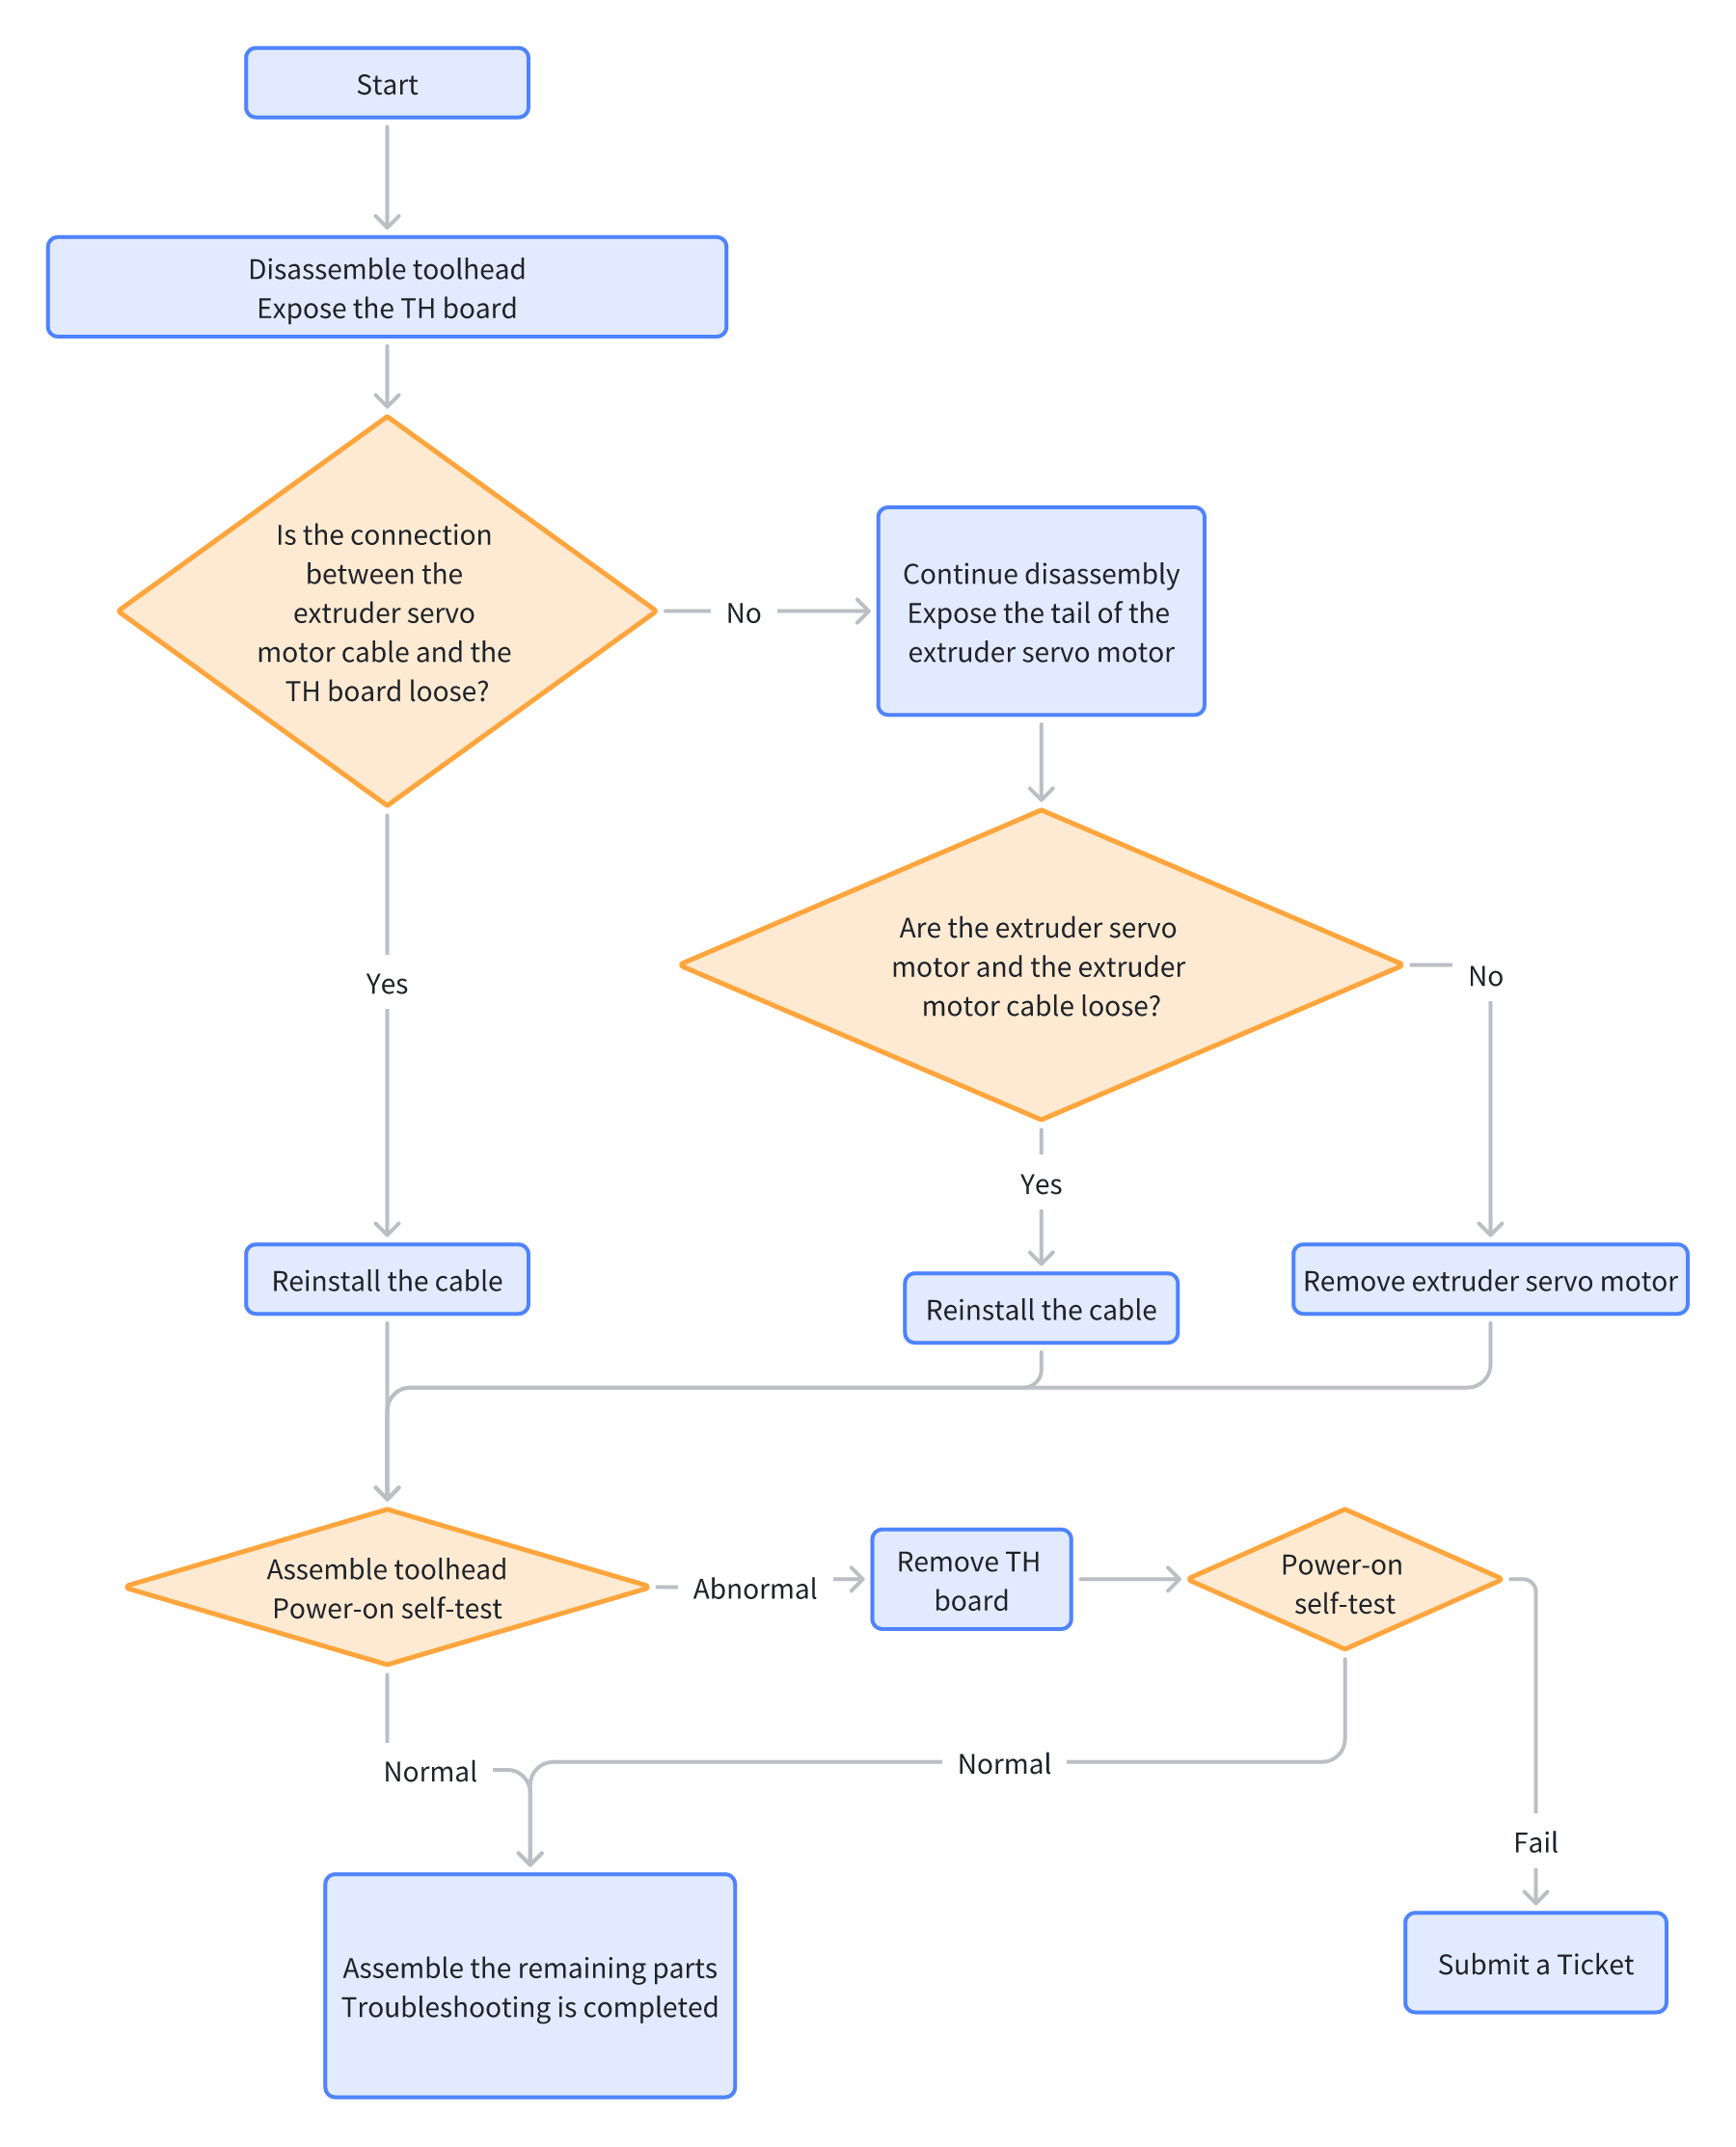
¶ Fault Isolation Process
¶ Solutions
Users may adjust the order of these solutions as needed.
¶ Step 1. Disassemble the toolhead to expose the TH connection board and check the connection between the extruder servo motor FPC and the TH board
-
Follow Steps 1 to 4 in the Wiki Disassemble the H2D toolhead to expose the TH connection board.
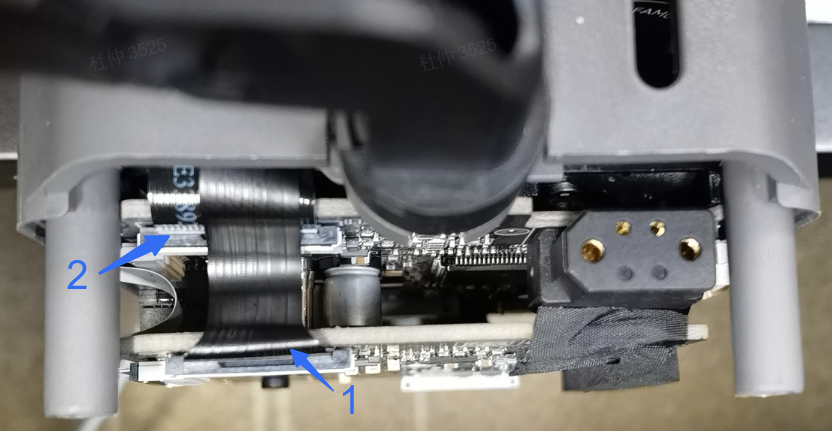
1-Extruder switching motor FPC 2-extruder servo motor FPC
-
Remove the extruder switching motor FPC.
-
Check if the connection between the extruder servo motor FPC and the TH board is loose.
-
If loose, reinstall it to ensure a secure connection. Proceed to Step 4 to reassemble the toolhead;
-
If the connection is normal, proceed to Step 2.
-
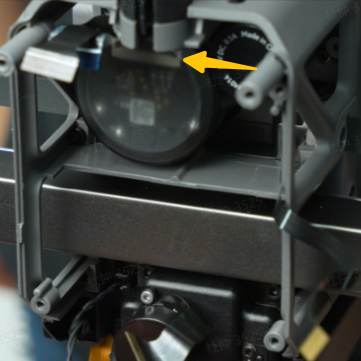
¶ Step 2. Inspect the connection between the extruder servo motor and the extruder servo motor FPC
-
Refer to steps 1~9 in the Wiki: Disassemble the H2D toolhead to further disassemble the TH connection board, TH board, and cooling fan for hotend, exposing the extruder servo motor.
-
Open the extruder servo motor back cover and check if the extruder servo motor cables are loose.
-
If loose, reinstall them to ensure a secure connection. Close the extruder servo motor back cover. Proceed to Step 4 to reassemble the toolhead.
-
If not loose, proceed to Step 3.
¶ Step 3. Replace the extruder servo motor
Remove 2 screws and replace the extruder servo motor.
¶ Step 4. Partially reassemble the toolhead
Refer to the Wiki: Disassemble the H2D toolhead to reassemble the toolhead. The part cooling fan duct and hotend can be installed after the test is completed.
¶ Step 5. Power-on test
Power on the printer and allow it to perform self-check. If no related alerts appear, troubleshooting is successful. Proceed to Step 6.
¶ Step 6. Reassemble the remaining parts of the toolhead
Refer to steps 35~37 in the Wiki: Disassemble the H2D toolhead to reassemble components such as the part cooling fan duct and hotend.
If the above solutions do not resolve the issue, submit a ticket and upload the printer’s log files.
¶ End Notes
We hope the detailed guide provided has been helpful and informative.
If this guide does not solve your problem, please submit a technical ticket, will answer your questions and provide assistance.
If you have any suggestions or feedback on this Wiki, please leave a message in the comment area. Thank you for your support and attention!