This section explains how to link your account to the Bambu Lab printer for remote control, initiating prints, managing multiple devices, firmware upgrades, and other functions. The binding methods may vary slightly for different printer series, so please follow the instructions based on the model of your printer.
¶ H2D
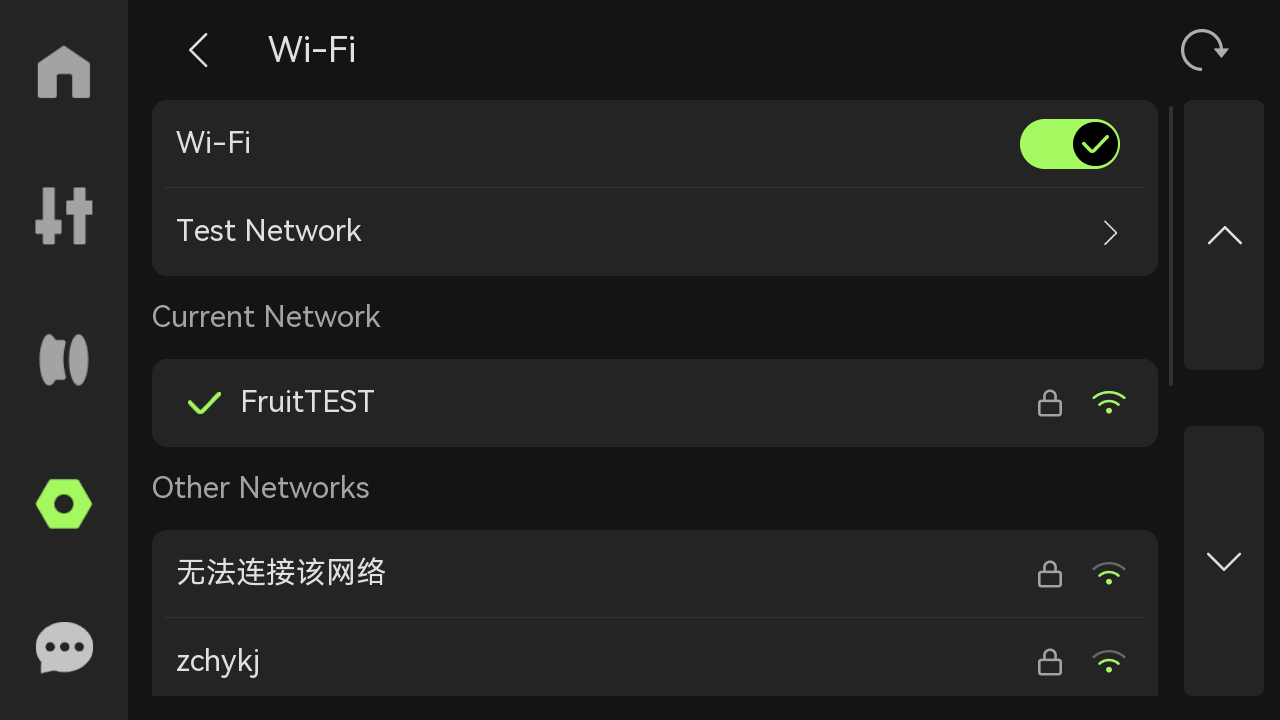
¶ Connect to Wi-Fi
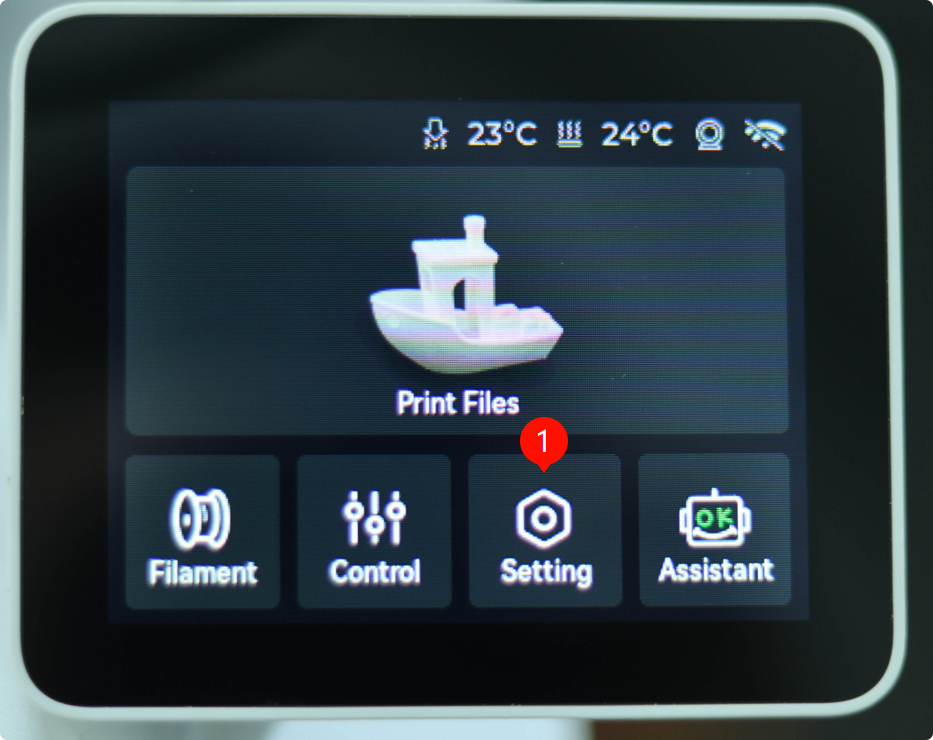
Click the Settings button (the gear icon) on the H2D screen.
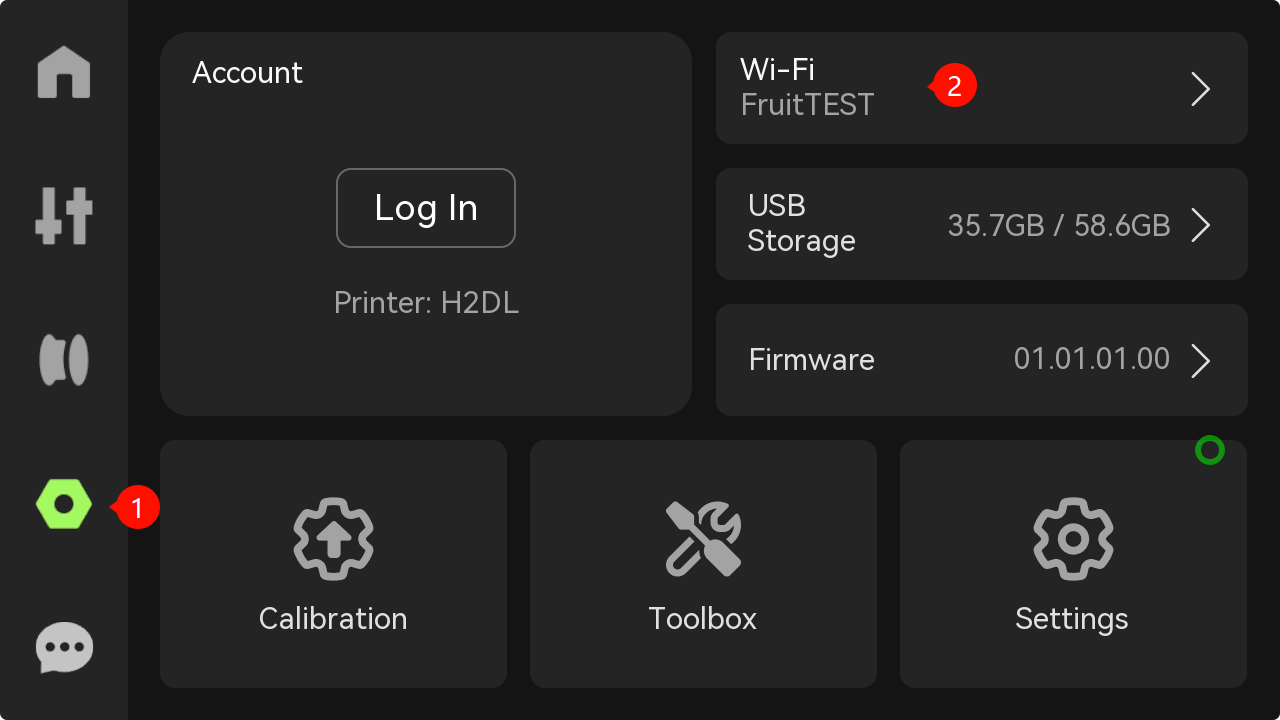
In the settings interface, click Wi-Fi, and the system will automatically scan for available networks.
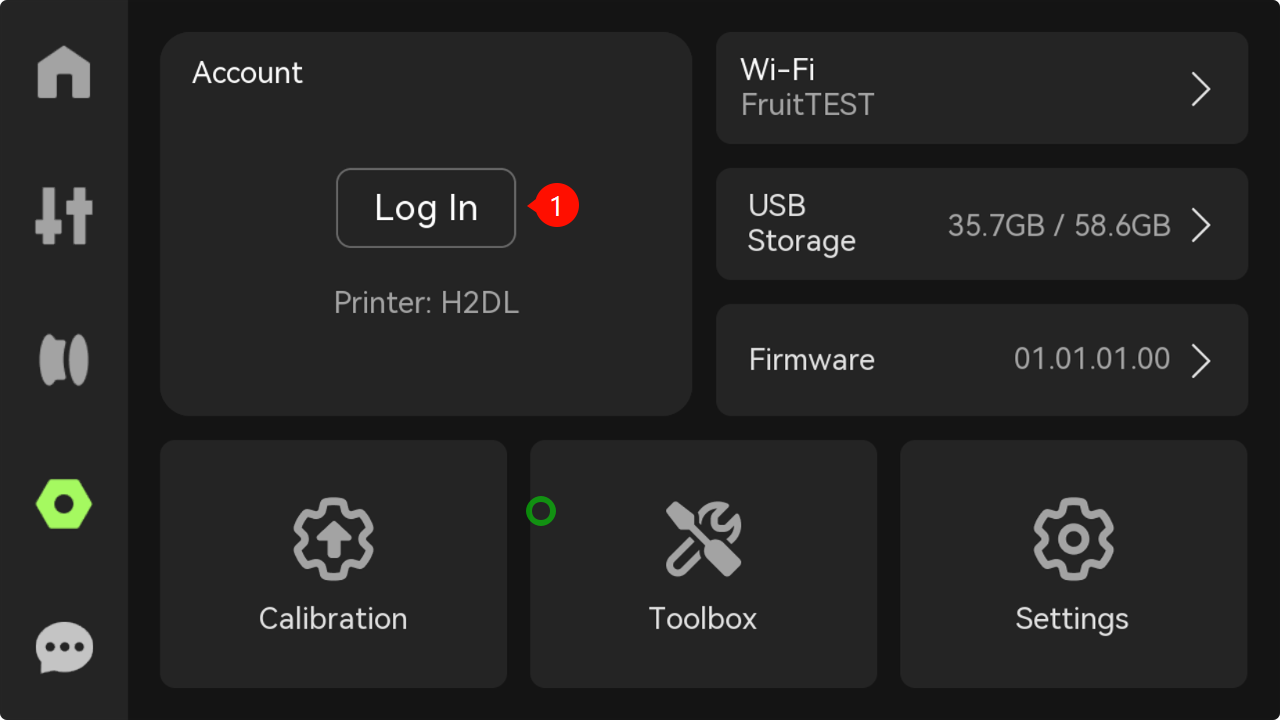
¶ Login
After successfully connecting to the network, return to Settings and click the Login button.
 !
!
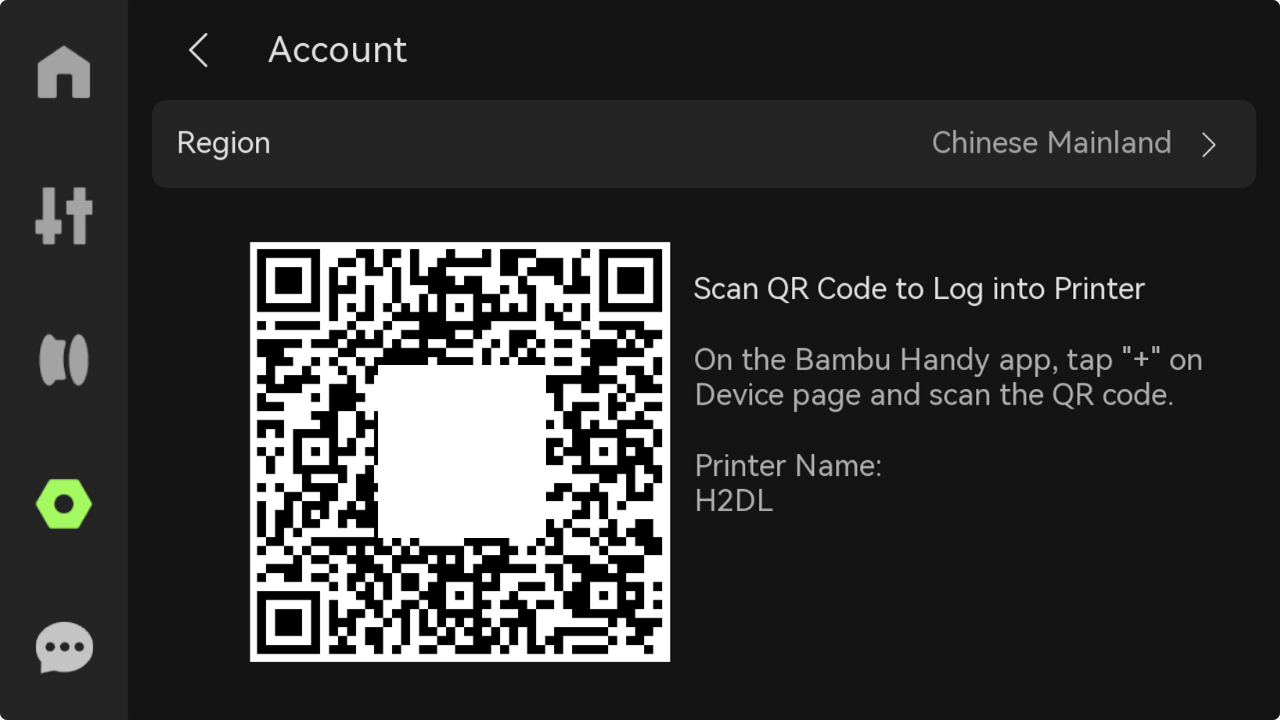
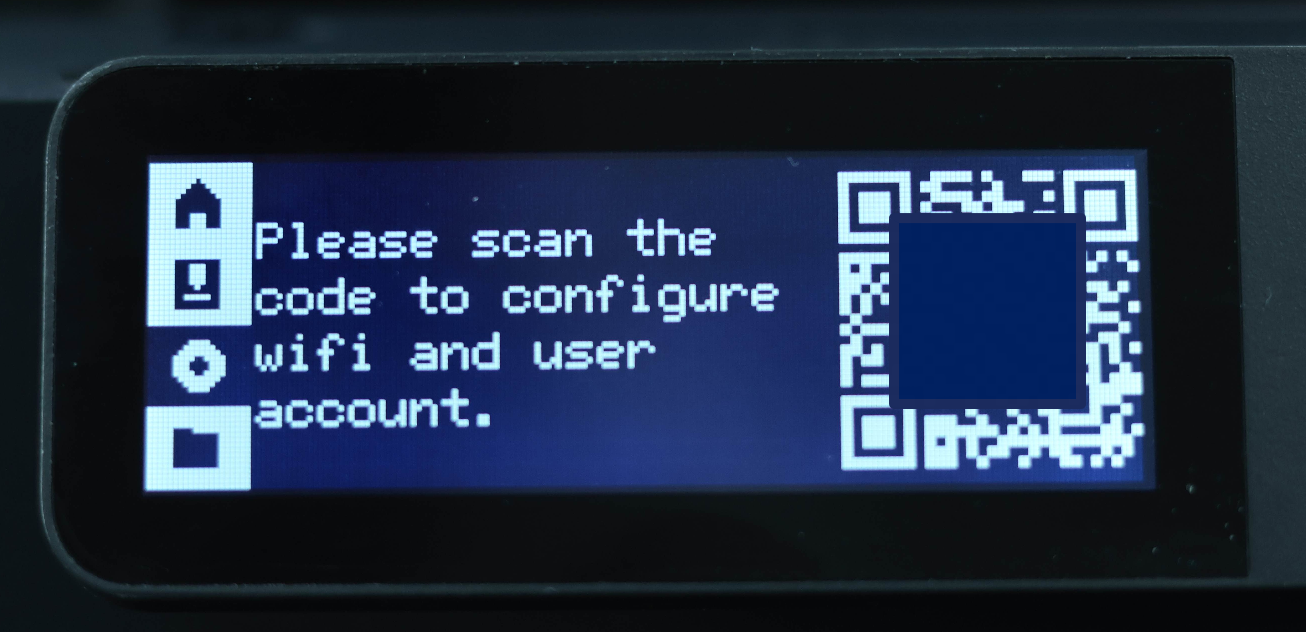
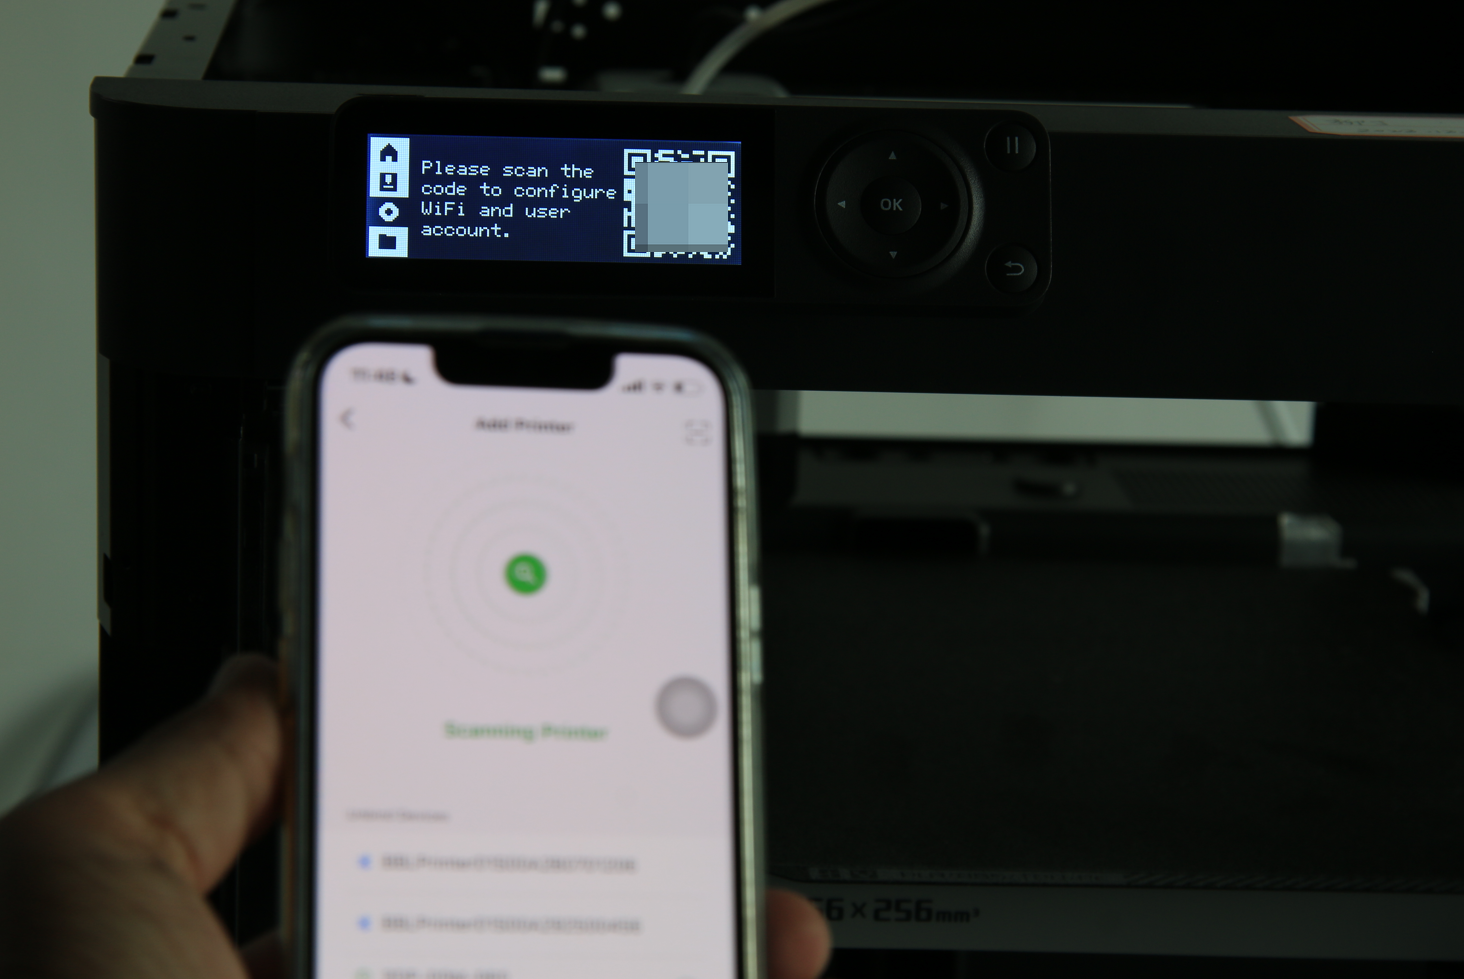
Open Bambu Handy App to scan the QR code displayed on the printer screen and follow the prompts to complete the account association.
¶ X1 Series
¶ Connect to Wi-Fi
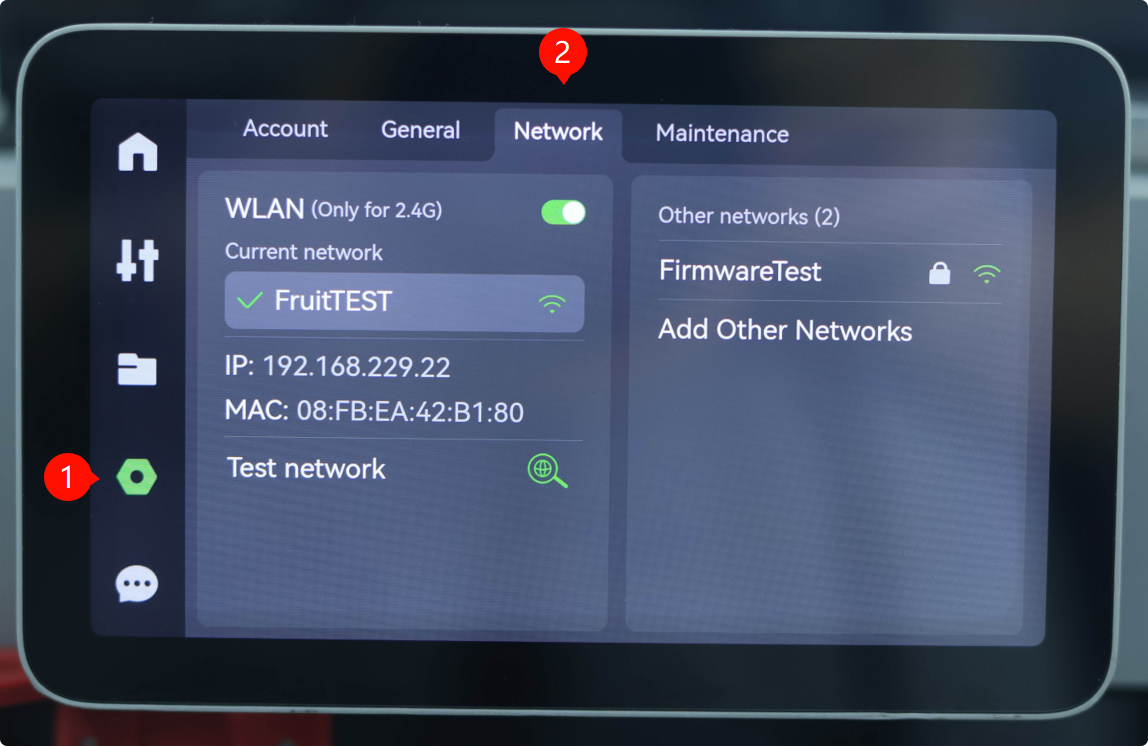
Click on the gear icon on the left side of the screen to enter the "Settings" interface. Then, click Network to bind Wi-Fi to the printer.
¶ Login
After completing the network connection, click on Login and use Bambu Handy App to scan the QR code displayed on the screen to complete the account binding.
¶ P1 Series
¶ Login
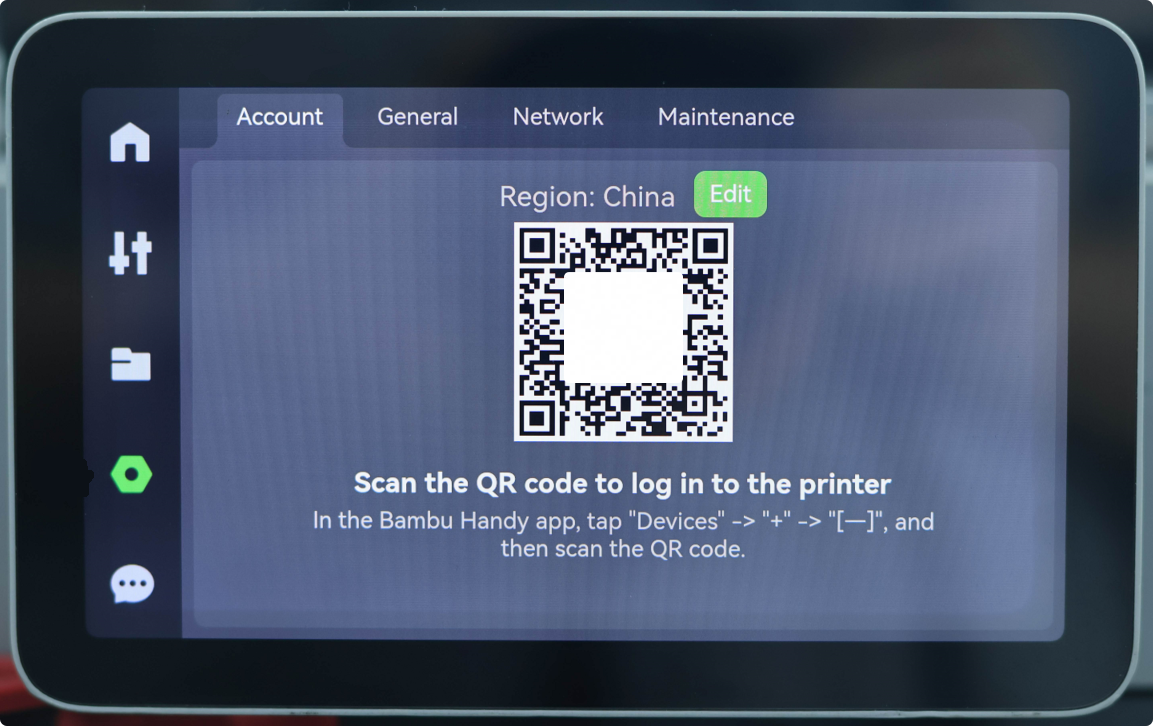
Click Settings > Account and use Bambu Handy App to scan the QR code displayed on the screen to complete the network connection and account binding.
 |
 |
¶ A1 Series
¶ Connect to Wi-Fi
Click Settings > WLAN on the screen, choose the target Wi-Fi from the list of available networks, complete the password verification, and complete the network connection.
 |
 |
¶ Login
After completing the network connection, click on Settings > Account and use Bambu Handy App to scan the QR code displayed on the screen to complete the account binding.
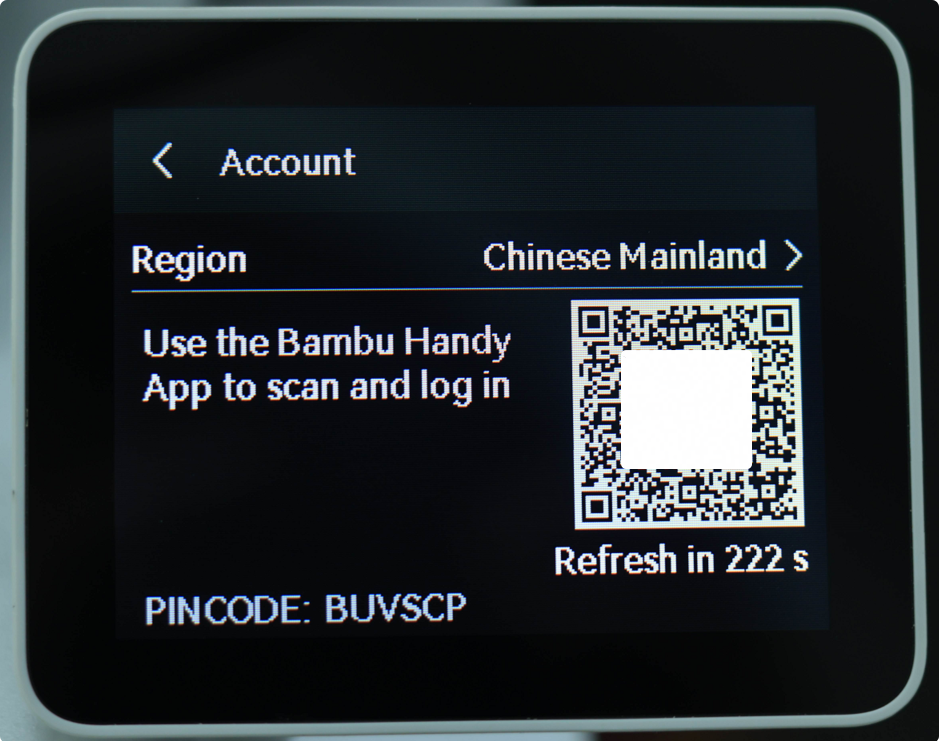
After completing the network connection, the account interface will display both a QR code and a refreshed PIN Code. You can also use Bambu Studio to input the PIN Code and complete the account binding. For specific operating steps, please refer to the instructions provided.
How to bind the printer using PIN code in Bambu Studio
¶ End Notes
We hope the detailed guide provided has been helpful and informative.
If this guide does not solve your problem, please submit a technical ticket, we will answer your questions and provide assistance.
If you have any suggestions or feedback on this Wiki, please leave a message in the comment area. Thank you for your support and attention!