¶ Introduction
As long as two networks can communicate over necessary ports and protocols, a printer in a different network than Bambu Studio can be bound to your account by a Pin code in Bambu Studio. The printer does not need to be in the same network as the computer where Bambu Studio in installed.
¶ Notes before operations
¶ Firware support
-
For P1 series printers, the firmware version must be 01.06.00.00 or later.
P1P & AMS Firmware Release History -
For A1 series printers, the firmware version must be 01.03.00.00 or later.
A1 mini Firmware Release History
A1 Firmware Release History -
X1 series printers do not support this function at the moment. Please wait for firmware update in the future.
¶ Configurations that must be done between different networks
| Application | Port | Protocol | Mode |
|---|---|---|---|
| http API | 80/443/8080 | TCP | Cloud mode |
| mqtt | 8883 | TCP | Cloud mode |
| Remote video | 8000/21047/10001 | TCP | Cloud mode |
| Remote video | 10001-10512 | UDP | loud mode |
| Device binding | 3000 | TCP | Cloud mode |
| Device discovering | 1990/2021 | SSDP. multicast/broadcast | Cloud/LAN mode |
| LAN mode MQTT | 8883 | TCP | LAN mode |
| LAN mode FTP | 990/50000~50100 | TCP | LAN mode |
| LAN mode video | 6000 | TCP | LAN mode |
| NTP | 123 | TCP/UDP | Cloud/LAN mode |
¶ Binding procedures with Pin code
¶ P1 Series
Step 1. Turn on the printer.
Step 2. Select Settings > Account.
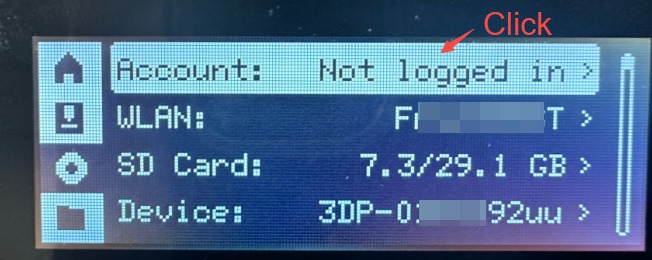
Step 3. Select your region and wait for the Pin code to be displayed. Please take note of the Pin code as it will be used in a later step.
The Pin code will be valid for 230 seconds. After that, it will be refreshed.

Step 4. In Bambu Studio, log in to your account.
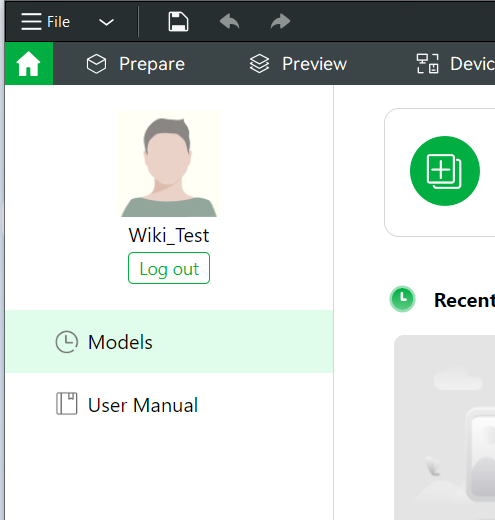
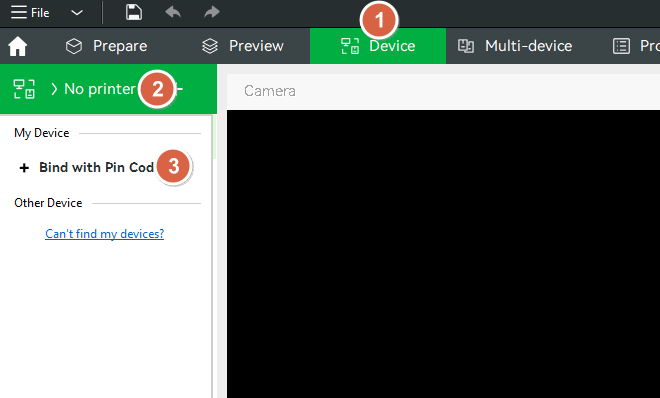
Step 5. Click the Device tab. In the device list, click Bind with Pin Code.
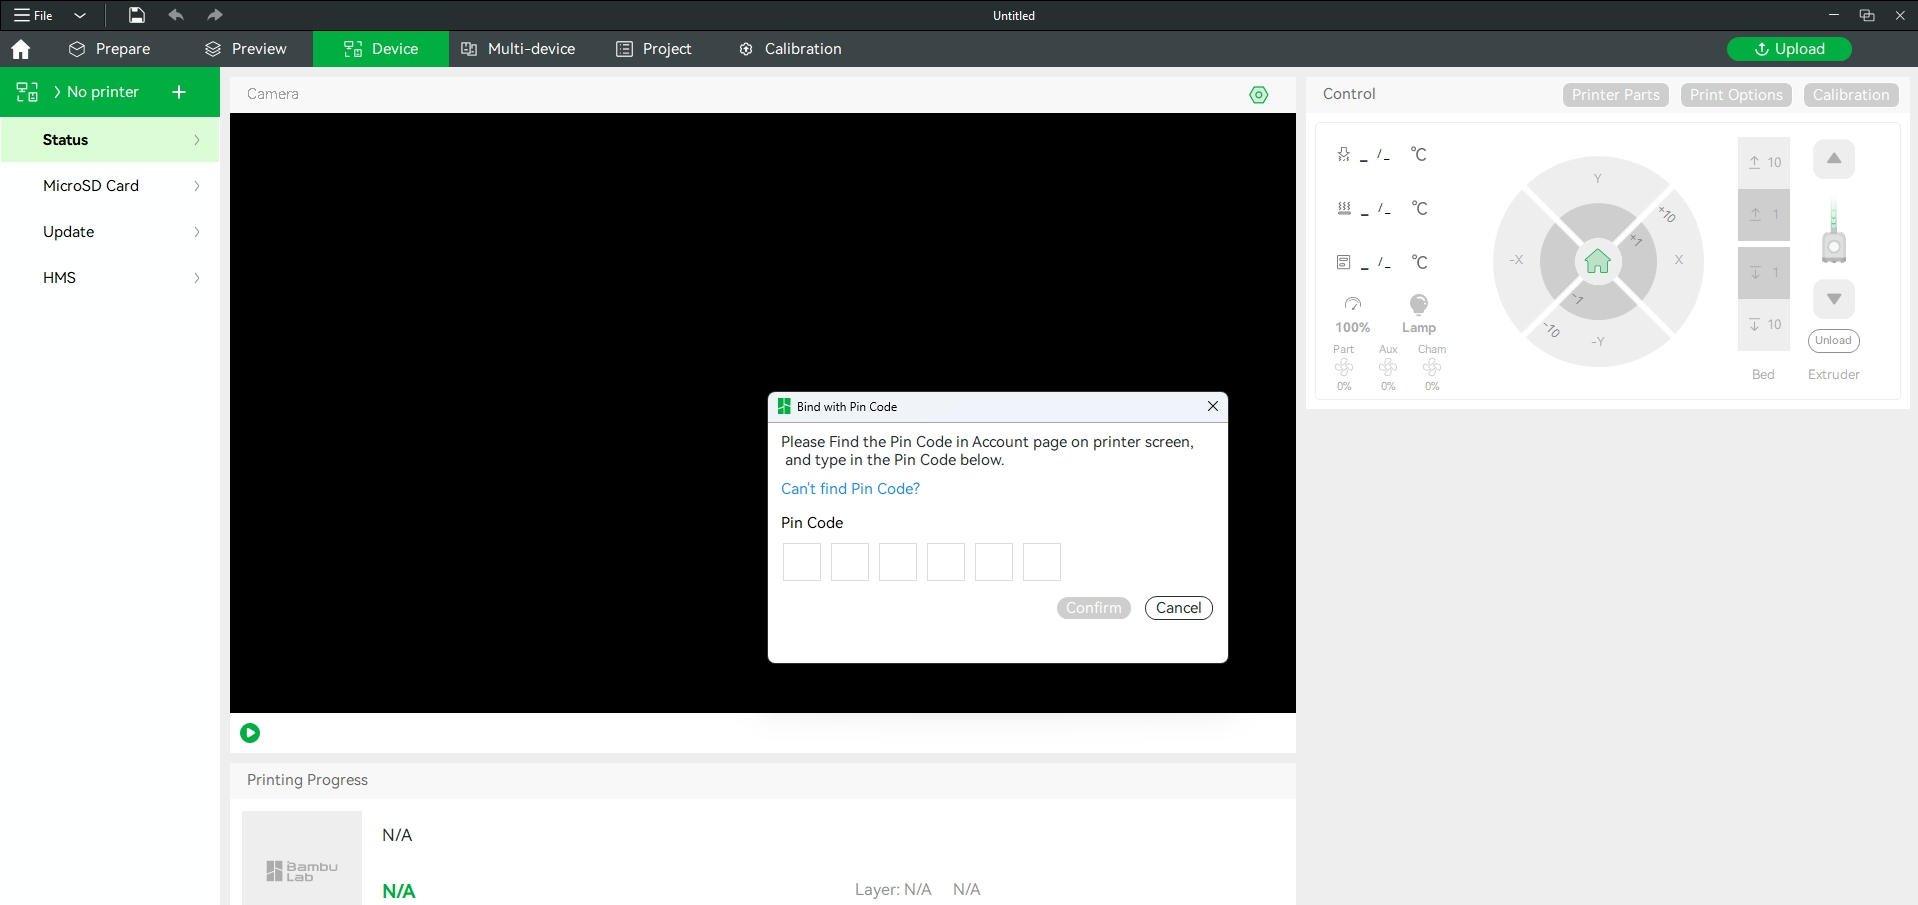
Step 6. Enter the Pin code, and then click Confirm.
Step 7. On the printer, click Bind.
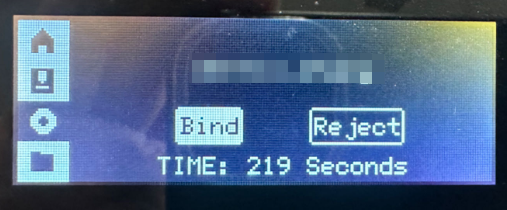
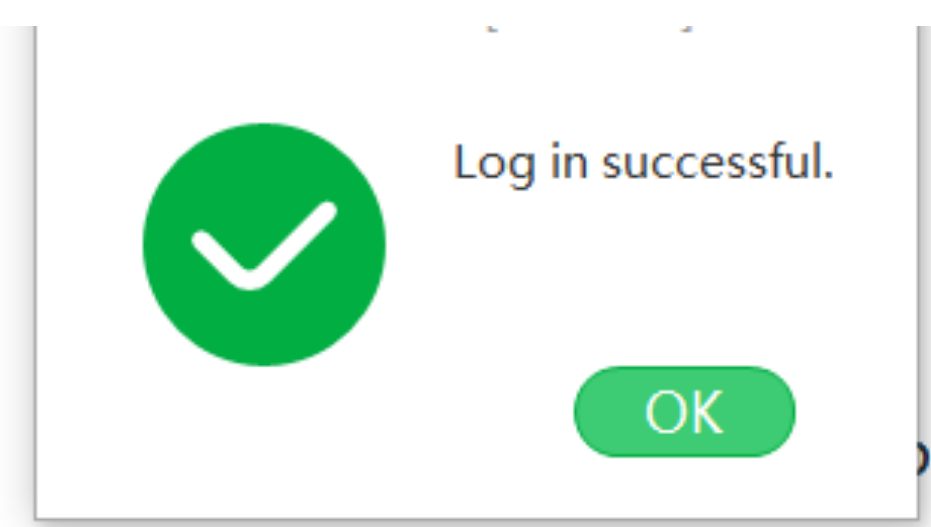
If the Pin code is within valid period, the binding will be successful.
¶ A1 Series
Step 1. Turn on the printer.
Step 2. Select Settings > Account.
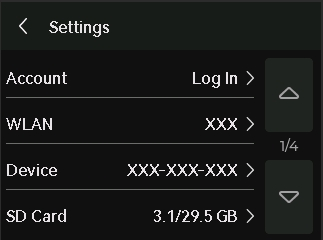
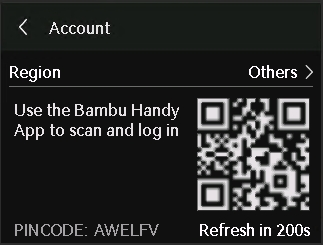
Step 3. Select your region and wait for the Pin code to be displayed. Please take note of the Pin code as it will be used in a later step.
The Pin code will be valid for 230 seconds. After that, it will be refreshed.
Step 4. In Bambu Studio, log in to your account.

Step 5. Click the Device tab. In the device list, click Bind with Pin Code.

Step 6. Enter the Pin code, and then click Confirm.

Step 7. On the printer, click BIND.
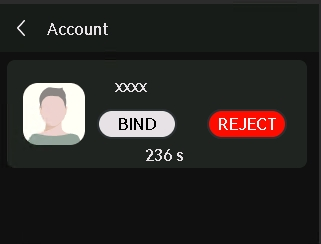
If the Pin code is within valid period, the binding will be successful.

¶ End Notes
We hope the detailed guide provided has been helpful and informative.
To ensure a safe and effective execution, if you have any concerns or questions about the process described in this article, we recommend submitting a Technical ticket regarding your issue. Please include a picture or video illustrating the problem, as well as any additional information related to your inquiry.