¶ Replacing the Extruder
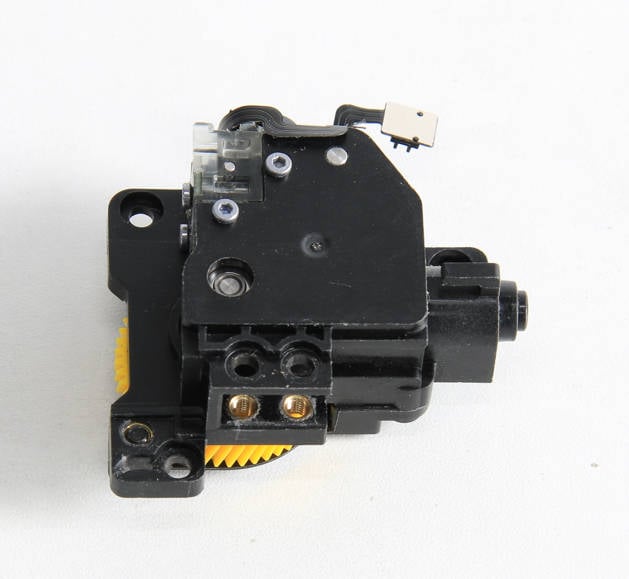
¶ Tools
H2.0/H1.5 hex key
¶ Preparation
Unload the filament, and ensure the nozzle temperature has cooled to below 50 degrees and the power to the printer is turned off.
¶ Video guide
¶ Disassembly
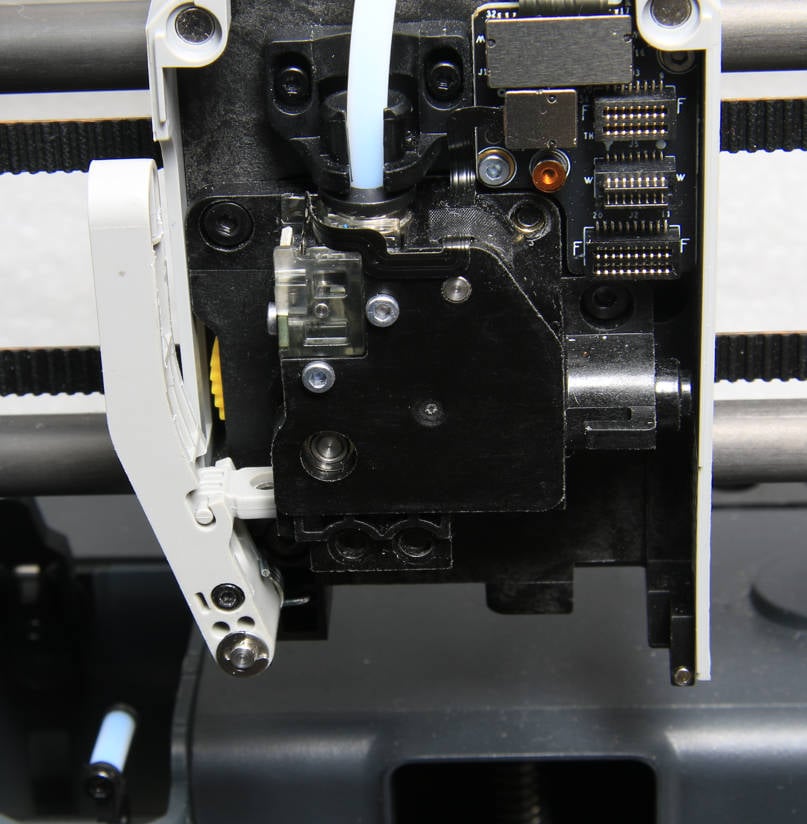
¶ Step 1 - Remove the complete hotend
Refer to the relevant content of Complete hotend assembly on the maintenance page to remove the complete hotend assembly.
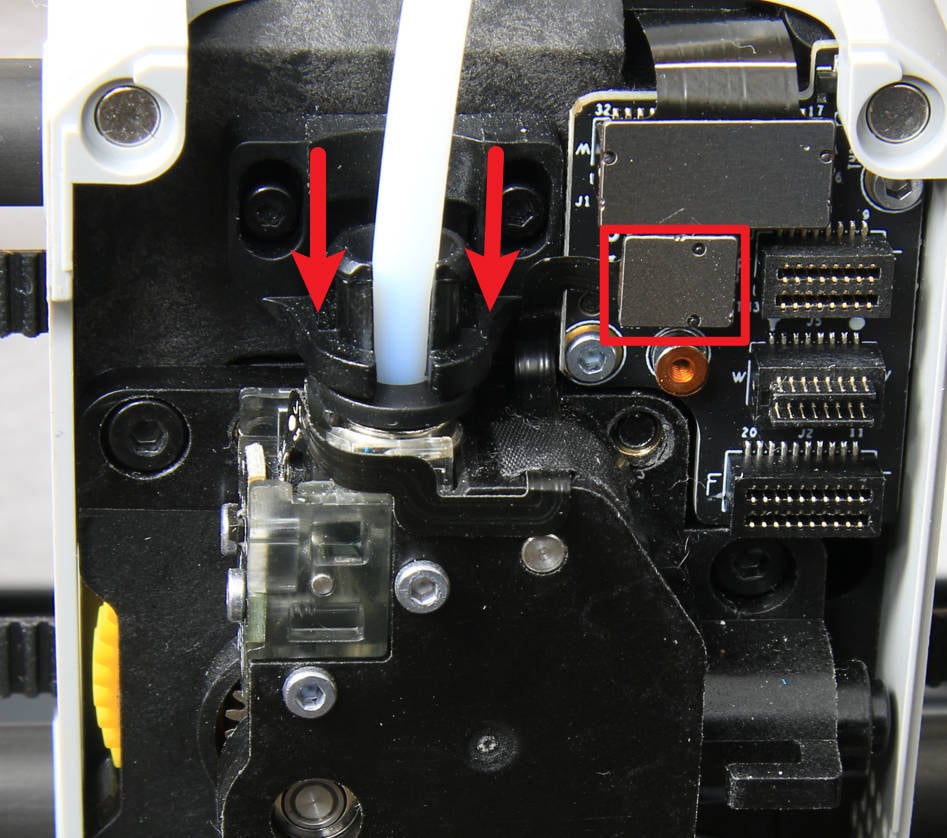
¶ Step 2 - Disconnect
Proceed to disconnect the filament tube and disconnect the hall switch cable.
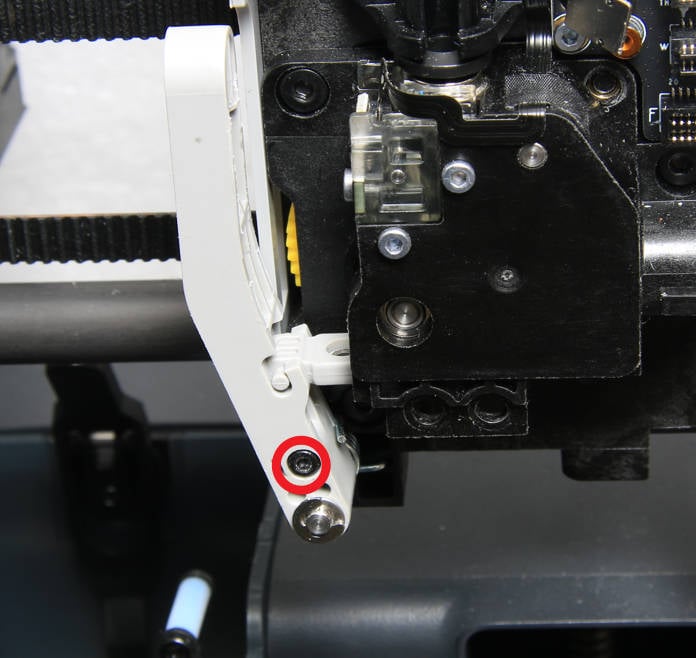
¶ Step 3 - Release the cutter
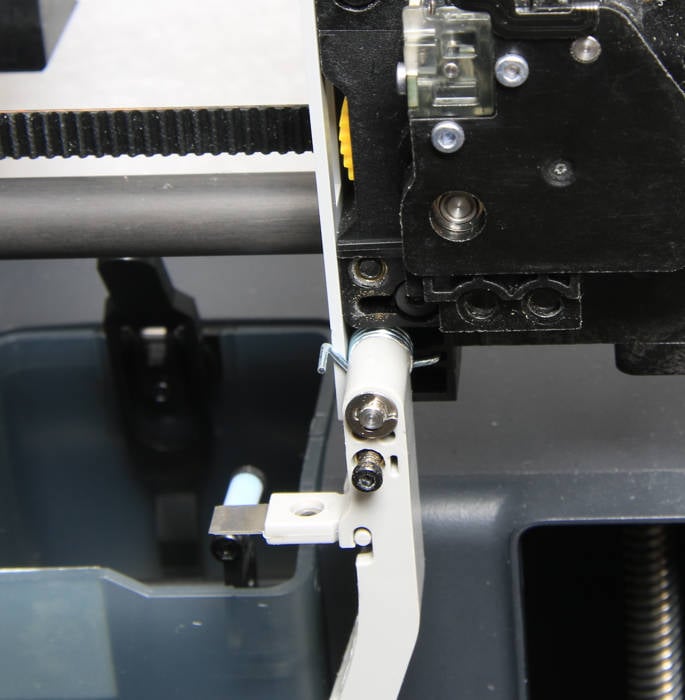
Loosen the cutter lever screw with the H1.5 hex key, so that the cutter is released from the extruder and the cutter lever can completely droop.
 |
 |
¶ Step 4 - Remove the extruder unit
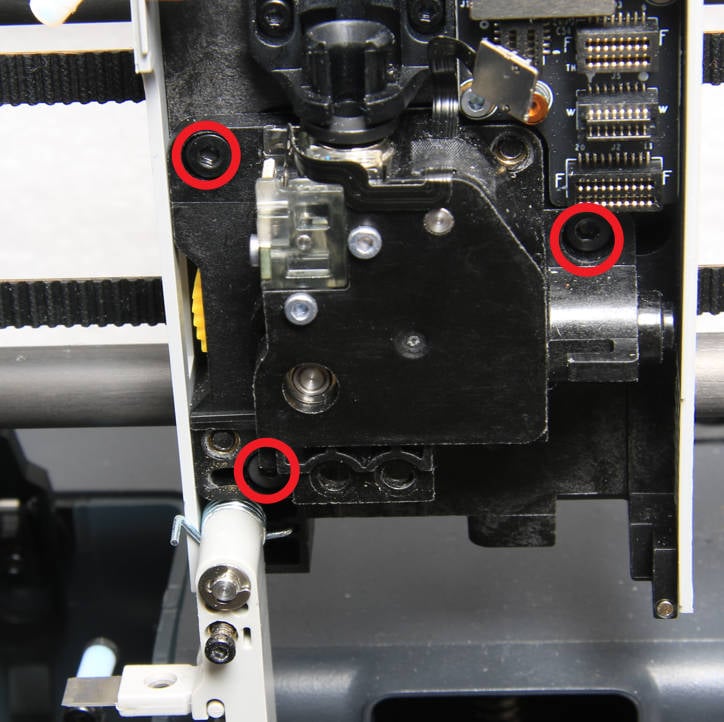
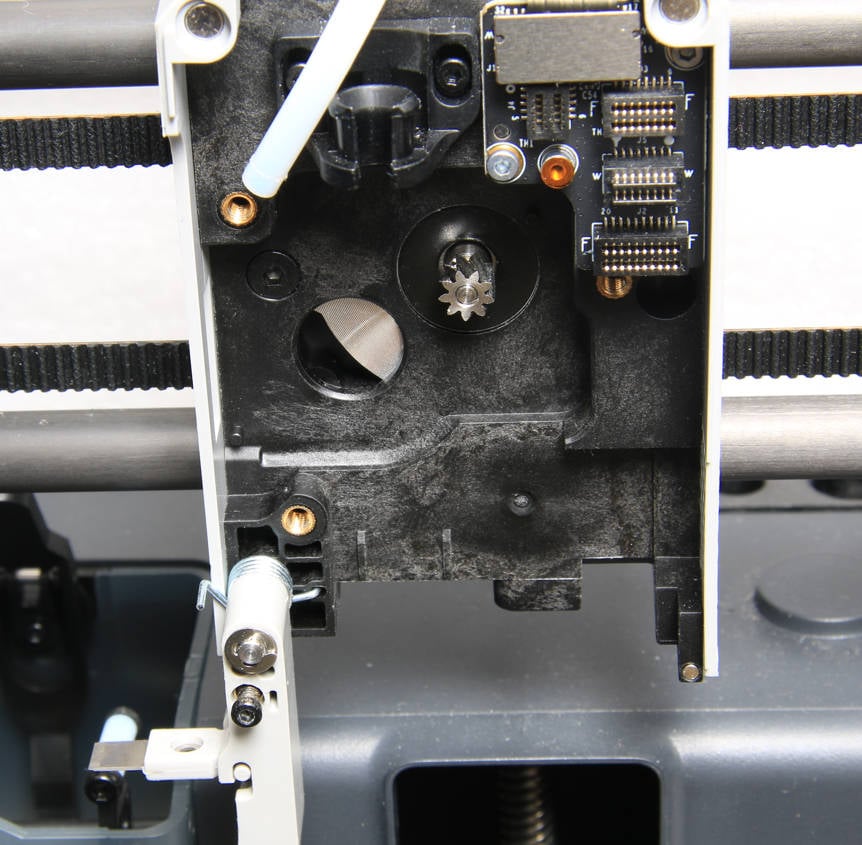
Unscrew the 3 screws with an H2.0 hex key and remove the extruder.
 |
 |
¶ (Optional) Replace the bearing of the extruder
If the bearing of the extruder is damaged, you can purchase one with the following dimensions and replace it:
Inner diameter d: 3 mm
Outer diameter D: 8 mm
Width H: 4 mm
¶ Assembly
¶ Step 1 - Install the extruder unit
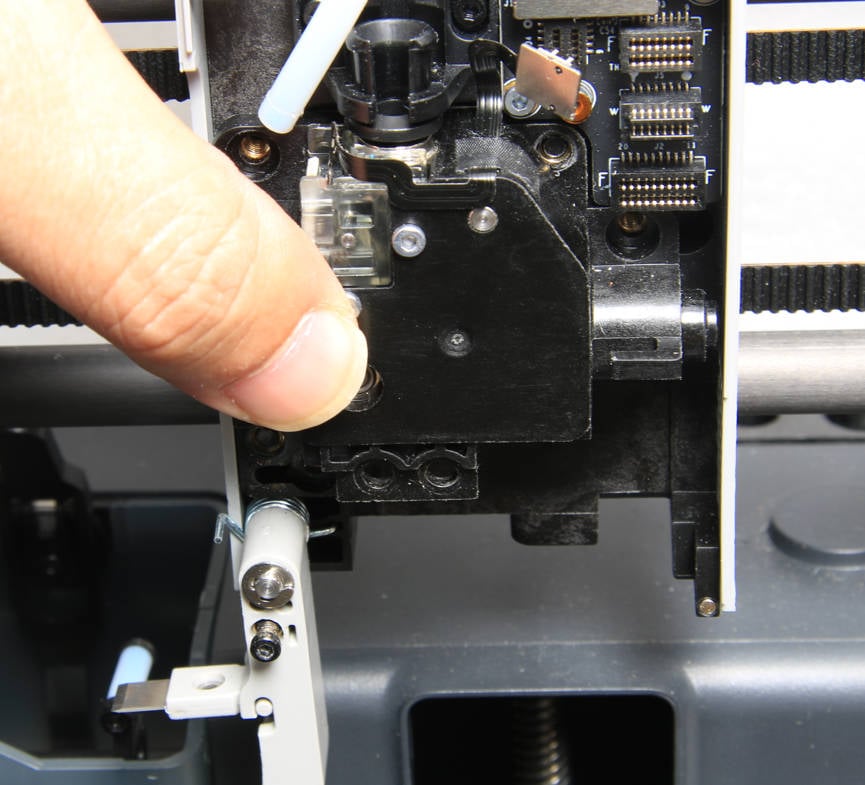
Install the extruder on the toolhead and lock in 3 screws.
 |
 |
¶ Step 2 - Connect the tube and cable
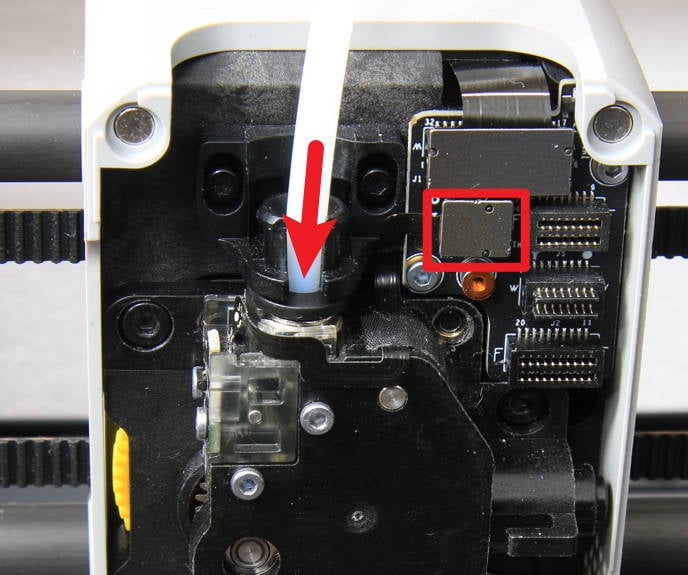
Connect the PTFE tube to the extruder and connect the hall switch cable.
¶ Step 3 - Install the filament cutter
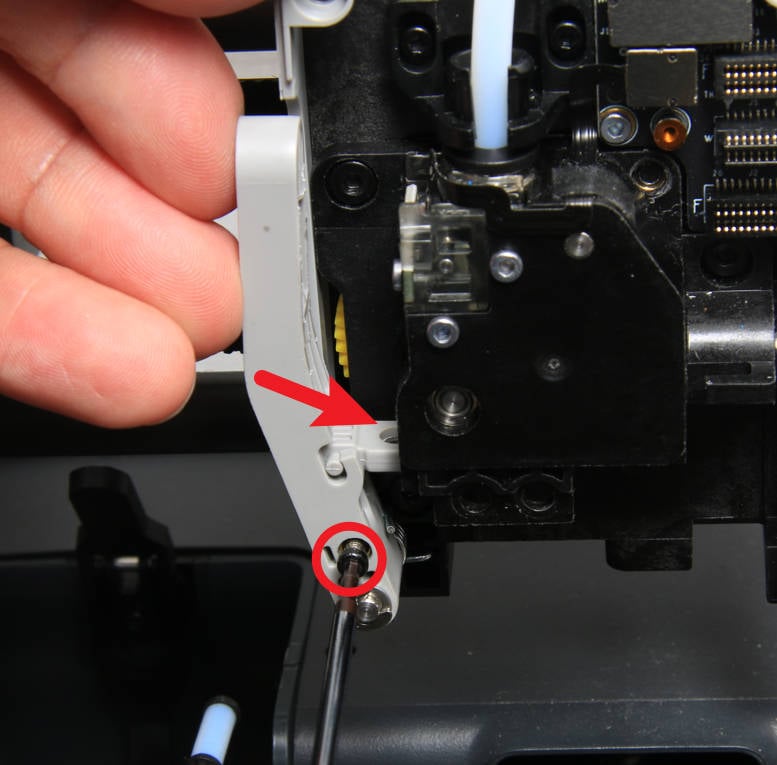
Lift up the cutter lever, slide the cutter into the extruder groove, and lock the screw to fix the lever.
¶ Step 4 - Install the complete hotend and close the front housing
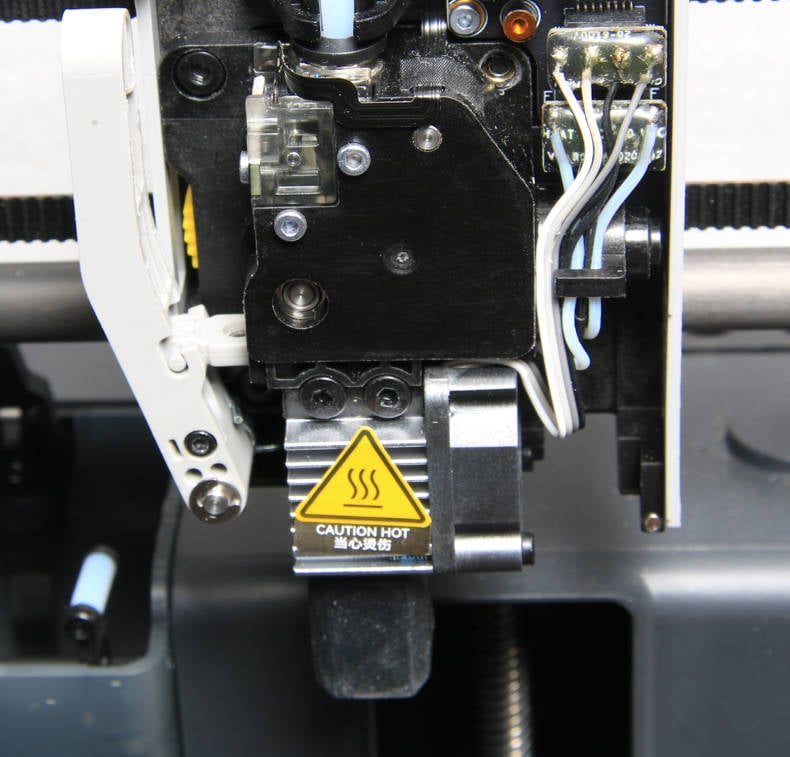
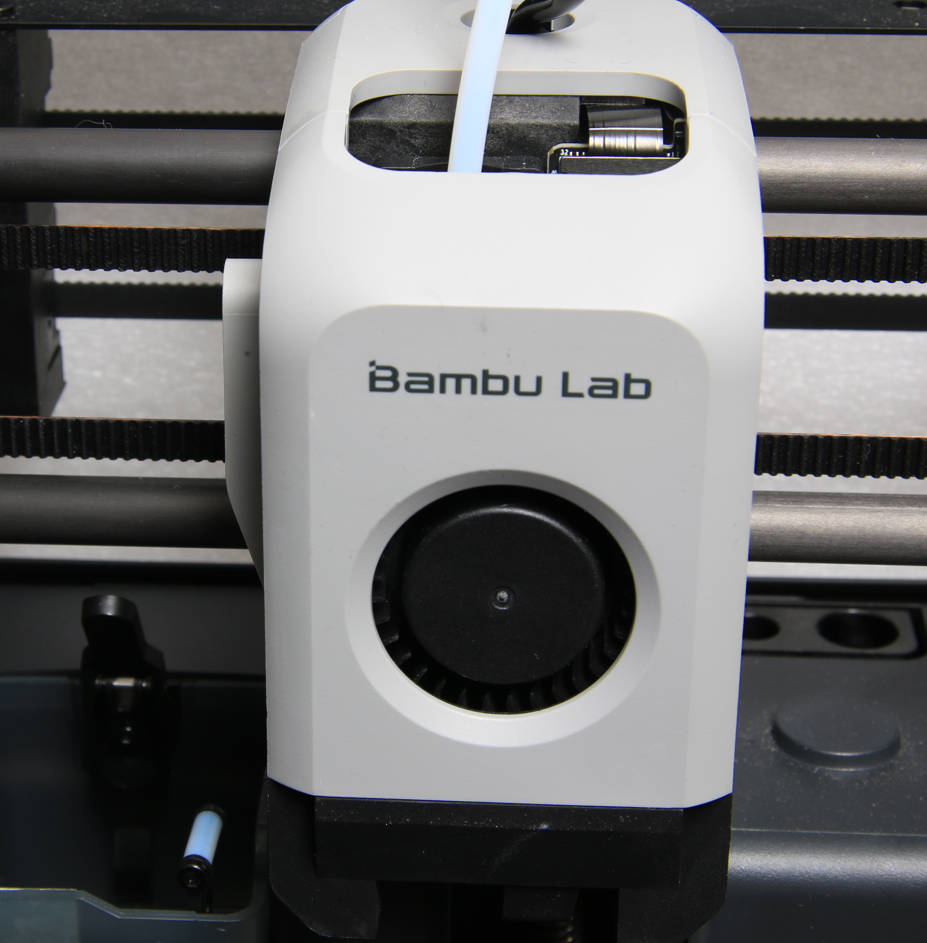
Refer to the relevant content of Complete hotend assembly on the maintenance page to install the complete hotend assembly, and mount the front housing.
 |
 |
¶ How to verify
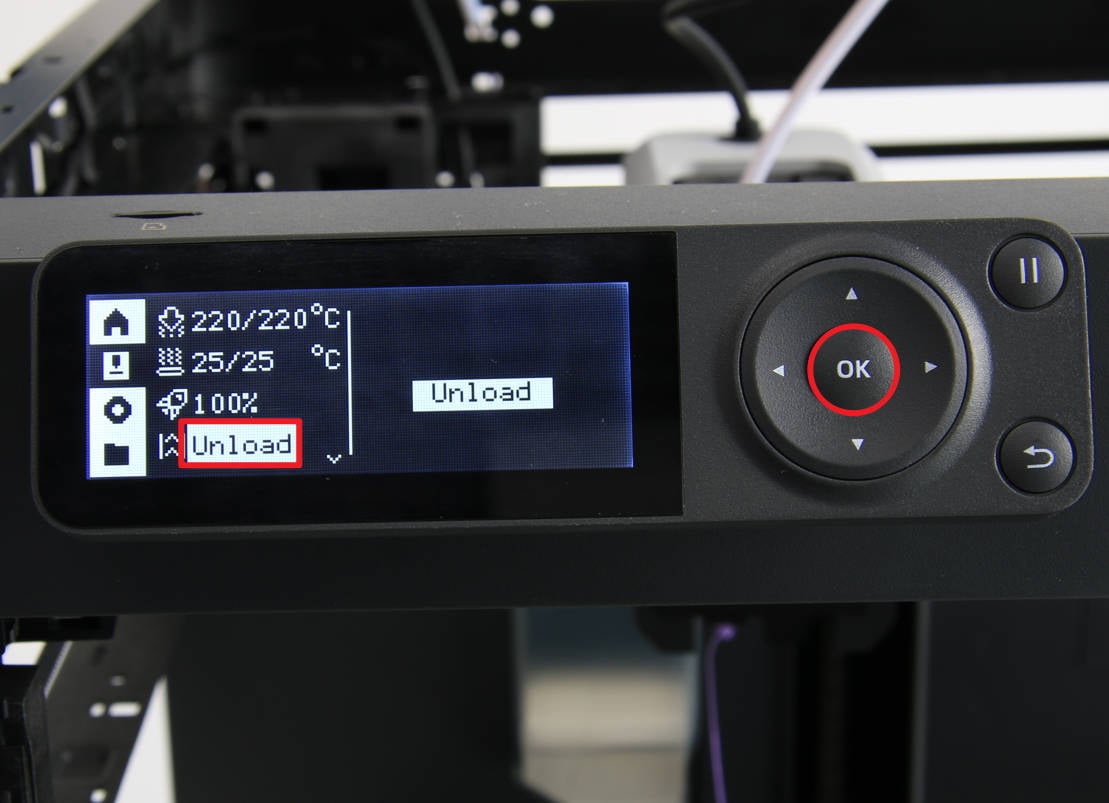
Power on the printer, and complete a manual loading and unloading process. If there is no abnormality, it means the operation is successful.
 |
 |