The P1S combo package comes with a Screen, Spool Holder, Filament, Spare Hotend, Nozzle Wiping Pads, Power Cord, Unclogging Pin Tool, PTFE Tube, Bambu Scraper, Allen Keys, AMS buffer(Pre-installed on the printer), 4pin bus cable, 6pin bus cable, hotend clip, double-sided tape, filament cutter, thermal grease, lubricant grease, Textured PEI Plate (Pre-installed on the heat bed of the printer), and 32 GB MicroSD card (inside printer). Check this page for more detail on the accessory in the box.
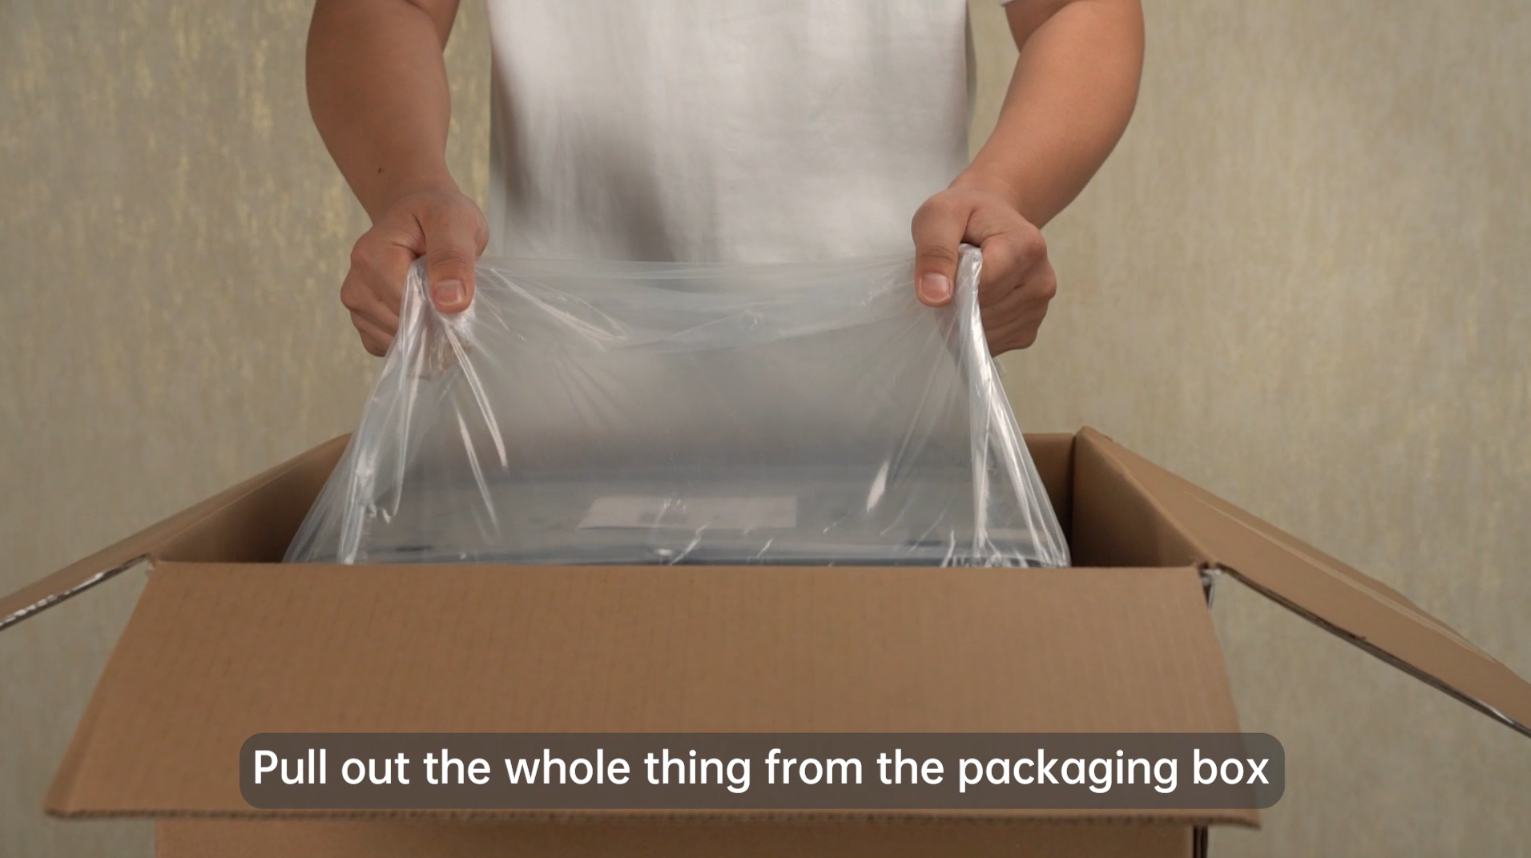
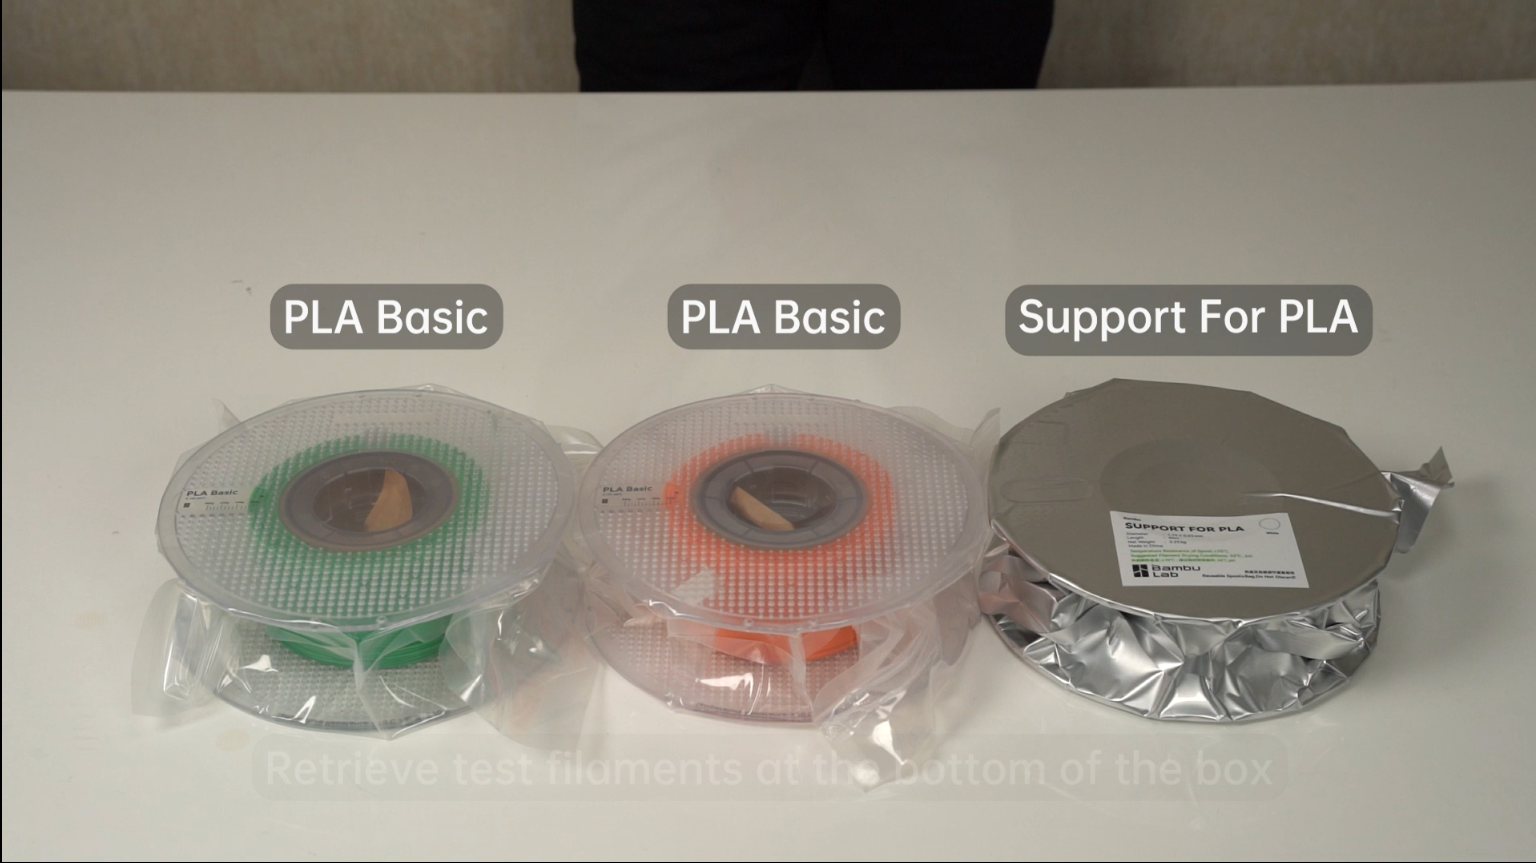
Retrieve test filaments at the bottom of the box
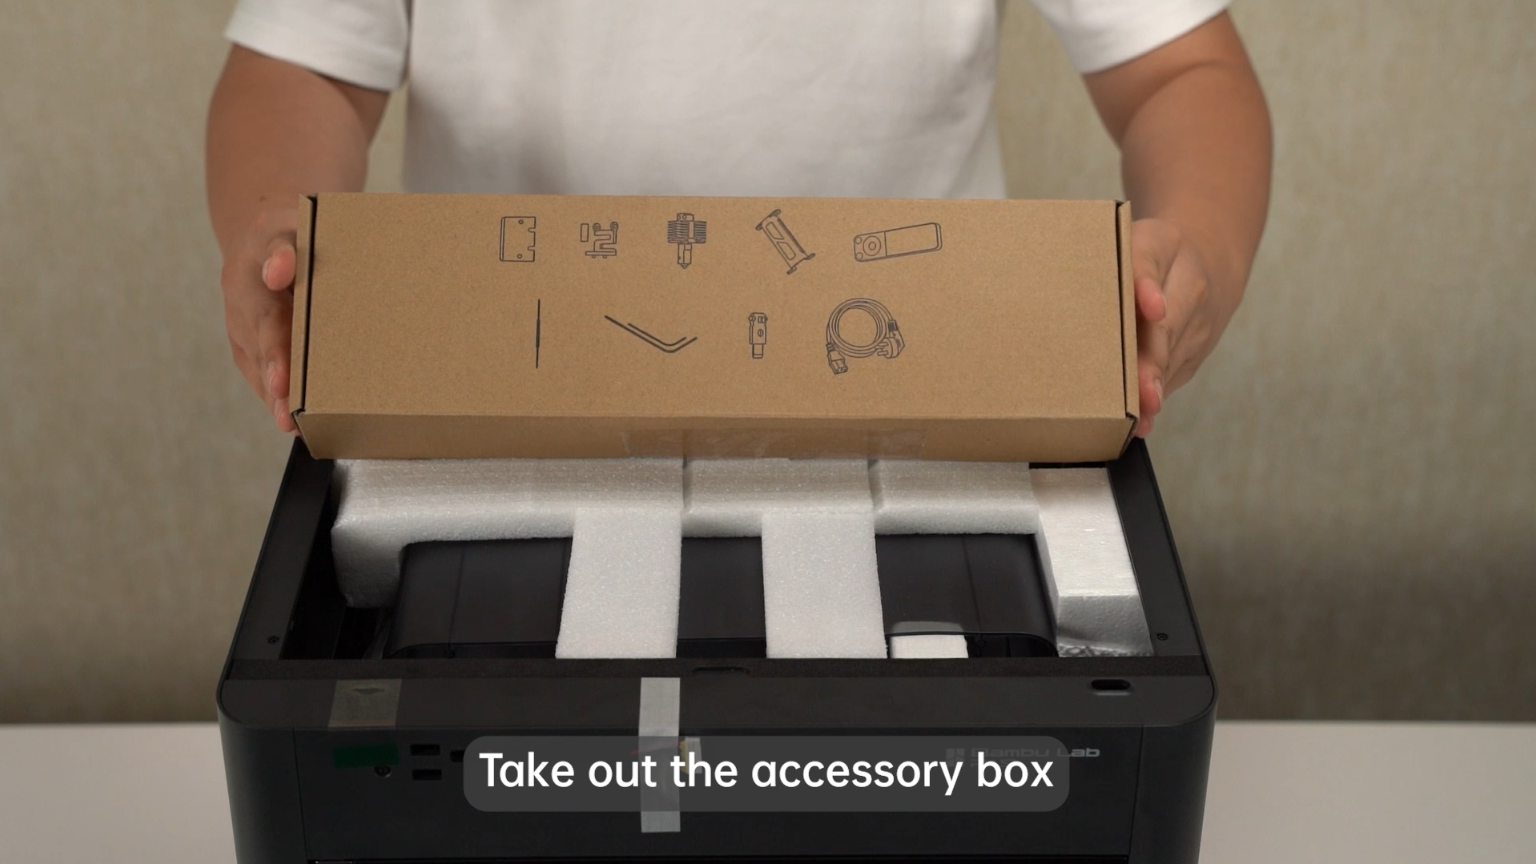
Take out the Accessory box
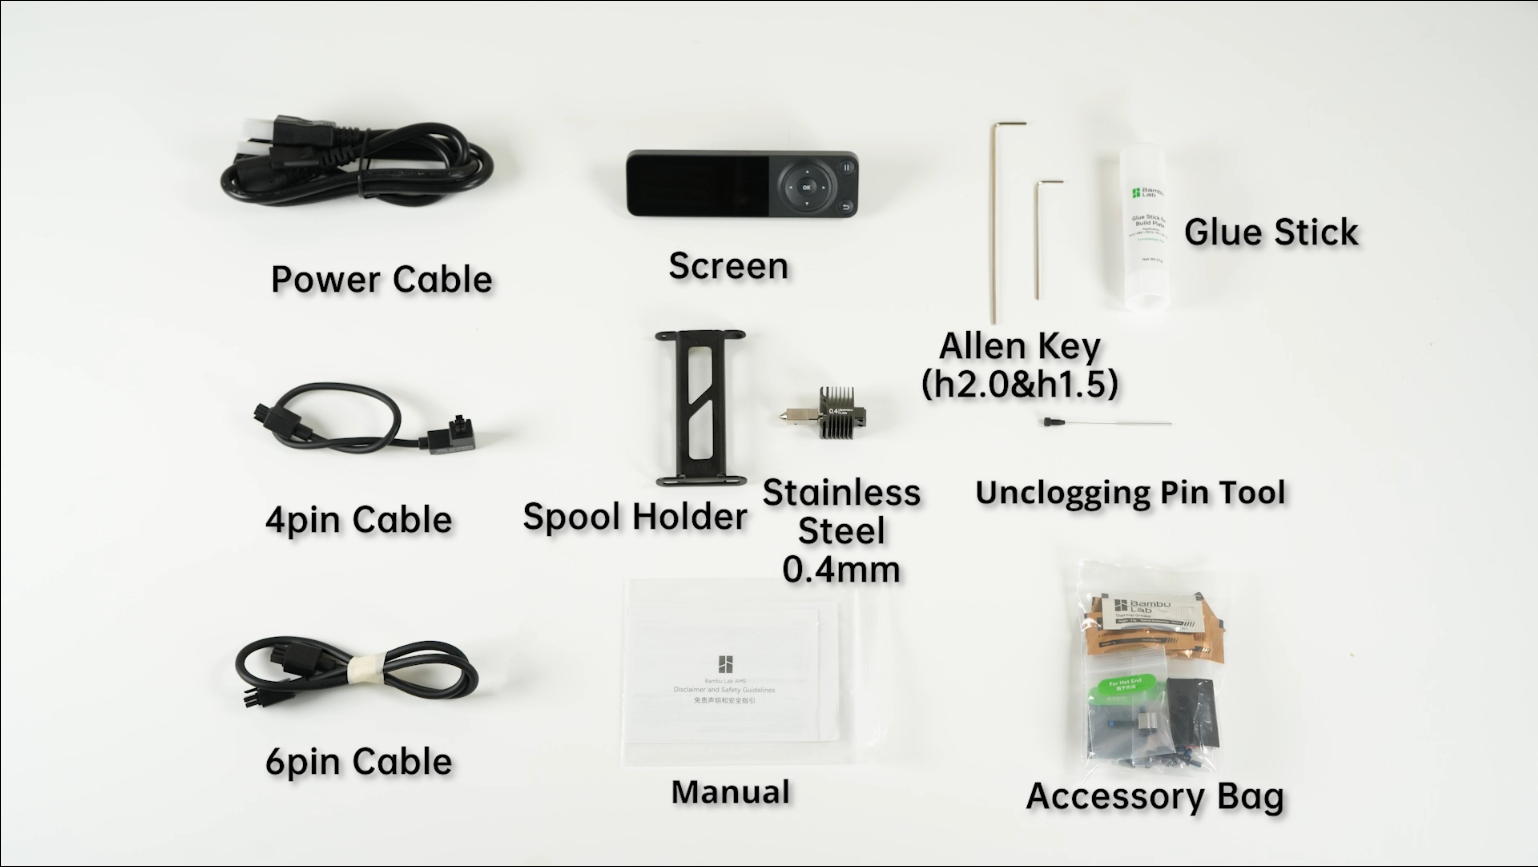
Accessory box
Updated packaging list: Glue stick is no longer included in the accessory box.
Inside the accessory bag
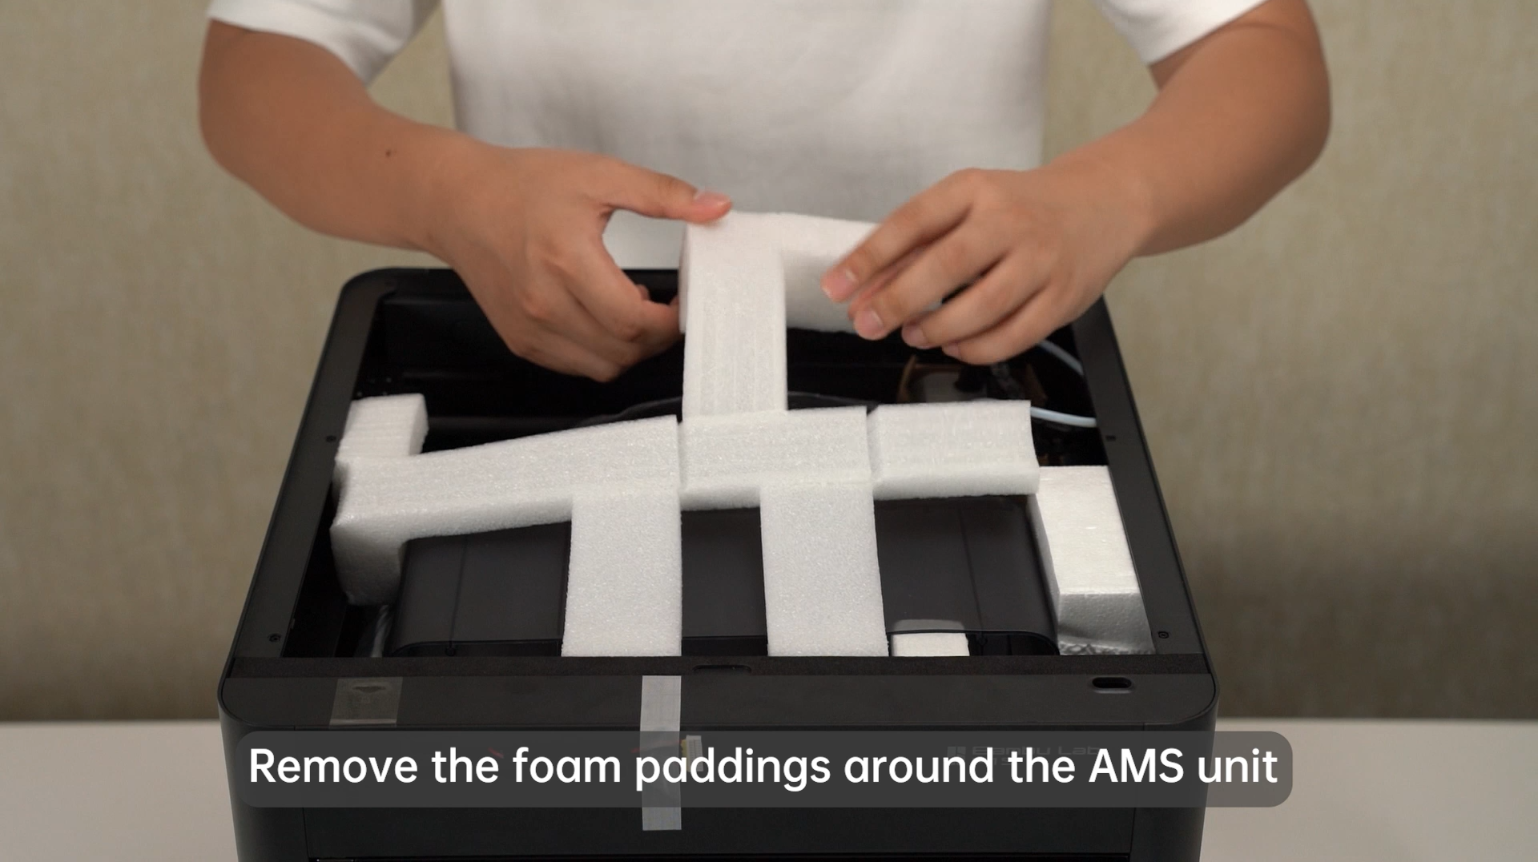
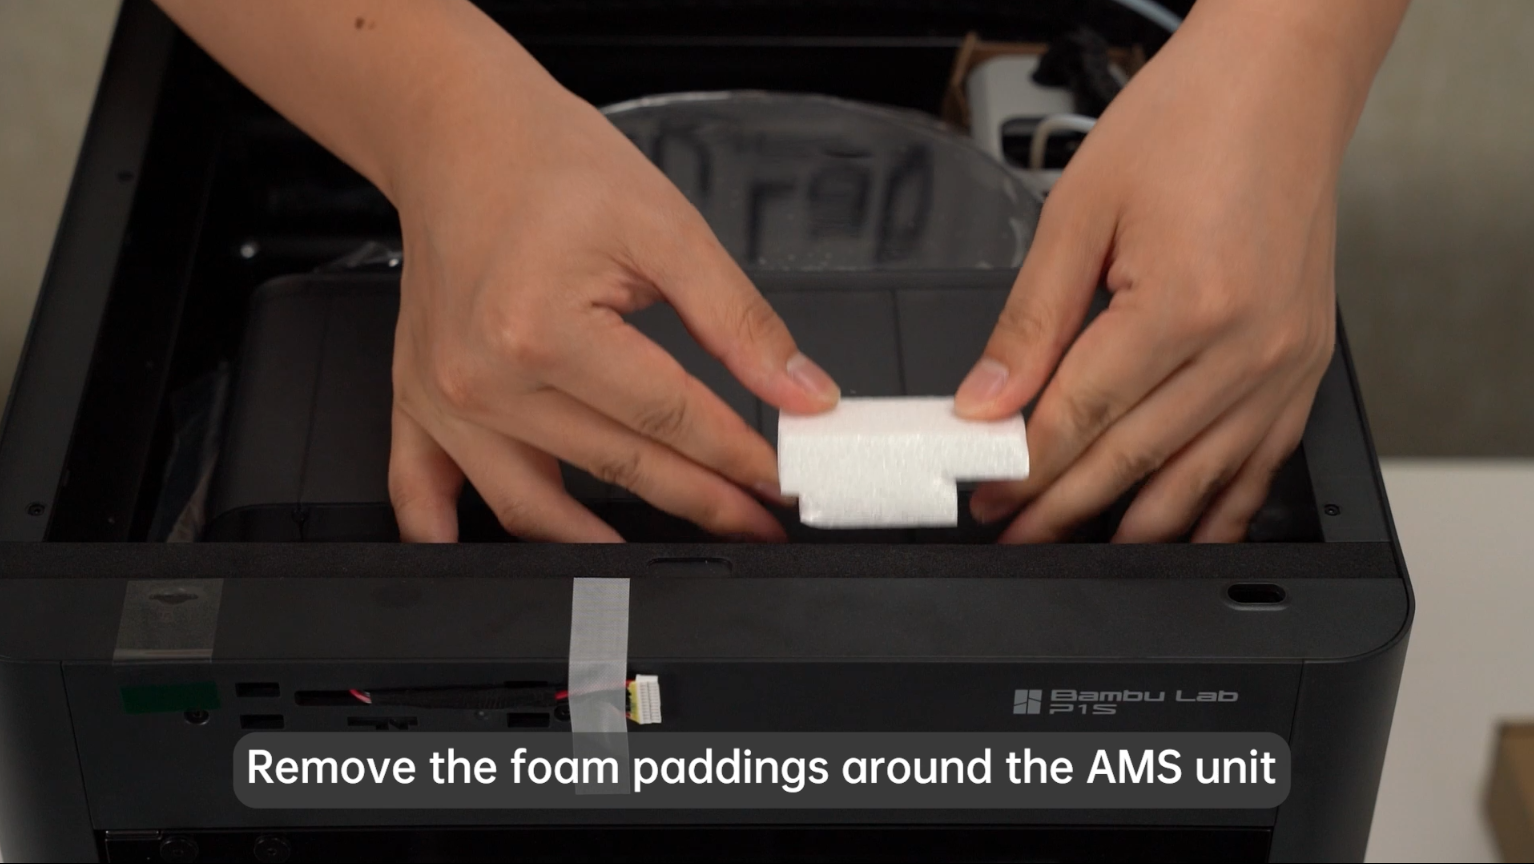
Remove the foam paddings around the AMS unit.
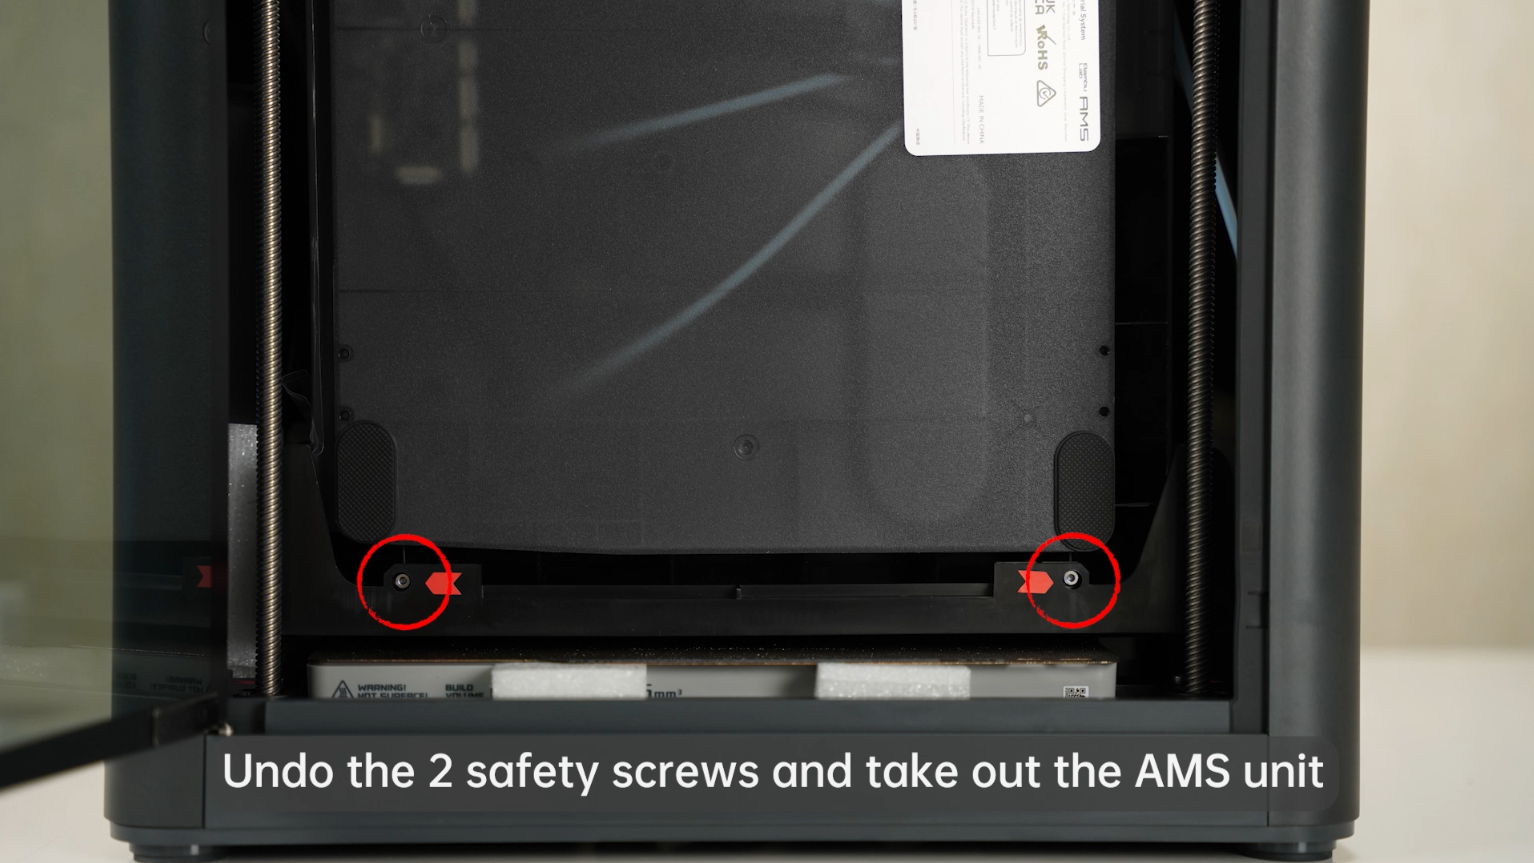
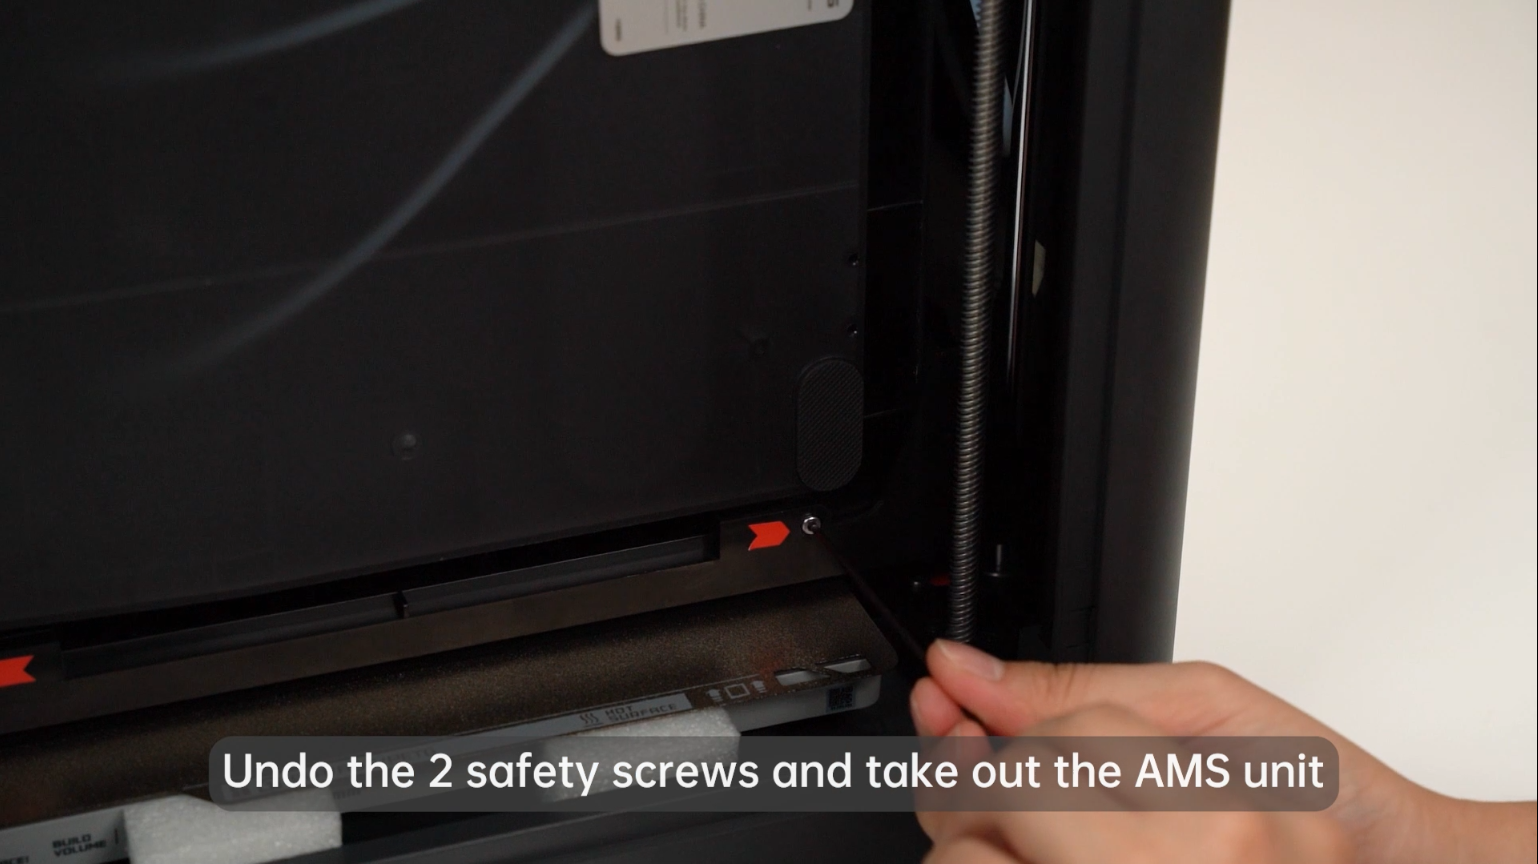
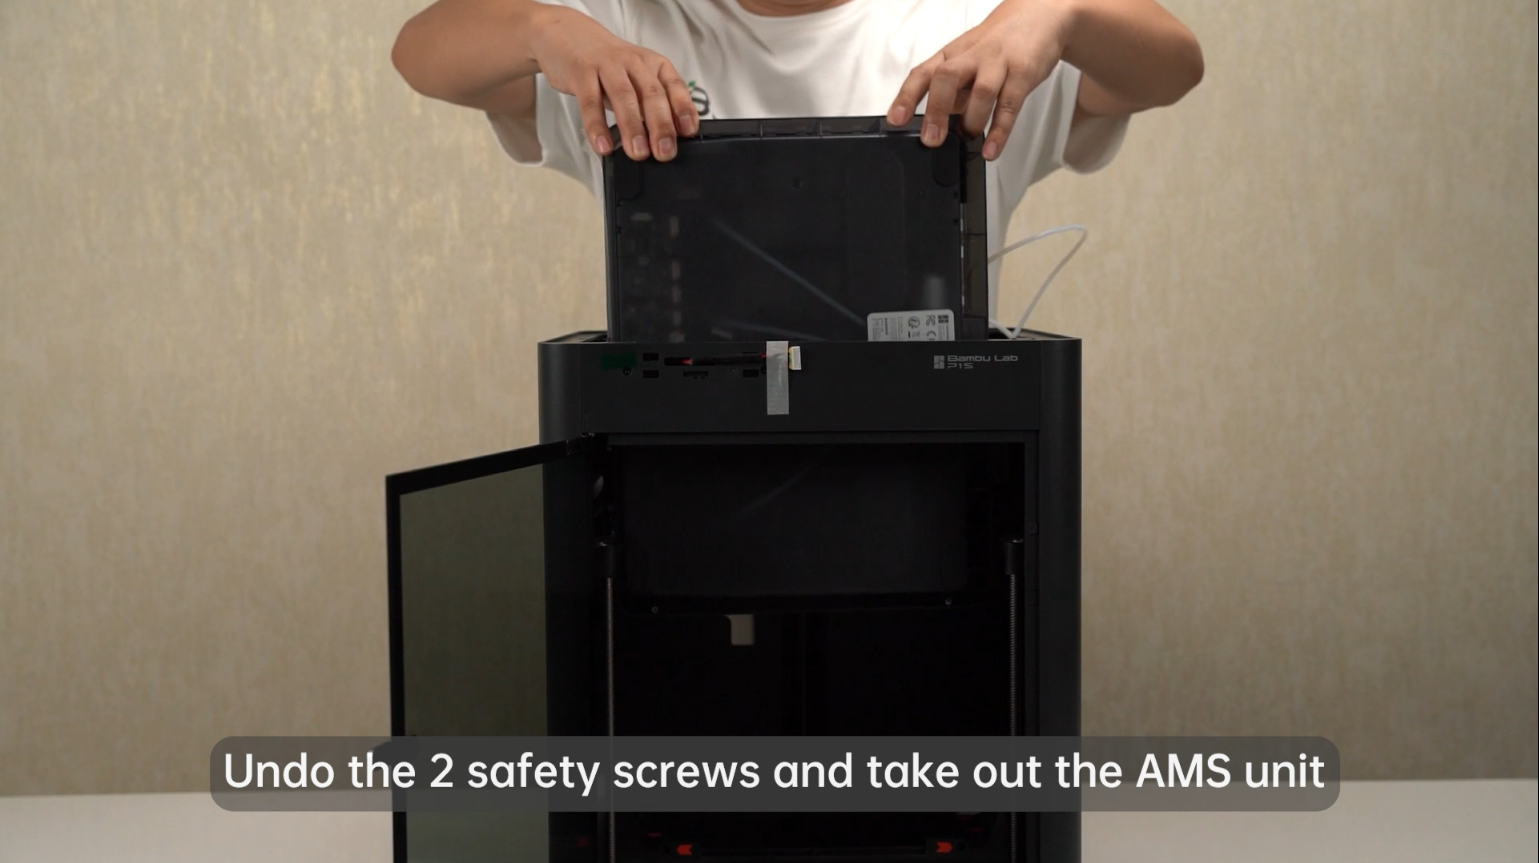
Undo the 2 safety screws and take out the AMS unit.
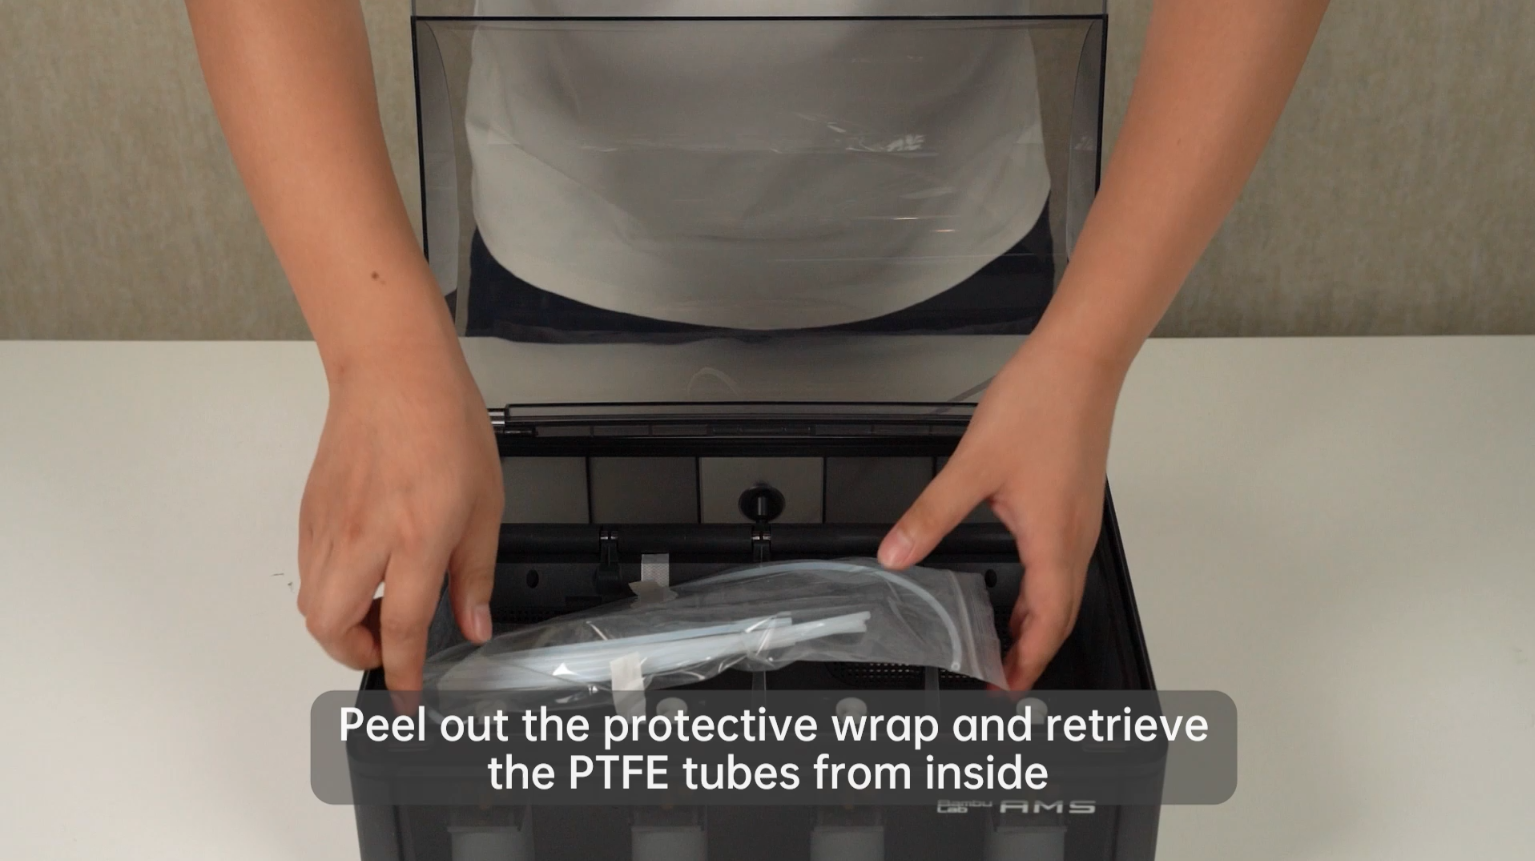
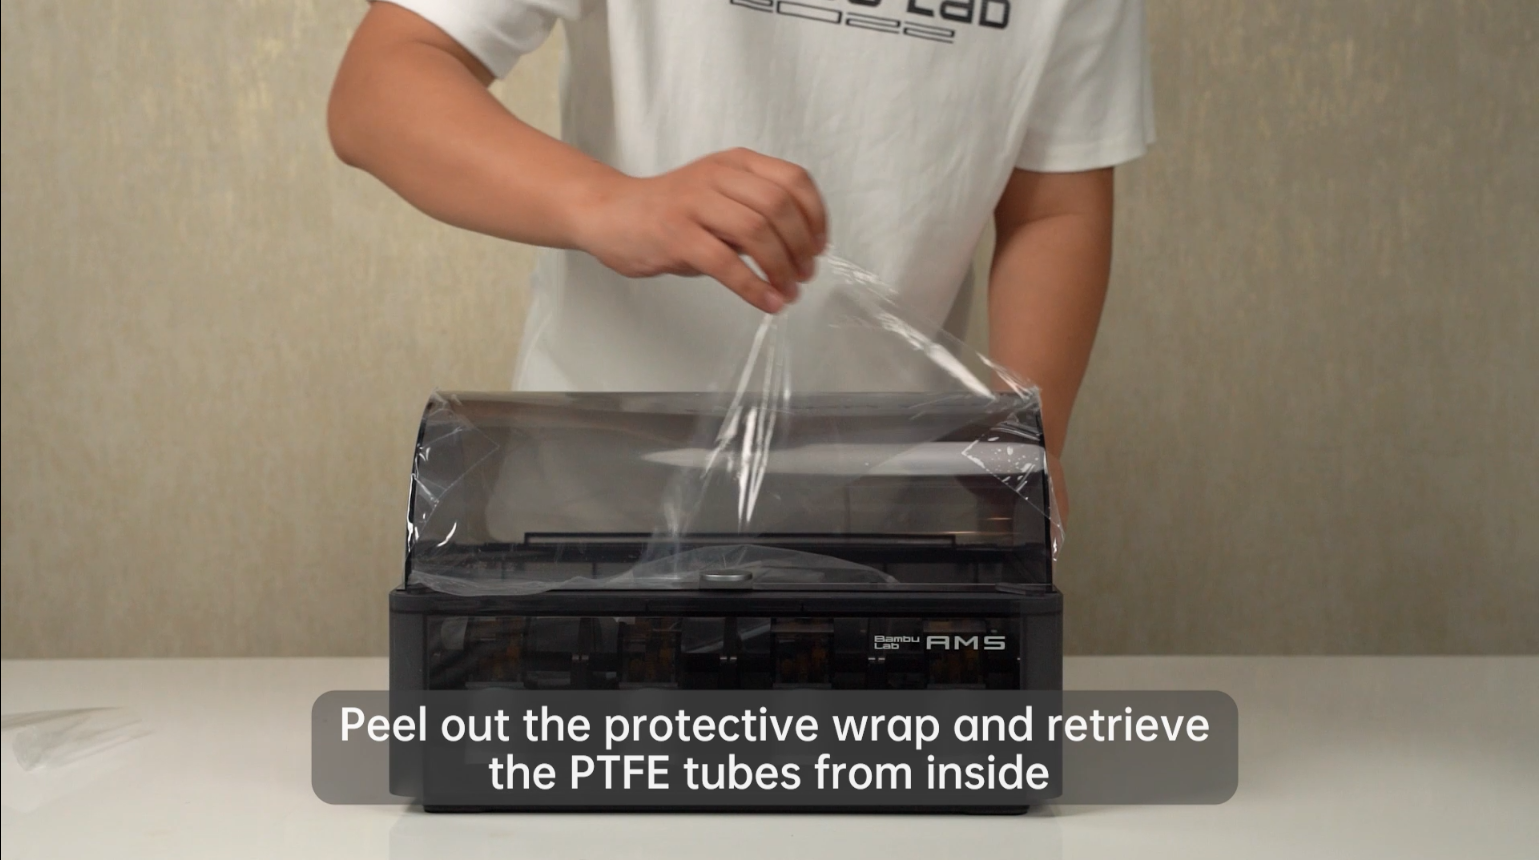
Peel out the protective wrap and retrieve the PTFE tubes from inside.
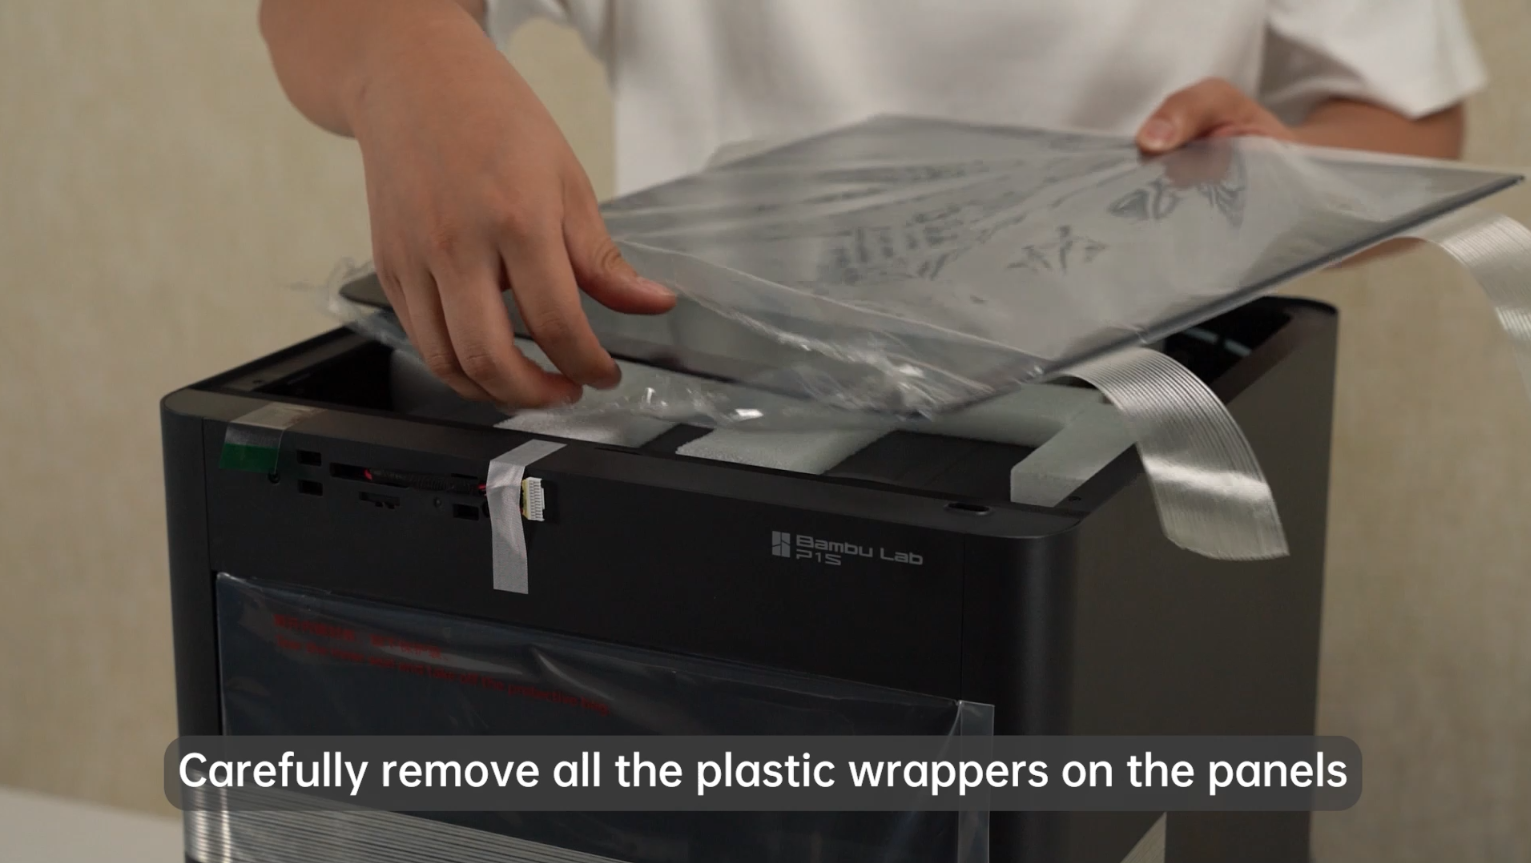
¶ Step 3: Remove the remaining packaging materials
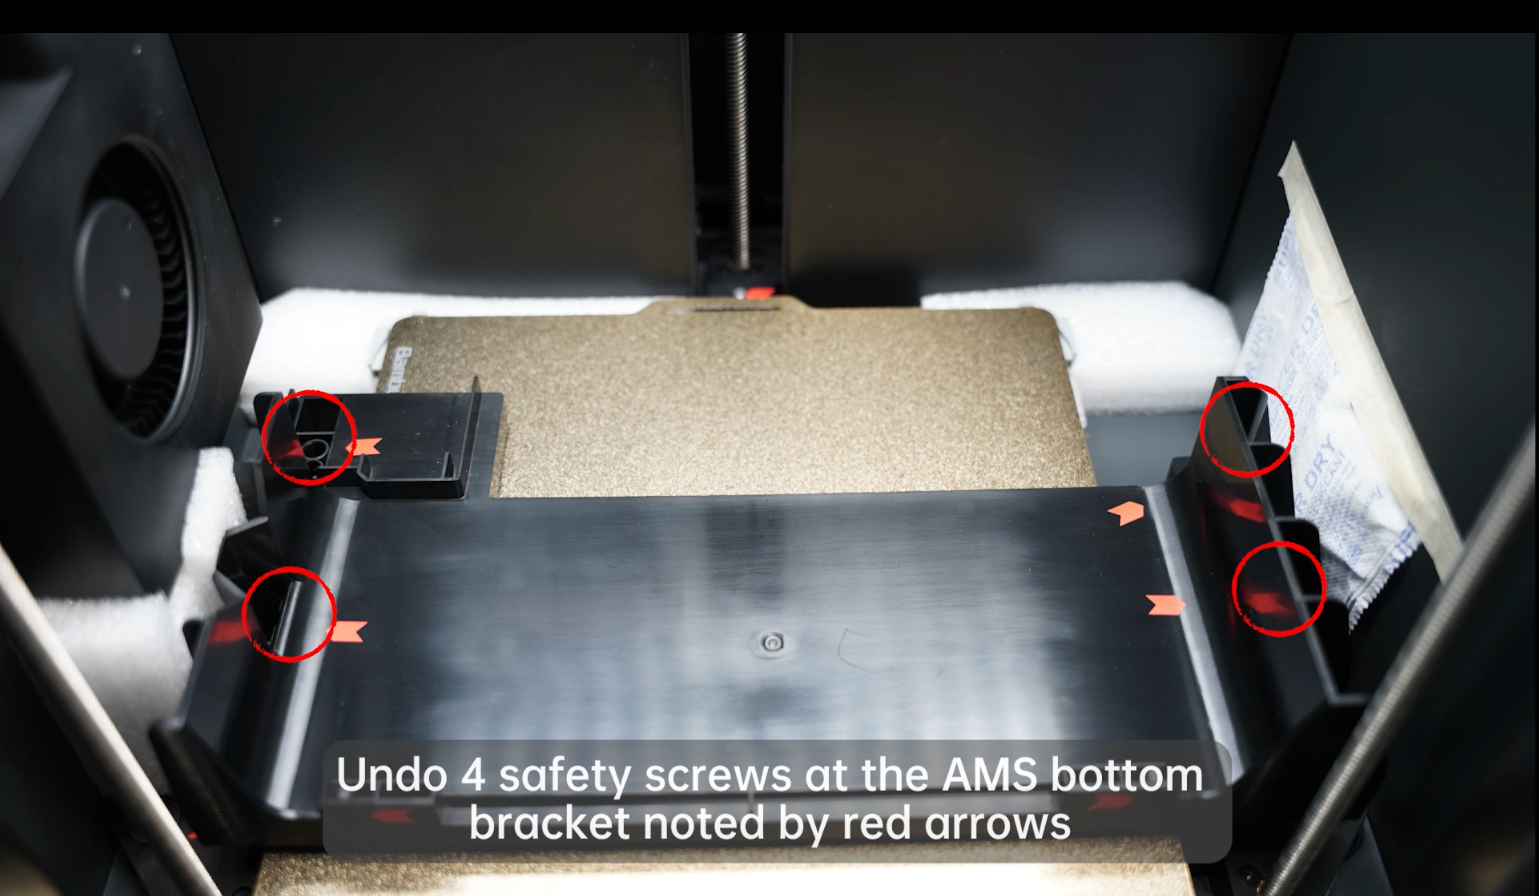
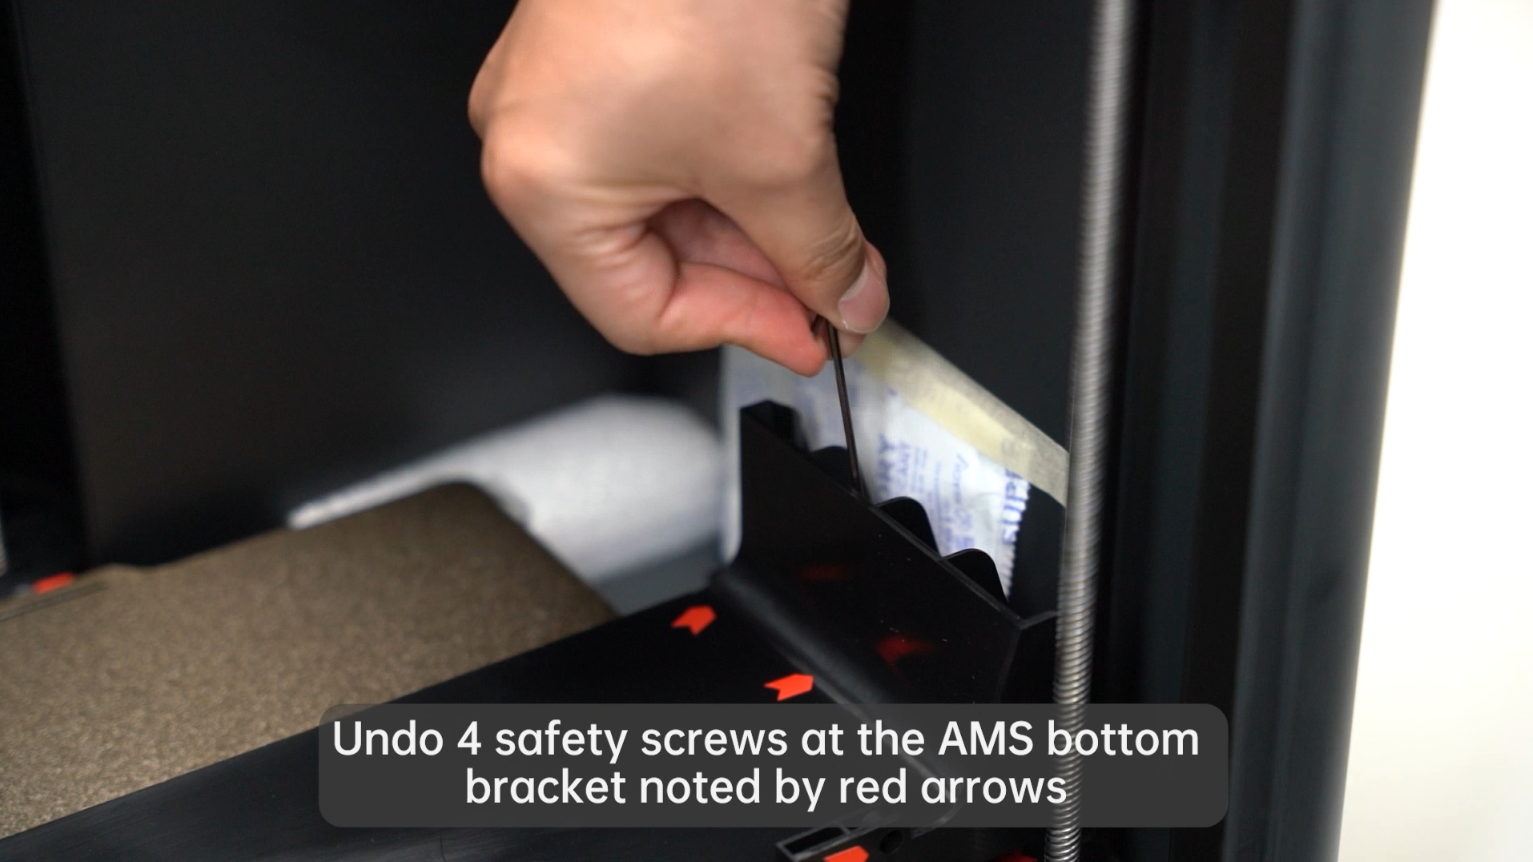
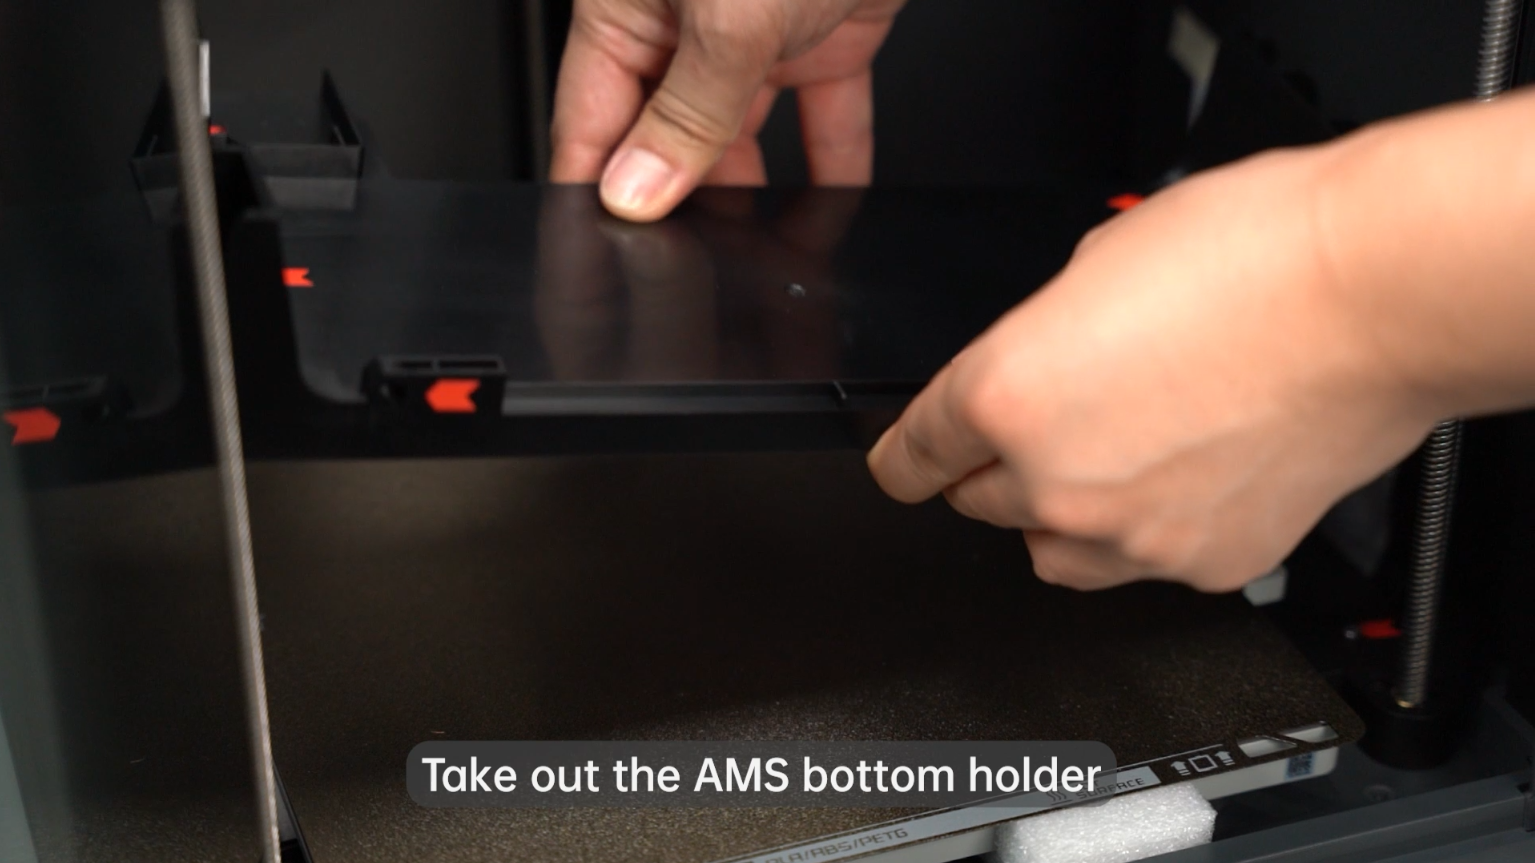
Undo 4 safety screws at the AMS bottom bracket noted by red arrows, and Remove the AMS bottom bracket.
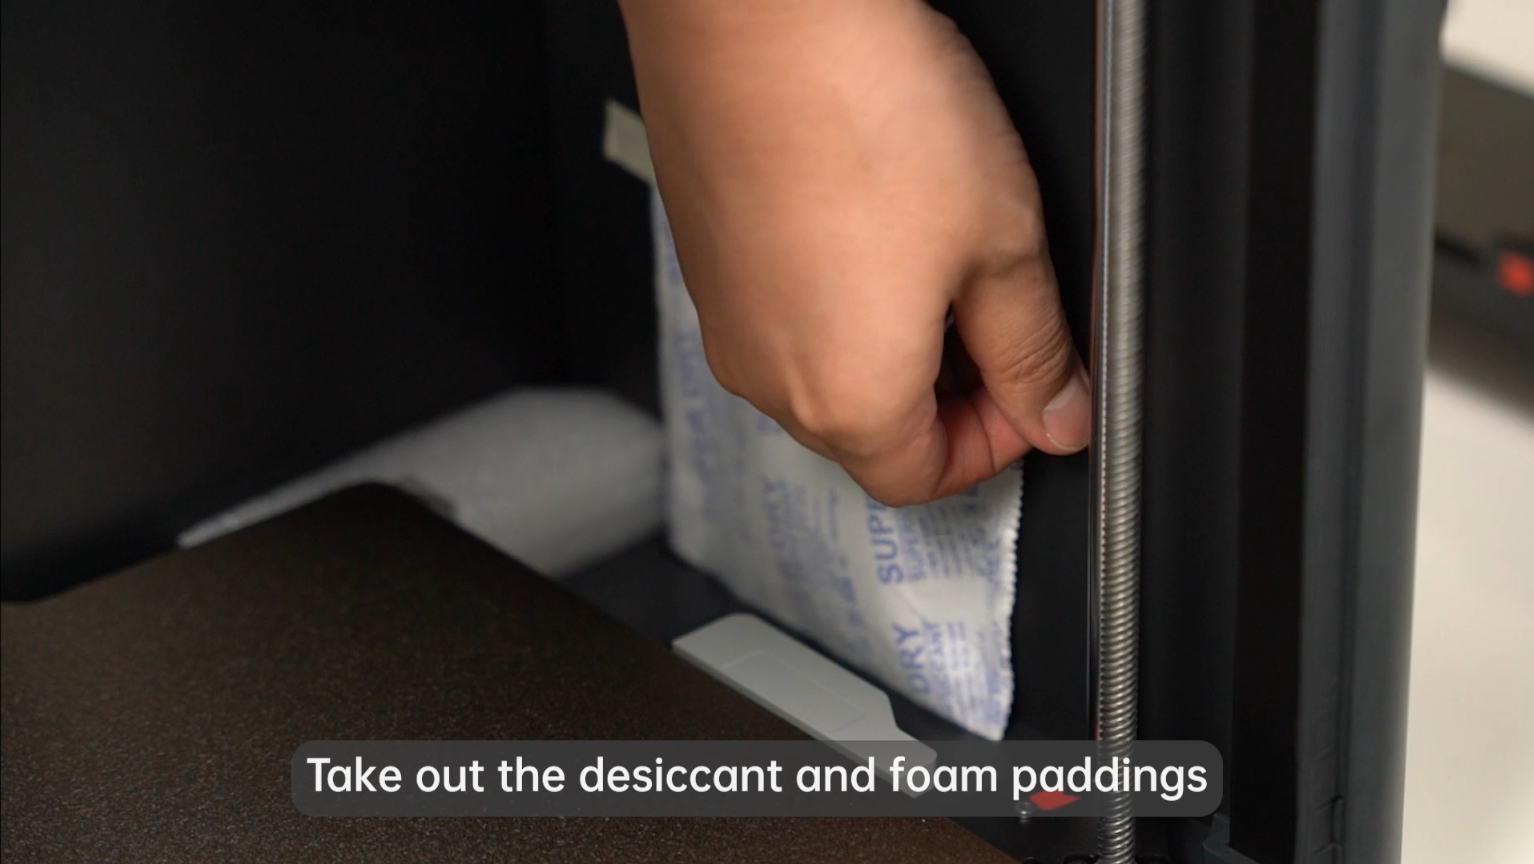
Take out the desiccant and foam padding.
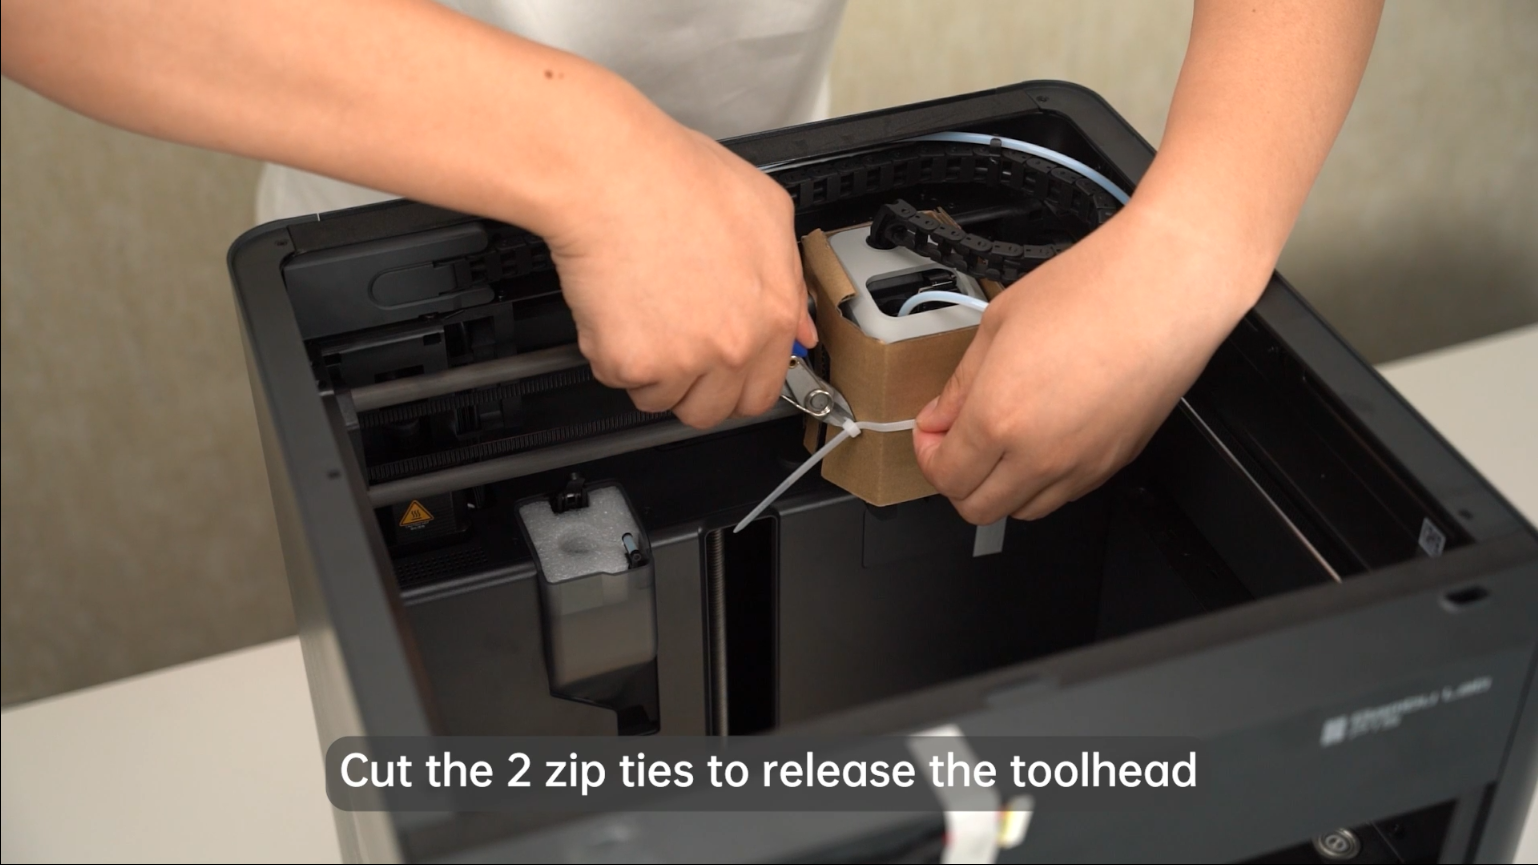
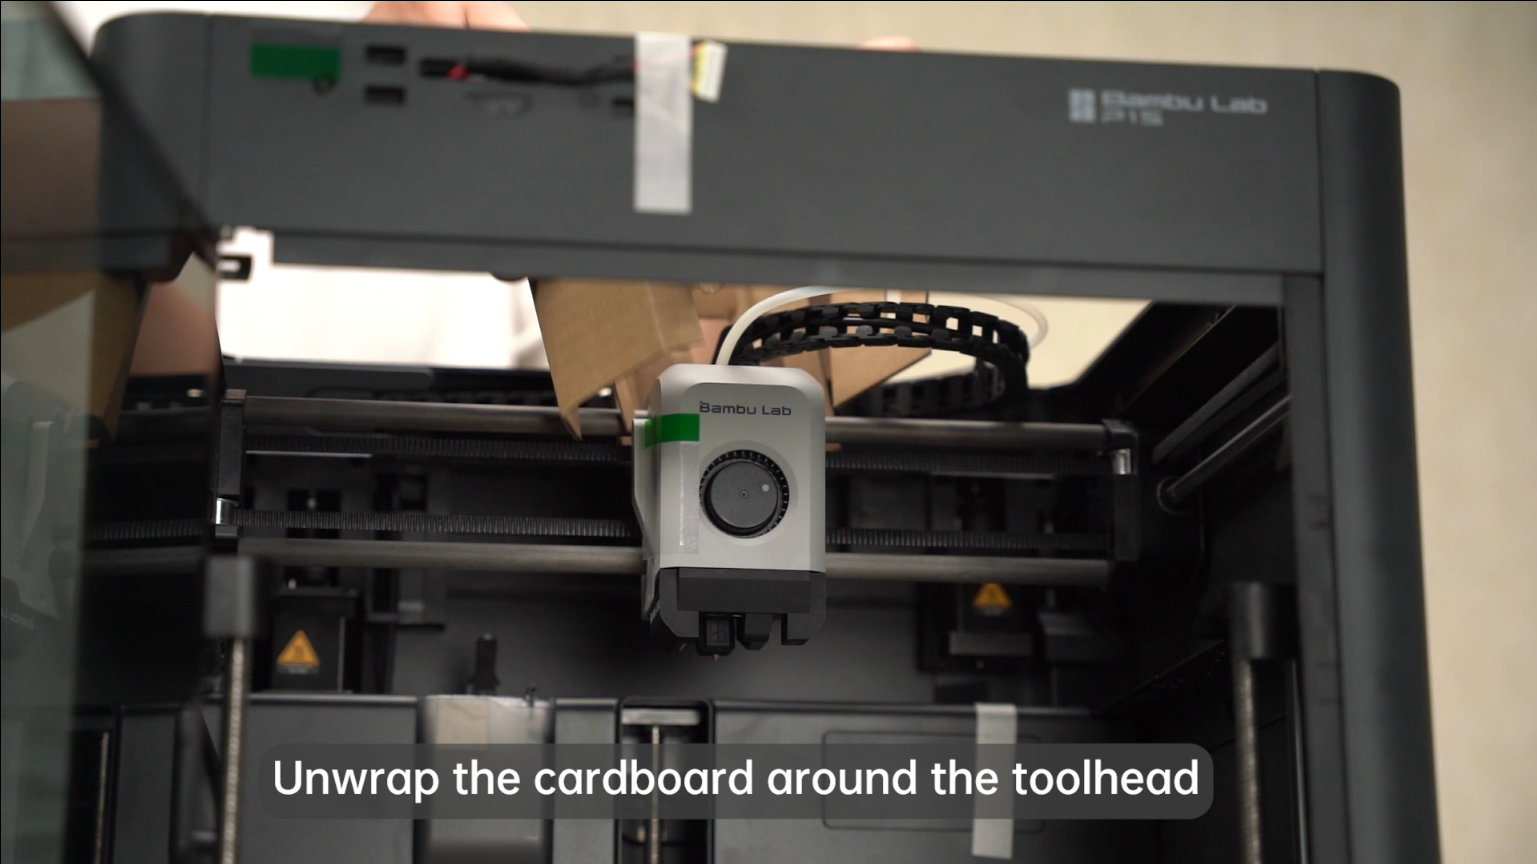
Cut the two zip ties to release the toolhead and unwrap the cardboard around the toolhead.
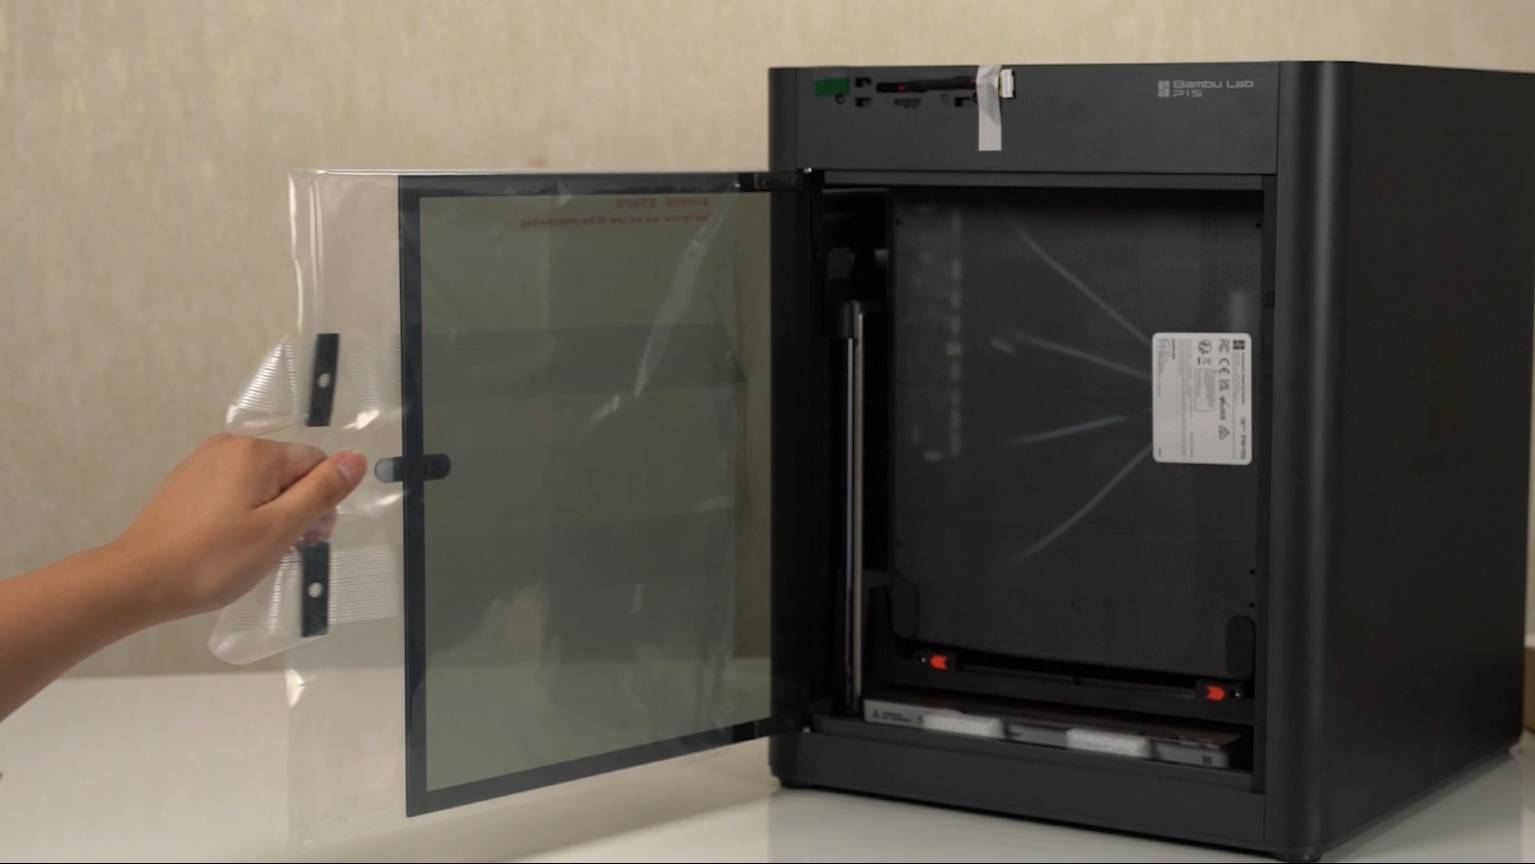
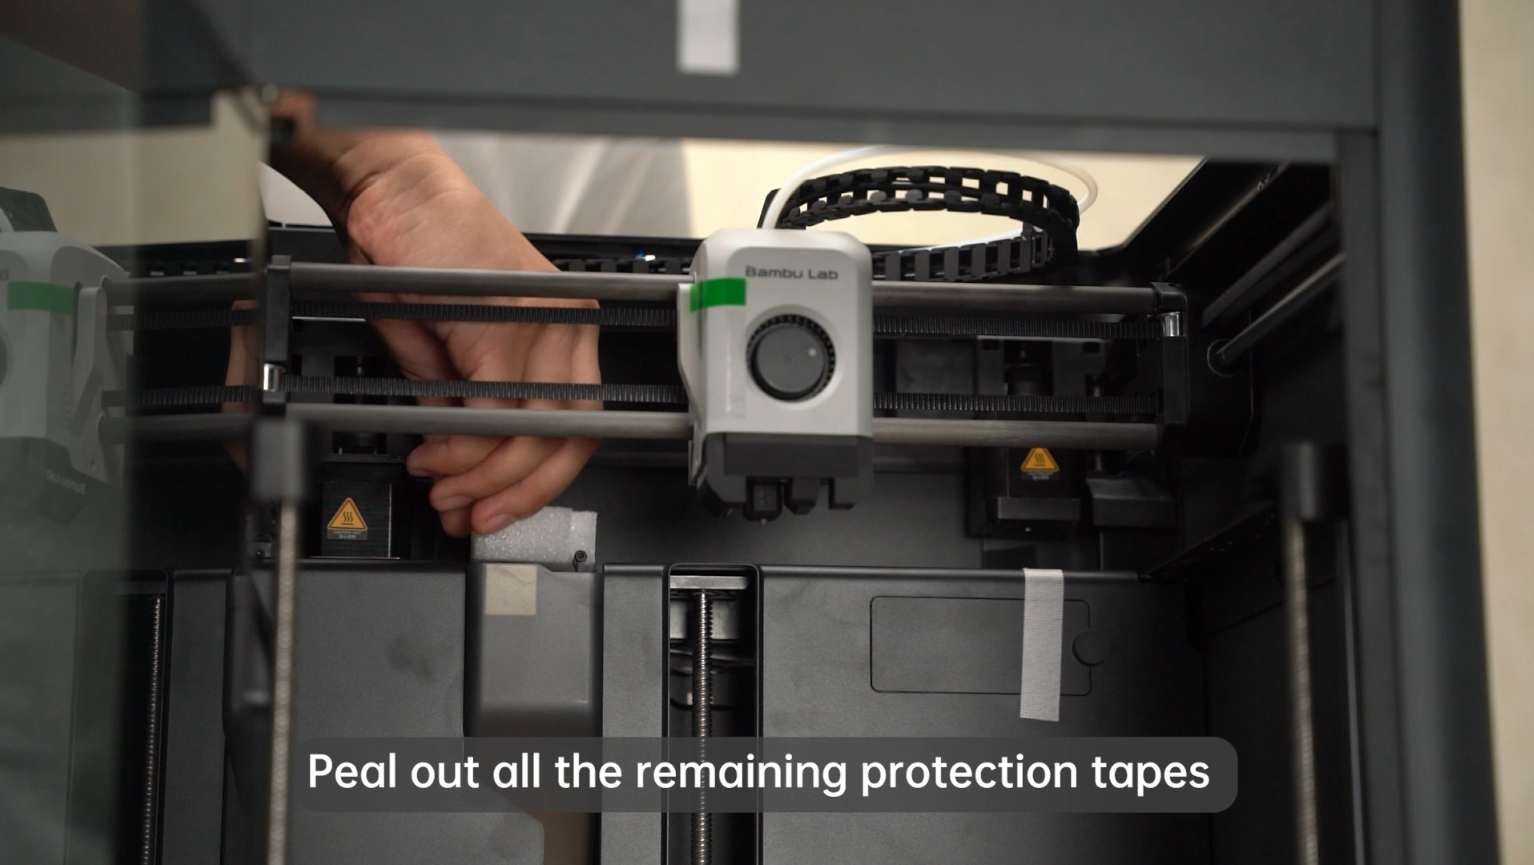
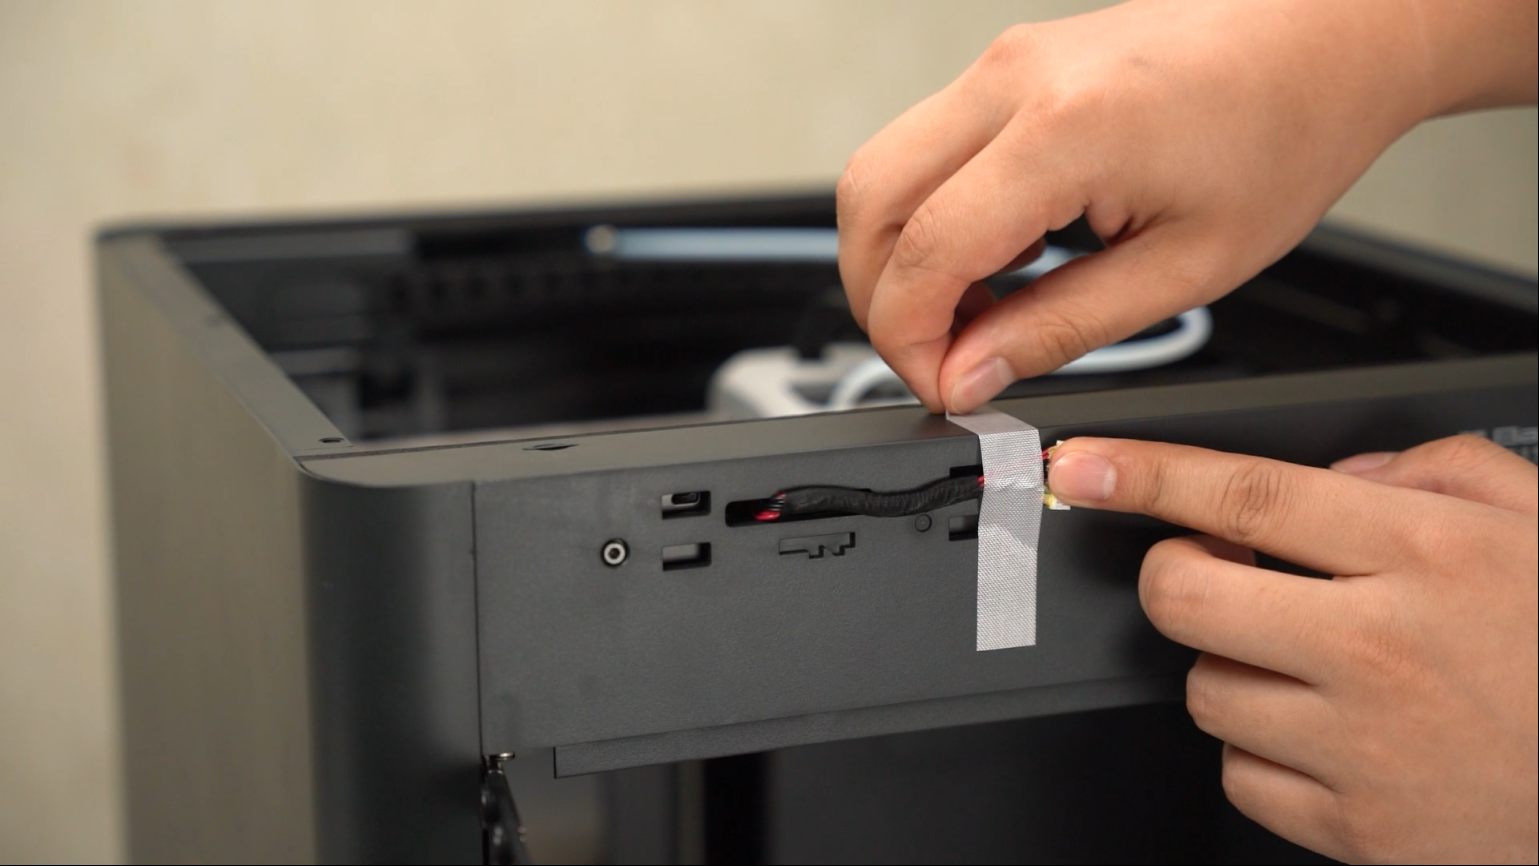
Peal out all the remaining protection tapes.
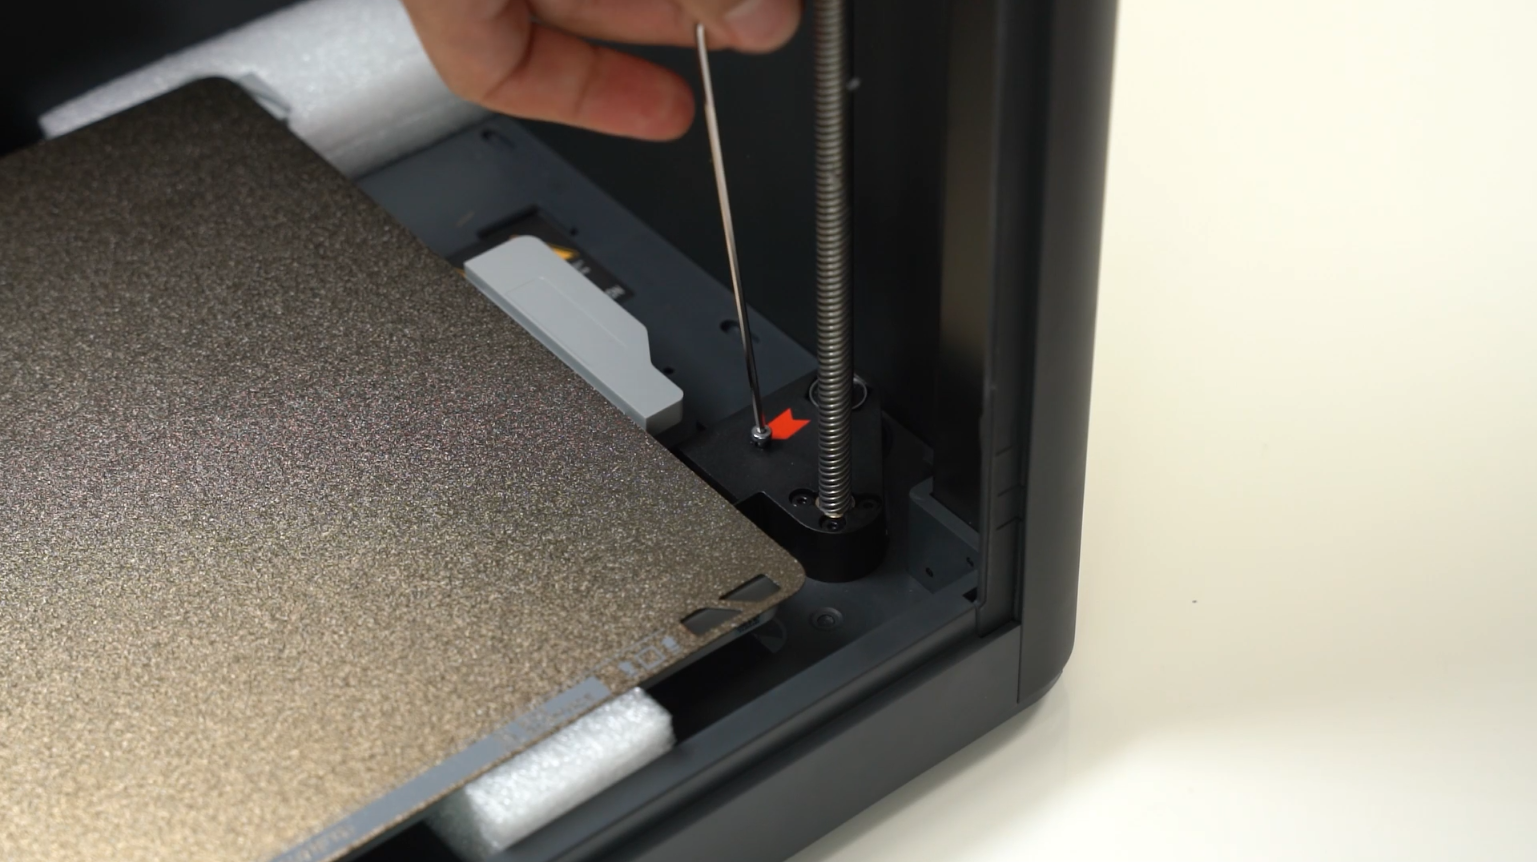
Undo 3 safety screws at the Z-Axis, which indicated by the red arrows.
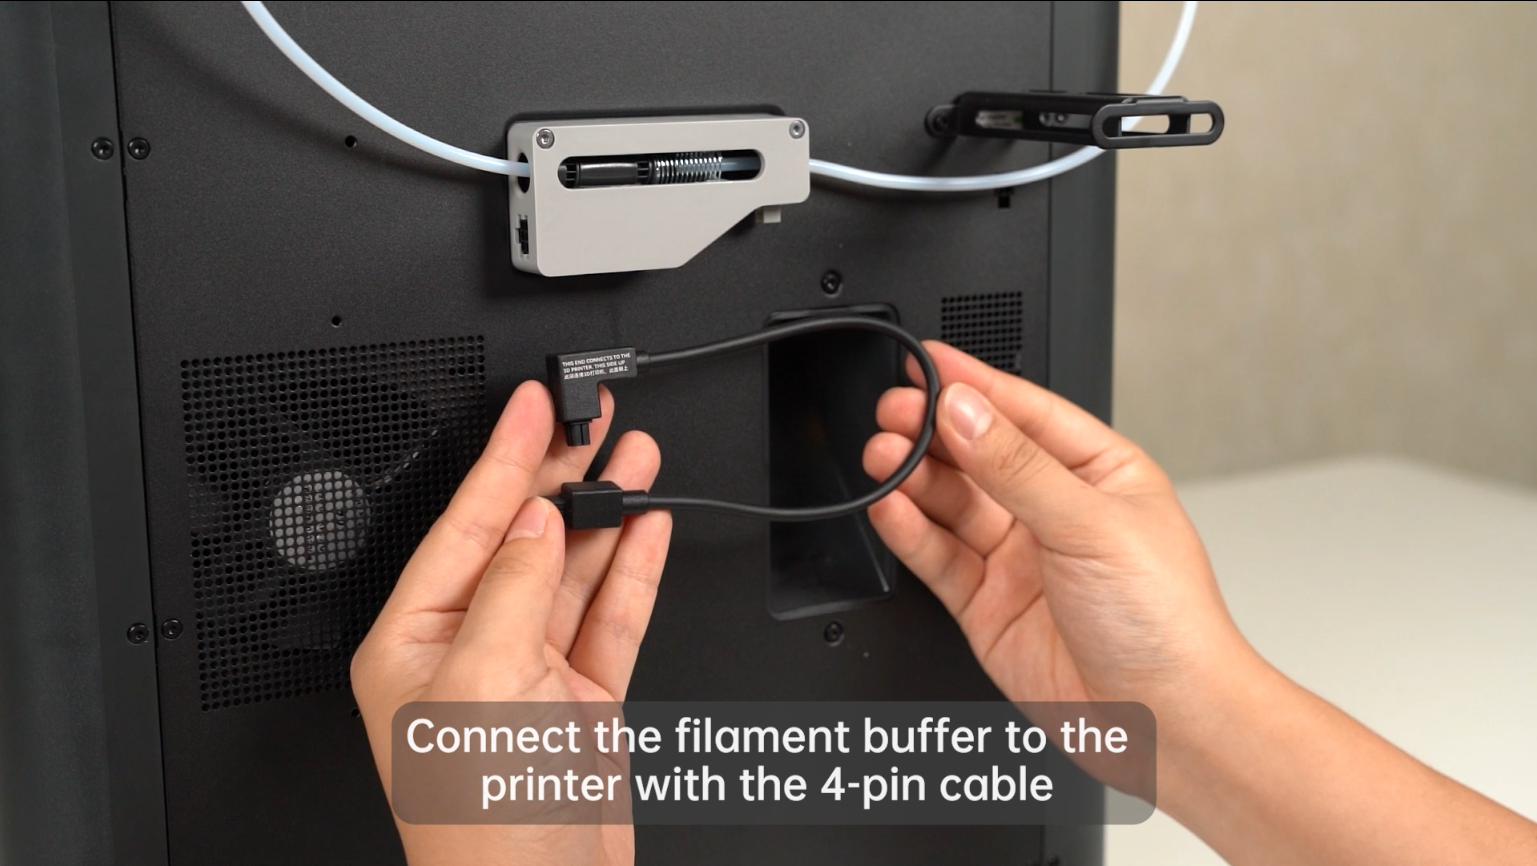
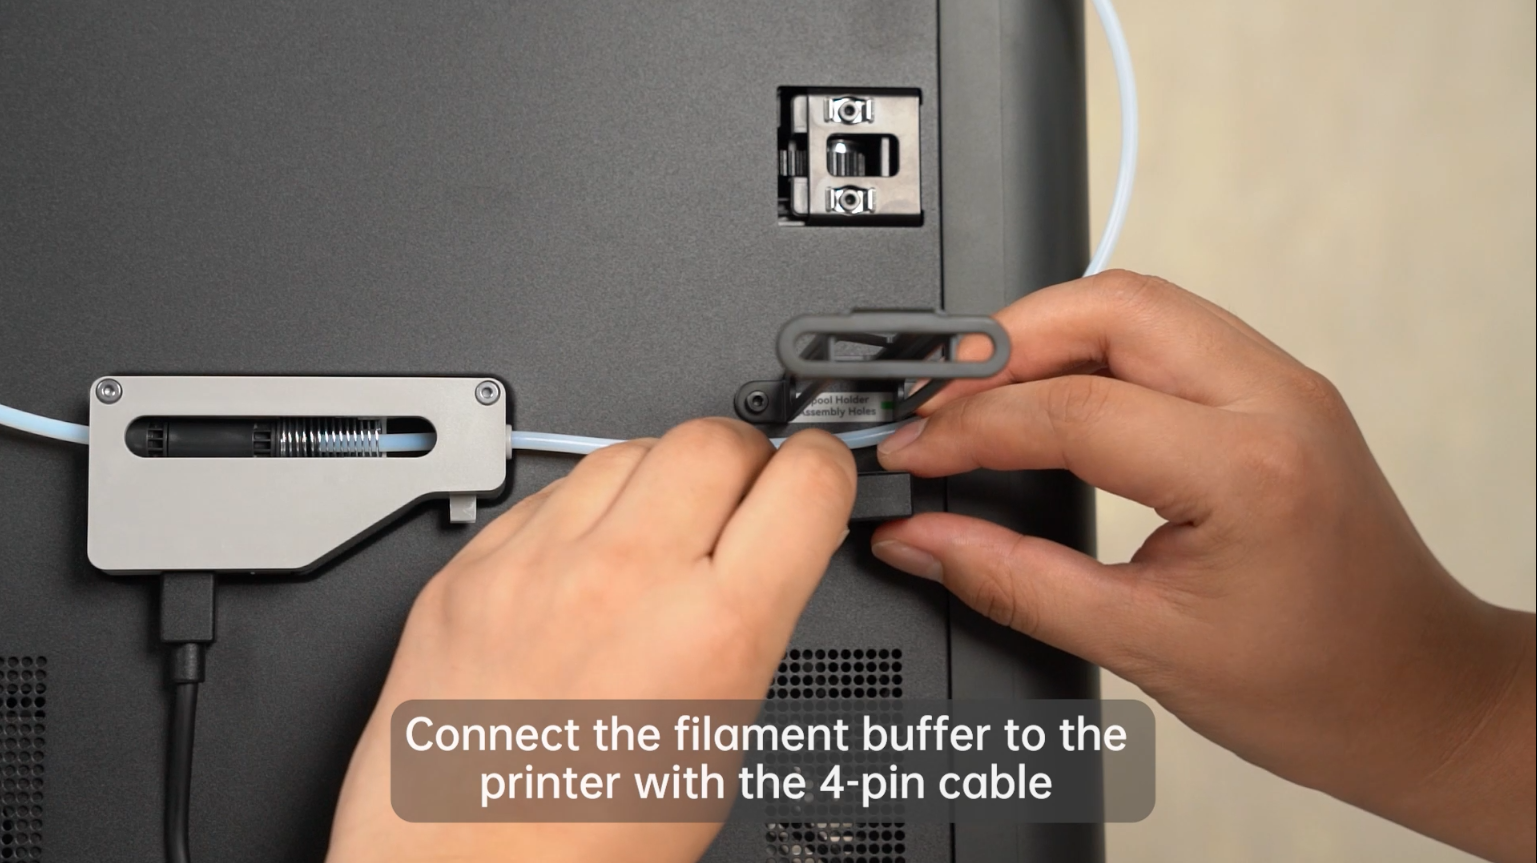
Connect the filament buffer to the printer with the 4-pin cable.
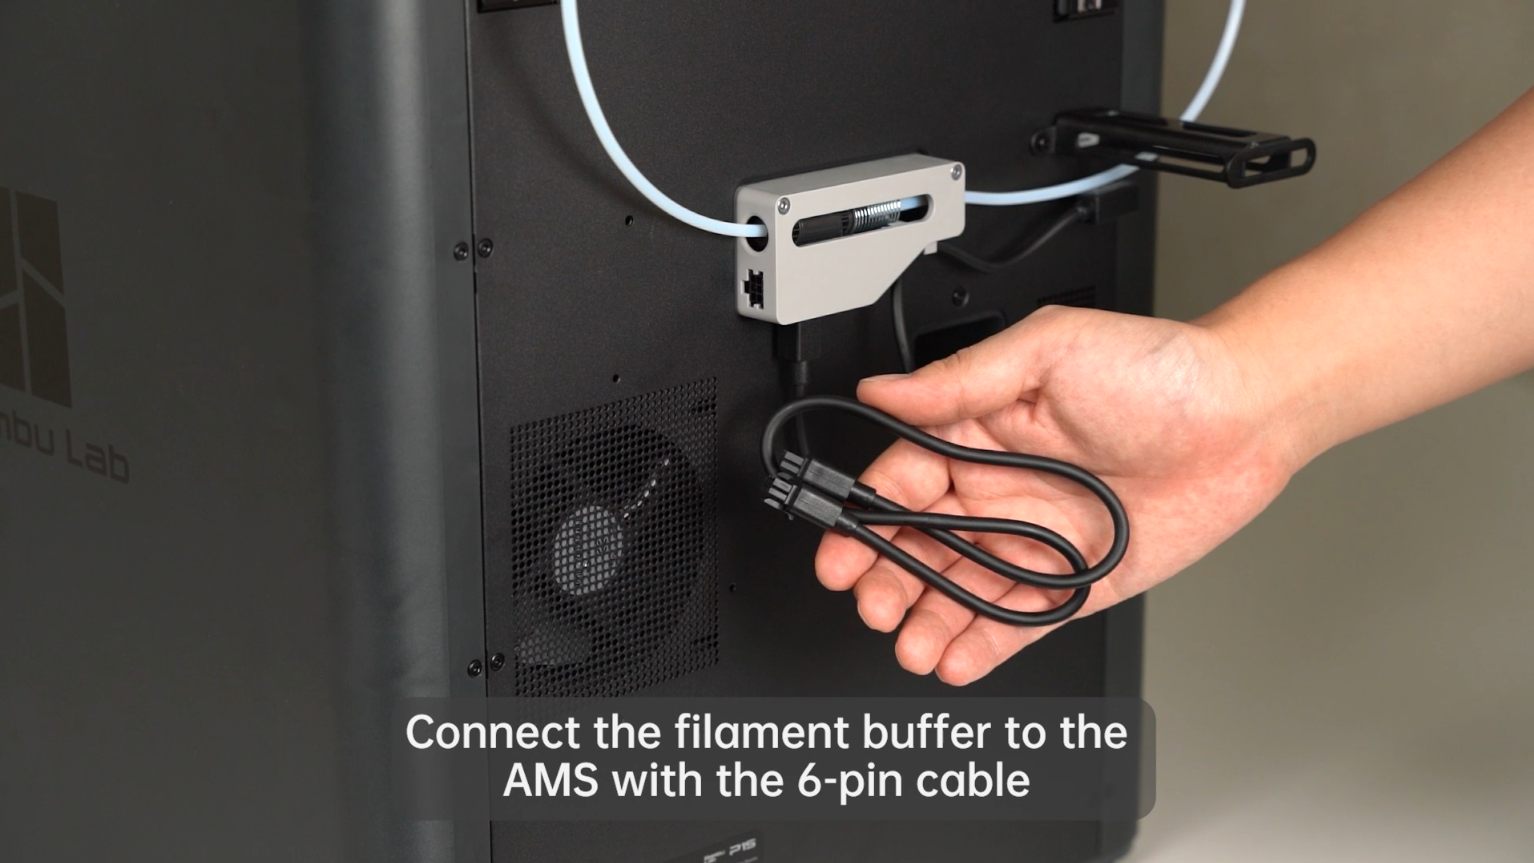
Connect the filament buffer to the AMS with the 6-pin cable.
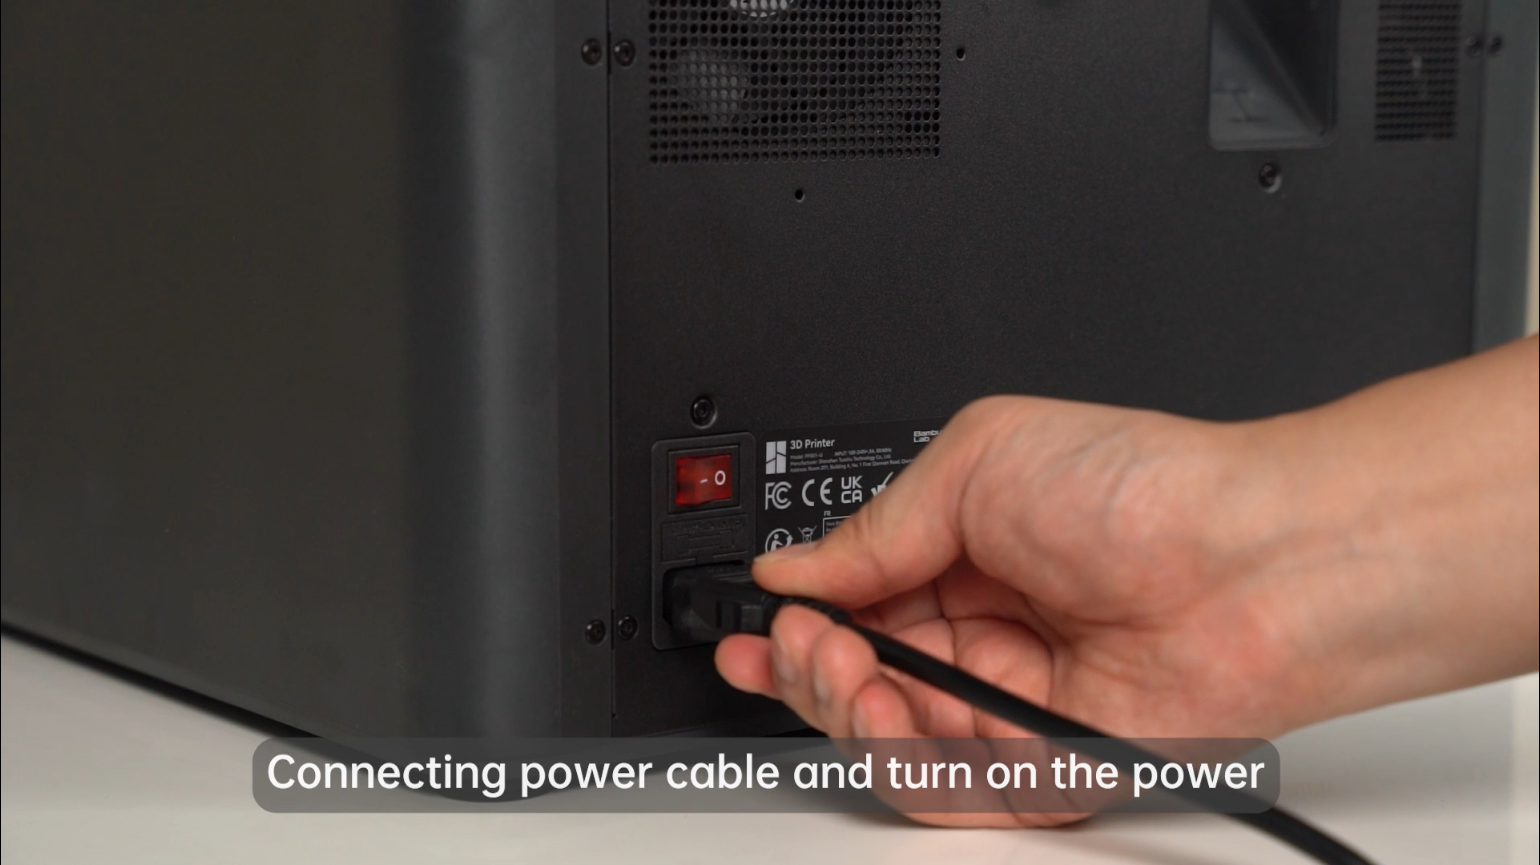
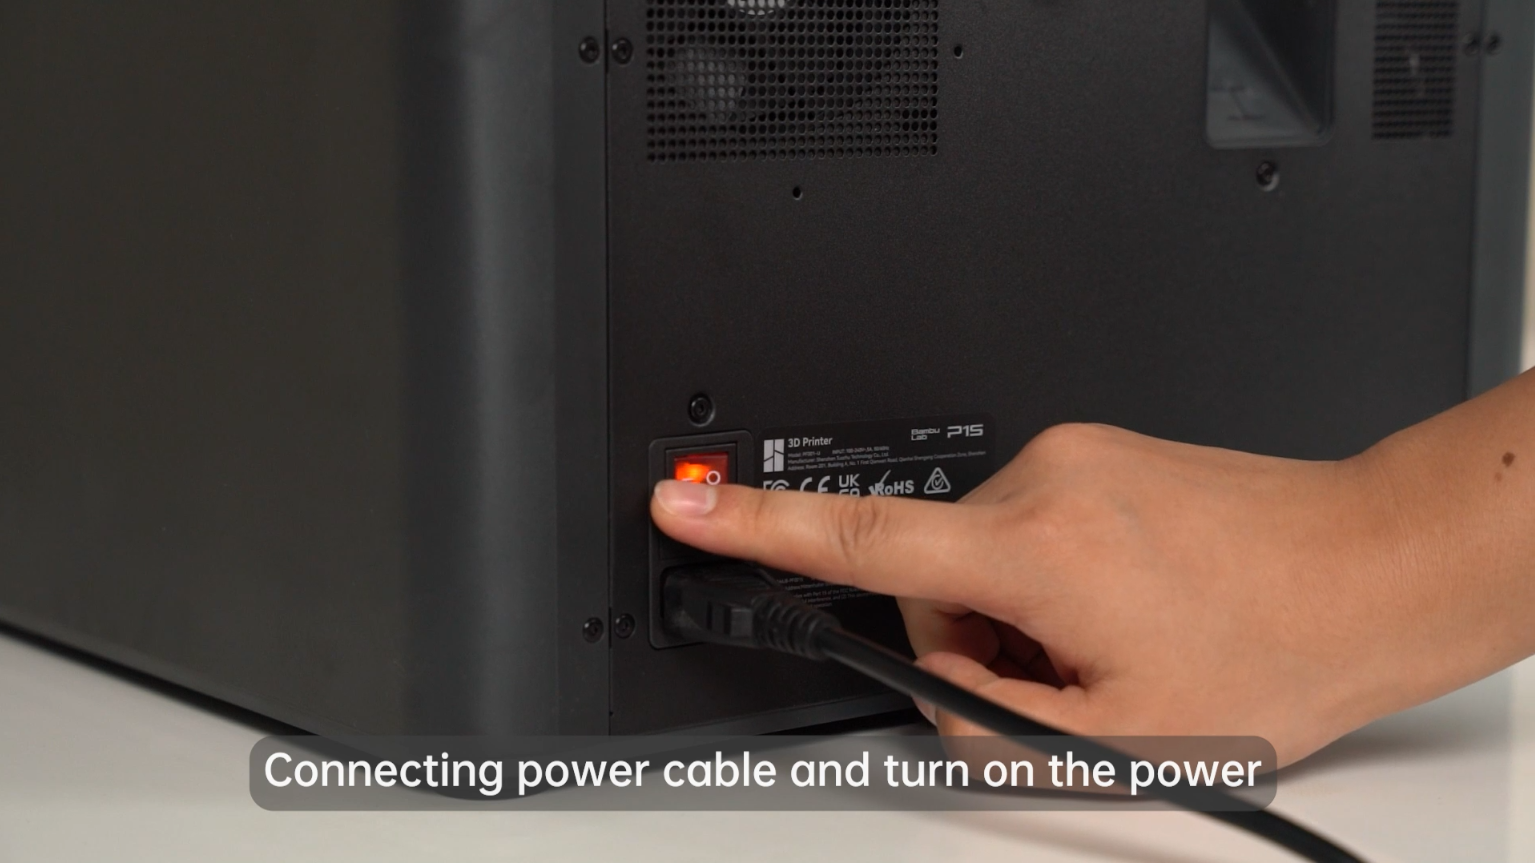
¶ Step 6: Attach the power Cable and start the printer
Plug in the power cable, turn on the power switch.
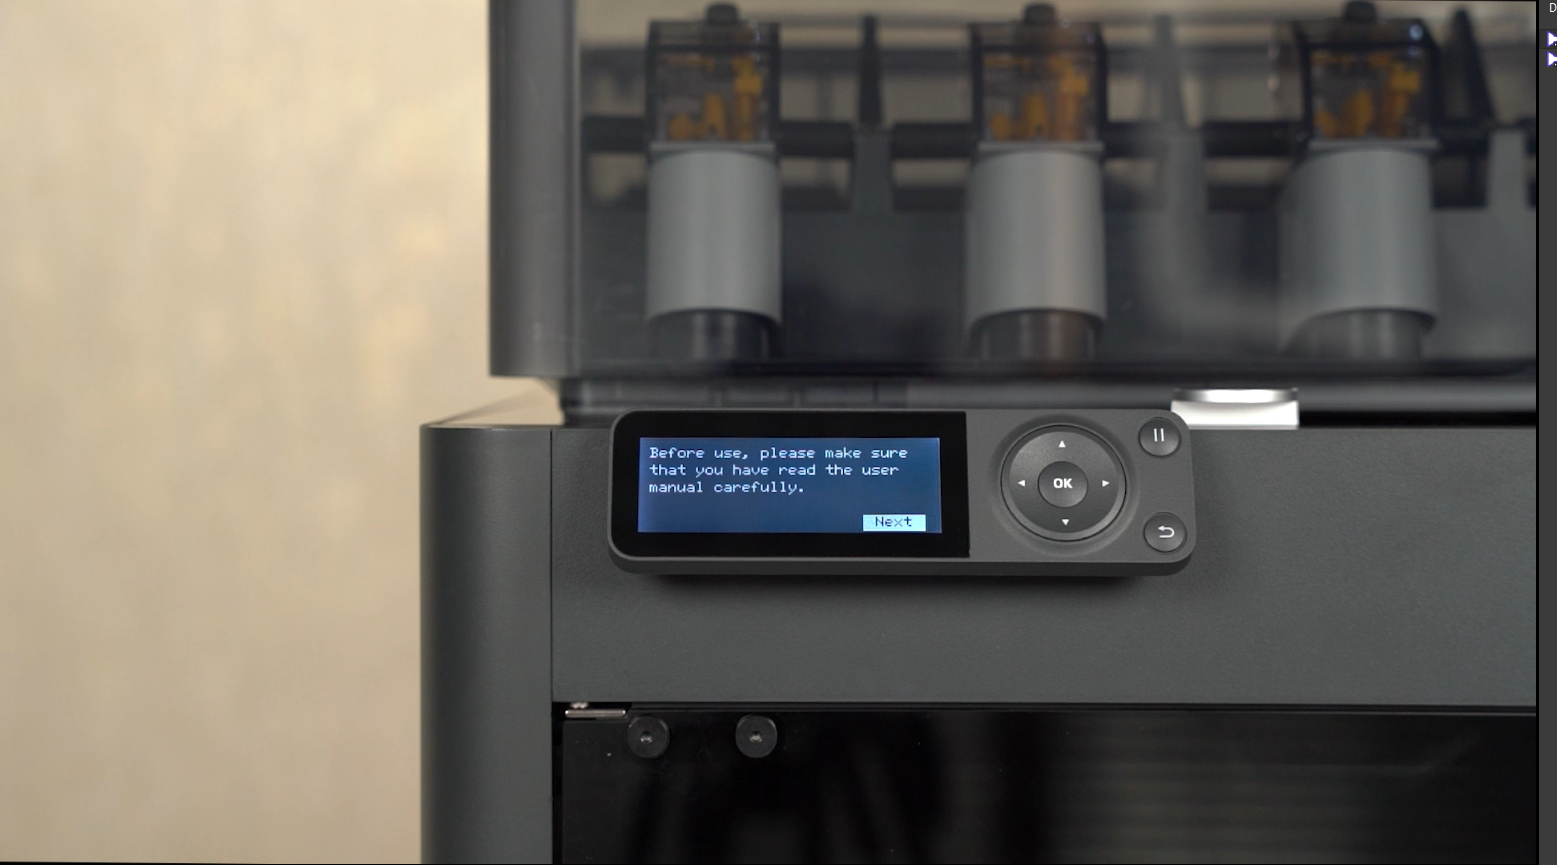
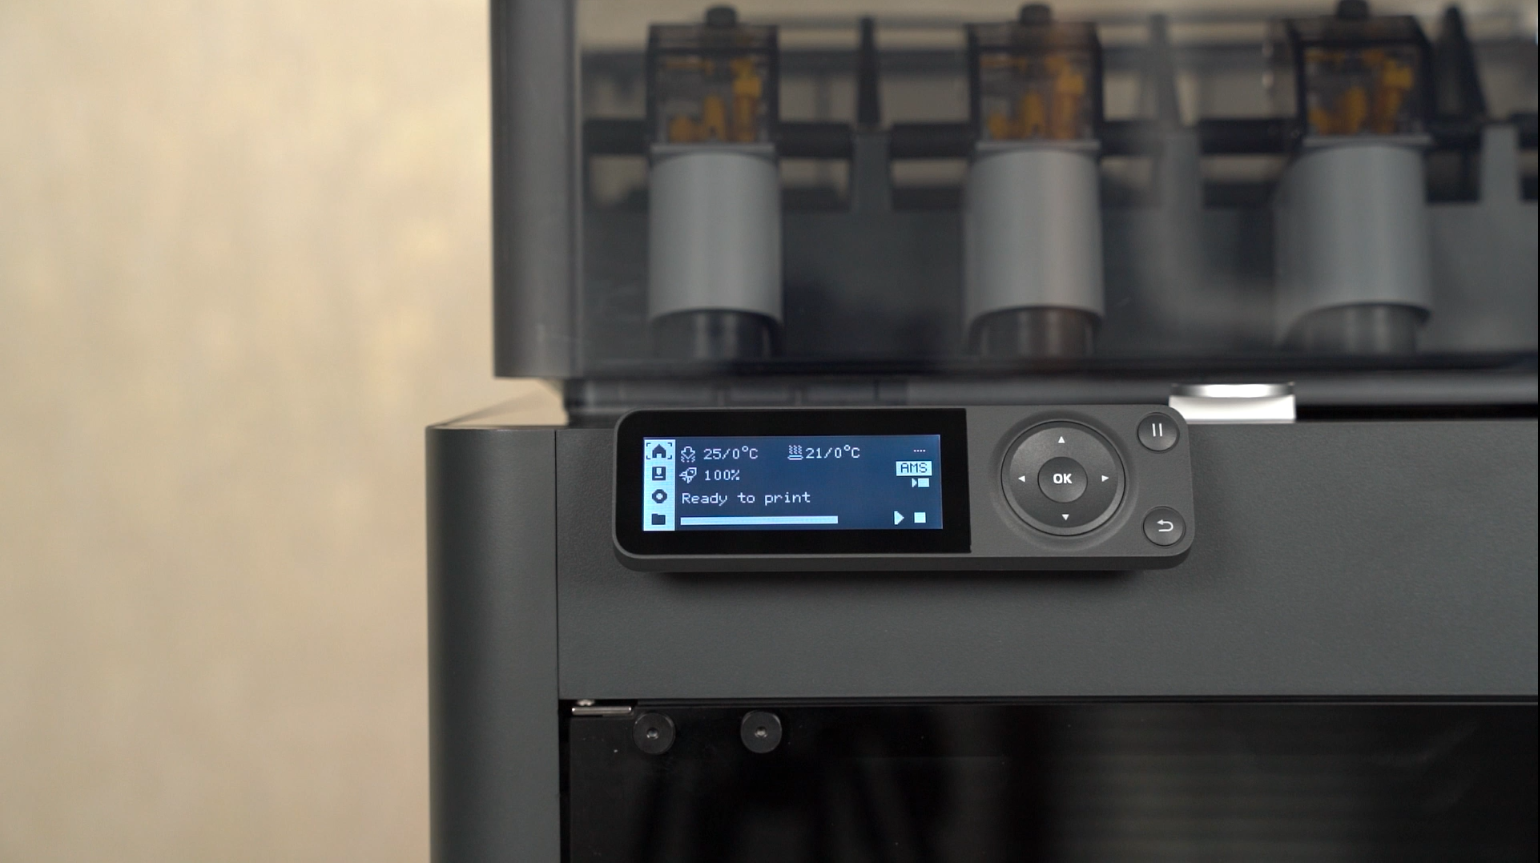
Once the printer is turned on, follow the on-screen guide to complete the printer's self-test.
If you skipped the printer networking and Bambu Handy binding settings during the self-test stage, we recommend that you perform network settings after completing the self-test.
If you have problems binding the app, please go to this wiki for troubleshooting.
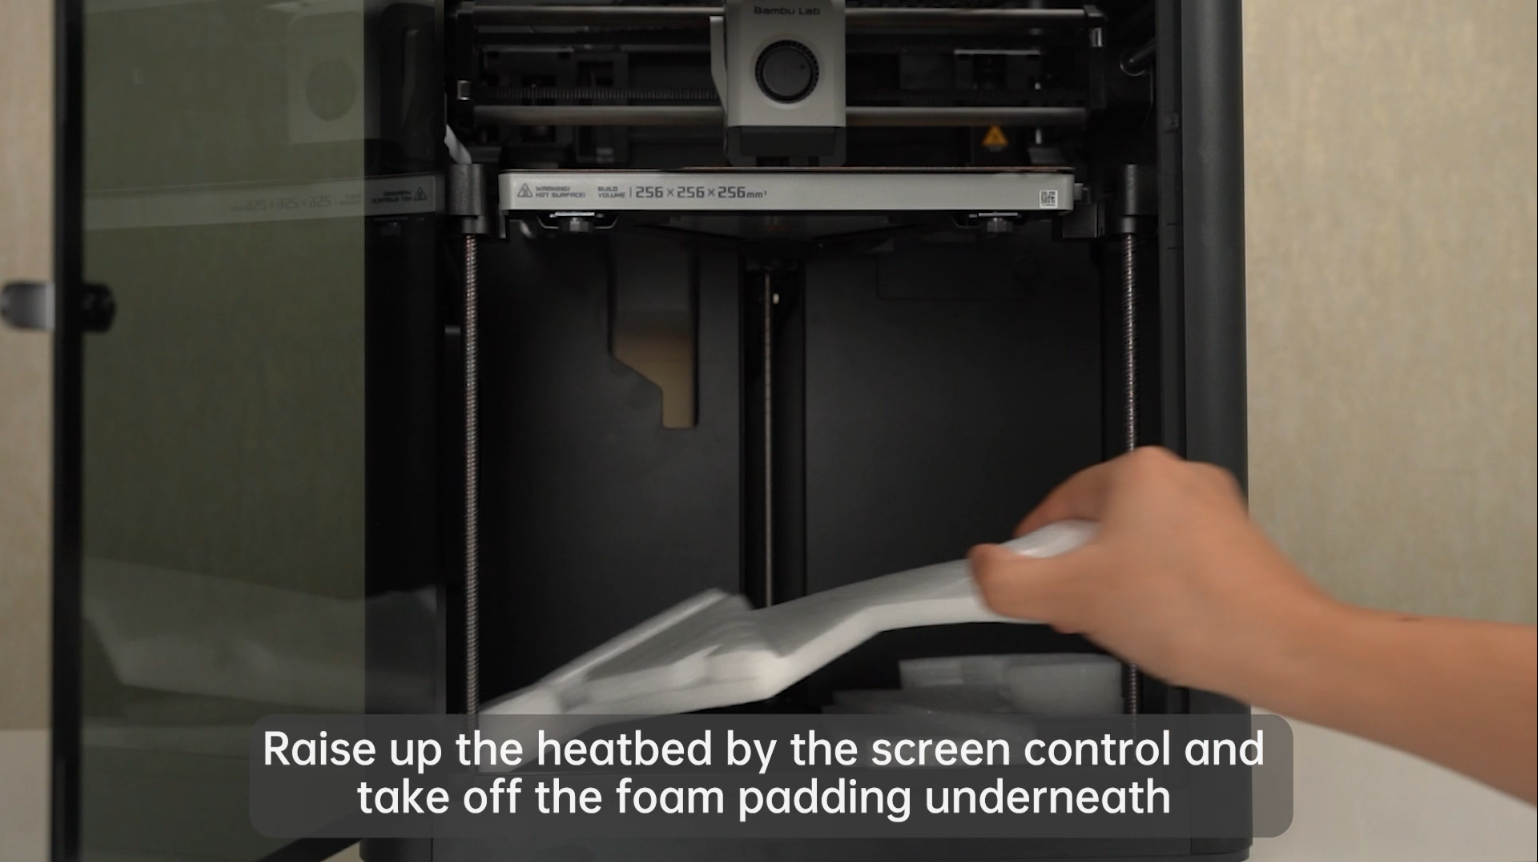
¶Step 7: Remove the foam padding under the heatbed
Please don't forget to remove the fixed foam under the heatbed when the self-test is finished.
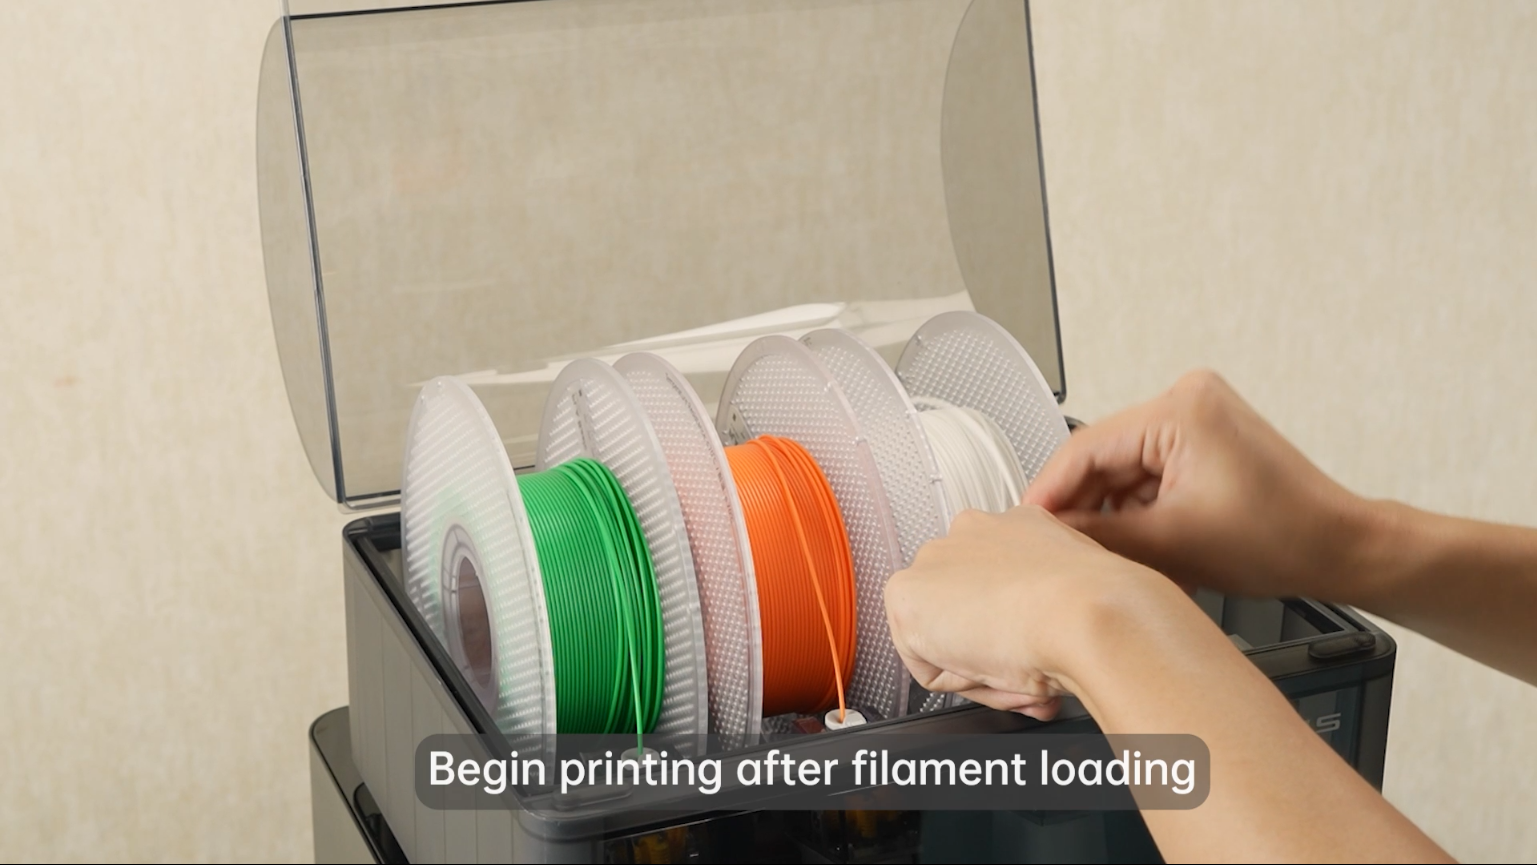
¶ Step 8: Complete the Initialization, and load the filament
Load filaments into the AMS.
Note: Please remove the desiccant bag from the sealed transparent plastic bag.
Low Rate Camera 1280 x 720 / 0.5fps Timelapse Supported
Filament Run Out Sensor
Yes
Filament Odometry
Optional with AMS
Power Loss Recover
Yes
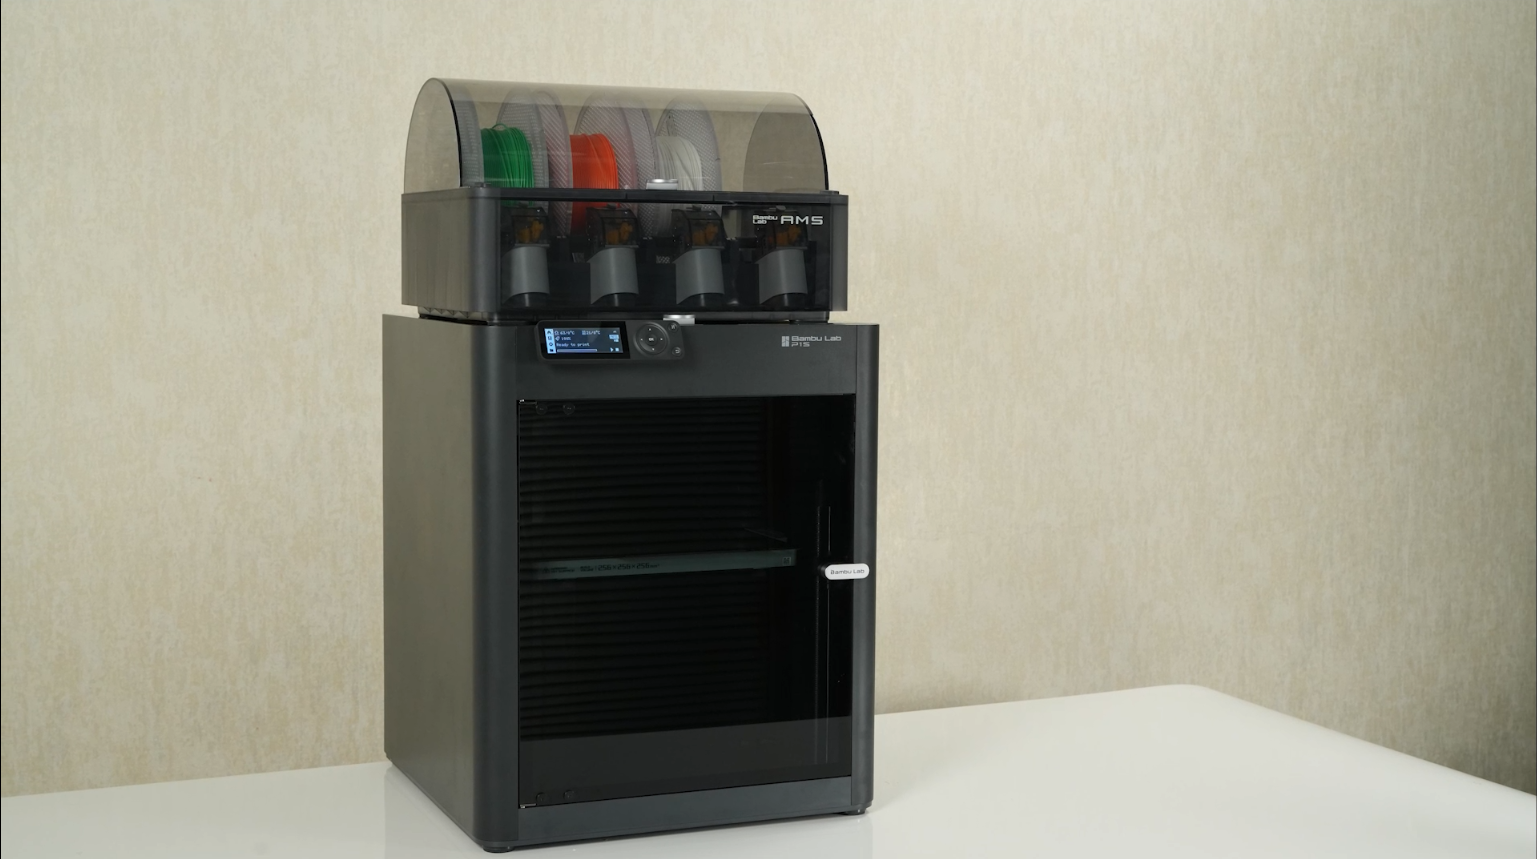
Physical Dimensions
Dimensions(W×D×H)
389*389*457mm³
Net Weight
12.95kg
Electrical Parameters
Input Voltage
100-240 VAC, 50/60 Hz
Max Power
1000W@220V, 350W@110V
USB Output Power
5V/1.5A
Electronics
Display
2.7-inch 192x64 Screen
Connectivity
Wi-Fi, Bluetooth, Bambu-Bus
Storage
Micro SD Card
Control Interface
Button, APP, PC Application
Motion Controller
Dual-Core Cortex M4
Software
Slicer
Bambu Studio Support third party slicers which export standard G-code such as Superslicer, Prusaslicer and Cura, but certain advanced features may not be supported.