Bambu Studio provides a planar cut tool. It allows users to rotate the cut plane to any angle and change its position freely. It can be useful in the following cases:
- Fitting Large Models: When a model is too big to print as a single piece, cutting it into smaller sections makes it possible to print.
- Simplified Post-processing: Dividing complex models can make tasks like sanding, painting, and assembling much easier.
- Reduced Supports: Cutting allows you to reposition parts for more efficient printing, often minimizing or eliminating the need for support structures.
¶ How to Cut an Object
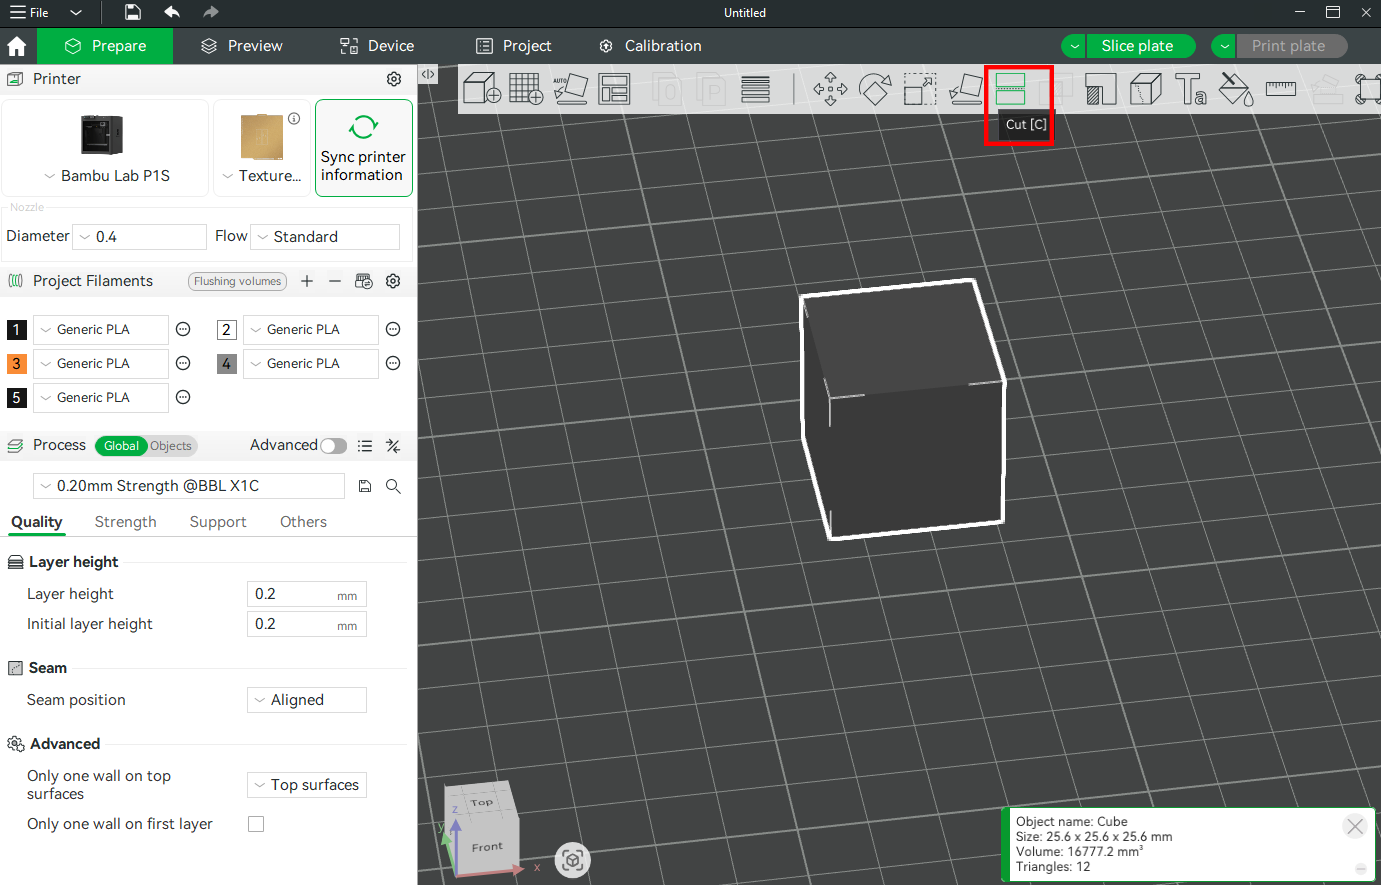
Select an object, open the Cut tool from the toolbar, or press C key.
Select a cutting axis (X, Y, or Z) based on the model’s shape and your assembly plan. You can move the cutting plane by dragging it or entering a specific value. After applying the cut, the model will split into separate objects, which can be exported individually for printing.
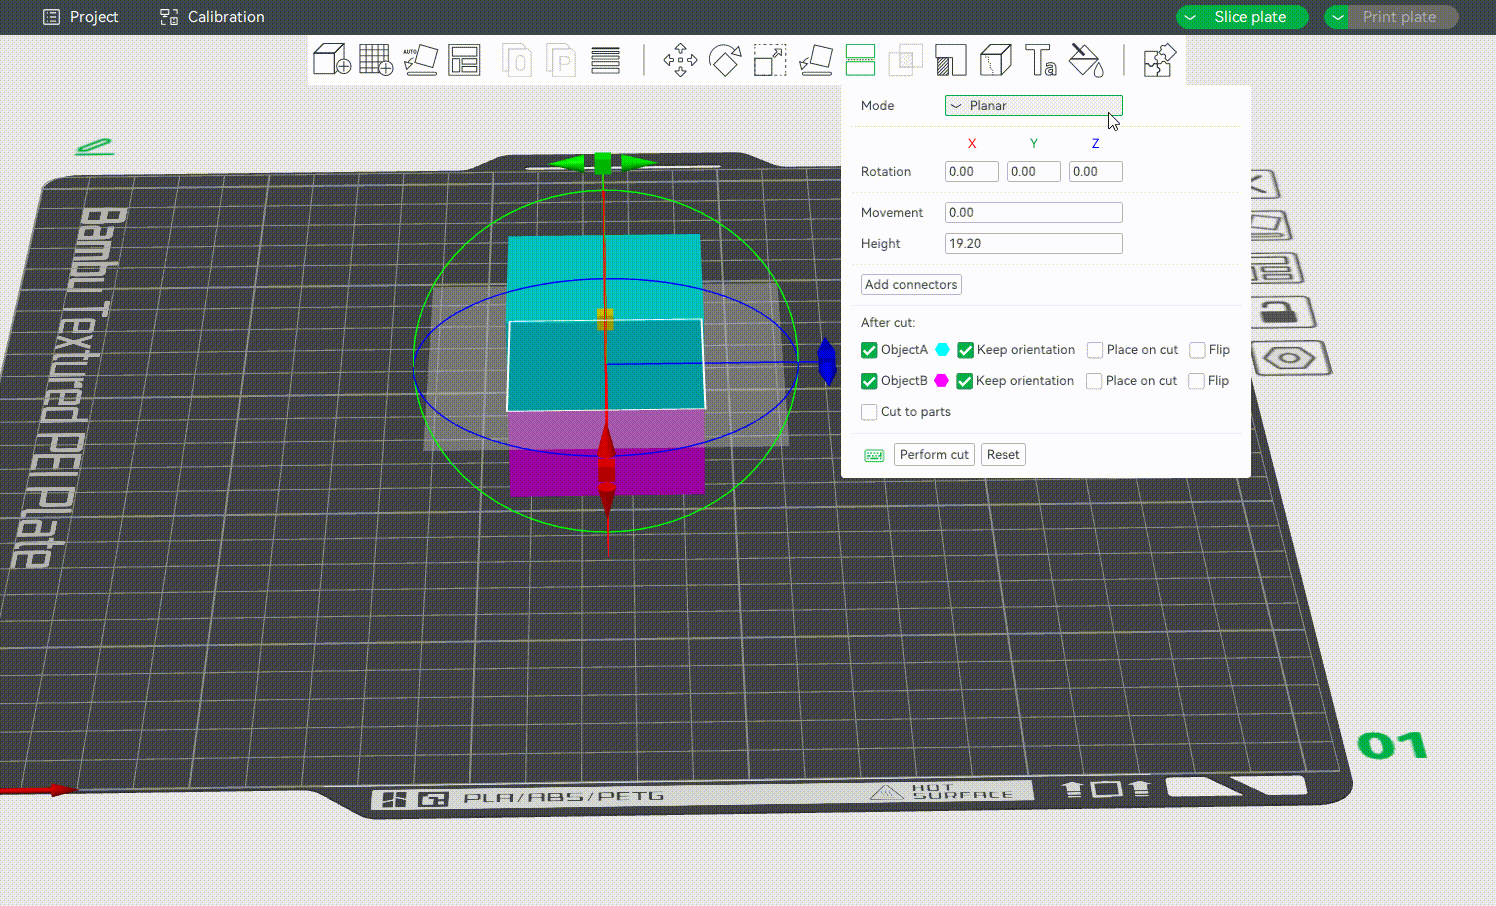
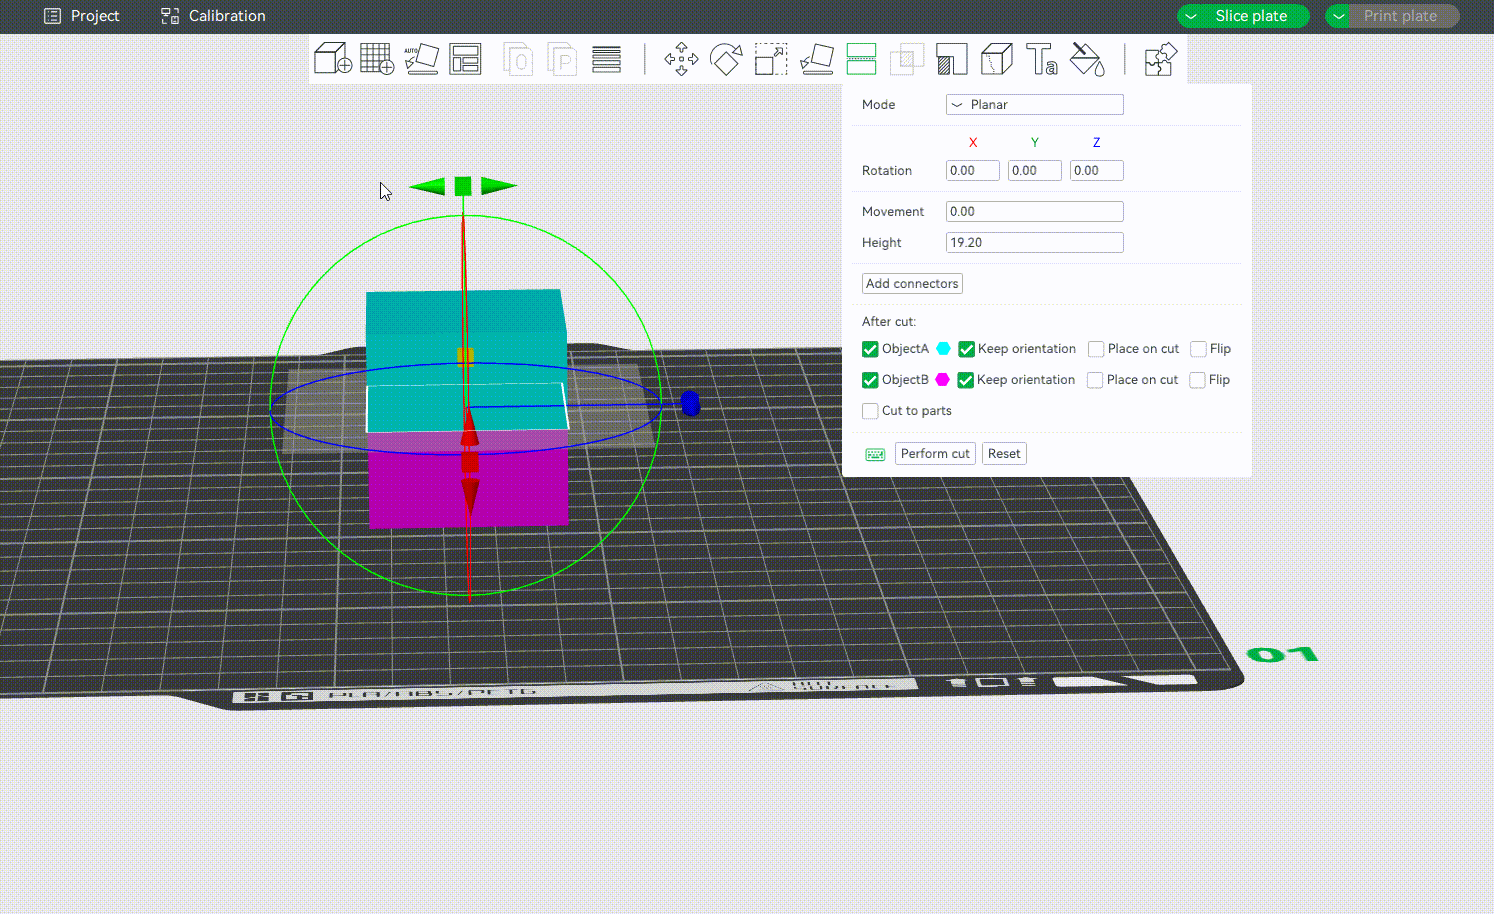
¶ Modes in the Cut Tool
¶ Planar Mode
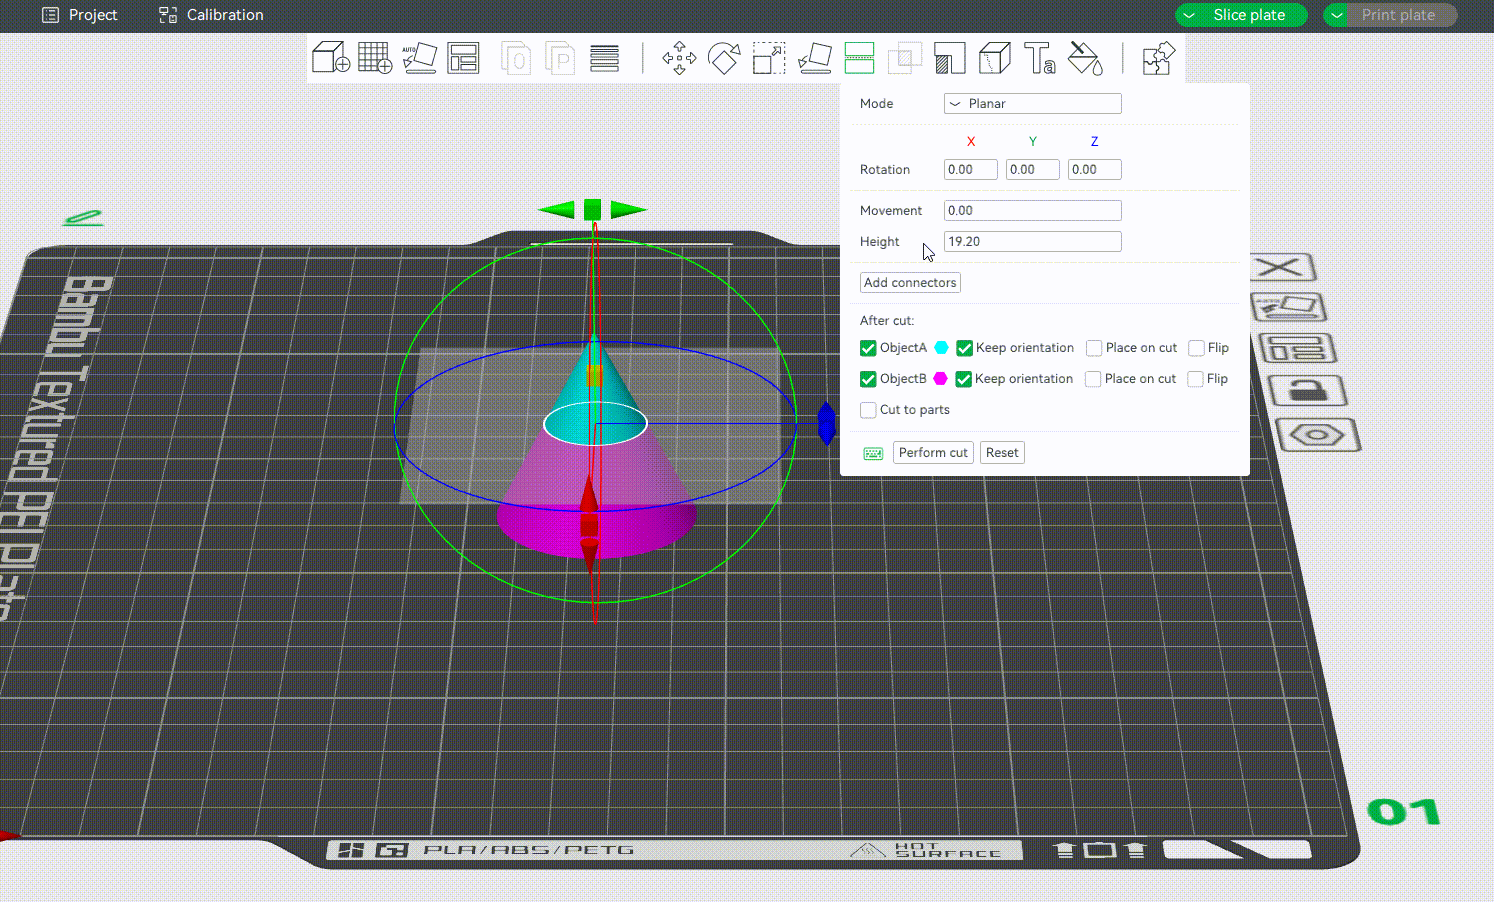
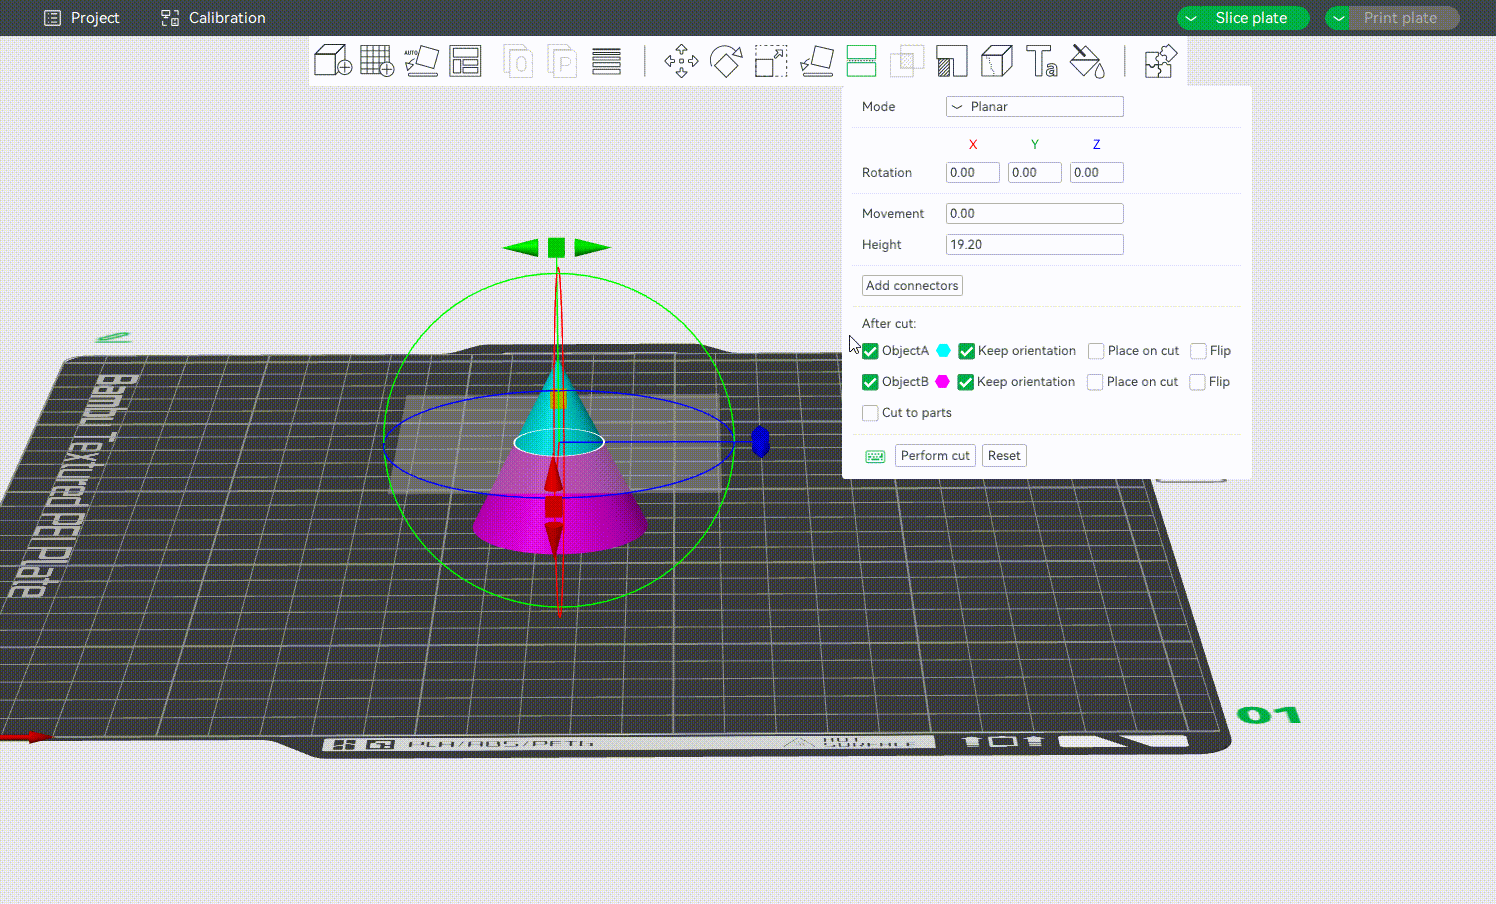
Planar is the default cutting mode. It slices the model using a flat plane along the selected axis (X, Y, or Z). The result is a clean, straight cut that divides the object into two or more flat-faced parts. It is a great option for simple cuts, quick separation, and parts that don't require precise alignment during assembly.
¶ Dovetail Mode
Dovetail mode creates interlocking cuts shaped like a dovetail joint, which helps align and hold parts together during assembly. It's particularly useful for functional models or complex assemblies, as it ensures accurate part alignment.
The Depth, Width, Flap Angle and Goove Angle can be adjusted as required to make the assembly more accurate.
- Depth: Controls how deep the dovetail joint extends into the model from the cutting surface. Increasing the value increases the depth of the joint, thereby enhancing grip and alignment strength.
- Width: Sets the width of the dovetail’s base at the cutting plane. Wider joints may offer more surface area for contact, improving stability. You can adjust it based on the overall size of your model and available surface area.
- Flap angle: It determines the outward angle of the dovetail's sides. Increasing the angle creates a more pronounced interlock, making the parts fit tightly. A smaller angle on the other results in a looser fit. Use a higher flap angle when working on parts that require strong mechanical joining.
- Groove angle: This sets the inward angle of the matching groove that receives the dovetail. It affects how snugly the flap fits into the groove.
The Gif below shows the impact of the above settings. After dovetail cutting, a pop-up window may appear to indicate that non-mainfold edges remain after cutting. Click to fix the model according to the prompt, and then slice it.
¶ Cut Tool Settings
¶ Rotation Settings
You can rotate the cut plane around the X, Y, or Z-axis by grabbing one of the axes' handles.
Alternatively, you may also enter an exact value in degrees [°] in the Rotation input boxes of the context menu. It is a relative rotation from the object's current orientation and will be reset to 0 after the rotation is performed.
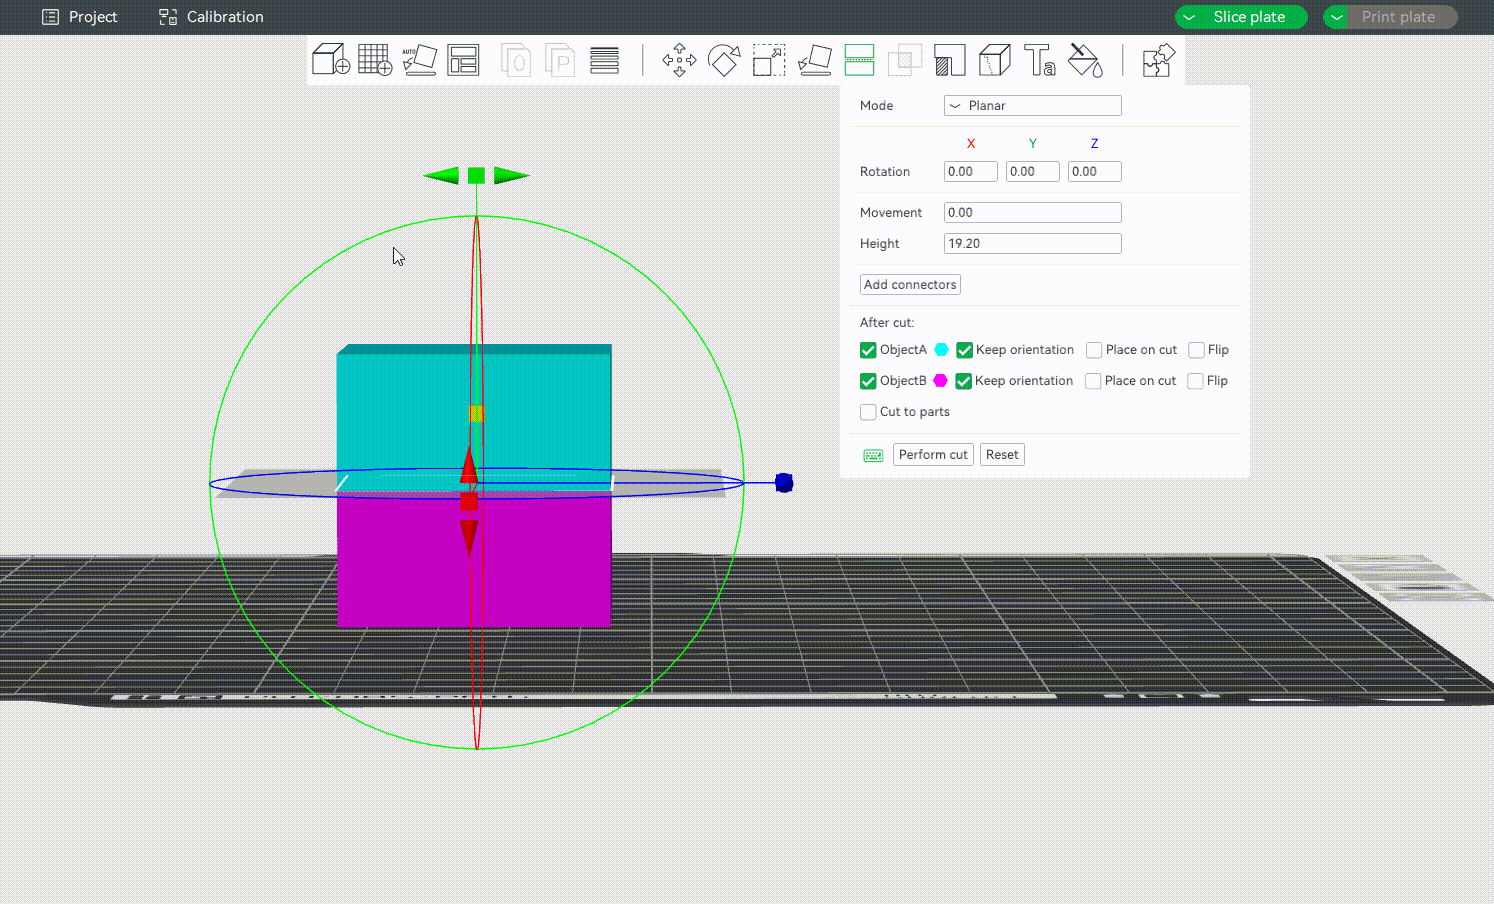
¶ Movement and Height
Movementis the relative offset from the plane's current position. It will be reset to 0 after each movement action.Heightis the absolute height of the middle point of the cutting plane. It would be very useful when you want to cut an object at a specific height. The height value can only be set when the cutting plane is parallel to the heat bed.
¶ Defining the Cutting Plane
Drag the mouse to define a cutting plane. You can also hold down the "shift" key and drag the mouse while holding down the left mouse button to define a cutting plane quickly. The cutting plane will be perpendicular to the current view.
¶ Adding Connectors
It supports adding and customizing connectors to connect separated parts, ensuring that separated objects can be reassembled after cutting. At present, the connectors that can be added are Plug, Dowel and Snap, as shown below:
¶ Cut to objects/parts
Bambu studio supports cutting the model into multiple objects(default) or a multi-part object (the difference between parts and objects can be found in the wiki: Split to Objects/Parts | Bambu Lab Wiki). Here is an example of cutting a model into a multi-part object and coloring it.
Tip: In this example, we use numeric shortcut keys to quickly assign filaments for each part.
¶ What to Do After Cutting a Model
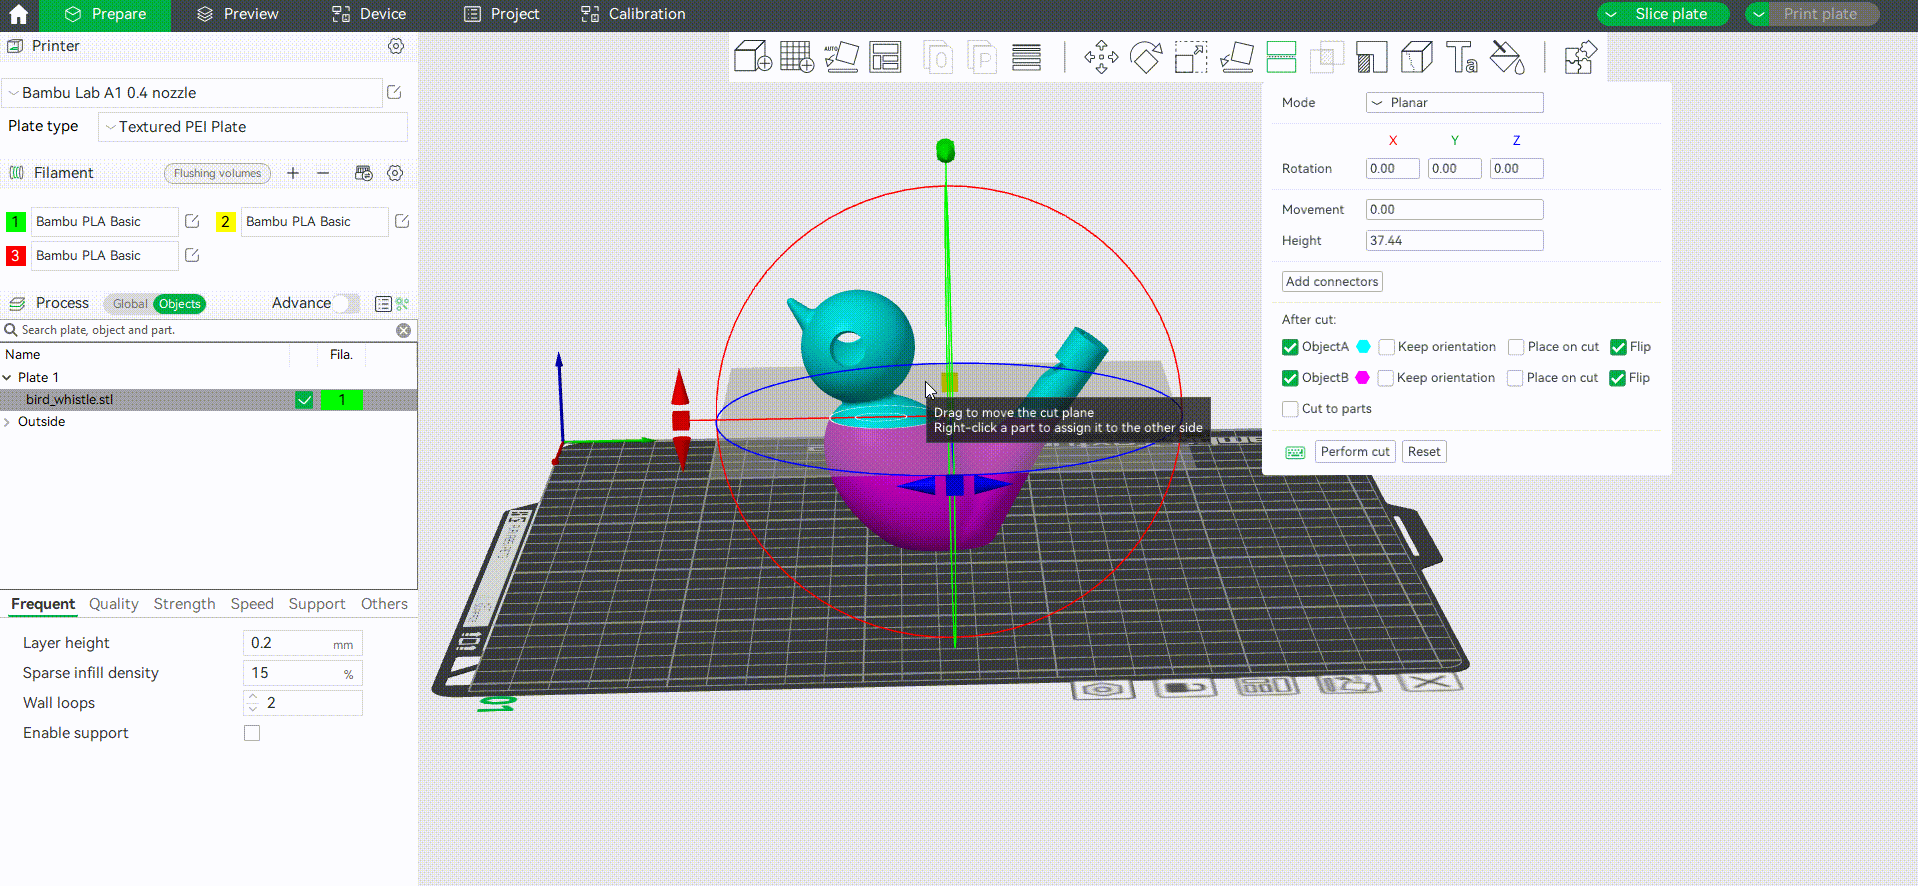
¶ Choose Which Part You Want to Keep
After cutting, the object will be split into two parts. By default, both parts are kept, but you can also discard either the upper or the lower part by toggling off Object A or Object B.
¶ Check Orientation
You can also choose the orientation of the model after cutting by selecting Keep orientation, Place on cut and Flip. As shown below:
After cutting, you may also need to use the Rotate Tool [R] to adjust each part for better printability and reduced support usage.
¶ Name or Group the Parts
Rename or group the parts clearly so you can track them during the slicing and printing process.
¶ Preview Printability
Use the preview mode to ensure that each part is printable and fits within your bed before starting the job.
¶ End Notes
We hope our guide was helpful. If you have any questions or concerns about the process, please contact our customer service team. We're here to assist you.
Click here to open a new ticket in our Support Page.
We will do our best to respond promptly and provide you with the assistance you need.