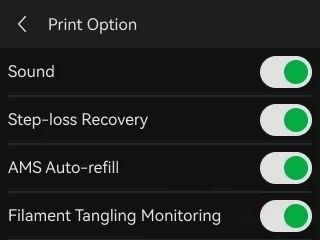
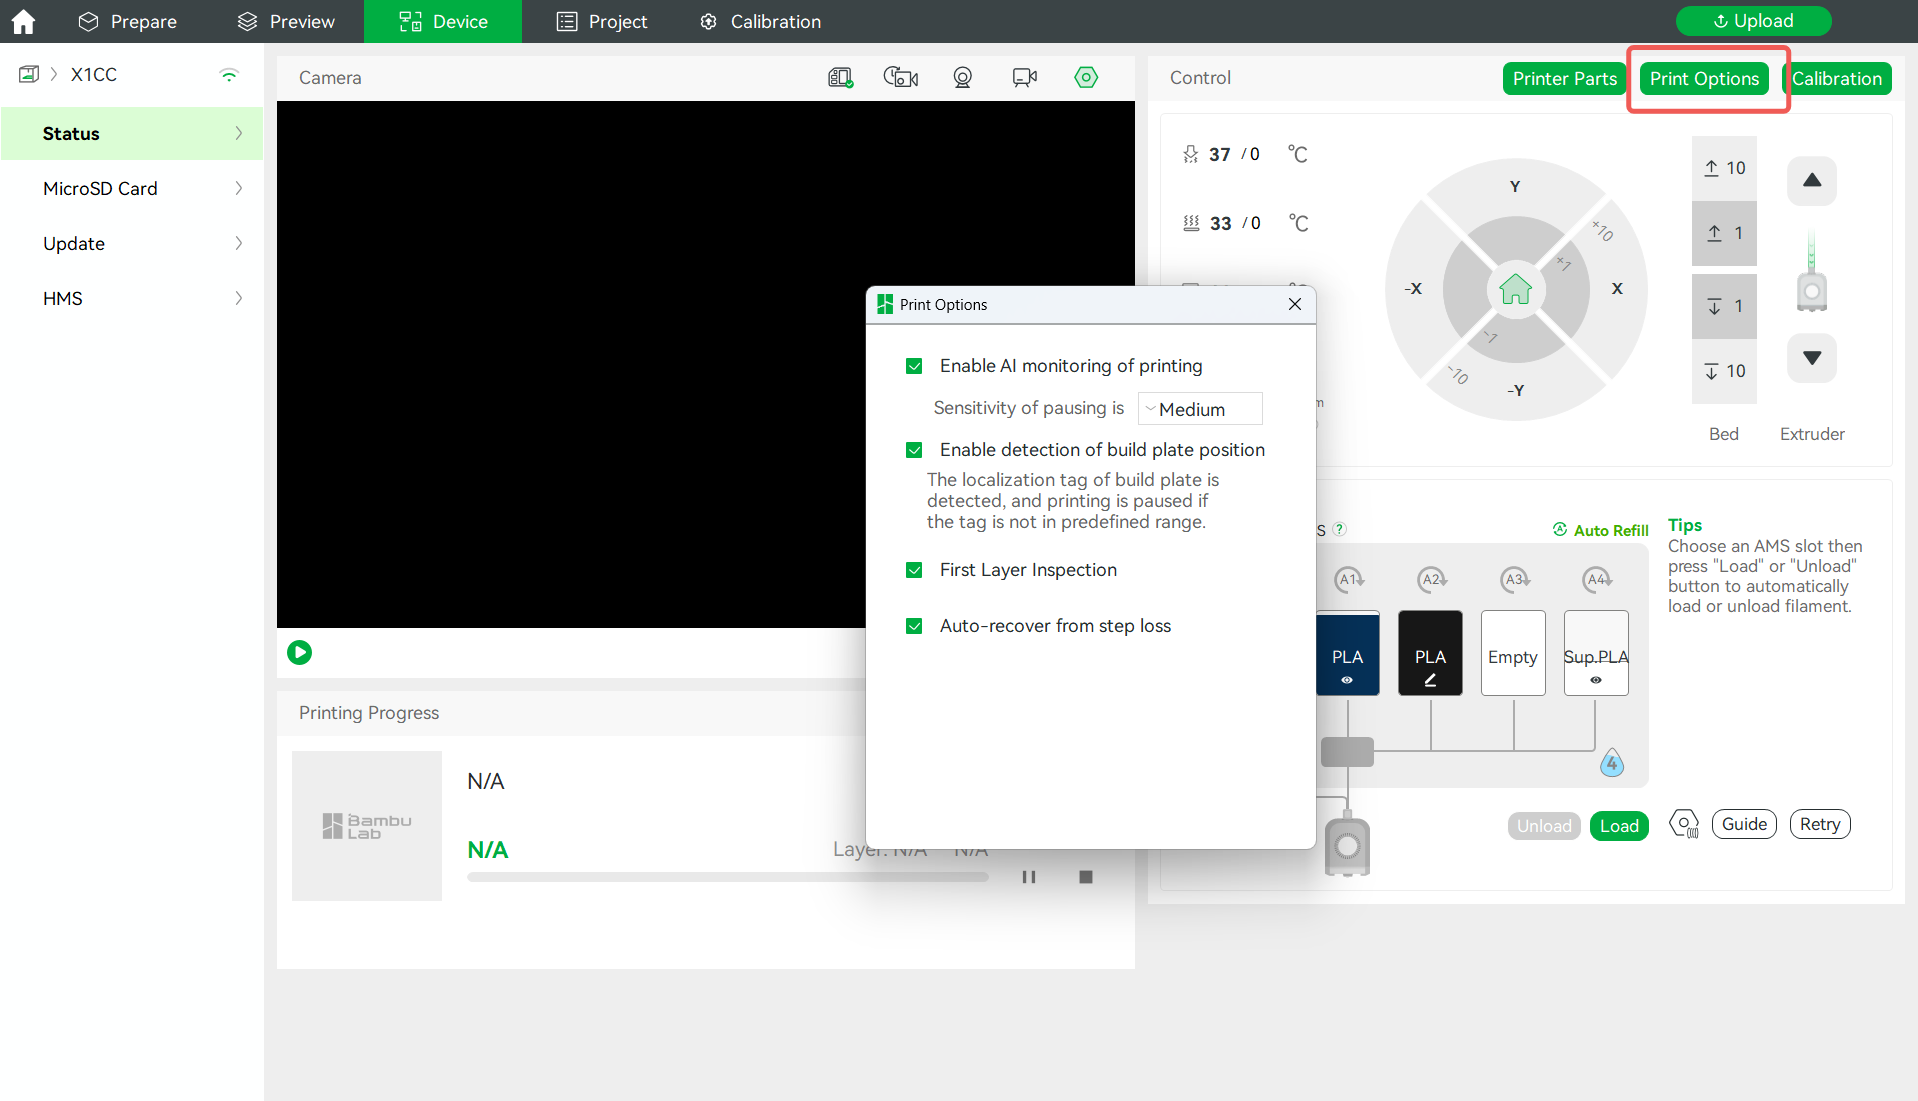
Printing options can be found as shown below. Before printing, enable one or more options as required, on the screen of the printer or in Bambu Studio. Please note that these functions vary depending on the model of your printer.
¶ Enable detection of build plate position
The printer will detect the positioning mark of the build plate. If the mark is not within the predefined area, or if the build plate does not match the one selected in Bambu Studio, the printer will stop printing. This can be useful when you forget to place a build plate or place the wrong type of build plate before printing. Due to the difference in how X1 series and A1 series detects, X1 series can detect a build plate not being placed or a wrong type of build plate, while A1 series can only detect a build plate not being placed.
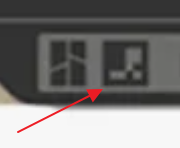 |
Positioning mark on build plate |
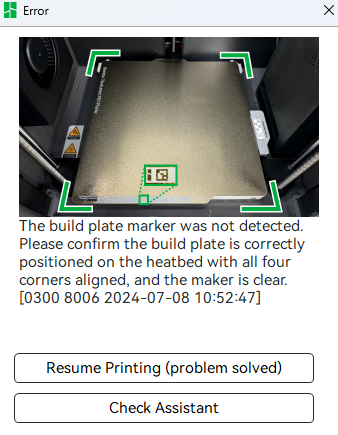 |
No build plate placed |
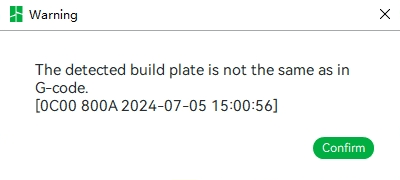 |
Wrong type of build plate |
¶ Auto-recovery from step loss
When the motor detects a position shift, which means a lost step, during operation, the X, Y, and Z axes will be homed for positioning. Then, the printer will return to the position prior to the lost step to re-execute the G-code to ensure print quality.
Note: This function relies on the load detected by the motor. In high-speed movement, the load on the motor is large that the printer may detect a step loss even when there is none. If you are using acceleration close to the limit of the printer, we recommend that you turn off auto-recovery from step loss to avoid false detection.
This option can be changed during printing.
¶ Sound
The printer produces a sound at power-up, and at the beginning and end of printing.
¶ Filament Tangling Monitoring
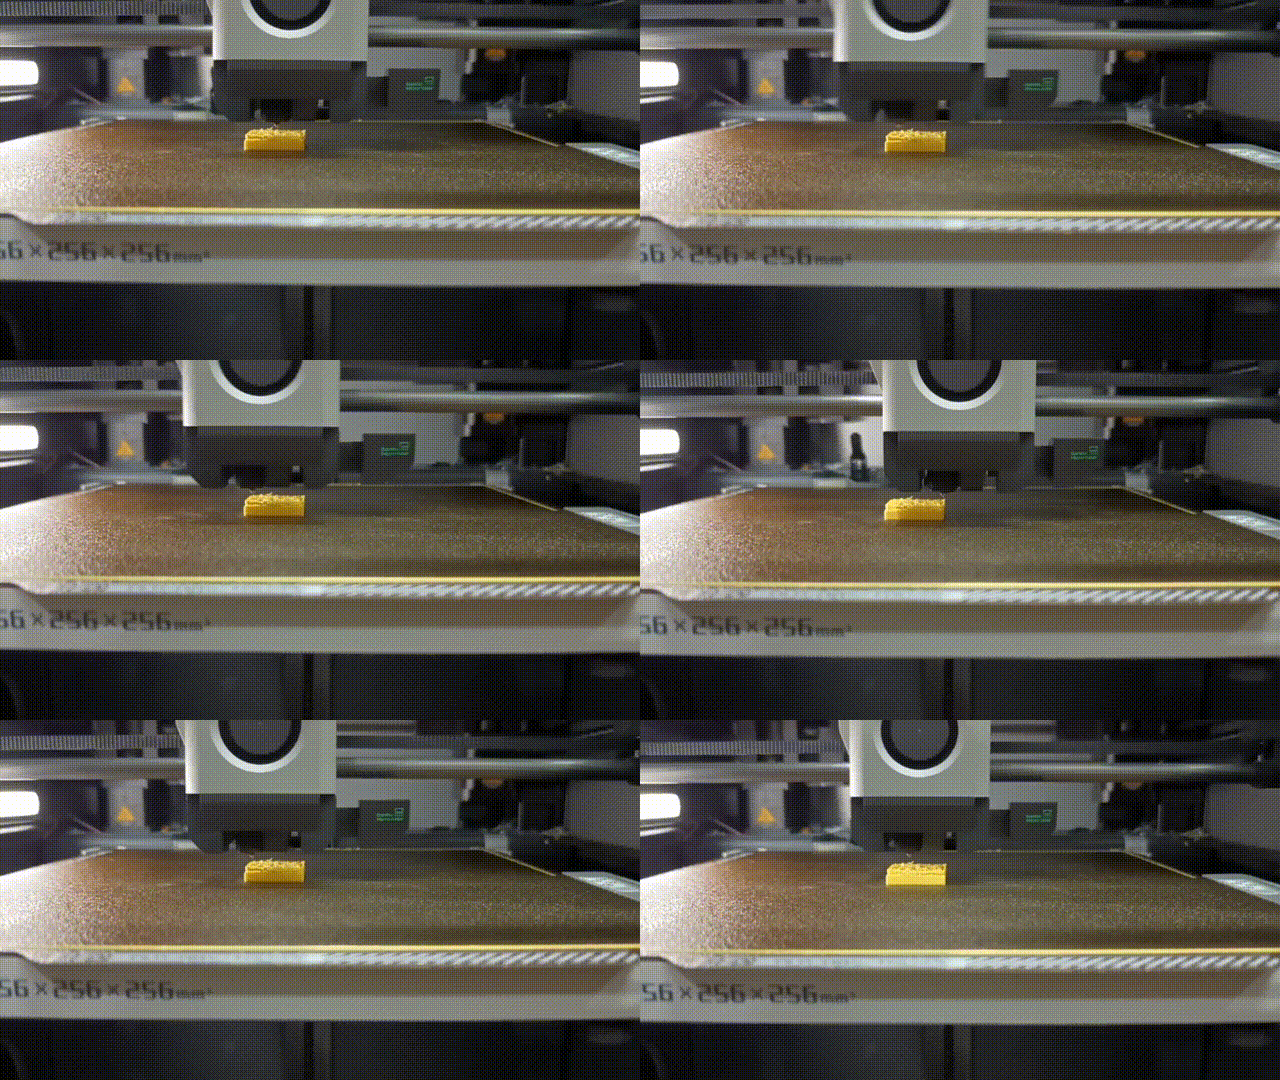
When the filament is tangled, due to excessive feeding resistance, the corresponding sensor will be triggered, and the printer will automatically pause printing and pop up a reminder of filament entanglement. You can re-arrange the filament on the spool and continue printing, to avoid "printing in the air". For more information on filament tangling monitoring, please refer to this wiki page.
The printer prints in the air:
¶ Enable AI monitoring of printing
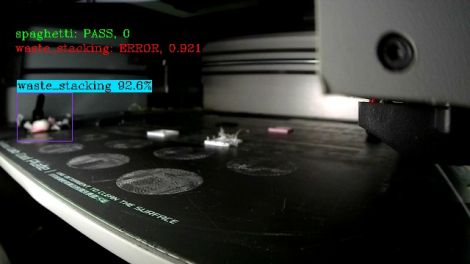
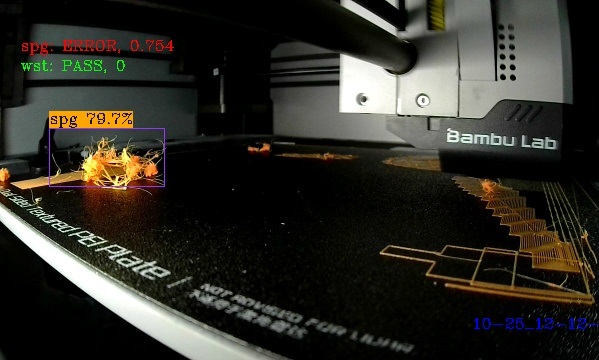
After enabling this function, the printer will be able to detect spaghetti and filament buildup in excess chute during printing. The function comes in three sensitivity levels. The higher the sensitivity, the easier the printer detects minor flaws, but the pause time may increase.
This option can be changed during printing.
- Filament buildup in excess chute
- Spaghetti detection
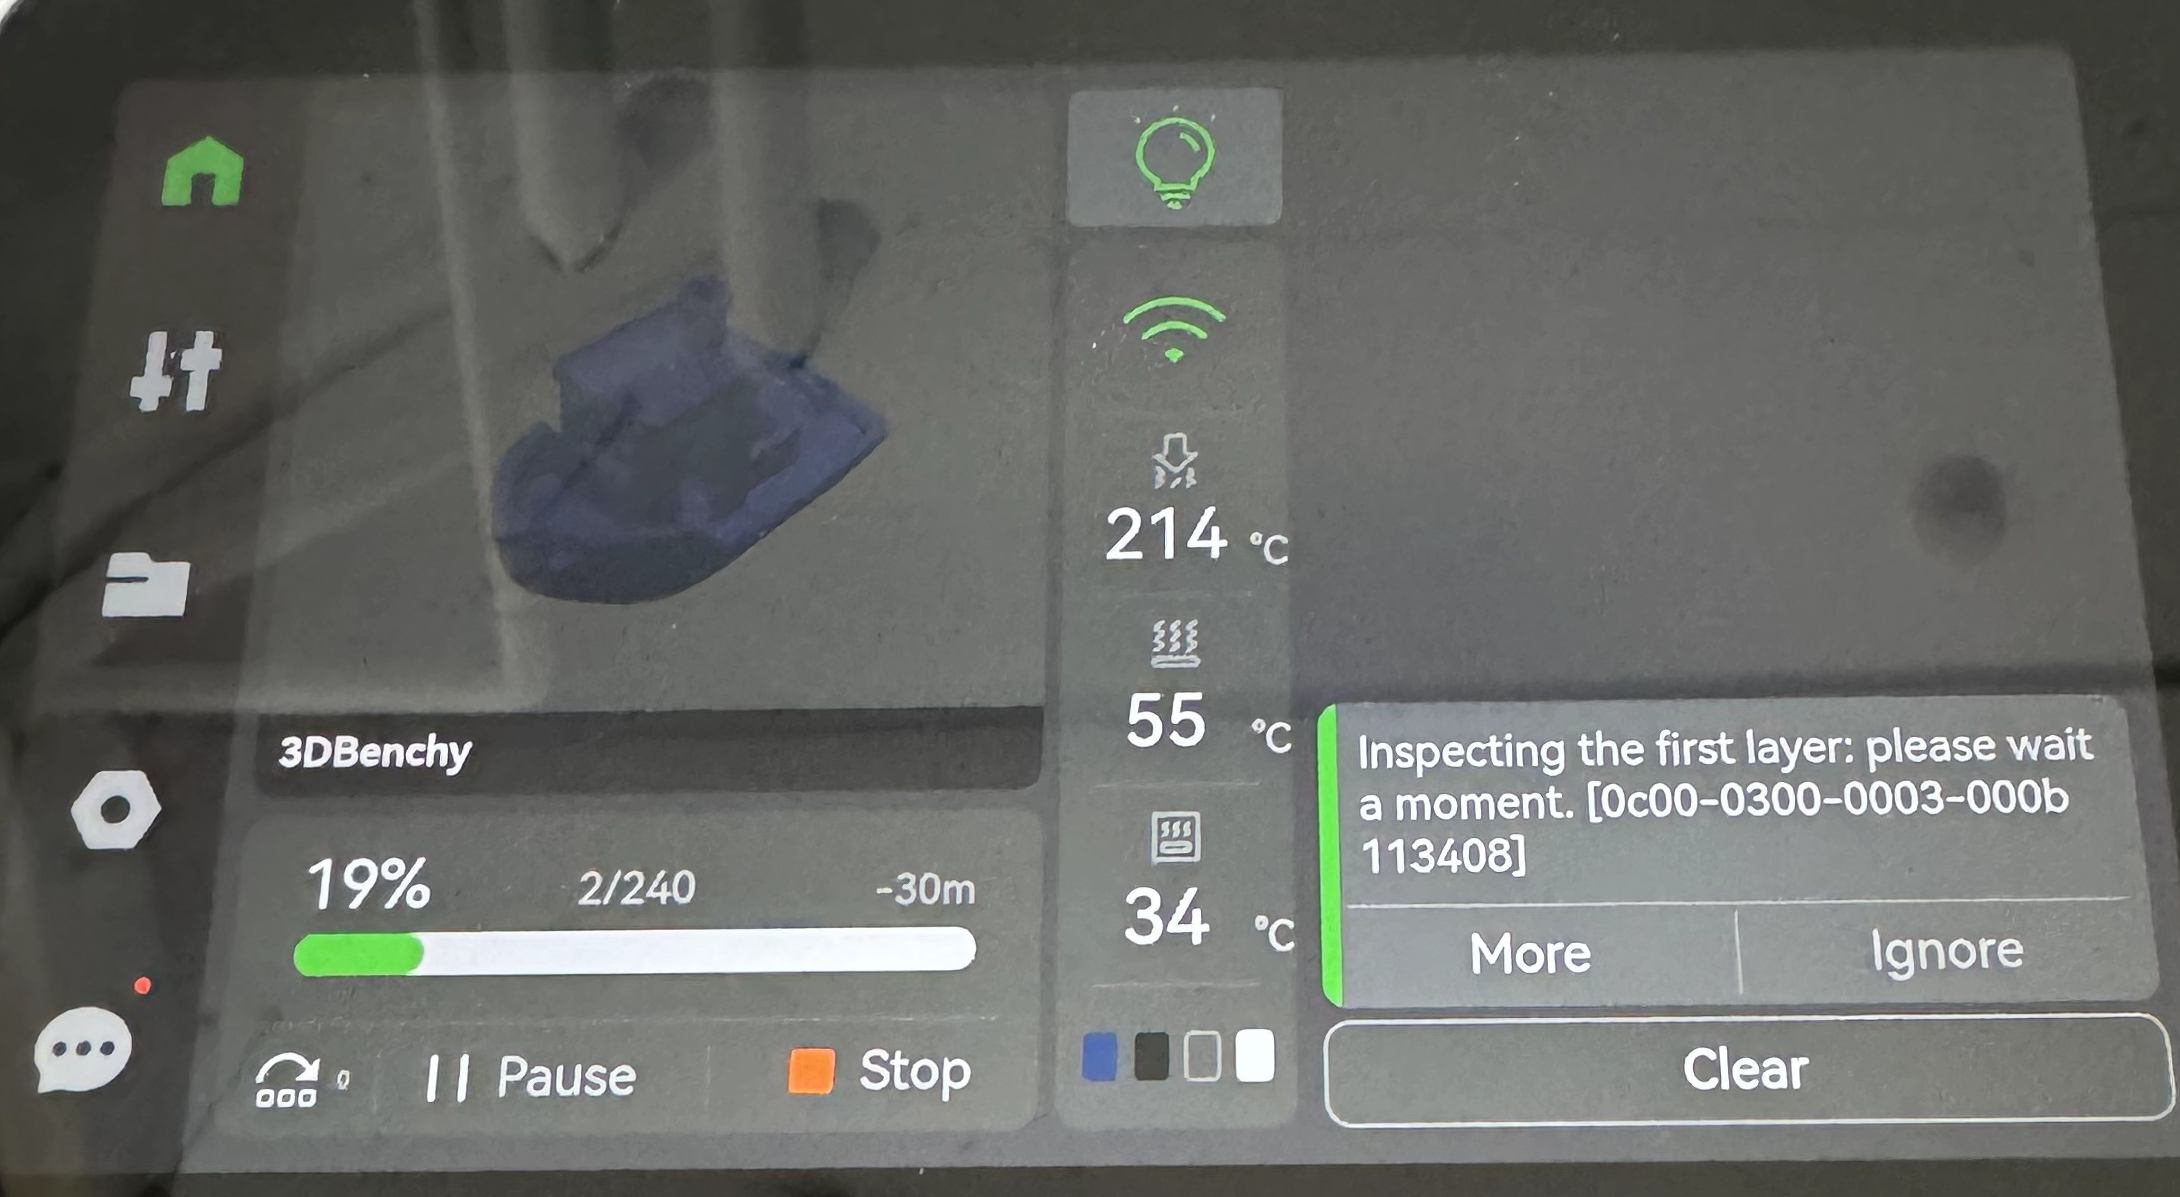
¶ First Layer Inspection
After finishing printing the first layer, the printer automatically inspects the quality of it. A warning will be provided if anything abnormal happens.
¶ End Notes
We hope that the detailed guide we shared with you was helpful and informative.
We want to ensure that you can perform it safely and effectively. If you have any concerns or questions regarding the process described in this article, we encourage you to reach out to our friendly customer service team before starting the operation. Our team is always ready to help you and answer any questions you may have.
Click here to open a new ticket in our Support Page.
We will do our best to respond promptly and provide you with the assistance you need.