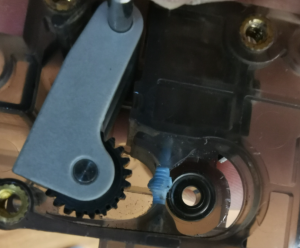
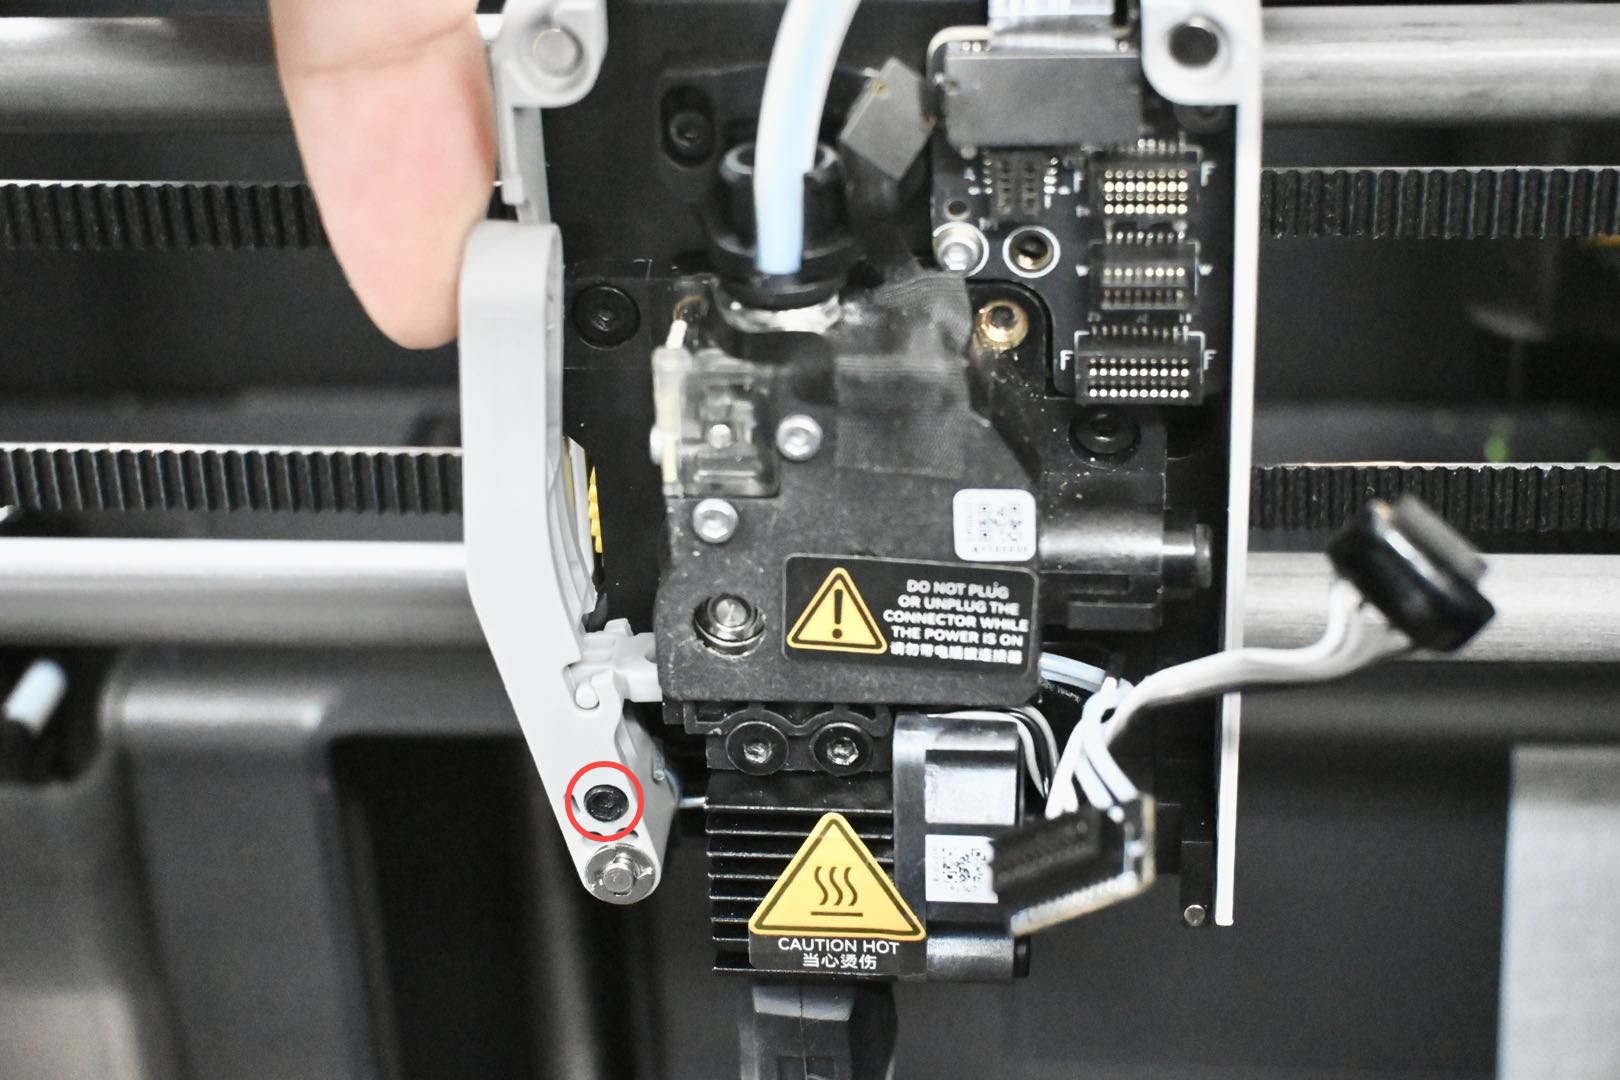
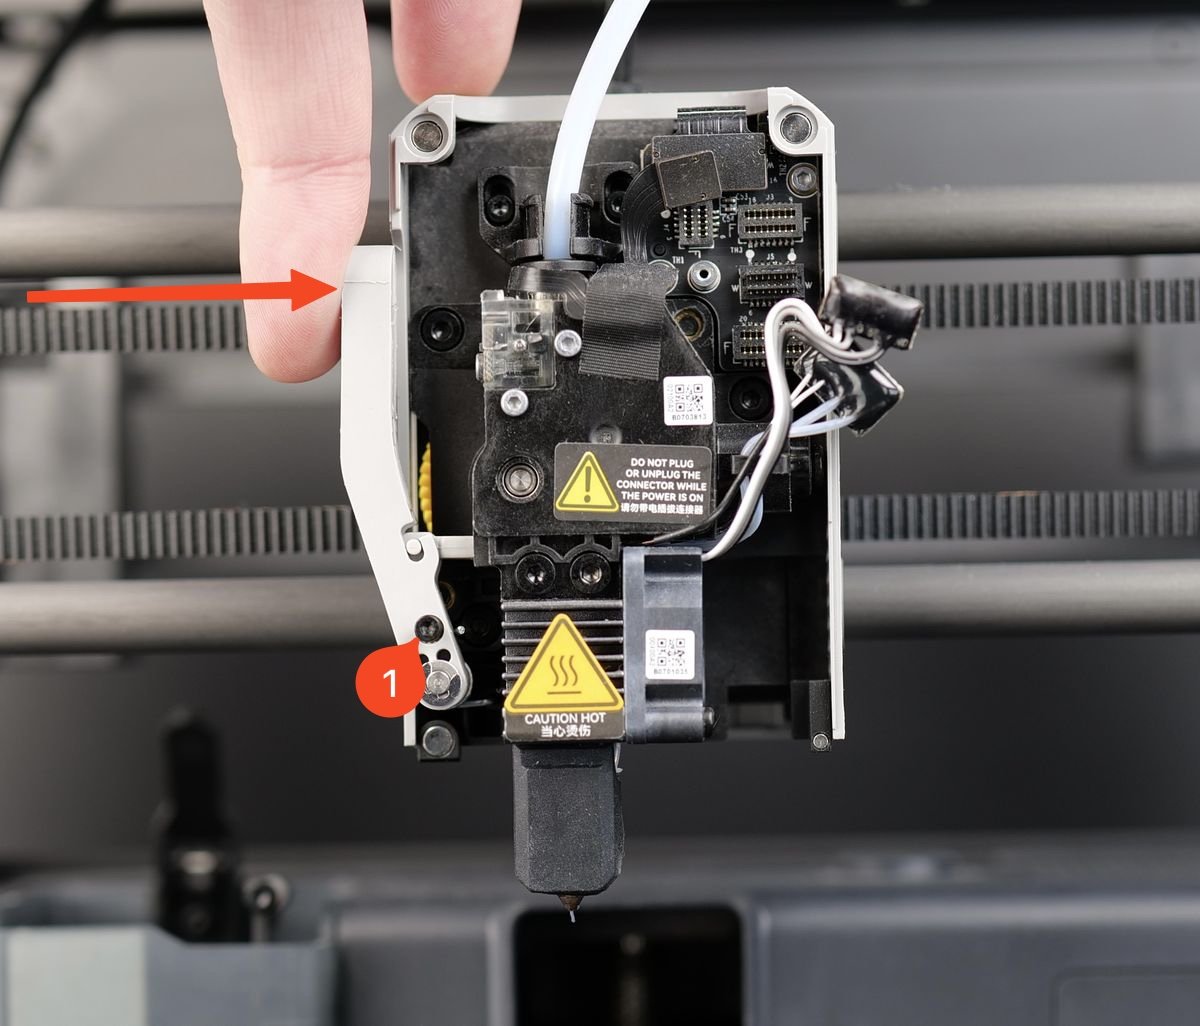
Press the cutter handle and loosen the screw that secures the handle. After loosening the screw, slowly loosen the cutter handle and let it droop naturally.
Note: When removing a screw, make sure that the screwdriver is inserted perpendicular to the plane of the screw head. After confirming that the screwdriver head is fully inserted into the screw head, gently turn the screwdriver to loosen the screw to avoid improper operation when using the screwdriver, which may cause the screw head to slip.
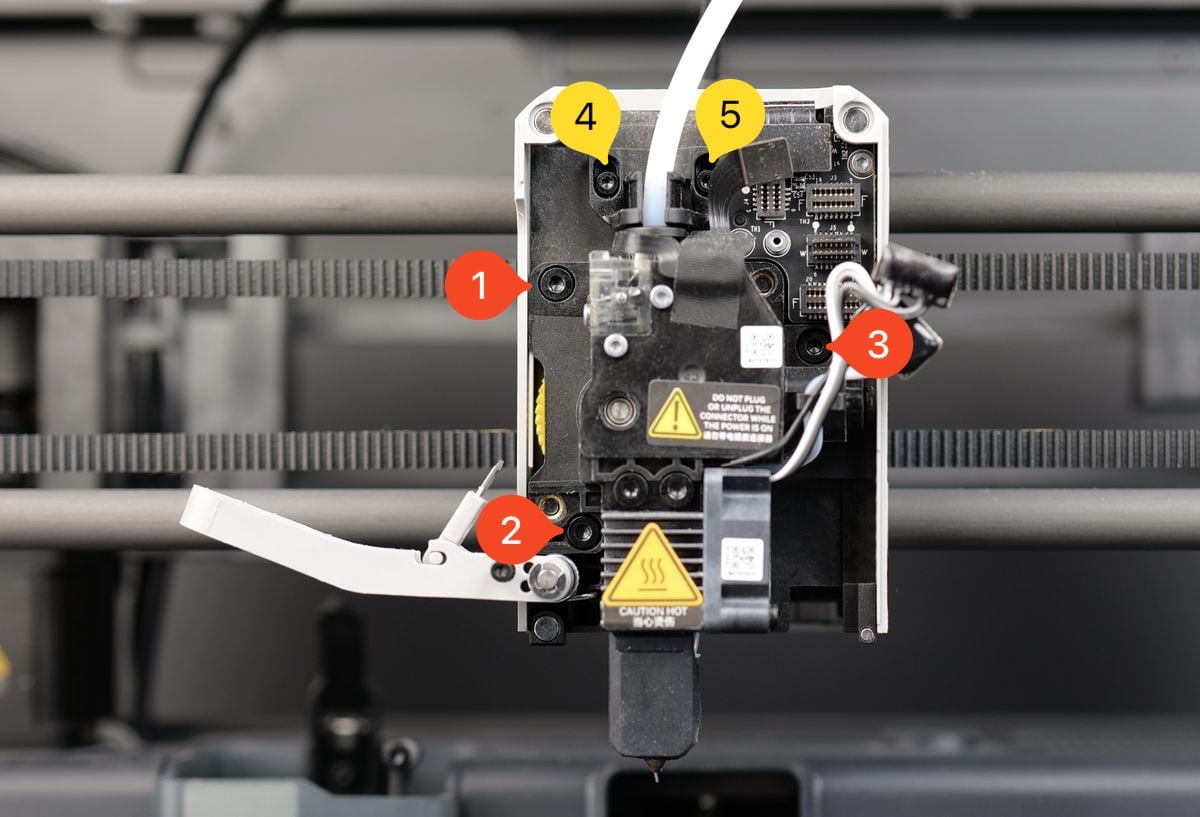
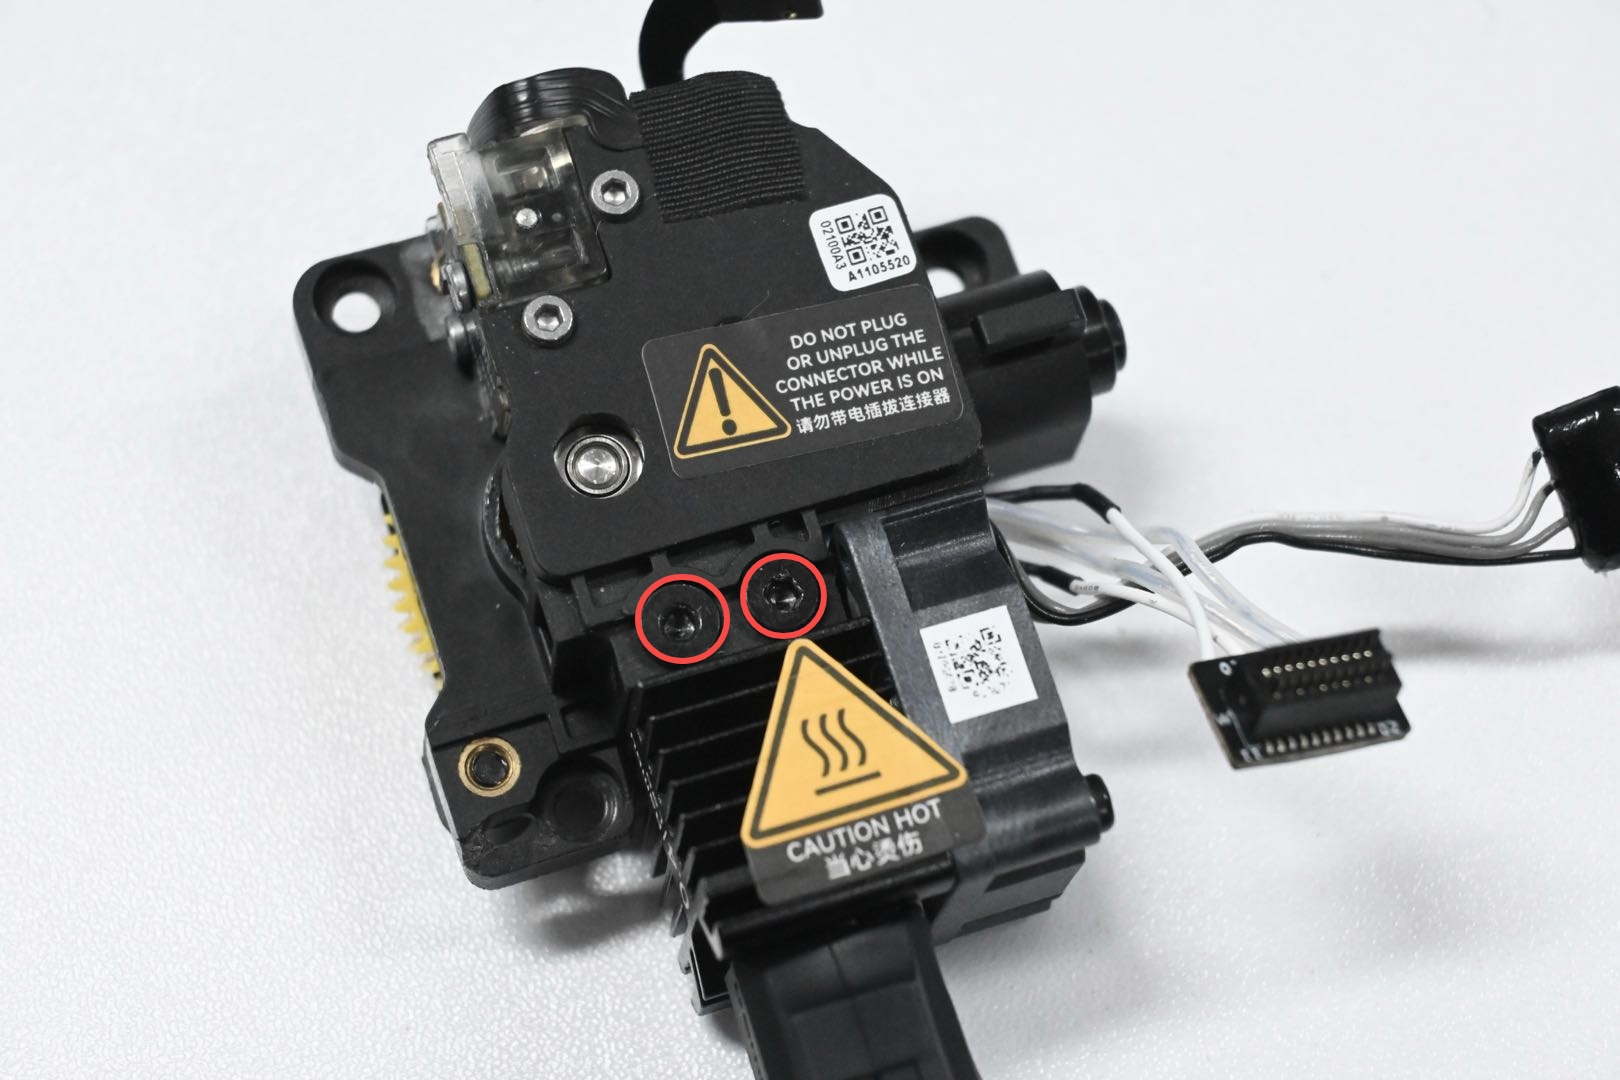
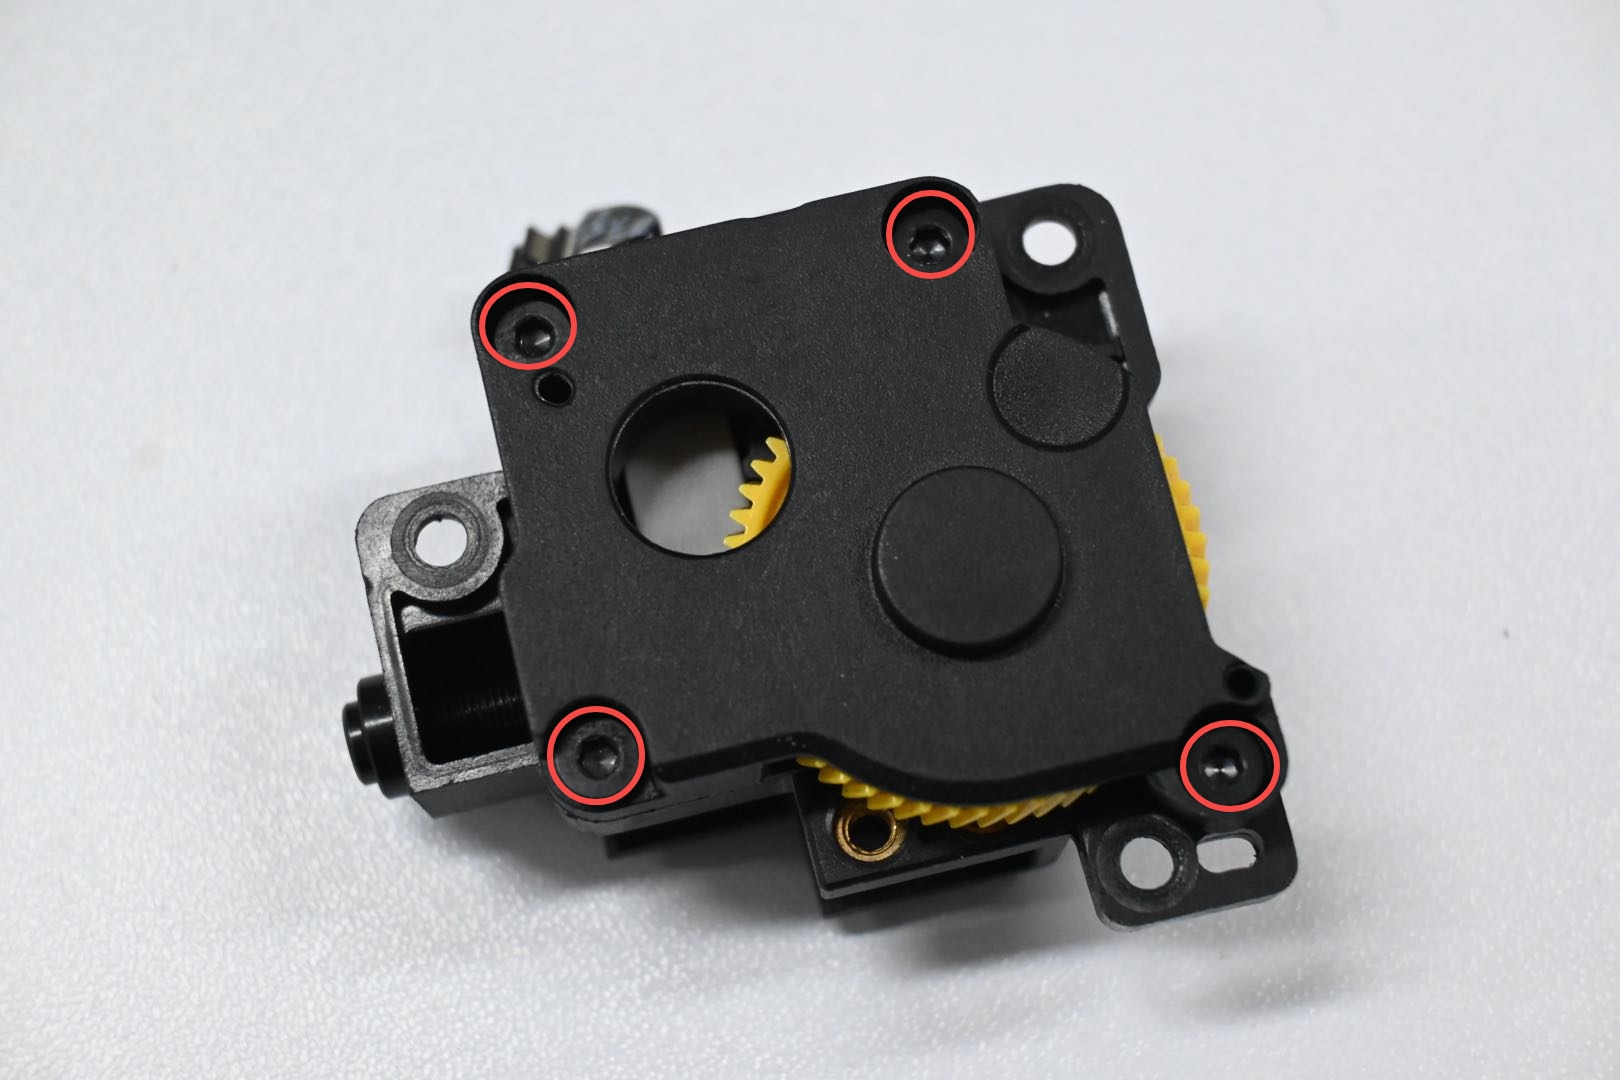
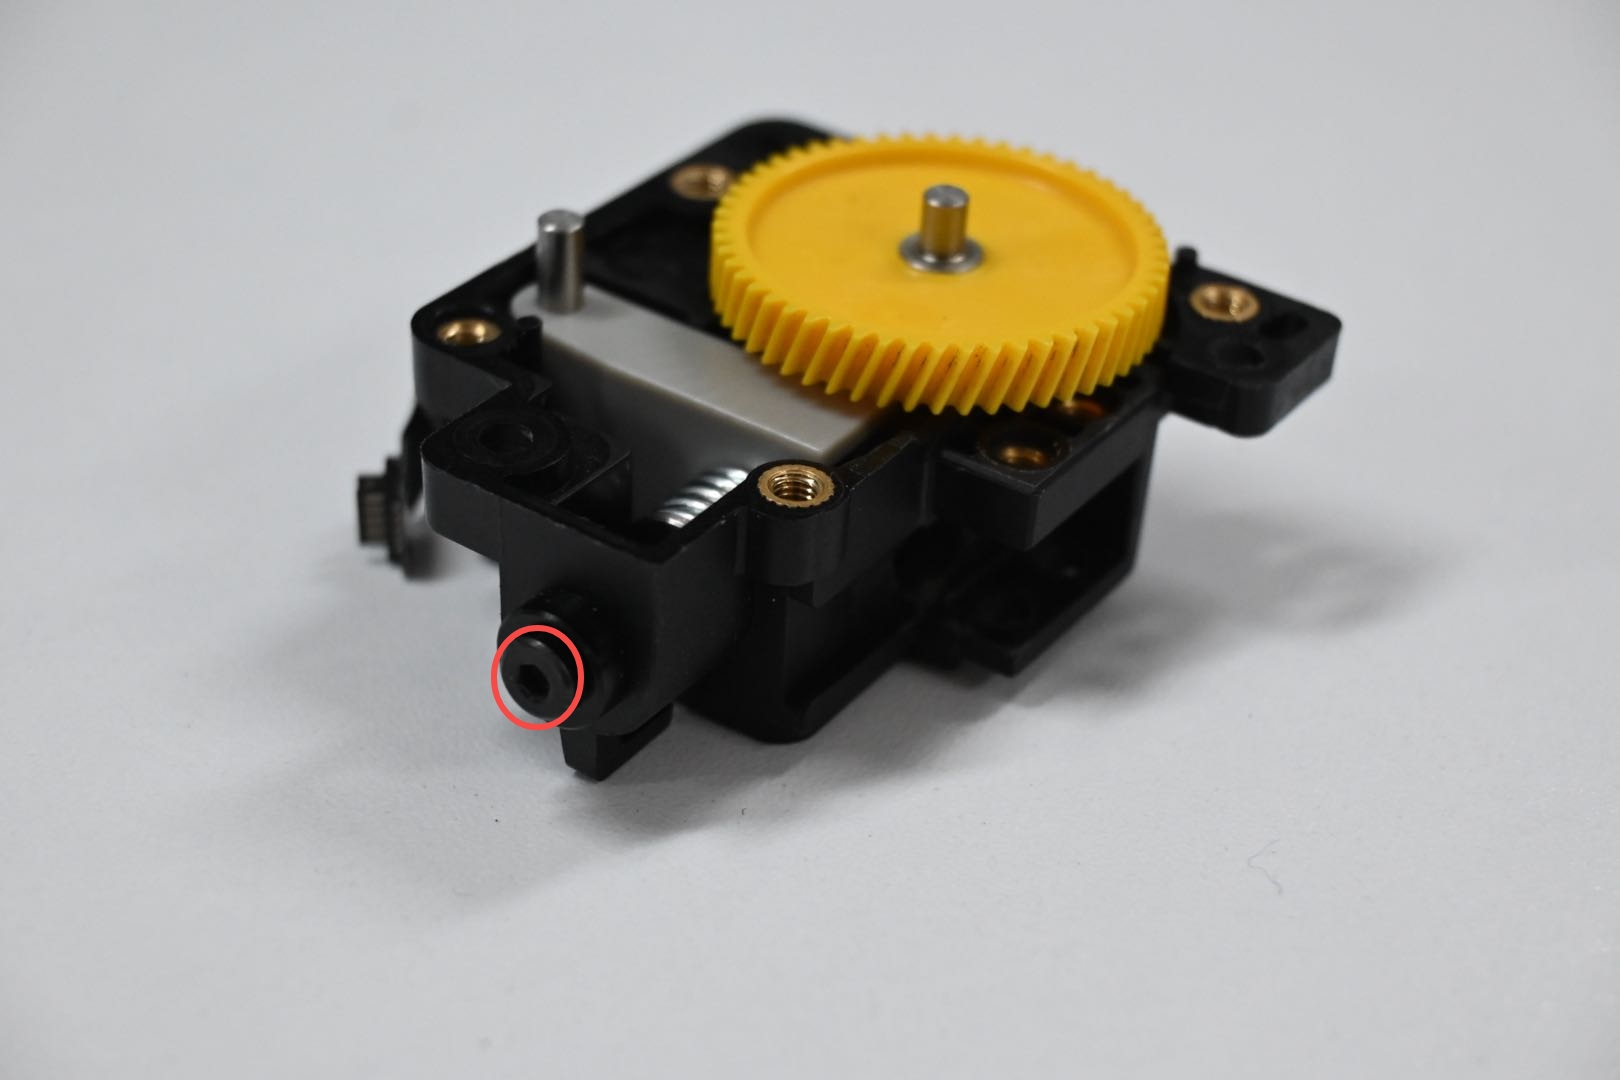
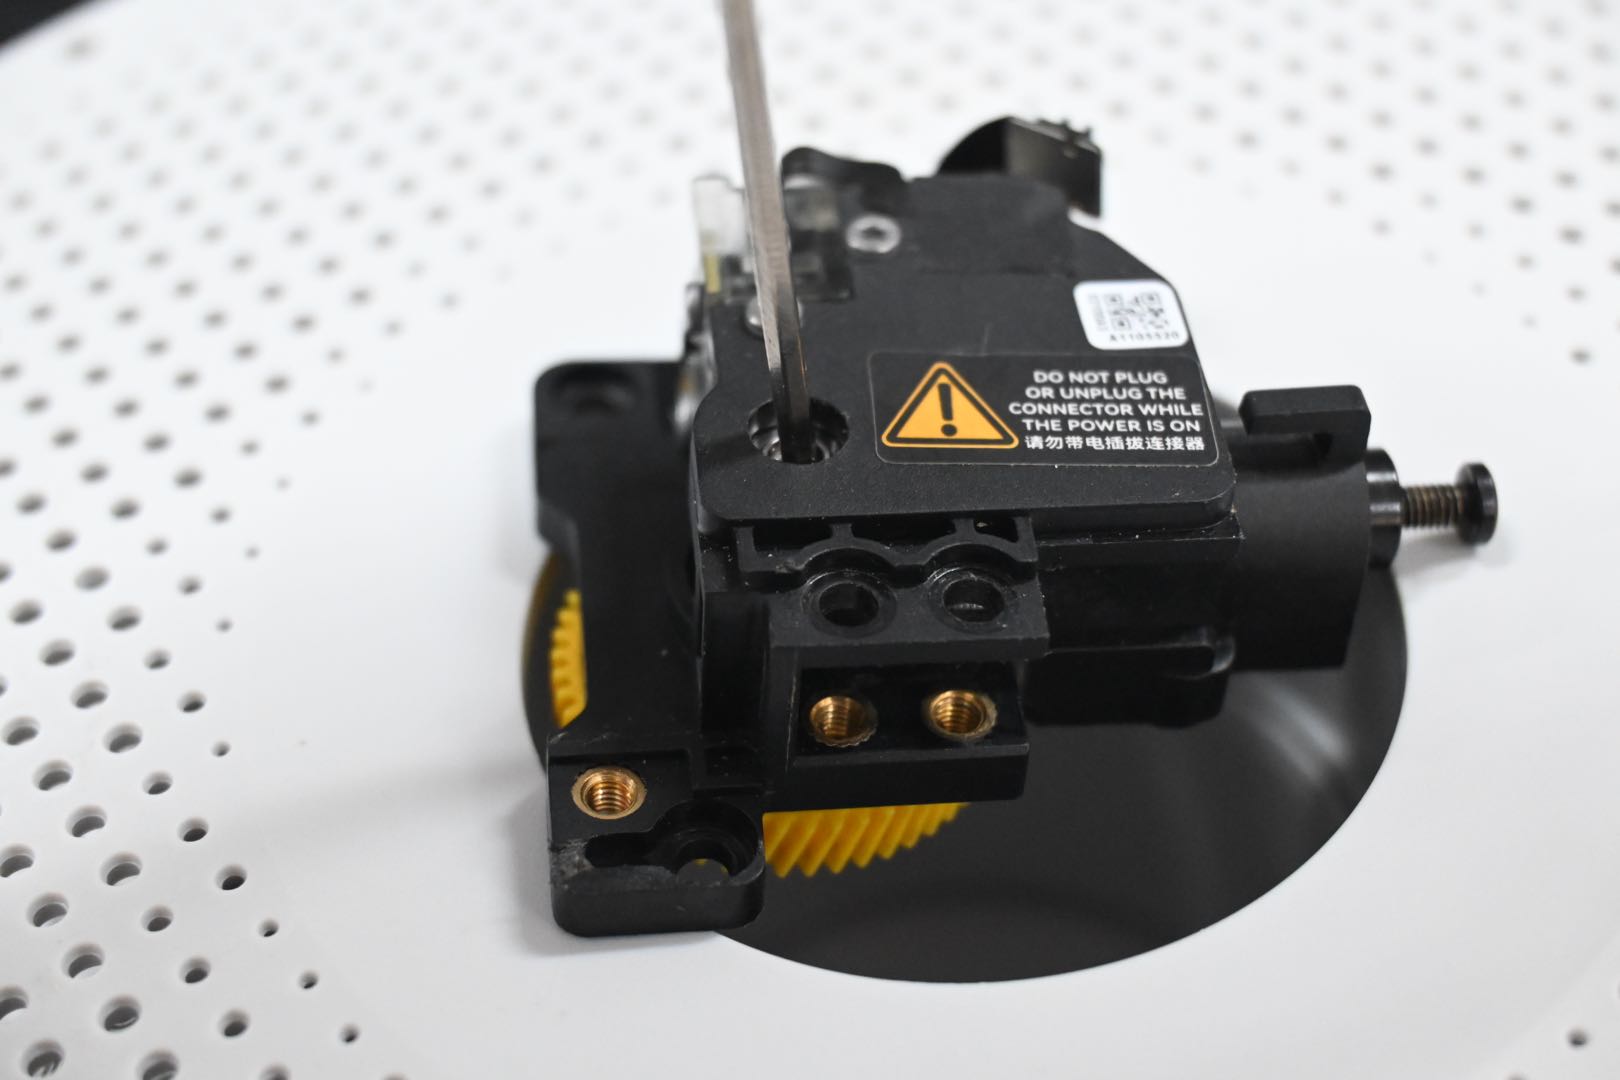
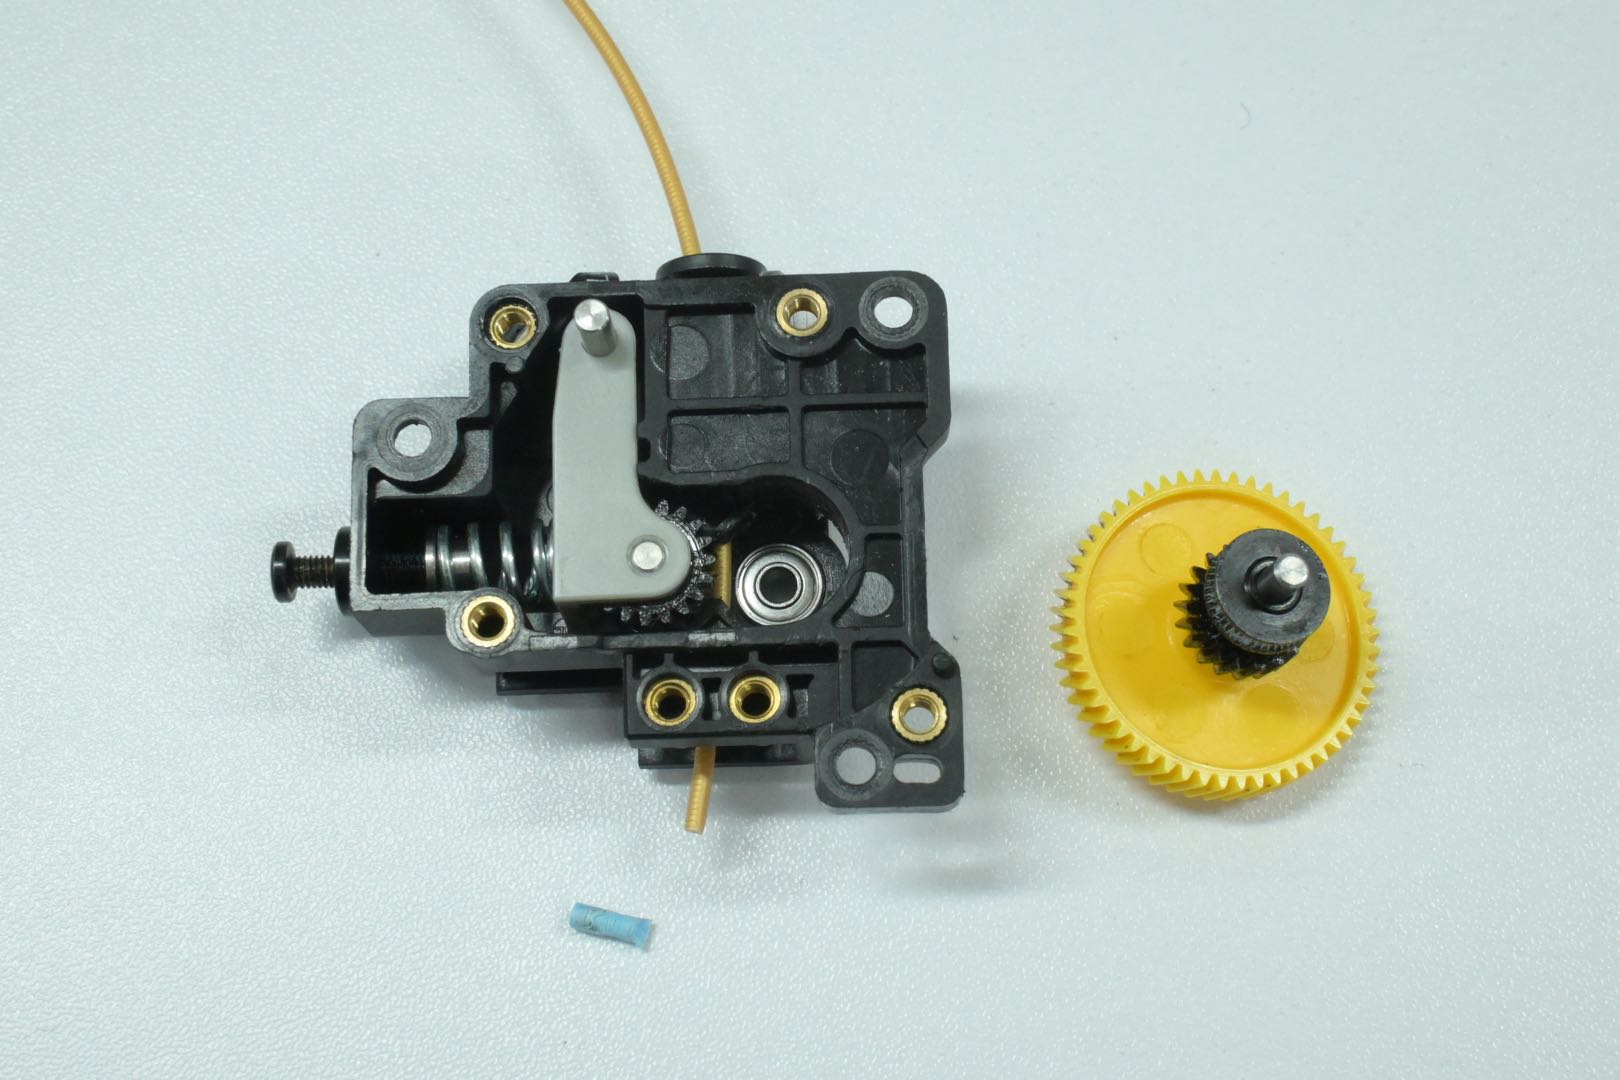
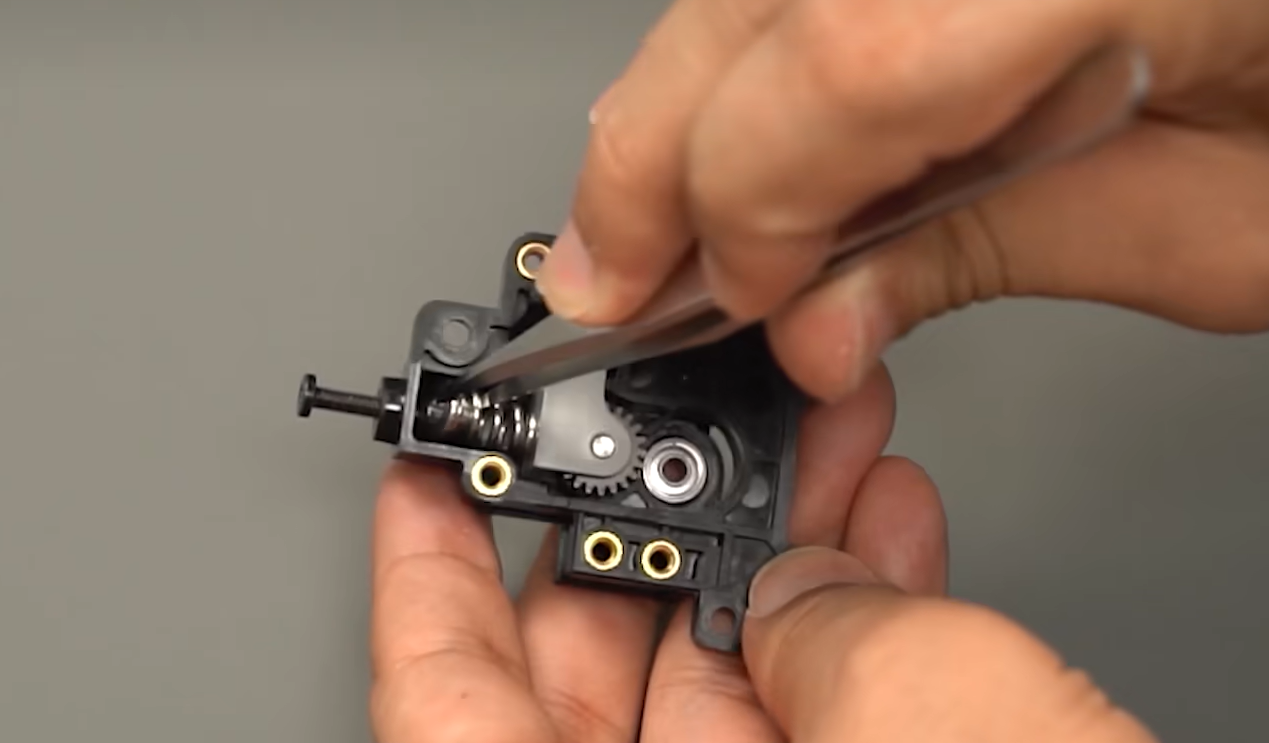
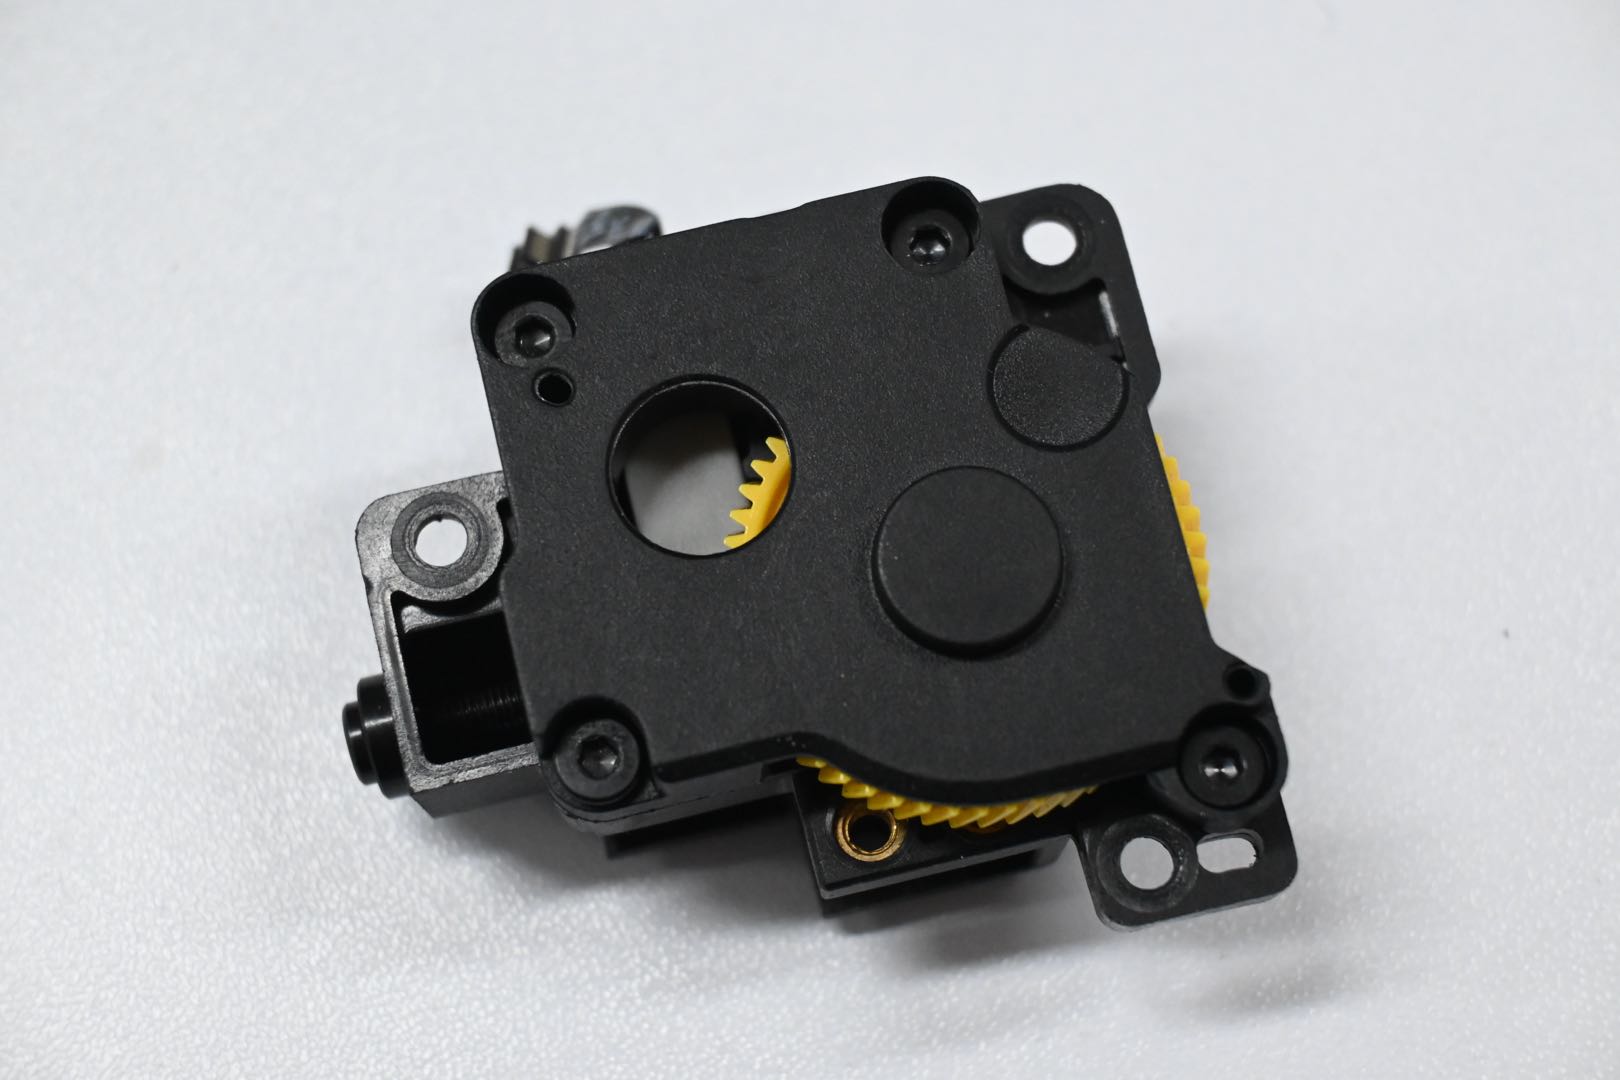
With the lever released, remove the first 3 screws holding the extruder in place, then slightly loosen the screws numbered 4 and 5 to release the filament guide.
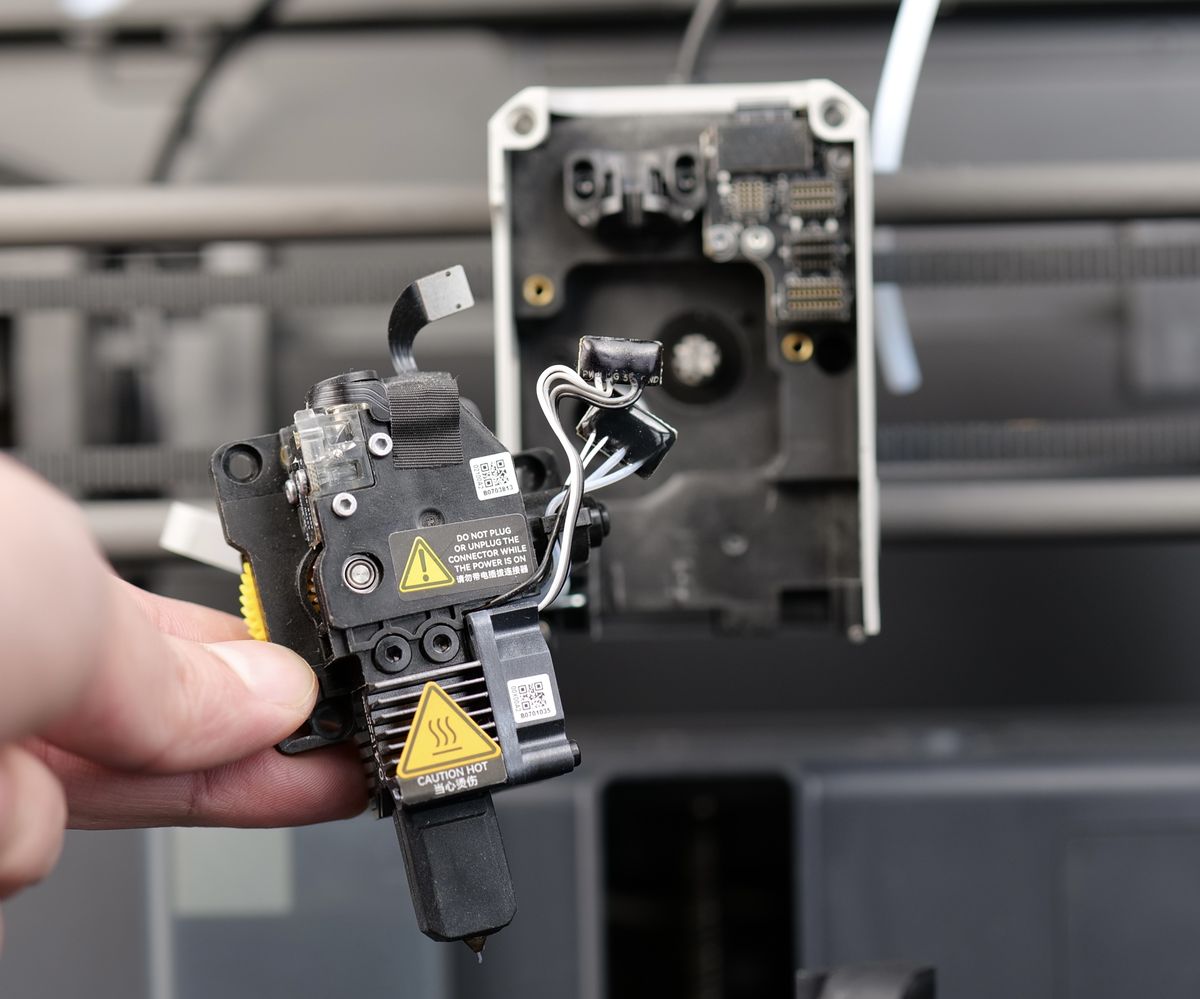
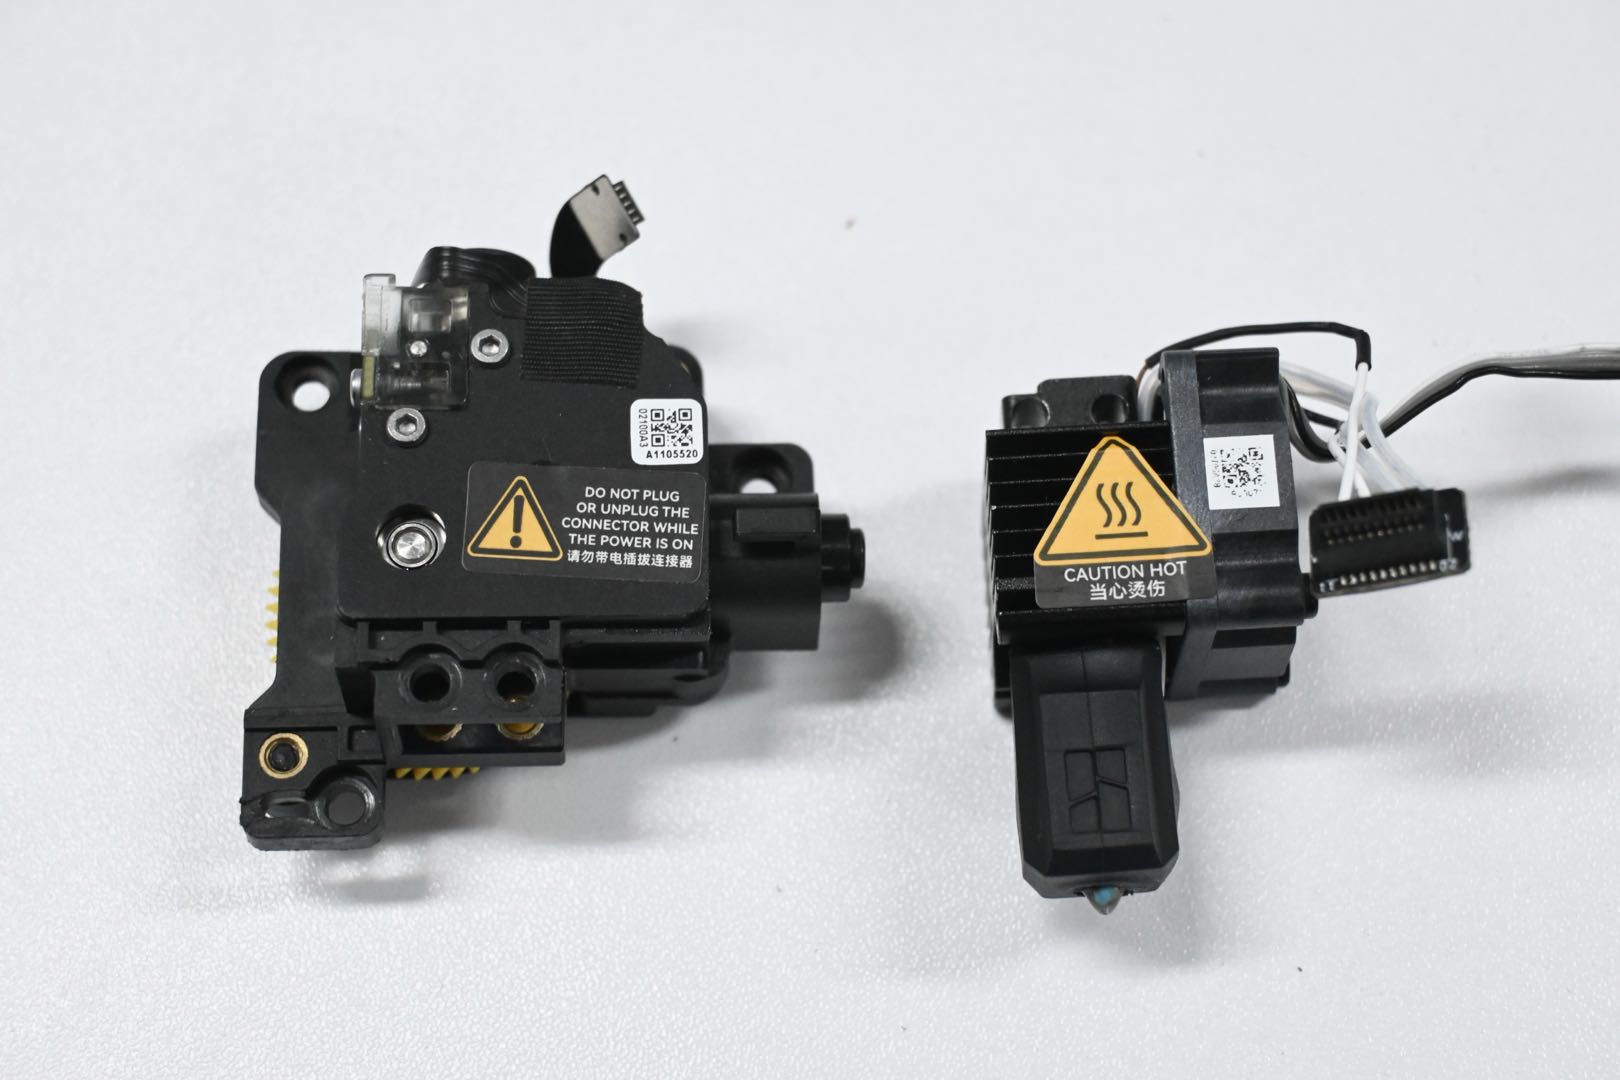
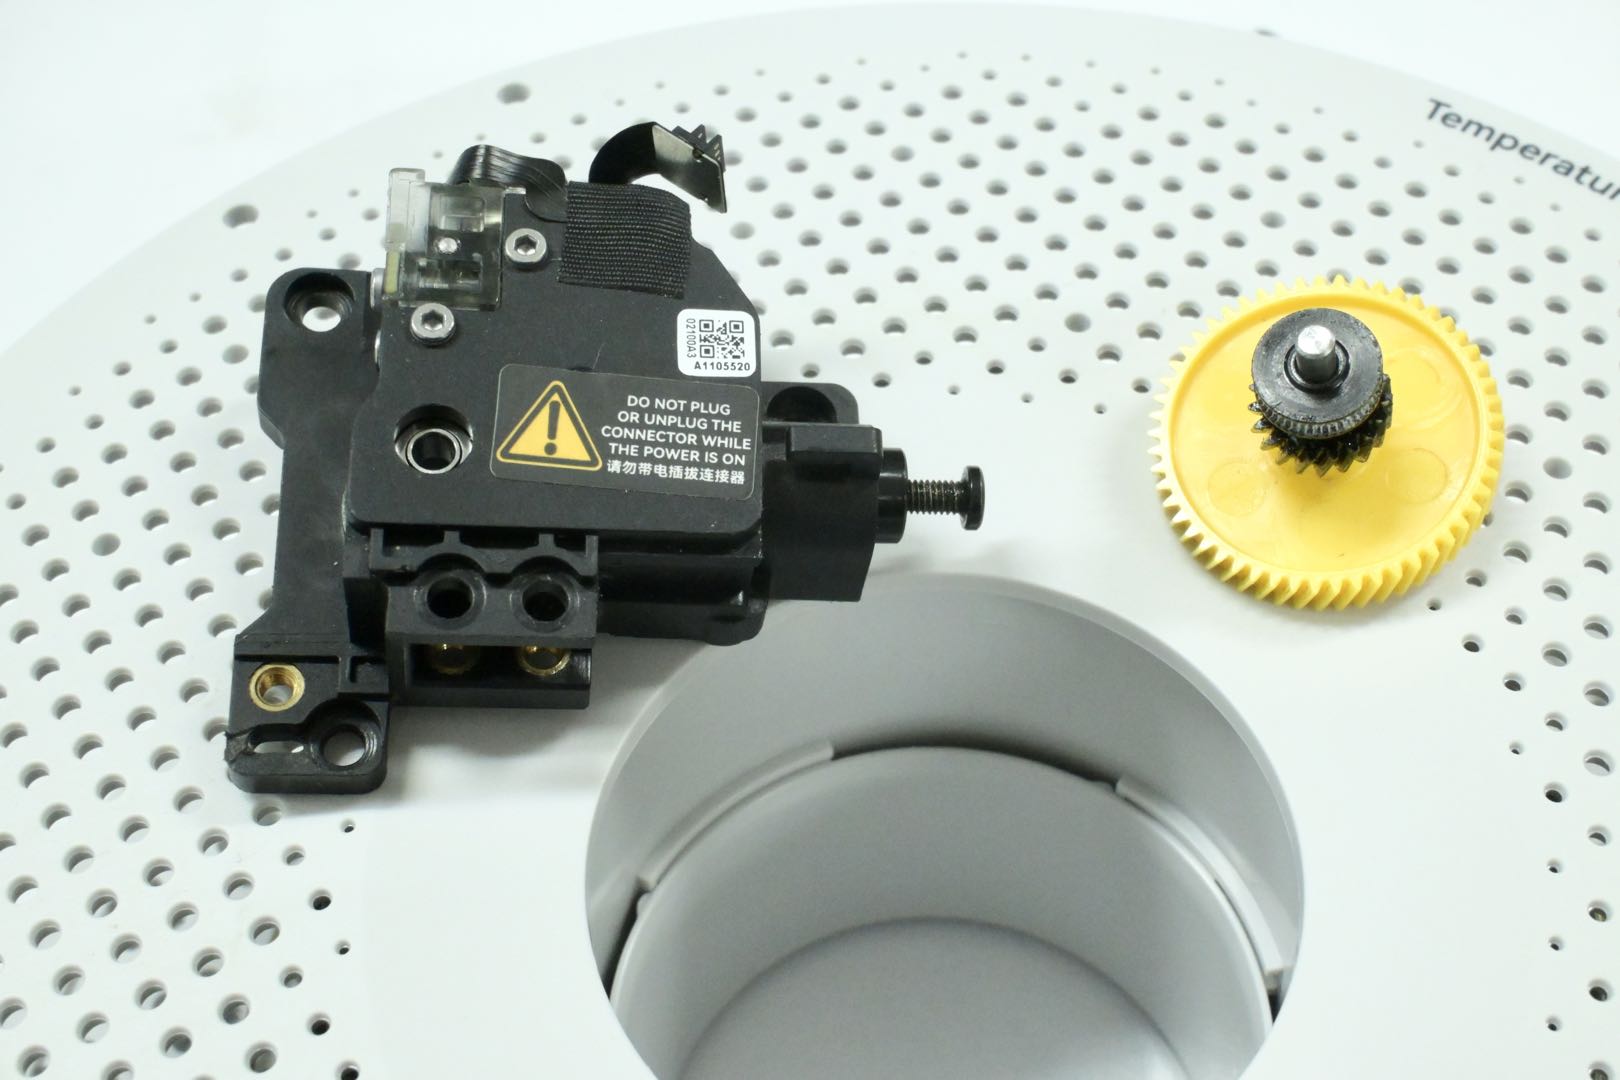
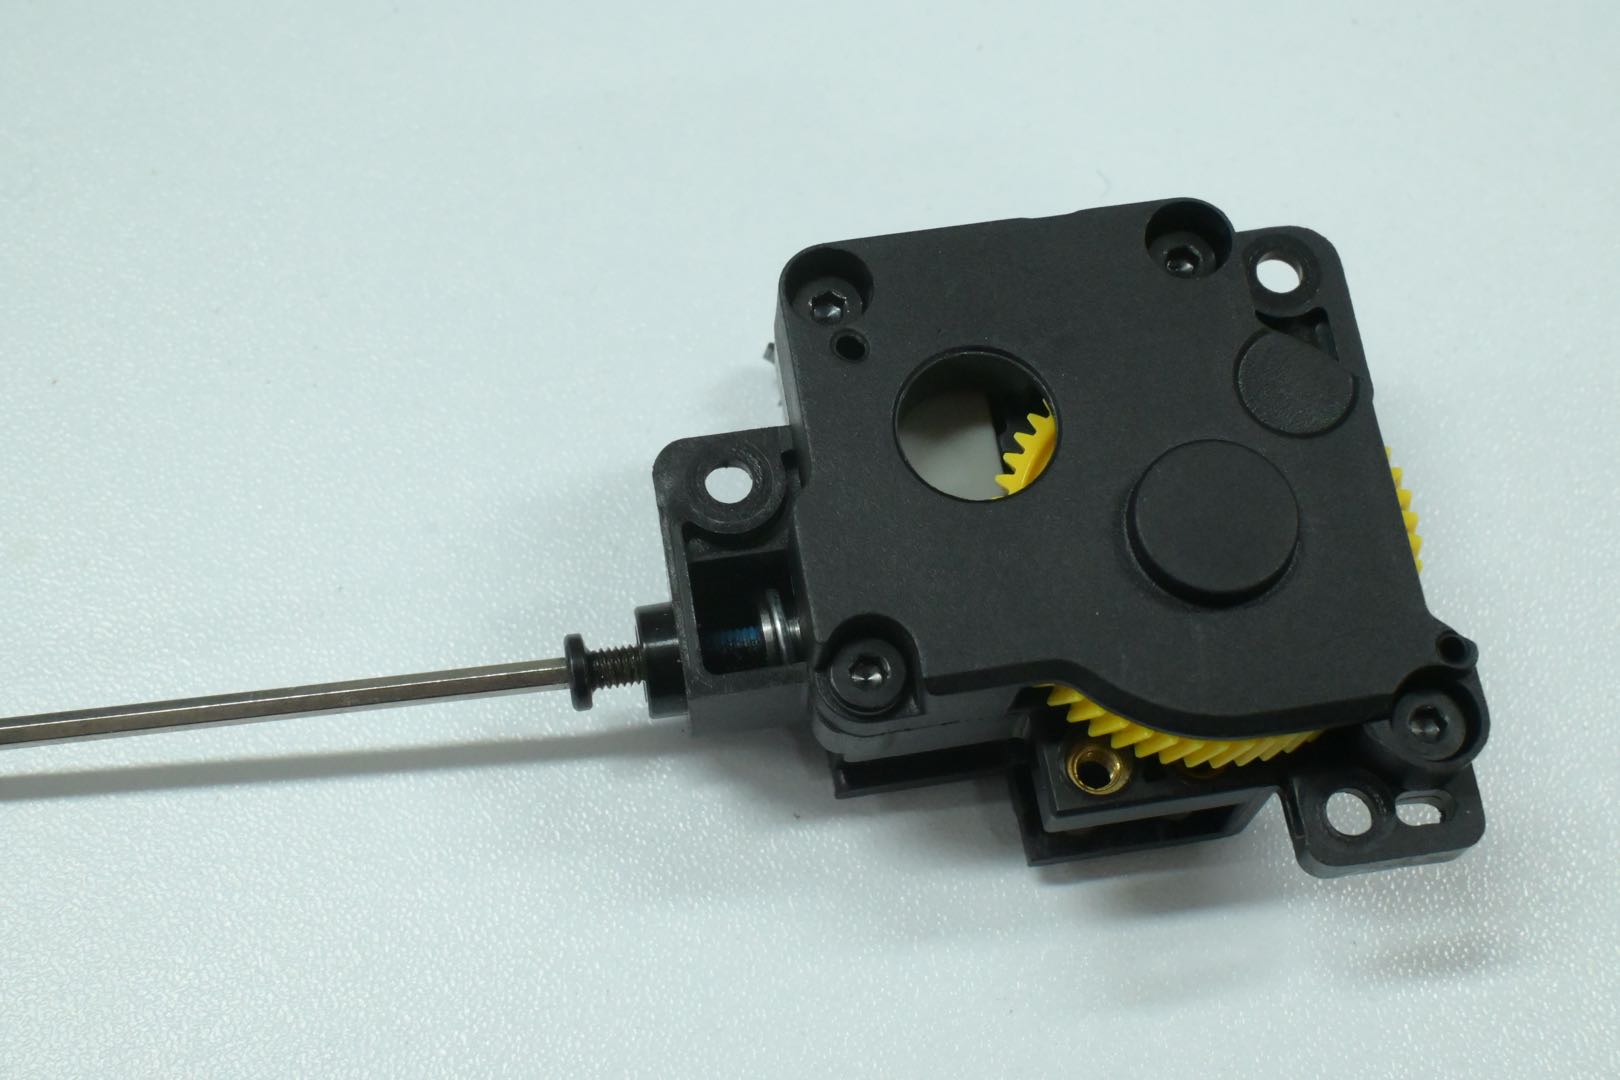
Push on the filament guide towards the extruder, which will allow you to remove the PTFE tube.
Note: Please do not directly press the pneumatic connector. Due to the clog of the extruder, pressing the pneumatic connector will not remove the PTFE tube.
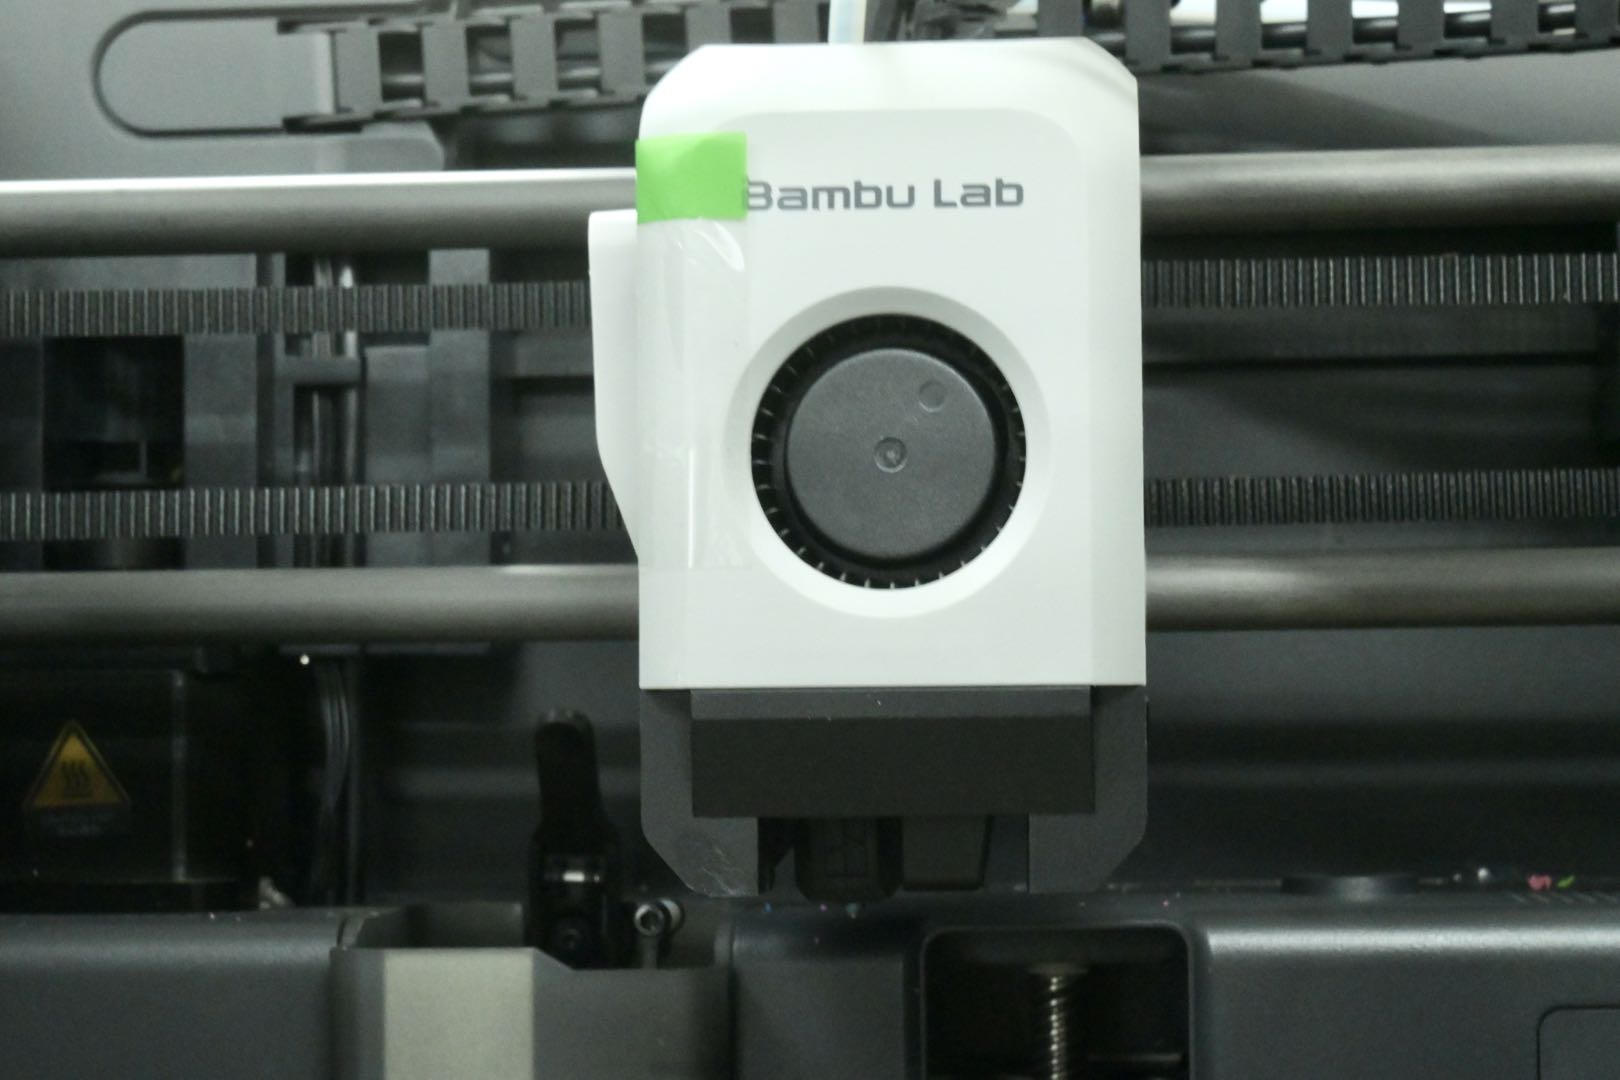
If it is difficult to remove the PTFE tube, you can cut a small piece of the tube along the end of the pneumatic connector, as long as it does not affect normal operation of the printer, to remove the extruder.
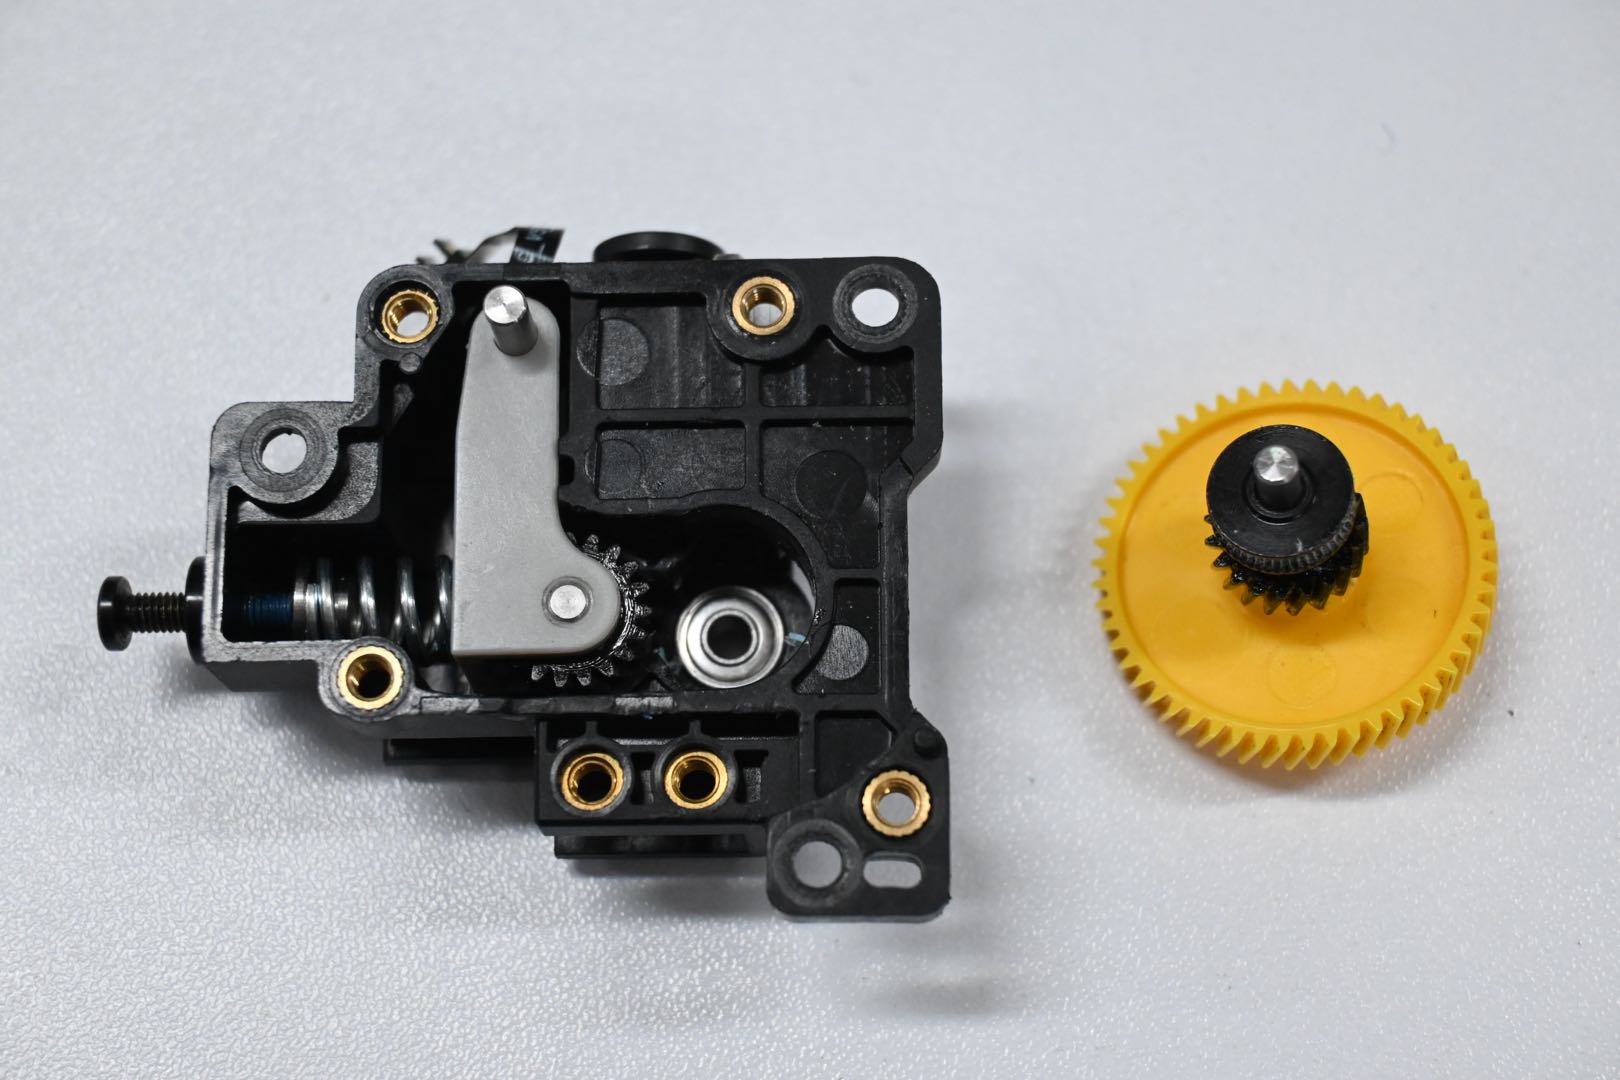
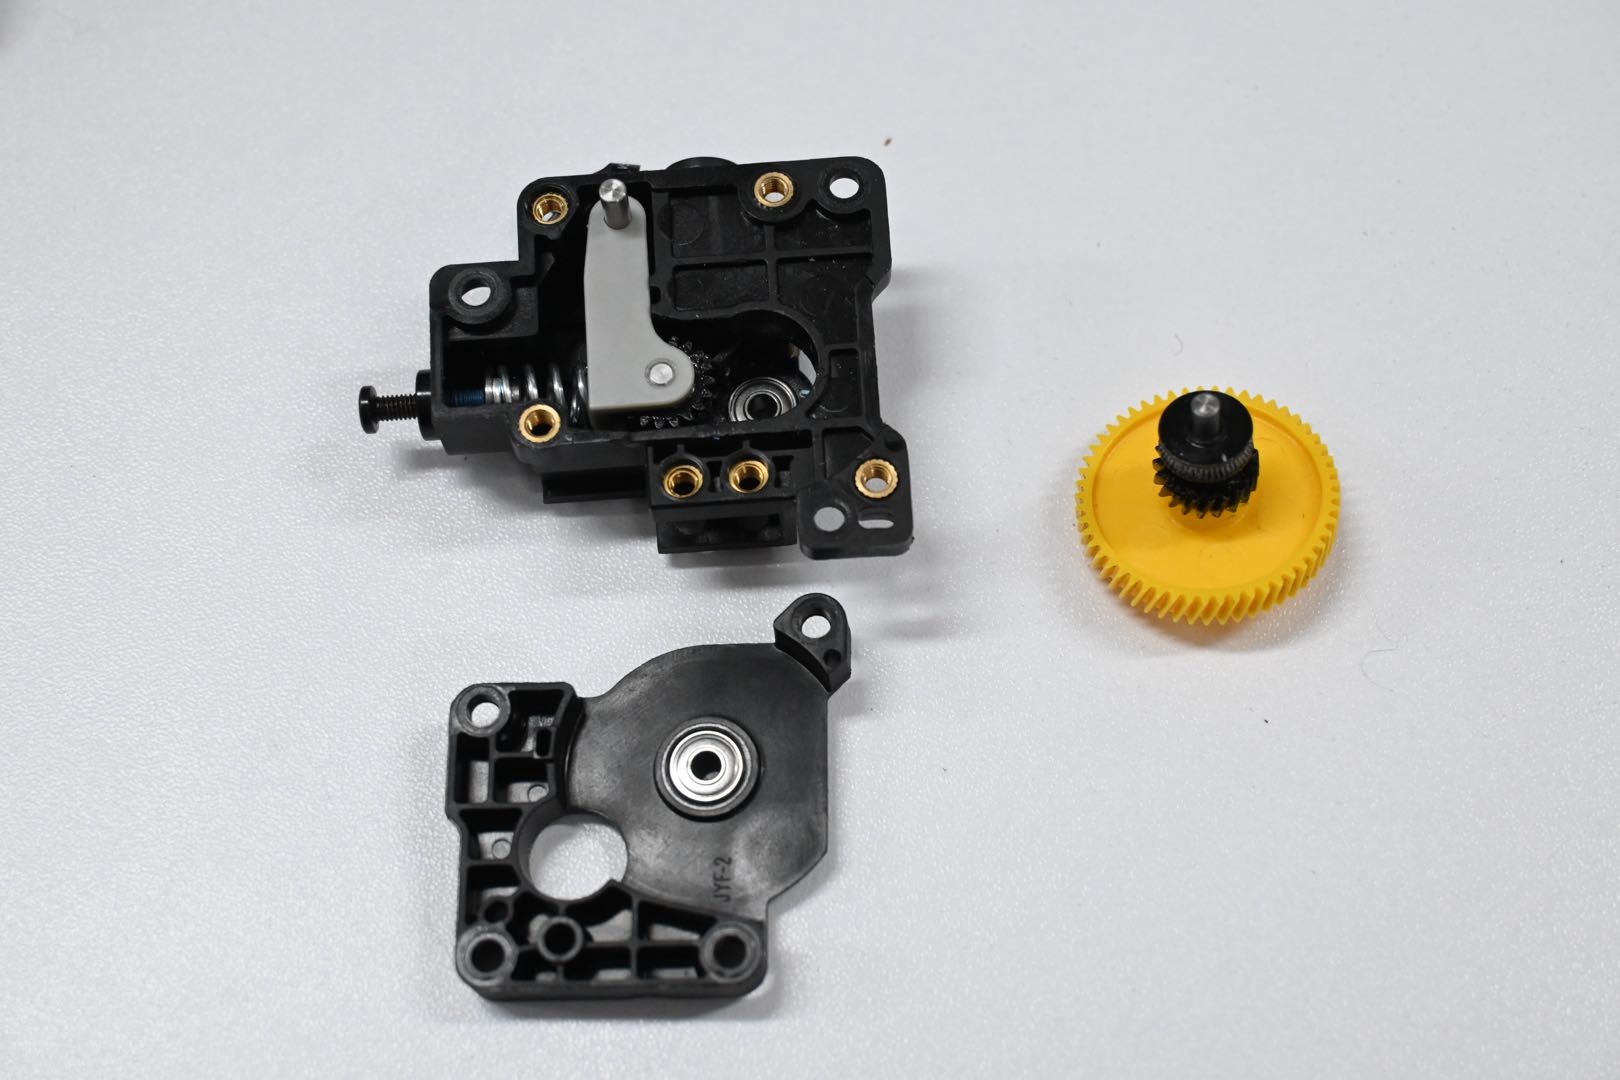
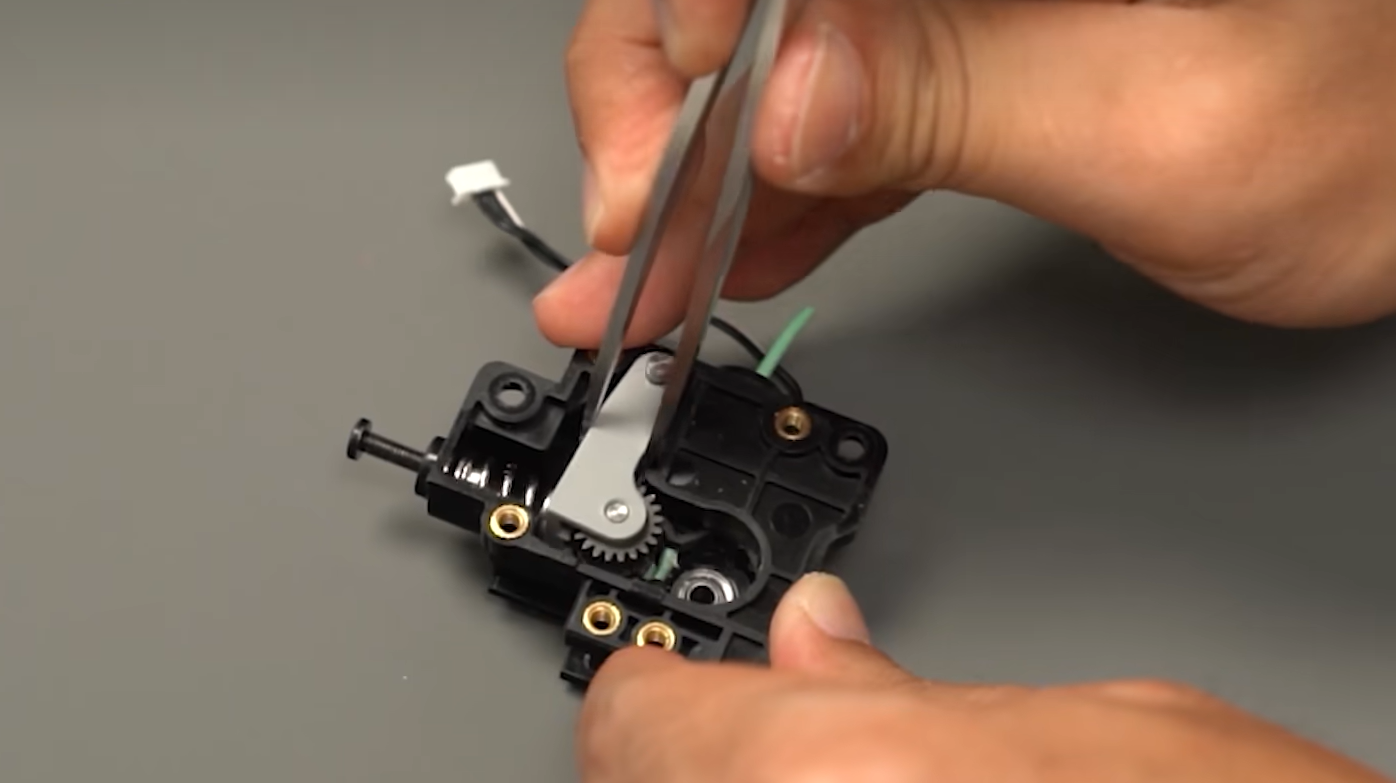
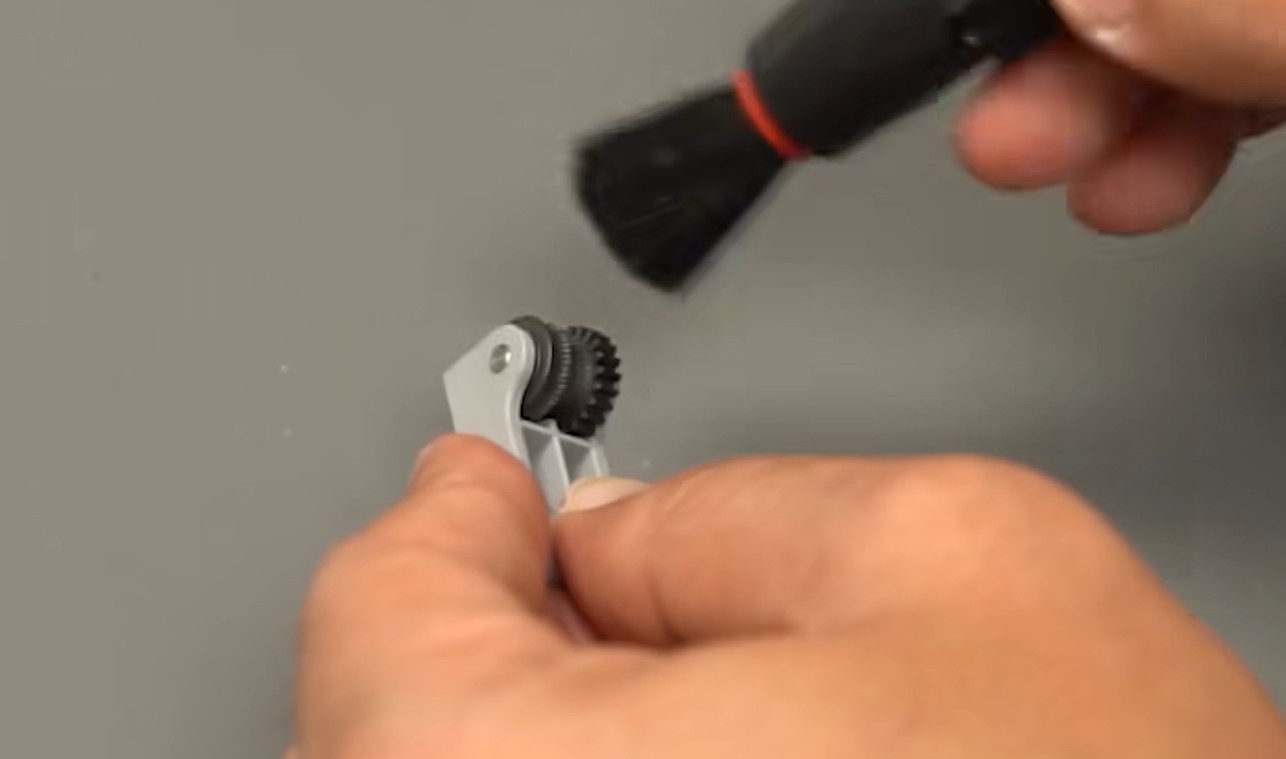
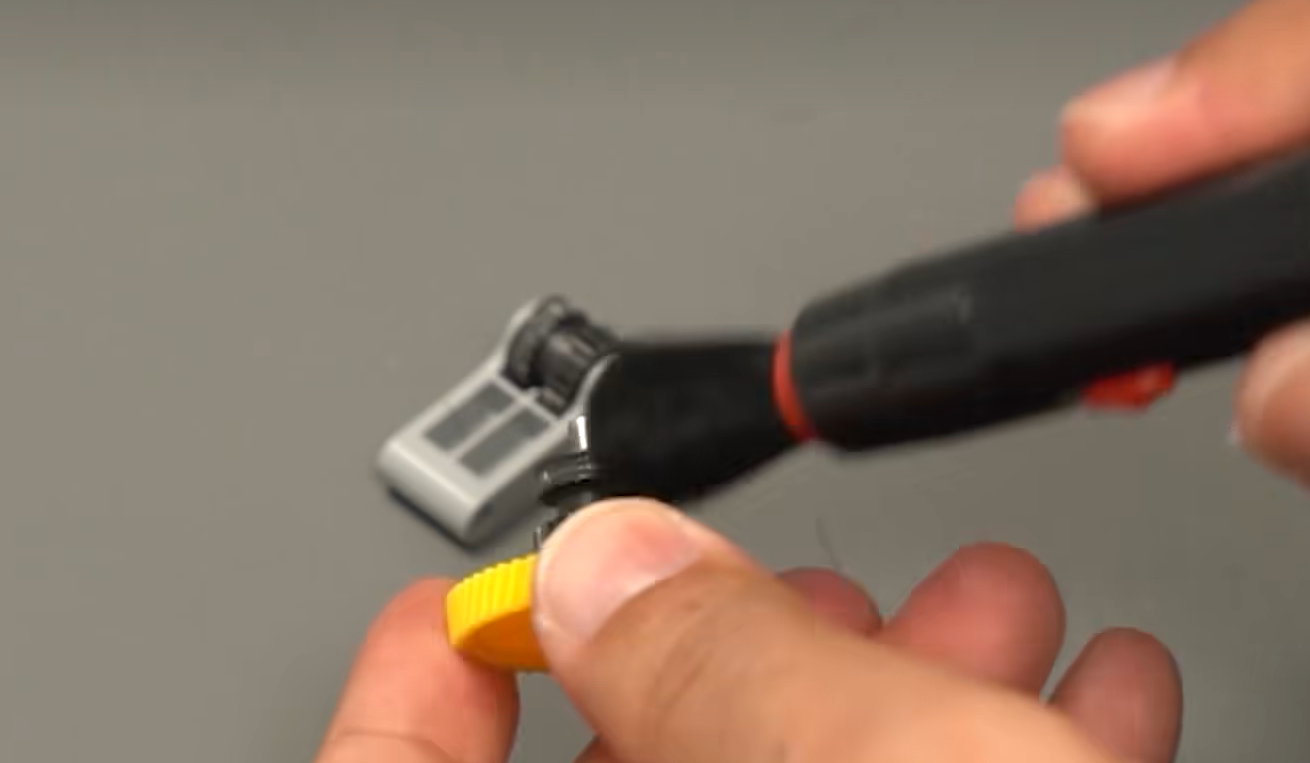
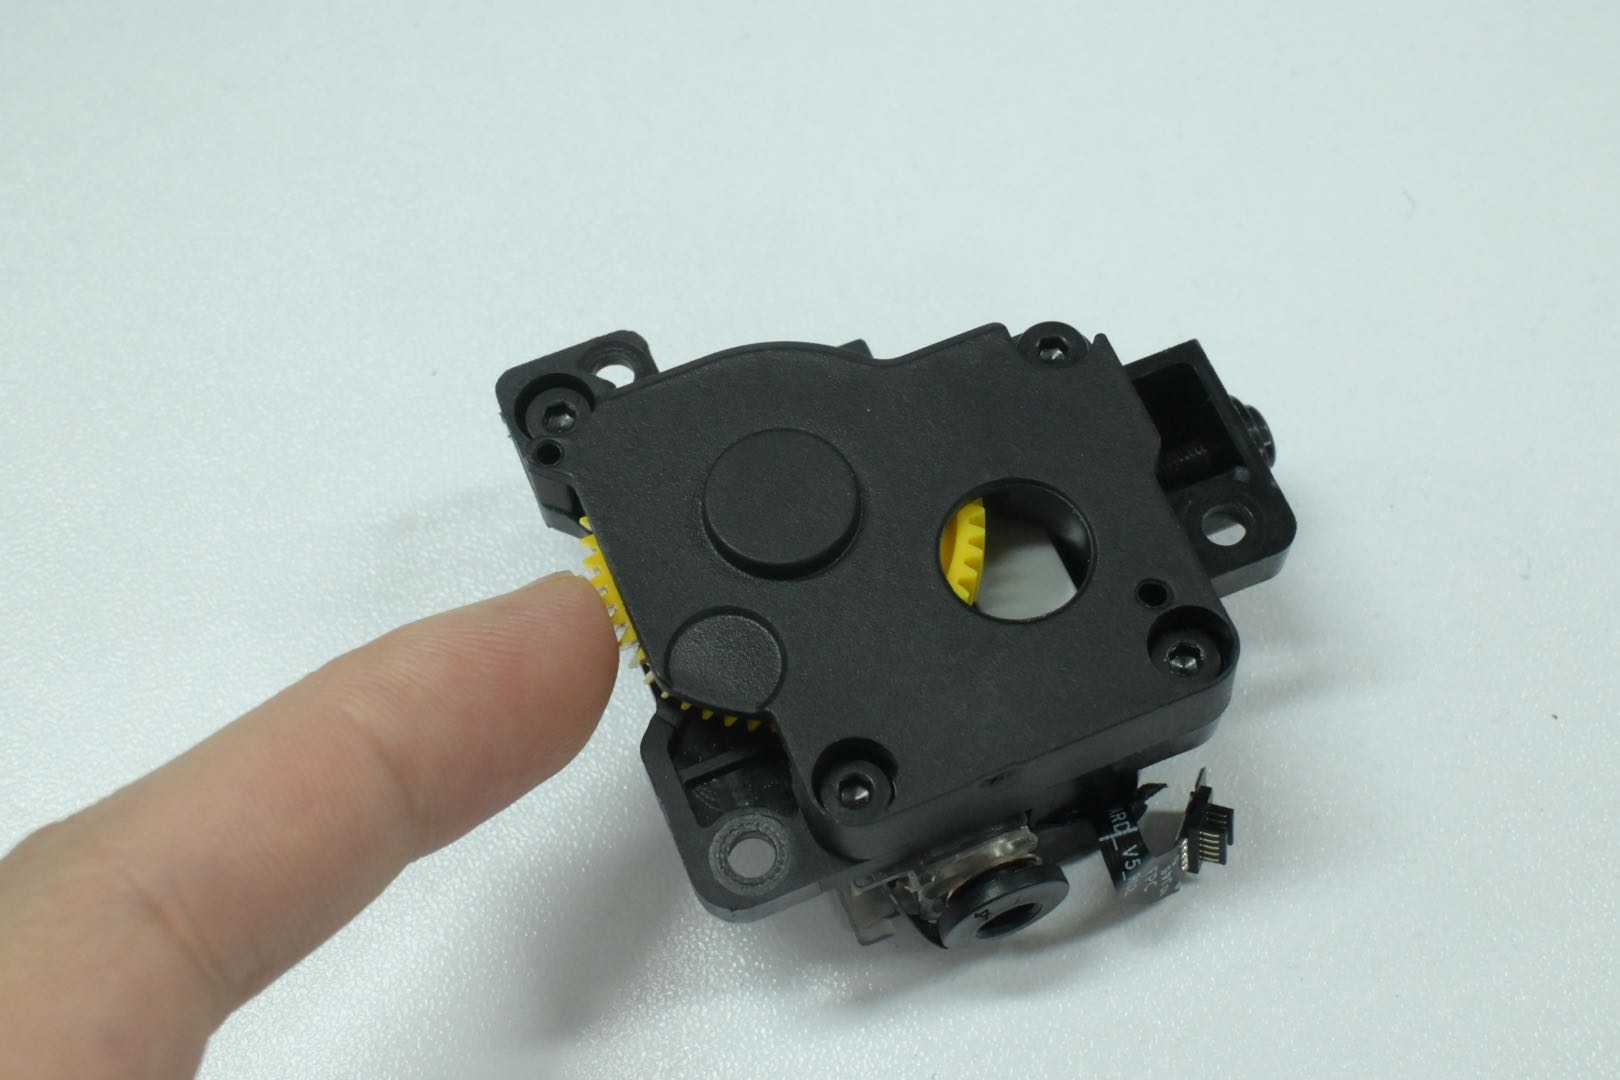
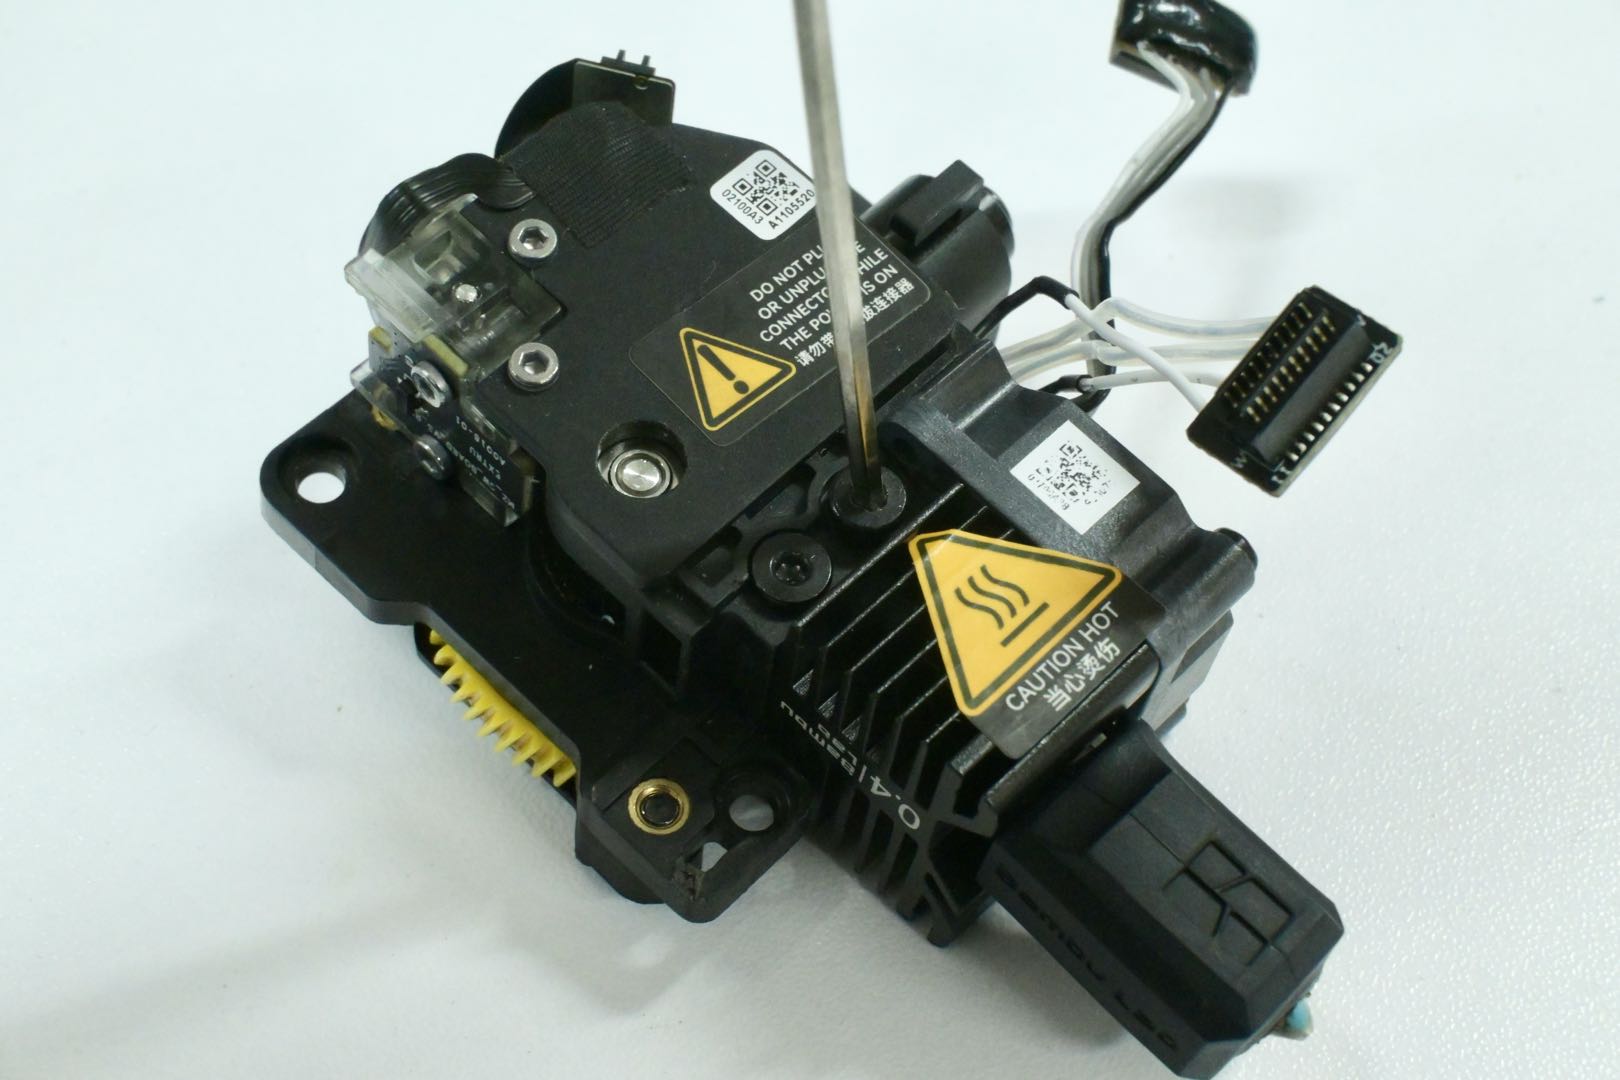
1. Use a piece of filament to poke into the extruder to clear the filament stuck in the extruder. If the filament is long, use tweezers to clamp it out.
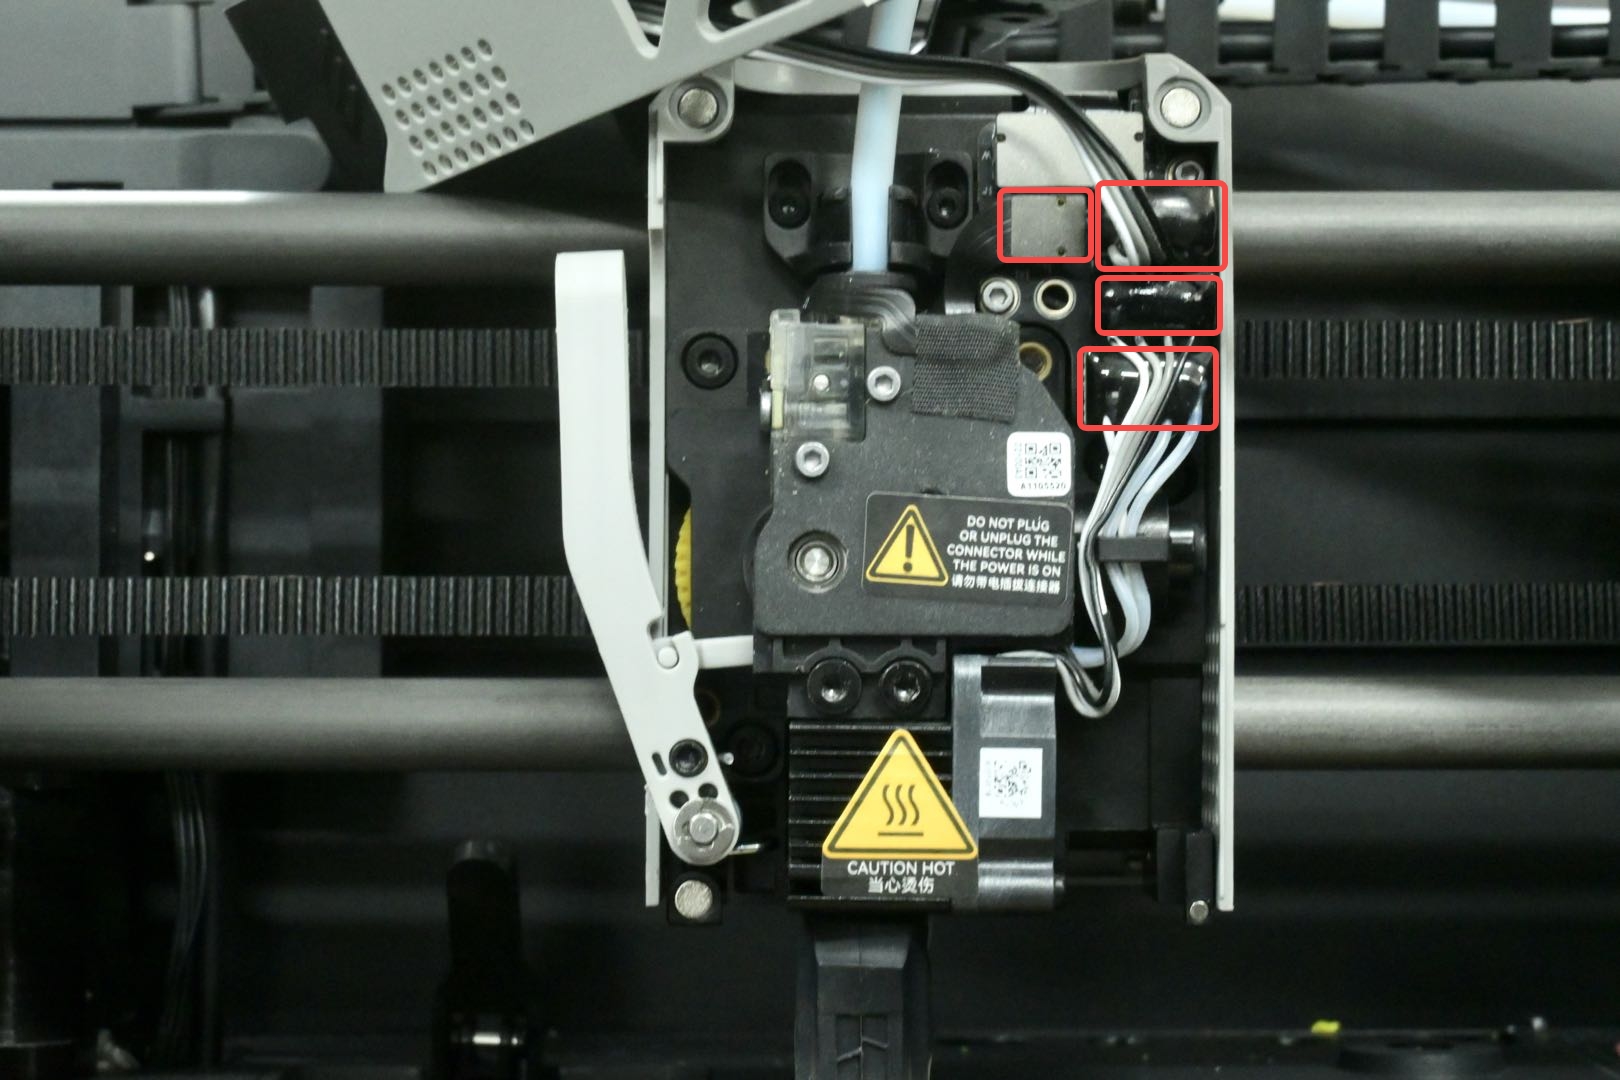
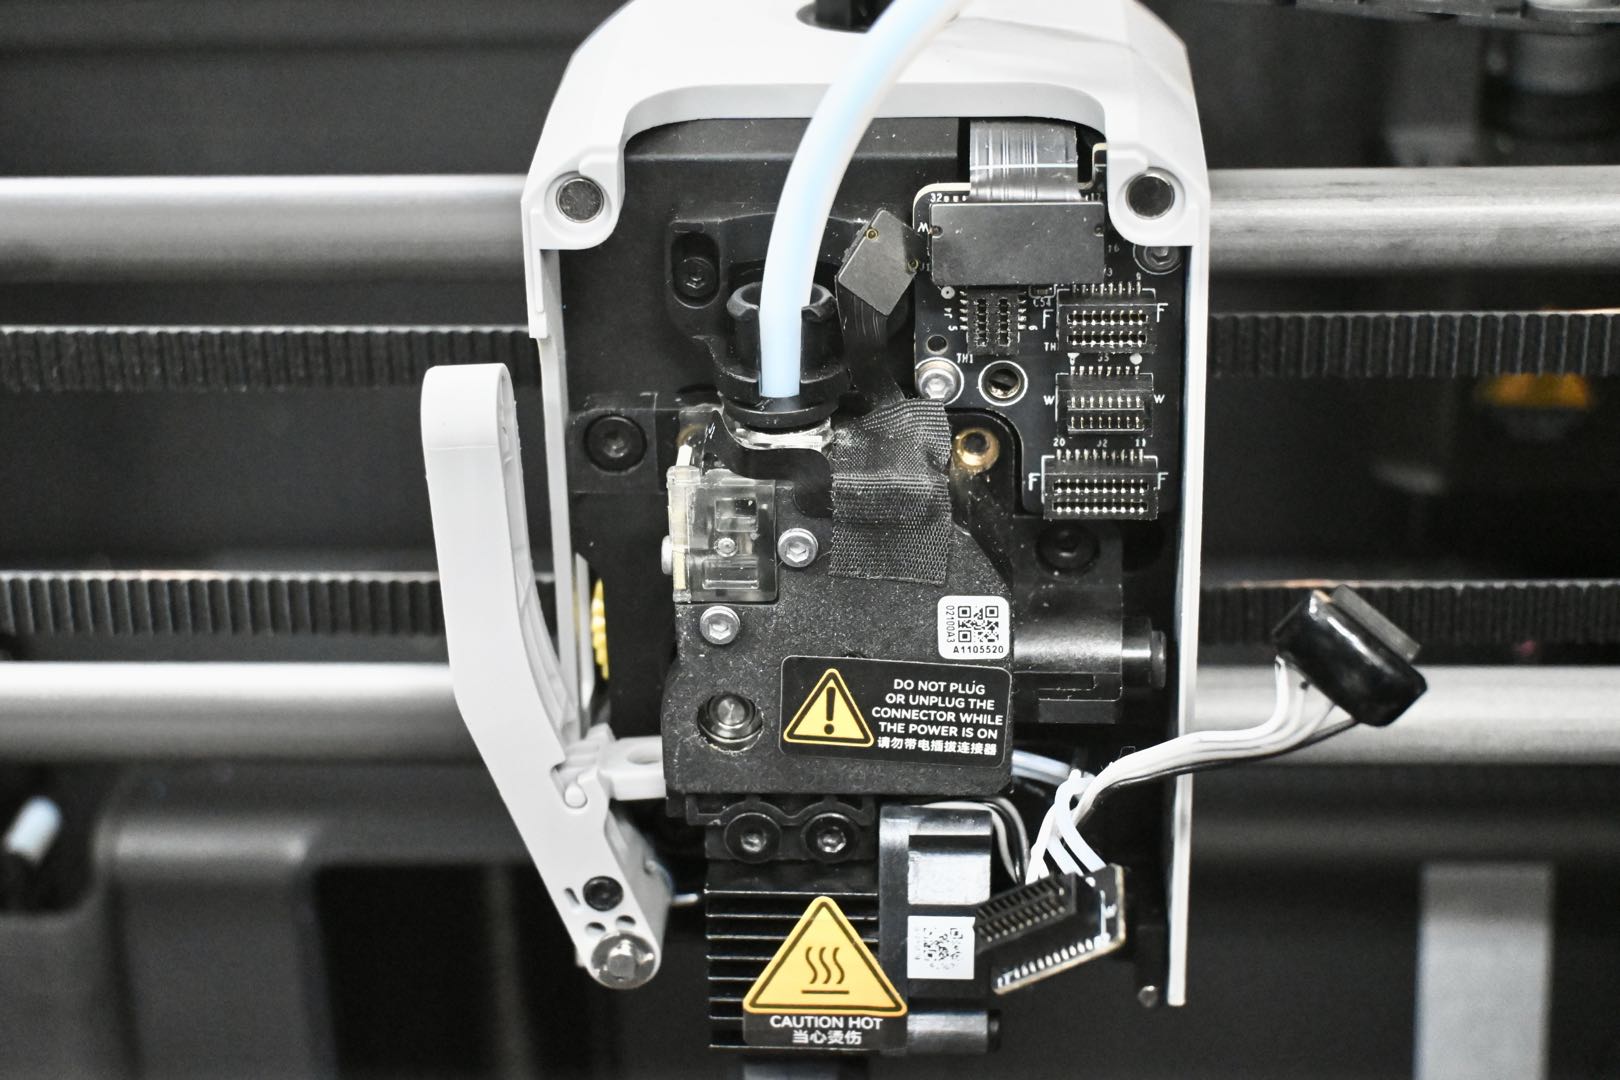
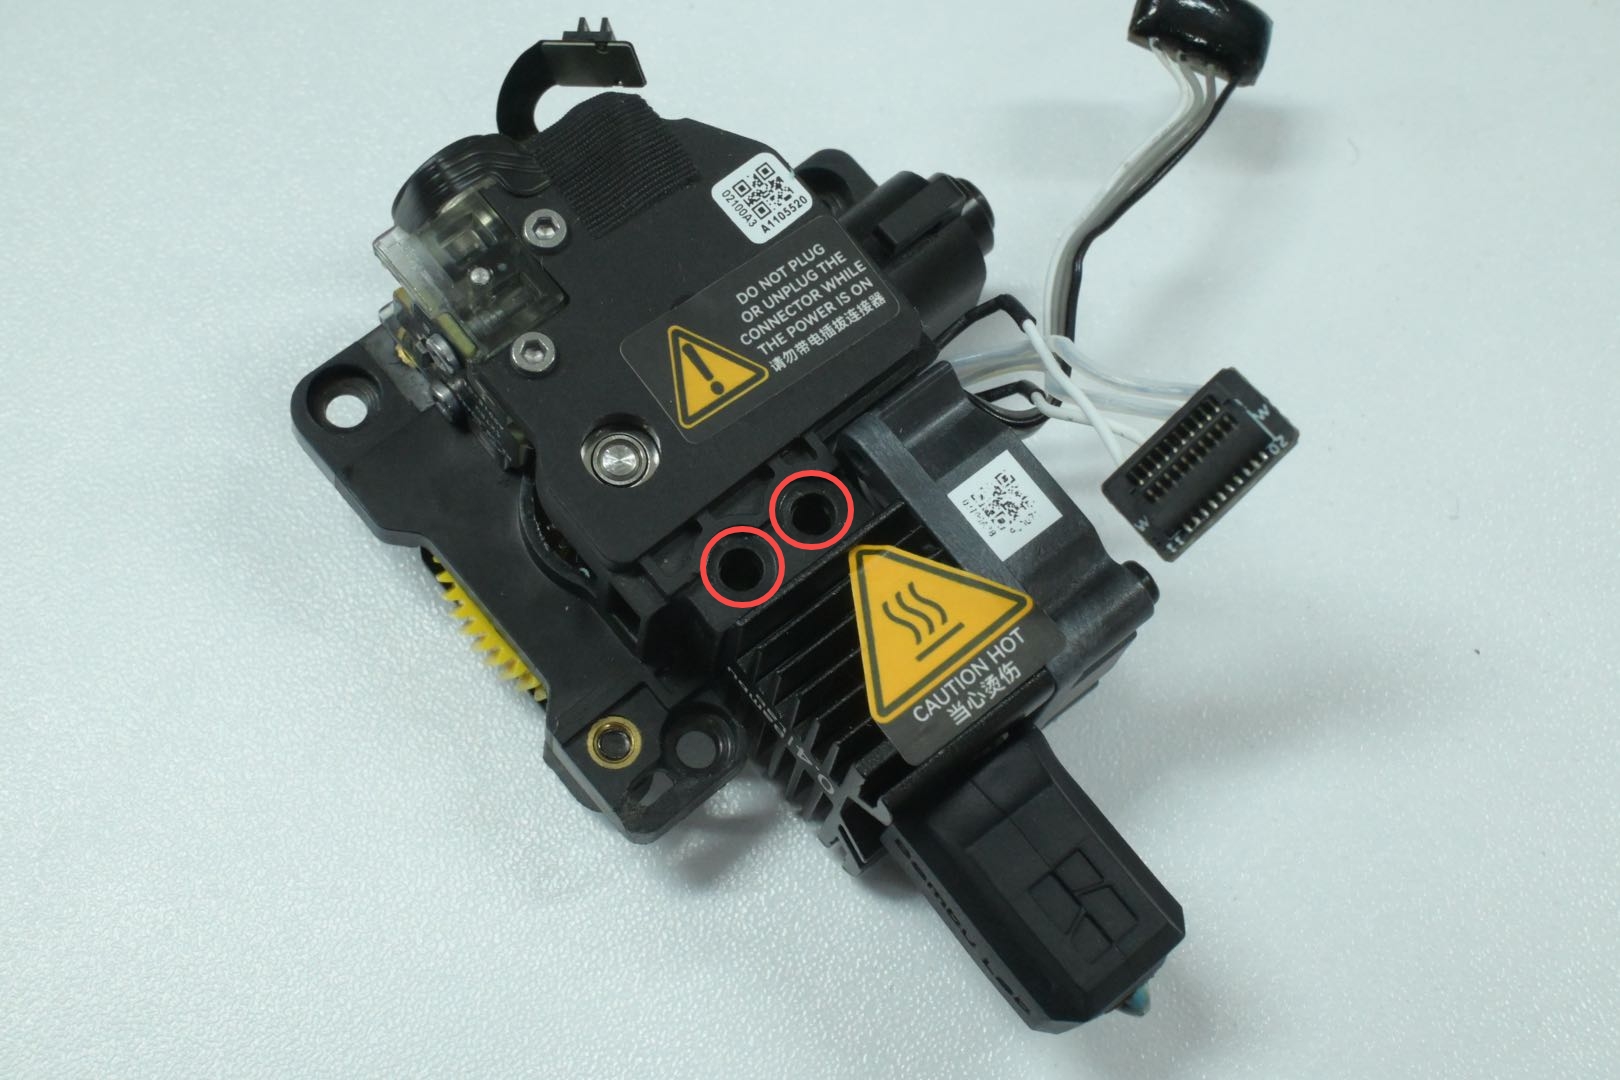
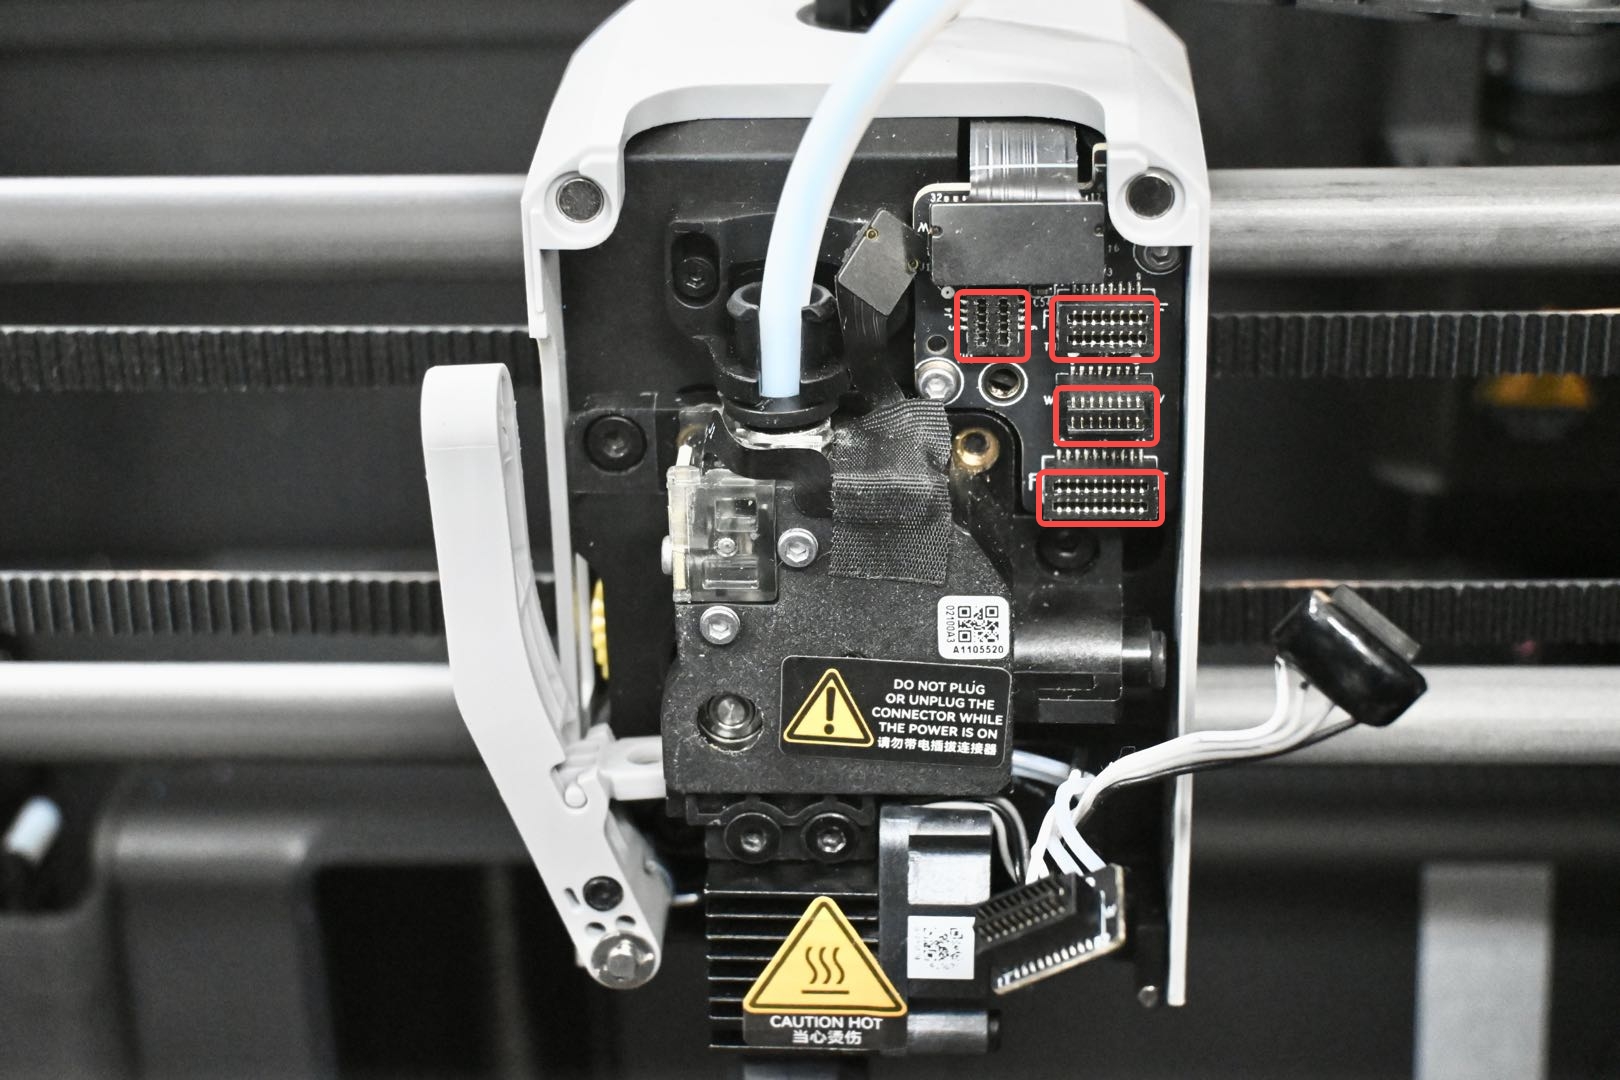
Connect the filament sensor, part cooling fan, cooling fan for hotend, and hotend heating assembly cables in sequence.
Note: During this operation, please be careful to ensure that all terminals are correctly aligned before insertion. Some terminals can be pressed in the wrong state, which will cause the device to report an error.
After setting up, verify that everything works by turning the printer back on and doing a manual extrusion of your filament. Everything should flow consistently.