¶ Front Housing Assembly - X1 Series
The Front Housing Assembly serves primarily to cool the printed part, ensuring proper part formation. This protective housing contains magnetic components (including a small 2x2 magnet and large 4x2 magnet), integrates a part cooling fan, and features a system status LED indicator.

You can purchase it at our store here: Front Housing Assembly - X1 Series.
¶ When to use?
- Damage after crashed
- Part cooling fan failure
- Toolhead LED failure
¶ Tools and materials needed
- A new front housing assembly
¶ Safety warning and Machine state before starting operation
Please remember to power off the printer before starting the disassembly and assembly process.
¶ Operation guide
¶ Step 1- Open the Front Housing Assembly
Turn off the printer, and open the Front Housing Assembly.

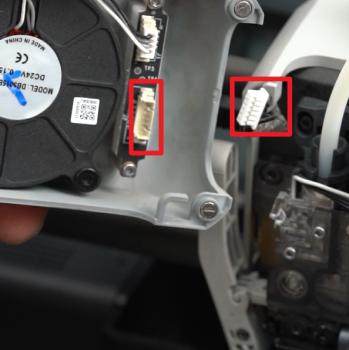
¶ Step 2 - Disconnect the cable
Disconnect the toolhead LED cable from the connector and release it from the clip.

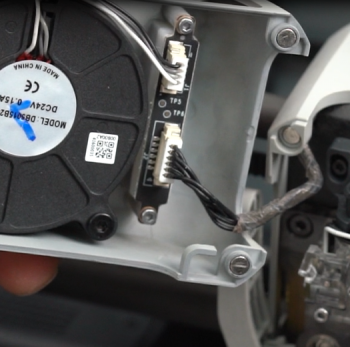
¶ Step 3 - Connect the cable
Prepare the new Front Housing Assembly and connect the toolhead LED cable to the connector on the Front Housing Assembly.
 |
 |
¶ Step 4 - Close the Front Housing Assembly
Insert the toolhead LED cable into the clip and close the Front Housing Assembly.
 |
 |
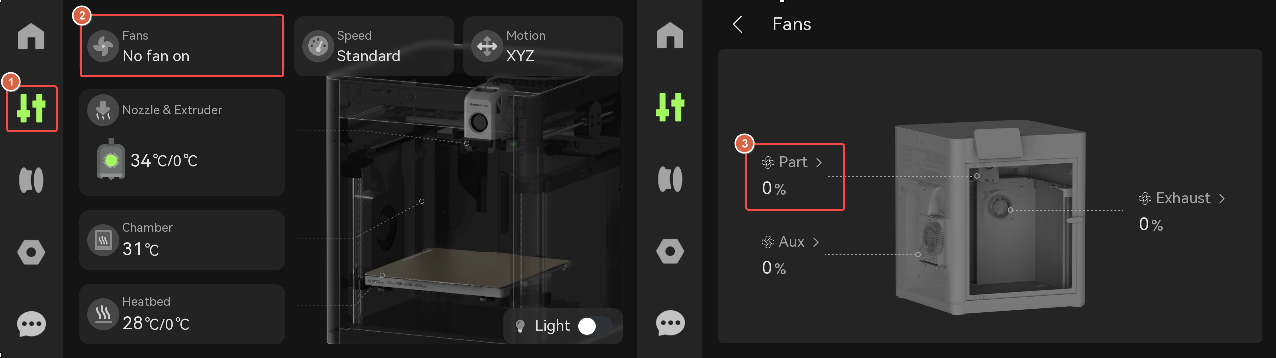
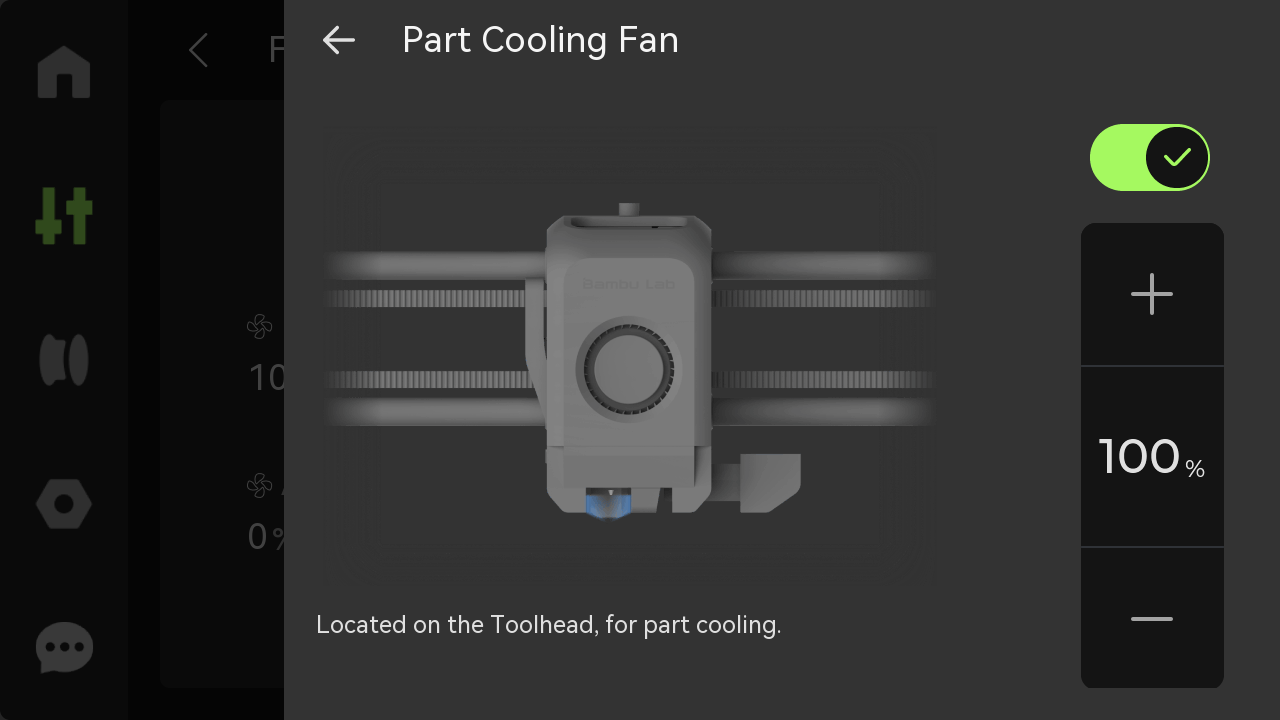
¶ How to verify completion/success
Turn on the printer. If the toolhead LED lights up during printer startup and the fan turns on when you tap Control > Fans > Part Cooling Fan on the screen, the replacement was successful.
If you encounter any issues, it is recommended to retrace your steps and double-check all connections to ensure they are properly secured. Attempt the process again.
If the problems persist or you require further assistance, please contact the service team for professional support.
¶ End Notes
We hope the detailed guide provided has been helpful and informative.
If this guide does not solve your problem, please submit a technical ticket, we will answer your questions and provide assistance.
If you have any suggestions or feedback on this Wiki, please leave a message in the comment area. Thank you for your support and attention!