¶ A1 Bottom Base
A1 Bottom Base consists of Heatbed, Y-axis Assembly, Touch Screen, Front and Rear Covers, AC board, Mainboard, Power Supply and Power Switch.

¶ Related Parts Disassembly Tutorial
This article will provide guidelines and precautions for the disassembly and assembly of the bottom base assembly of A1.
If you want to disassemble other main parts of the Printer, you can click the following links for details.
-
Remove the Spool Holder. A1 Spool Holder Installation Tutorial | Bambu Lab Wiki
-
Remove the Toolhead. Replace the Toolhead-A1 Series | Bambu Lab Wiki
-
Remove the X-axis Assembly. A1 X-axis Assembly Installation Tutorial | Bambu Lab Wiki
-
Remove the Heatbed. A1 Heatbed Retrofit Guide | Bambu Lab Wiki
-
Remove the Printer Frame. A1 Printer Frame Installation Tutorial | Bambu Lab Wiki
If you want to disassemble the A1 printer into its main components and then reassemble it to form a complete printer, please refer to A1 Installation Tutorial| Bambu Lab Wiki.
¶ Tools List
-
H2.0/H1.5 Hex Key
-
Cross screwdriver
-
Flat tweezers
¶ Preliminary Operation
Before your operation, make sure to power off the printer.
¶ Safety Warning
❗❗ IMPORTANT
It's crucial to power off the printer before performing any maintenance work on the printer and its electronics, including tool head wires, because leaving the printer on while conducting such tasks can cause a short circuit, which can lead to additional electronic damage and safety hazards.
When you perform maintenance or troubleshooting on the printer, you may be required to disassemble some parts, including the hotend. This process can expose wires and electrical components that could potentially short circuit if they come into contact with each other or with other metal or electronic components while the printer is still on. This can damage the electronics of the printer and cause further damage.
Therefore, it's essential to switch off the printer and disconnect it from the power source before doing any maintenance work. This will prevent any short circuits or damage to the printer's electronics. By doing so, you can avoid potential damage to the printer's electronic components and ensure that the maintenance work is performed safely and effectively.
If you have any concerns or questions about following this guide, open a new ticket in our Support Page and we will do our best to respond promptly and provide you with the assistance you need.
¶ A1 Bottom Base Disassembly
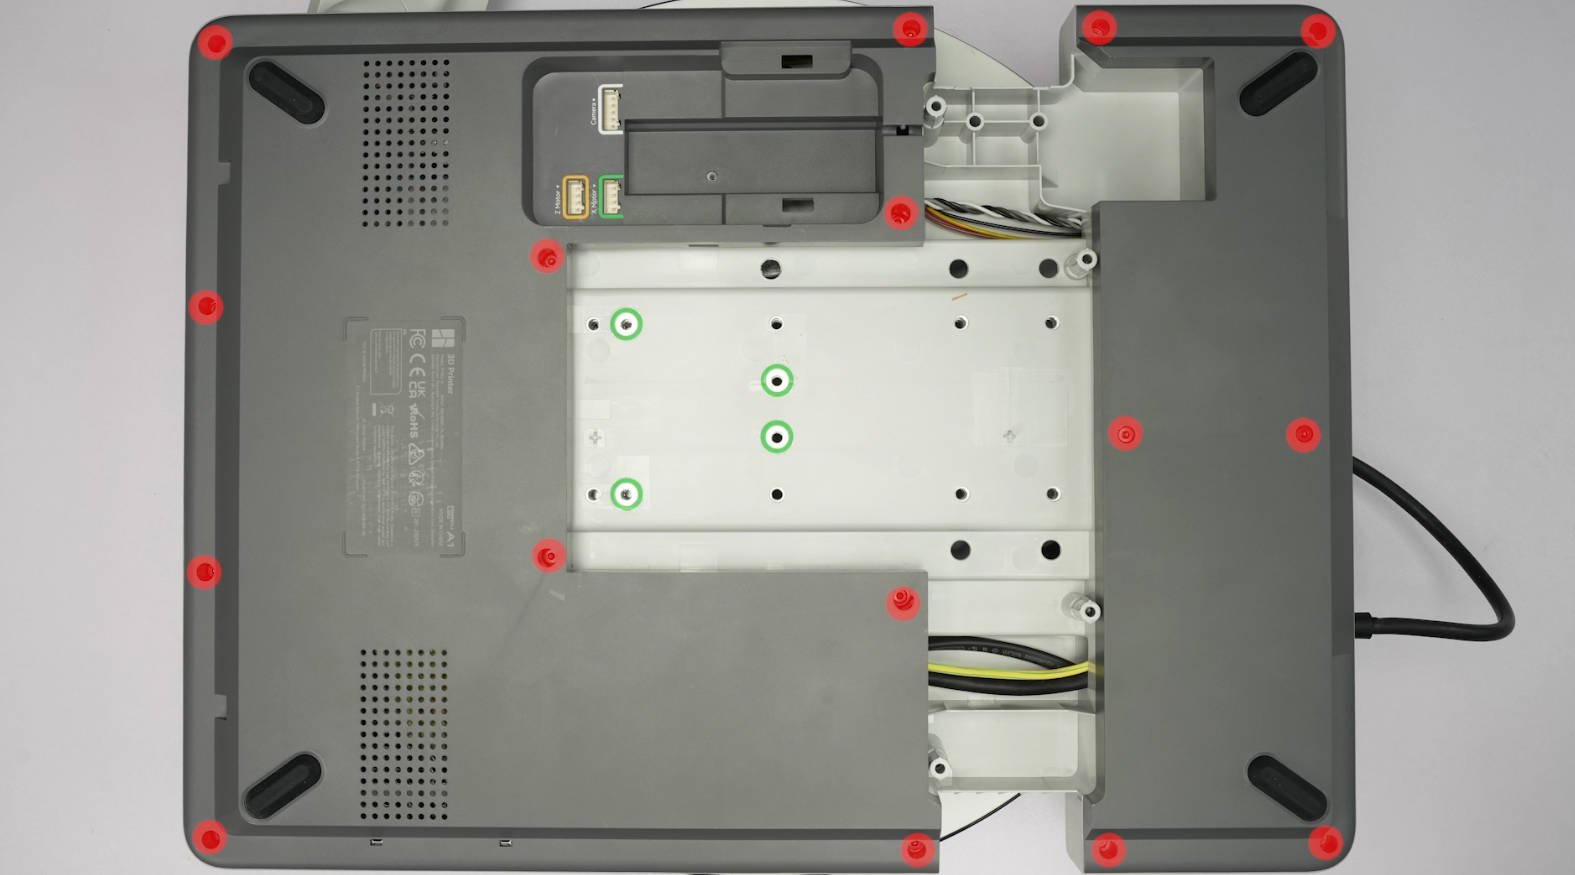
¶ Step 1 - Remove the Bottom Covers
Remove the screws marked in red to remove the bottom cover.
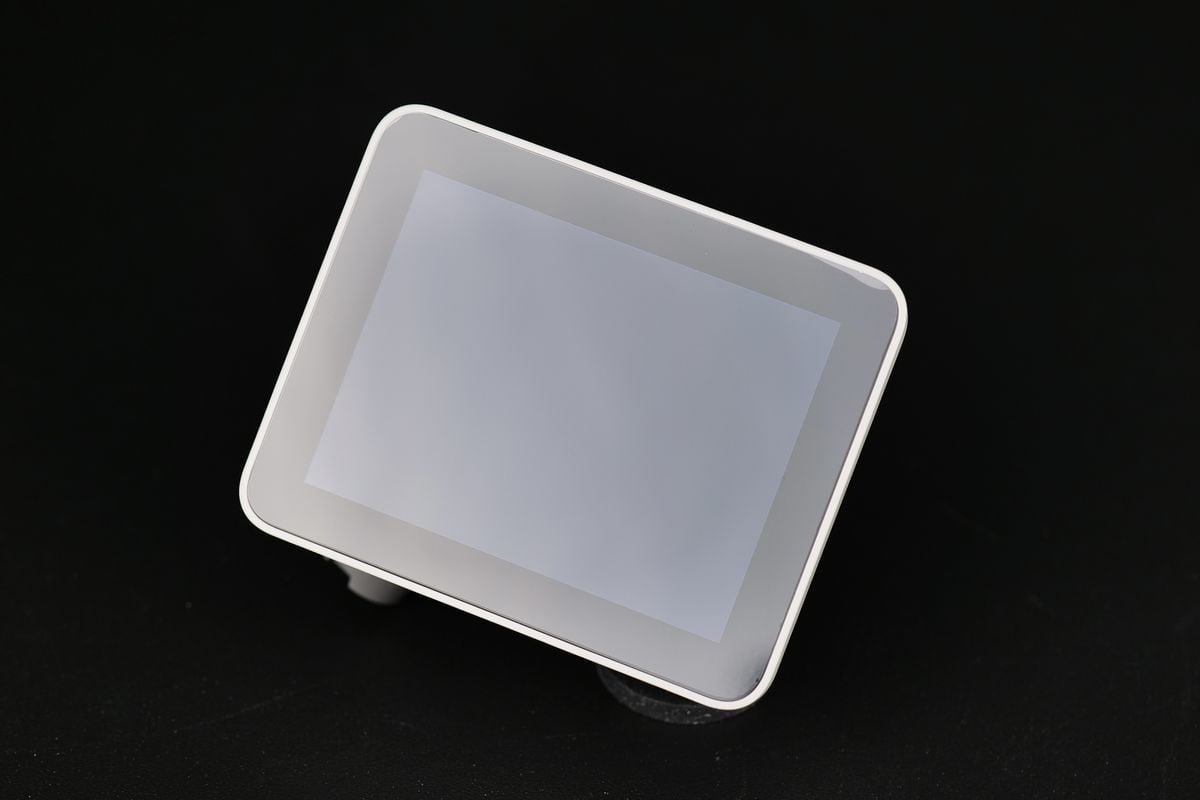
¶ Step 2 - Remove the Touch Screen
You can refer to Screen Disassembly Guide - A1 | Bambu Lab Wiki for detailed information.
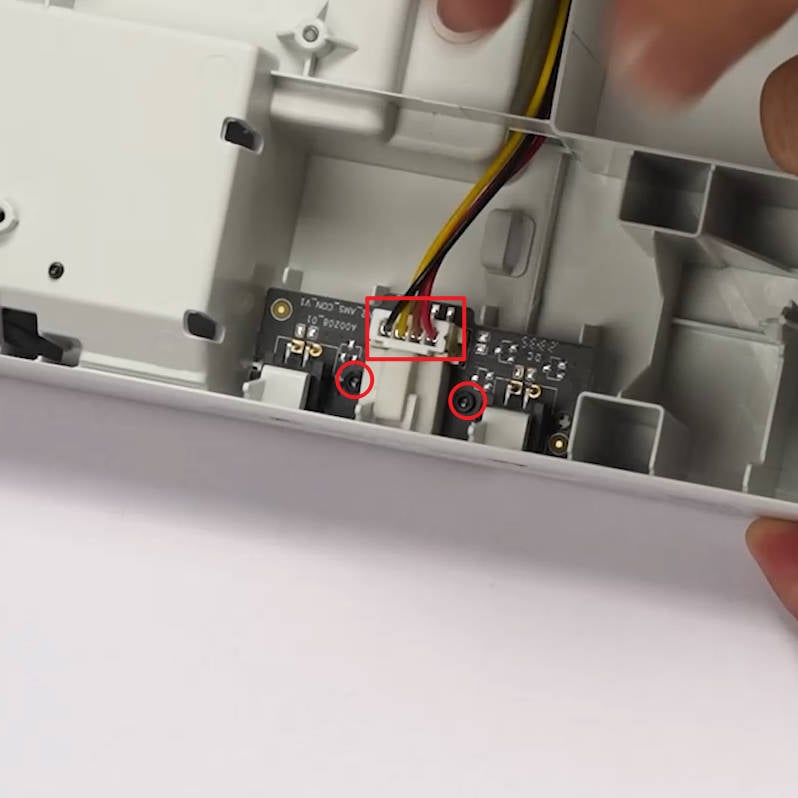
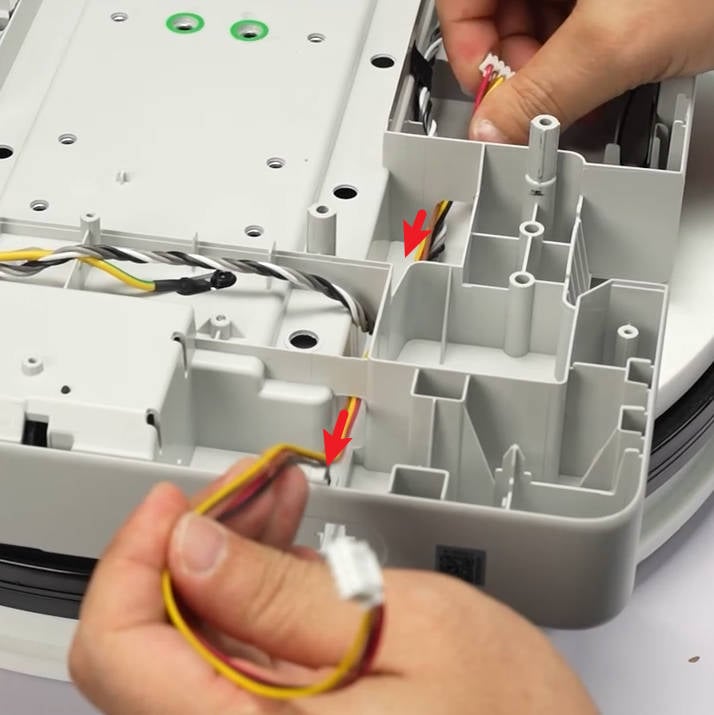
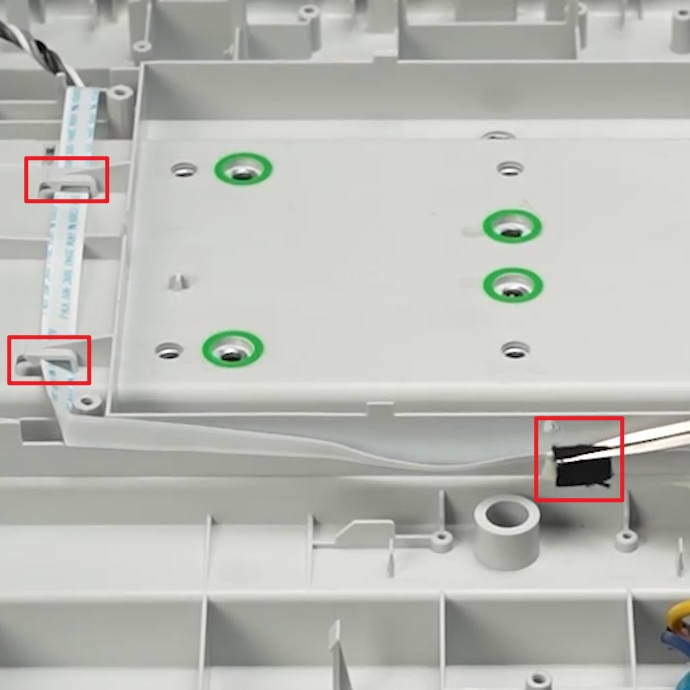
¶ Step 3 - Remove the AMS Connection Board
Disconnect the cable, remove 2 screws with an H1.5 hex key, and remove the AMS Connection Board.
|

|
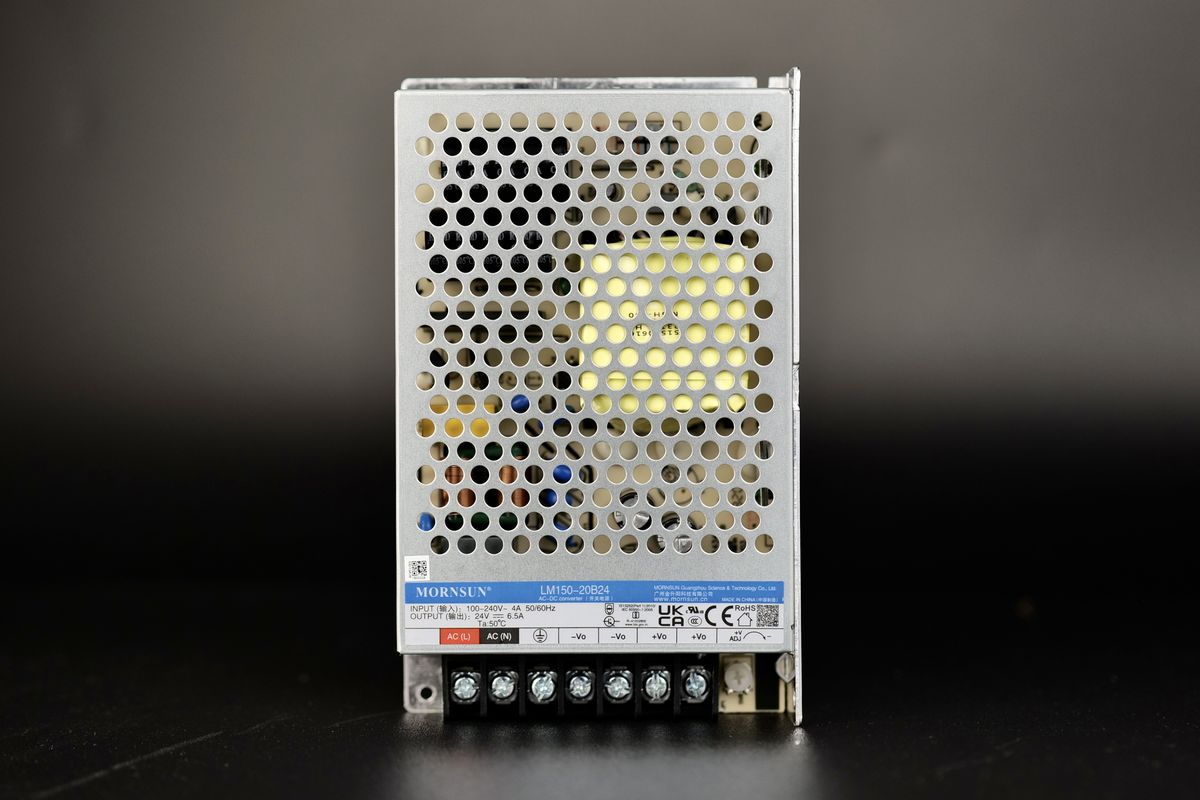
¶ Step 4 - Remove the Power Supply
You can refer to Power Supply Disassembly Guide - A1 | Bambu Lab Wiki for detailed information.
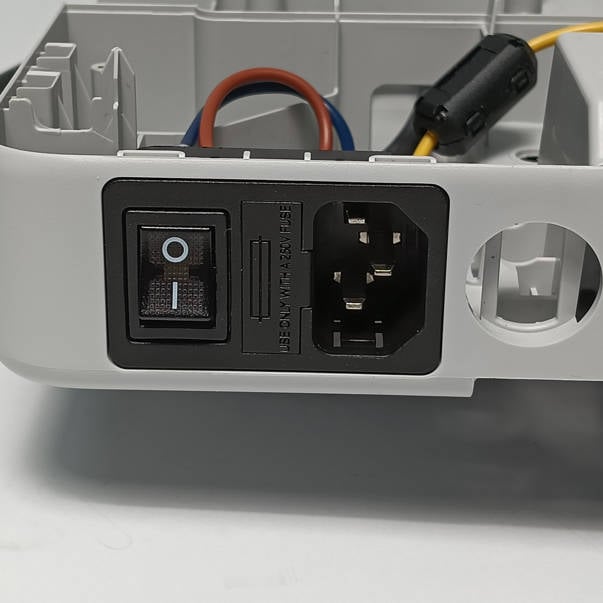
¶ Step 5 - Remove the AC Board
You can refer to AC Board Disassembly Guide - A1 | Bambu Lab Wiki for detailed information.

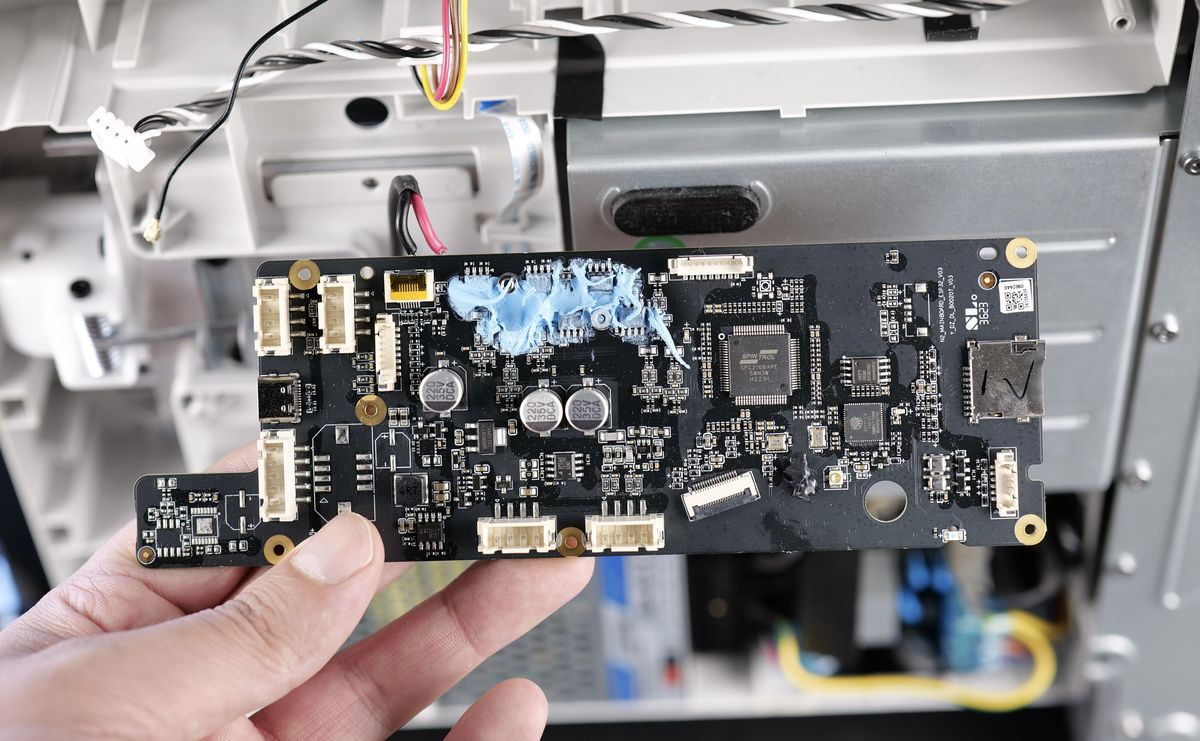
¶ Step 6 - Remove the Mainboard
You can refer to Main Board Disassembly Guide - A1 | Bambu Lab Wiki for detailed information.
¶ Step 7 - Remove the cables
- Release the AMS Connection Board cable from the buckles, and then pull it out towards the installation position of the AMS connection board.
- Pry up the Wi-Fi antenna board with tweezers and remove the Wi-Fi Antenna.
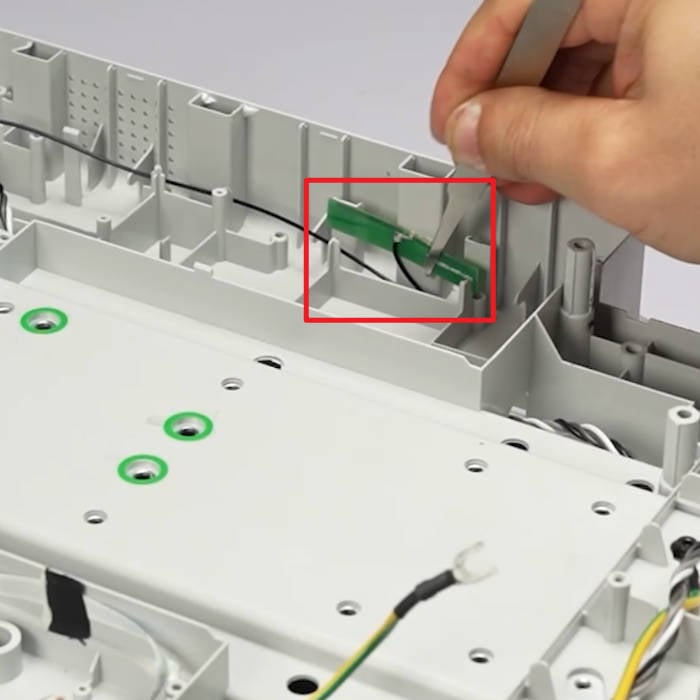
- Remove the flex cable connecting the Mainboard to the AC Board.
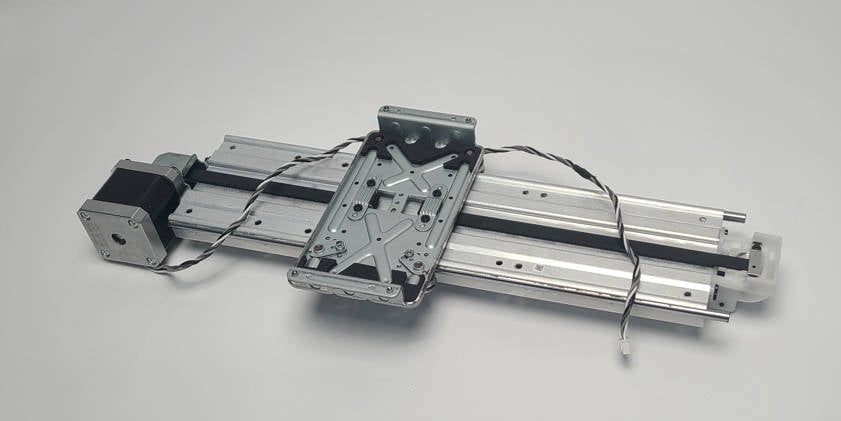
¶ Step 8 - Remove the Y-axis Assembly
You can refer to Y-axis Assembly Disassembly Guide - A1 | Bambu Lab Wiki for detailed information.
¶ A1 Bottom Base Assembly
¶ Step 1- Install the AC Board
You can refer to AC Board Installation Guide - A1 | Bambu Lab Wiki for detailed information.
¶ Step 2 - Install the Power Supply
You can refer to Power Supply Installation Guide - A1 | Bambu Lab Wiki for detailed information.
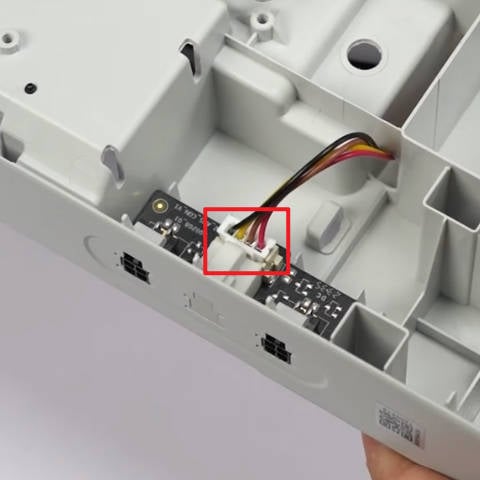
¶ Step 3 - Install the AMS Connection Board
- Install the AMS Connection Board, and press it firmly into place.

|
|

¶ Step 4 - Install the Mainboard
You can refer to Main Board Installation Guide - A1 | Bambu Lab Wiki for detailed information.
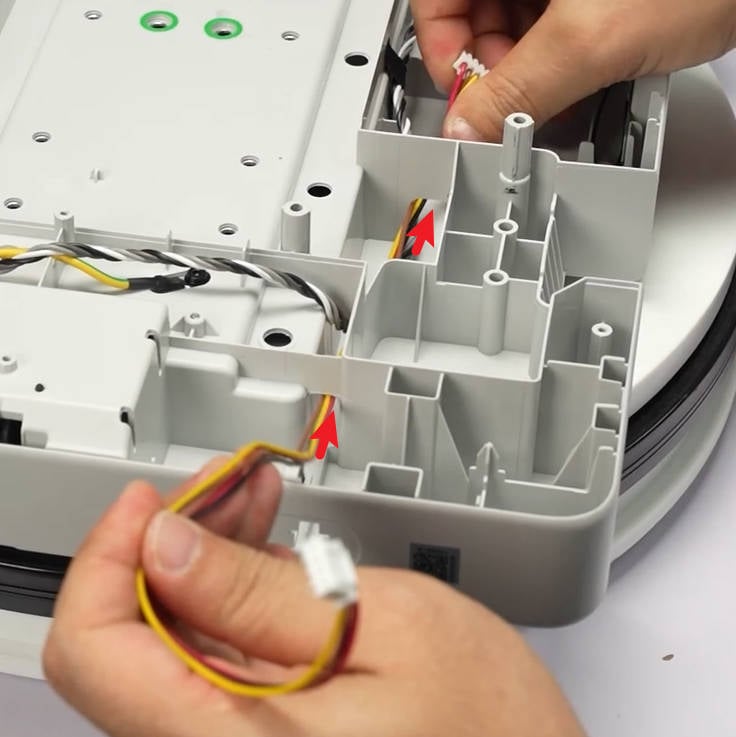
¶ Step 5 - Connect the AMS Connection Board cable
Pass the AMS Connection Board cable;
Connect the cable to the connectors on the Mainboard and AMS Connection Board;
Arrange the cable, take precautions to avoid damage from screws.
 |
 |
 |
|---|
¶ Step 6 - Install the Y-axis Assembly
You can refer to Y-axis Assembly Installation Guide - A1 | Bambu Lab Wiki for detailed information.
¶ Step 7 - Install the Touch Screen
You can refer to Screen Installation Guide - A1 | Bambu Lab Wiki for detailed information.
¶ Verify the Functionality
-
Appearance inspection, check that all the connecting cables are connected correctly, and are properly organized.
-
The newly replaced Y-axis Linear Rail needs lubrication. Please click Guide on how to lubricate the A1 Y-axis guide rail | Bambu Lab Wiki for the specific operation.
¶ Parts List
The following are the spare parts involved in this tutorial.
| No. | Descriptions | Pictures | NO. | Descriptions | Pictures |
| 1 | Touch Screen | 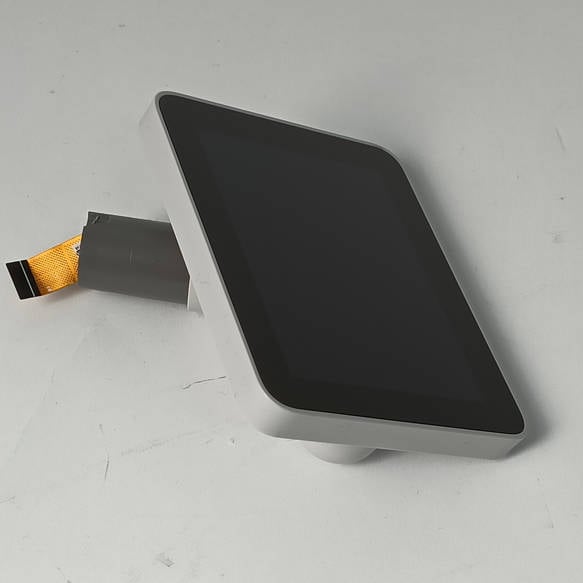 |
2 | AMS Connection Board | 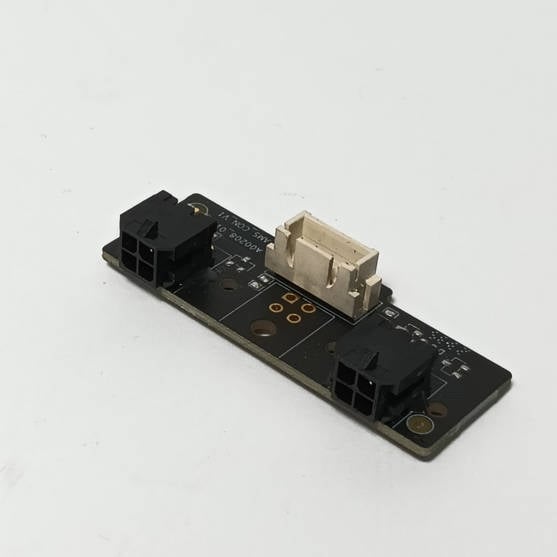 |
| 3 | Power Supply | 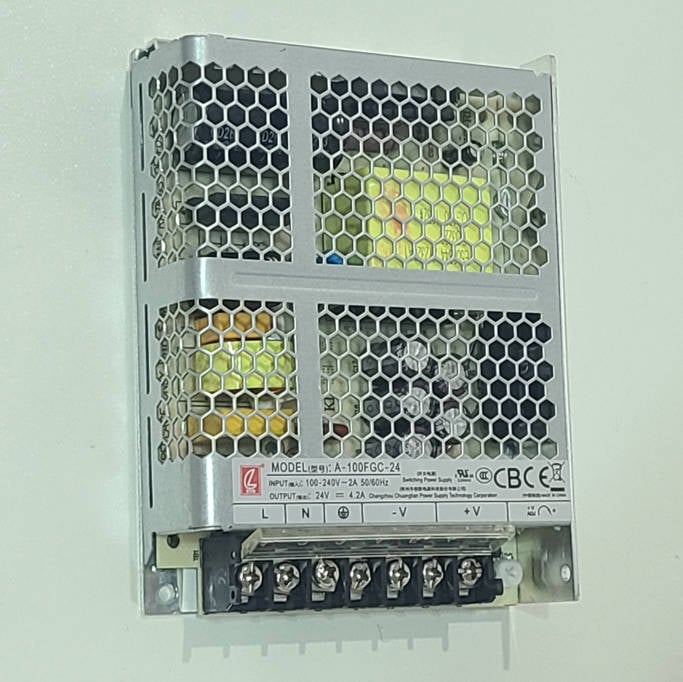 |
4 | AC Board | 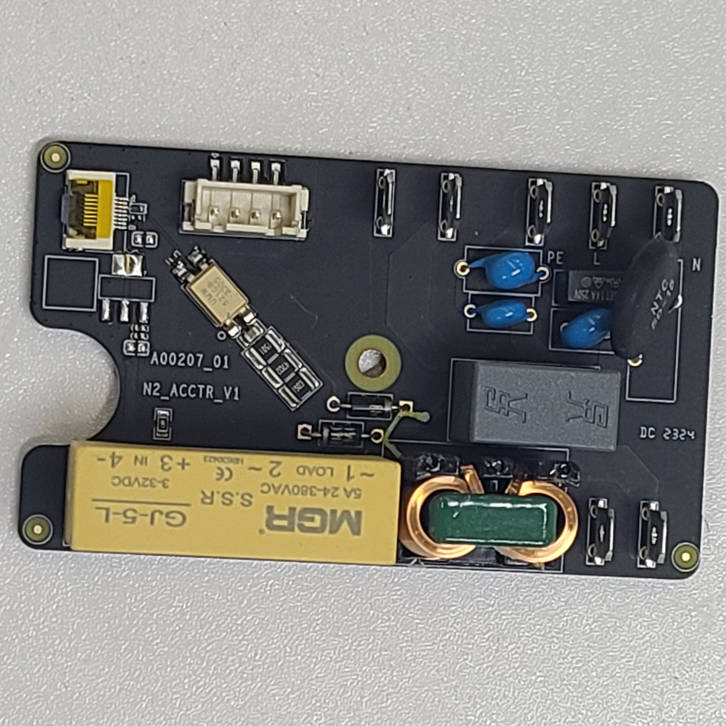 |
| 5 | A1 Mainboard | 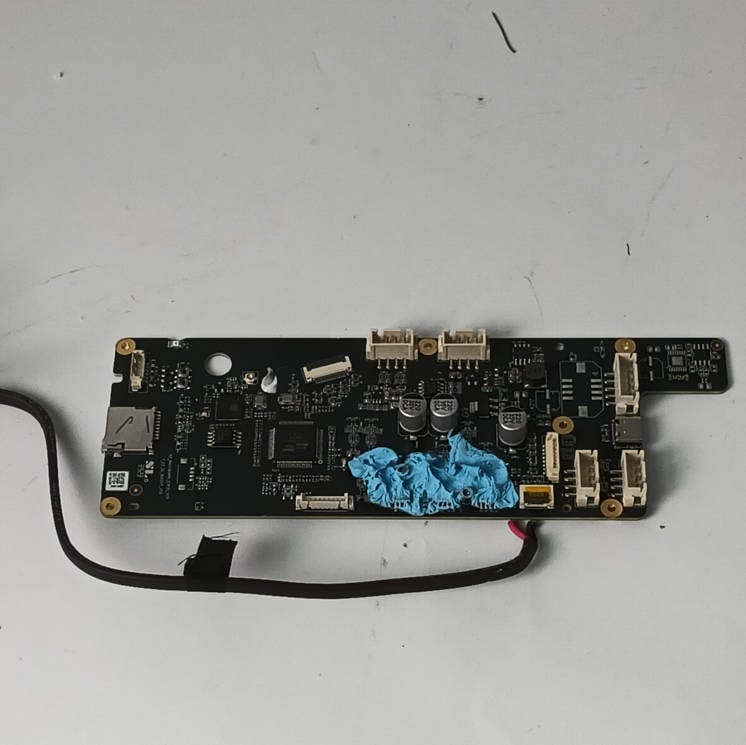 |
6 | Base Housing | 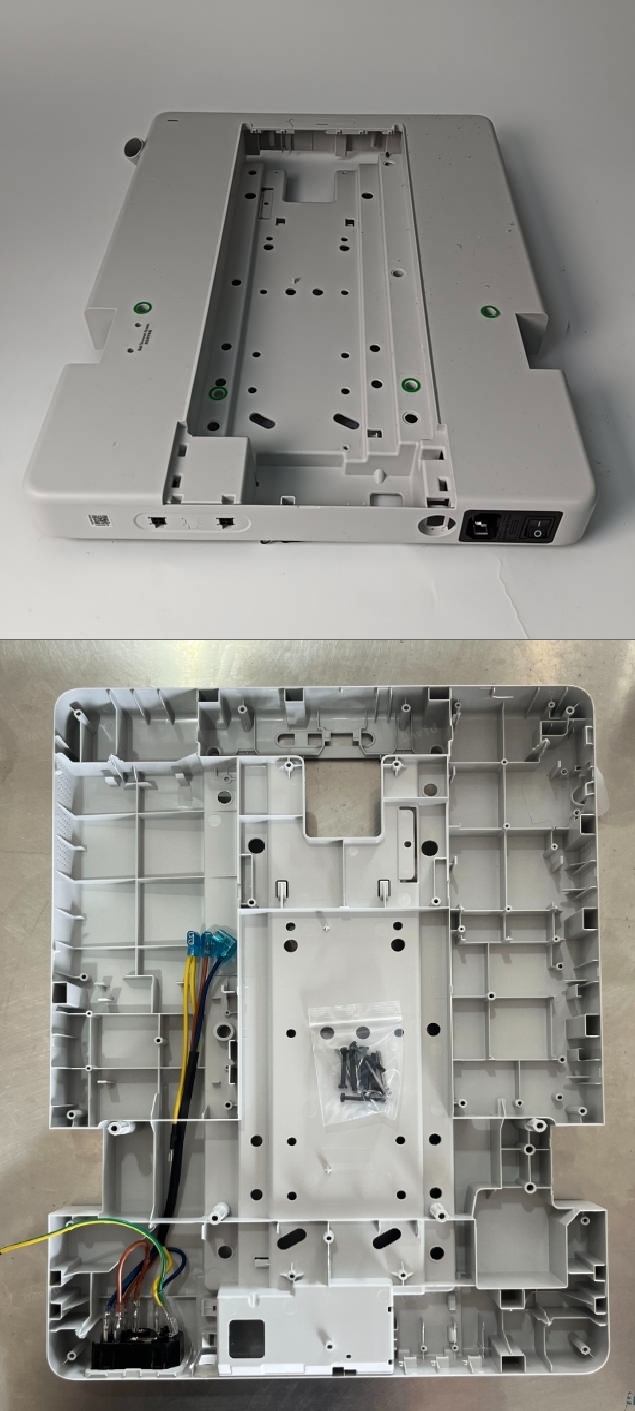 |
| 7 | WiFi Antenna | 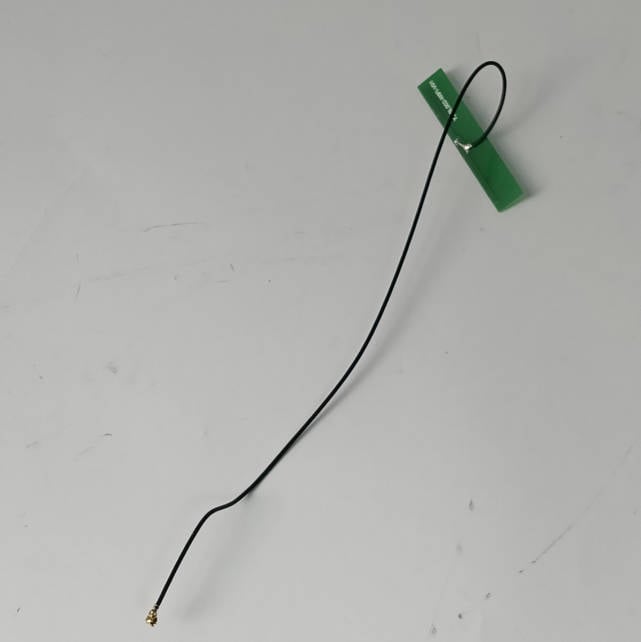 |
8 | Printer Cable Pack (A1 only) |  |
📌 Note:
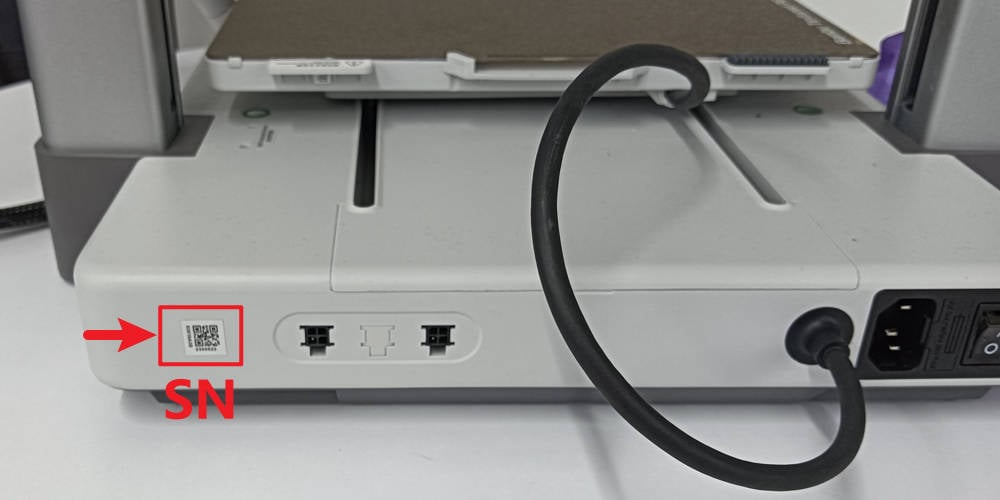
If it involves replacing the main board, please provide both the SN of the new main board and the old SN of the printer to the Bambulab Service Team after replacing the mainboard. An SN activation is required. How to locate your printer's serial number(SN) | Bambu Lab Wiki
If the Base Housing is replaced, the SN label attached to the back of the original Base Housing needs to be attached to the new one.
¶ Screws List
| Model | Locations | Dimensions/Drawing | Model | Locations | Dimensions/Drawing | ||
| Screw A | B0026 | Screen hinge spring | 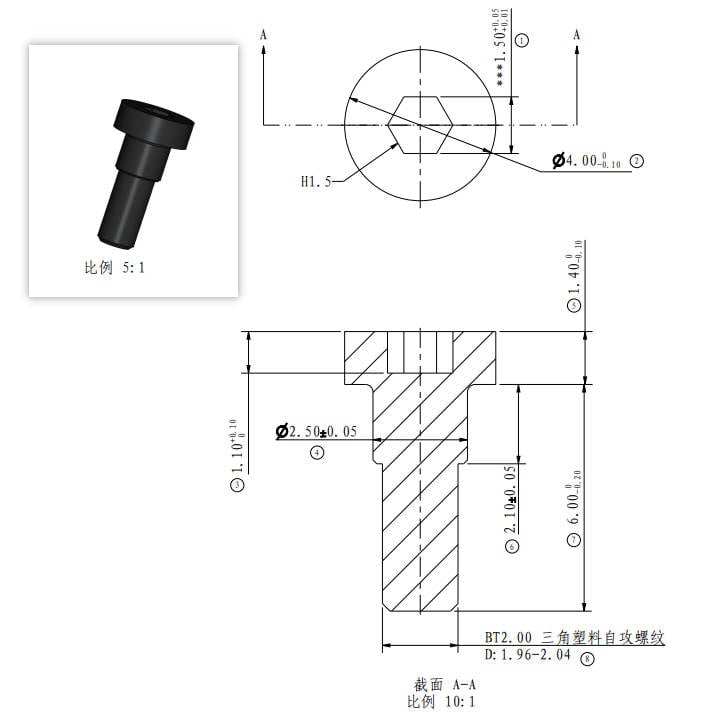 |
Screw B |
B0018 | Mainboard/AMS connection board (6PCS+2PCS) |
 |
| Screw C |
B0020 | Power supply | 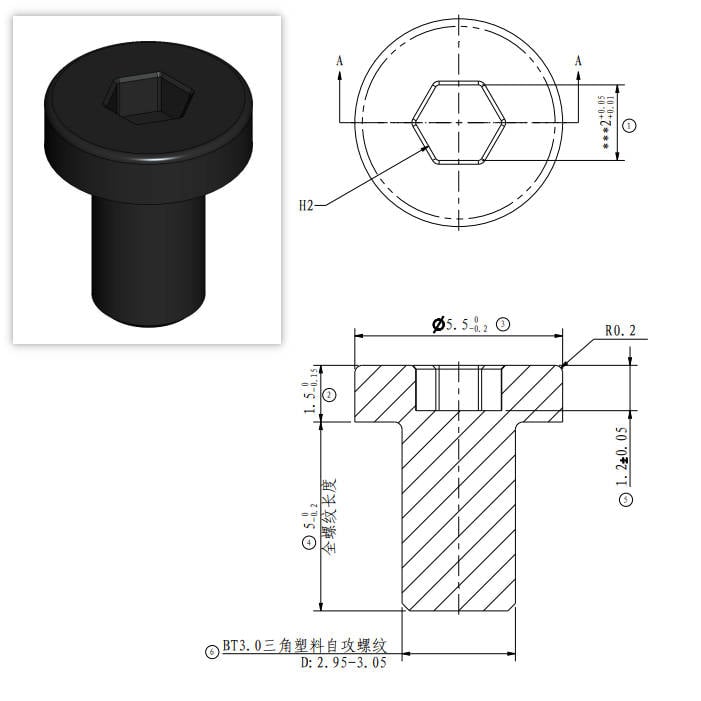 |
Screw D |
B0022 | AC board | 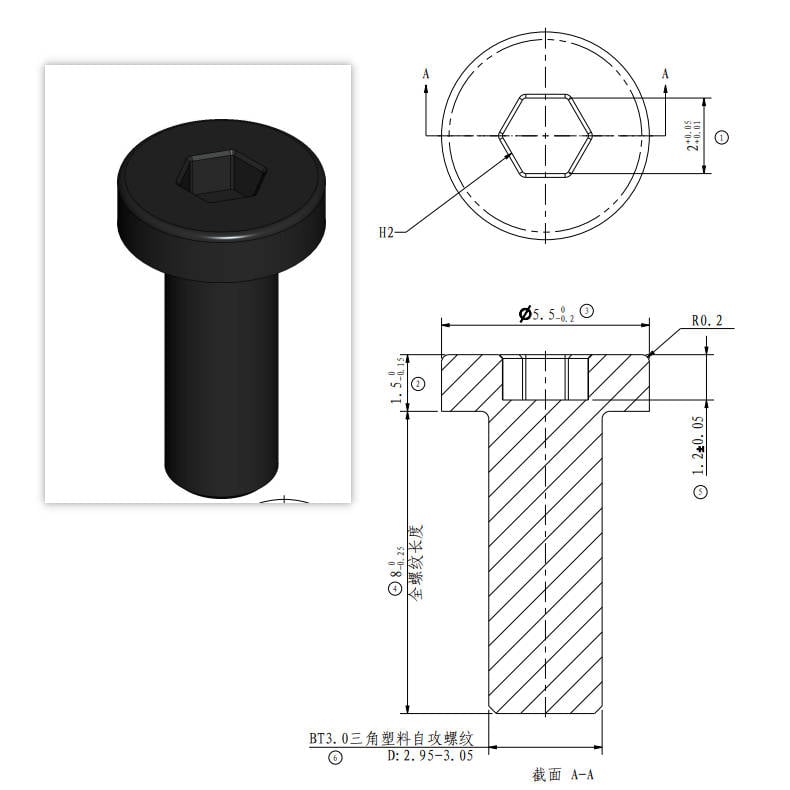 |
| Screw E |
B00222 | Heatsink plate 2PCS |
Screw F |
B0063 | Heatsink plate 1PCS |
 |
|
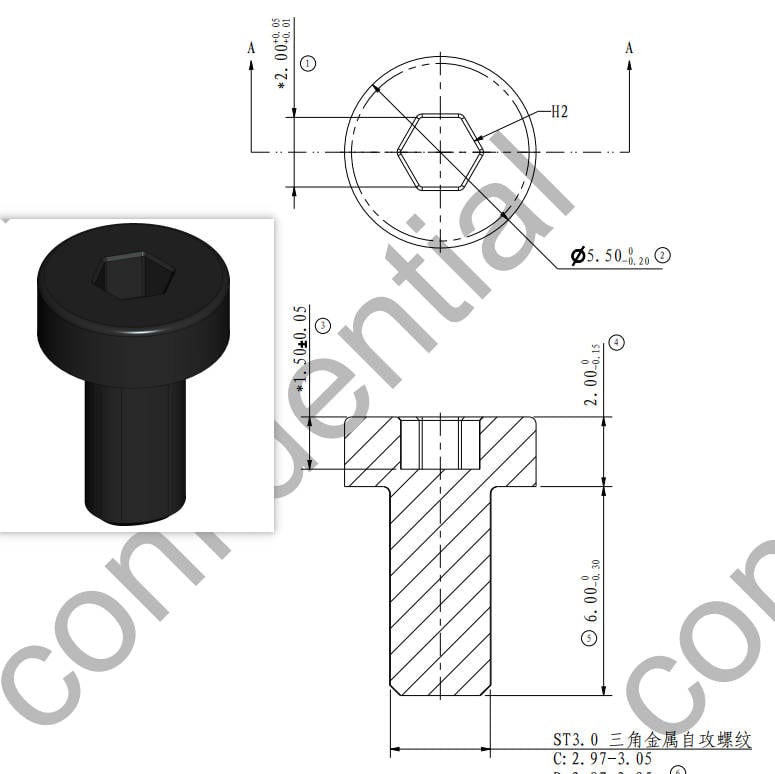
| Screw G |
B0060 | Ground cable |  |
Screw H |
B00236 | Y-axis assembly |
¶ End Notes
We hope that the detailed guide we shared with you was helpful and informative.
We want to ensure that you can perform it safely and effectively. If you have any concerns or questions regarding the process described in this article, we encourage you to reach out to our friendly customer service team before starting the operation. Our team is always ready to help you and answer any questions you may have.
Click here to open a new ticket in our Support Page.
We will do our best to respond promptly and provide you with the assistance you need.