Assembly View in Bambu Studio offers an option where you can gain an understanding of how various components of an object come together to form a complete model. You are able to visualize the relationships and interactions between parts. If you have a 3D model that comes in different parts, particularly those involving mechanical mechanisms or multi-part functional designs, they need to be treated as assemblies rather than as a single unified model. In many cases, importing a complete mechanical object like gearbox, robotic arm, or hinge system as one mesh can lead to limitations in print preparation. It can become difficult to inspect part interactions, apply different colors to each, or make slight positional adjustments without breaking the model apart in an external CAD tool. This is where the Assembly View solves this problem. Instead of forcing a single-mesh approach, it allows you to treat each component as a distinct entity within the same workspace. Designs that rely on precise movement and clearances, like functional prototypes, snap-fit enclosures, or articulated models, also benefit from being set up as an assembly.
¶ Functions of the Assembly Tool in Detail
¶ 1. Visualize How Parts Fit Together in an Assembly
The Assembly View allows you to visualize how individual components of your model align and fit together, providing a comprehensive preview of the assembled result. This is helpful when working on functional parts like the Stackable Shelf Organizer by LinkDesigns on Makerworld.
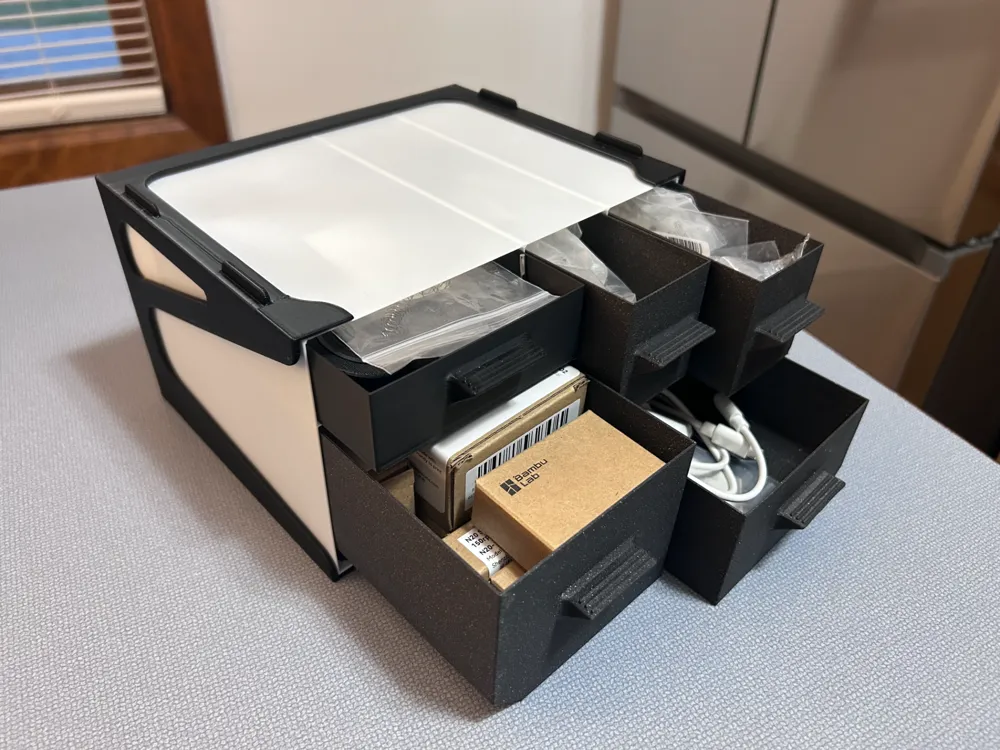
In that drawer, even a slight mismatch between parts can prevent proper movement or fitting; the same applies to other mechanical designs that are assembled from different components.
When you visualize them, you can spot any design inconsistencies early, like a bracket being too short or a shaft being misaligned. Take the example of a robotic arm model. The arm might consist of multiple segments, servos, and joints. Using Assembly View, you can import each part separately and then position them as they would be in the final assembly. This helps ensure each joint has the necessary clearance and orientation before printing, saving you hours that would otherwise be spent on reprinting and troubleshooting.
¶ 2. Create Exploded Views for Better Understanding of Their Interaction
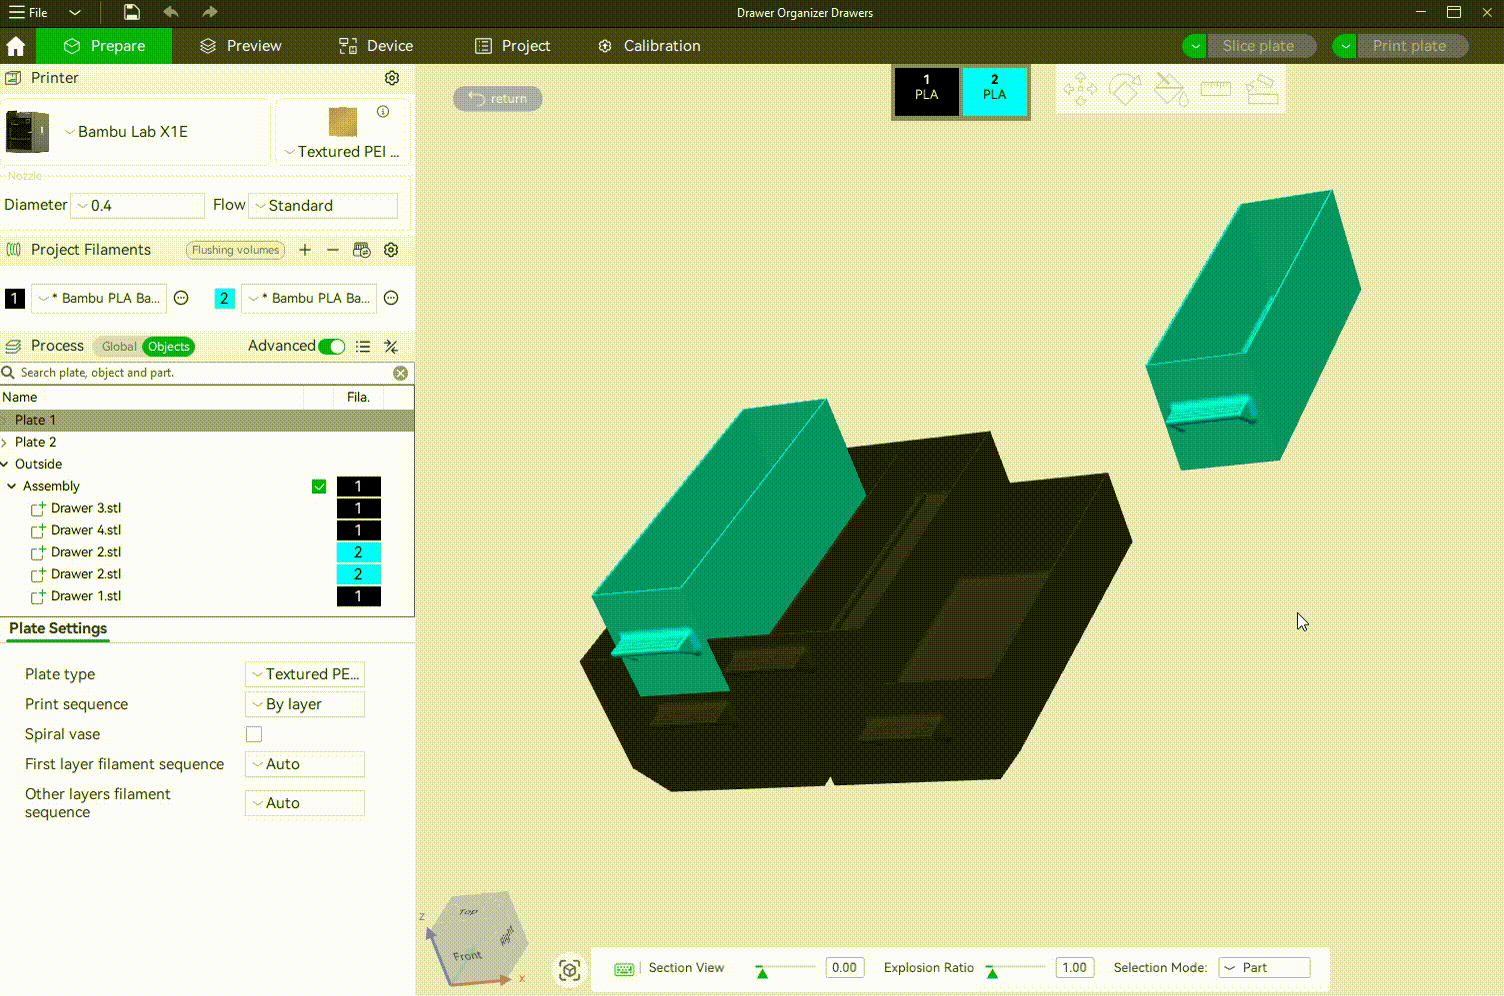
The tool allows you to temporarily space out components of the model to better understand how they interact or are intended to fit together. Instead of being locked into a compact, fully assembled structure, you can separate parts visually.
¶ 3. Reposition or Move Individual Components
This feature includes positioning tools that enable you to position, rotate, and orient individual parts using precise transformation tools. This is crucial when you need to make minor adjustments to ensure parts align correctly or to simulate real-world assembly conditions. For instance, if one component is slightly misaligned due to a modeling error or import issue, you can adjust it into place without going back to your CAD software.
Note: You can only do basic assembly options in Bambu Studio. For advanced editing and adjustment of the parts, you need to use CAD software.
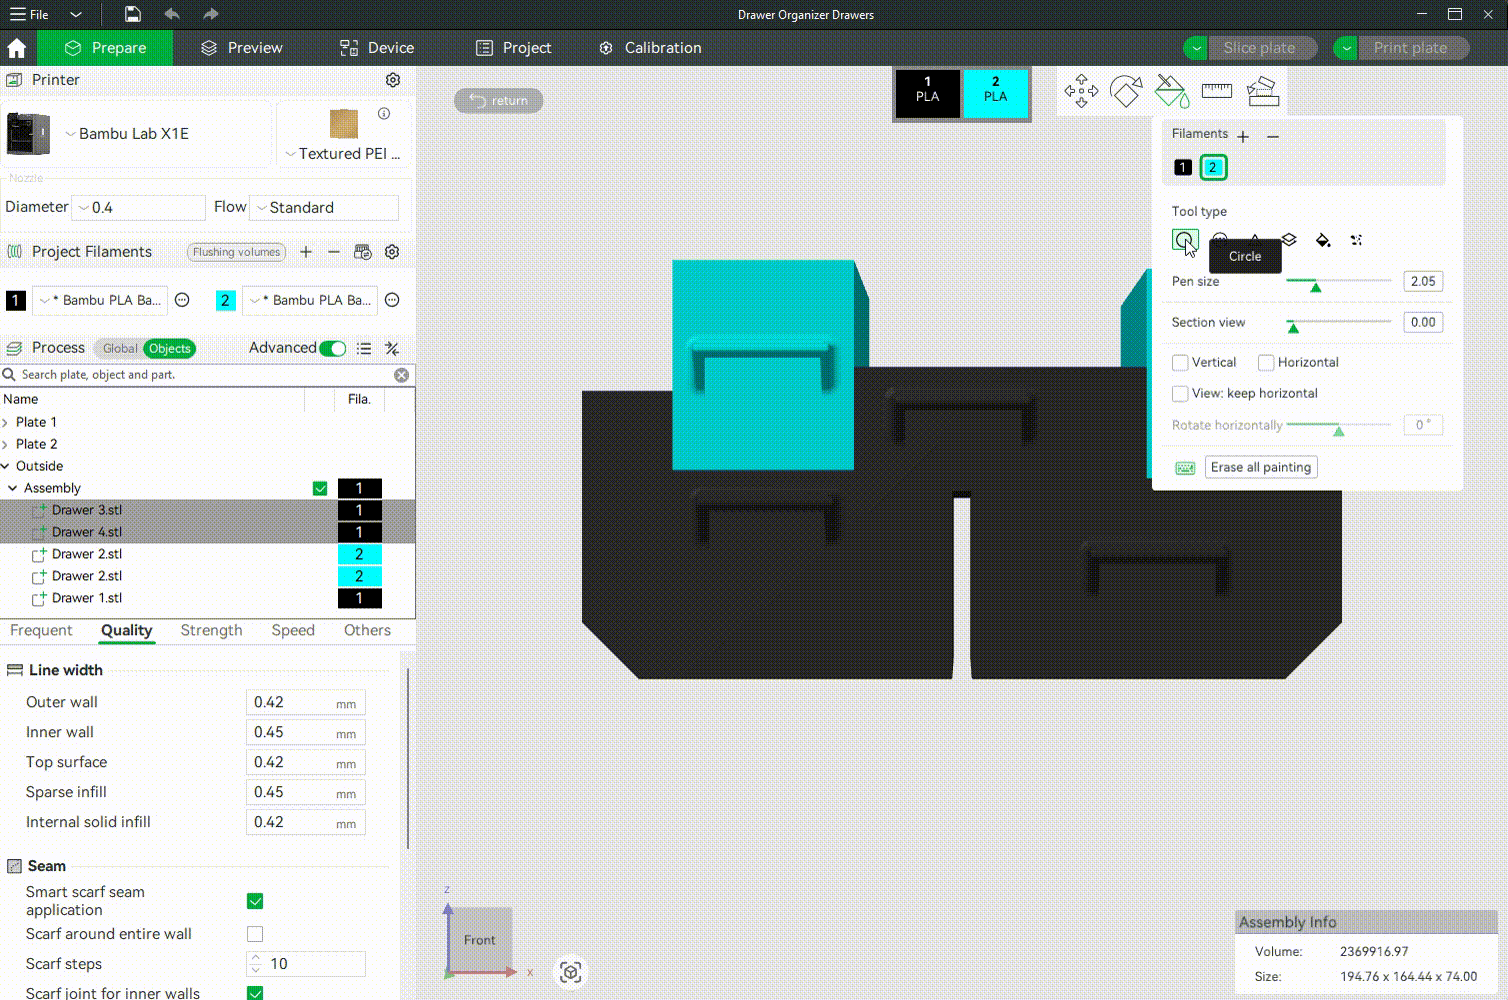
¶ 4. Assign Different Colors to Different Parts
You can assign different colors to individual parts of a model when using multi-color 3D printing. There is an option to assign the colors using numbers, and beyond that, you can also use the painting tool to paint colors on your design. This gives you more artistic control over how colors are applied, especially in areas that require intricate detailing or color variation.
¶ How to Use the Assembly Tool
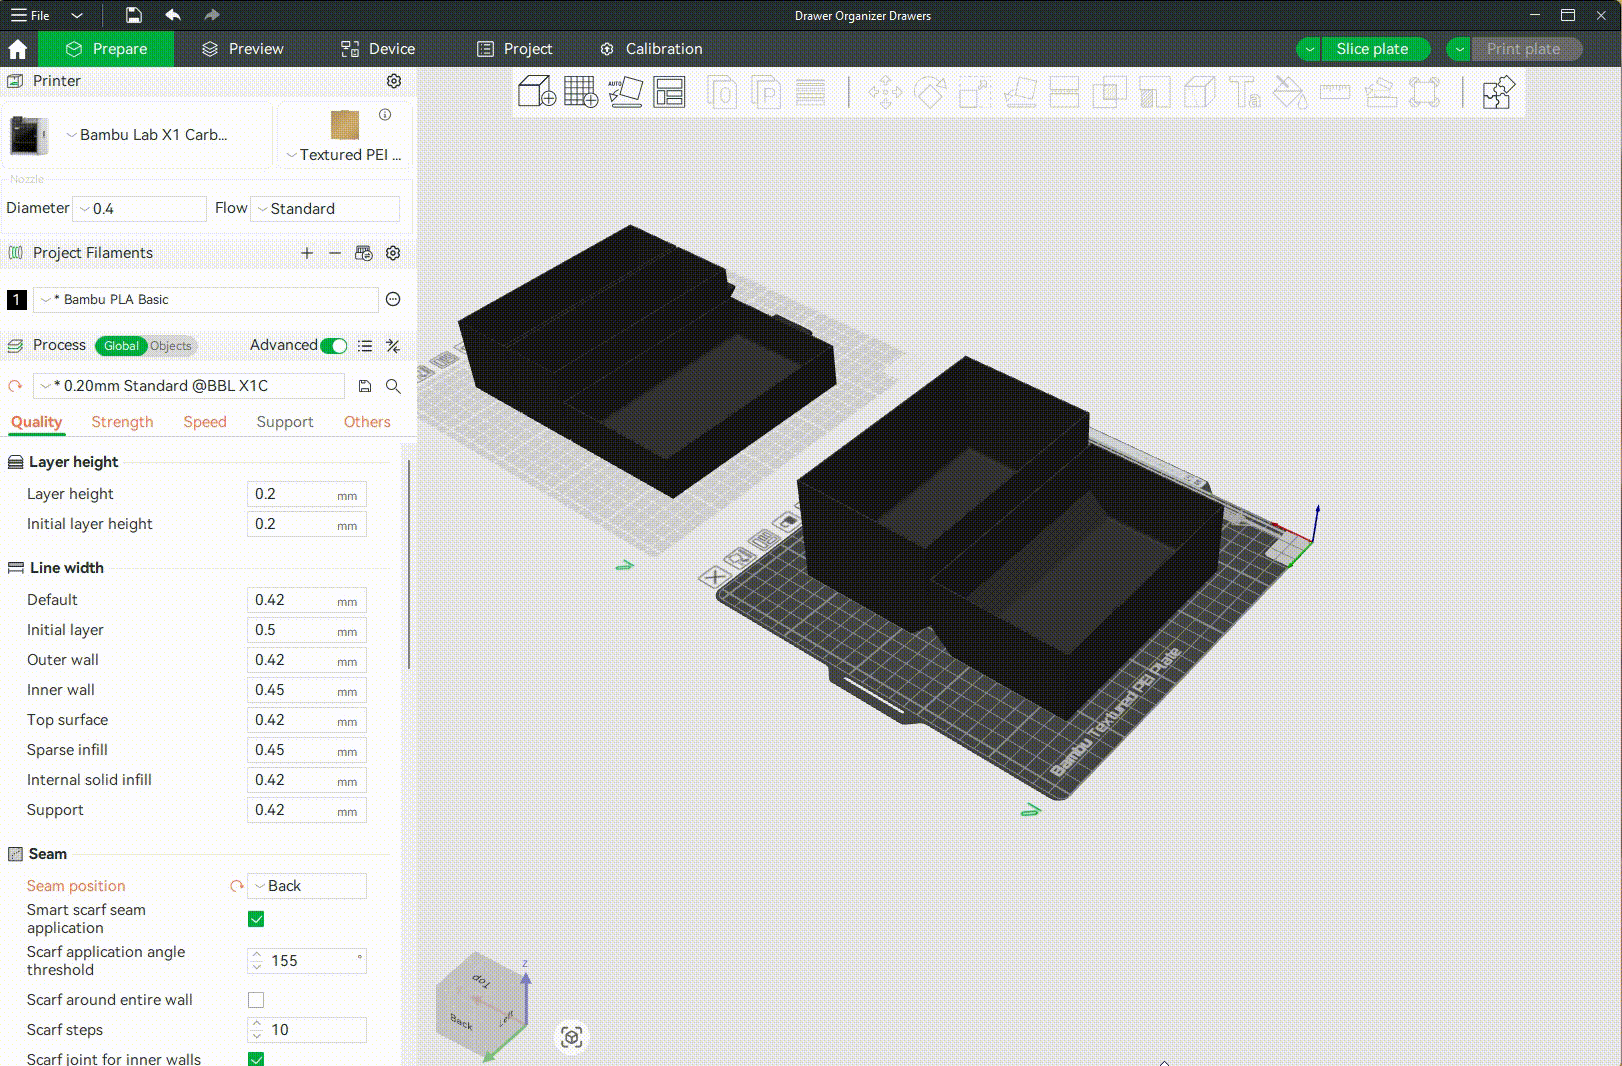
To access the Assembly Tool in Bambu Studio, start by importing your 3D model or MFD (Multi-Part Definition) file. You can do this by going to File > Import.
Alternatively, you can open directly in MakerWorld.
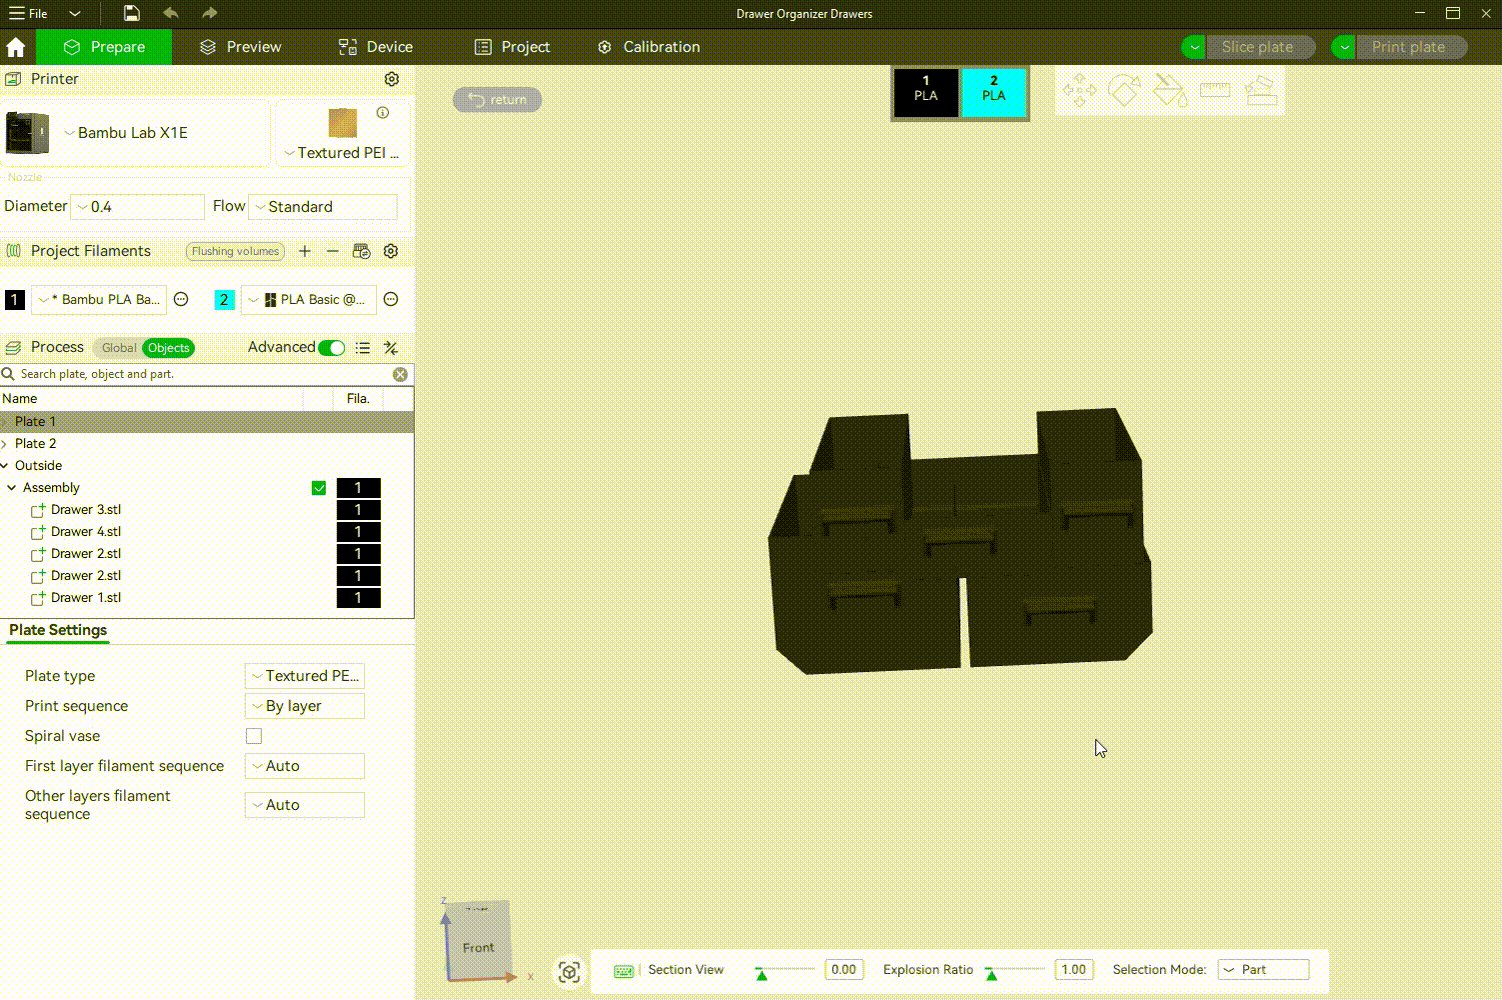
Once your model is loaded, go to the top-right menu bar and click on the Assembly View to enter Assembly View mode. This will switch the interface into the workspace for managing and editing multi-part models. You’ll see each component listed individually in the object tree, giving you direct control over their position, color, and orientation.
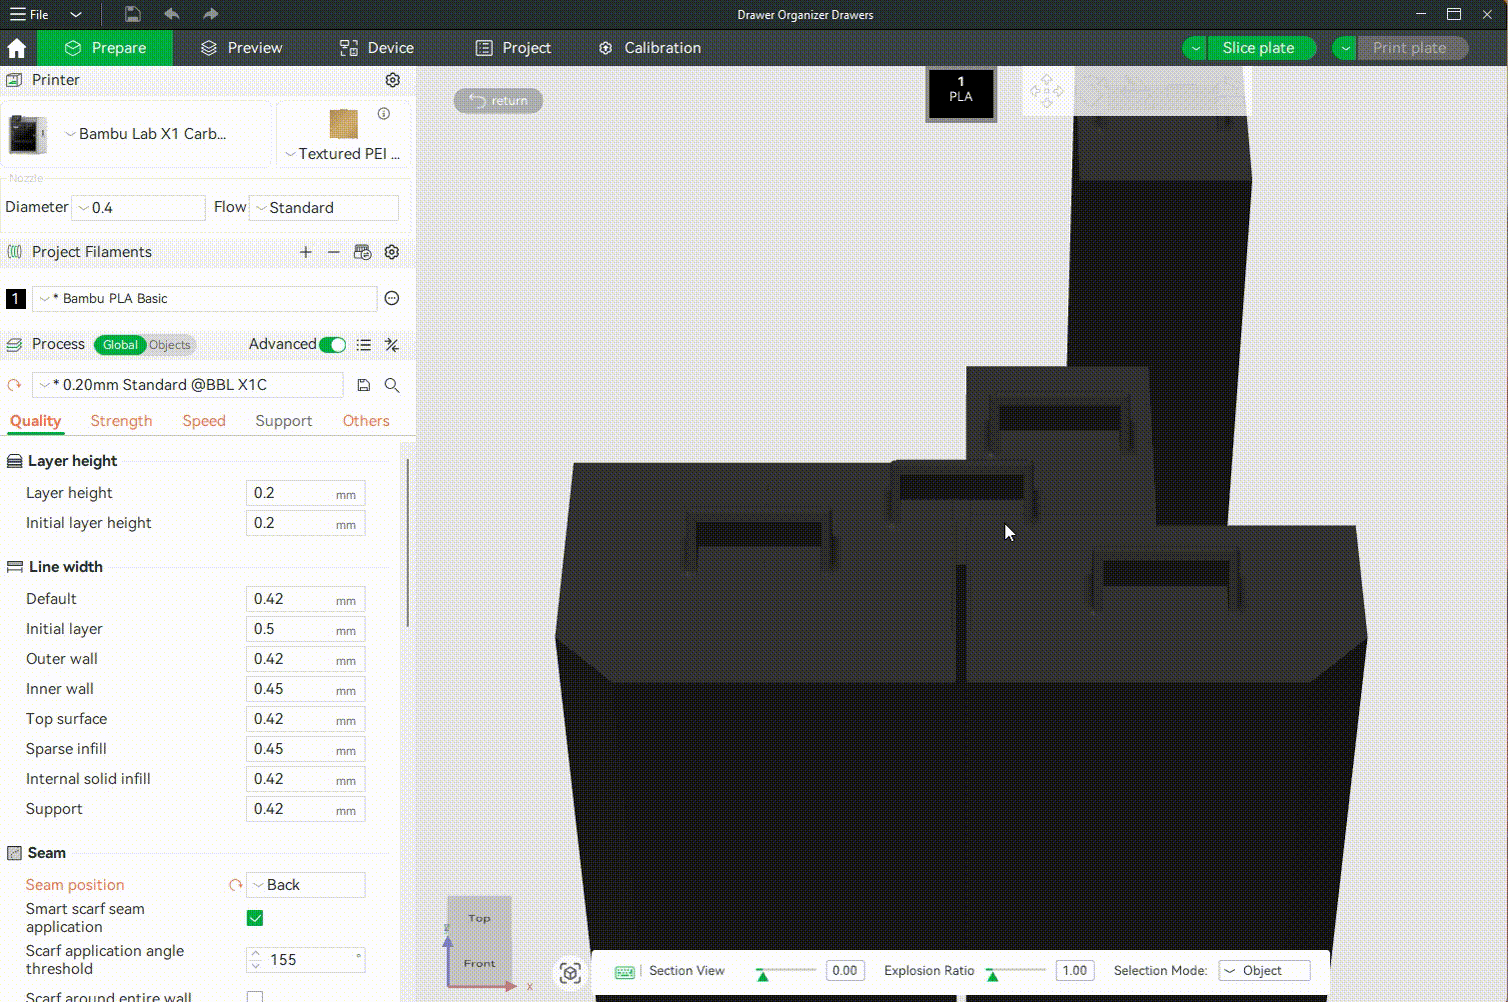
¶ Understanding Section View
Section view enables you to view cross-sections of your design by cutting through it along a defined axis. This useful for spotting internal collisions, checking wall thickness, verifying clearances, or ensuring that hidden features like internal threads, screw holes, or cavities are properly aligned and printable. When you select it, you can move the slider to the right or left, and you will see the parts being sliced across.
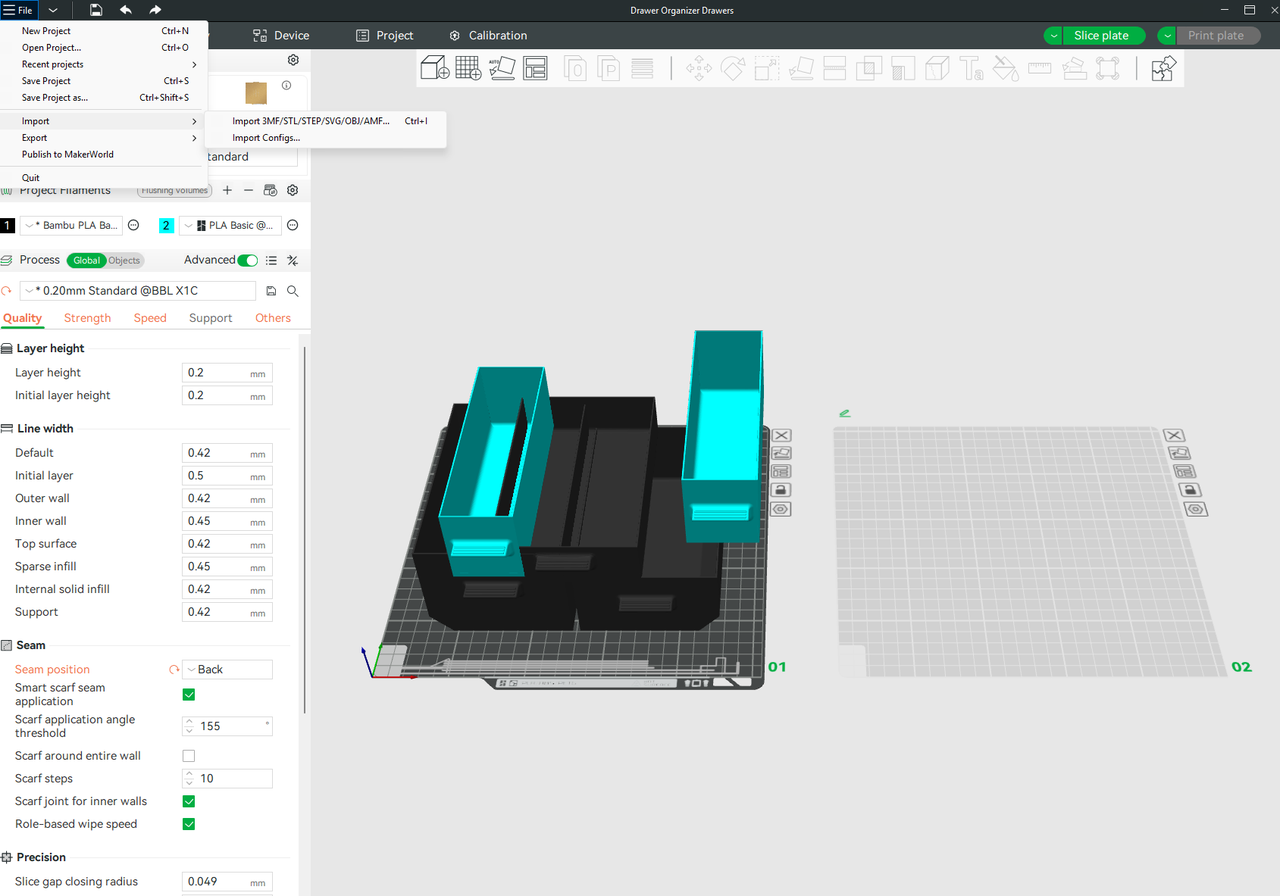
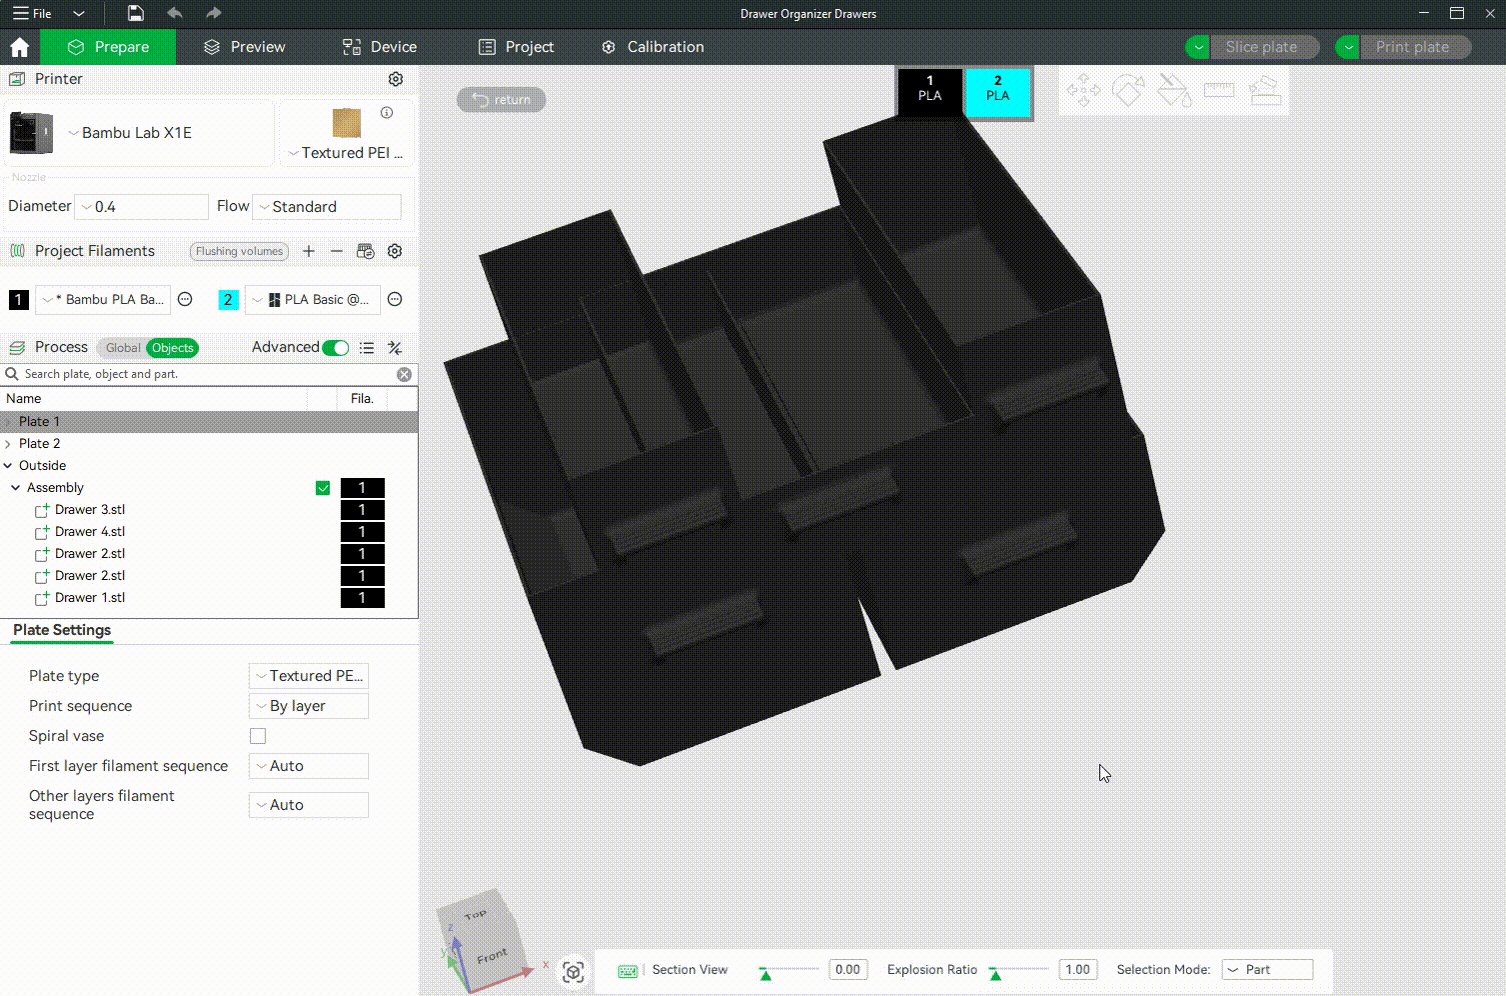
¶ Explosion Ratio
The Exploration ratio determines the degree to which components of the assembly are spaced apart when creating an exploded view. It makes it easier to understand how components fit and interact without altering their actual dimensions or alignment. By adjusting the exploration ratio, you can control how far the parts move away from their original positions.
You can adjust the spacing using the slider. Moving it to the right increases the distance between parts, spreading them out, while sliding it to the left reduces the spacing, bringing the components closer together, as shown below.
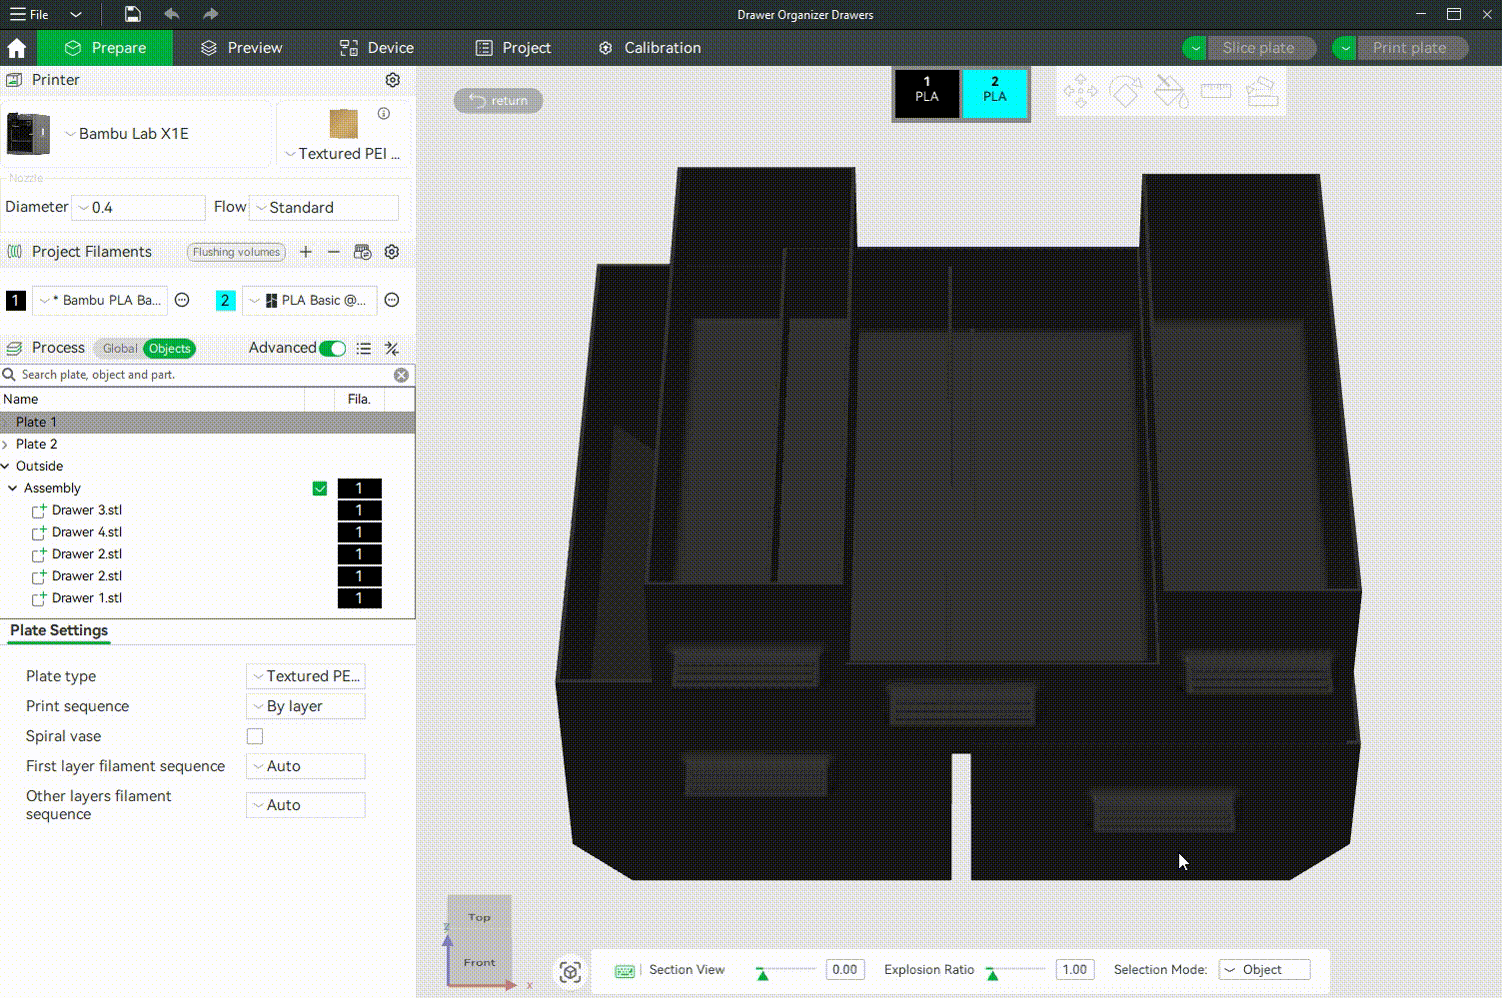
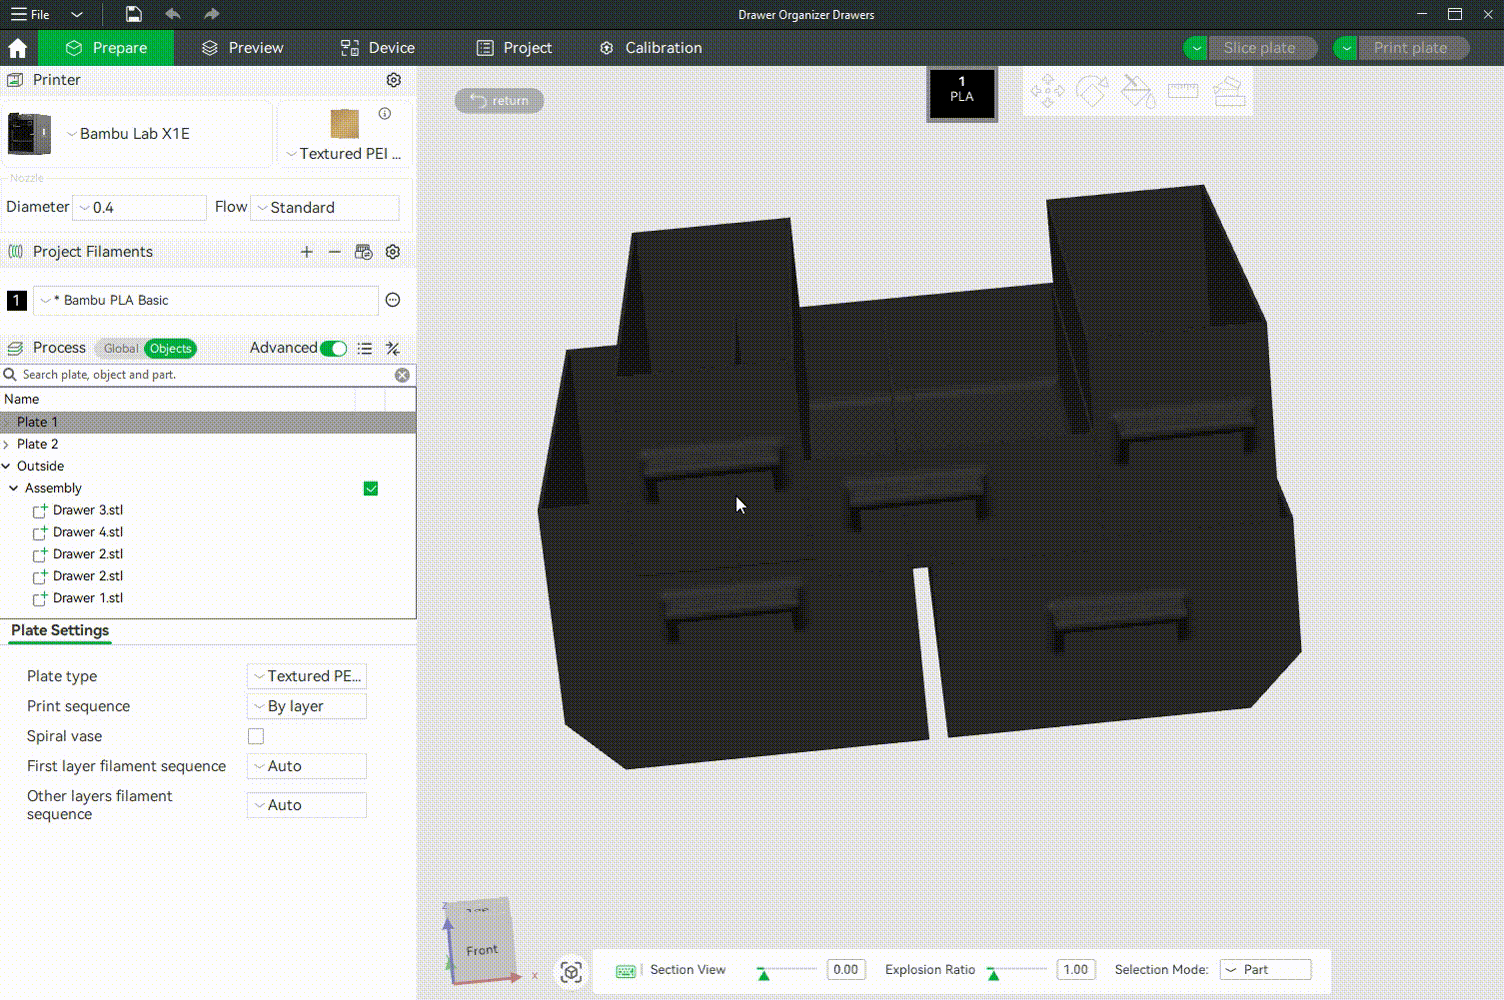
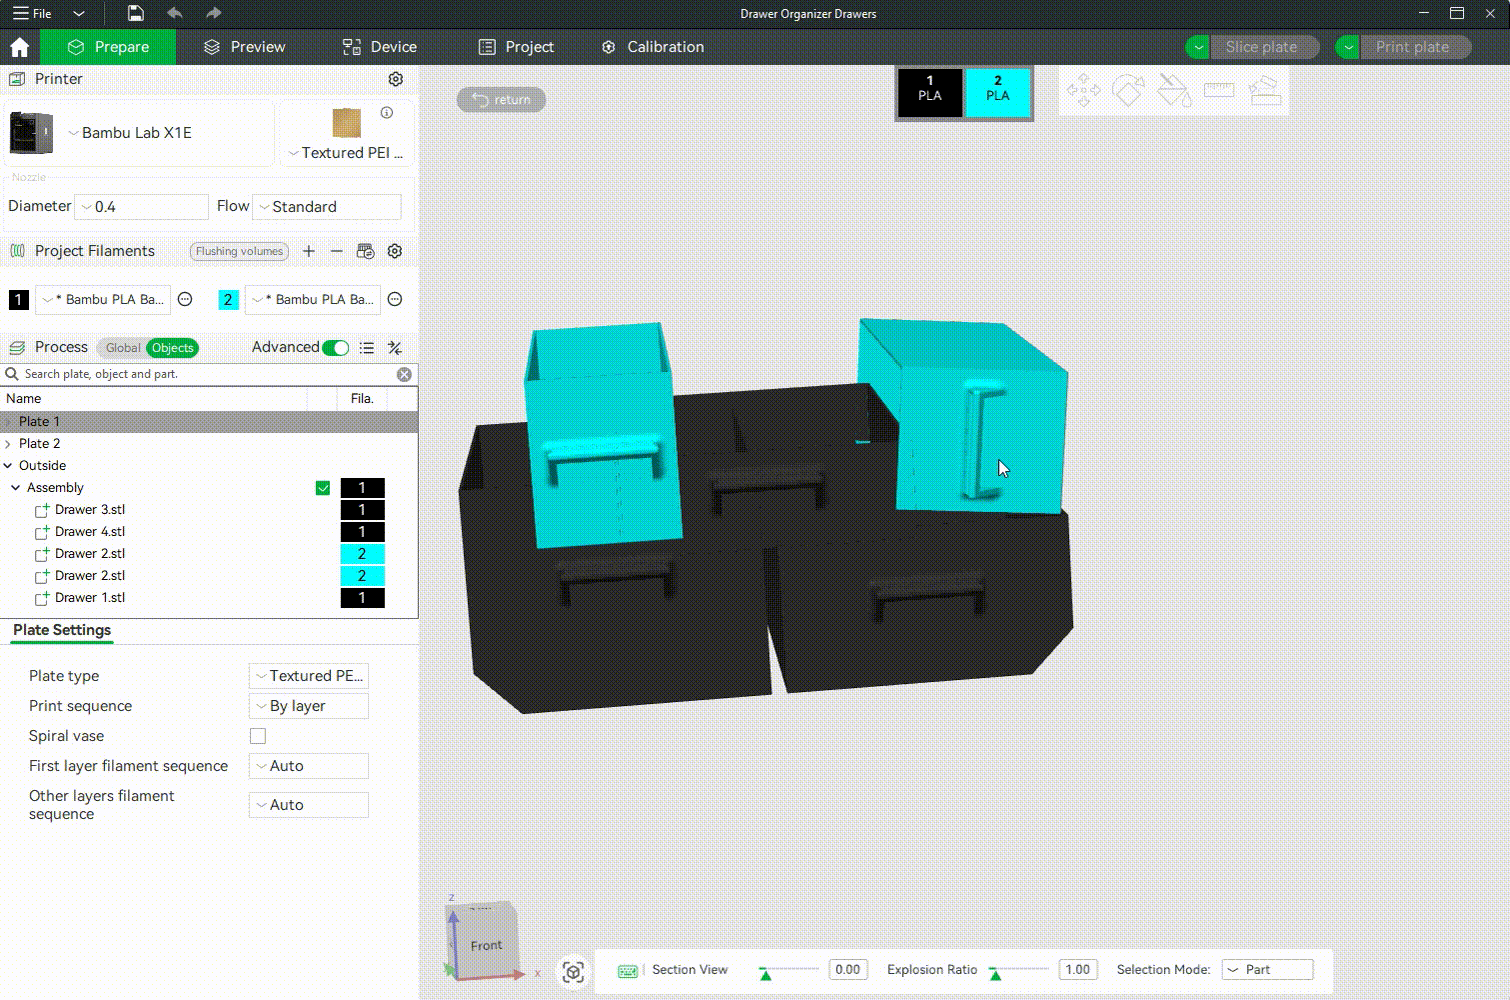
¶ Selection Modes
The selection models allow you to select different elements of the model based on how they were imported or grouped. Two primary modes are available: Object selection and Part selection
- Object selection: In this selection, the object is treated as a whole unit. It allows you to adjust the object as a single object.
- Part selection: This mode enables you to select individual parts within an object, allowing for more precise adjustments.
¶ Assigning Colors to the Parts in the Assembly View Tool
You can assign each part in the assembly a different color, which corresponds to a specific filament. To do this, simply select a part using Part Selection mode, then assign a color from the material list. You do this by adding a new material, then double-clicking on the color section and choosing the specific color to use on that part. If more than two materials are already available, simply select them in the top-middle section to assign to the part.
This makes it easy to preview how your final model will look and ensures each color is applied correctly.
In addition to assigning predefined colors, the Assembly view allows for more detailed customization using the Painting Tool, where you can manually "paint" areas of a model with different colors. This is useful for models requiring intricate detailing. The GIF below shows the various options in the Painting tool.
Check out the wiki on the color painting tool to master how to paint files in Bambu Studio. You can also watch the video below.
¶ Assembling and Positioning Objects in the Assembly Tool
You can assemble parts and position them in Assembly view mode using the various tools like Move, Rotate, Measure, and the ability to switch between World Coordinates and Local Coordinates. These tools are essential for ensuring that individual parts of a model align perfectly. Additionally, if you have added more parts to the file or would like to change the location of a specific part, these tools are particularly helpful. Each of these tools is explained below.
¶ 1. Move Tool
The Move Tool allows you to reposition selected parts along the X, Y, and Z axes. Once a part is selected, arrows appear on each axis, and you can click and drag them to move the part interactively. For greater precision, numeric fields in the side panel allow you to enter exact values, ensuring accurate alignment, which is crucial when assembling multi-part objects.
Check out the Bambu Studio Move Tool Wiki to get a deeper understanding of moving objects in Bambu Studio.
¶ 2. Rotate Tool
The Rotate Tool lets you rotate selected parts around any axis, which is crucial when parts are imported in the wrong orientation or need to be aligned with other angled surfaces. Rotation handles appear around the object, and you can either drag these arcs interactively or enter exact rotation degrees in the side panel.
Check out the video below to learn more about how it works.
¶ 3. Measure Tool
It enables you to calculate distances between points, edges, or surfaces within your assembly. This is extremely helpful when verifying tolerances, ensuring that gaps are intentional, or confirming that components won’t interfere with each other during printing. For instance, if we want the shelves of the drawer we are using as an example to be separated by a specific distance, you can use the Measure Tool to confirm that the space between them is correct, and everything fits well.
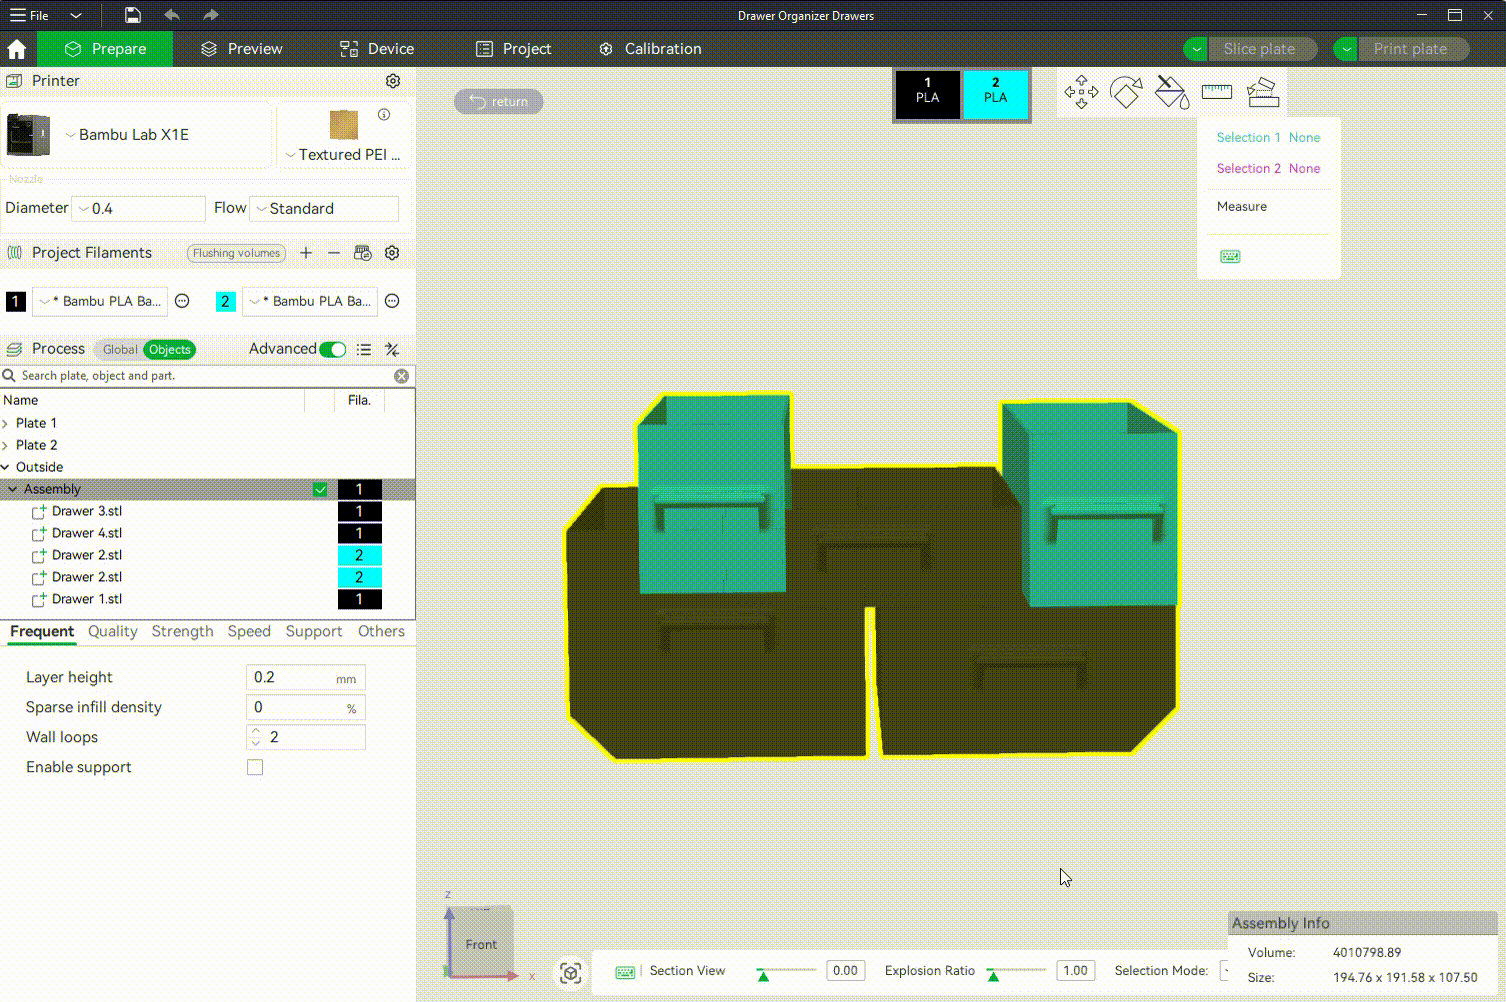
You can also check out the Bambu Studio Measurement Tool Wiki to learn how to use this tool.
¶ End Notes
We hope the detailed guide provided has been helpful and informative.
To ensure a safe and effective execution, if you have any concerns or questions about the process described in this article, we recommend submitting a technical ticket regarding your issue. Please include a picture or video illustrating the problem, as well as any additional information related to your inquiry.